/


Latest Post

Triple Stack & Cut cards with free project sheet & video tutorial


I'm a bit addicted to this card layout!  I'm calling it the Triple Stack & Cut card.  

You start out with three different patterns of designer paper measuring 3 3/4" X 5".  Stack them together and make the upper right cut – a triangle.  You could measure it but I just made sure my stack was even and sliced it off. It's approximately 3/4" from the upper left and 1" from the lower right.  

Then for the remaining pieces you continue cutting all three pieces at once, cutting approximately in half on the diagonal and about 1" from the lower left.  

You can now mix & match so one piece of each pattern can fit on each of 3 card fronts.  I adhered them to a 4" X 5 1/4" piece of Berry Burst card stock.  That then adheres to your card base – I folded back my front to create a fun fold design.  

Tip: Note that the patterned paper has a large print, a small print and one without pattern.  This can help your card appear soothing and less busy. 

I shared how to do this on the video below.  In the video I used the Traditions of St. Nick designer paper; another Online Exclusive seen here.  

I used the Christmas Classic bundle seen here with Real Red, Cherry Cobbler, Mossy Meadow & White card stock. 
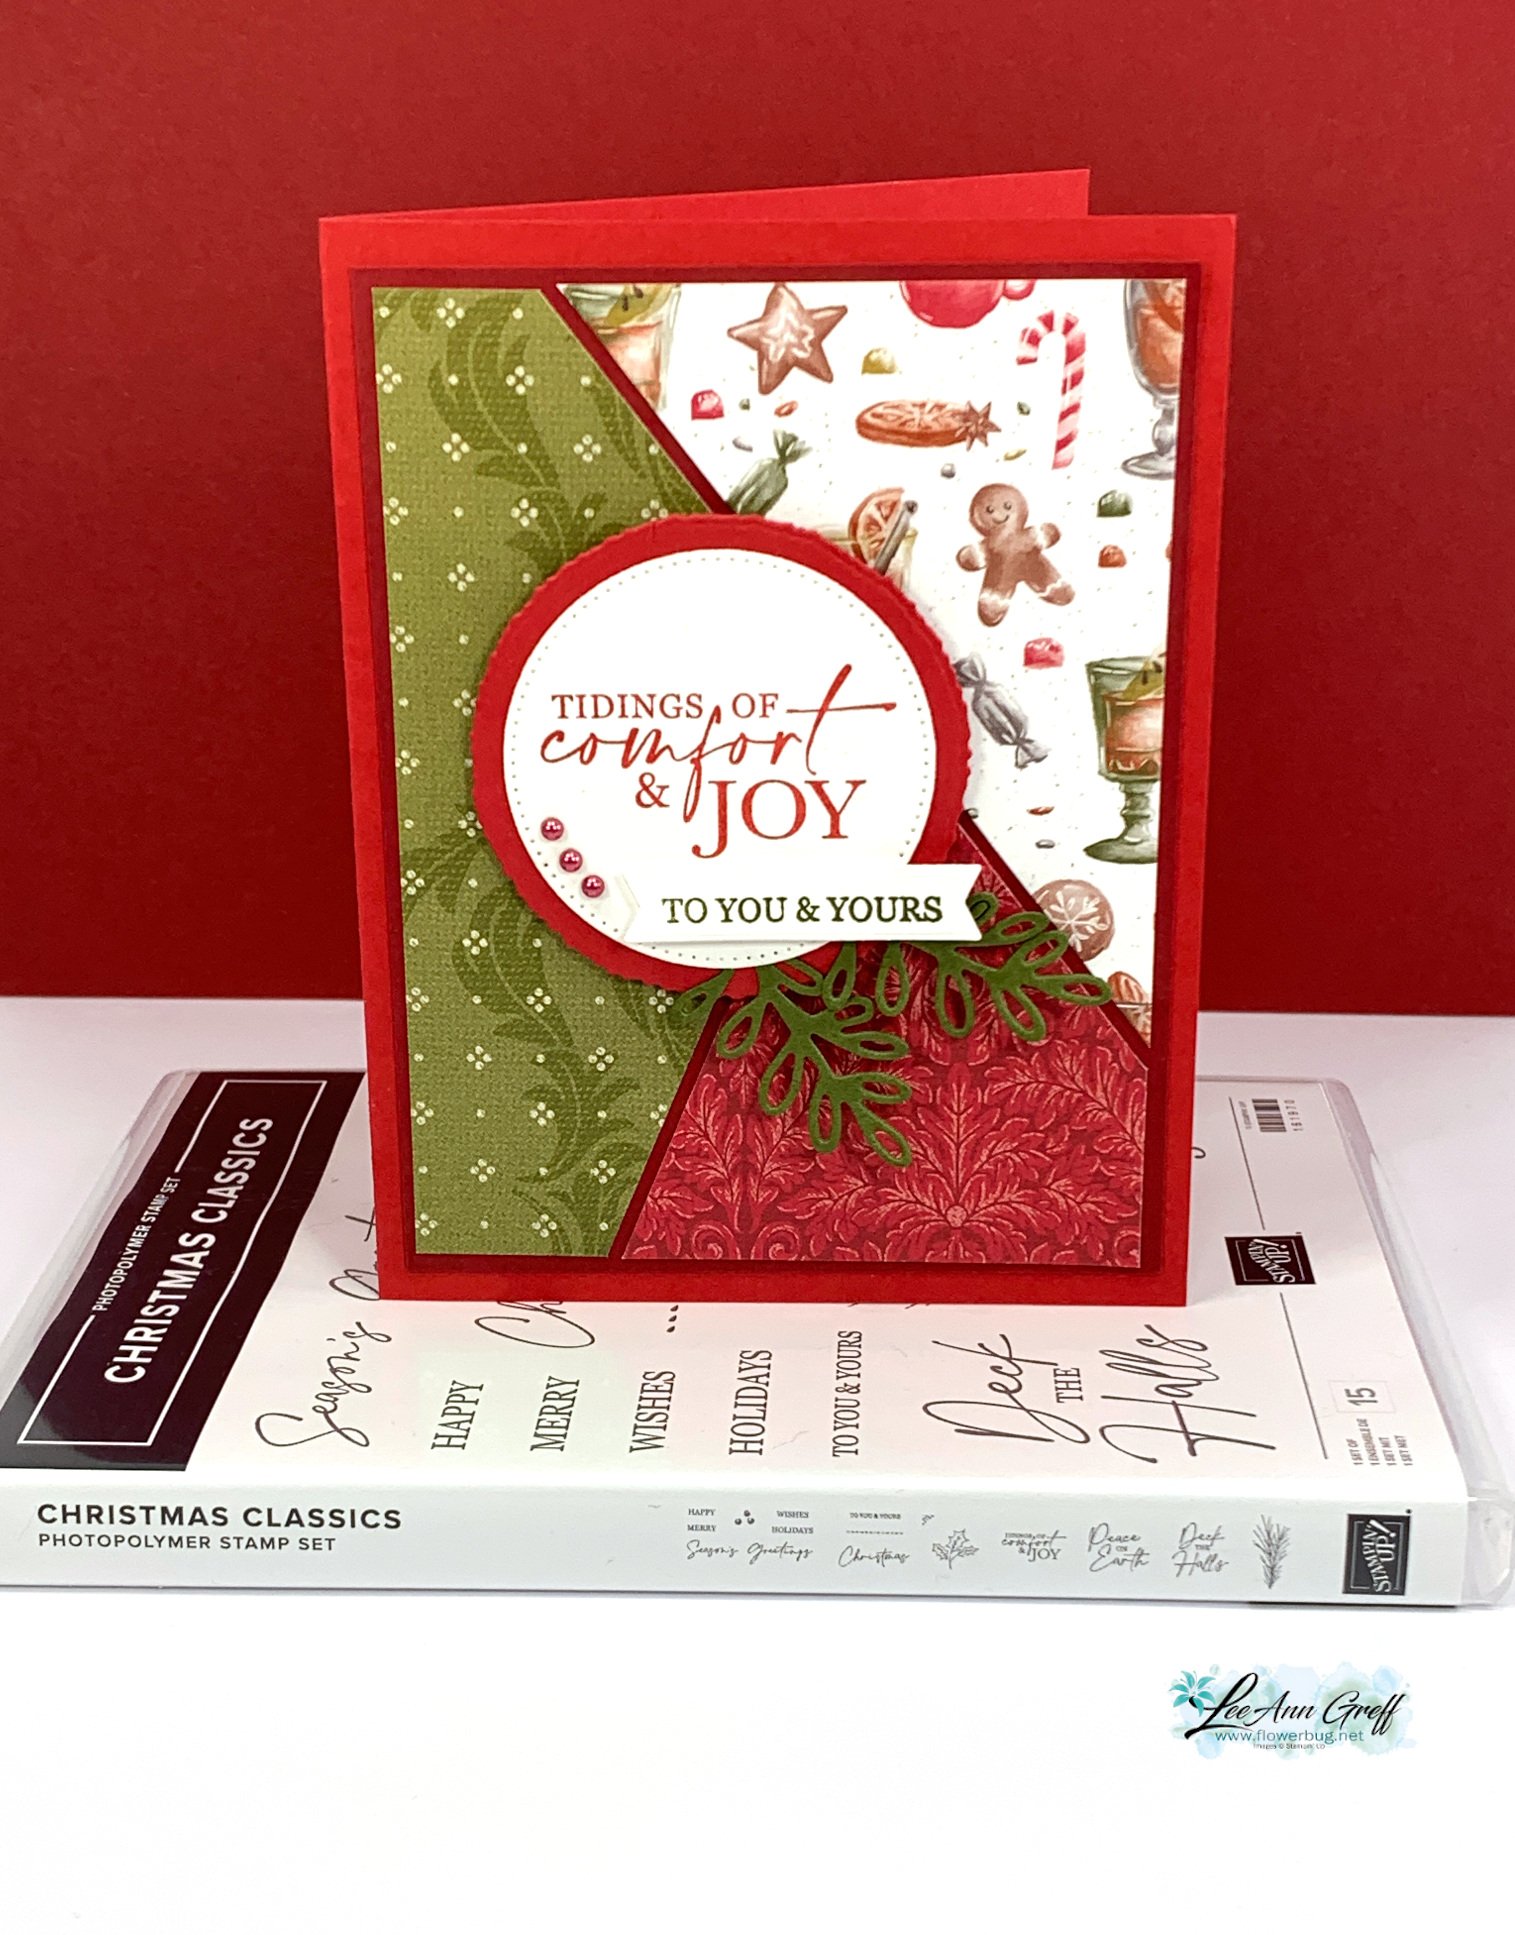
The Mossy Meadow leaves are from the Christmas Classics dies.  Here are the three cards I made:  

**Get the free project sheet here: Download Translucent Florals triple stack & cut card

You can watch the video for this project here.  It includes two more fun fold cards as well!

If you're not following me on YouTube click here.  Or follow me on Facebook for my weekly Tuesday lives here. 

~~~

September Specials: 

*current host code: WXX6RCHA or VEH4FKBV

*Get a free 6 card kit with orders over $55 (Includes card bases, coordinating envelopes, Memories & More cards, gems & more) 

Shop the updated Clearance Rack here:

~~~

Get a Mystery Box full of Stampin' Up! supplies while they last!

Each box contains from $180-200 in retired products (new or lightly used)

  1. Place an online Stampin' Up! order over $100 (before tax & shipping) using one of my current host codes to reserve a Mystery Box. *Host code links – WXX6RCHA or MYF6MXAG
  2. Send me the $14 shipping fee (PayPal or Venmo). 
  3. I'll send you your Mystery box via Priority Shipping! 

All Posts

  • Sweet Thoughts scrapbook layouts in a kit to go or tutorial


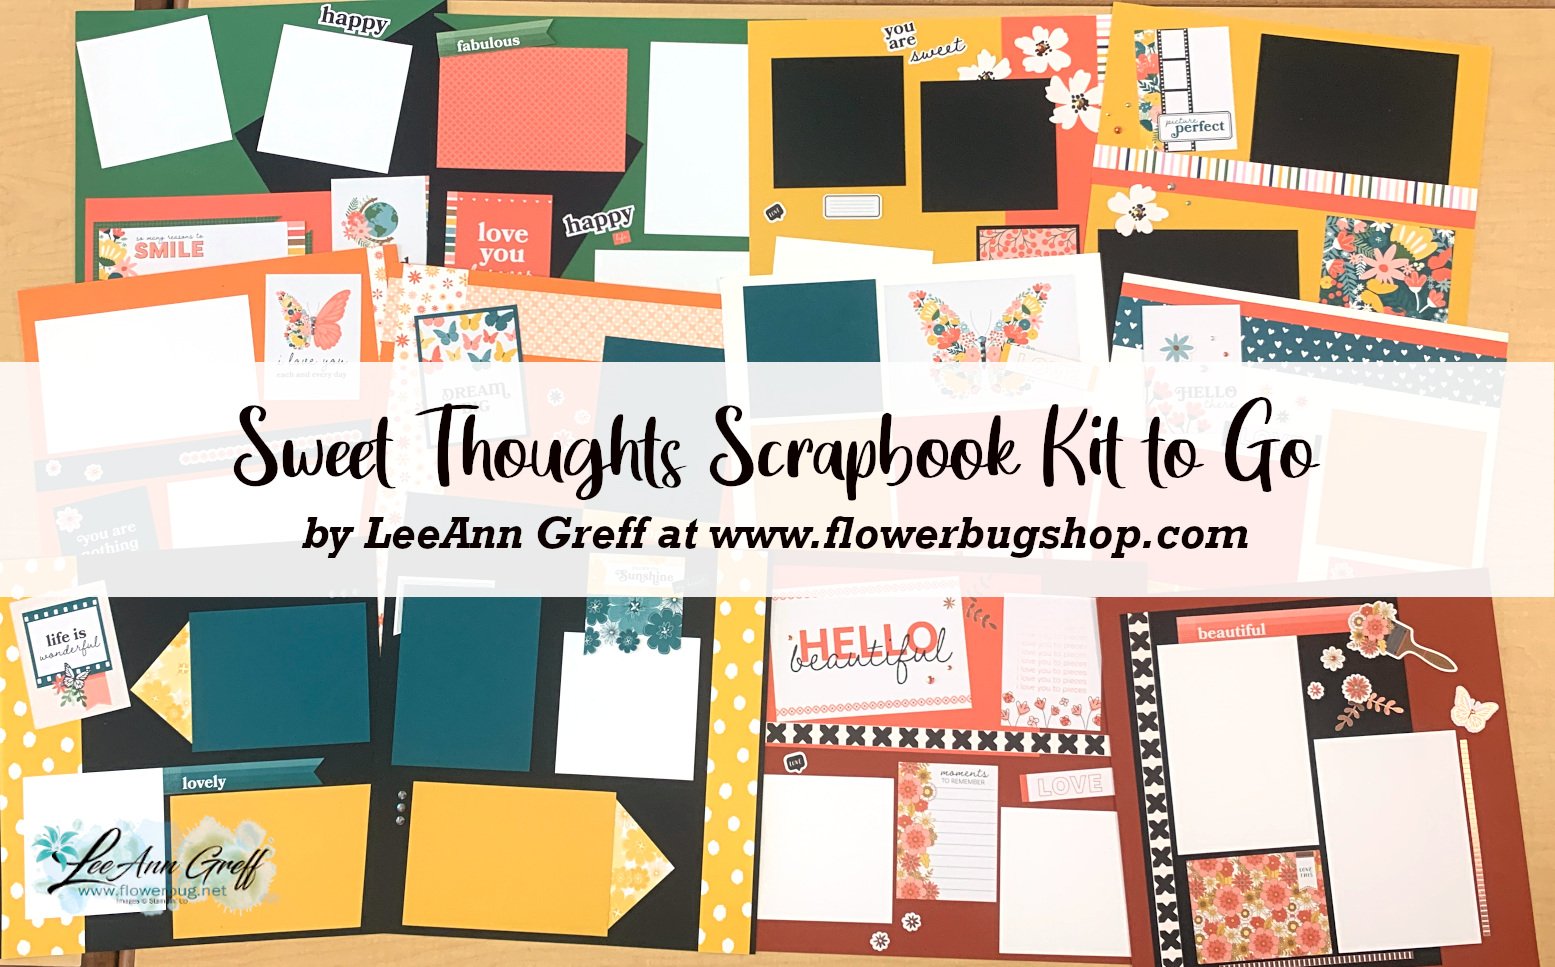
    I haven't created any scrapbook pages in over a year!  I played with the Sweet Thoughts Memories & More cards and created these layouts. They came together so easily; I need to do this more often!

    This kit to go includes 12 pages – 6 double 12 X 12" layouts featuring Stampin' Up! products.  The Sweet Thoughts Memories & More cards are used for titles, accents & embellishing.  

    You'll need adhesives, scissors and a paper trimmer (for the M & More cards).

    Click here to get your pre-cut scrapbook kit; it's $28 plus shipping.

    You can also choose the tutorial instead for $15. See it here. 

    The tutorial will be emailed to you immediately after payment.  This kit will ship out within days of ordering.  If you add on an April card kit the shipping will be combined and mailed at the end of April. 

    This kit includes the following

    • 6 double 12 X 12" layouts and all pre-cut layers
    • 1/2 pkg Sweet Thoughts Memories & More card pack
    • A share of Pastel Adhesive-backed rhinestones
    • the PDF tutorial

    Check out the Sweet Thoughts card pack here; it's 40% off right now. And the cards & envelopes are also on sale. See them here.  What a powerful and simple way to make fabulous cards or scrapbook pages like these.  


    I'll share the wonderful cards I made with these Memories & More cards & cards/envelopes on Monday. Or watch the video here now.  

    ~~~

    April Specials: 

    *current host code links:  CDYBRZ2T or W62MPU2R

    ~~~

    Here's a link to the Last Chance list 

    A free gift with orders in April:

    All online orders in April will receive a free multi-project tutorial!

    Leave a Reply

    Your email address will not be published. Required fields are marked *

  • 2 ways to add color to a solid image with video & free project sheet


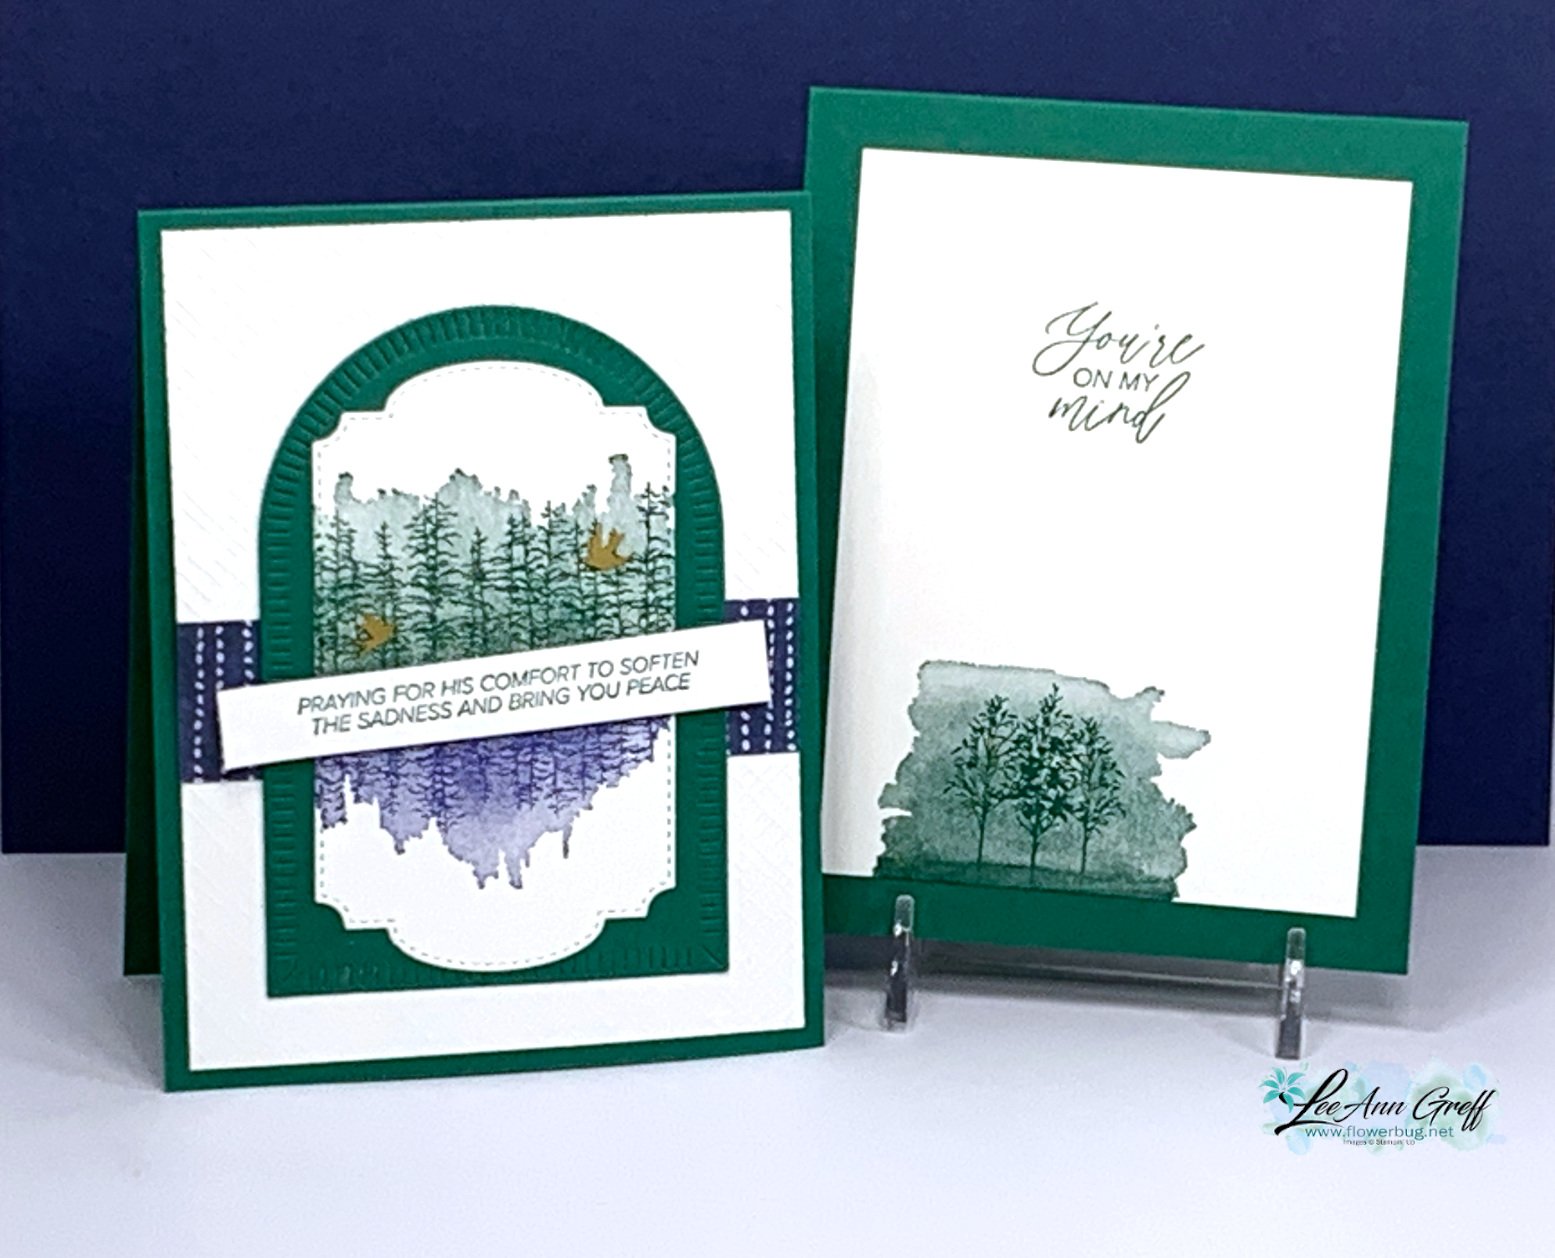
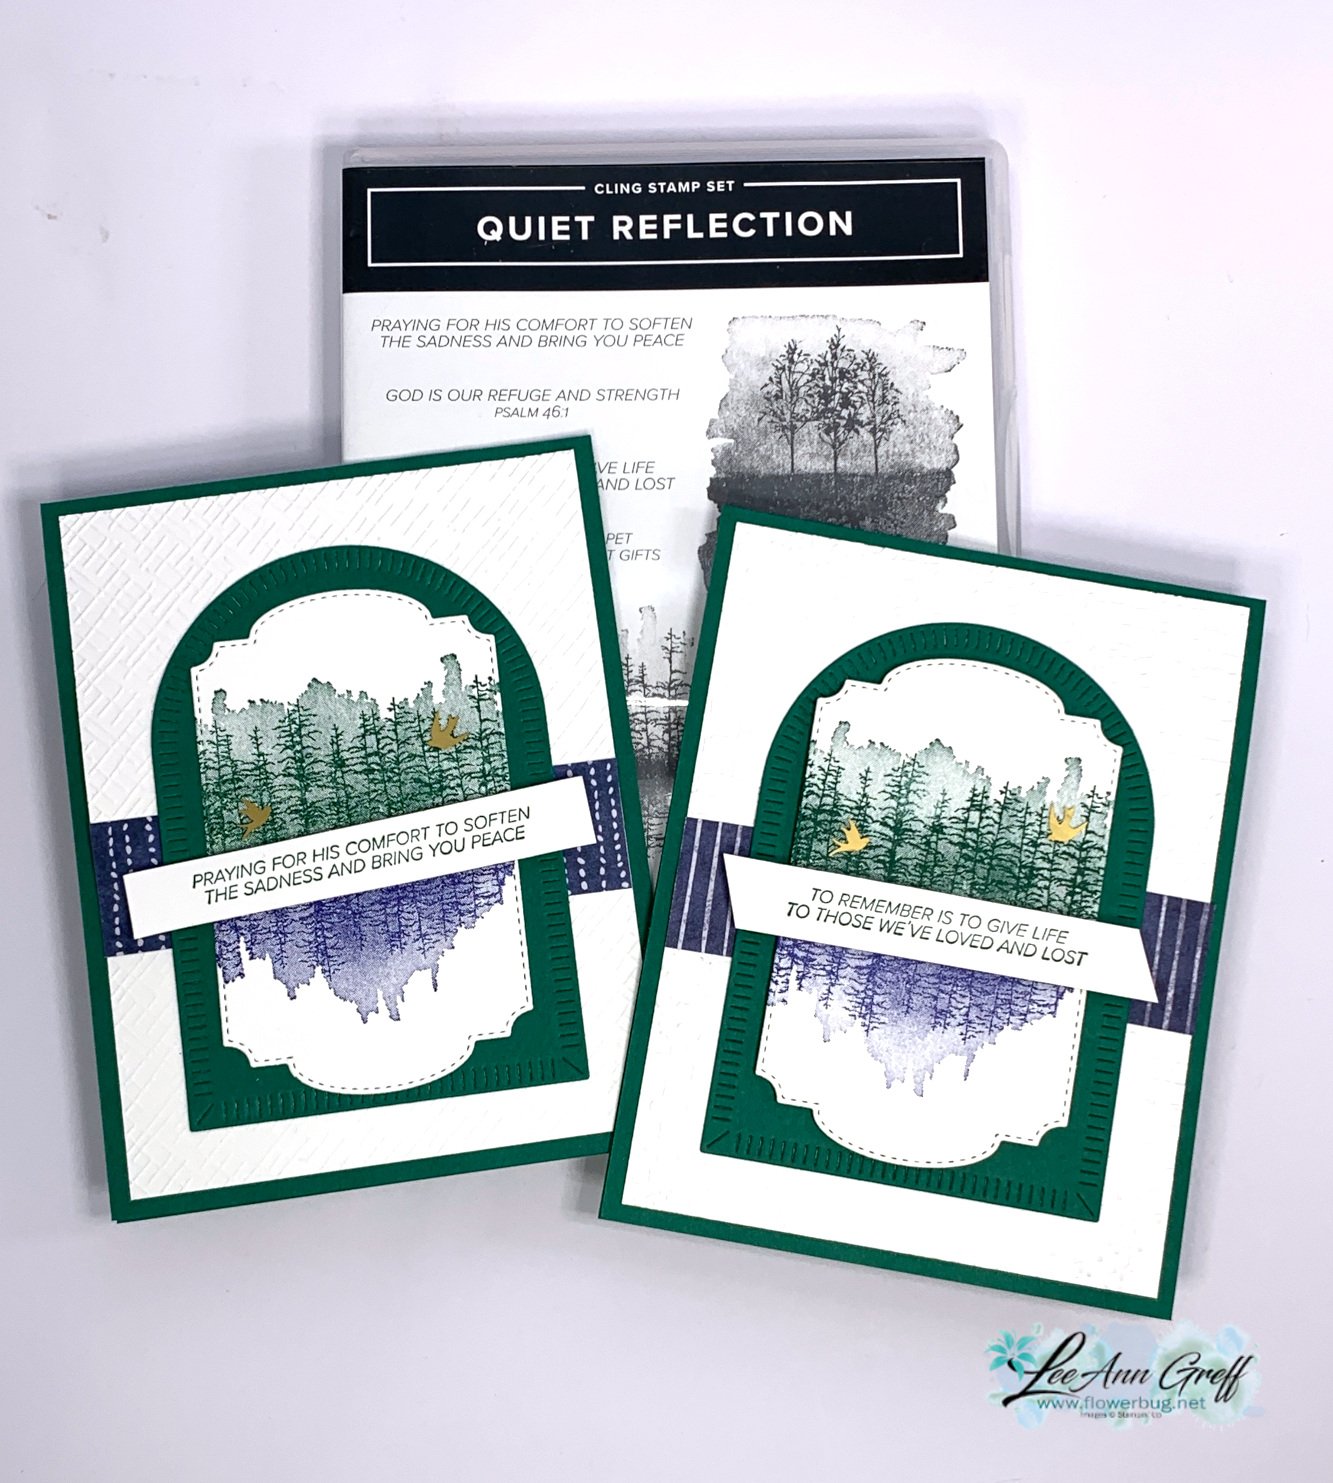
    Today's project is one we made at my March card clubs; it features the beautiful Quiet Reflection stamp set. 

    This set is returning in the 2024 Annual Catalog and I'm super glad!  It's wonderful for both sympathy or thinking of you cards. And the best part is it's super easy to create with.  See the Quiet Reflection set here. 

    My colors include Shaded Spruce & Starry Sky (retiring In Color). I used a few dies also – Thoughtful Expressions (retired and sold out now) and Garden Meadows dies seen here (for the arch). 

    Do you know how I achieved the two-toned image of green trees with blue water?  It's so simple!  

    How it's done: I placed my stamp set with the rubber face up. I inked up one half with Starry Sky ink (tapping the rubber with the ink pad) and then the other half with Shaded Spruce.  The nice thing about doing this technique with this particular stamp image is that when you place your greeting strip across the image it covers up any white space left un-inked.  

    I added a few of the Gold Adhesive-backed Dragonflies & Birds seen here.  I love these so much!  They're super thin and don't add any bulk to your projects. 

    In the video posted here on YouTube you can see how I made this card and another with an entirely different way to achieve a 2-toned image.  

    Click on the image below to watch the video.  Don't forget to subscribe to my YouTube channel too! 

    ~~~

    April Specials: 

    *current host code links:  CDYBRZ2T or W62MPU2R

    ~~~

    Here's a link to the Last Chance list 

    A free gift with orders in April:

    All online orders in April will receive a free multi-project tutorial!

    Leave a Reply

    Your email address will not be published. Required fields are marked *

  • Gorgeous ways to add color to the Quiet Reflection stamp; with video & free project sheet


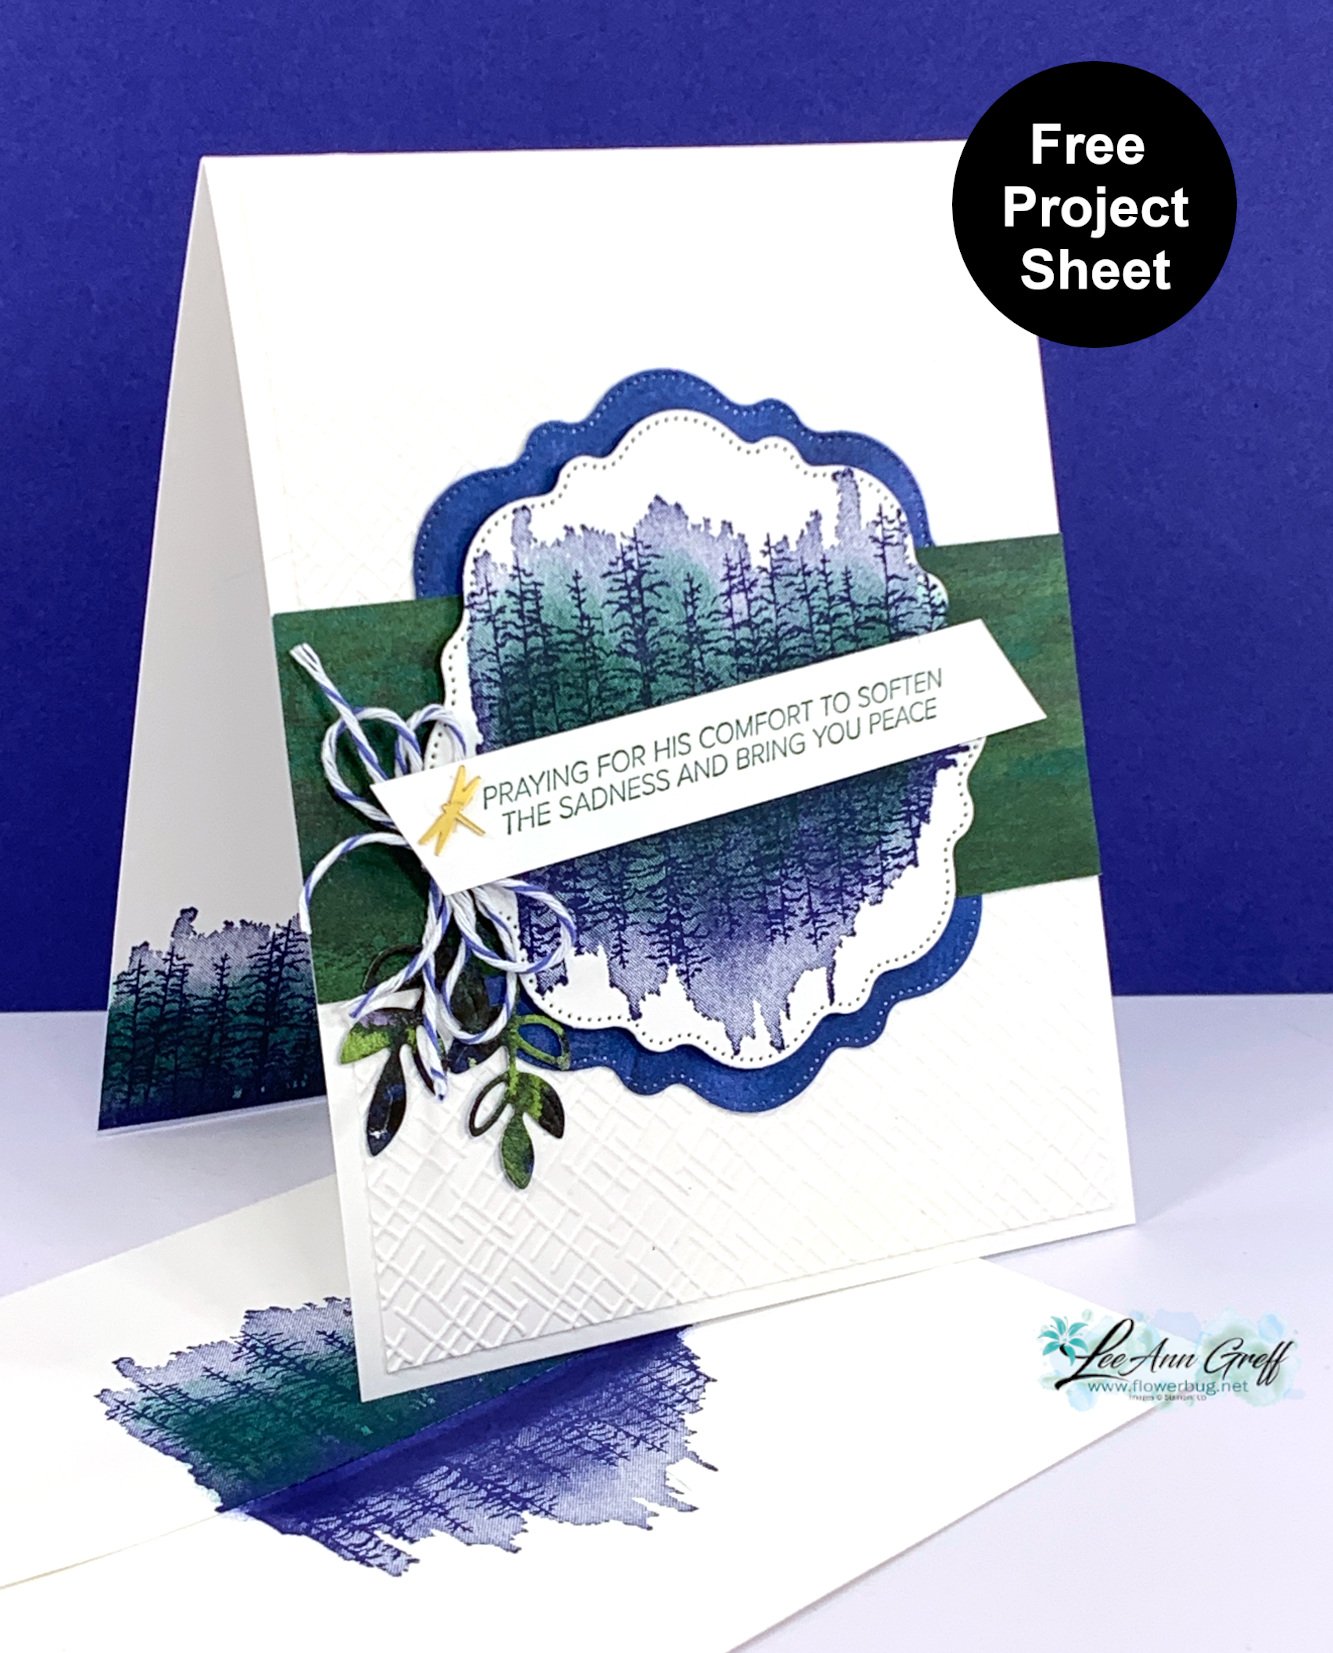
    Today I'm sharing one of the projects I featured on last week's Live video.  I chose to showcase the Quiet Reflection stamp set and ways you can add color to the solid image. 

    You can see this stamp set online here.  It's not retiring; it will return in the new Annual Catalog.  It's a beautiful sympathy set. 

    I chose to use Starry Sky with Shaded Spruce. The dies are the Thoughtful Expressions dies and sadly they are already out of stock; they were on the retiring list and they've sold out.  

    Notice the two toned image here.  This one is simply a matter of inking in Blue and stamping. Then ink a sponge dauber in green ink and dab over the stamped image.  So easy! 

    I do have a free project sheet with the directions, measurements & supplies list.  See it here.  Download Quiet Reflection 2-toned

    In the video posted here on YouTube you can see how I made this card and another with an entirely different way to achieve a 2-toned image.  I'll share the card on the right below tomorrow. 

    Click on the image below to watch the video.  Don't forget to subscribe to my YouTube channel too! 

    ~~~

    April Specials: 

    *current host code links:  CDYBRZ2T or W62MPU2R

    ~~~

    Here's a link to the Last Chance list 

    A free gift with orders in April:

    All online orders in April will receive a free multi-project tutorial!

    Leave a Reply

    Your email address will not be published. Required fields are marked *


Notice: LeeAnn Greff, Independent Stampin’ Up! Demonstrator, Manager. The content of this website is my sole responsibility as an independent Stampin’ Up! demonstrator and the use of, and content of, the classes, services, or products offered on this website is not endorsed by Stampin’ Up! Copyright 2025