/


Latest Post

Deals & Gifts galore; just for you! Times running out; just 6 days left!


If you love good deals; I have two happening through February 28th.

Keep reading! 

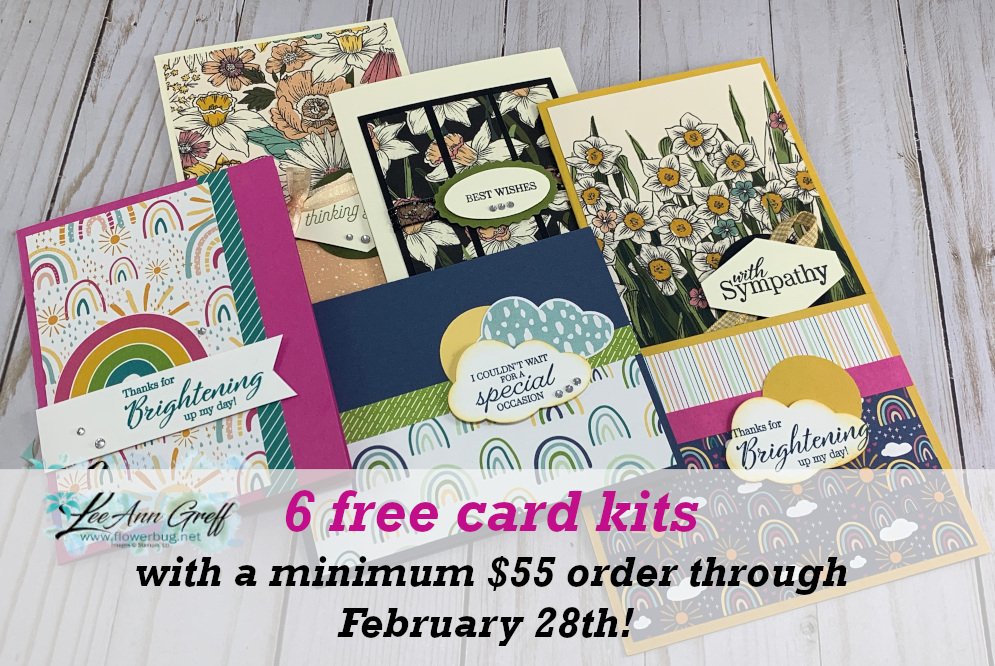
I'm giving you 6 free card kits for orders over $55 through the end of February.  Plus my other gifts as well! *I ran out of the easel calendars & embossing folders; I'll be substituting Rhinestone jewels instead. (Gingham embossing folder & Easel calendar kit!). 

In addition to my free gifts you'll get a free Sale-a-Bration choice too! Gifts galore! It ends on February 28th. Go here to order. 

Next deal….. how about $100 in free product?  
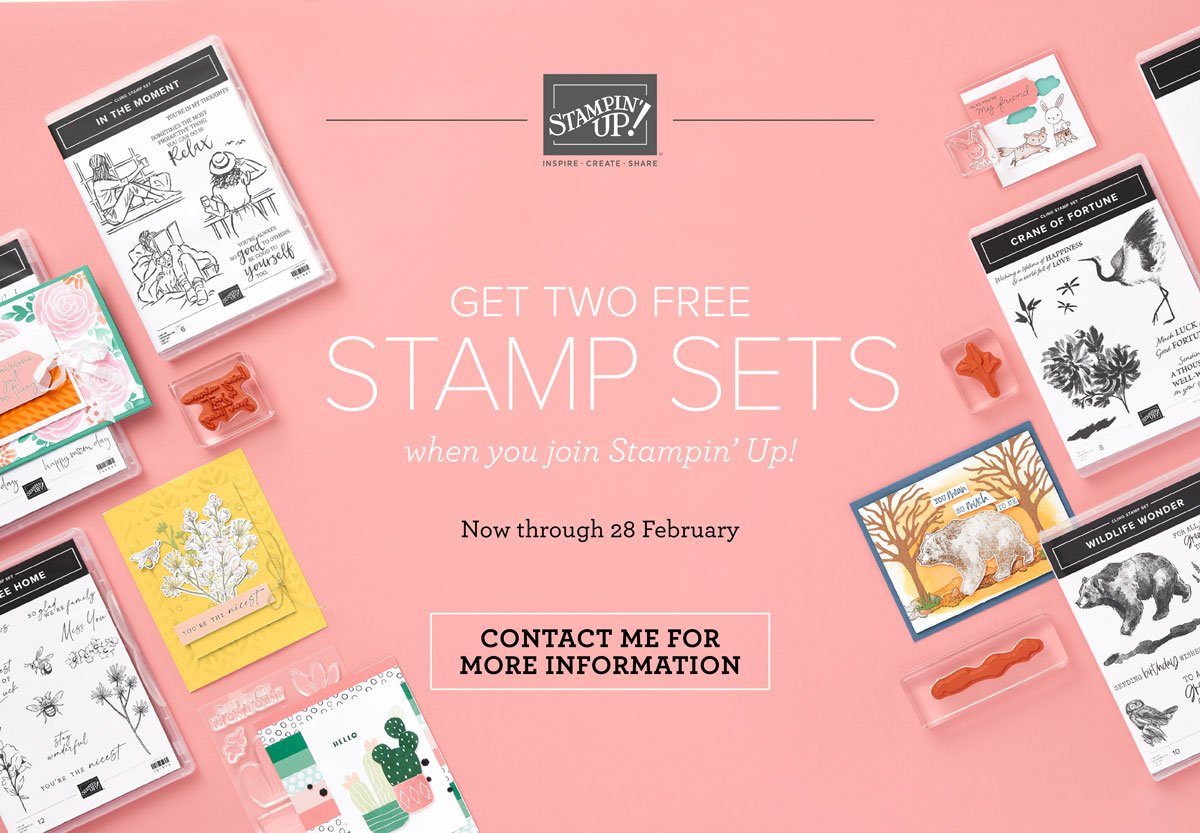
During our Sale-a-Bration promotion (ends February 28th) you can choose $125 in product of your choice for just $99.  Plus TWO free stamp sets too!  In addition to that the Starter kit includes a free Paper Pumpkin kit, business supplies and catalogs too. 

I polled my Flowerbug's Team to ask them why they joined when they did. 

Top 5 reasons my gals chose the Stampin' Up! Starter Kit:

  1. A good deal
  2. Continuous discount
  3. Love of Stampin’ Up! products
  4. See new products & catalogs early (cannot wait!)
  5. Ordering regularly anyway

You may think you have to 'sell' or hold events.  Or order a bunch of items to have on hand.  Nope!  Here are some myths you might have about being a Stampin' UP! Demonstrator: 

Myths:

  1. You have to sell.  Or hold classes.  Nope! I call my gals who simply enjoy the discount ‘Happy Shoppers’.  
  2. It’s a commitment.  Wrong. You can quit ordering at any time. Enjoy it while you can and end when you want. There's no pressure from me or Stampin’ Up! to do more than you want to.
  3. You have to join in swaps or group activities. It's your choice.   
  4. I don’t have time.  You're in charge! Spend as much time as you want on this hobby; nothing has to change.
  5. I’m not creative enough.  Case & copy anything you see online or use any of my free tutorials.      

Here are some Facts:  

  1. To stay active, you need $300 in orders/sales each quarter.  But with the 20% discount you’re really paying just $240 out of pocket!  But you get the benefits of the full $300. WOW! And you're taxed on the lower amount; not the full $300. 
  2. Your first quarter is waived so you do not need the $300 in orders until the end of June. That means you can pre-order from the new 2021 Annual catalog that starts in April.  New In Colors!
  3. You get all of the benefits a customer does; including free host rewards and we get our discount on top of special promotions.
  4. Plus we get extra $$ income if our orders/sales are over a certain amount each month. That includes our own orders! 

Are you ready to get yours?


Here is what my Flowerbug's Team love about being in our group (from my poll):

Flowerbug’s Favorites:

  • Friendly & supportive community
  • Free tutorials
  • Creative inspiration, monthly challenges
  • Local & online gatherings
  • Friendships with like-minded crafters
  • Good leadership
  • Swaps & friendships

Flowerbug Benefits:

  • Get all of my Tutorials FREE!
  • Exclusive access to our very active FB Group
  • Weekly & monthly inspiration challenges with prizes!
  • Business training if desired.
  • Monthly Team Meetings, Zooms & Facebook Lives
  • Option to join swaps
  • Being part of a positive, happy group where you can share, learn, get inspired and receive support.

~~~

 Hot Deals in February:

Choose $125 in product PLUS any 2 stamp sets free in February!

It's just $99. Get FREE shipping too!

Click here to get the deal.


Host codes: PA93N9CF

 *click here to order 

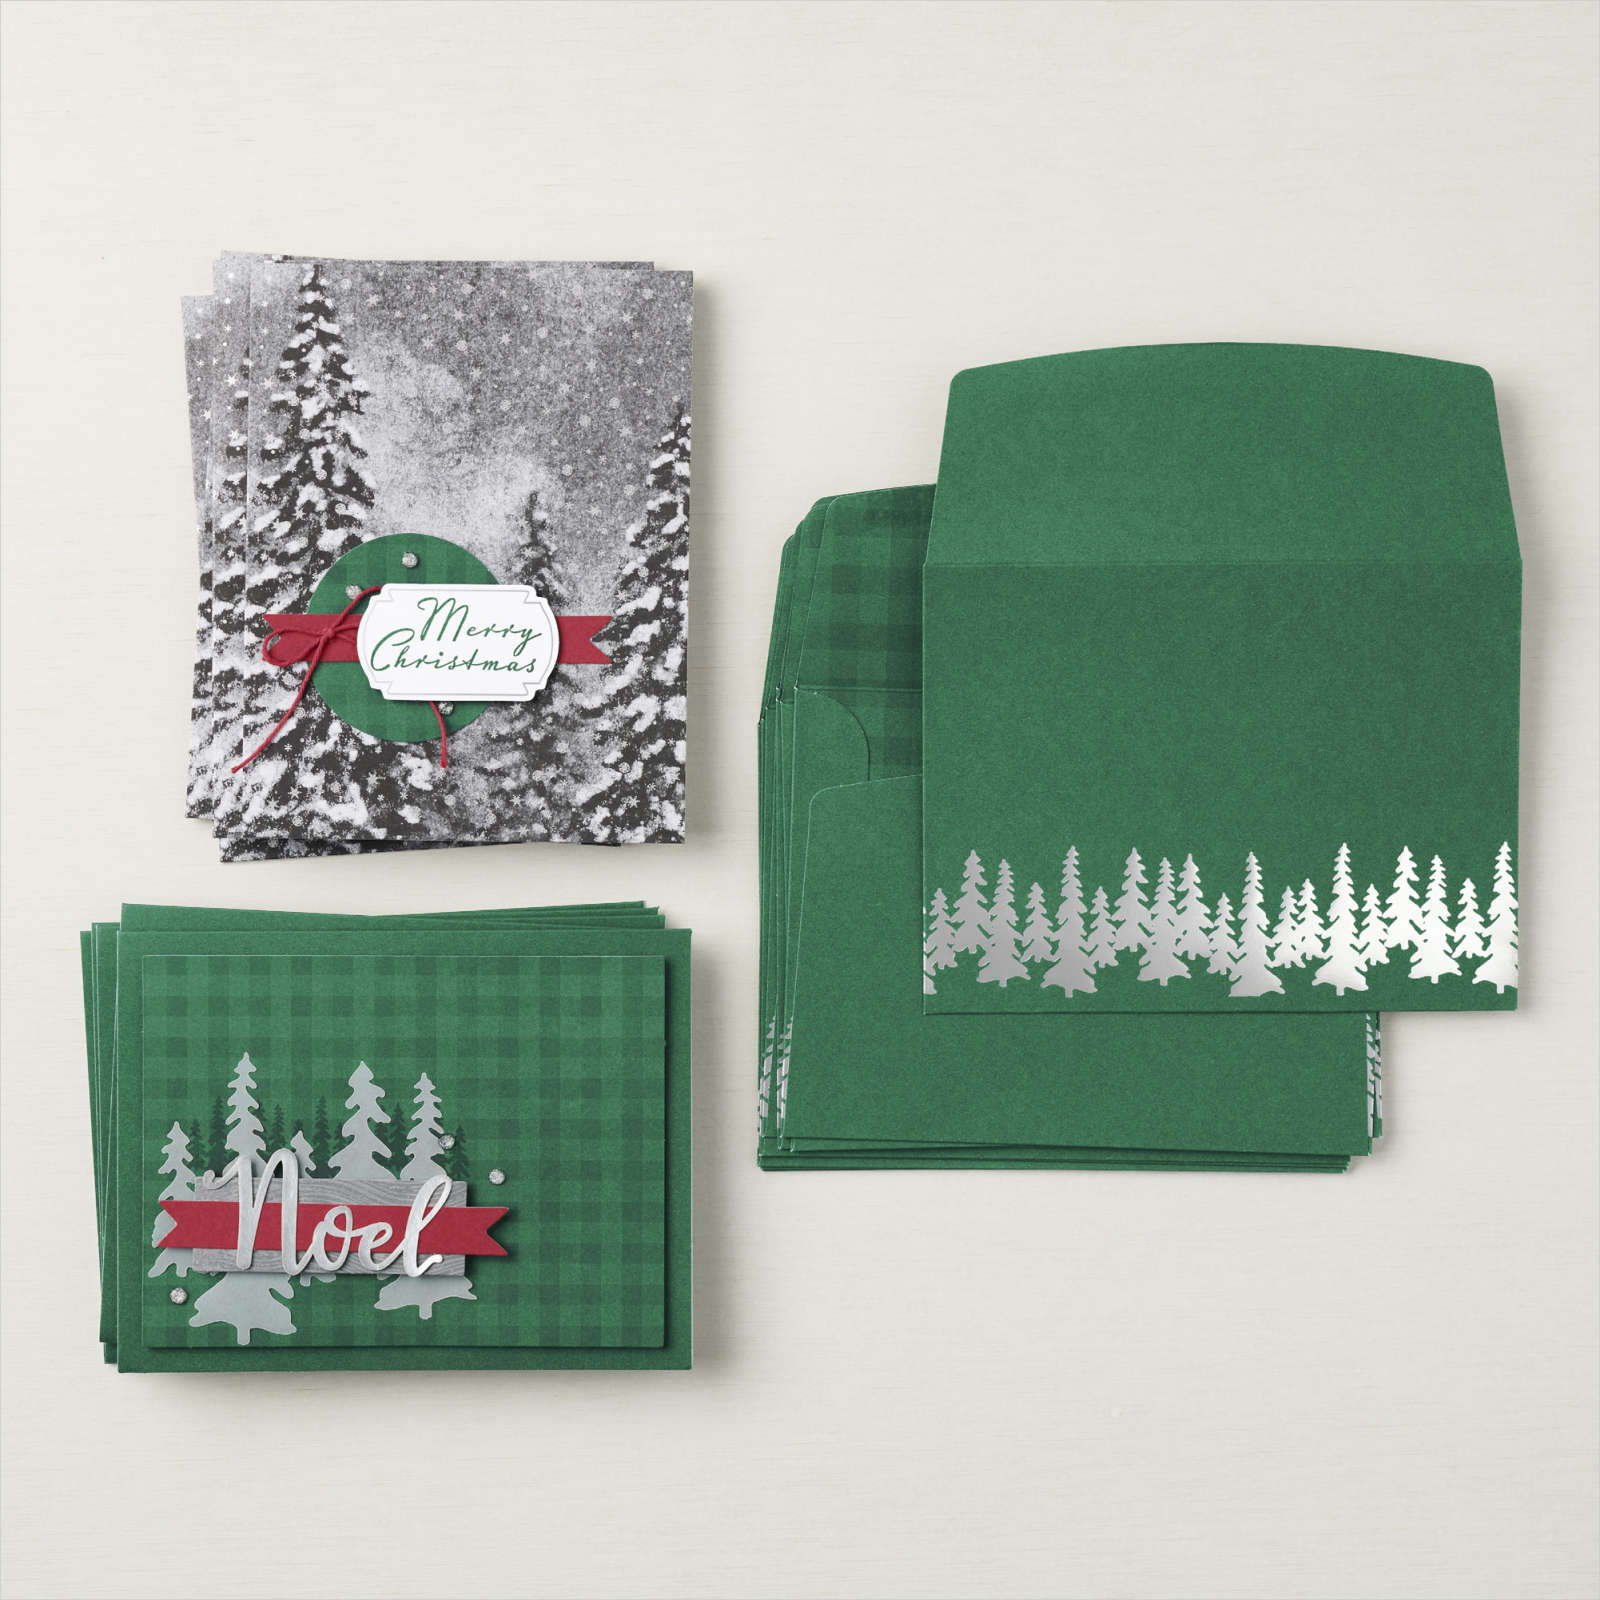
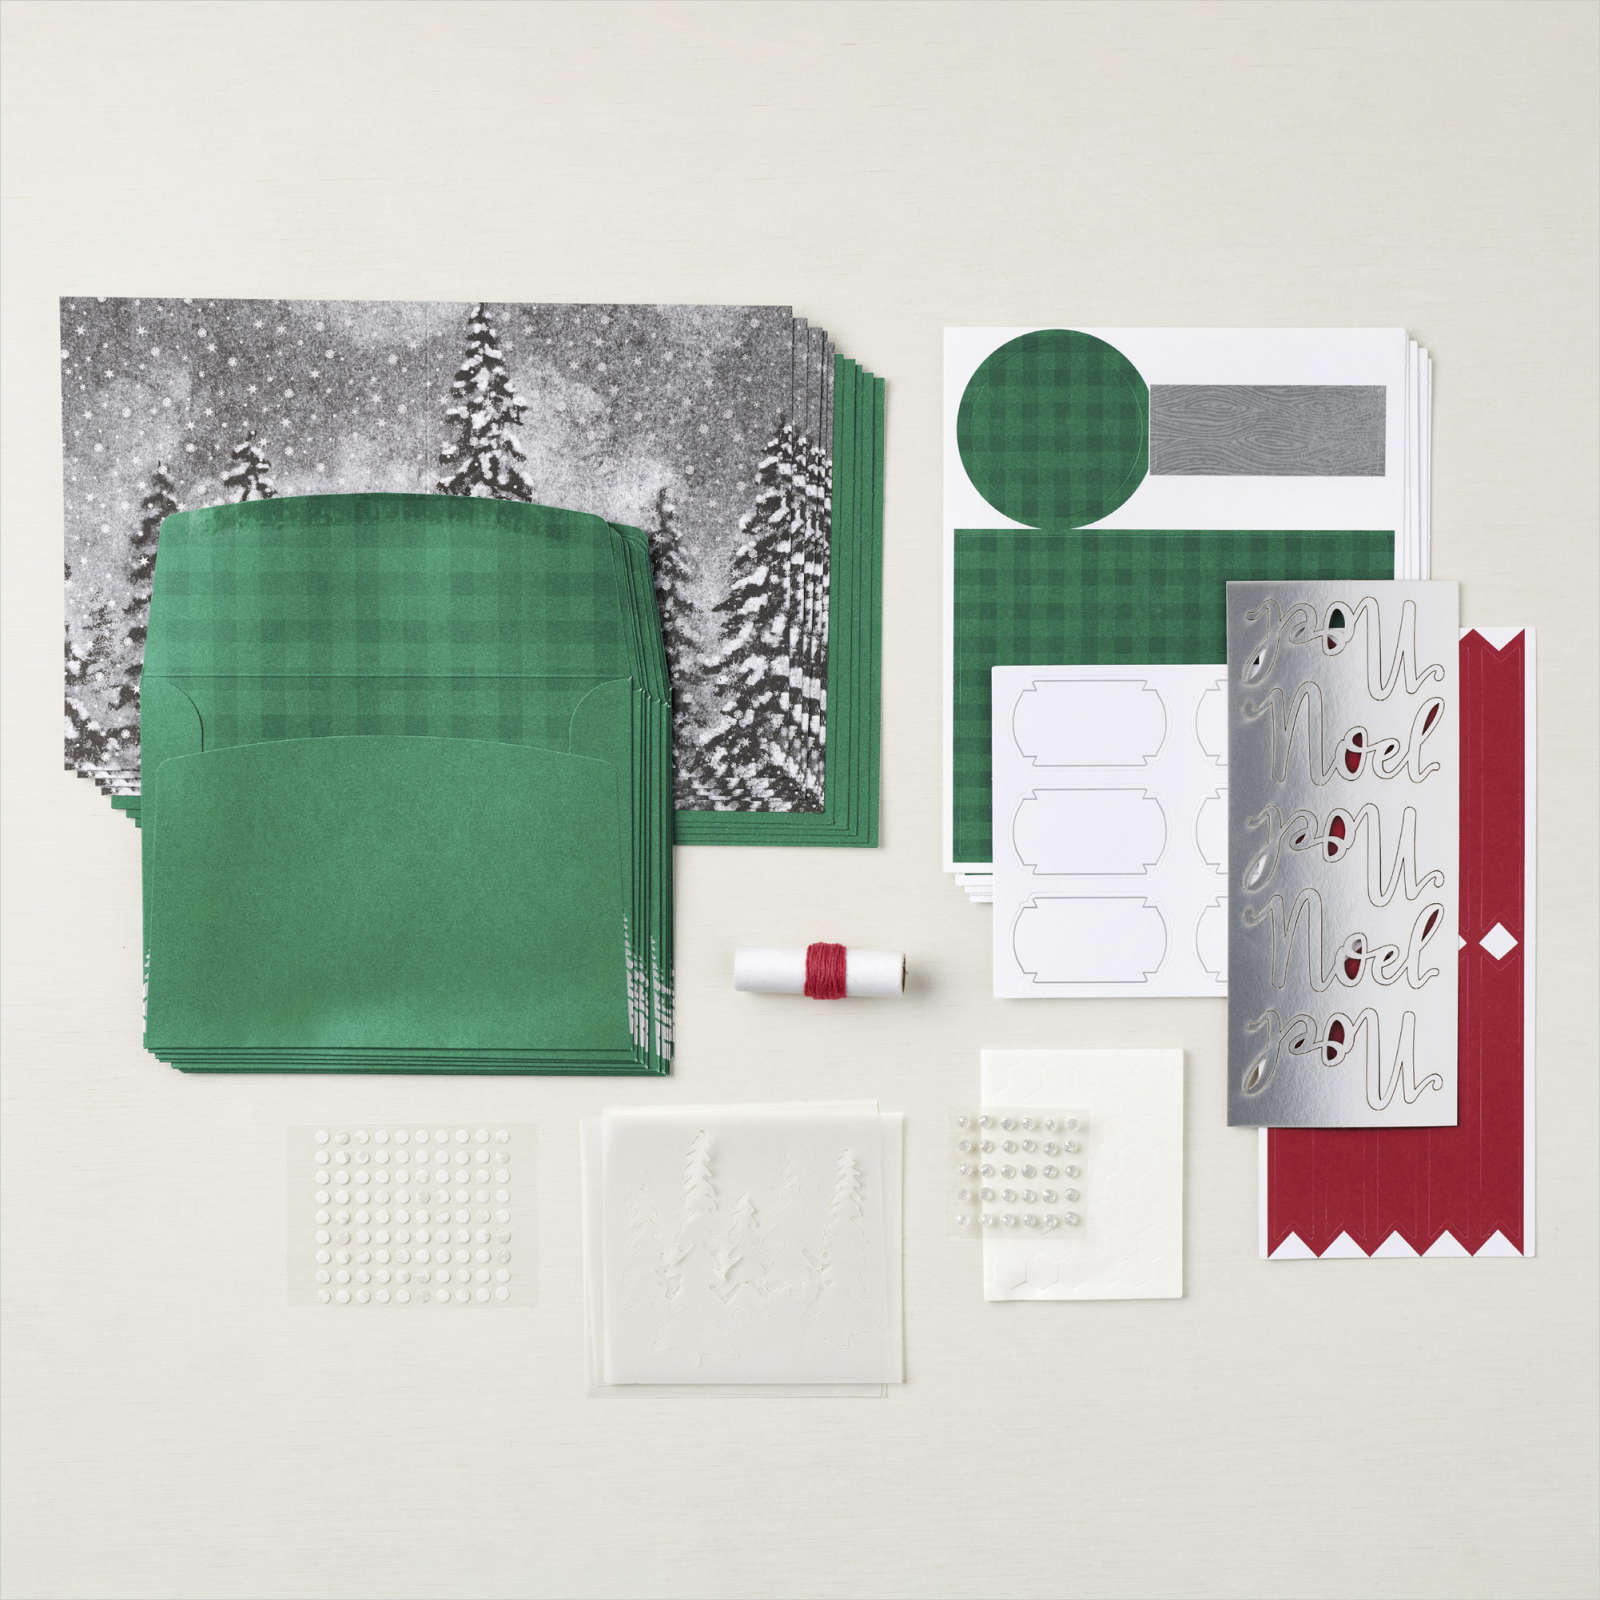
End of February special; 6 FREE card kits!
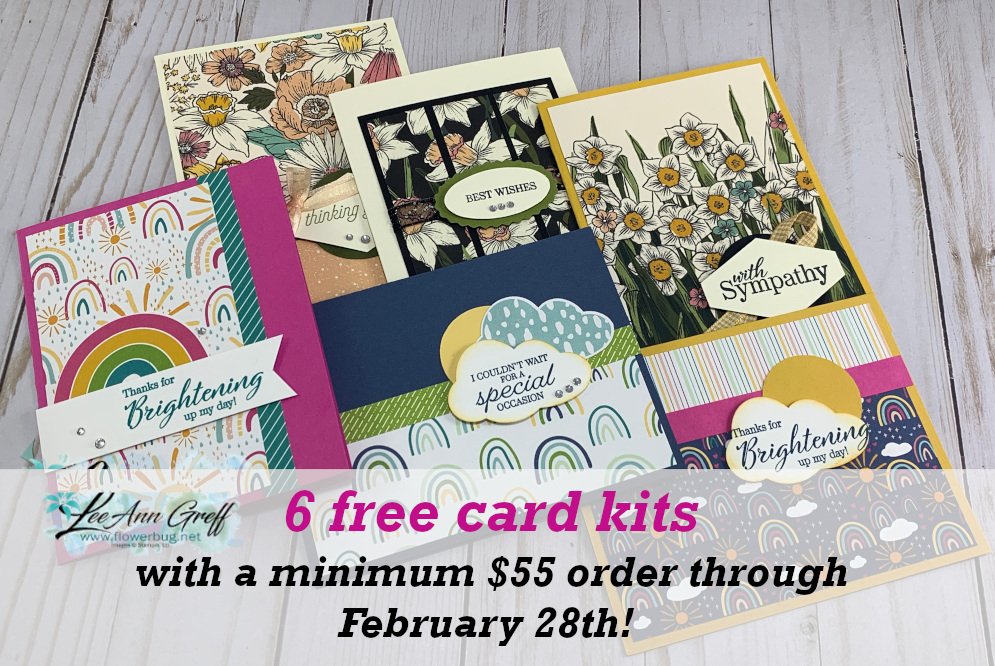

Plus a package of free rhinestones too!  
All Posts

  • Christmas Season Gatefold card with a Designer Paper twist; FB Live video!


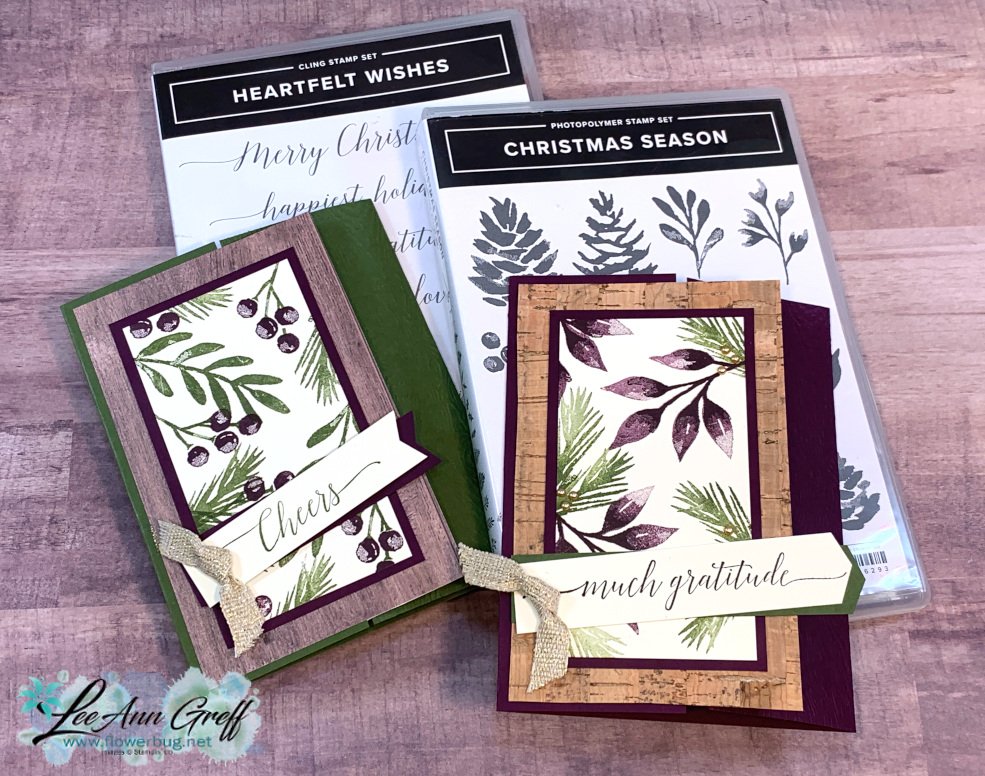
    We're making these pretty cards tonight on FB Live 'Stamp with Me'.  It's at 7:30 pm CT here.  

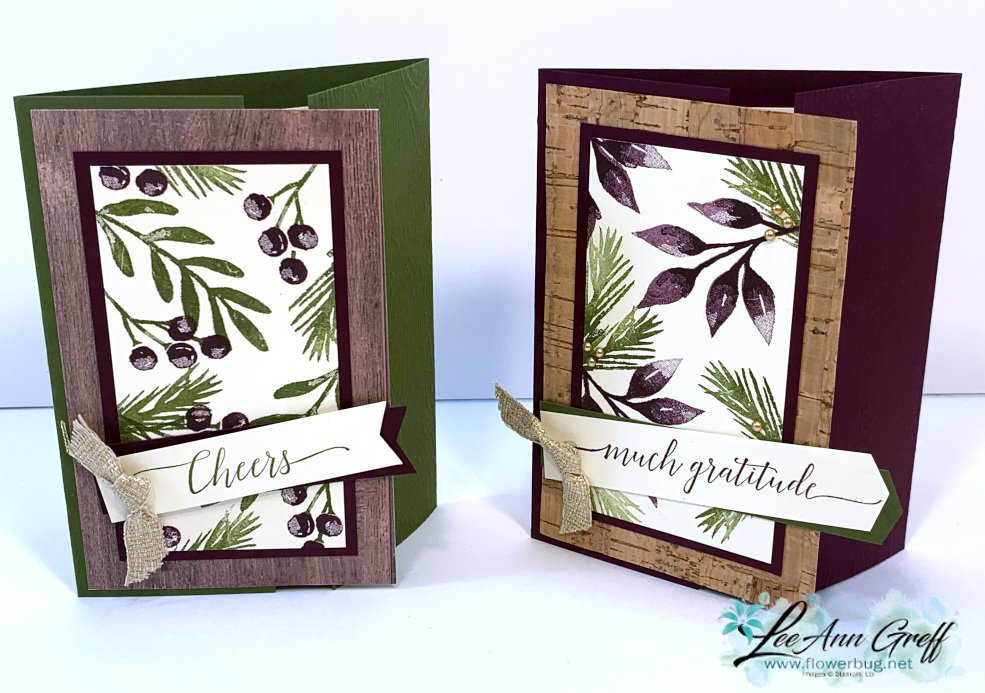
    It's actually a gatefold card but the front panel is a piece of designer paper that leaves a reveal of the right edge of the card base which is textured. 

    For these two cards I chose to use the In Good Taste DSP (Annual Catalog on the left) and Cork paper on the left from the Holiday catalog. 

    Or see it on my YouTube channel here on Tuesday. 

    Details:

    • Ink – Mossy Meadow & Blackberry Bliss
    • Card stock – Mossy Meadow, Blackberry Bliss, Very Vanilla, Cork & In Good Taste DSP
    • Stamps – Christmas Season, Heartfelt Wishes – both from the 2021 Holiday Catalog
    • Other – Gold 3/8" Fine Art ribbon, Banners Pick a Punch, Mini glue dots

    Measurements: 

    • Card Base 5 1/2" X 8 1/2" scored at 2 1/8" from each end on the long side
    • DSP 3 1/4" X 5 1/4"
    • Stamped front 2 1/4" X 4 1/4"; inside 3 1/2" X 4 3/4"
    • CS layer 2 1/2" X 4 1/2"
    • Greeting strips 3/4" X 4"

    Here's the recorded video.  

    November's Paper Pumpkin refill kits are available now while supplies last!  It's just $10 for subscribers. 

    Item #159417

    To be eligible to order this item, you must be a Paper Pumpkin subscriber.  Don’t have a subscription? Sign up now!

    ~~~

    October Specials

    Host code: EXBDBRGY

    *click here to order

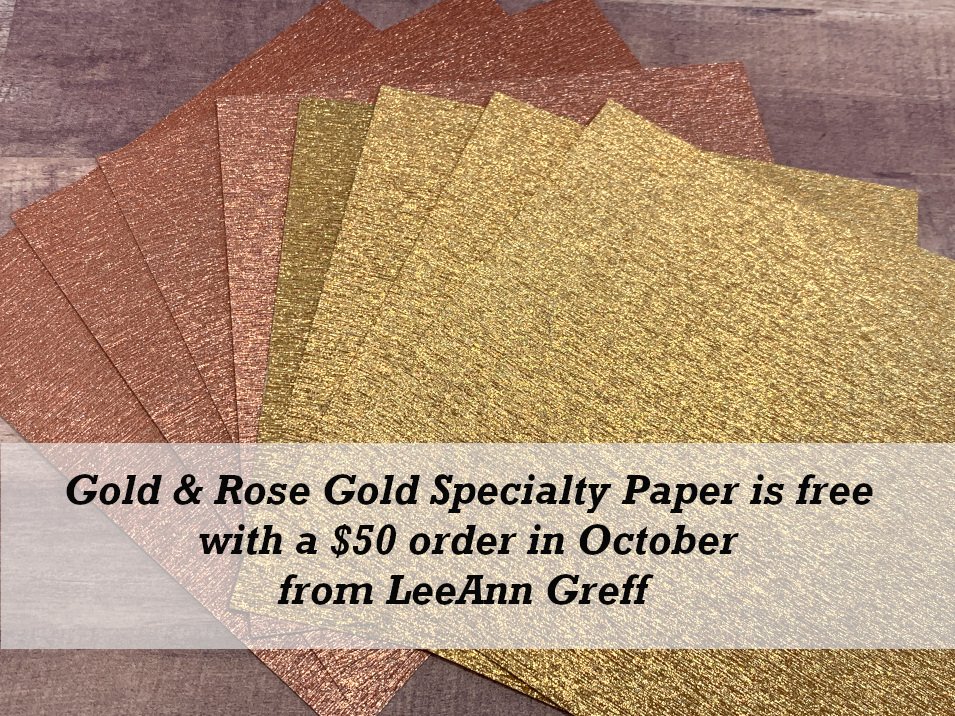
    Get a free package of Gold & Rose Gold Metallic specialty paper from me with a $50 online order in October! 

    All online orders will receive my October Gingerbread & Peppermint PDF tutorial free! 


    Leave a Reply

    Your email address will not be published. Required fields are marked *

  • There’s so much you can do with the Merriest Moments bundle!


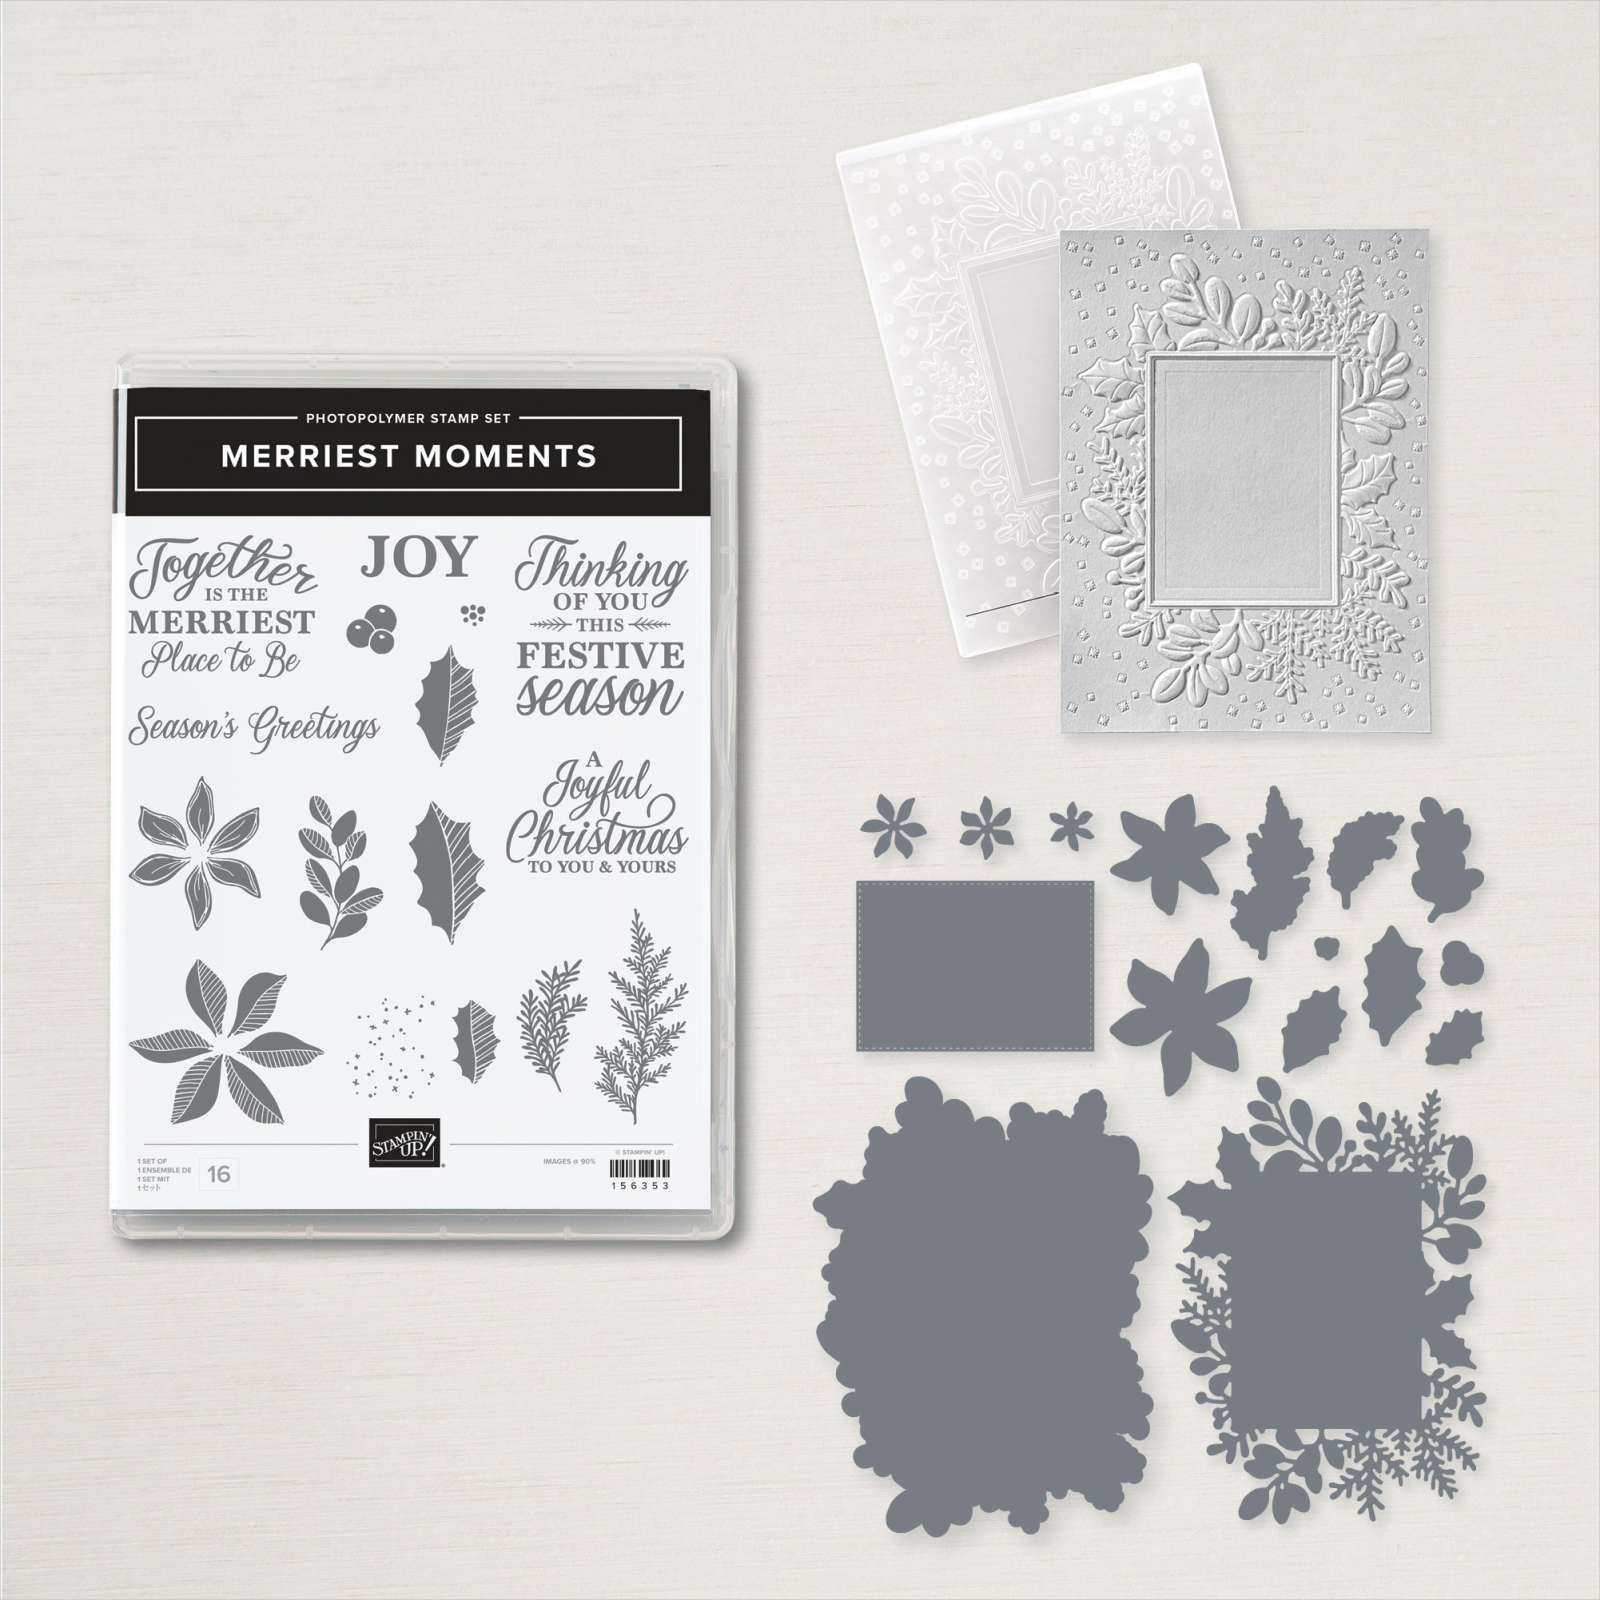
    On this week's FB Live I featured the Merriest Moments bundle seen here – a beautiful bundle that includes a Hybrid embossing folder. This type of folder enables you to die-cut AND emboss at the same time!  

    However it's important to only use the large outline die inside your Hybrid folder.  Do not use the detailed die.  You can use that after or before you emboss. 

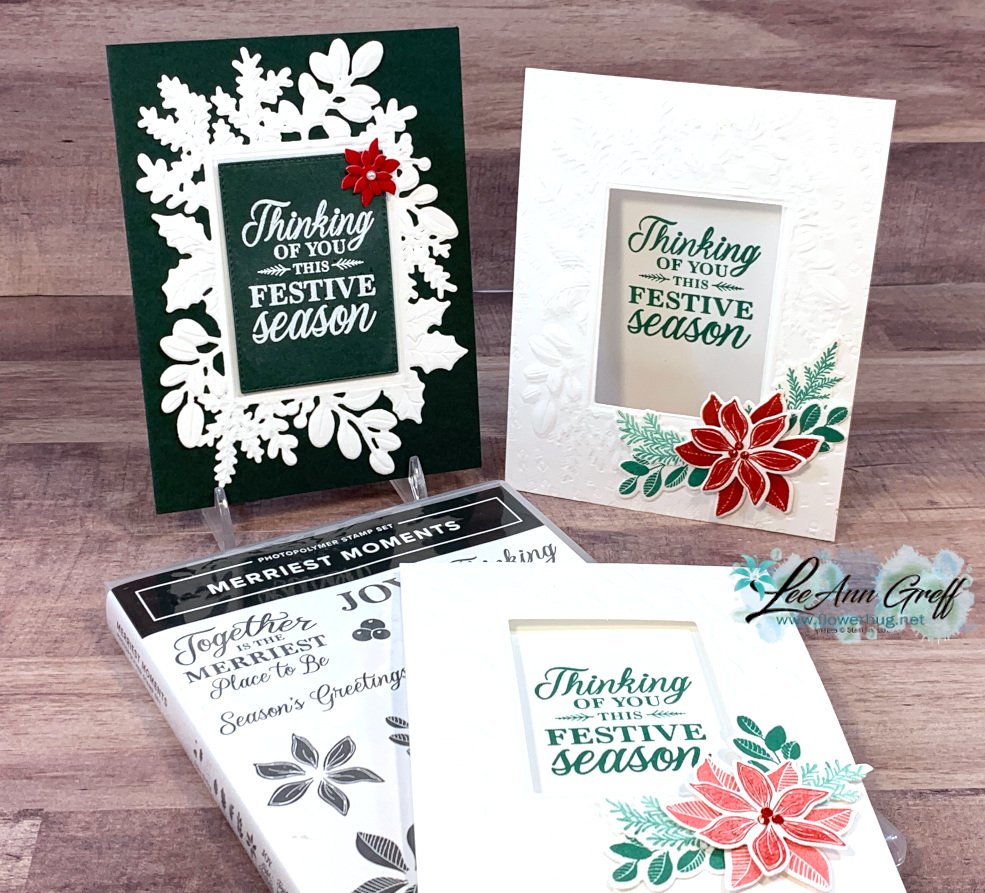
    Look at these gorgeous cards in Evening Evergreen, White, Red & Just Jade. 

    This next card really shows off the stunning die-cut & texture as well as the pretty holiday greeting.  That cute baby poinsettia is made from our Red velvet paper and the dies in this bundle.  The colors are Evening Evergreen, White and Red. 

    The set of cards below have a window die-cut in the Thick White card base after texturing.  I did run the front back through the Hybrid embossing folder again after I cut the window because it flattened a bit when die-cut.  *This is shown in the video below or click here. 

    I added just a few die-cuts and the greeting to finish them.  Simple yet beautiful! 

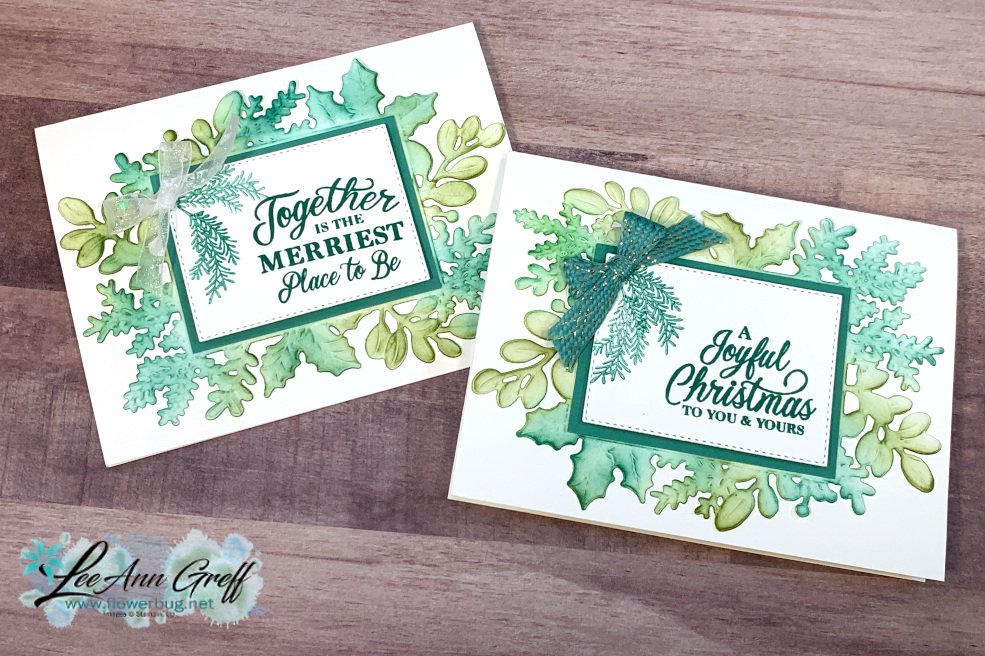
    Next is a gorgeous card we made at my October Card Clubs.  The pretty die-cut has been sponged with ink before or after it's embossed with the Hybrid embossing folder.  Either way works fine. 

    I chose an unlikely combo of Old Olive & Just Jade.  Who knew they'd be so beautiful together?! 

    See this amazing bundle here in my store.   

    Below is the video where I show how to make most of these cards.  I hope you watch it and get inspired to create yourself! 

    ~~~

    October Specials

    Host code: G3FX9NGA

    *click here to order

    Get a free package of Gold & Rose Gold Metallic specialty paper from me with a $50 online order in October! 

    All online orders will receive my October Gingerbread & Peppermint PDF tutorial free! 


    Leave a Reply

    Your email address will not be published. Required fields are marked *

  • Angled Gatefold card with easy latch closure; the Christmas version


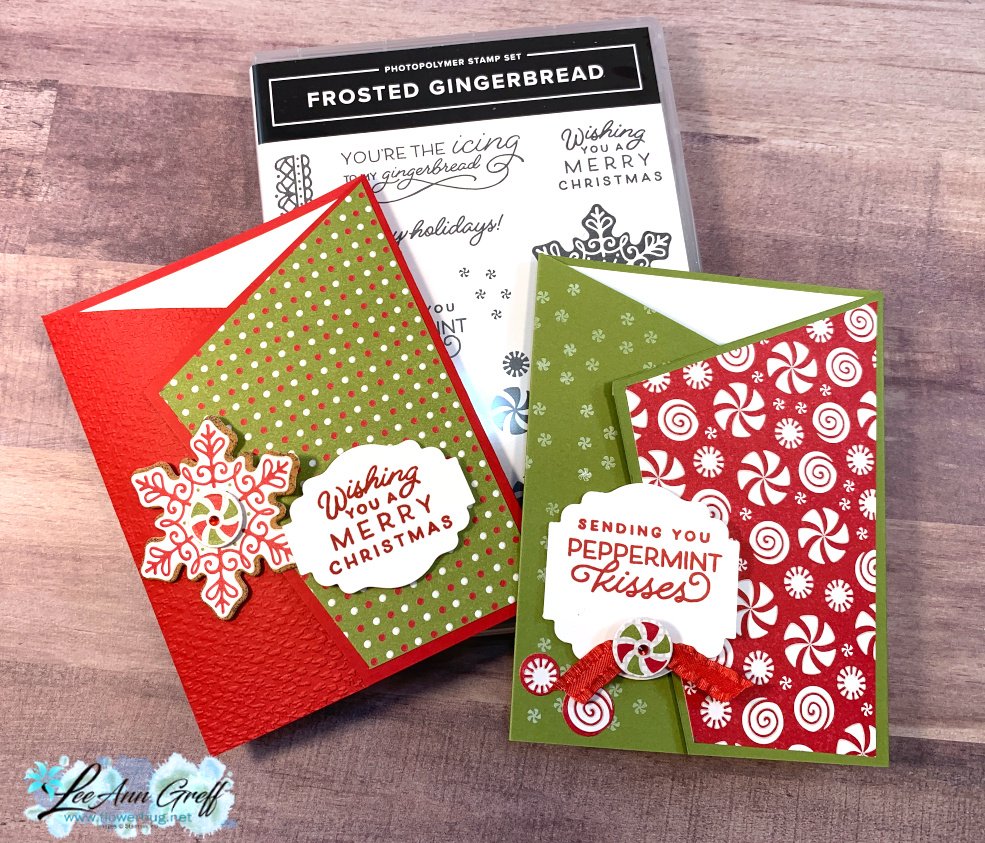
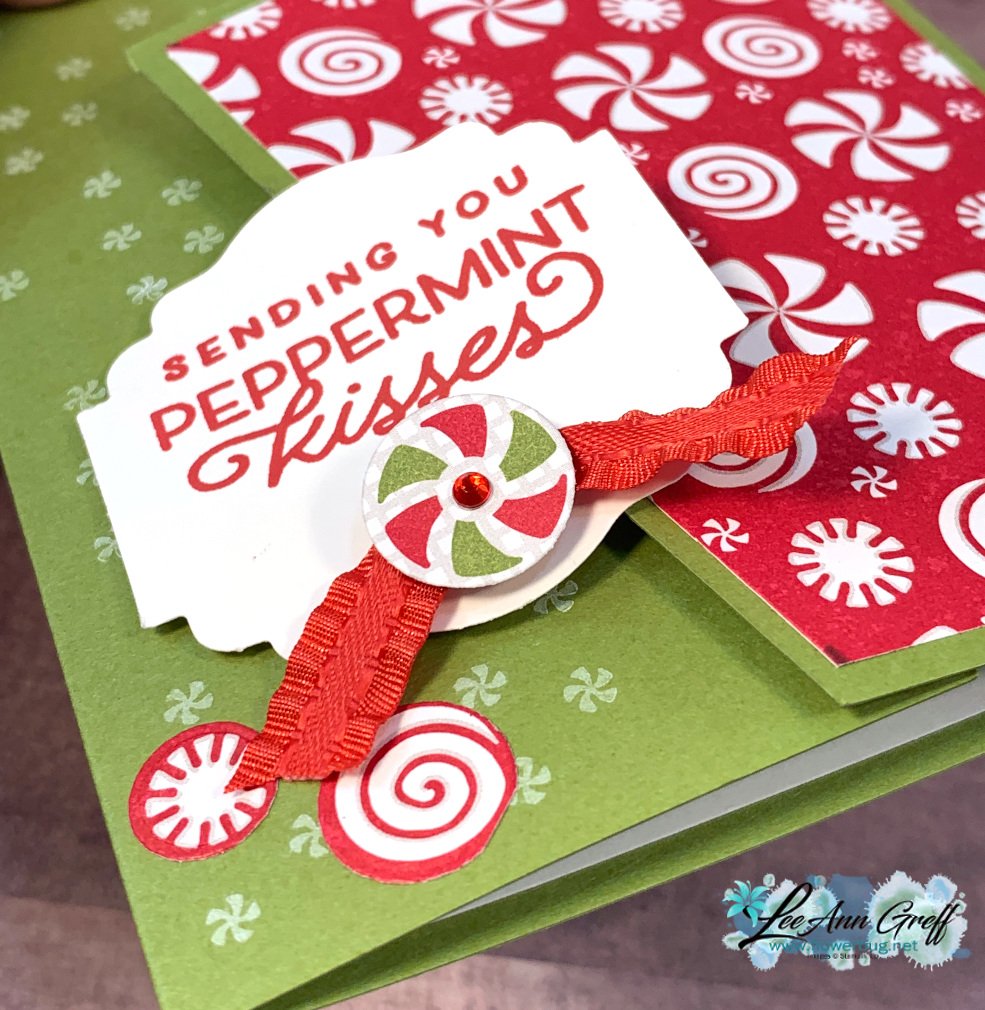
    Here's the other set of Angled Gatefold cards I made on last week's Stamp with Me Live.  Every other Monday I show a fun or easy way to use your Designer Paper. Don't hoard it; use it!  Follow me on Facebook here. 

    Each card is held closed by the punch or die-cut on the left. Placing your dimensionals on the left edge of each allows you to slip the right card flap between the greeting and the left front flap of the card base.  Don't get it?  Watch the video below! 

    See how the left flap is under the greeting? 

    Here's the link to the video; or scroll down to watch it here. 

    The colors are traditional red & green – Real Red & Old Olive.  I stamped the left side with the tiny peppermint image using White Craft ink.

    This adorable designer paper is called Gingerbread & Peppermint. It's 6 X 6" and in our Stampin' Up! Holiday catalog.  See it here. 

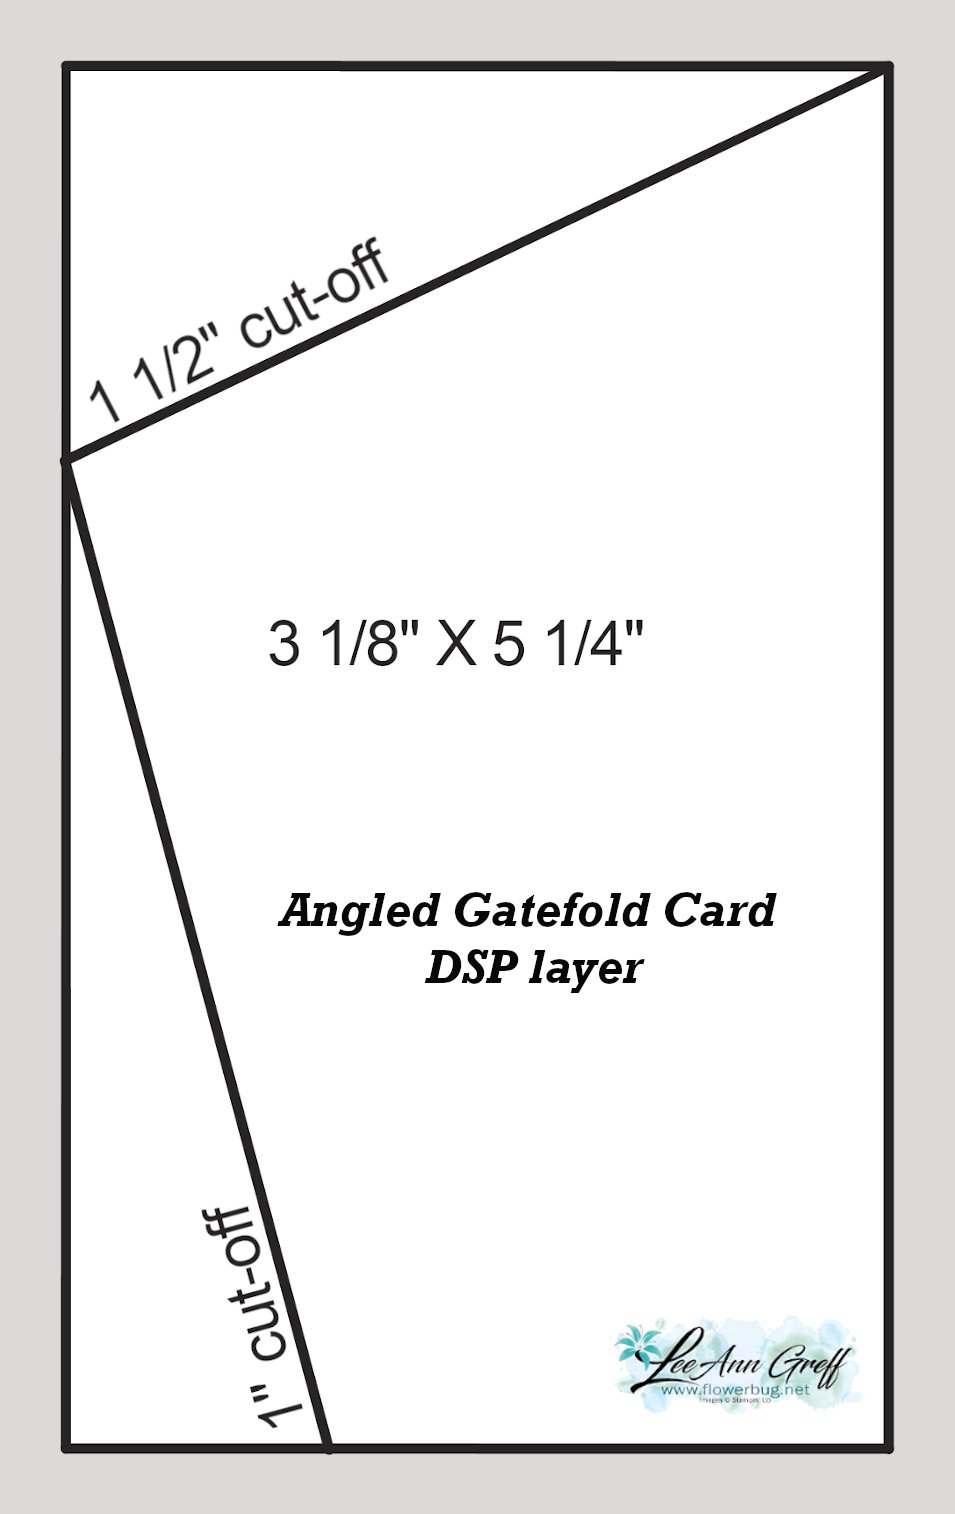
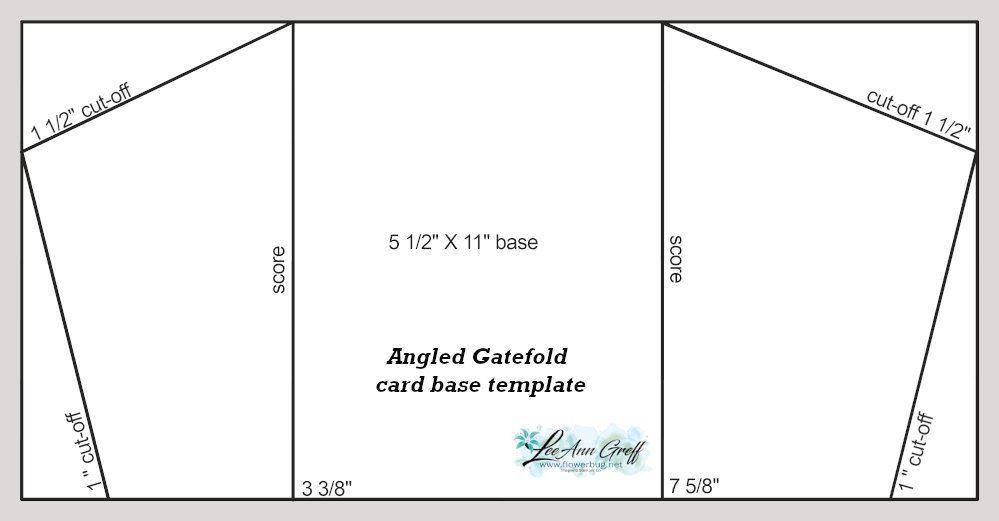
    Here are the templates; 


    And here's the video below; it's short & you'll find these cards quite easy to make! 

    ~~~

    October Specials

    Host code: G3FX9NGA

    *click here to order

    Get a free package of Gold & Rose Gold Metallic specialty paper from me with a $50 online order in October! 

    All online orders will receive my October PDF tutorial free! 

    This month it features the Gingerbread & Peppermint suite.

    Leave a Reply

    Your email address will not be published. Required fields are marked *


Notice: LeeAnn Greff, Independent Stampin’ Up! Demonstrator, Manager. The content of this website is my sole responsibility as an independent Stampin’ Up! demonstrator and the use of, and content of, the classes, services, or products offered on this website is not endorsed by Stampin’ Up! Copyright 2025