/


Latest Post

Thoughtful Blooms with the Small Bloom punch


Here are a few more swap cards made by my Flowerbug's Team this month. I just love seeing what my gals create for our swaps!

The Thoughtful Blooms stamp set coordinates with the Small Blooms punch.  See them here and here: 

Jacki made this beautiful card.  I love the many layers and details here. And the colors are fresh and unique – Soft Suede, Mint Macaron, Bermuda Bay and White.  She used the new Label Me Fancy punch, the Starburst punch, Leaf punch and the Painted Label dies for the swirl.  The greeting is from the Peaceful Moments set. That gorgeous texture is from the Parisian Flourish embossing folder seen here. 

Candace made this unique card below: 

Her colors are Gorgeous Grape, Balmy Blue and Granny Apple Green.  Isn't this layout fun?!  the technique is called Triple Stamping.  You place your White layers in position as shown without the Grape layers in between and stamp on the three pieces all at once.  Then add the Grape layers and adhere to your main card.  Super easy and fun too. 

She added a pretty greeting in Purple Posy with the Stitched So Sweetly dies (my favorite!) and the punched flowers from the Small Bloom punch. 

Measurements:

  • Grape – 5 1/2" X 8 1/2", 4 1/4" X 3 1/4" and 3 1/4" X 2 1/4"
  • White – 4" X 5 1/4", 4" X 3" and 3" X 2"

~~~

Four February Specials just for you besides Sale-a-Braton

and the Product Coordination Release! 

    1. Earn a ticket in the drawing for each $25 you order online in February for a free Little Ladybug stamp set!

Order online here

2. All online orders will receive a free pdf cards tutorial in an email.
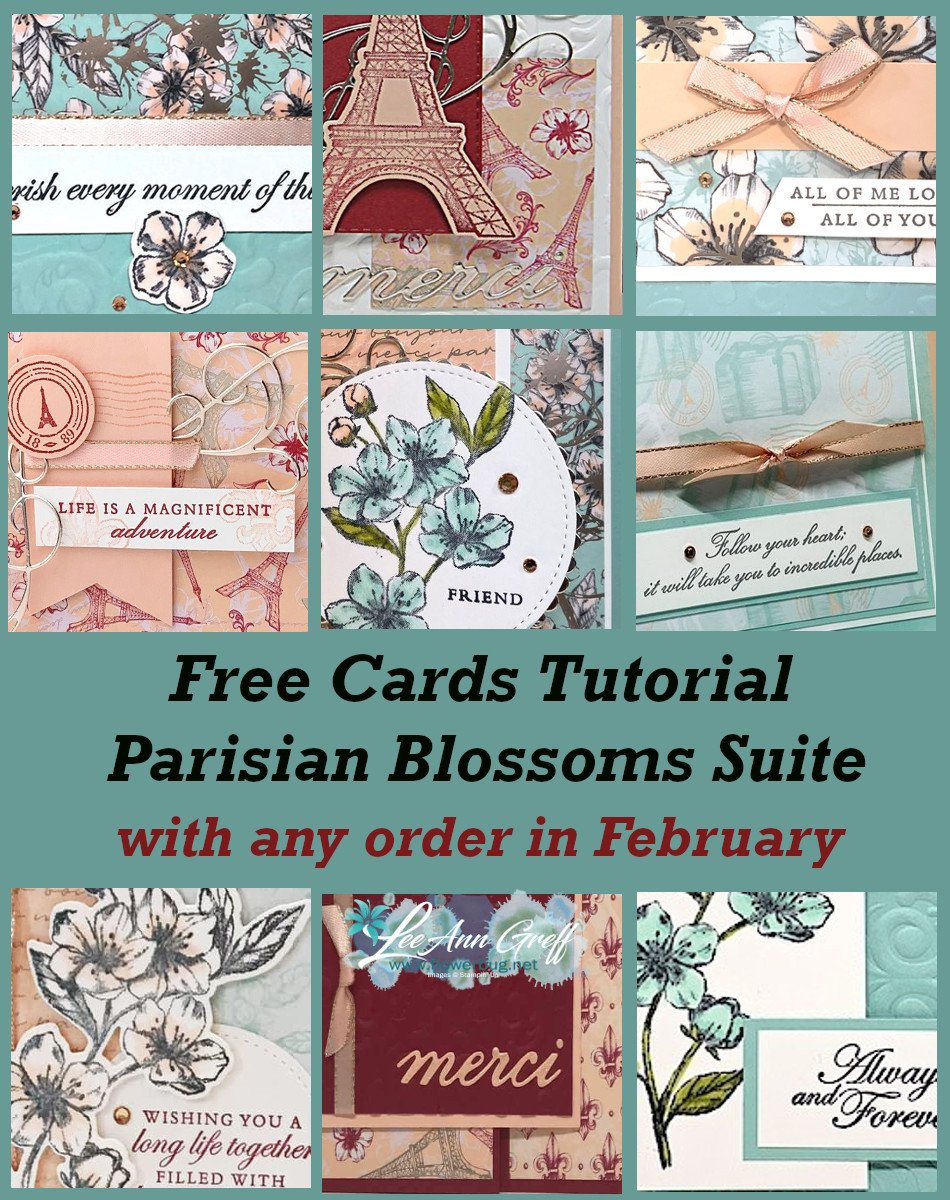
3. And if your order is over $55 you'll get a free package of Champagne Rhinestones too!

February Host Code is 4CQKPWRV

Order online here

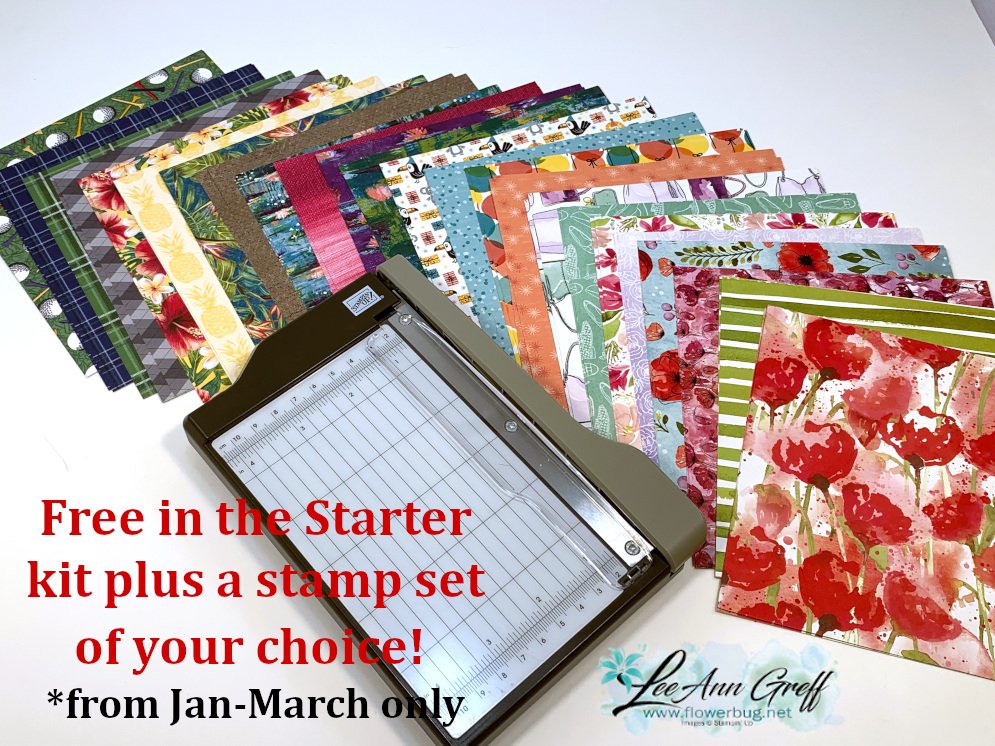
4. Choose any FREE stamp set when you purchase the Starter kit during Sale-a-Bration; of any value! Plus you'll get a free paper trimmer and a 6 X 6 sampler of new Designer Paper!  It's just $99 plus tax; shipping is free!  Click here to join my awesome Flowerbug's Team! 
 

All Posts

  • WOW! Check out this Beautiful Butterflies stained glass technique


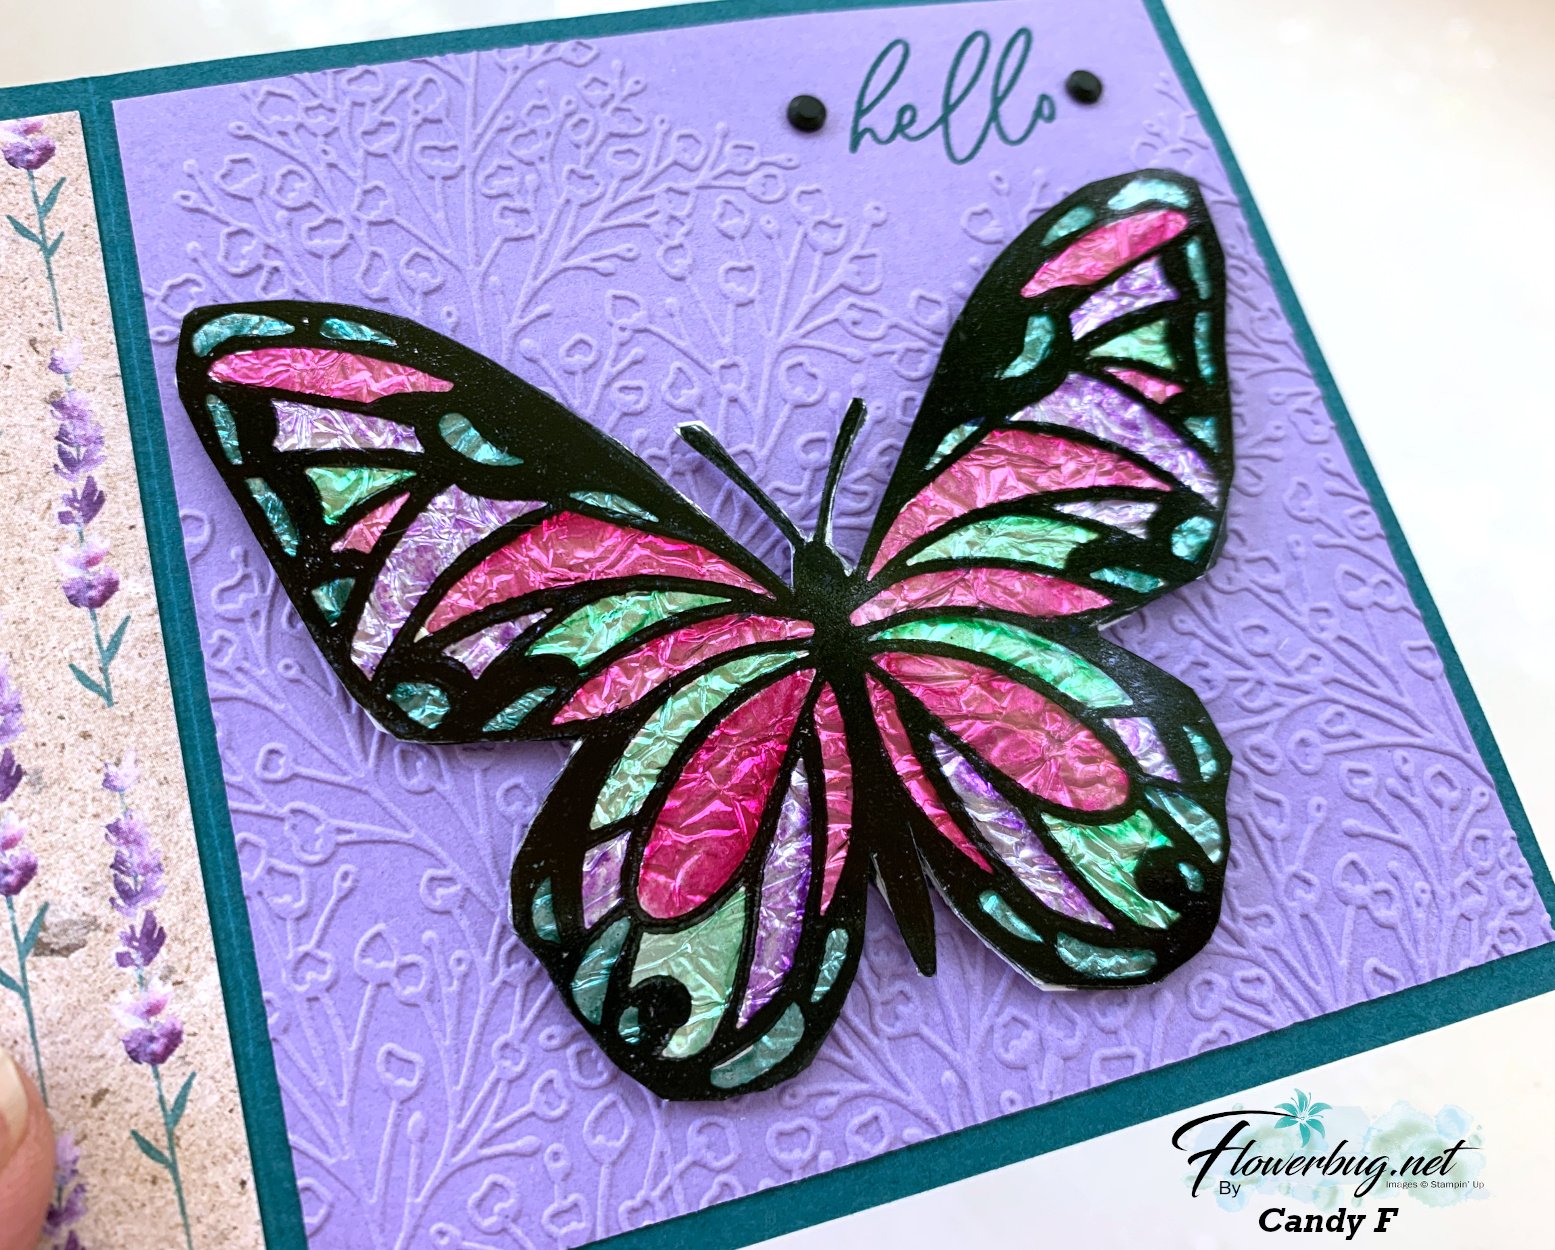
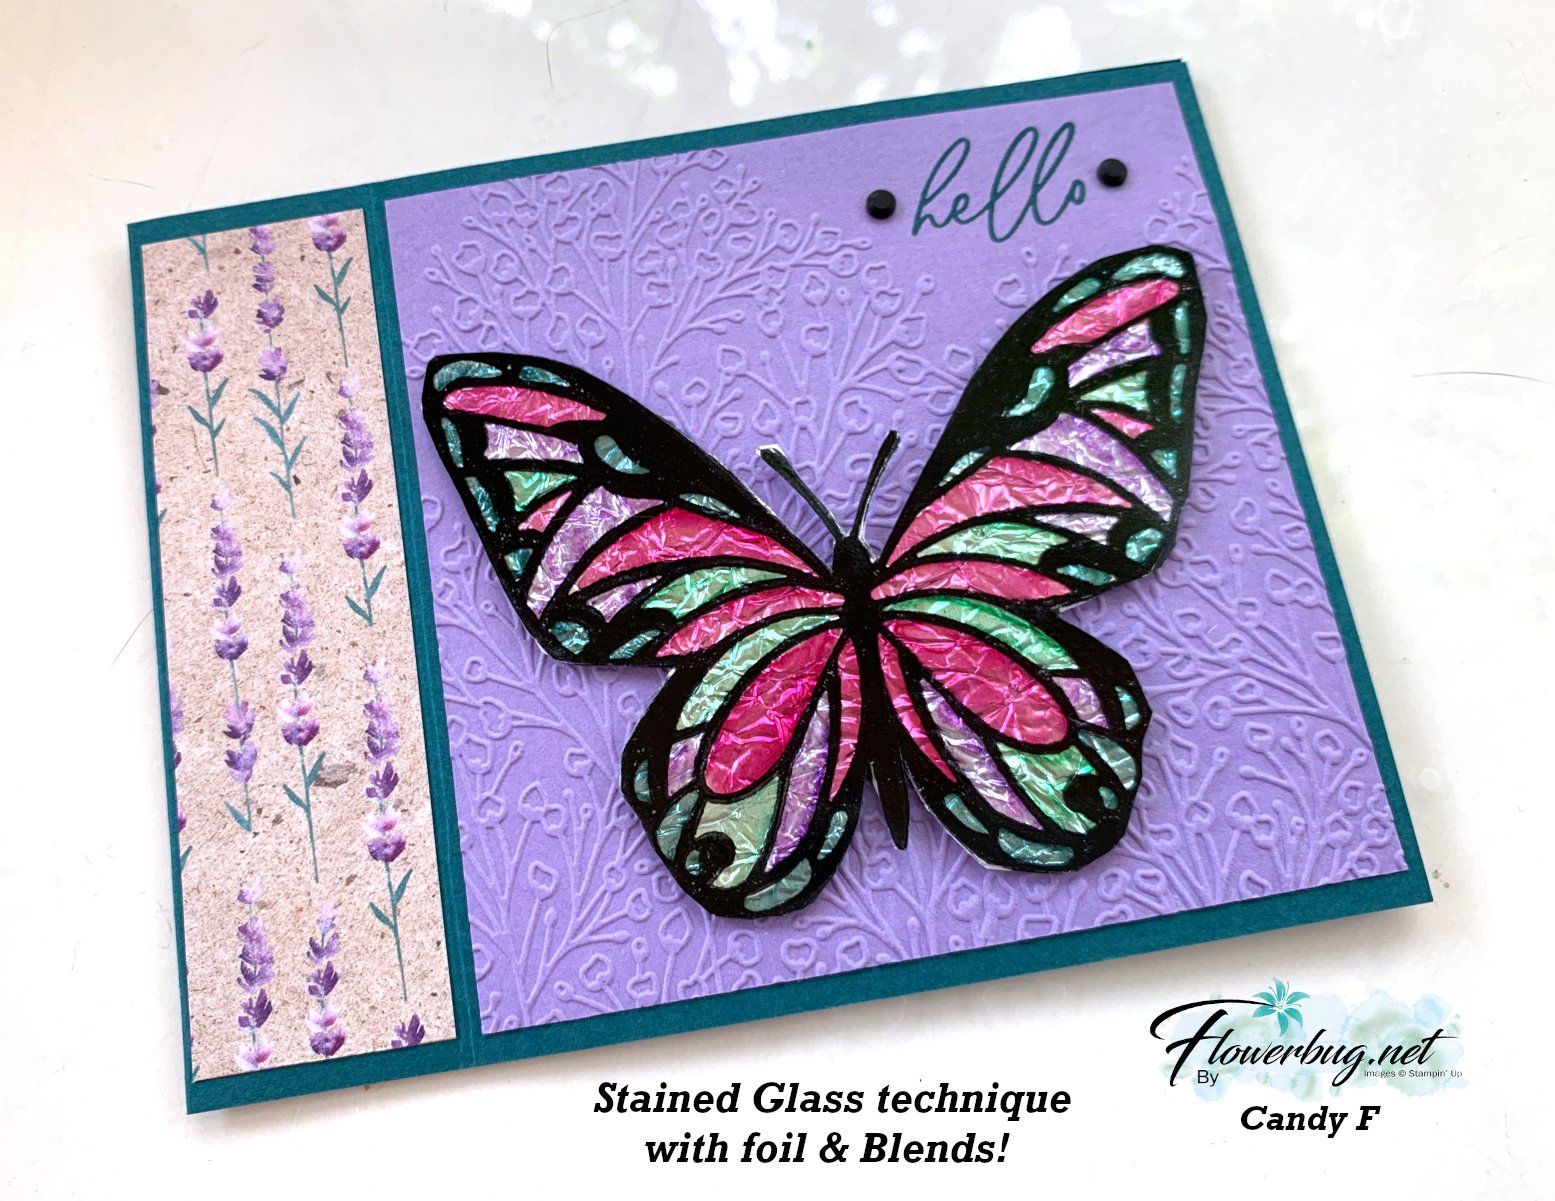
    I was amazed by Candy's card swap this month!  Look at this beauty!!


    It's called the Stained Glass technique and she made it for our July Team swap featuring Window Sheets.  

    Her colors include Pretty Peacock with Highland Heather. The bundle is called Beautiful Butterflies and can be seen here. 

    Steps:

    • She stamped the butterfly image on a window sheet using Black Stazon ink. 
    • Turn it over and color with Blends markers. 
    • Add adhesive sheet to the Blends side. Press onto slightly crinkled aluminum foil. 
    • Adhere to a second butterfly stamped on White CS for support and to cover the foil. 
    • Fussy cut; add to card. 

    Other products used here:

    Measurements:

    • Card base 11" X 4 1/4" score at 4 1/4" & 5 1/2"
    • Highland Heather 4" square
    • DSP strip 1 1/8" X 4"
    • inside 4" square

    Thank you for creating your incredible swap card Candy!  Great job!!

    ~~~

    July Specials:


    New Online Exclusives are here!  Click here

    ~~~

    Get my Turtle-y Cute PDF tutorial free with any online order in July!

    Leave a Reply

    Your email address will not be published. Required fields are marked *

  • Wow; Mixed Florals Reverse Image Technique with window sheets!


    I'm continuing to share our July team swaps featuring window sheets. 

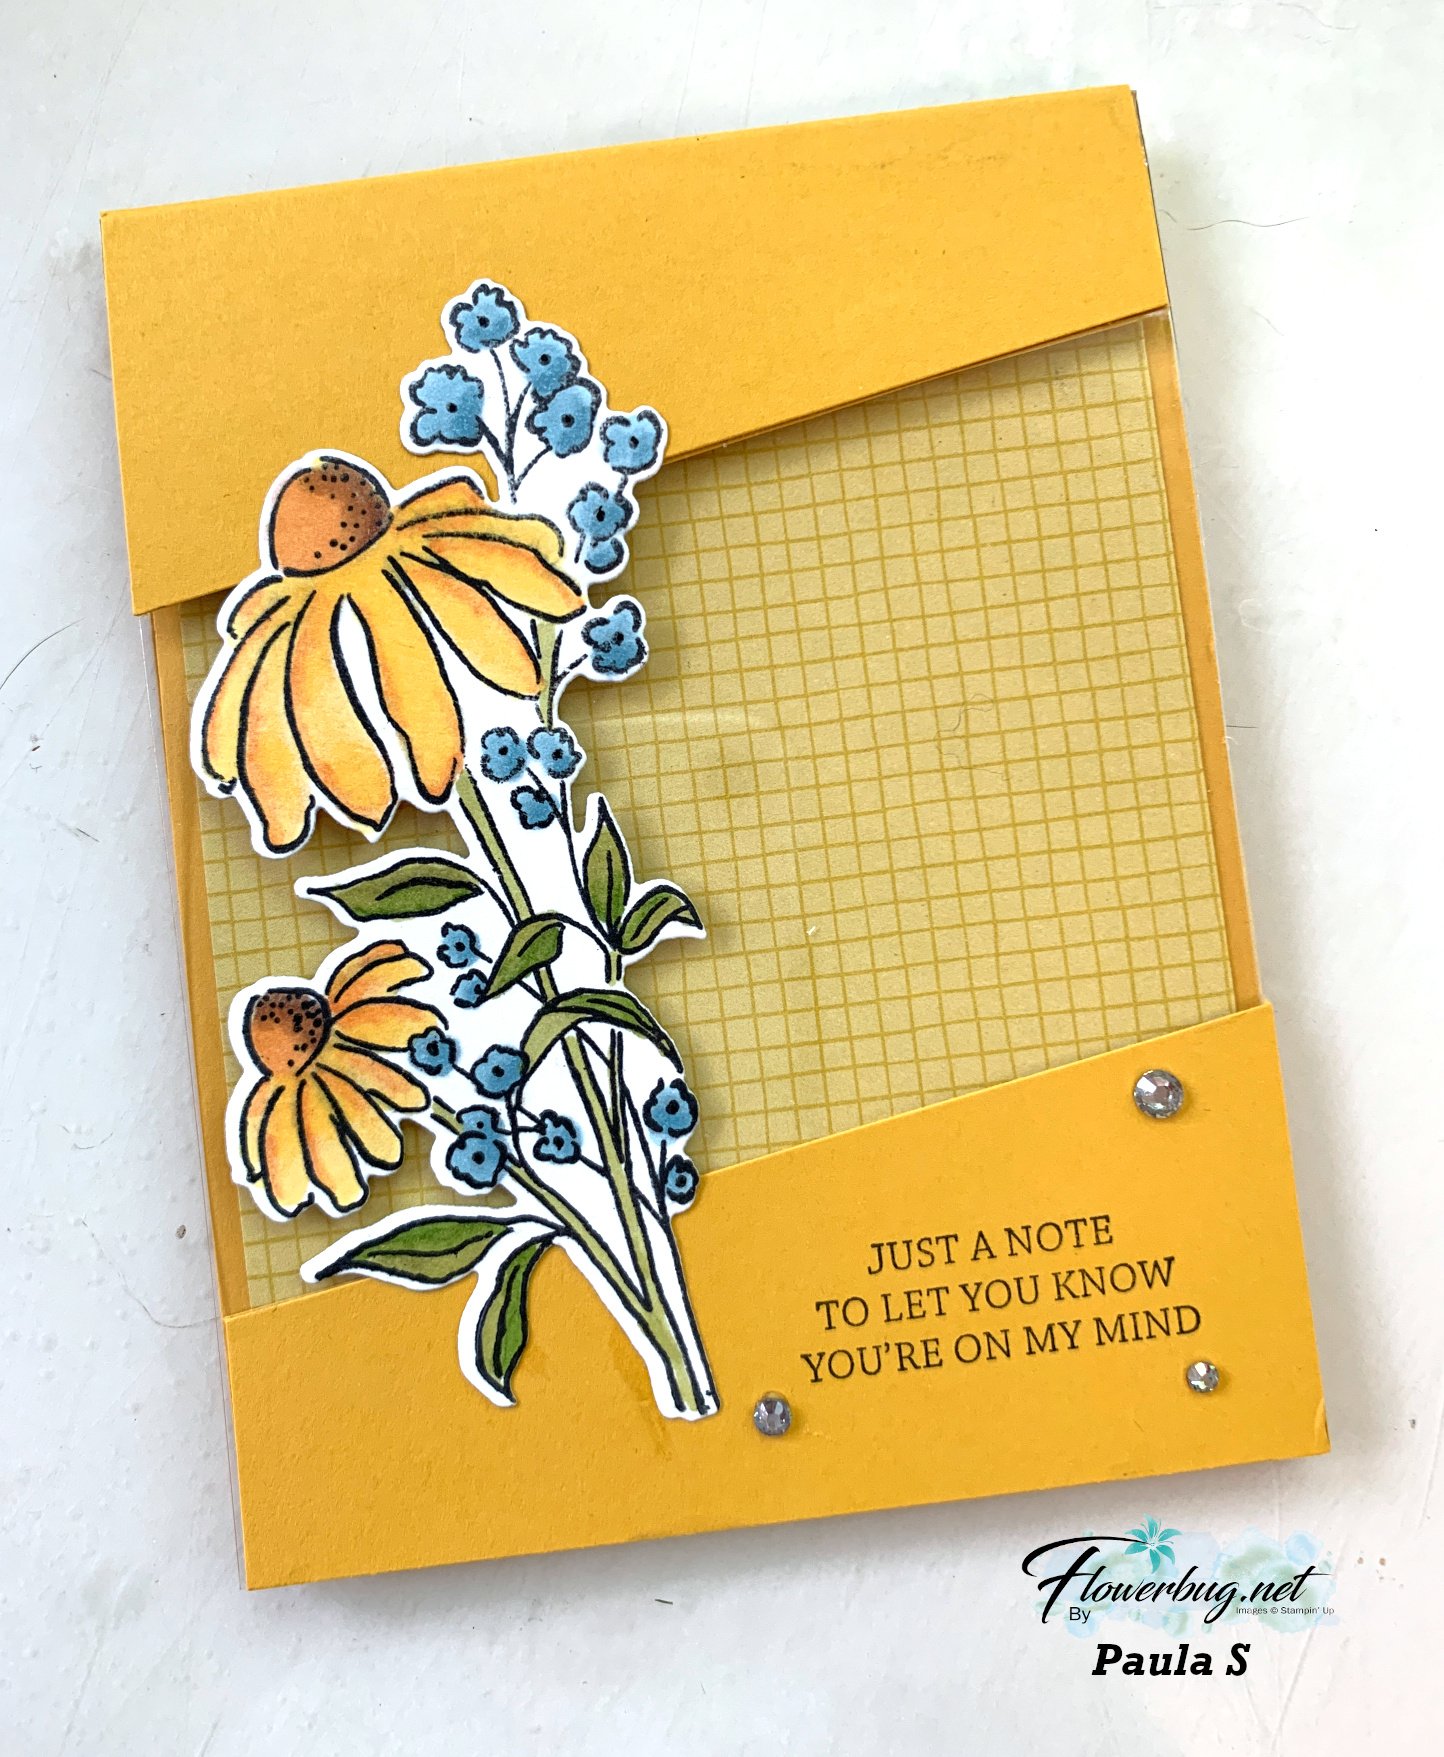
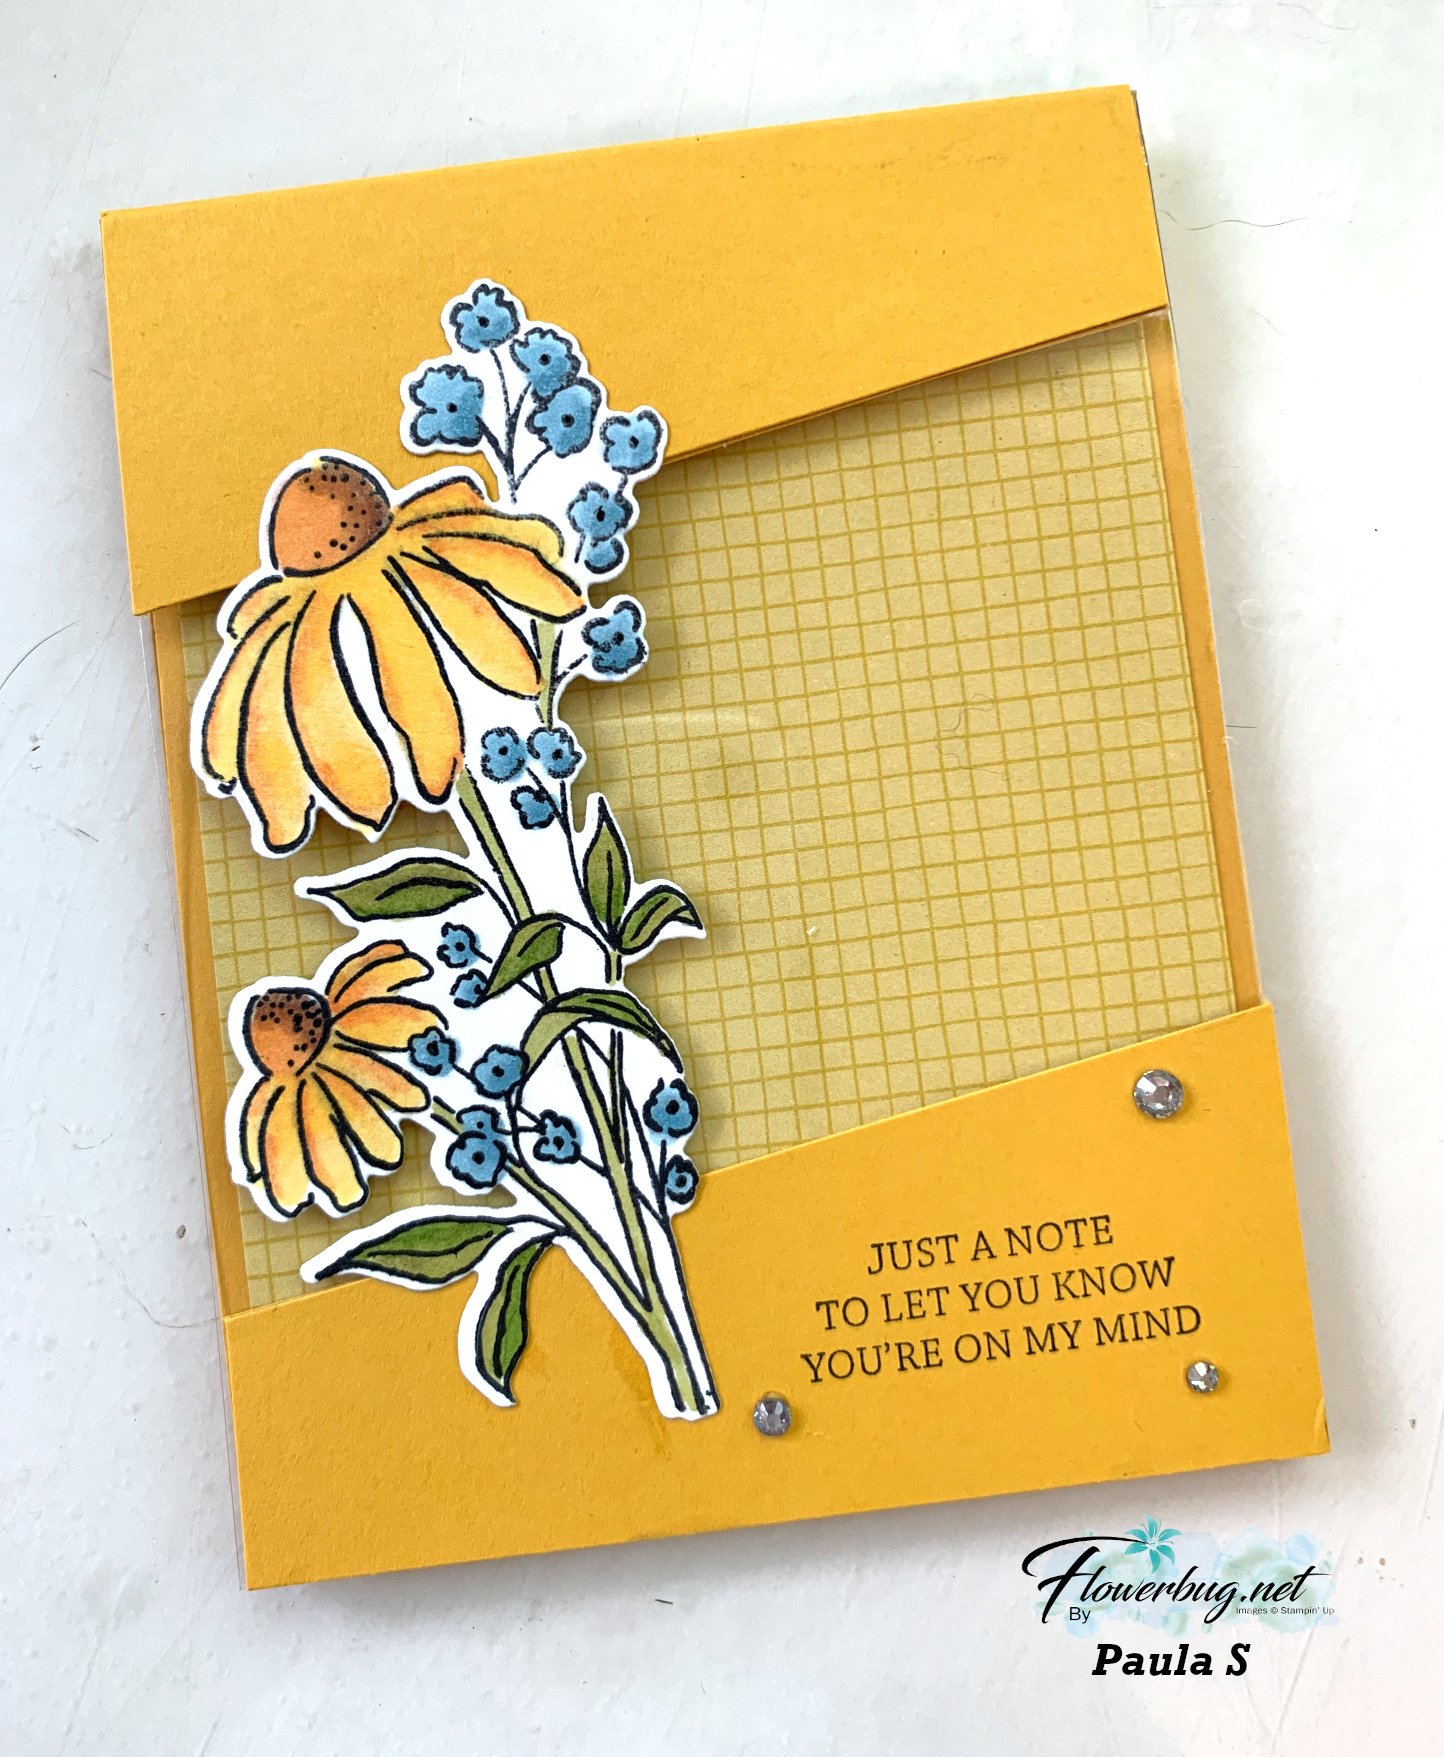
    Look at the stunning card made by Paula. For her card swap she made a Reverse Image technique cased from Kylie Bertucci.  

    The stamp & die bundle is called Mixed Florals and can be seen here.

    She used Crushed Curry for her card base and Floral Impressions designer paper.  I'm so impressed by her gorgeous coloring with the Blends markers!  What pretty shading she achieved! 

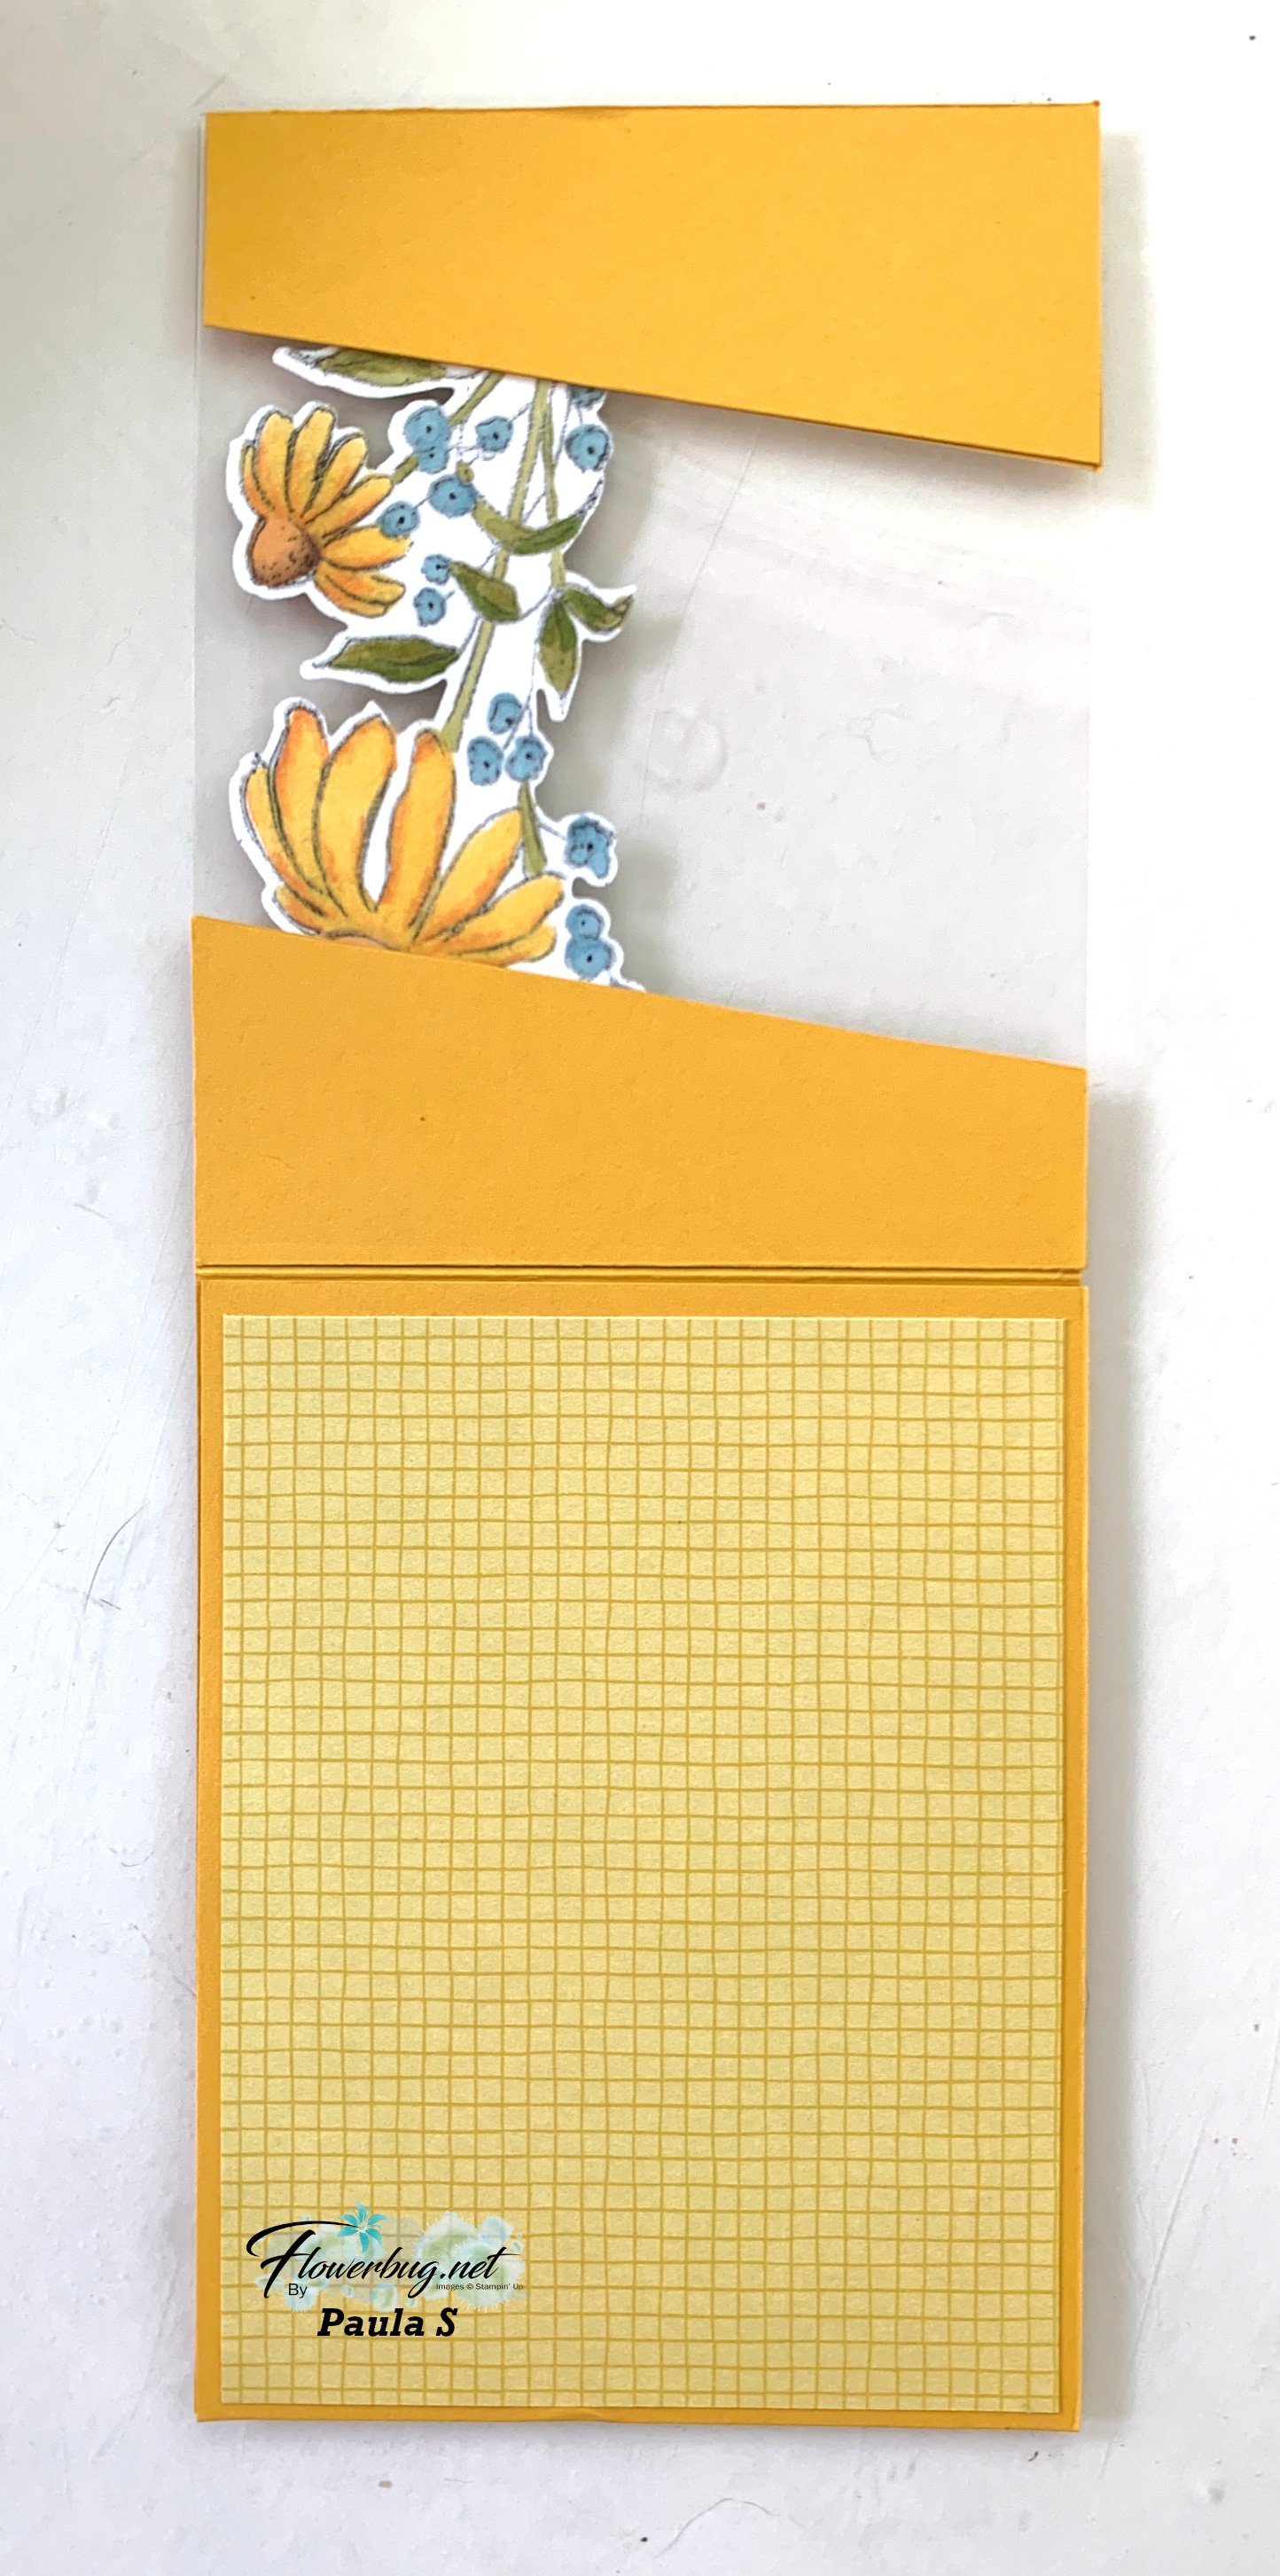
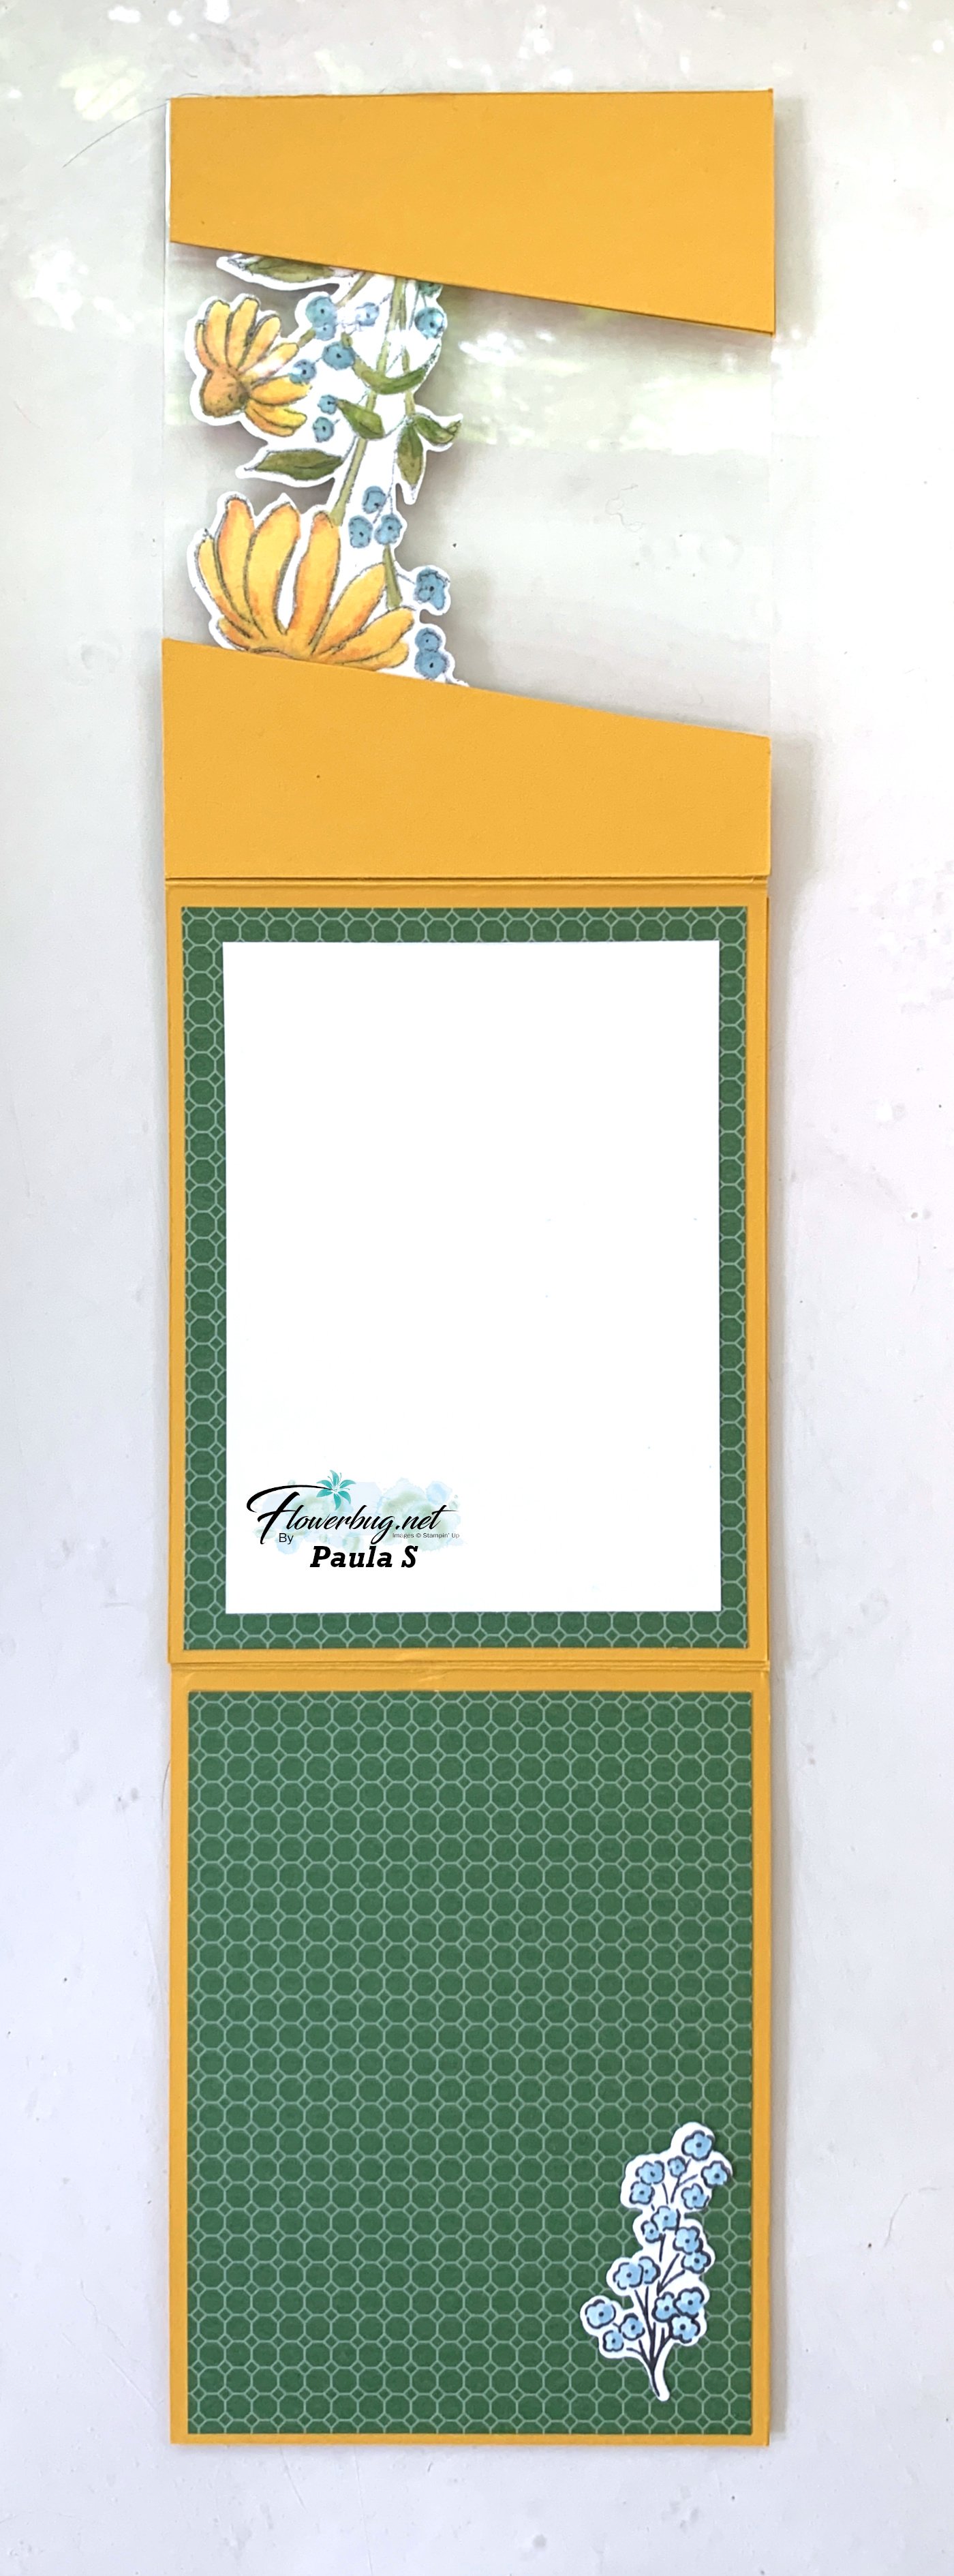
    Below you can see how she also colored the reverse side so when you flipped up the card front it's just as pretty on the inside!  So neat.  I also love the diagonal slant on the front. 

    The card opens to reveal 3 layers!  

    Measurements:

    • Crushed Curry card base- 1 at 4 1/4" X 11" scored at 5 1/2", another at 7 1/4" X 4 1/4" scored at 5 1/2" (cut on the diagonal) and two extra slat pieces to cover both front & inside of the card. 
    • DSP – 4" X 5 1/4" X 3 pieces
    • White inside 3 1/2" X 4 3/4"; plus die-cuts 


    Thanks so much for your creative & beautiful card Paula! 

    ~~~

    July Specials:


    New Online Exclusives are here!  Click here

    ~~~

    Get my Turtle-y Cute PDF tutorial free with any online order in July!

    Leave a Reply

    Your email address will not be published. Required fields are marked *

  • Free Shipping starts today! Get an extra $10 in rewards with me. Adorable Tractor & Co card


    Today starts the Free Shipping promotion that lasts for 3 days! And I'm adding on to your rewards too!

    When you order $75 in product from me you'll receive an extra bonus of $10 in product rewards. Here's how it works:

    • Once your order reaches the $75 mark (before tax) the free shipping will kick in. 
    • You'll automatically receive 10% product rewards from Stampin' Up! 
    • I'll gift you an extra $10 in rewards to your online account.  *you must opt in for both contact and gift rewards though.  
    • You'll have up to a year to redeem these rewards. 
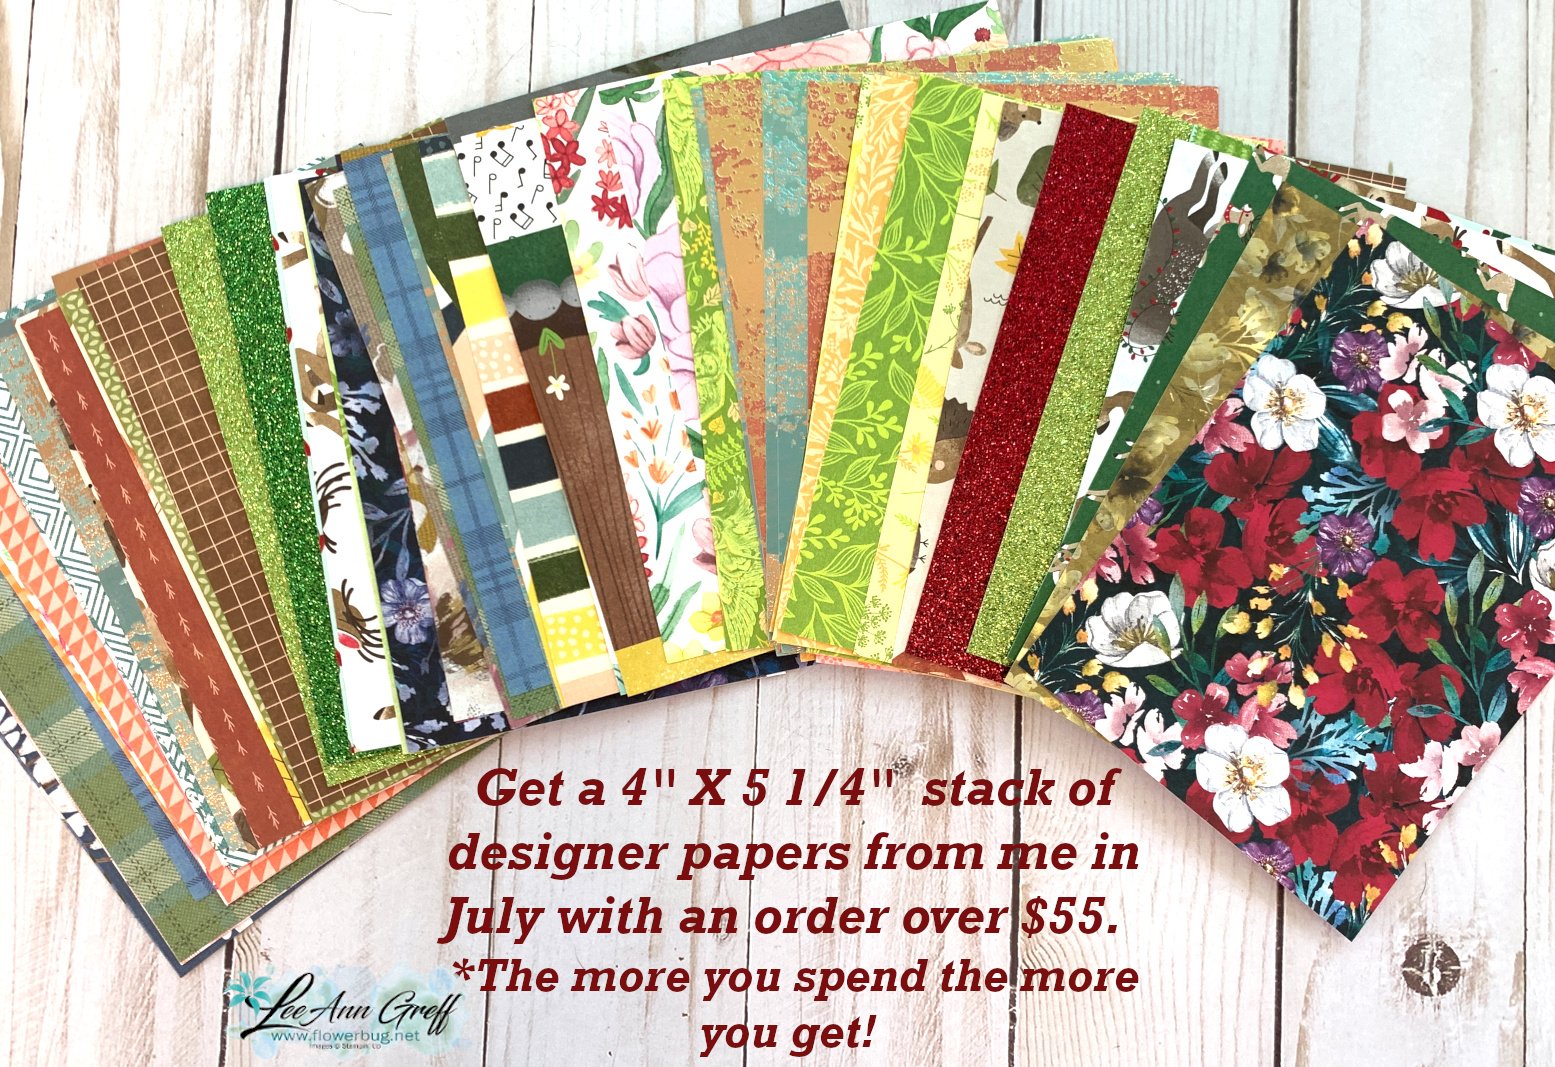
    • You'll also receive a gift of a DSP sampler from me as well (see details below). 

    Shop online here. 

    ~~~

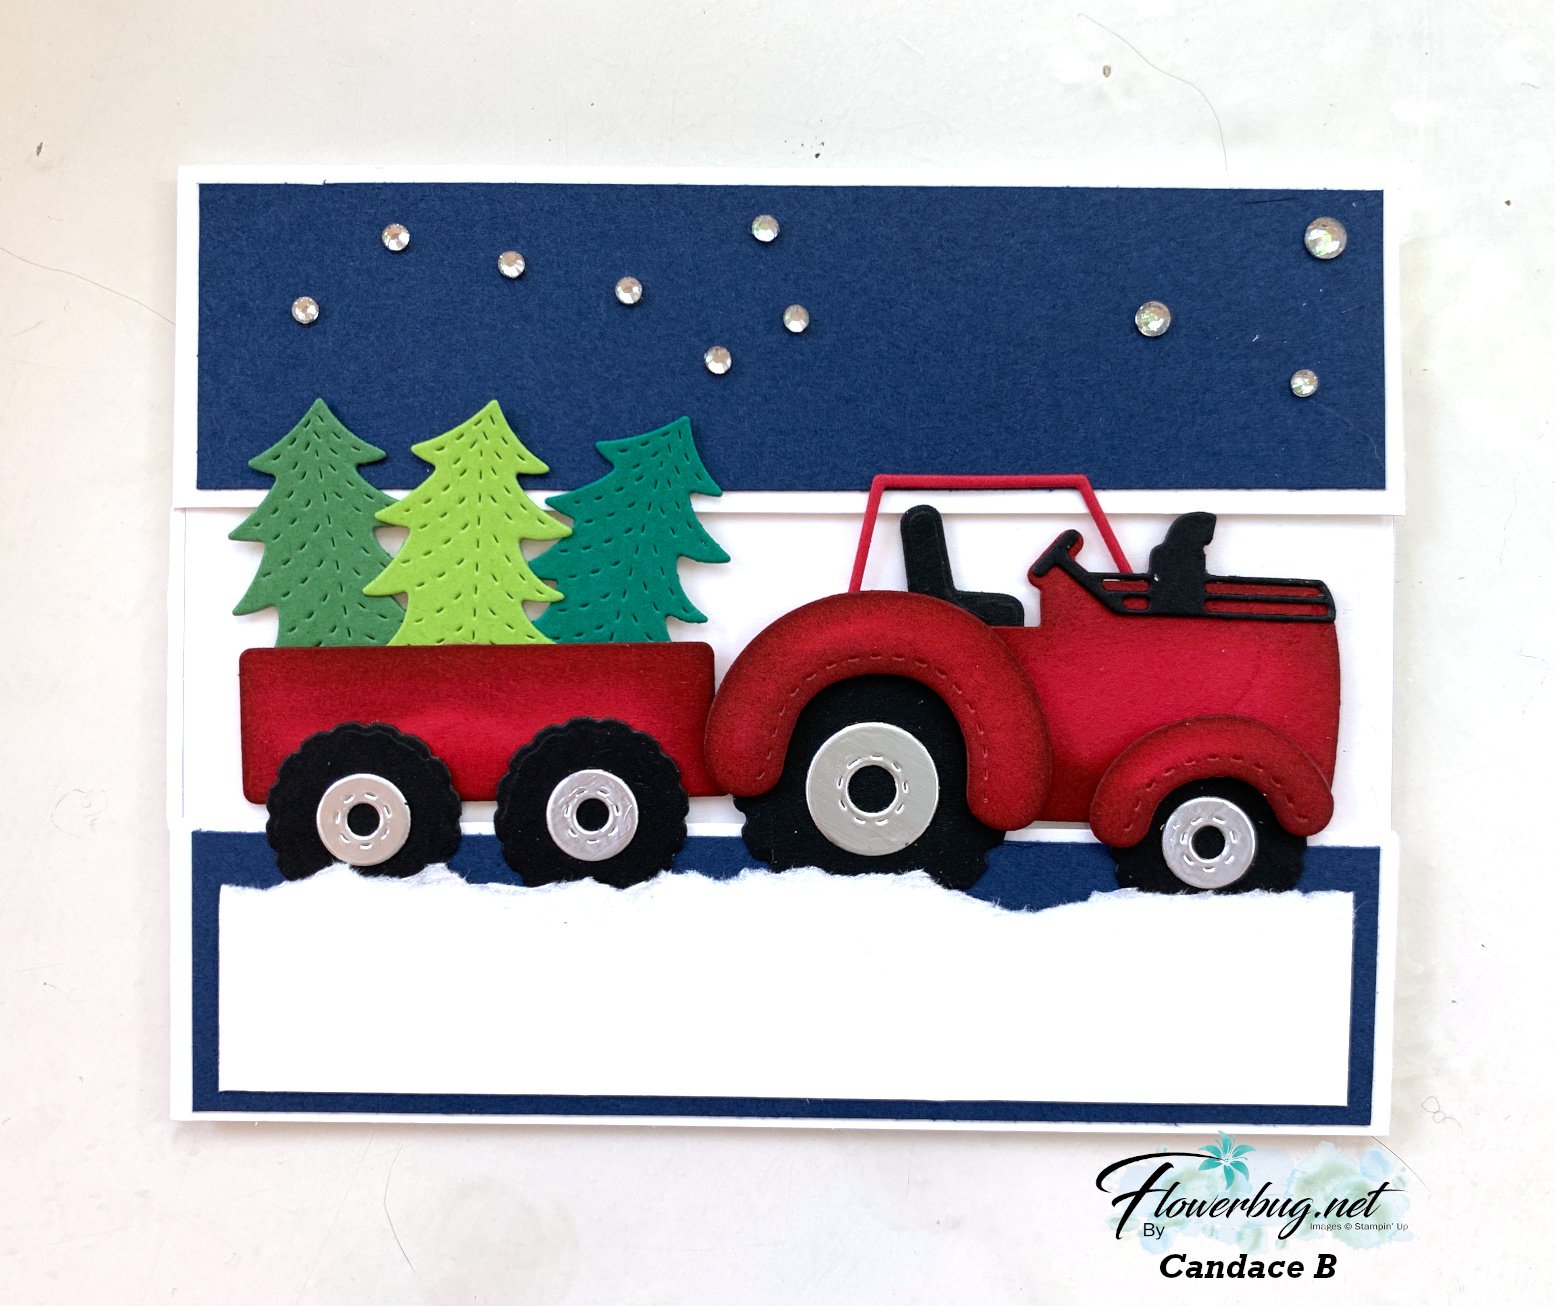
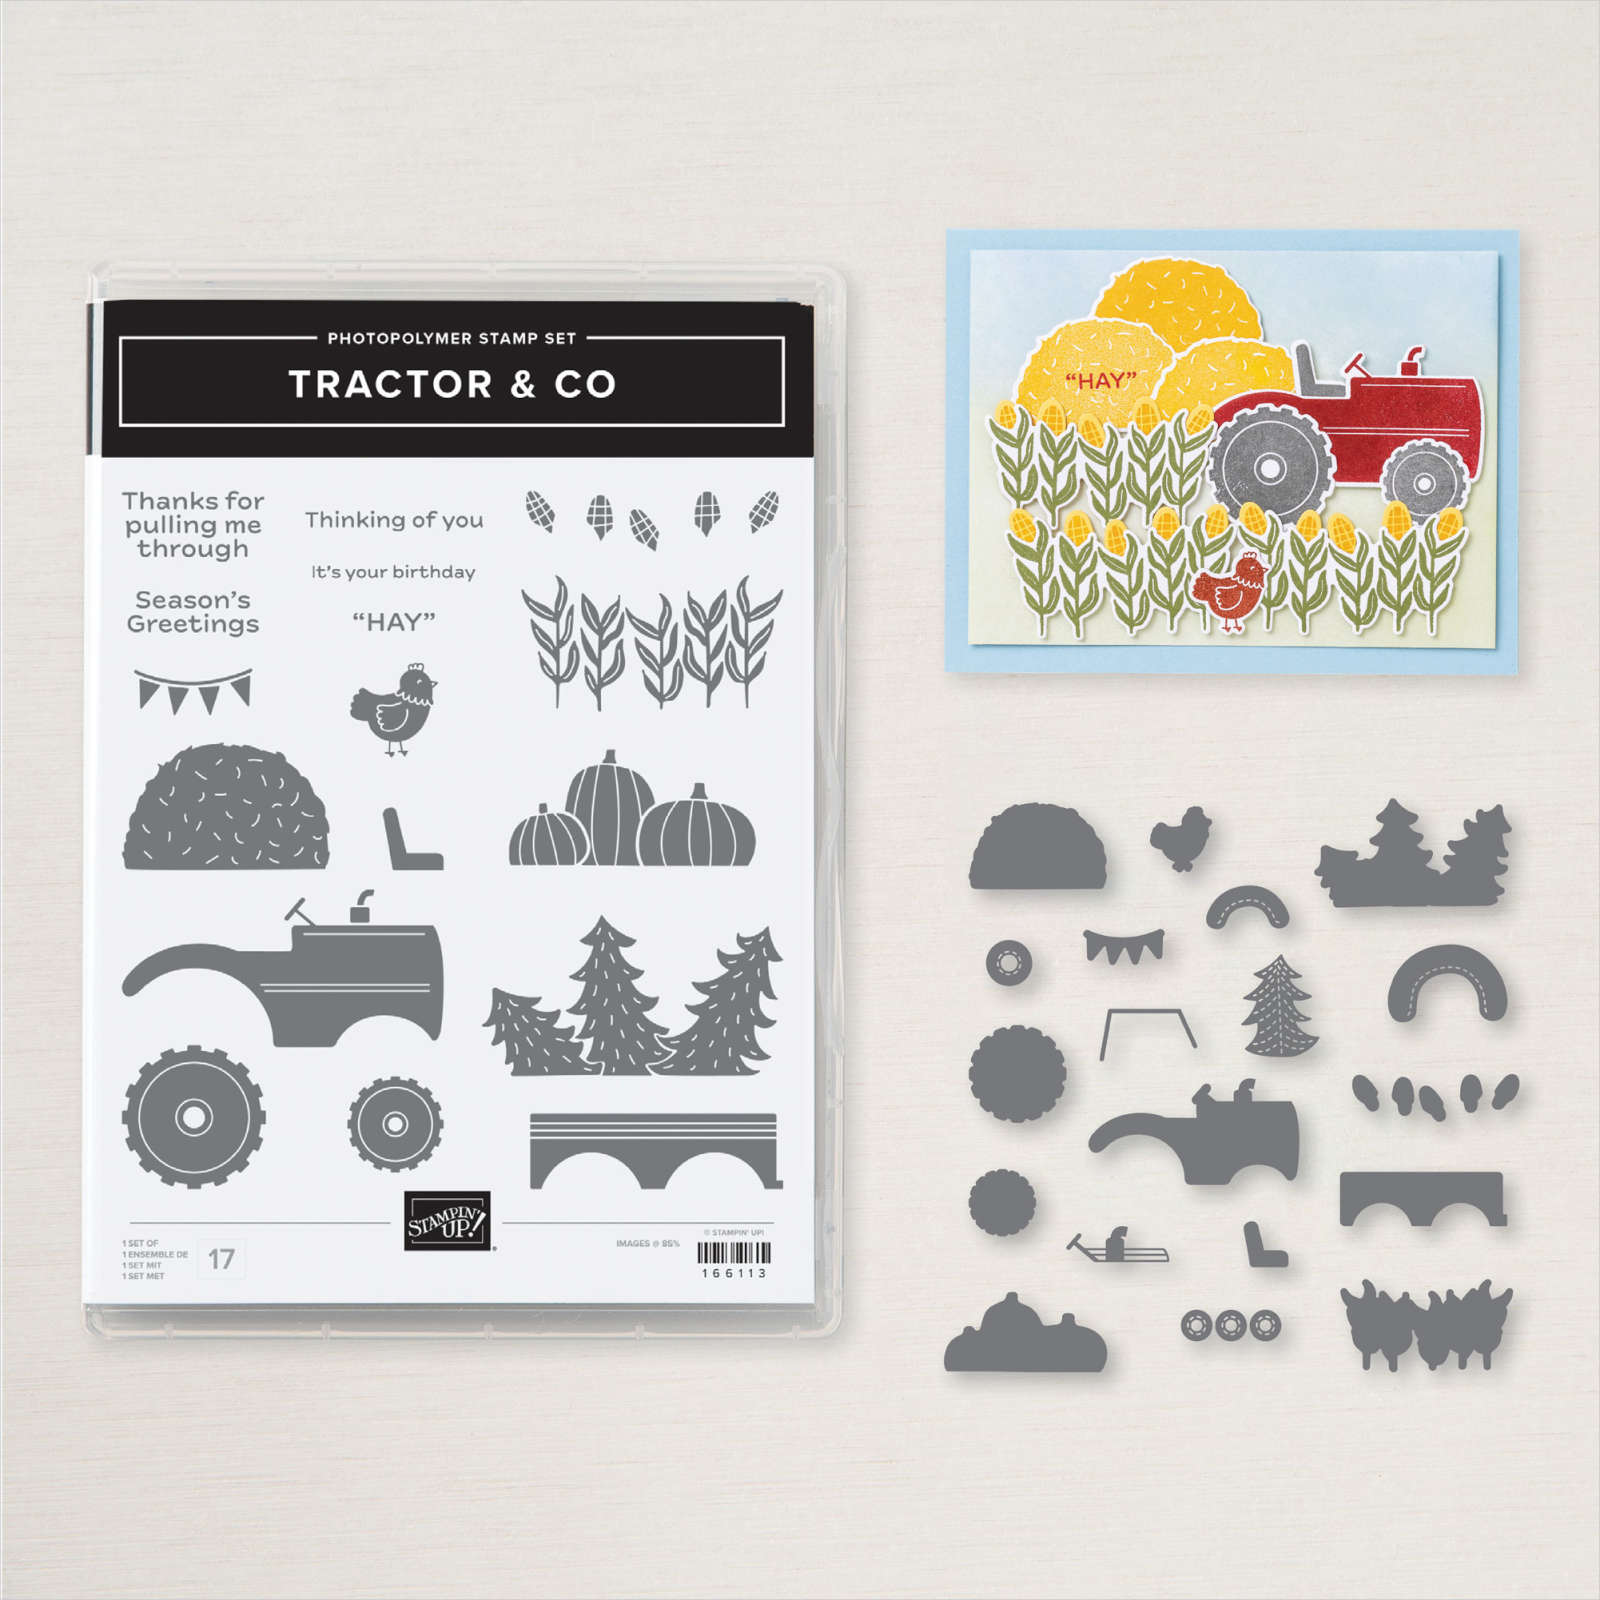
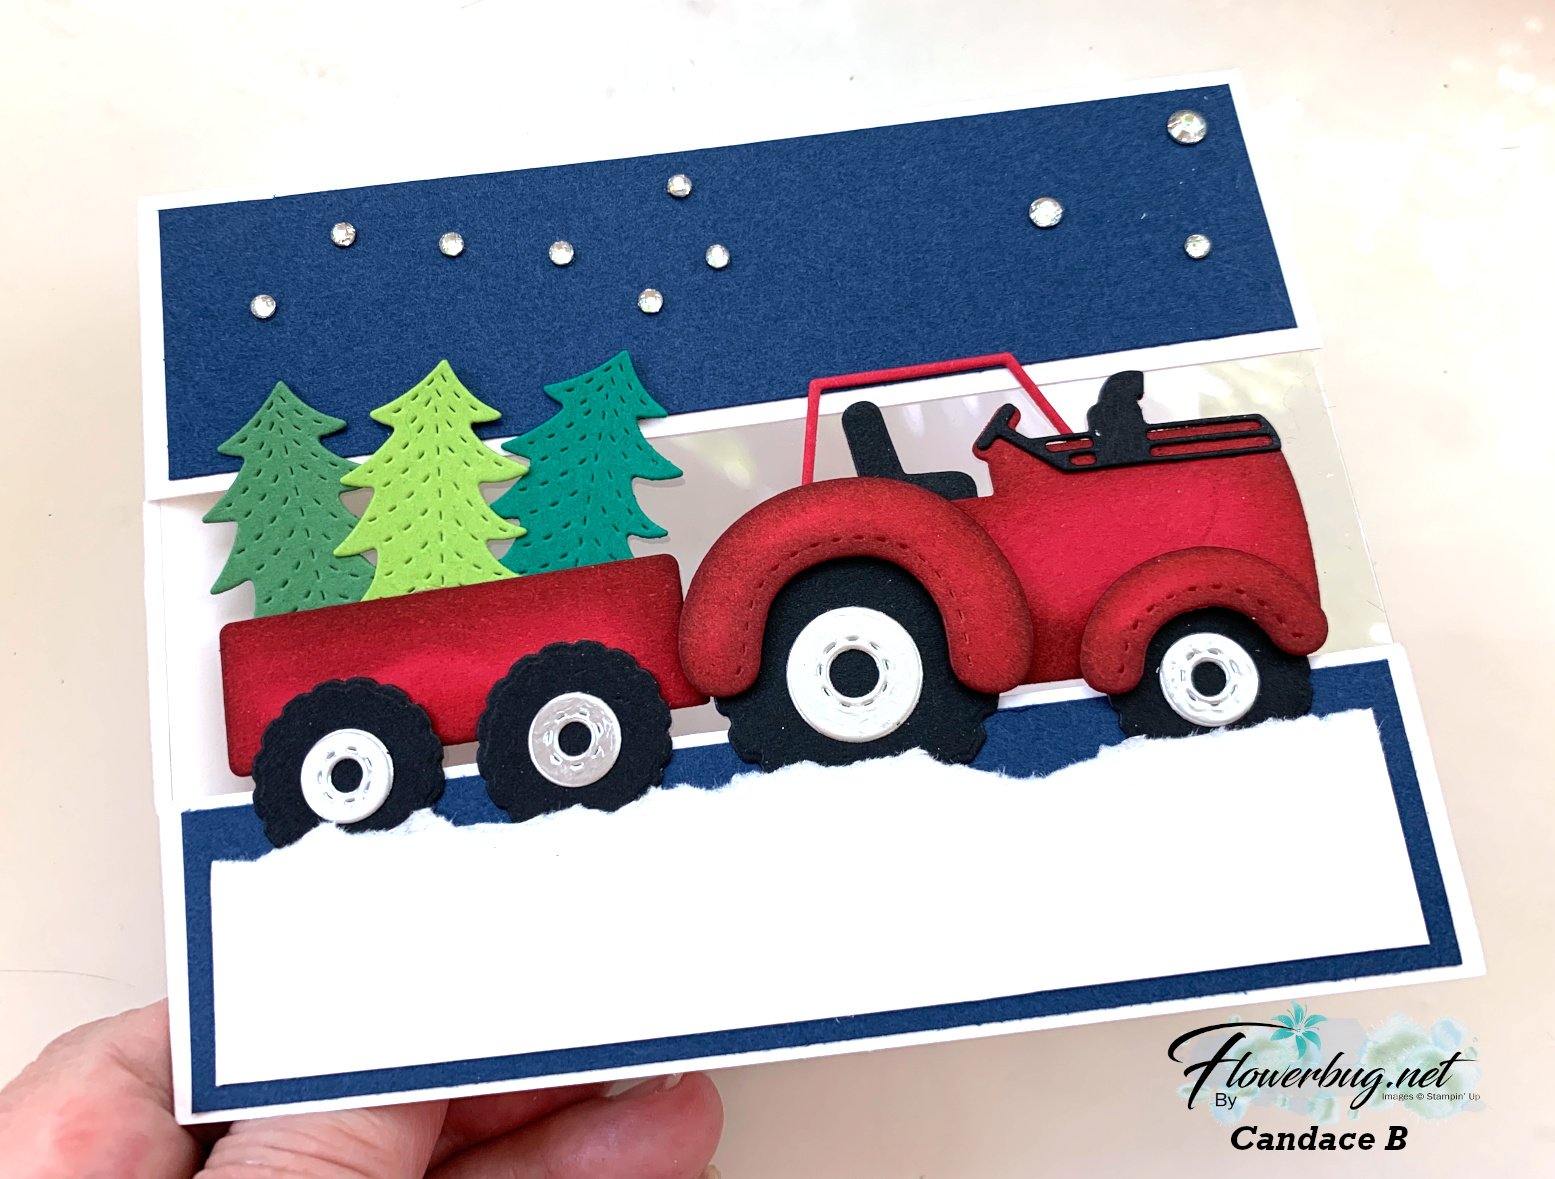
    Look at this super cute tractor card Candace made!  This bundle has some amazing pieces in it.  

    This new Tractor & Co bundle is from our Online store and can be found here.  

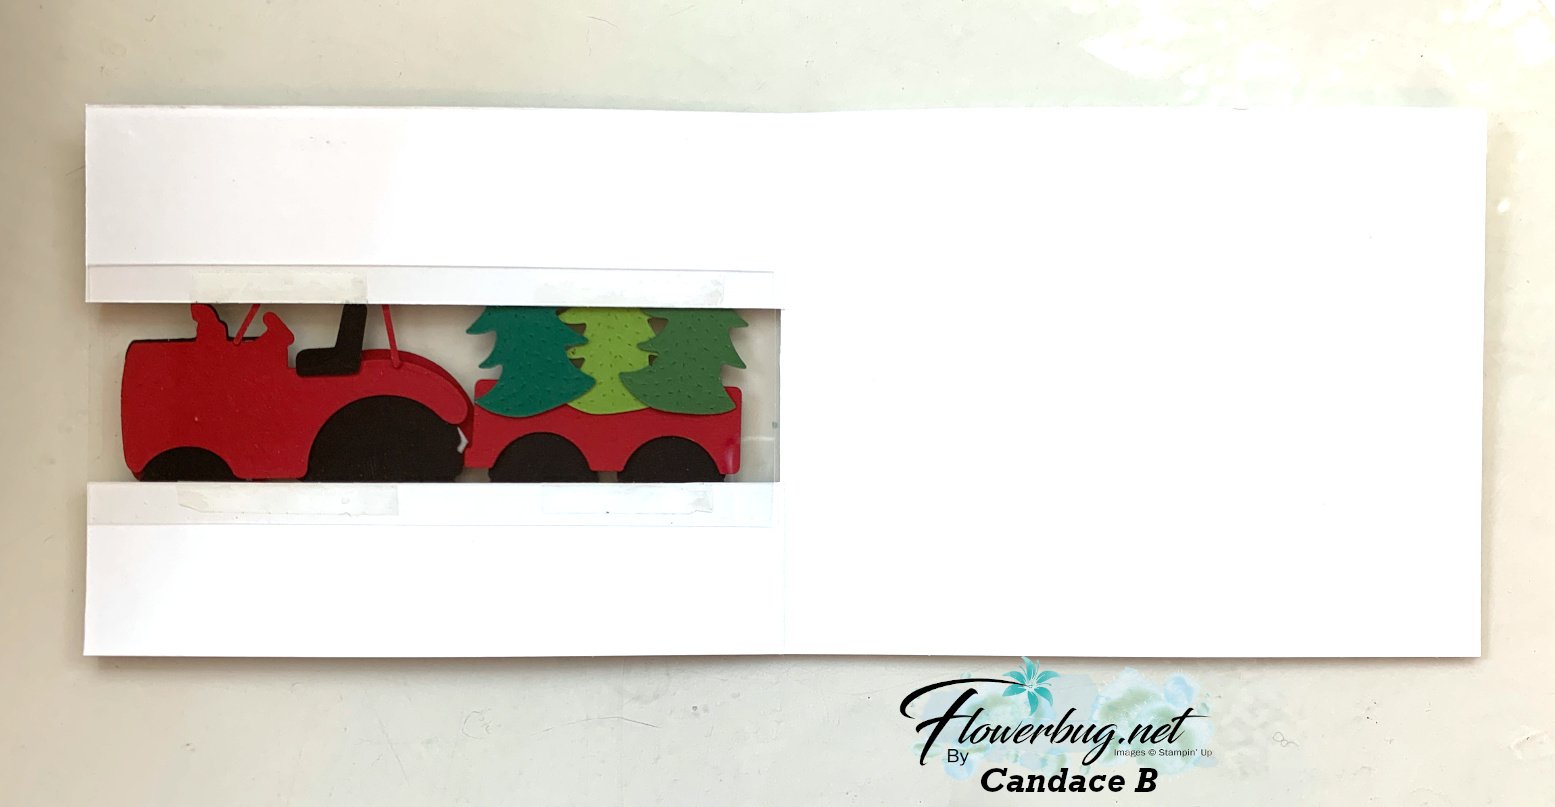
    Here's the inside view where you can see how she trimmed a portion of her card front away to create the window effect. *She'd normally stamp or add to the inside but she had to rush to get them mailed out in time.  

    Measurements:

    • White card base 11" X 4 1/4" score at 5 1/2". Trim away 1 3/8" from the center 
    • Navy layers – top is 5 1/4" X 1 3/8", lower is 5 1/4" X 1 1/4"
    • White torn edge 5" X 1"
    • scraps for tractor & tree die-cuts

    Her colors & sponging are amazing as usual.  She used Silver foil for her tire rims and clear rhinestones for the starry sky.  

    ~~~

    July Specials:


    New Online Exclusives are here!  Click here

    ~~~

    Get my Turtle-y Cute PDF tutorial free with any online order in July!

    Leave a Reply

    Your email address will not be published. Required fields are marked *


Notice: LeeAnn Greff, Independent Stampin’ Up! Demonstrator, Manager. The content of this website is my sole responsibility as an independent Stampin’ Up! demonstrator and the use of, and content of, the classes, services, or products offered on this website is not endorsed by Stampin’ Up! Copyright 2025