/


Latest Post

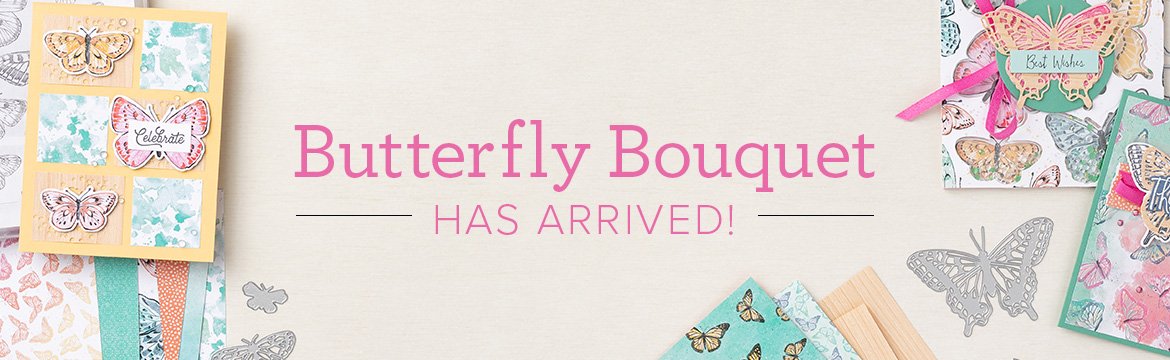
The NEW Butterfly Bouquet bundle is here!!


Stampin' Up! is releasing one of the upcoming Annual Catalog bundles early!  Plus they added on two exclusive papers along with it!  But these papers are only available through May 3rd, while supplies last! Click here to see them online. 

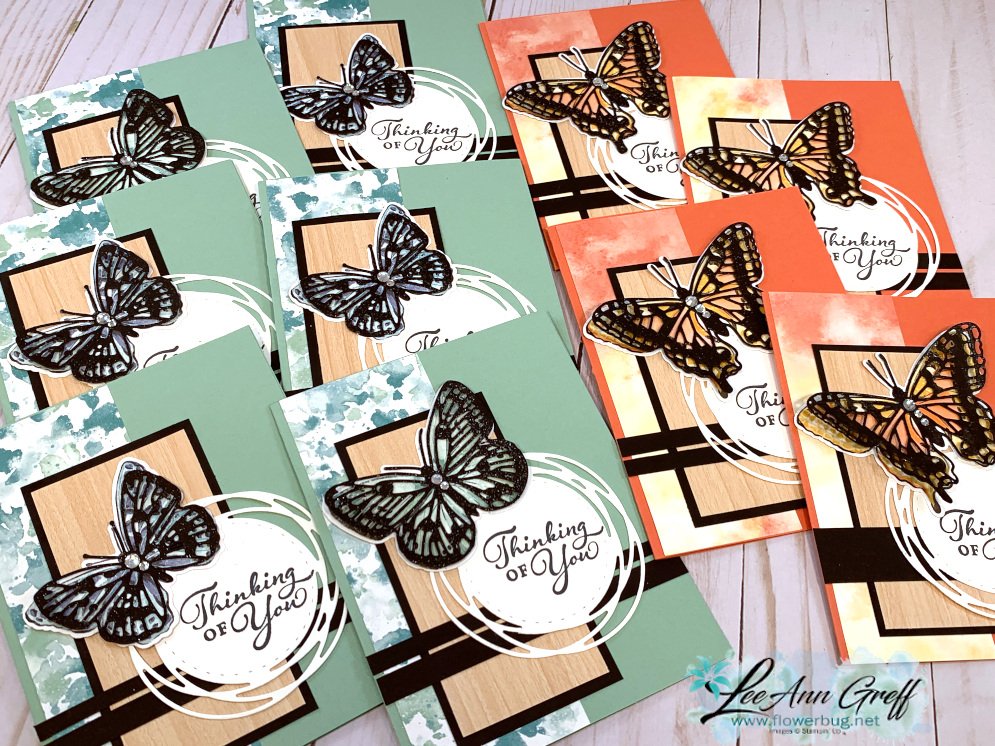
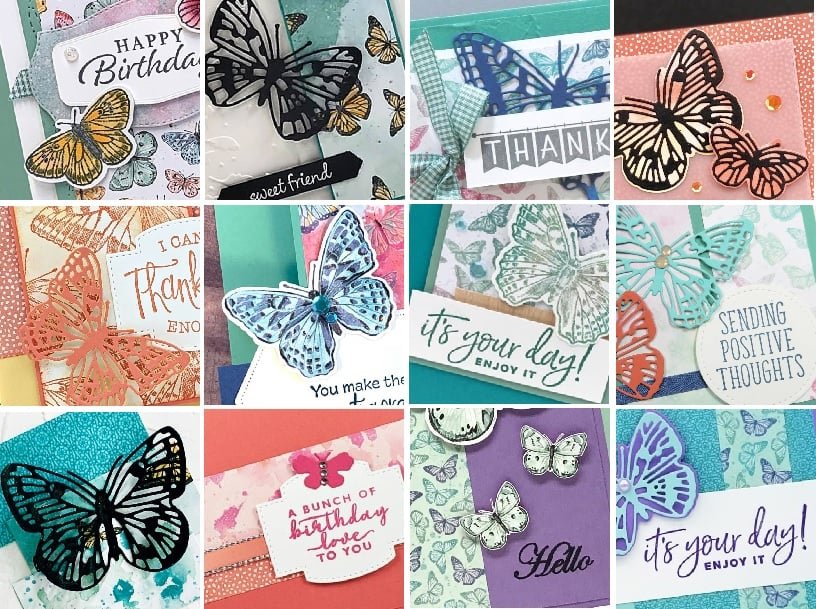
I joined an online swap and created these pretty cards: 
The bundle consists of 1 large butterfly stamp and 12 coordinating dies.  There is a big pack of 6 X 6" Butterfly Bijou Designer Paper and also new Natural Touch specialty paper; 2 sheets of wood grain 12" X 12" paper. Download the Butterfly Bouquet flyer

If you plan to get the Butterfly Bouquet bundle or Designer Paper I have an extra perk for you!  All online orders in March receive a FREE 15 project PDF full of ideas for you!  See details below! 
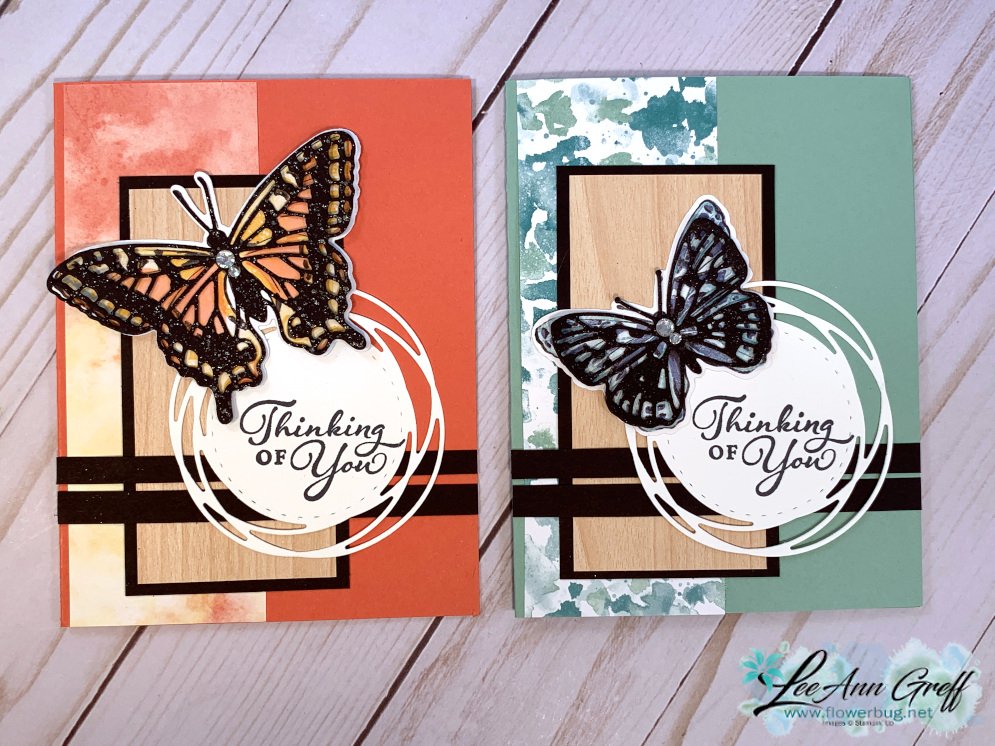
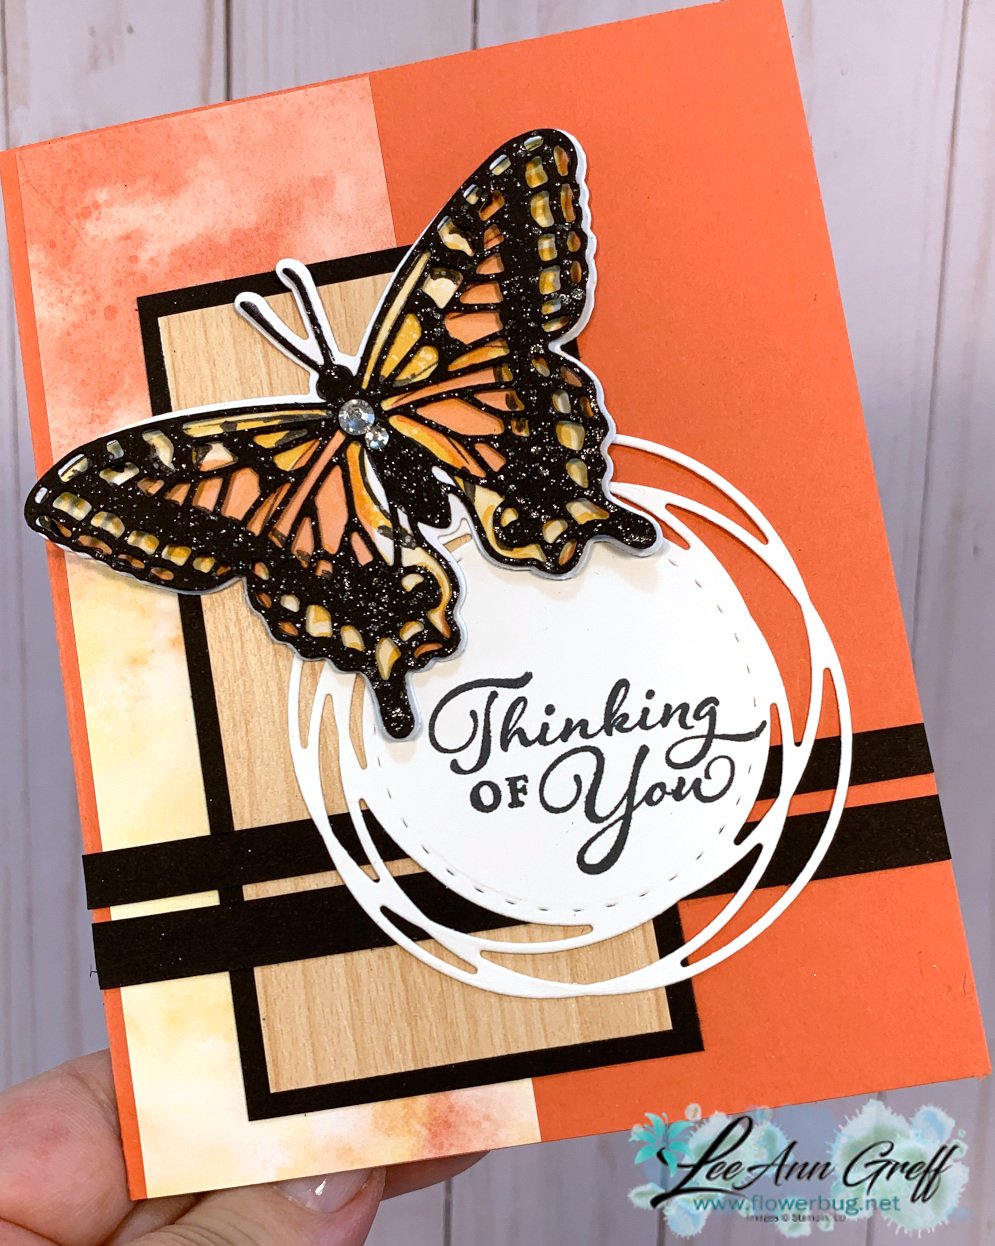
Which card do you prefer?  Mint Macaron or Calypso Coral?  I sure like the soft papers in this Designer Paper!

Here's the flyer so you can see the details for each of these new products.  It's important to note that the two papers shown are only available from now through May 3rd while supplies last.  You can order tomorrow, March 2nd. 

Look at the photo below; see how this sheet of paper coordinates with the large multiple butterfly die? It might be hard to tell but the die is laying on the paper.  So cool!  
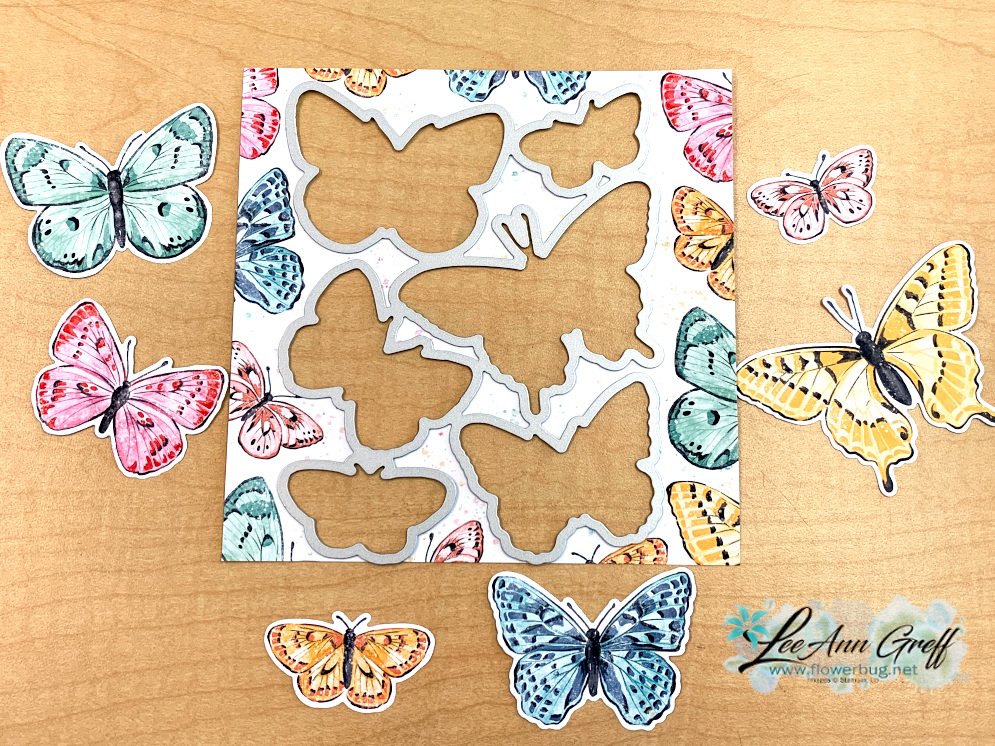
I used three of these butterflies on my cards; the green, blue and yellow!  Such happy spring-like colors!
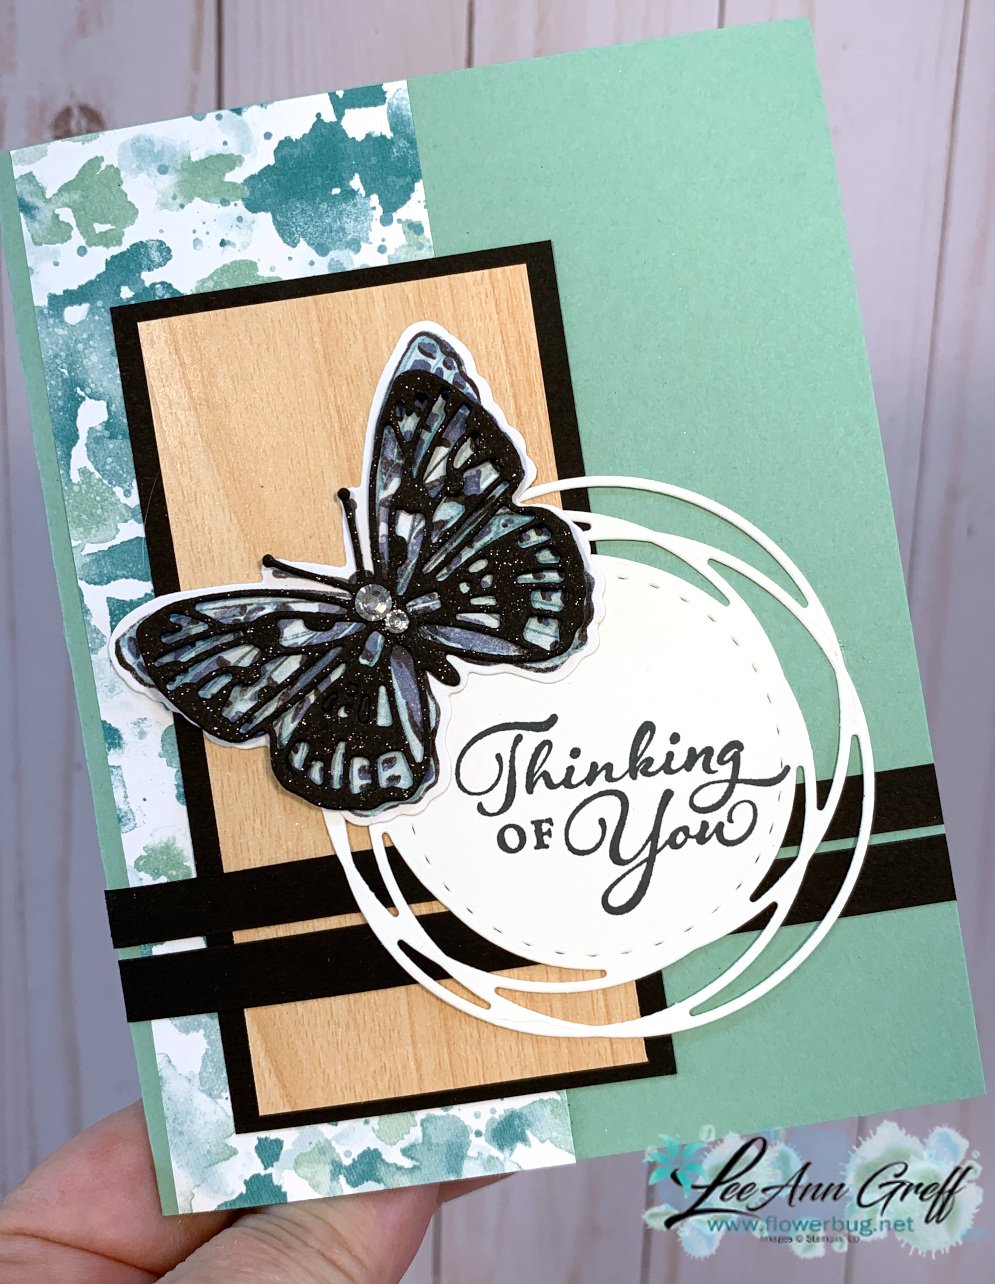
Measurements are:

  • Card Base 5 1/2" X 8 1/2"
  • Designer Paper 2" X 5 1/2"
  • Natural Touch paper 2" X 4"
  • Black 2 1/4" X 4 1/4", plus 1/4" and 1/3" strips and die-cut butterfly
  • White scrap for Painted Poppies die-cut

On the card below I did color parts of the yellow butterfly with my Calypso Coral Blends marker. 
~~~

Current Host code is BPJGVCKP

Order online here

All online orders receive a free PDF of the new Butterfly Bouquet bundle

with 15 projects!

~~~

Get a free adhesive package from me with an online order over $50 using the host code above. 3 sheets of Dimensionals and 1 for die-cuts!

*If your order is over $150 do not use the code; you'll still receive a gift! 

Below are the Multipurpose Glue stands we're making. They're $6 each and available in my Shop here.  

All Posts

  • 3 fun fold cards celebrating Strawberry Slush!


    I have THREE neat fun fold cards from our June Team card swap.  My Flowerbug's did an incredible job on their fun fold cards!  

    First up is Sharon's card featuring the Cheers & Sips bundle seen here. 

    The top card base layer is scored to creates a box that pops up & supports the front panel. Super neat! 

    She added Fine Tip Glue to her fussy cut drinks for some shine.  To do this you need to let it set awhile to dry. I'd recommend two layers.  If you don't want it to get a bit curvy from the liquid in the glue, add a layer of card stock under it.  

    Her inside greeting is from the Unbounded Love set.  The gems are from the Holographic Resin dots.

    Measurements:

    • Strawberry Slush card base 8 1/4" X 5 1/2" scored at 4 1/4", 5 3/4", 6 1/4", 7 3/4"
    • front CS panel 2 3/4" X 4"
    • DSP 2 pieces at 1 3/8" X 5 3/8", pieces under the greeting are 2 3/4" X 1 1/4", 2 3/4" X 1/4" and inside is 2 3/4" X 1 1/4" 
    • inside White panel 2 3/4" X 4"

    ~~~

    Next is a neat Latch card made by Kathy who used the Sweet Jar bundle seen here. 
    Her colors include Cloud Cover and Strawberry Slush. The Designer Paper is from the Florals in Bloom DSP seen here. 

    The front flap opens up to reveal another panel that she stamped with coffee beans and the die-cut from the Paper Pumpkin add on dies (now retired).

    And the front panel open up too!  

    Measurements:

    • card base 7 1/4" X 5 1/2" scored at 4 1/4"
    • DSP 2 3/4" X 5 1/4"
    • White panels X 3 – 2 3/4" square; inside 4" X 5 1/4"
    • Strawberry Slush square 3"
    • 2 1/2" X 1" scored at 1 1/4" connecting piece

    ~~~

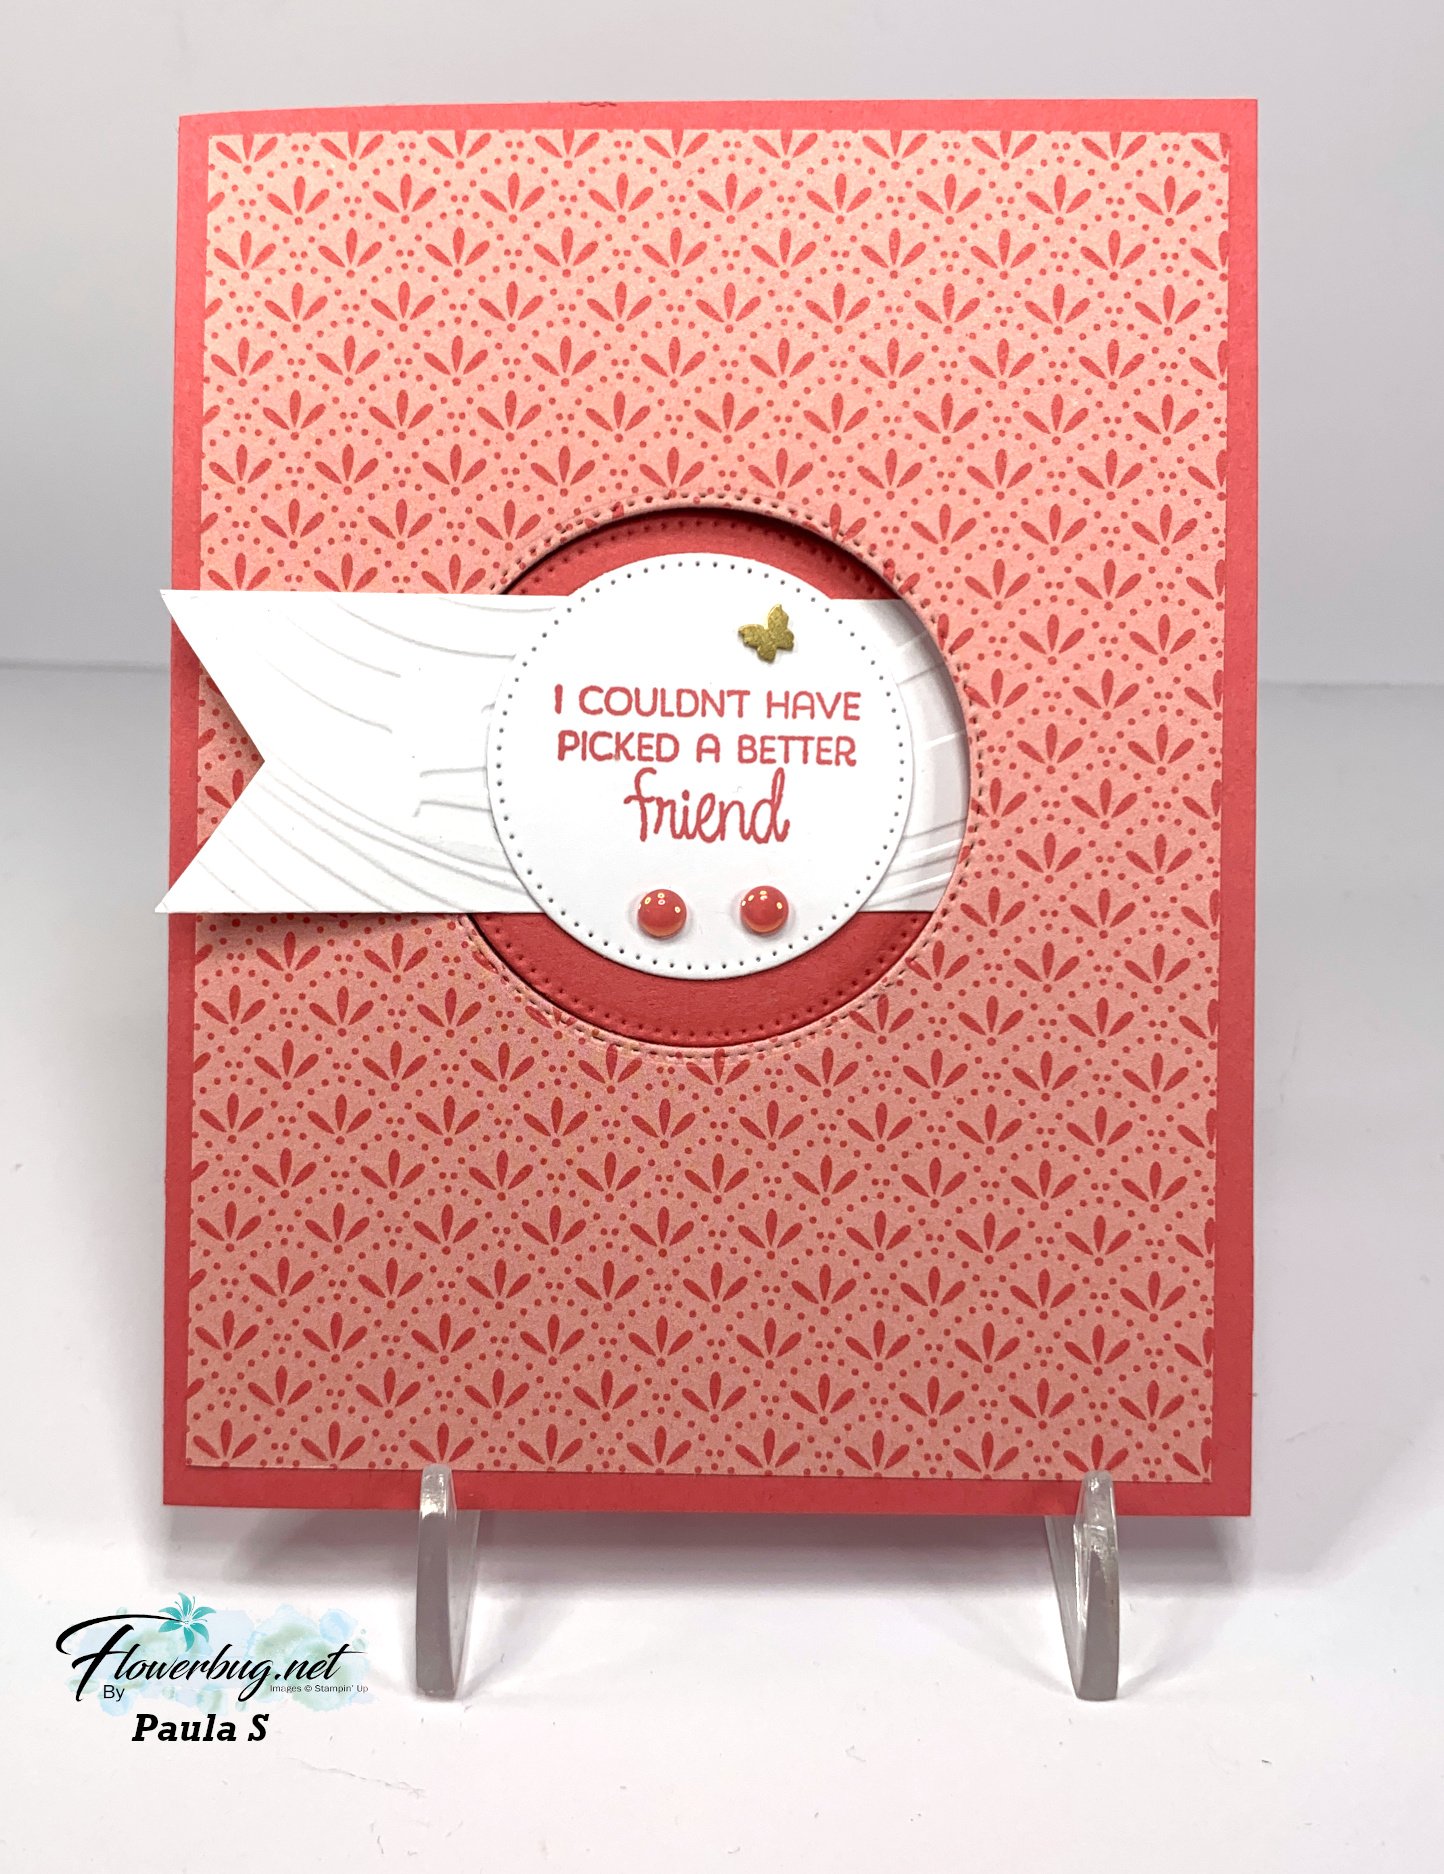
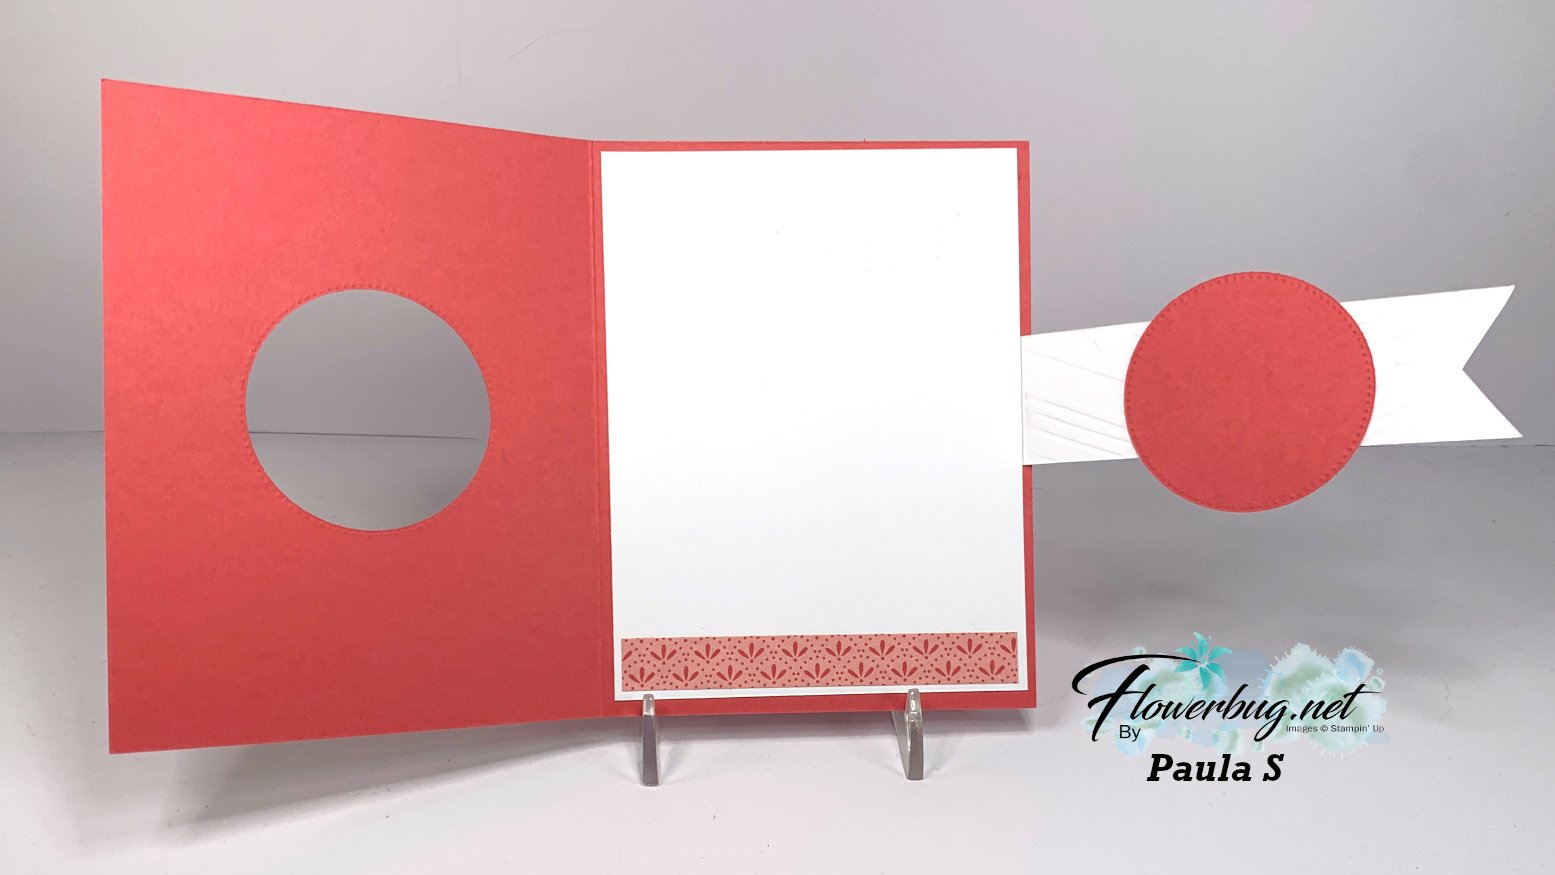
    And now for the final card today. This one was made by Paula and was cased from Heidi Colins.  It's called a Buckle card:

    She used the Floral Impressions DSP on the front and cut a window in the front panels so the buckle could slip in.  

    Products used include the Stylish Shapes dies, Swirly EF, In Color flat pearls, and Brass Butterflies.

    Measurements:

    • Card base 8 1/2" X 5 1/2" scored at 4 1/4"
    • DSP 4" X 5 1/4", inside 3 3/4" X 1/2" 
    • buckle 4 1/2" X 1 1/4" scored at 1/2"
    • largest circle is 2 1/8" but Paula recommends slightly larger

    Here's the final opening: 

    ~~~

    June Specials:

    The Suite Sale is on! 

    Buy one get 50% the second item – on all available suite products. 

    Shop here or see products below: 

    ~~~

    Last Chance List has been updated!  see it all here. Don't miss out on the deals!

    ~~~

    Earn free card kits in June with online orders! Get 4 kits with a $50 order and orders over $80 receive all 6 cards. All you need are greetings, gems and adhesives to assemble. 

    Order here 

    ~~~

    Get my Celebratory Sips PDF tutorial free with any online order in June!

    Leave a Reply

    Your email address will not be published. Required fields are marked *

  • Two more fun fold card swaps by my Flowerbug’s; with measurements!


    Today I'm sharing a few more fun fold cards from our June Team swap with my Flowerbug's.  Our theme was to do a fun fold card using at least one new In Color.  Their cards are amazing!  I'll be sharing them all week!

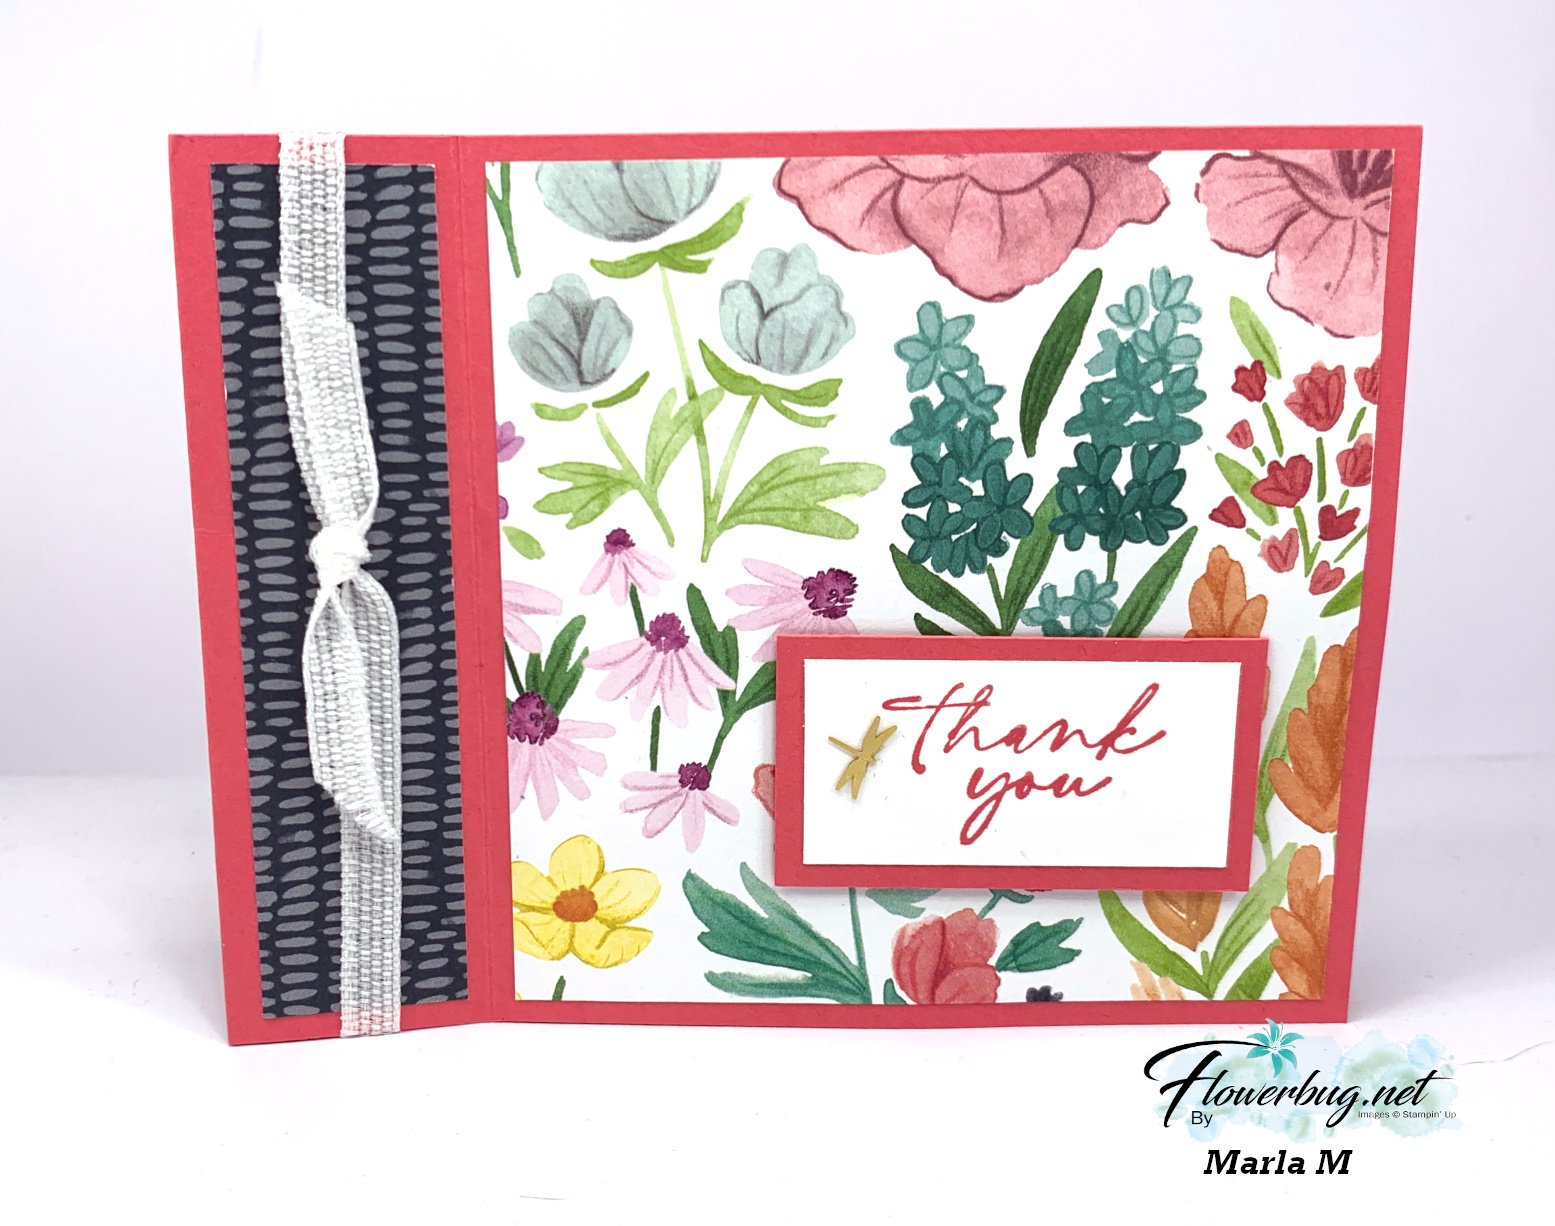
    First is Marla's card made with the Florals in Bloom DSP seen here.  

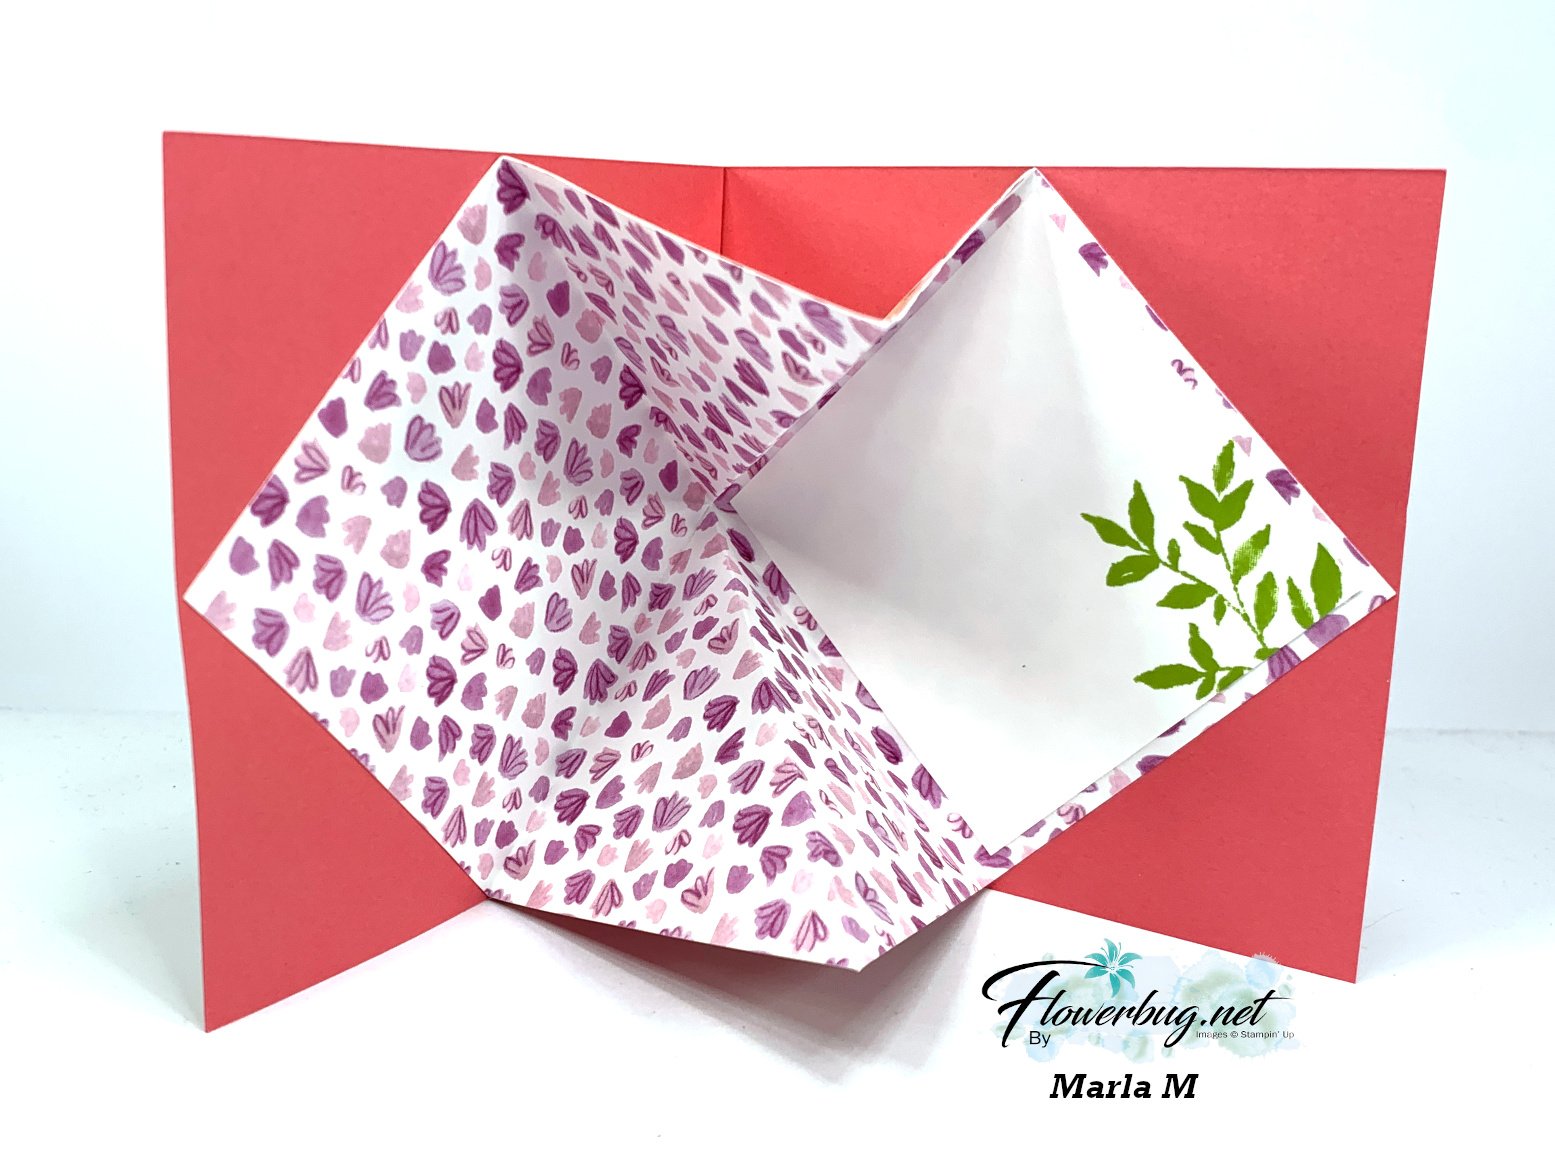
    It starts out as a book binding fold… but look what's inside!  An explosion card! 

    Measurements:

    • Card base 11" X 4 1/4" scored at 4 1/4" & 5 1/2"
    • DSP in front 4" square, 1" X 4" strip
    • DSP inside is 6" square. Score in half twice and once diagonally. Adhere only the flat (non-scored) squares to the card inside. 
    • inside white 2 3/4" square

    ~~~

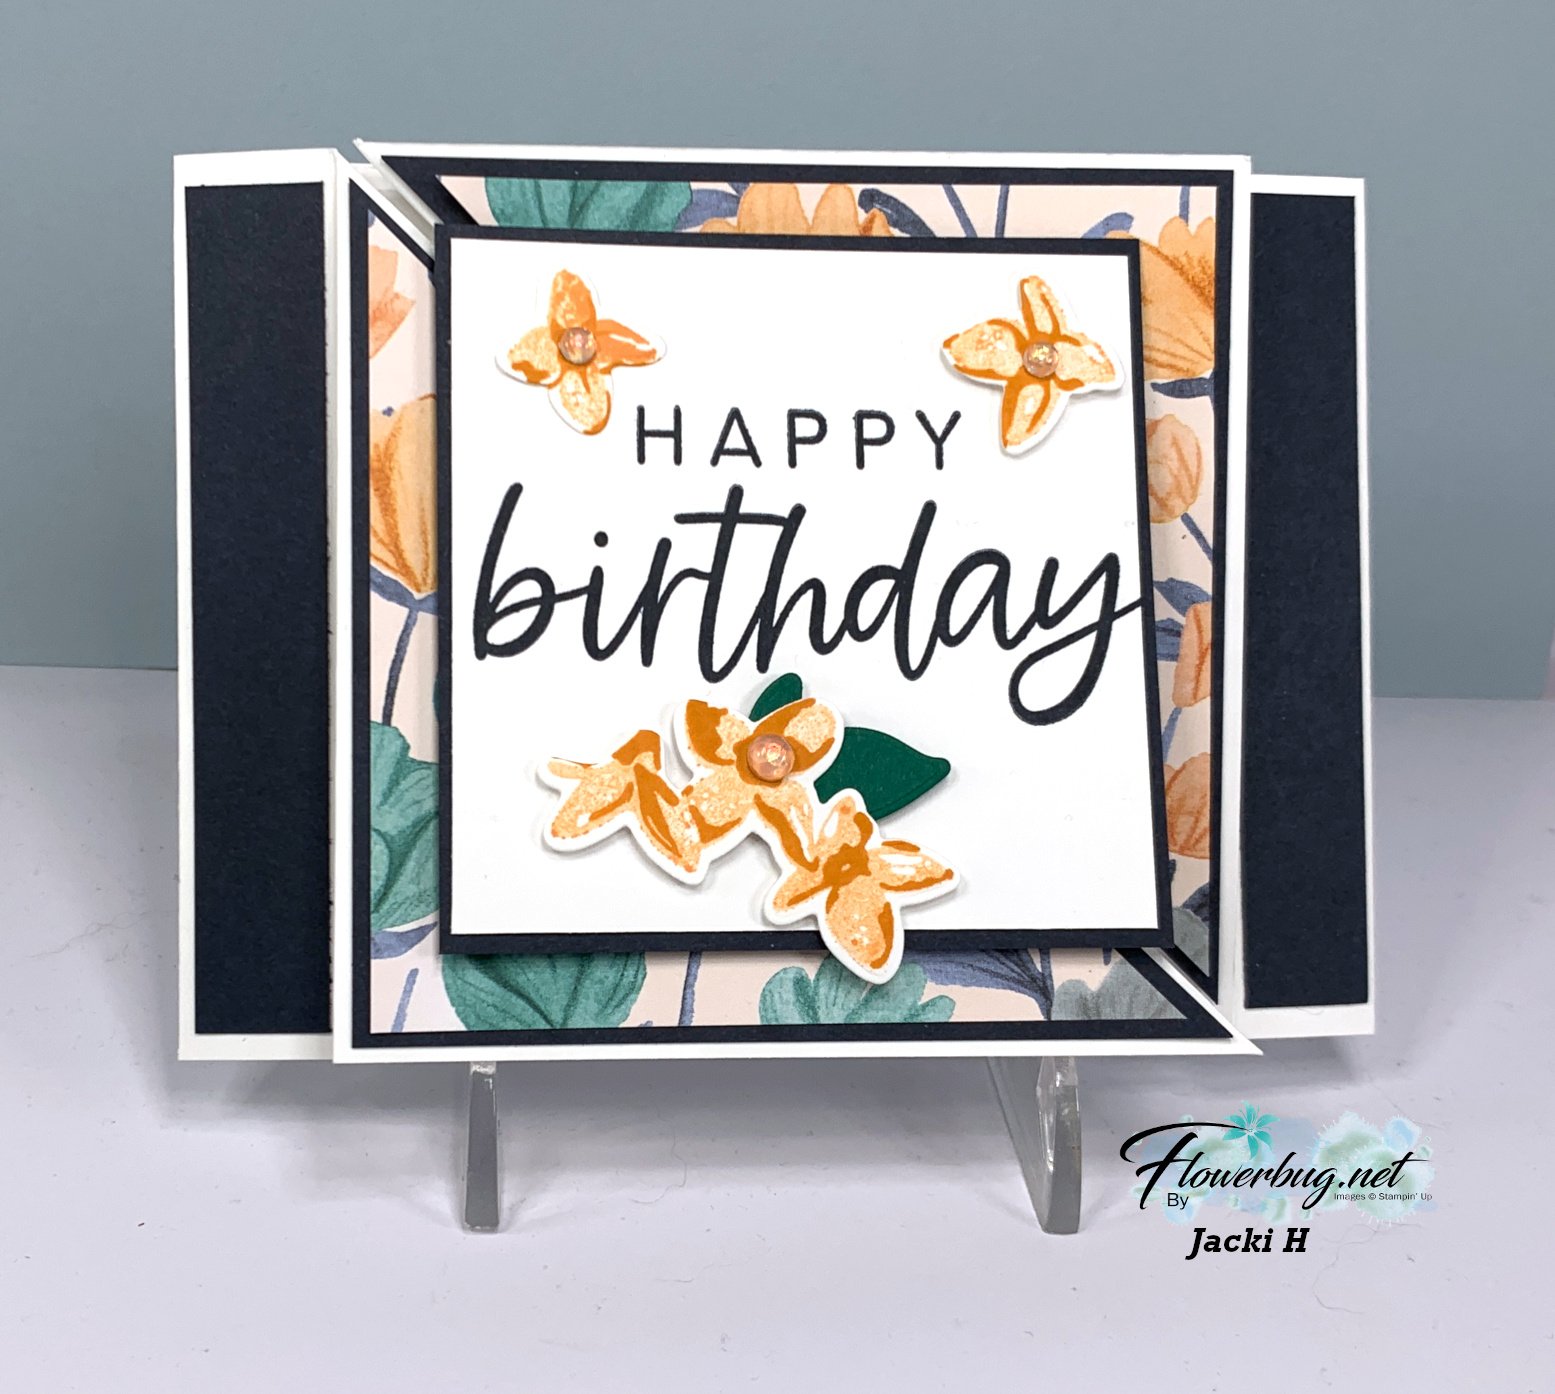
    Next is Jacki's amazing card; who also chose the Florals in Bloom DSP. 

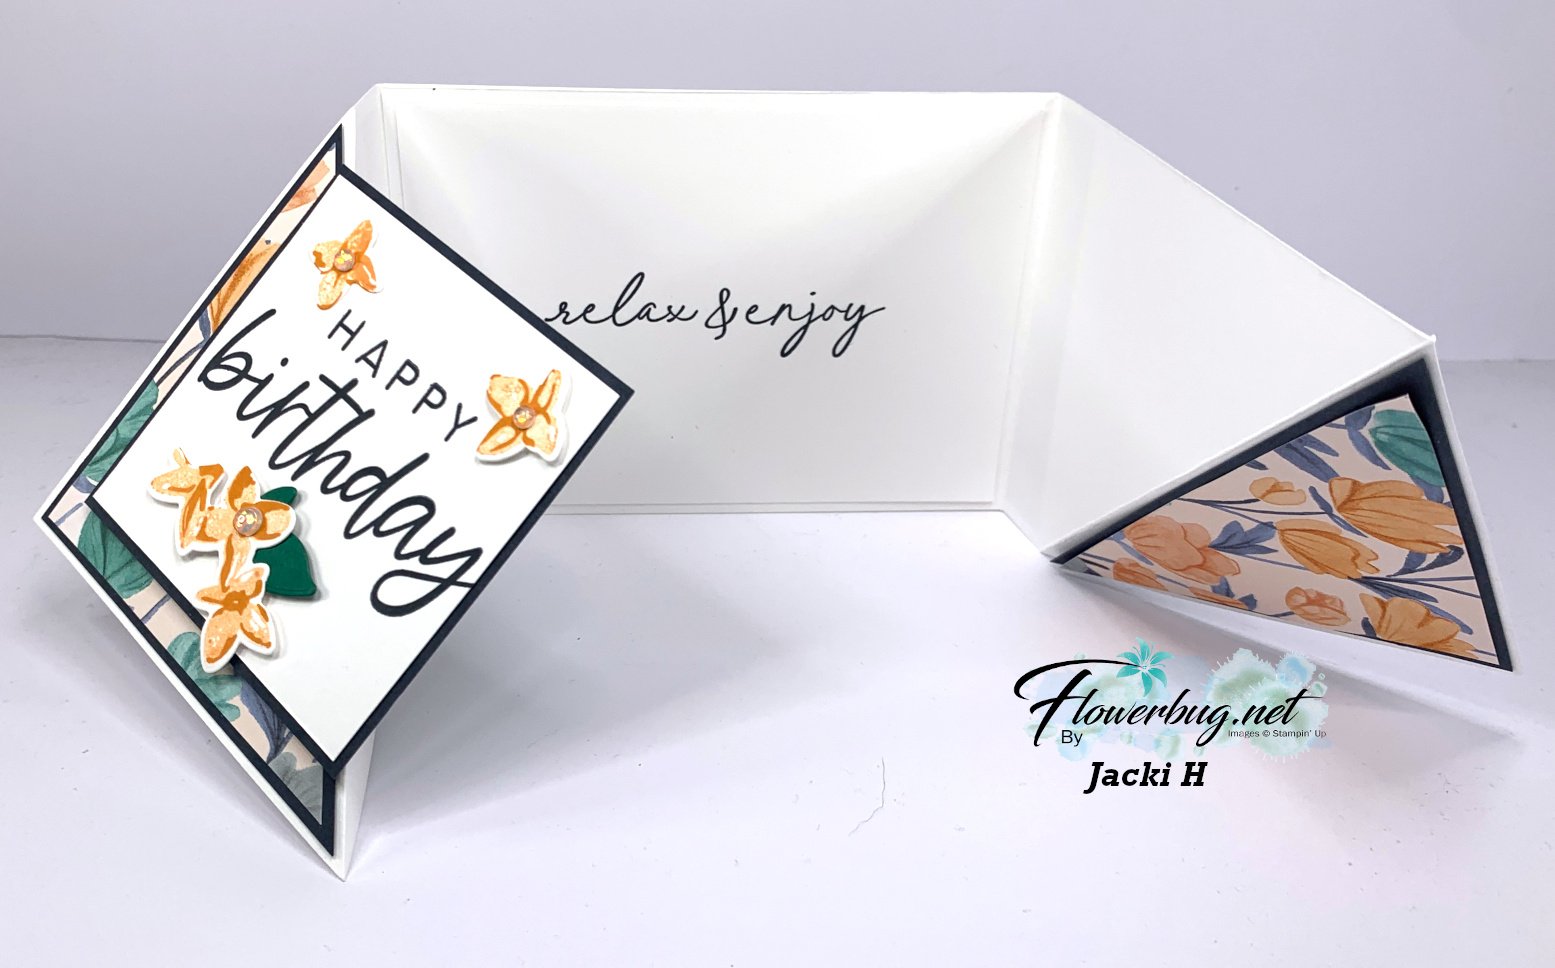
    Her colors include the new Secret Sea (dark blue) with Peach Pie & Pumpkin Pie. Her stamp set is 'With You in Mind' and the 'Delightful Wishes bundle' for the flowers.  Here's how it opens: 

    Measurements:

    • White card bases – two pieces at 10 1/4" X 4" scored at 4 3/4". It's then scored from the bottom left corner to the upper right at 4". The center flat panels overlap each other. 
    • Secret Sea – 3 3/4" square, cut in half on the diagonal – 1 for each side, panel under greeting 3 1/8" square, sides are 5/8" X 3 3/4"
    • DSP 3 1/2" cut in half on the diagonal – 1 for each side
    • White front 3" square, white inside 5 1/4" X 4"

    Isn't it neat?  Her inside greeting is from the Notes & Totes stamp set seen here.  

    ~~~

    June Specials:

    The Suite Sale is on! 

    Buy one get 50% the second item – on all available suite products. 

    Shop here or see products below: 

    ~~~

    Last Chance List has been updated!  see it all here. Don't miss out on the deals!

    ~~~

    Earn free card kits in June with online orders! Get 4 kits with a $50 order and orders over $80 receive all 6 cards. All you need are greetings, gems and adhesives to assemble. 

    Order here 

    ~~~

    Get my Celebratory Sips PDF tutorial free with any online order in June!

    Leave a Reply

    Your email address will not be published. Required fields are marked *

  • Irresistible Designs emboss resist technique with free project sheet & video


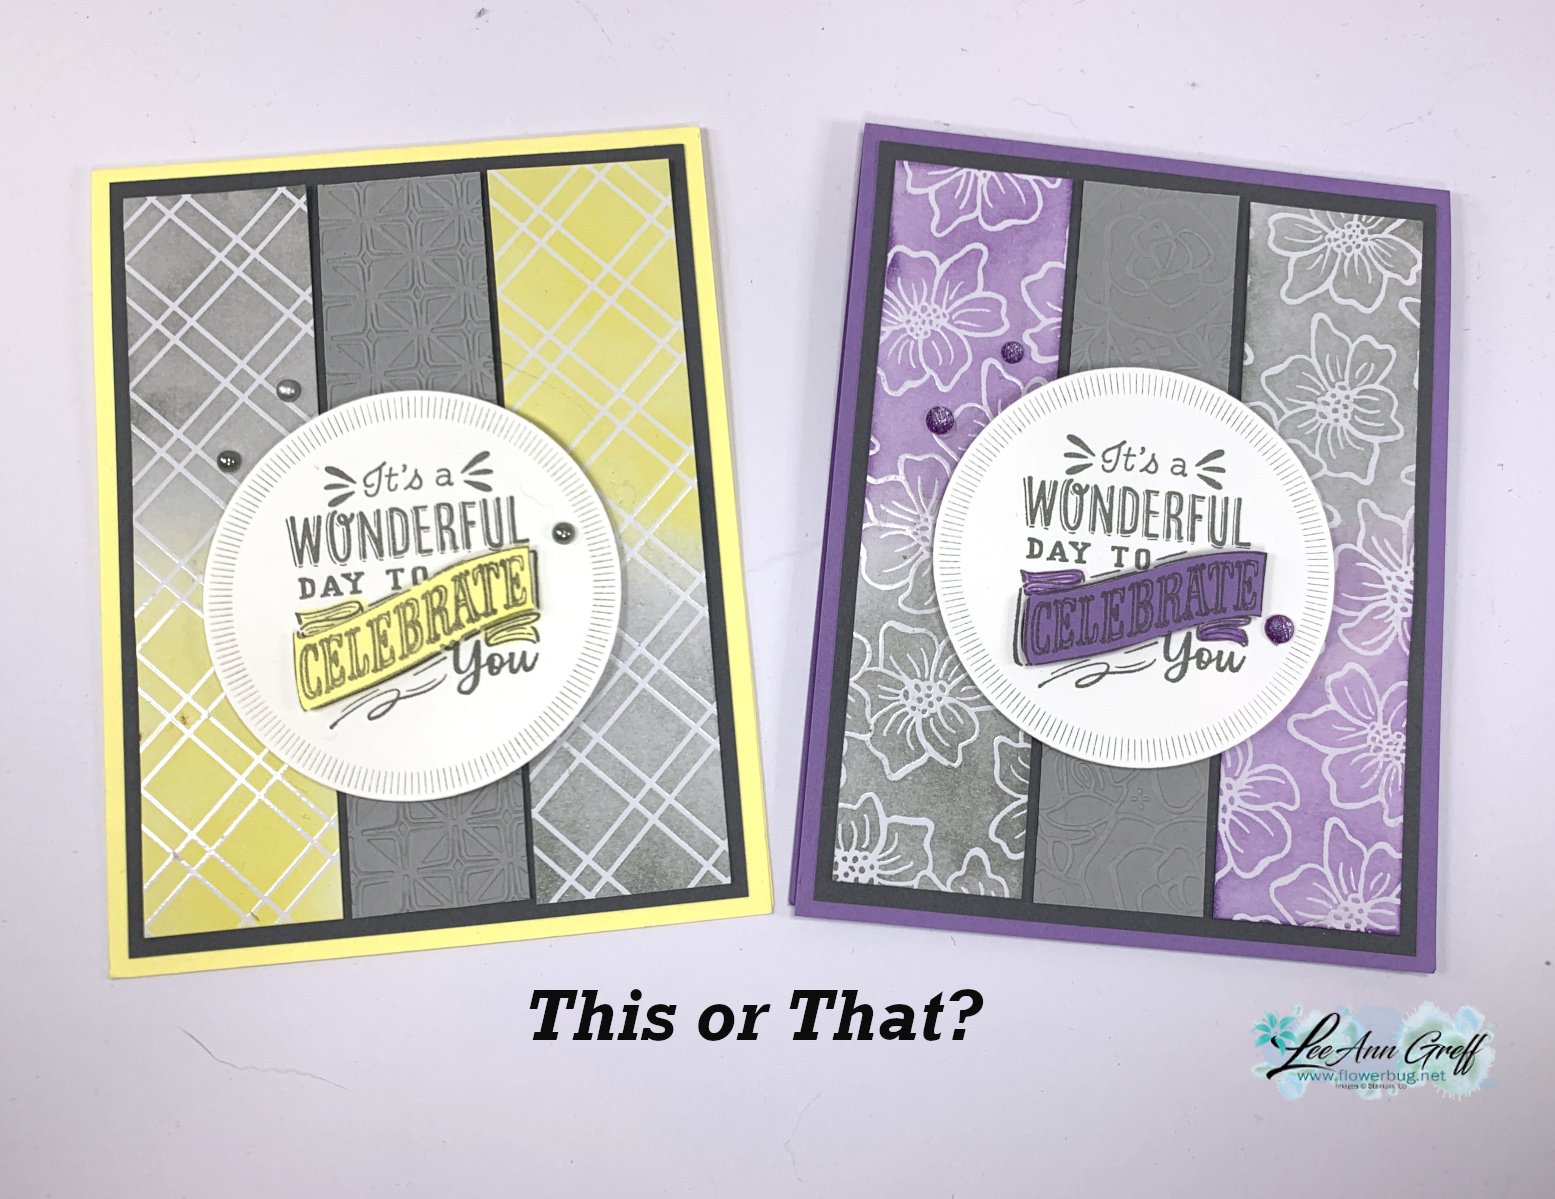
    I shared this card on last week's Live video. I wanted to feature the new Irresistible Designs specialty paper seen here in the new Annual catalog.  It has printed/embossed patterns that are perfect for the emboss resist technique.  

    Which color do you prefer? Are you a yellow or a purple person?  

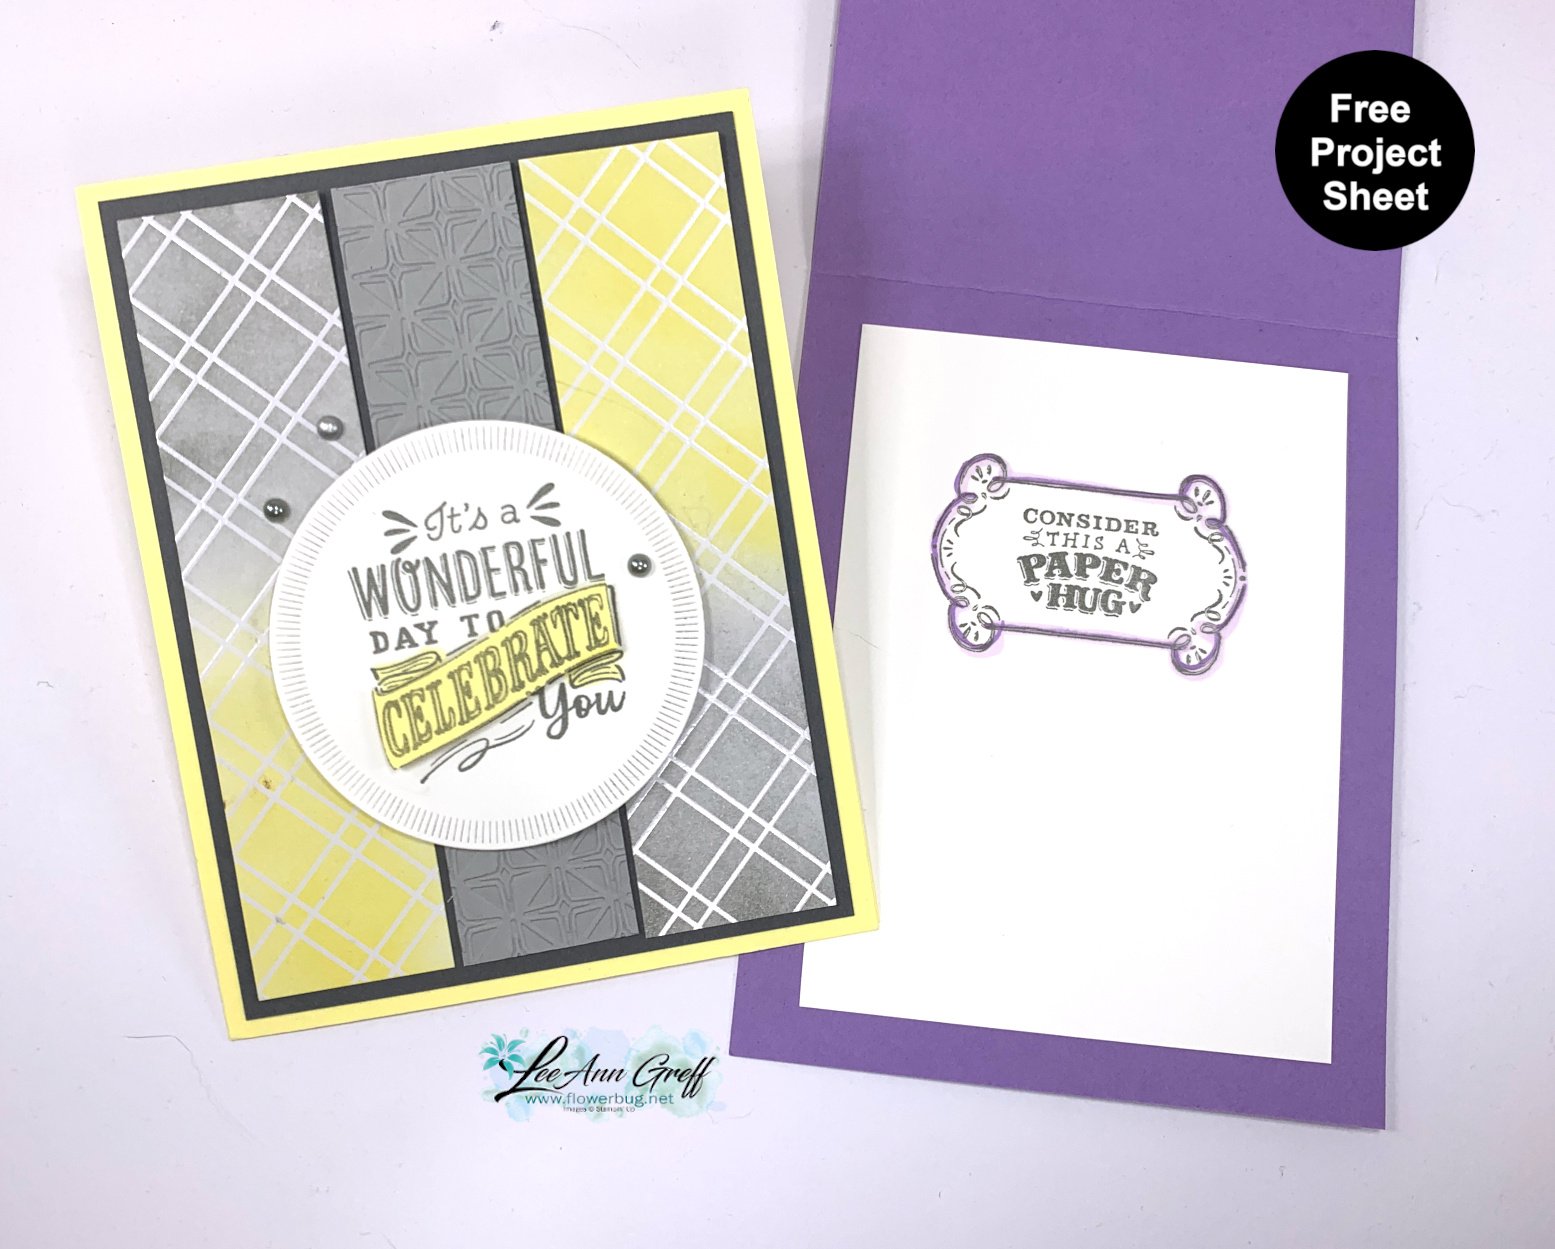
    My colors include Lemon Lolly, Basic Gray, Smoky Slate and Highland Heather. For inks I chose Lemon Lolly, Smoky Slate and Highland Heather. 

    I cut my strips first, then blended the inks on. I textured the center Smoky Slate layer with the Glass & Gardens embossing folders.  The circle die-cut is from the Spotlight on Nature dies.

    I stamped the greeting twice; first on the circle and again on a small piece of card stock.  I fussy cut the 'Celebrate' out and added it with Stampin' Dimensionals.  This was such an easy card! 

    Here's the free project sheet for these cards: Click on the following link to print or download it.  Download Paper Tags with Irresistible Designs

    I featured the Paper Tags bundle for this card and another one below.  See it here. 

    You can see the other card I shared during the video below.  Besides the emboss resist technique on the diagonal I featured the Joseph's Coat technique.  See it here.  

    Here's the free project sheet with directions, photo, measurements and a supplies list: Download Paper Tags Joseph's Coat card

    Below is the video tutorial for this card and another I shared in the video:

    ~~~

    June Specials:

    The Suite Sale is on! 

    Buy one get 50% the second item – on all available suite products. 

    Shop here or see products below: 

    ~~~

    Last Chance List has been updated!  see it all here. Don't miss out on the deals!

    ~~~

    Earn free card kits in June with online orders! Get 4 kits with a $50 order and orders over $80 receive all 6 cards. All you need are greetings, gems and adhesives to assemble. 

    Order here 

    ~~~

    Get my Celebratory Sips PDF tutorial free with any online order in June!

    Leave a Reply

    Your email address will not be published. Required fields are marked *


Notice: LeeAnn Greff, Independent Stampin’ Up! Demonstrator, Manager. The content of this website is my sole responsibility as an independent Stampin’ Up! demonstrator and the use of, and content of, the classes, services, or products offered on this website is not endorsed by Stampin’ Up! Copyright 2025