/


Latest Post

The easy way to make a ‘Fractured’ card! Video tutorial & free project sheet!


You may have seen these cards online lately; they're quite popular.  It looked s bit intimidating to me; I thought I'd have to do a lot of measuring to get the pieces to fit exactly.  

Well my team member Karen shared how to make them at our August Team meeting and I was surprised to learn it's quite easy peasy!  So I had to share the fractured card on a recent Live video so YOU could see how fun & quick it is.

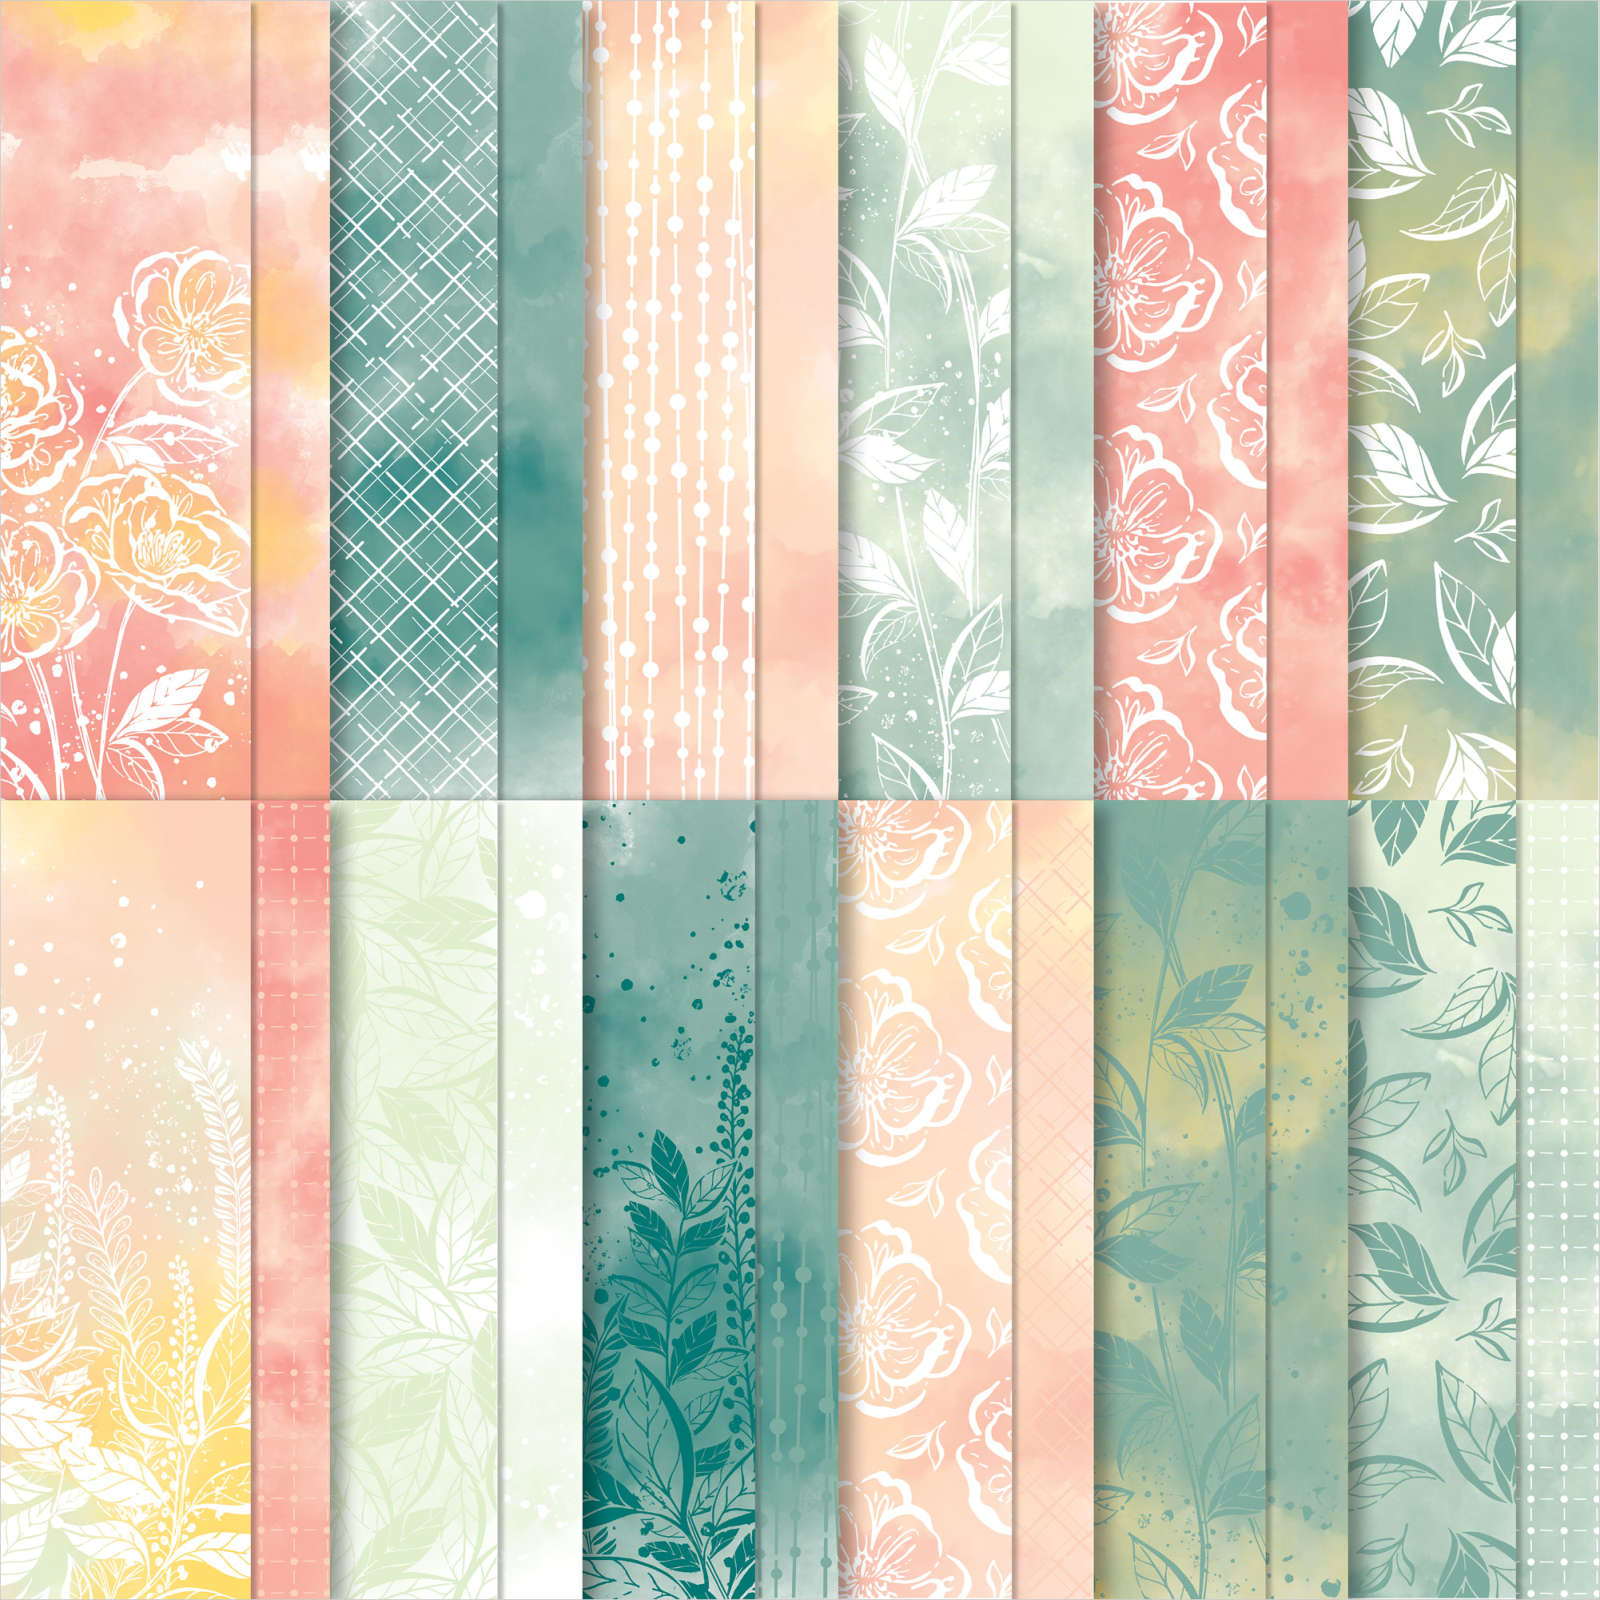
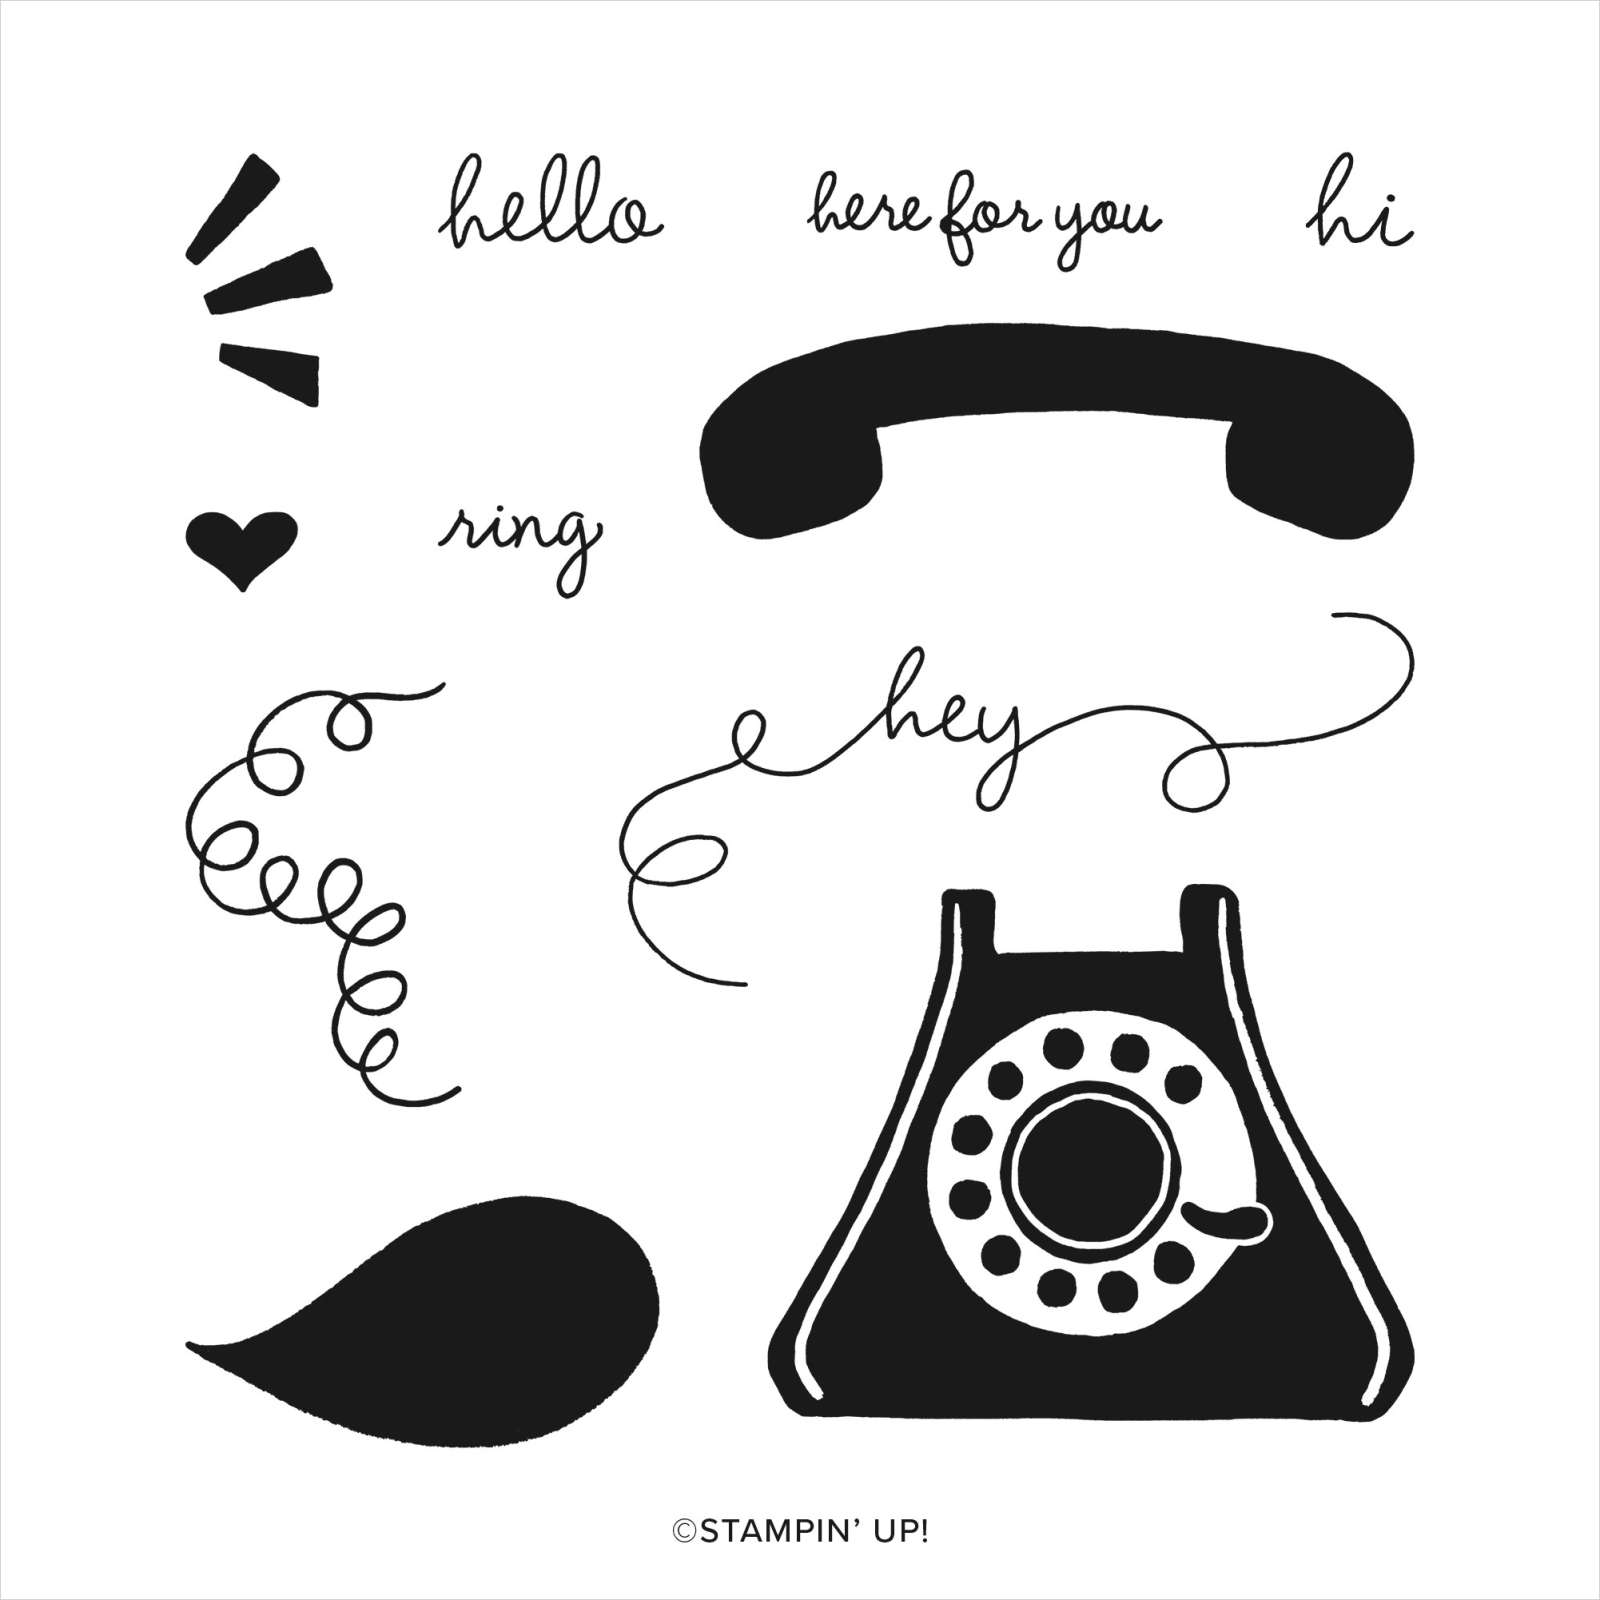
I chose to use the Hello, Irresistible designer paper and the Irresistible Blooms stamp set; both Online Exclusives. See all of our products available online here.  There are so many they have their own category!  

This card starts out with a full 4" X 5 1/4" layer of designer paper.  The center squares and strips are added on directly over the designer paper!  No measuring needed!!  

**Get the free project sheet here Download Irresistible Blooms Fractured card

This pretty designer paper is in low inventory.  Do you have it yet?  It's just beautiful!

My center squares are approximately 2" in size and are from the Stylish Shapes dies – the middle die of the 5 square dies. I chose to add a 2 1/4" layer under my square.  

Tip: Once you adhere your square to the upper center (eyeballing, no measuring needed) you will start adding your 1/4" X 5" strips of card stock.  You start at the upper center.  Leave the excess strips hanging off the card until you're done; then just trim off.  *watch the video below to see my helpful tips for success. 

Here are both cards I shared in the video; one in Pretty Peacock and the other in Petal Pink. 


Which do you prefer?  One is soft and pretty and the other is vibrant. I like the 1/4" strips to match the card base; I feel it gives a greater sense of continuity.  

I kept these cards quite simple but you could certainly add more to it.  

Click here or on the photo below to watch the video.  I believe it will give you the confidence to try it.  

 ~~~

August Specials: 

 *current host codes: KY99RPXP 

Free Gift with orders in August: 

Get a pack of at least 5 beautiful cards with orders over $50 this month. 

The more you order the more cards you get!

*cards are previous card kits to go; over the top and many fun folds.  

**Redeem your Bonus coupons in August! 

All Posts

  • See how the Josephs Coat Technique is done; with video & free project sheet


    Here's another project made on last week's Live video; it's the Josephs Coat technique using the new, upcoming Leaf Collection stamp.  

    That greeting stamp & scalloped oval die-cut are from the new Unbounded Love bundle from the upcoming 2024 Annual Catalog. I showed how to do this technique in the video here.  I also have a free project sheet with directions. 

    Here are the steps:

    1. Sponge ink all over a neutral piece of card stock – Pretty Peacock, new Summer Splash and lastly Granny Apple Green. 
    2. Wipe off any excess ink with a tissue to remove moisture.  Swipe with an embossing buddy.
    3. Ink your stamp in Versamark ink. Heat emboss with Clear embossing powder.  
    4. Use a water-based ink pad like Memento Black and rub or tap the ink over it all.  This is called 'Direct to Paper'. 
    5. With a damp tissue or paper towel, wipe off excess ink from the embossed area. It will not stay on the embossed area. 
    6. Finish your card as you'd like. 

    I inked the stamp again in a few colors – Granny Apple Green & Summer Splash, and fussy cut some leaves out for accents. Dies used above include Something Fancy & Stylish Shapes. 

    The card below features an emboss resist technique.  Same colors but the steps are different. 

    1. First I stamped using Versamark ink onto White card stock and heat embossed with clear embossing powder. 
    2. Then I added ink over the clear embossing; using Blending Brushes. Inks include: Summer Splash, Pretty Peacock and Granny Apple Green.  *This must be water-based ink!
    3. Use a damp tissue or paper towel to wipe off excess ink that will not stick to the embossed areas. Done! 

    The greeting is from the Irresistible Blooms stamp set (online exclusive) and the tags are from the Something Fancy dies (carrying over). 

    Click here for the free project sheet:   Download Leaf Collection Josephs Coat cards

    Which card do you prefer above?  Left or right? 

    Below is the video on how I made this card along with a few resist techniques featuring new Annual Catalog products. I hope you watch it AND subscribe to my YouTube channel too. 

    ~~~

    April Specials: 

    *current host code link:   D6QRFZ7J

    Here's a link to the Last Chance list 

    A free gift with orders in April:

    Check out my available Kits & Tutorials here:

    All online orders in April will receive a free multi-project tutorial!

    Leave a Reply

    Your email address will not be published. Required fields are marked *

  • The Clearance Rack has lots of new items! Run (don’t walk) to see it all


    Woo hoo!  The Clearance Rack has been updated with new products at amazing prices!  Don't wait another minute to check it out; they're while supplies last. Items can go FAST!! 

    Click here to shop. 

    Remember that you can shop the Last Chance items at the same time.

    And the kit collection too!  

    ~~~

    April Specials: 

    *current host code link:   D6QRFZ7J

    Here's a link to the Last Chance list 

    A free gift with orders in April:

    Check out my available Kits & Tutorials here:

    All online orders in April will receive a free multi-project tutorial!

    Leave a Reply

    Your email address will not be published. Required fields are marked *

  • Let’s Chat is cute & nostalgic! See the video & free project sheet


    Today I'm sharing one of the Club cards we made during my April Card Clubs. I chose the 'Let's Chat' stamp set seen here. 

    I love this set!  Between the fun old-fashioned telephone, the greetings and the curvy 'cord' images it's a blast to create with. 

    I chose to use the retiring Hot Air Balloon designer paper seen here for my color palette of Fresh Freesia & Balmy Blue. We did fussy cut the head set to add at the top with Stampin' Dimensionals. 

    For the inside of the card I used the Happy Little Things stamp set seen here.  I really like the many greeting combinations you can make. t's one of our online exclusives.  

    If you'd like the free project sheet click on this link: Download April 24 Let's Chat

    Below is the video on how I made this card along with a few resist techniques featuring new Annual Catalog products. I hope you watch it AND subscribe to my YouTube channel too. 

    ~~~

    April Specials: 

    *current host code link:  W62MPU2R

    ~~~

    Here's a link to the Last Chance list 

    A free gift with orders in April:

    Check out my available Kits & Tutorials here:

    All online orders in April will receive a free multi-project tutorial!

    Leave a Reply

    Your email address will not be published. Required fields are marked *


Notice: LeeAnn Greff, Independent Stampin’ Up! Demonstrator, Manager. The content of this website is my sole responsibility as an independent Stampin’ Up! demonstrator and the use of, and content of, the classes, services, or products offered on this website is not endorsed by Stampin’ Up! Copyright 2025