/


Latest Post

The Christmas Scottie bundle isn’t just for Christmas! Check out this HAPPY birthday card & video!


We made this adorable birthday card at my September card club classes.  I wanted to showcase this stamp & punch bundle but I wasn't ready to make a Christmas card yet. I came up with this fun birthday card:

Isn't it fun!  It truly is a 'Happy' card perfect for anyone; male, female, kids or adults!  I shared the step by step 'how to' in a recent FB Live video seen here. 
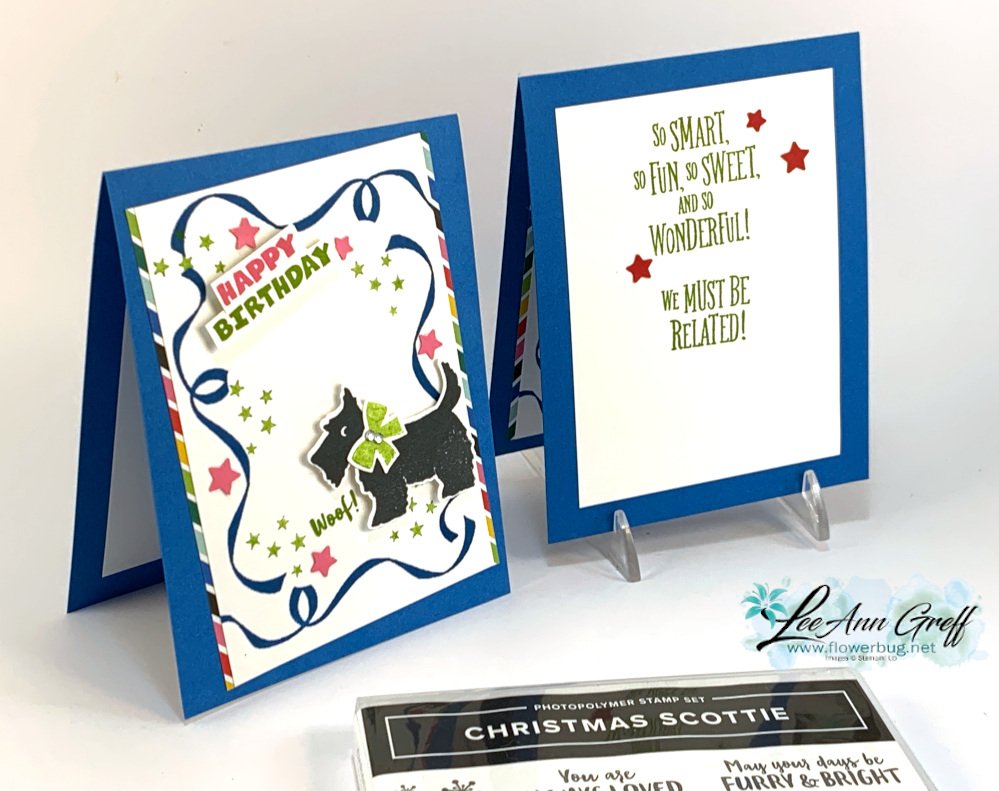
My favorite part of this card is the fun ribbon & star border.  And it's super easy too.

Measurements:

• Pacific Point 4 1/4" X 11" scored at 5 1/2"
• White front 3 1/2" X 5", inside 3 1/2" X 4 3/4"
• White scraps for the dog, bow & greeting
• Polished Pink & Real Red scraps for stars
• Celebrate Everything host DSP 1/2" X 5"

Supplies include:  

  • Inks – Black, Pacific Point, Granny Apple Green, Real Red & Polished Pink
  • Card stock – Pacific Point, White, Polished Pink & Real Red.  Celebrate Everything host DSP
  • Other – Witch Hat Builder punch for stars, Scottie dog punch, paper snips, Basic rhinestone jewels, punched stars are done with the Witch Hat punch
  • Greetings are from the Christmas Scottie & the Grand Kid set.

Besides this card I shared another CUTE Waterfall card in the video.  I just love this bundle!! See it here.

Click on the photo below to see the video.  Or click here. 

~~~

September Specials


New weekly deals come out on September 1st, 8th, 15th & 22nd! 

Order online here

Host code links: KSAEED9Y or JPJ4FKYJ

Get free cards from me with online orders!

Earn free products with my loyalty rewards! 

Click here to download yours and earn a $50 shopping spree!

All Posts

  • Yay! The August Paper Pumpkin kit is now available to everyone!!


    Exciting news!!!


    Are you disappointed that you didn't order the August Paper Pumpkin kit?  Well if you still want it they're offering the entire kit for a limited time! From 24 August–31 August, you can get the Shelli Hope Box or the refills (current subscribers only)!
     

    Or click here to subscribe

    I love the fun colors and many die-cuts in this kit!  And the stamps are fabulous as well.


    Here's an alternative card I made with this kit.  My subscribers receive a PDF tutorial filled with extra ideas every month!


    Did you know that you get a free Paper Pumpkin choice if you choose a pre-paid 3 month subscription?  And it only gets better from there!  I always purchase a pre-paid subscription during Sale-a-Bration.  Love getting something free with my purchase! 

    ~~~

    August Specials

    Host code: UTDM9JQG

    *click here to order

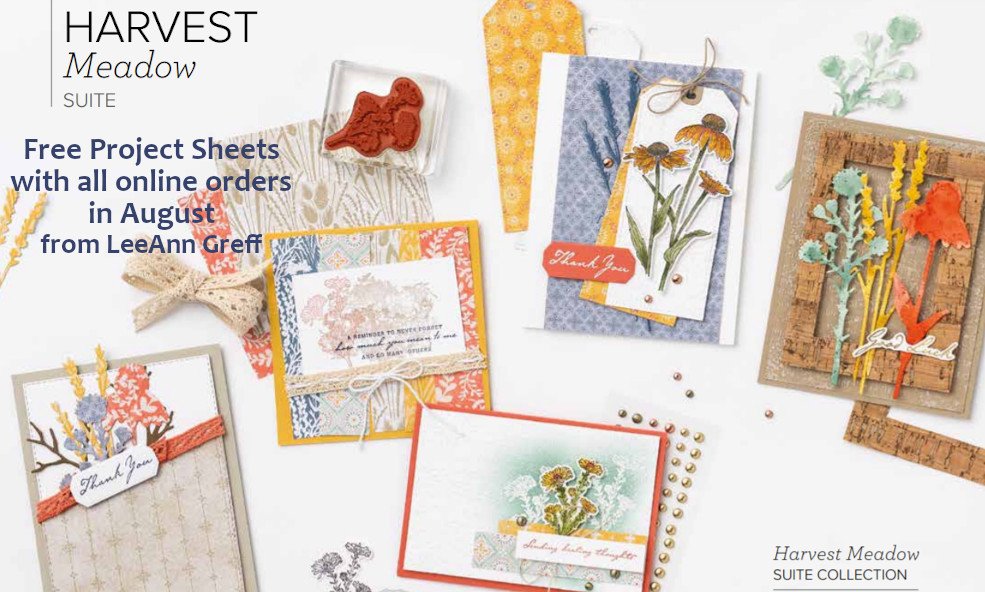
    All online orders will receive a free PDF tutorial filled with projects featuring

    the Harvest Meadow Suite!

    Get the Cute Star Adhesive-Backed Sequins with a $50 online order from me in August! 

    Order here


    Get a Free Bundle  from the Holiday Catalog when you choose the Starter kit!  Pick out $125 in product of your choice for just $99 and shipping is free! You also receive a free Paper Pumpkin kit in addition to catalogs & business supplies.  

    Leave a Reply

    Your email address will not be published. Required fields are marked *

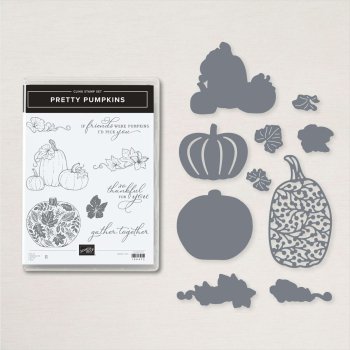
  • Pretty Pumpkins with Be Dazzling specialty paper


    After seeing other projects with the Pretty Pumpkin bundle I had to get it.  I love the images and the font in the greetings. 

    I stamped the large pumpkin image in Pumpkin Pie ink and colored them and the leaves with Blends markers using both Pumpkin Pie & Olive markers plus light Crumb Cake for the stem & light Cajun Craze for the darkest areas on the pumpkins. 


    I was playing around with the Be Dazzling specialty paper and decided to try to color it.  I had a spritzer filled with rubbing alcohol & either Pumpkin Pie or Cajun Craze ink refill.  So I spritzed it on to a piece of the glittery paper.  It worked beautifully!  I did have to let it sit for a few minutes to set well.  Then I rubbed it with tissue to get any excess off before I die-cut the pretty filigree pumpkin with it.  

    I also spritzed my White twine to color it as well. 

    Other products:

    • Ornate Layer & Potted Succulent dies
    • Timeworn Type 3D embossing folder
    • Wink of Stella on the leaves

    ~~~

    August Specials

    Host code: UTDM9JQG

    *click here to order

    All online orders will receive a free PDF tutorial filled with projects featuring

    the Harvest Meadow Suite!

    Get the Cute Star Adhesive-Backed Sequins with a $50 online order from me in August!

    Order here


    Get a Free Bundle  from the Holiday Catalog when you choose the Starter kit!  Pick out $125 in product of your choice for just $99 and shipping is free!  

    Leave a Reply

    Your email address will not be published. Required fields are marked *

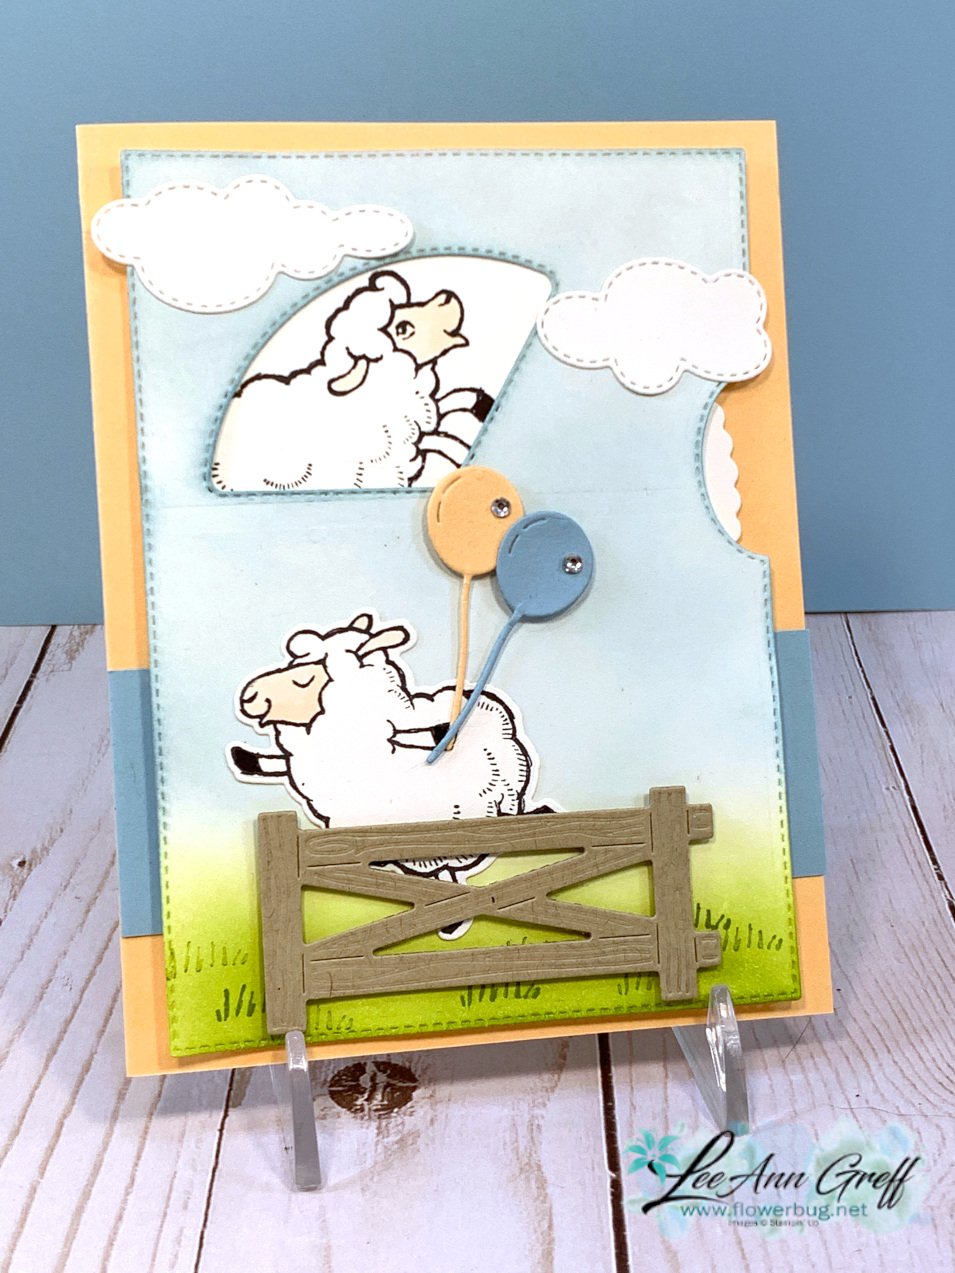
  • Counting Sheep with the Give it a Whirl dies interactive card


    We made this adorable card at my August card clubs this month.  It features the new Counting Sheep & the Sheep dies from the Sale-a-Bration catalog.

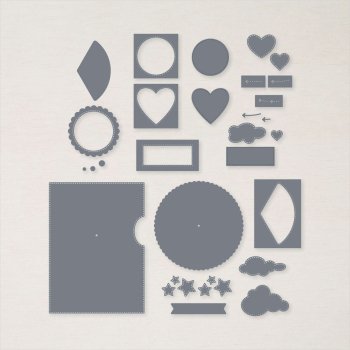
    Plus it's a view-master card! Remember those?  The Give it a Whirl dies (seen here) on page 163 of the annual catalog are incredible!  I was hesitant to even try using these dies because I thought it would be so complicated to figure out.  But I was pleasantly surprised at how easy and intuitive they are to use. Stampin' Up! really did these up smart! 

    Please watch my video below to catch my quick tips for a successful view-master card. 

    The colors here are Pale Papaya, Balmy Blue, White, Crumb Cake & Granny Apple Green.  We created a background using the Blending Brushes with Balmy Blue & Granny Apple Green ink. 


    ***Heads up on the Sheep dies – Stampin' Up! has a limited supply of these and does expect to run out before Sale-a-Bration is over.  So if you're wanting both the stamp set & dies, get the dies first! 


    Details:

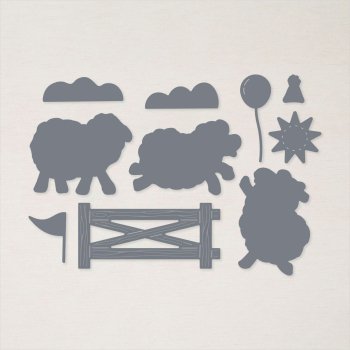
    • Sheep dies include the fence, balloons and the sheep
    • Give it a Whirl dies – stitched view-master sponged layer, the scalloped circle, clouds, window & stars 
    • I cut the scalloped circle piece from thick White CS since it would get a lot of activity
    • You will need brads & Stampin' Dimensionals for this card to work 

    I used light Petal Pink and Gray Granite blends to color the sheep. 


    And below is the video; this card is so fun! 

    ~~~

    August Specials

    Host code: UTDM9JQG

    *click here to order

    All online orders will receive a free PDF tutorial filled with projects featuring

    the Harvest Meadow Suite!

    Get the Cute Star Adhesive-Backed Sequins with a $50 online order from me in August! 

    Order here


    Get a Free Bundle  from the Holiday Catalog when you choose the Starter kit!  Pick out $125 in product of your choice for just $99 and shipping is free!  

    Leave a Reply

    Your email address will not be published. Required fields are marked *


Notice: LeeAnn Greff, Independent Stampin’ Up! Demonstrator, Manager. The content of this website is my sole responsibility as an independent Stampin’ Up! demonstrator and the use of, and content of, the classes, services, or products offered on this website is not endorsed by Stampin’ Up! Copyright 2025