/


Latest Post

Team Card swaps with a Clean & Simple theme


This week I'm sharing our Team card swaps from March.  Our theme was Clean & Simple which can be a challenge for some. We also couldn't use any designer series paper! 

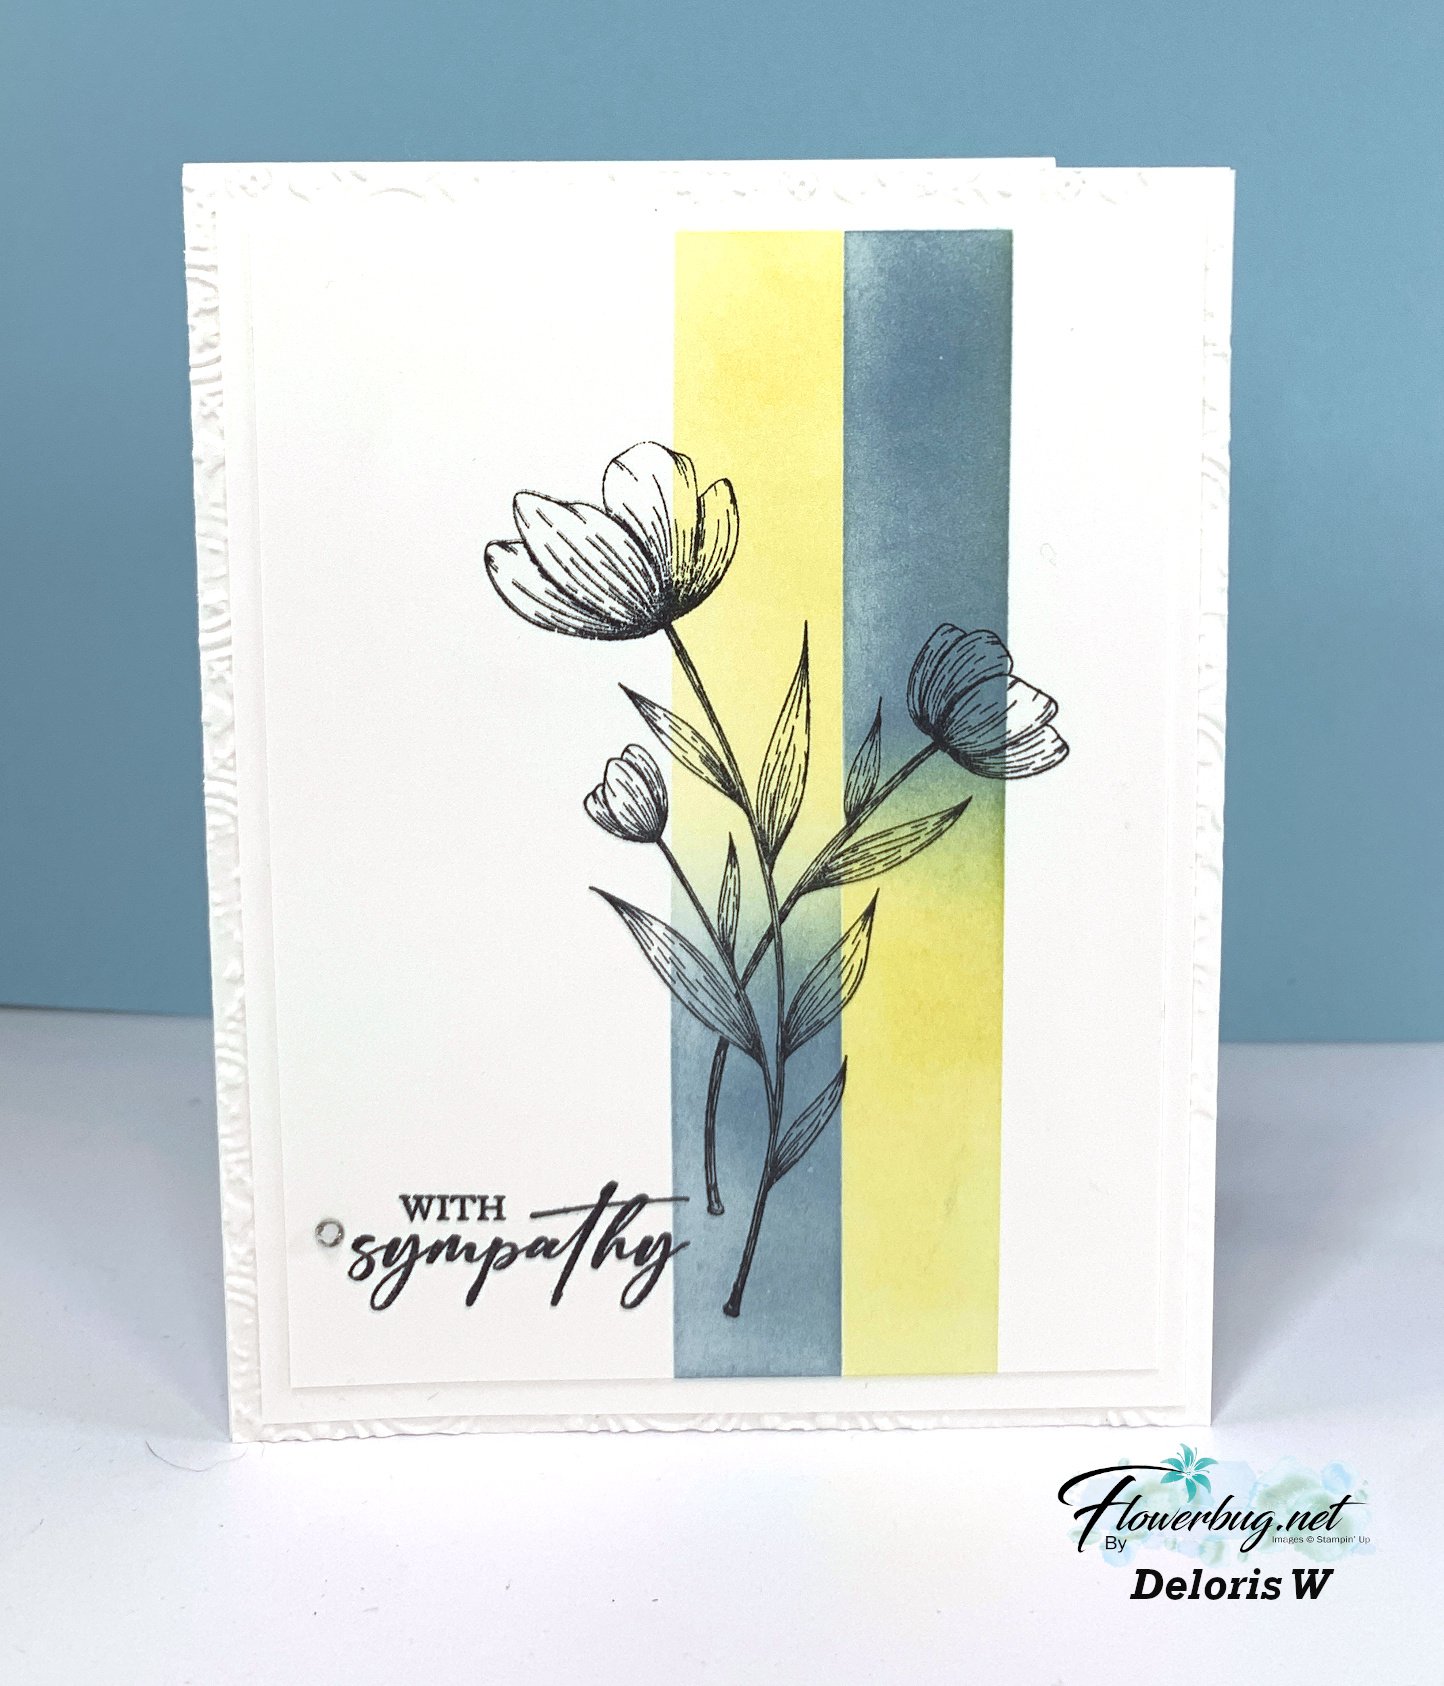
First up is a stunning card made by Deloris.  

She masked her White card stock to sponge yellow & blue ink to create a pretty background for the floral stamp.  This flower is from the Spotlight on Nature stamp set.  Her card also has 3 layers of White – the bottom layer is textured.  Gorgeous!

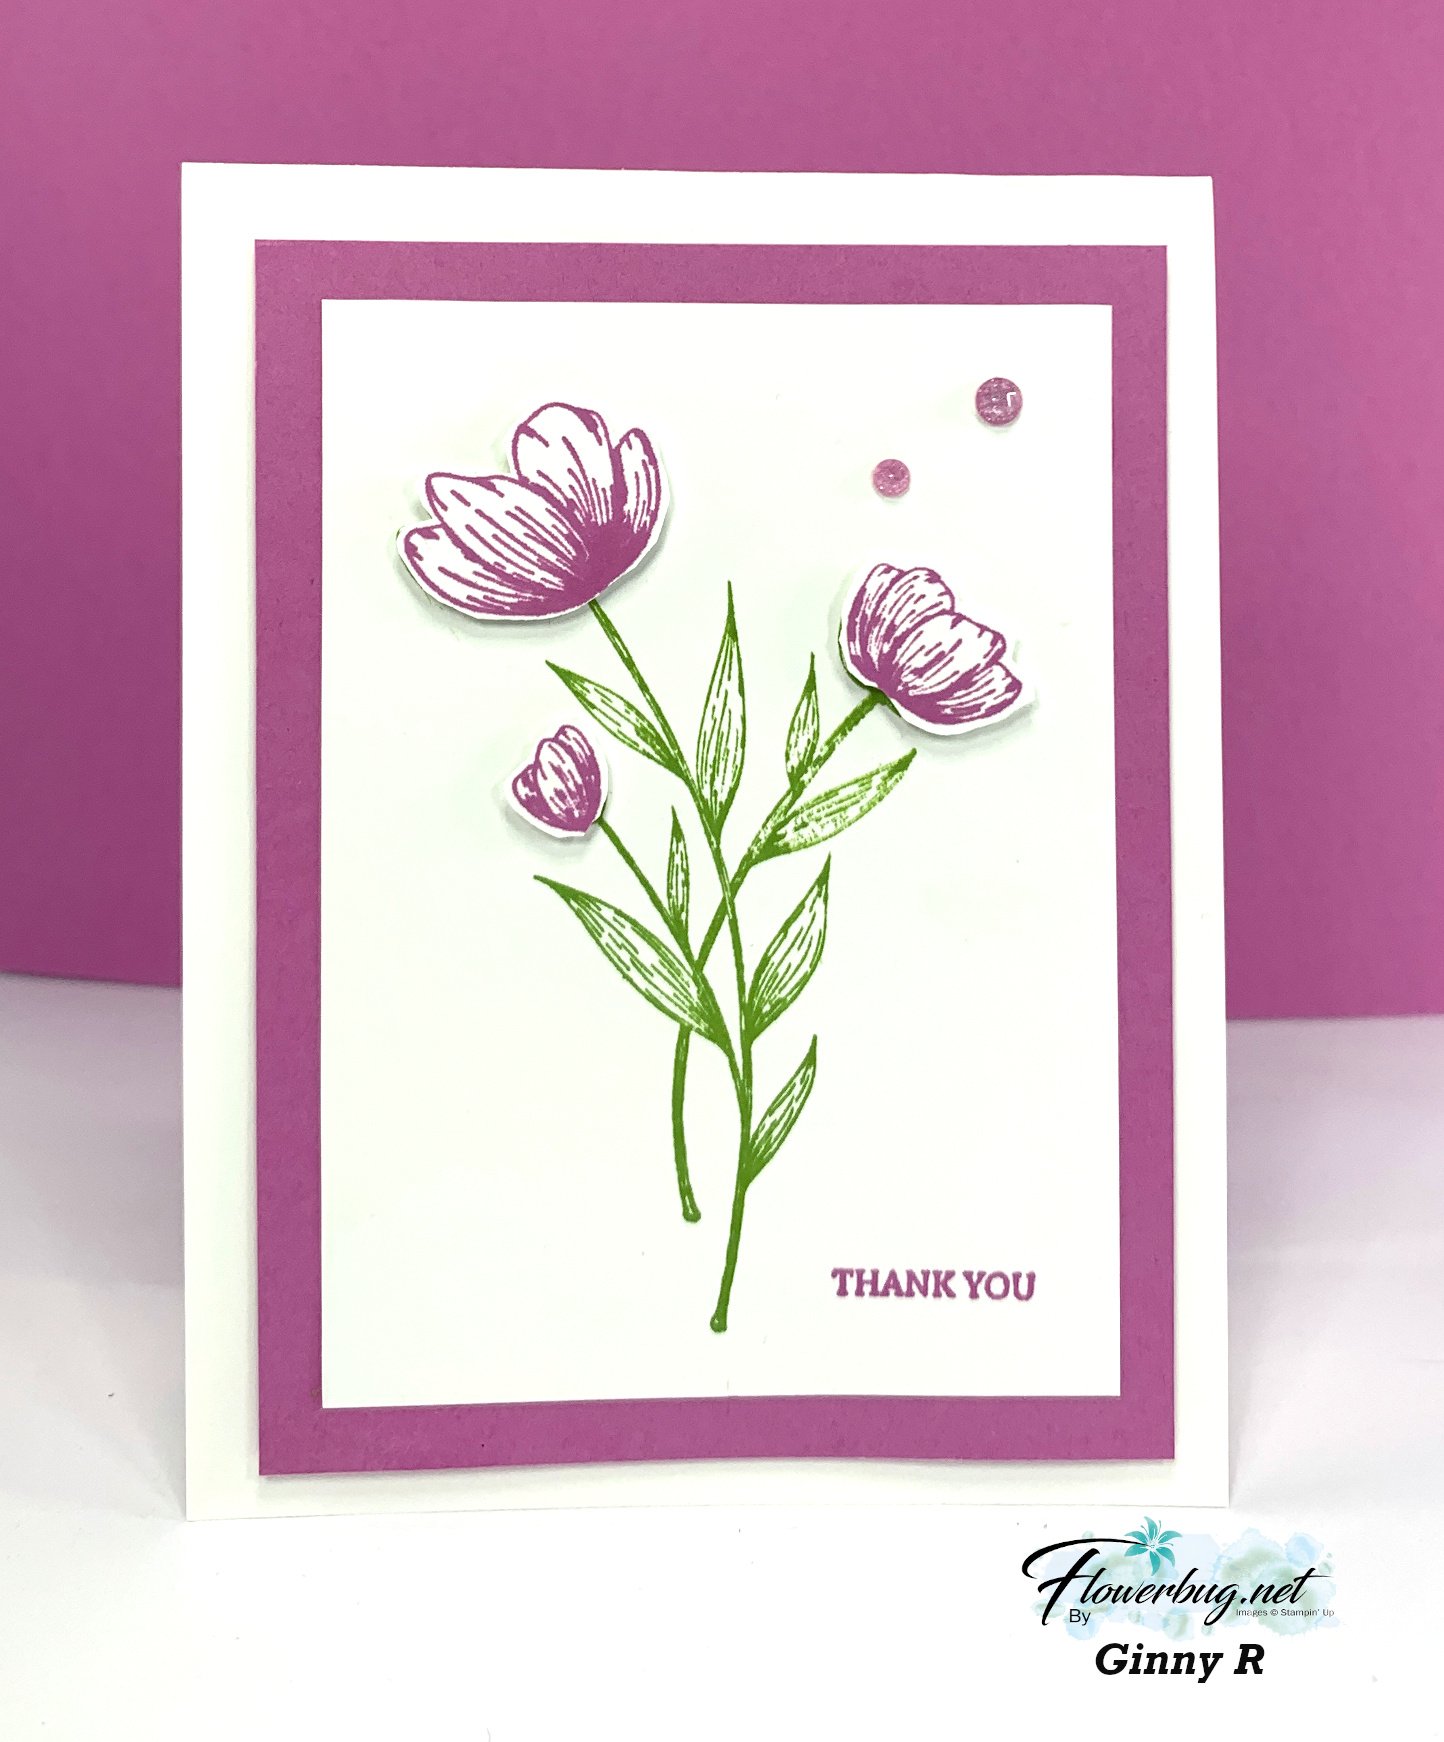
Ginny also used the Spotlight on Nature stamp set on her beautiful card:

She used Petunia Pop with Granny Apple green and popped up her flowers on Dimensionals.  Well done!  

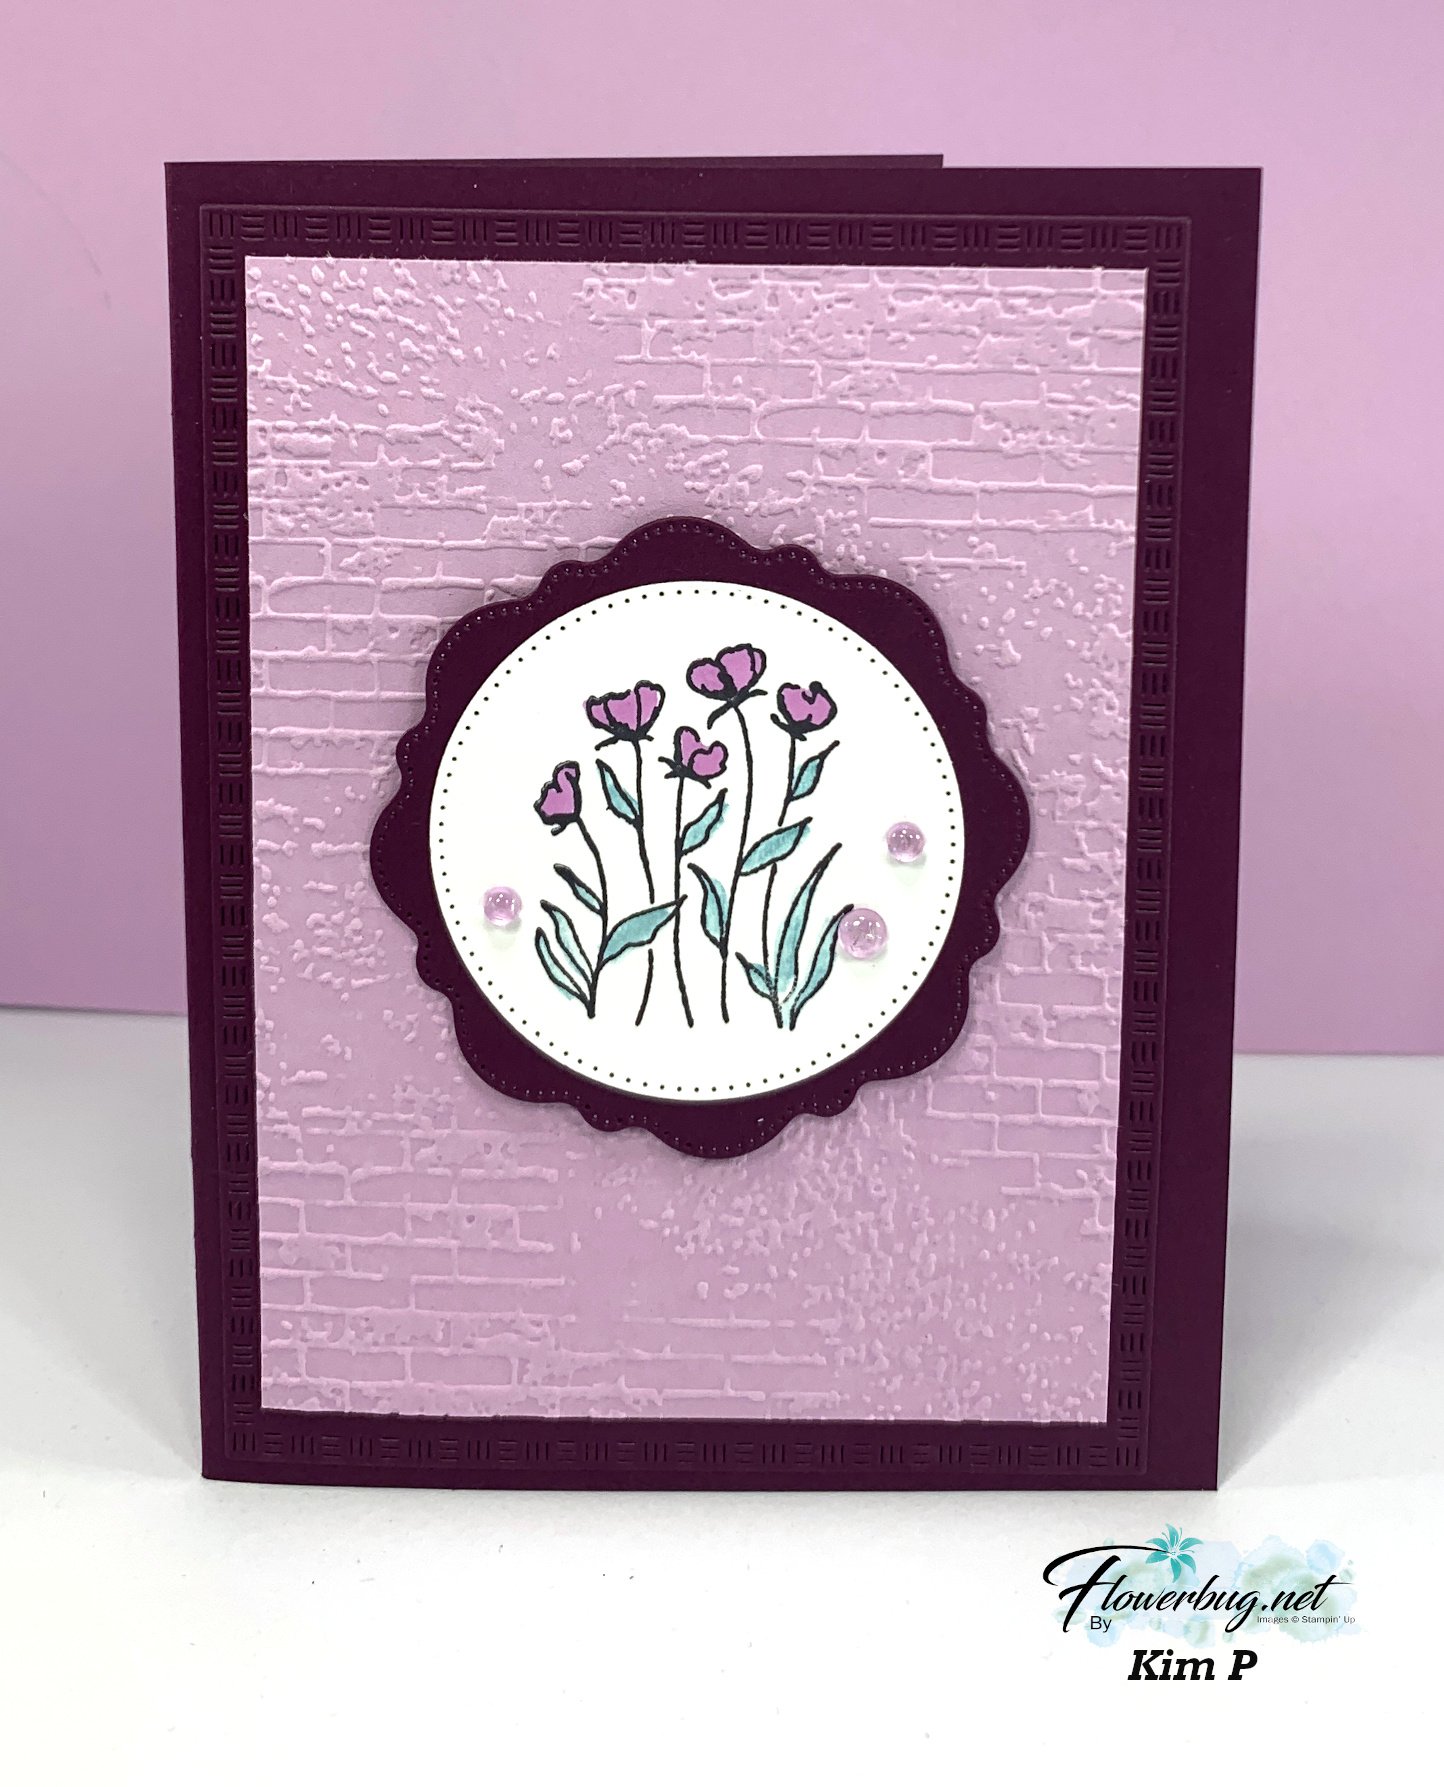
Kim is a first time swapper in our group and did a great job on her card: 

She used the Thoughtful Wishes stamp set and the Exposed Brick 3D embossing folder here.  Her colors include Fresh Freesia and Blackberry Bliss. Sweet & simple!  Good job Kim!

Candy made this adorable card with the Resourceful Rusty stamp set.  

Her colors include Gray Granite, Real Red, & Balmy Blue.  She trimmed off half of her card front so the circle dies & main image hang over. 

Other products include: New Mini Corrugated embossing folder, New Textured Notes dies, Stylish Shapes and Spotlight on Nature dies. Blends markers for coloring.  Love that tail!  

More swaps will be shared tomorrow! 

~~~

March Specials:

*current host code link:  

PNQMAWXD

Get a free Floral Delight tutorial with any online order in March!

 Free Iridescent Foil gems!

All Posts

  • 2 more beautiful scenes with the After the Storm stamp set with video


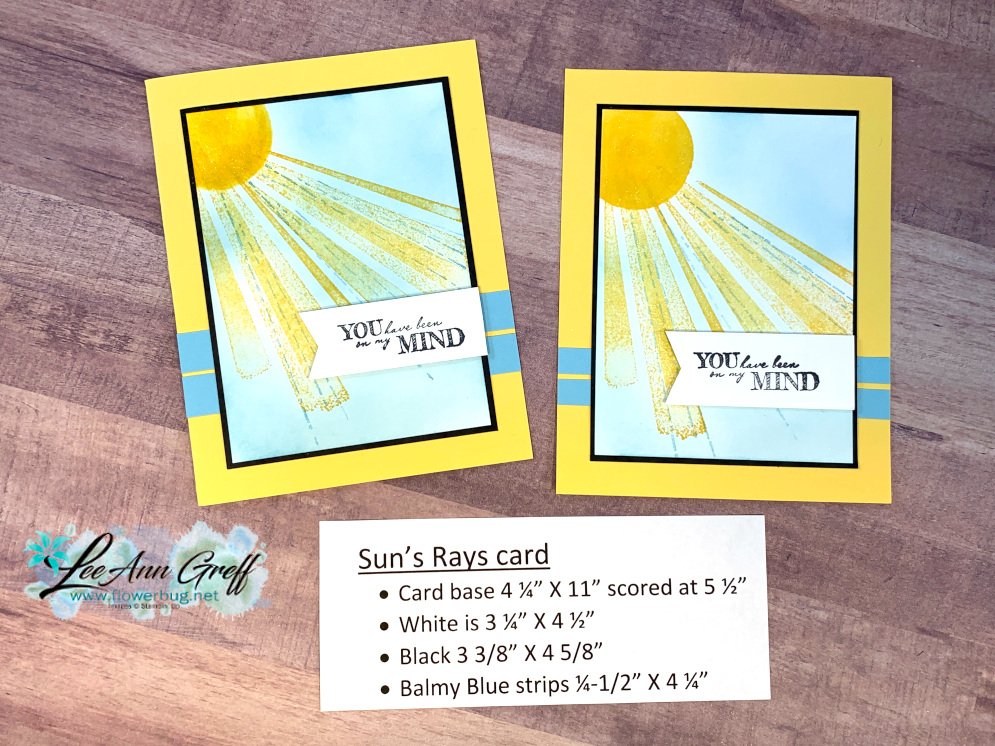
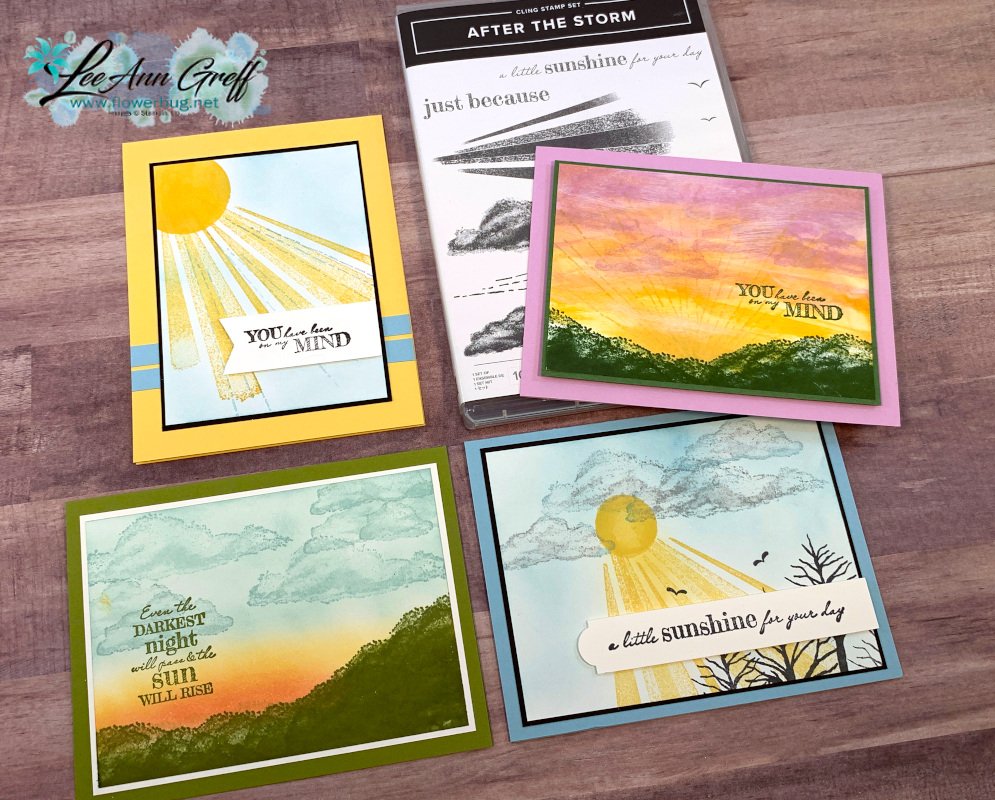
    Yesterday I shared the details on two cards featuring the After the Storm stamp set seen here.  Today I'm sharing two more.  


    Creating scenes is one of my favorite stamping techniques and this set features distinktive images we've never had before. 

    My color scheme here is So Saffron, Balmy Blue, Black & White. I did use our fabulous Blending Brushes to achieve the sky background.  They really do help you get a smooth finish.  Although here I wanted the sky to be slightly imperfect with light and darker areas for a cloudy look. 

    Here I created a mask for the sun using a 1 1/2" circle and sponged in So Saffron ink.  Then I stamped the sun's ray's.  To accent them I added the thin lines using 2nd generation Balmy Blue ink.  You can sponge the sky before or after you stamp the sun's rays. Since it's a light color ink it really doesn't matter.  

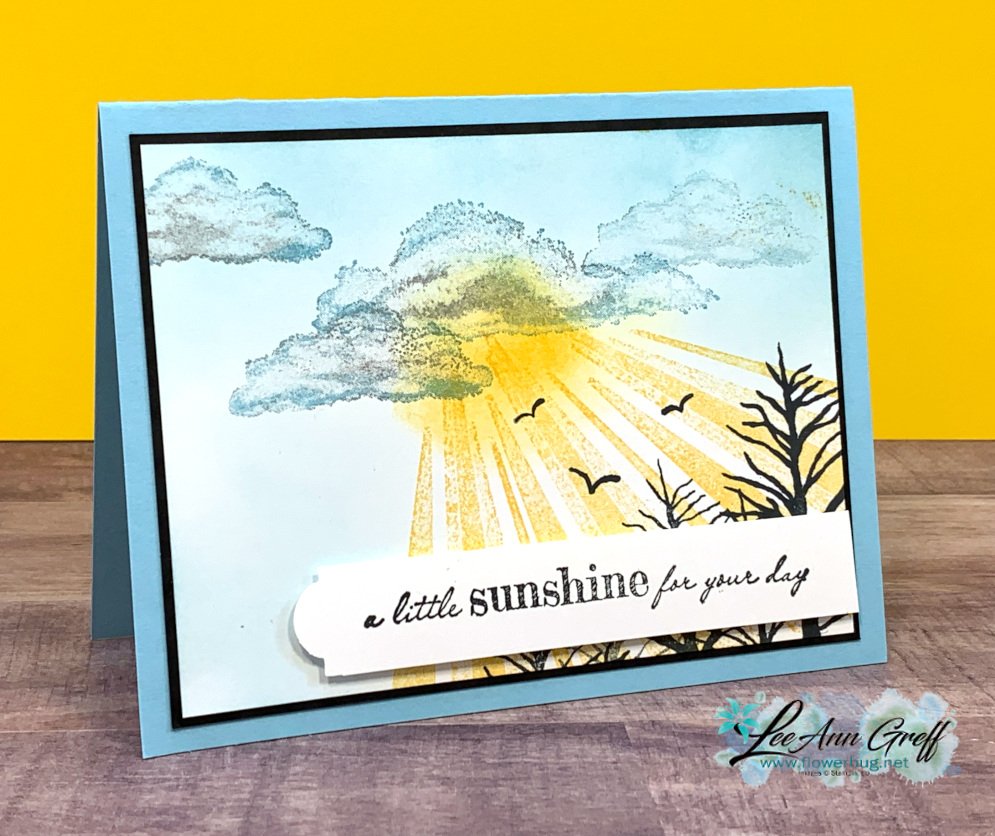
    For the card below I used the rock & roll technique for the clouds.  You can see how this is done in the video below.  I used Smoky Slate and Balmy Blue ink on the cloud images.  

    Within the clouds I sponged a hint of a 'sun' with a sponge dauber & So Saffron ink and added the sun rays from that.  All images are from this stamp set except for the trees; they are from the Beauty of Friendship stamp set.  The White greeting is 3/4" thick and the left end is punched with the Treasured Tag Pick a Punch. 

    Below is the video for both of these cards & two more! 

     ~~~

    May Specials & Promotions!

    Get $55 in free product with purchase of the Stampin' Up! Starter Kit!  Choose $155 in product of your choice for just $99 and get FREE SHIPPING as well! 


    Earn an extra $25 in free product if your order is over $250!  That means you get $50 in free product!  *combine your order with a friend.


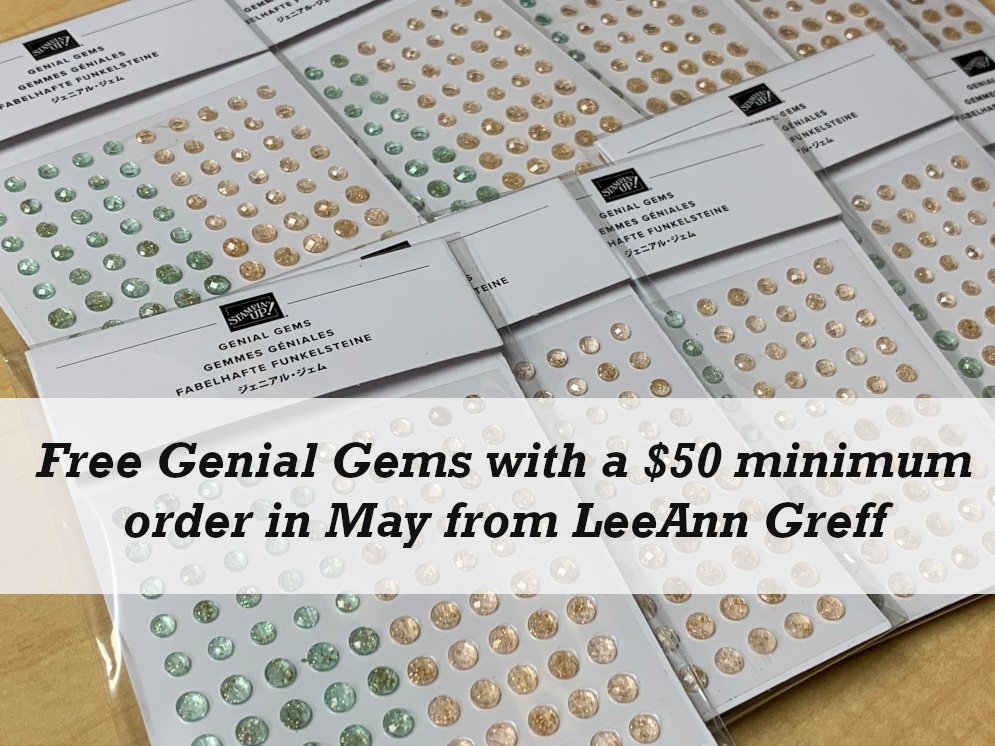
    Get a NEW embellishment from the Annual Catalog with an online order

    over $50 before tax & shipping. 

    Host code: WB2EX96R  Click here to order

    Use this host code if your order is under $150. If it's over you'll still get the jewels but you'll also earn host benefits! Better yet, choose the Starter Kit and get $55 in FREE product and FREE Shipping as well!  Click here!

    *All online orders in May receive a free PDF full of project ideas with 2 new catalog suites! 

    Leave a Reply

    Your email address will not be published. Required fields are marked *

  • Beautiful stamped scenes & video with After the Storm set


    Since I cannot draw, sketch or paint I stamp.  My husband, Mom, sister and cousin have all painted beautiful scenes and I have many of them hanging in my home.  I think this is why I love creating stamped scenes.  Scene builder sets are some of my favorites; it truly makes me feel like an artist!  I made these cards on a recent FB Live. *video is posted below

    The After the Storm stamp set (seen here) is France Martin's Million Dollar Achiever stamp set.  It caught my eye right away.  I had a play with it one afternoon and created these cards. 

    I'm sharing two today and will give the details on the other two tomorrow. 

    You might wonder where I got the hills/mountain image.  Well it's the clouds stamp!  I love finding new ways to use stamps to create something beautiful yet unexpected! 

    The colors here are Fresh Freesia, So Saffron and Garden Green.  I used a direct to paper technique, swiping my ink pad across the White CS for the horizon.  I stamped the clouds using Fresh Freesia ink. 

    I did add just a bit of Pale Papaya ink at the top and swiped my White Craft ink pad across it at the end. 

    For this next card I used a totally different technique with the Blending Brushes.  

    I used the following inks: Old Olive, Pool party, So Saffron and Calypso Coral. I used Blending Brushes for the Pool Party and So Saffron inks and for the sunset I used a sponge dauber for the Calypso Coral.

    Again I used the large cloud stamp to create the hills. 

    Below is the video for both of these cards & two more! 

    ~~~

    May Specials & Promotions!

    Get $55 in free product with purchase of the Stampin' Up! Starter Kit!  Choose $155 in product of your choice for just $99 and get FREE SHIPPING as well! 


    Earn an extra $25 in free product if your order is over $250!  That means you get $50 in free product!  *combine your order with a friend.


    Host code: WB2EX96R  Click here to order

    Use this host code if your order is under $150. If it's over you'll still get the jewels but you'll also earn host benefits! Better yet, choose the Starter Kit and get $55 in FREE product and FREE Shipping as well!  Click here!

    *All online orders in May receive a free PDF full of project ideas with 2 new catalog suites! 
    Leave a Reply

    Your email address will not be published. Required fields are marked *

  • You’re a Peach fun fold swap card


    I actually love to create swap cards.  There's something rewarding about creating multiples of the same cards.  

    How do swaps work?  I know many people are curious….  You create one design and make multiples of it; usually for as many of that card as there are people in the swap.  Swapping saves so much time and you get samples using products you don't have to buy. There are so many benefits of swapping but for most of us, the main reasons are it's fun and to get samples we didn't have to design.  

    I have gals in my Flowerbug's Team that join just so they can swap! Right now the JOIN+ offer is so great I hope you'll consider it if you are not already a Demonstrator.  The value is incredible!  If you have a wish list over $150 you really need to consider this! 


    You can choose $155 in product of your choice for just $99!  Get FREE shipping, a free Paper Pumpkin kit and lots of business supplies to start you out. Click here to read more about it.  

    I created the card below for a Flowerbug Team swap this month.  My gals can take part in our monthly swaps if they'd like to.  It's a great opportunity to get a variety of cards to use or share.  

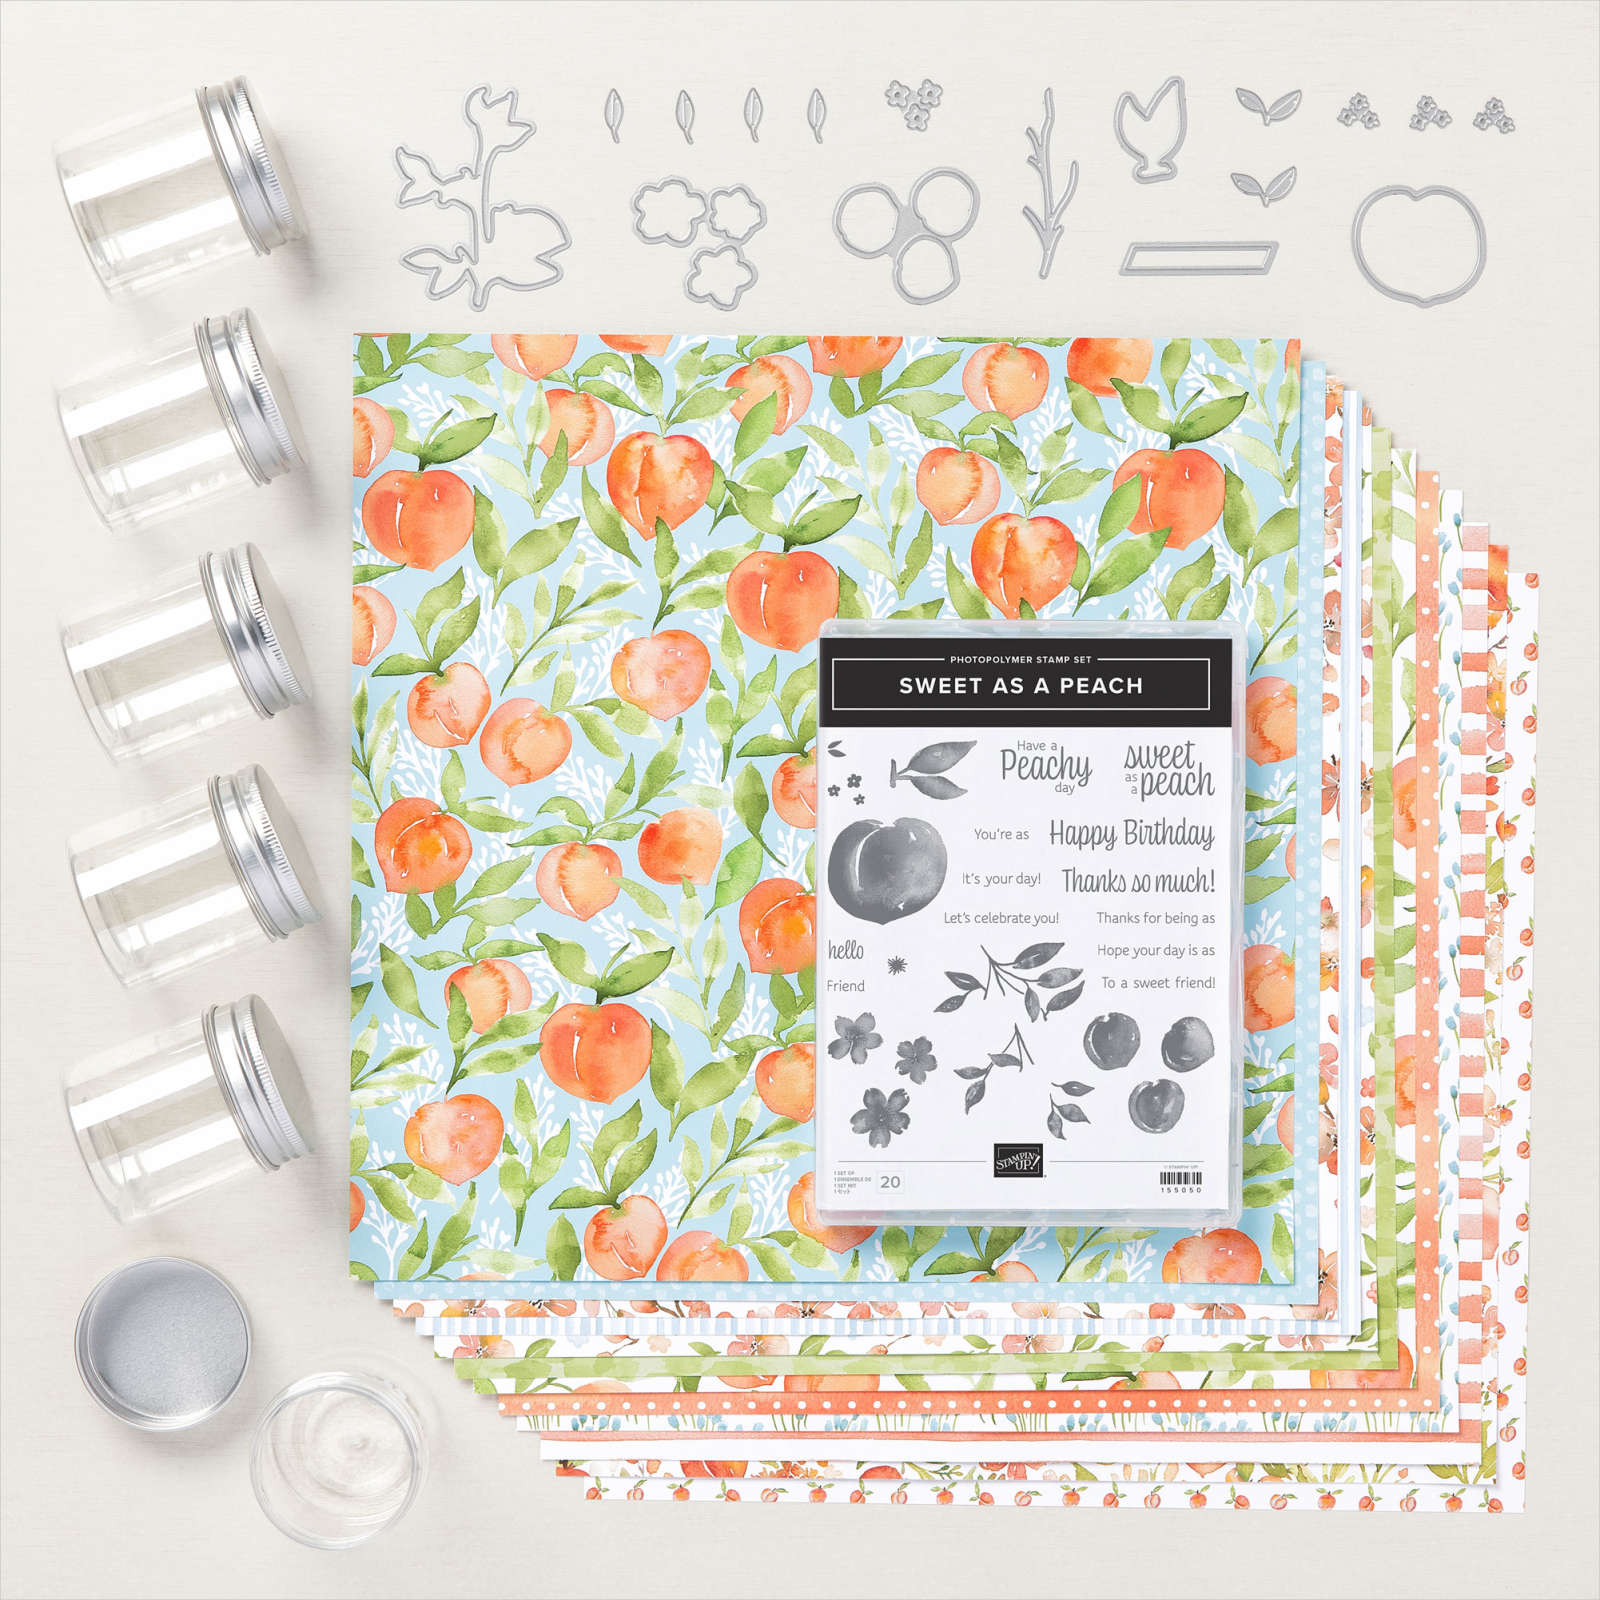
    For this card I used the You're a Peach suite seen here.  It's on pages 60-61 in the Annual catalog. 

    The card base is Pale Papaya and I added Balmy Blue, Pear Pizzazz, Calypso Coral and White accents. The greeting die is from the Tasteful Labels dies seen here.  I layered it with Pale Papaya CS. 

    You might wonder how I achieved the 'blushing' peach image.  I inked the three peaches (all on one stamp) in Pale Papaya and before I stamped I sponged on a bit of Calypso Coral on the outer edges of each. 

    Here's the sequence of stamping the main image:

    1. Stamp the leaves image twice on the White CS using Pear Pizzazz ink.  I stamped off once first. 
    2. Ink and stamp the peaches using the technique mentioned above.  
    3. Add Balmy Blue ink all over using Blending Brushes.  Be sure to use a light hand and start off of the card stock. 

    Here's a look at the inside: 

    Measurements: 

    • Pale Papaya card base 5 1/2" square, score at 4 1/4"
    • Balmy Blue 4 1/4" X 3 1/4"
    • Whisper White – 2 pieces.  Front is 4" X 3", inside is 4 1/2" X 3 1/2"
    • You're a Peach DSP 1" X 5 1/4" 

     ~~~

    May Specials & Promotions!

    Get $55 in free product with purchase of the Stampin' Up! Starter Kit!  Choose $155 in product of your choice for just $99 and get FREE SHIPPING as well! 


    Earn an extra $25 in free product if your order is over $250!  That means you get $50 in free product!  *combine your order with a friend.


    Get a NEW embellishment from the Annual Catalog with an online order

    over $50 before tax & shipping. 

    Host code: WB2EX96R  Click here to order

    Use this host code if your order is under $150. If it's over you'll still get the jewels but you'll also earn host benefits! Better yet, choose the Starter Kit and get $55 in FREE product and FREE Shipping as well!  Click here!

    *All online orders in May receive a free PDF full of project ideas with 2 new catalog suites! 
    Leave a Reply

    Your email address will not be published. Required fields are marked *


Notice: LeeAnn Greff, Independent Stampin’ Up! Demonstrator, Manager. The content of this website is my sole responsibility as an independent Stampin’ Up! demonstrator and the use of, and content of, the classes, services, or products offered on this website is not endorsed by Stampin’ Up! Copyright 2025