/


Latest Post

Still more incredible Fun Fold Team swap cards!


We had sooo many fabulous fancy fold cards at our February Team swap!  I've been sharing a few each day this past week. Please look back to see them all; I'm sharing measurements for each one!

Jacki made this stunning Pinwheel Tower card featuring the Nature's Sweetness Suite: 

Her colors include White, Pebbled Path and bit of Gold foil & Vellum. She also added gold pearls and Gold Elegant Trim. The texture is made with the Exposed Brick embossing folder.  The greeting is from the Charming Sentiments bundle.

See the Nature's Sweetness suite here; it's huge & filled with beautiful stamps, textures & die-cuts. 
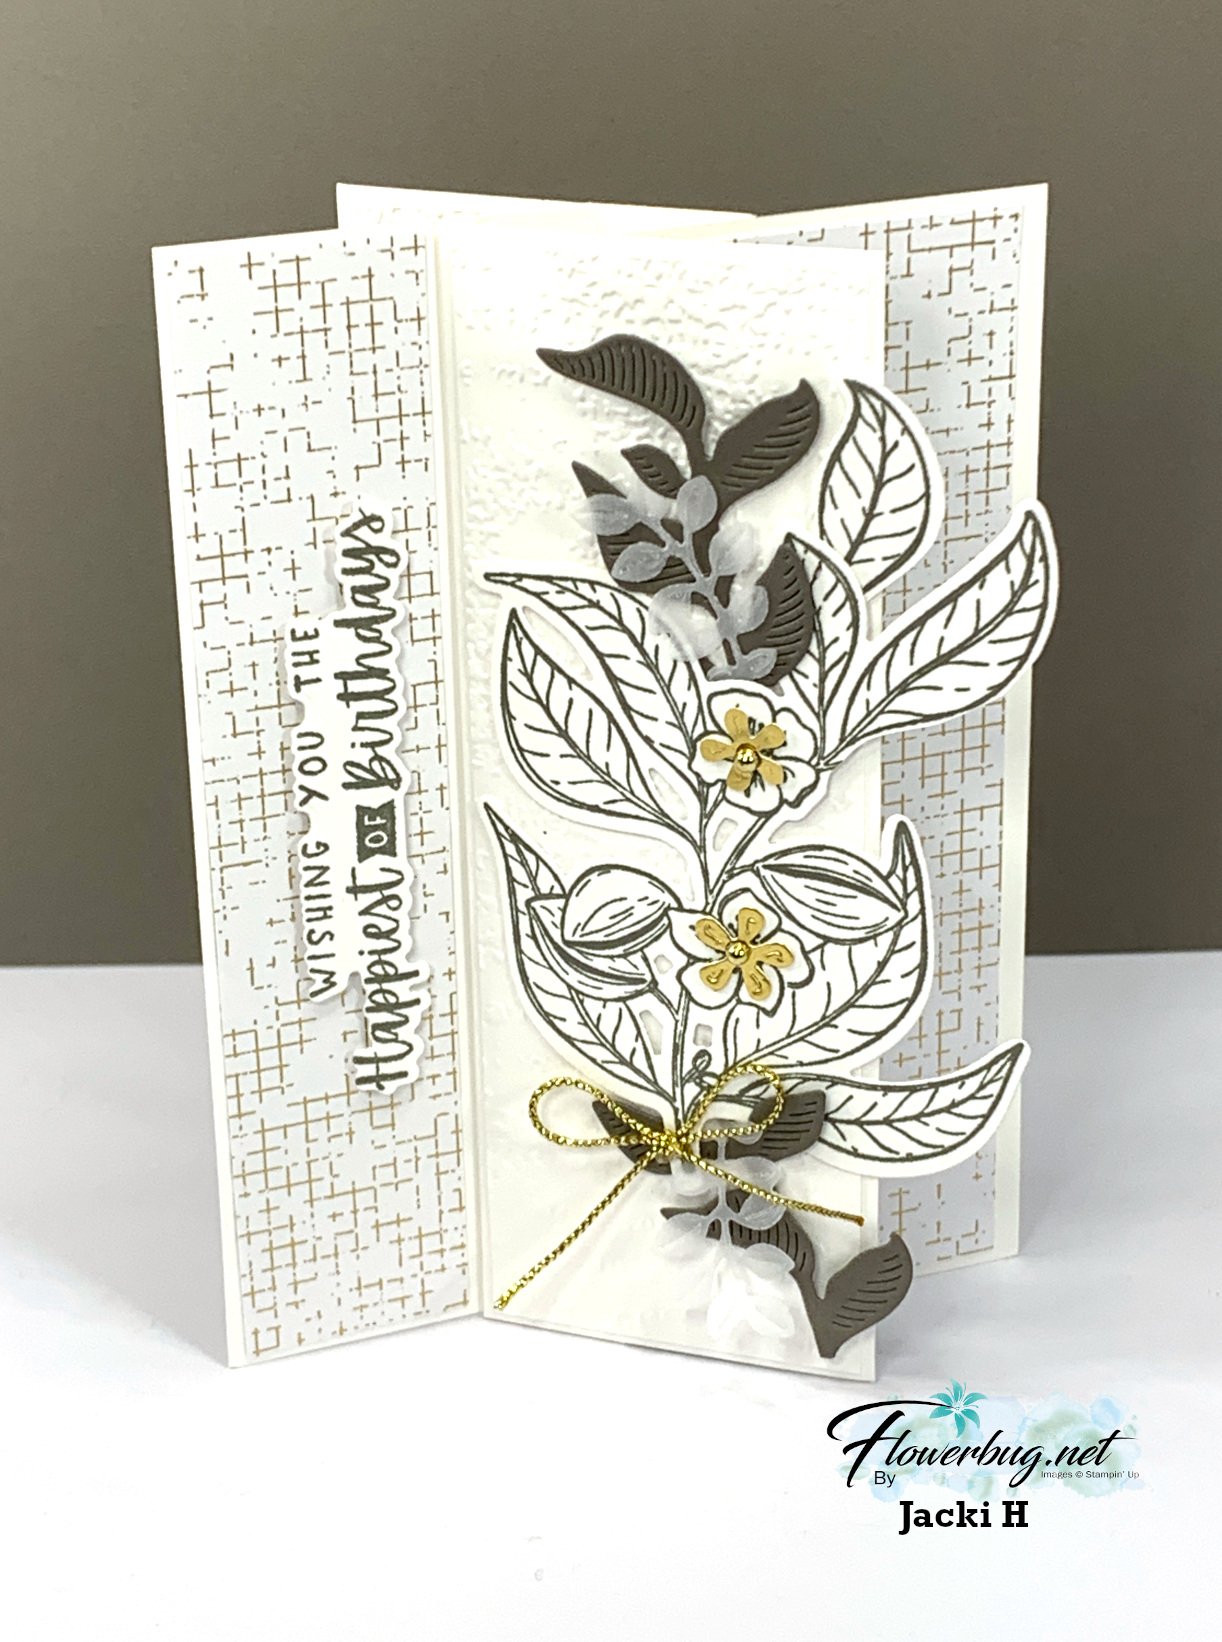
The picture doesn't do it justice; it's simply stunning! If you haven't made one and want to know how check out this video I shared a while back. 

Measurements:

  • Center box is 3 1/4" X 4 1/4"; scored at 1/4", 1", 1 3/4", 2 1/2" 
  • 4 pieces at 2" tall X 4 1/4" 
  • Designer paper layers are 1 1/8" & 1 7/8" – 2 each of 2 patterns

Next is another incredible card made by Jonna who chose the Gone Fishing bundle seen here.  
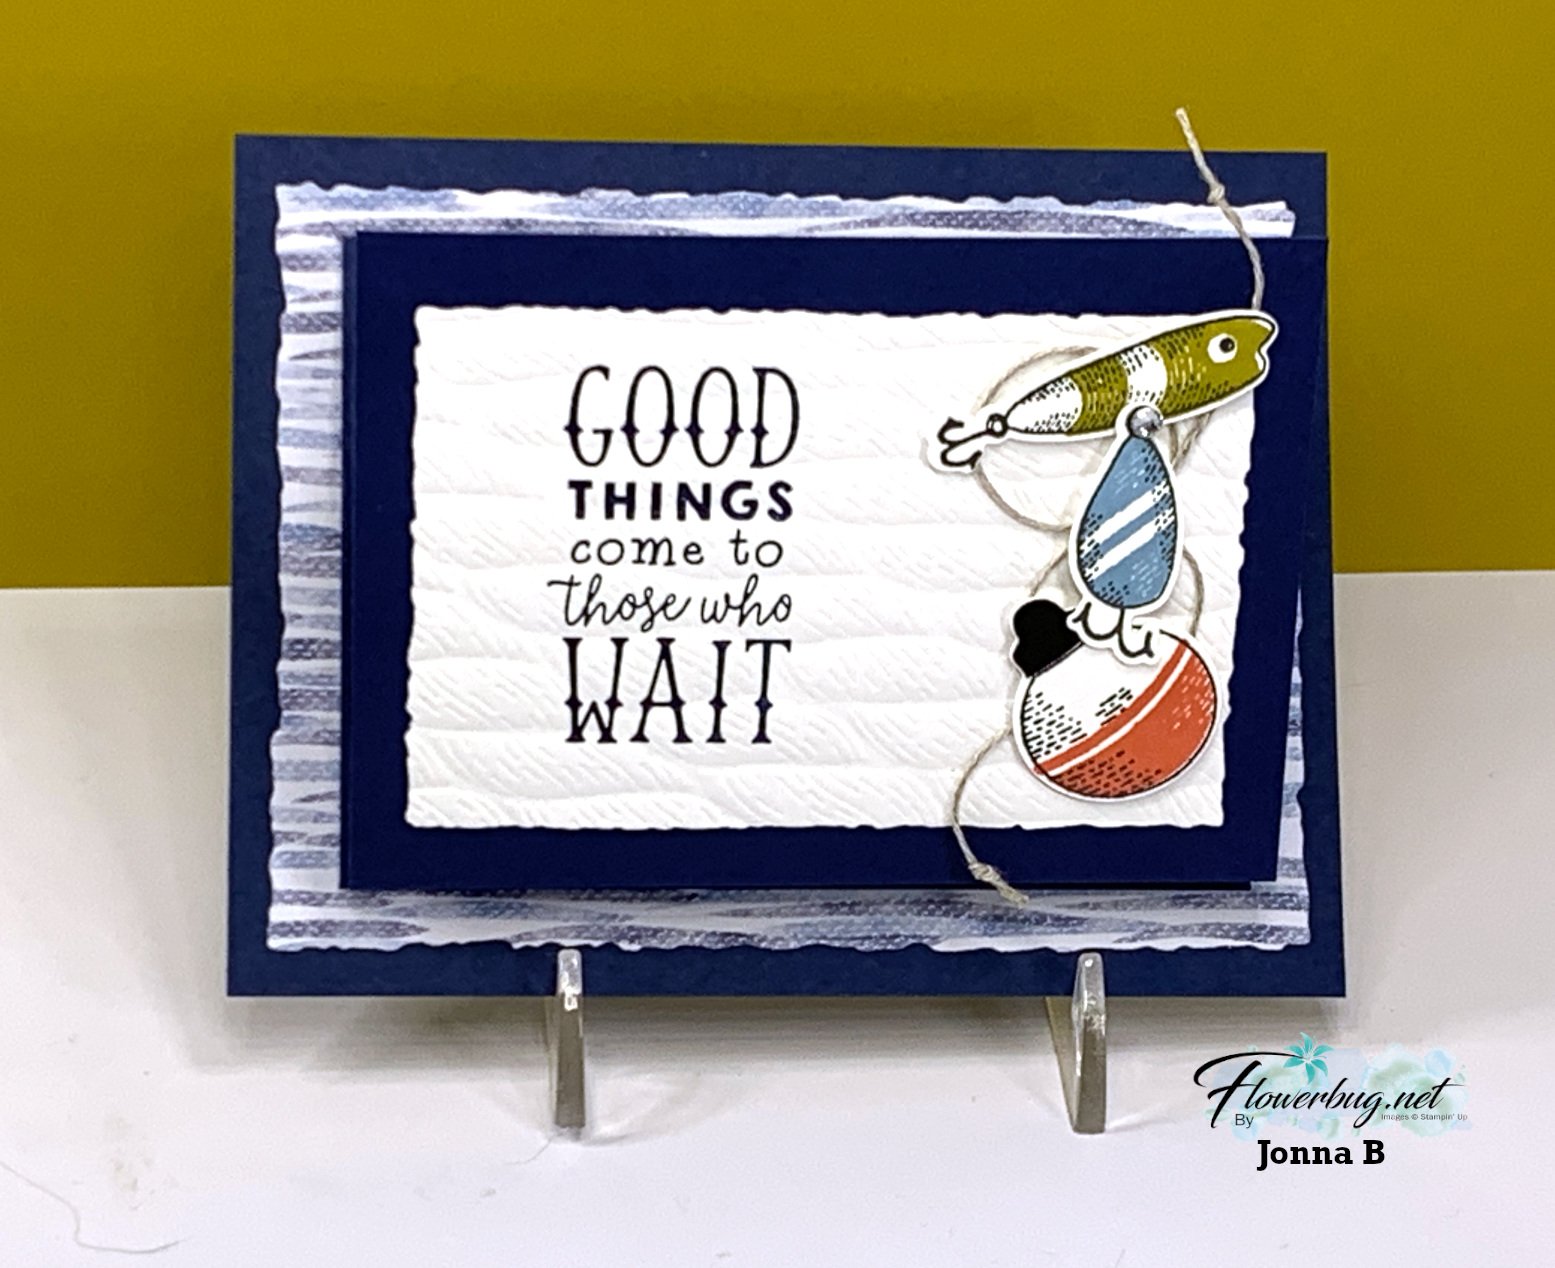
She paired it with the Let's Go Fishing designer paper & Twisted Rope 3D embossing folder. This is an entire suite in the Annual catalog and could retired in April. See it all here. 

When you open up her card it's a gift card.  What a great men's card idea!  

Measurements:

  • Navy card base 5 1/2" X 4 1/4", folded layer is 4 1/2" X 9 3/4" scored at 3 1/4" & 6 1/2"
  • Designer paper – striped on front is cut with the Deckled Rectangles – finished size is 5 1/8" X 3 3/4", inside gift card is 4 1/4" X 2 1/4"
  • White front – Deckled Rectangle die-cut is 3 7/8" X 2 5/8" finished, center white is 4 1/4" X 3" 

~~~

Oh; this one is so beautiful!  Tracey made this one with the One Horse Open Sleigh designer paper. 

This fold is my absolute favorite way to show off our scenic papers!  the card base has one extra score line and you cut your paper into pieces from left to right so when the card opens it's a full scene! 

I LOVE her heat embossed greeting; it's fussy cut into multiple pieces and added with mini dimensionals; what a fabulous effect!  The texture on the front left panel is the Exposed Brick 3D emboss folder seen here. 

Measurements: 

  • Misty Moonlight card base 8 1/2" X 5 1/2" score at 1 1/2" & 4 1/4", second textured layer is 1" X 5 1/4"
  • Designer paper is 6" X 5 1/4" tall. Cut from left to right at 2 3/4" & 4"
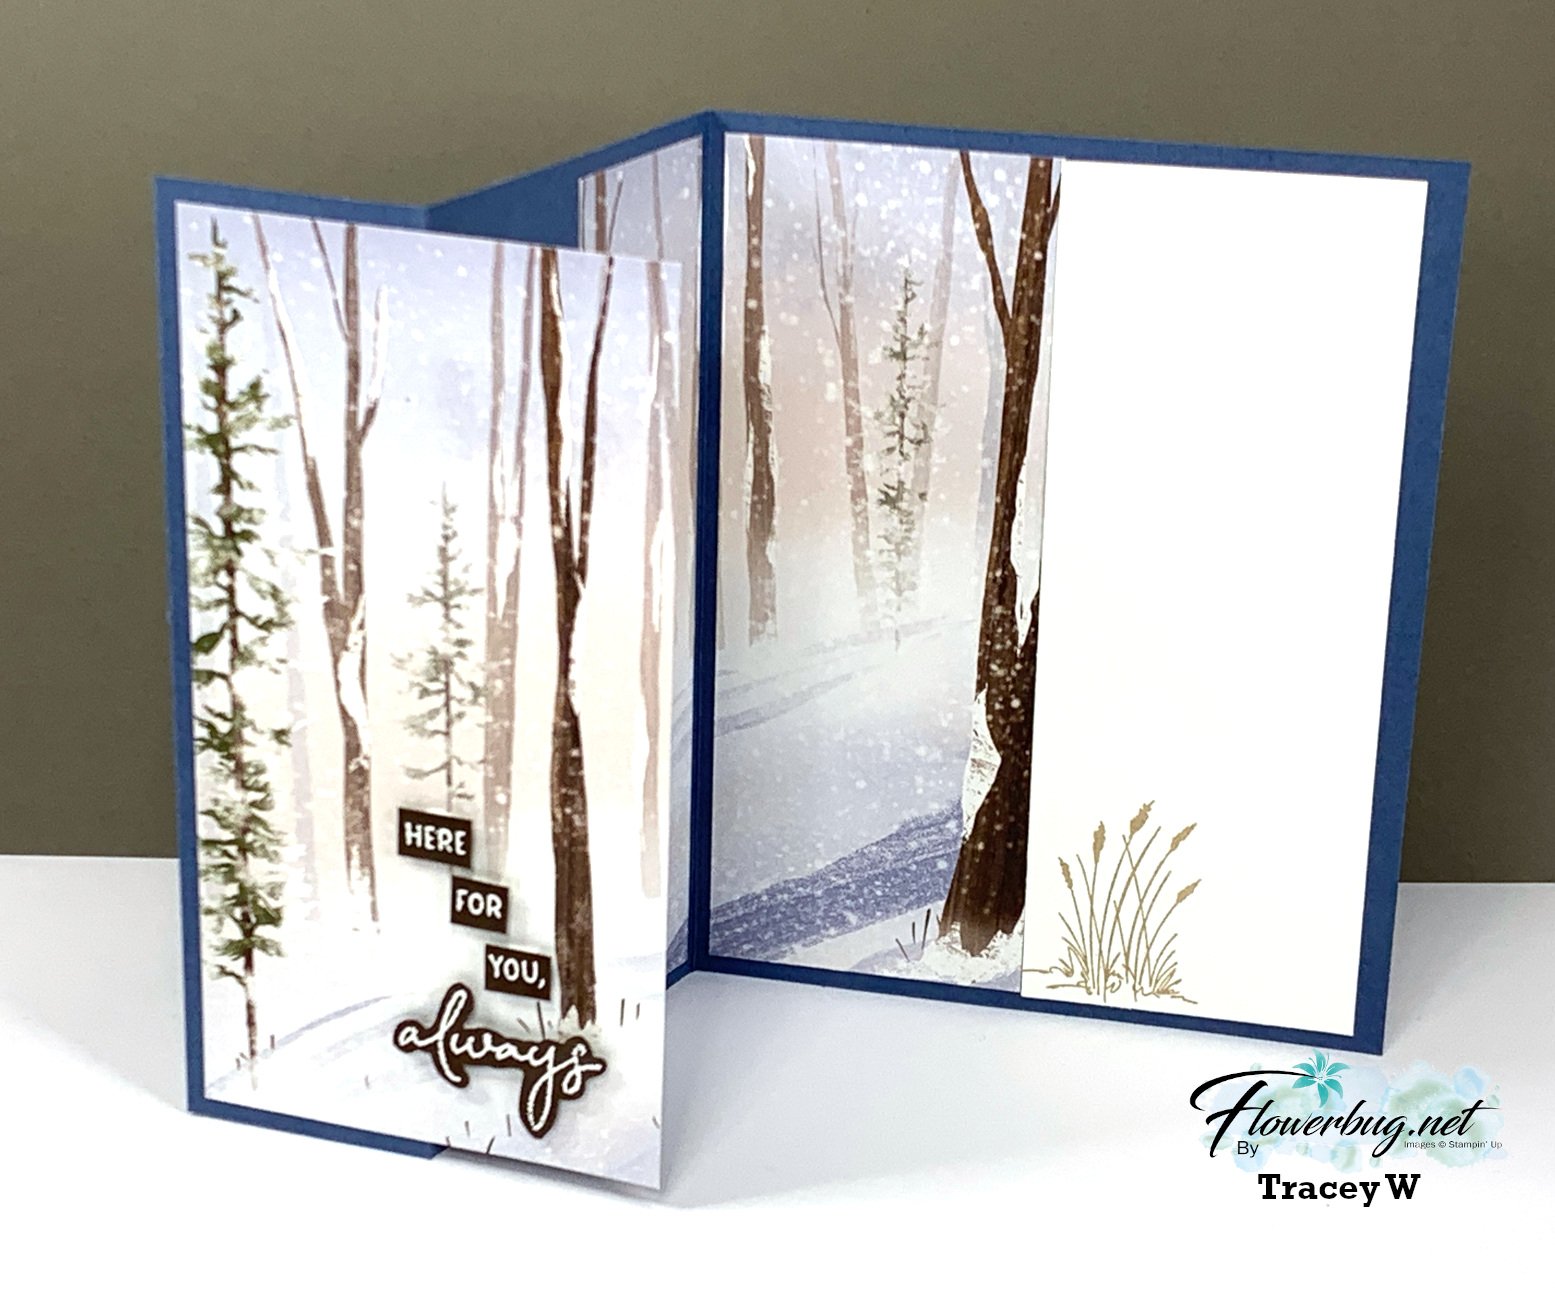
This pretty paper was available online but is sadly gone now.  *Our Online Exclusives are available while supplies last.

I shared how to make this card on a video a few months back. See it here. 

*Stop back in for more fancy fold swaps tomorrow! 

~~~

February Specials: 

Earn FREE products with your Stampin' Up! purchase during

Sale-a-Bration! *click here

*current host code link: 6SUH2MUQ

It's the best time to get a pre-paid Sale-a-Bration subscription

& earn free Sale-a-Bration products!  

~~~

Get a free Gold Foiled cards & envelopes kit

with online orders over $55 in February

All online orders in February will receive this free Nature's Sweetness tutorial with 8 projects!

All Posts

  • Driving By meets Simply Marbelous for a retro style Birthday card


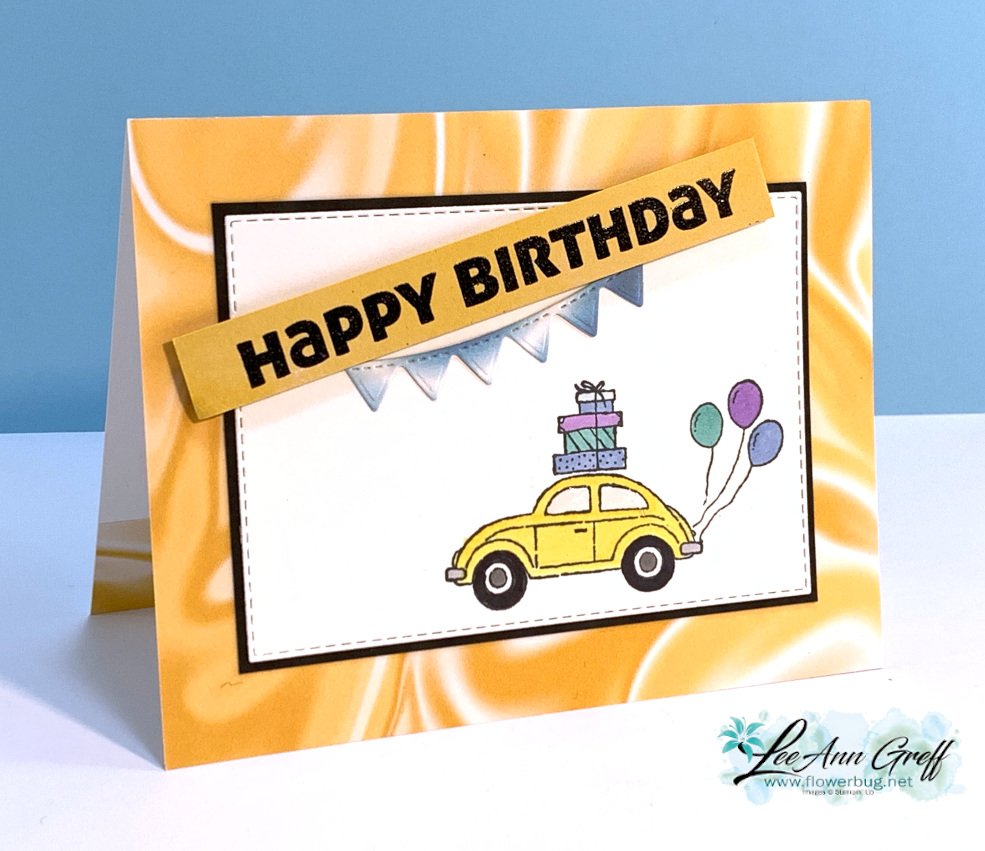
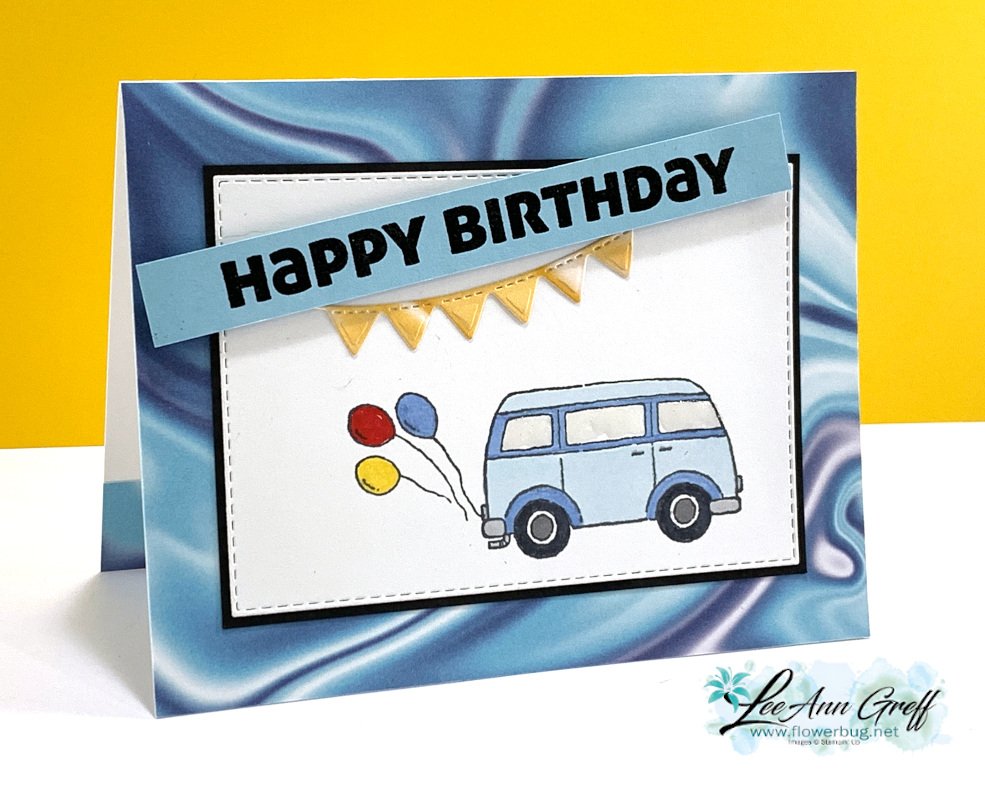
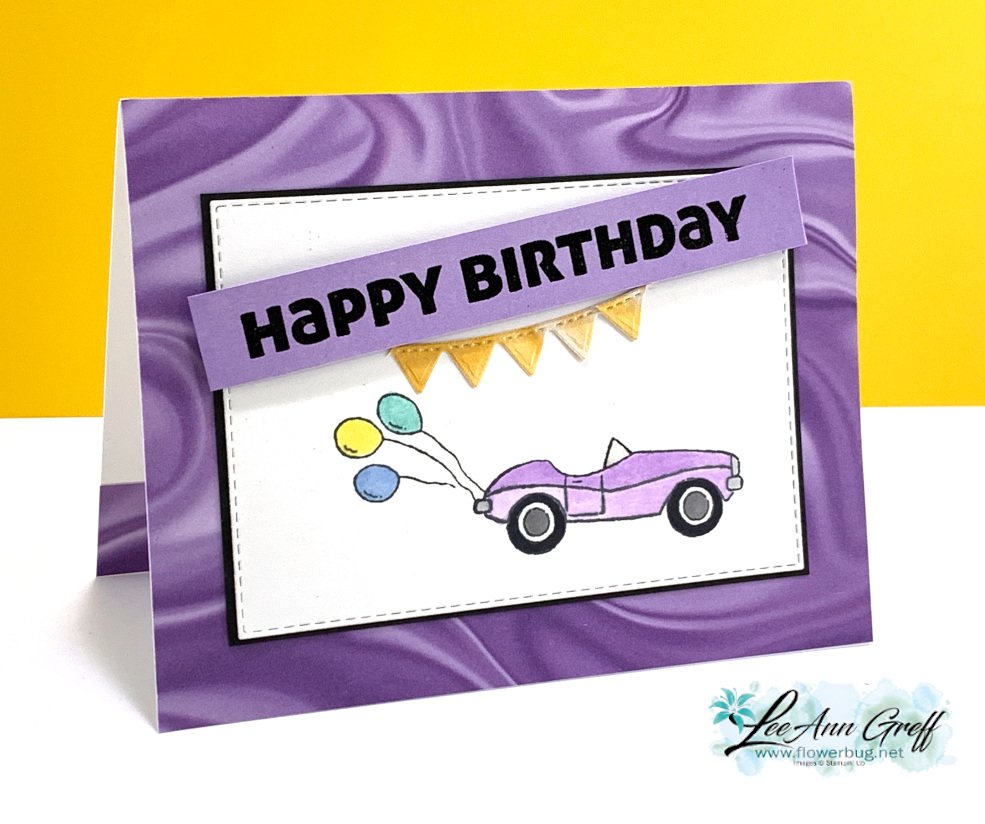
    We made retro style birthday cards at my February card clubs.  Look at this:

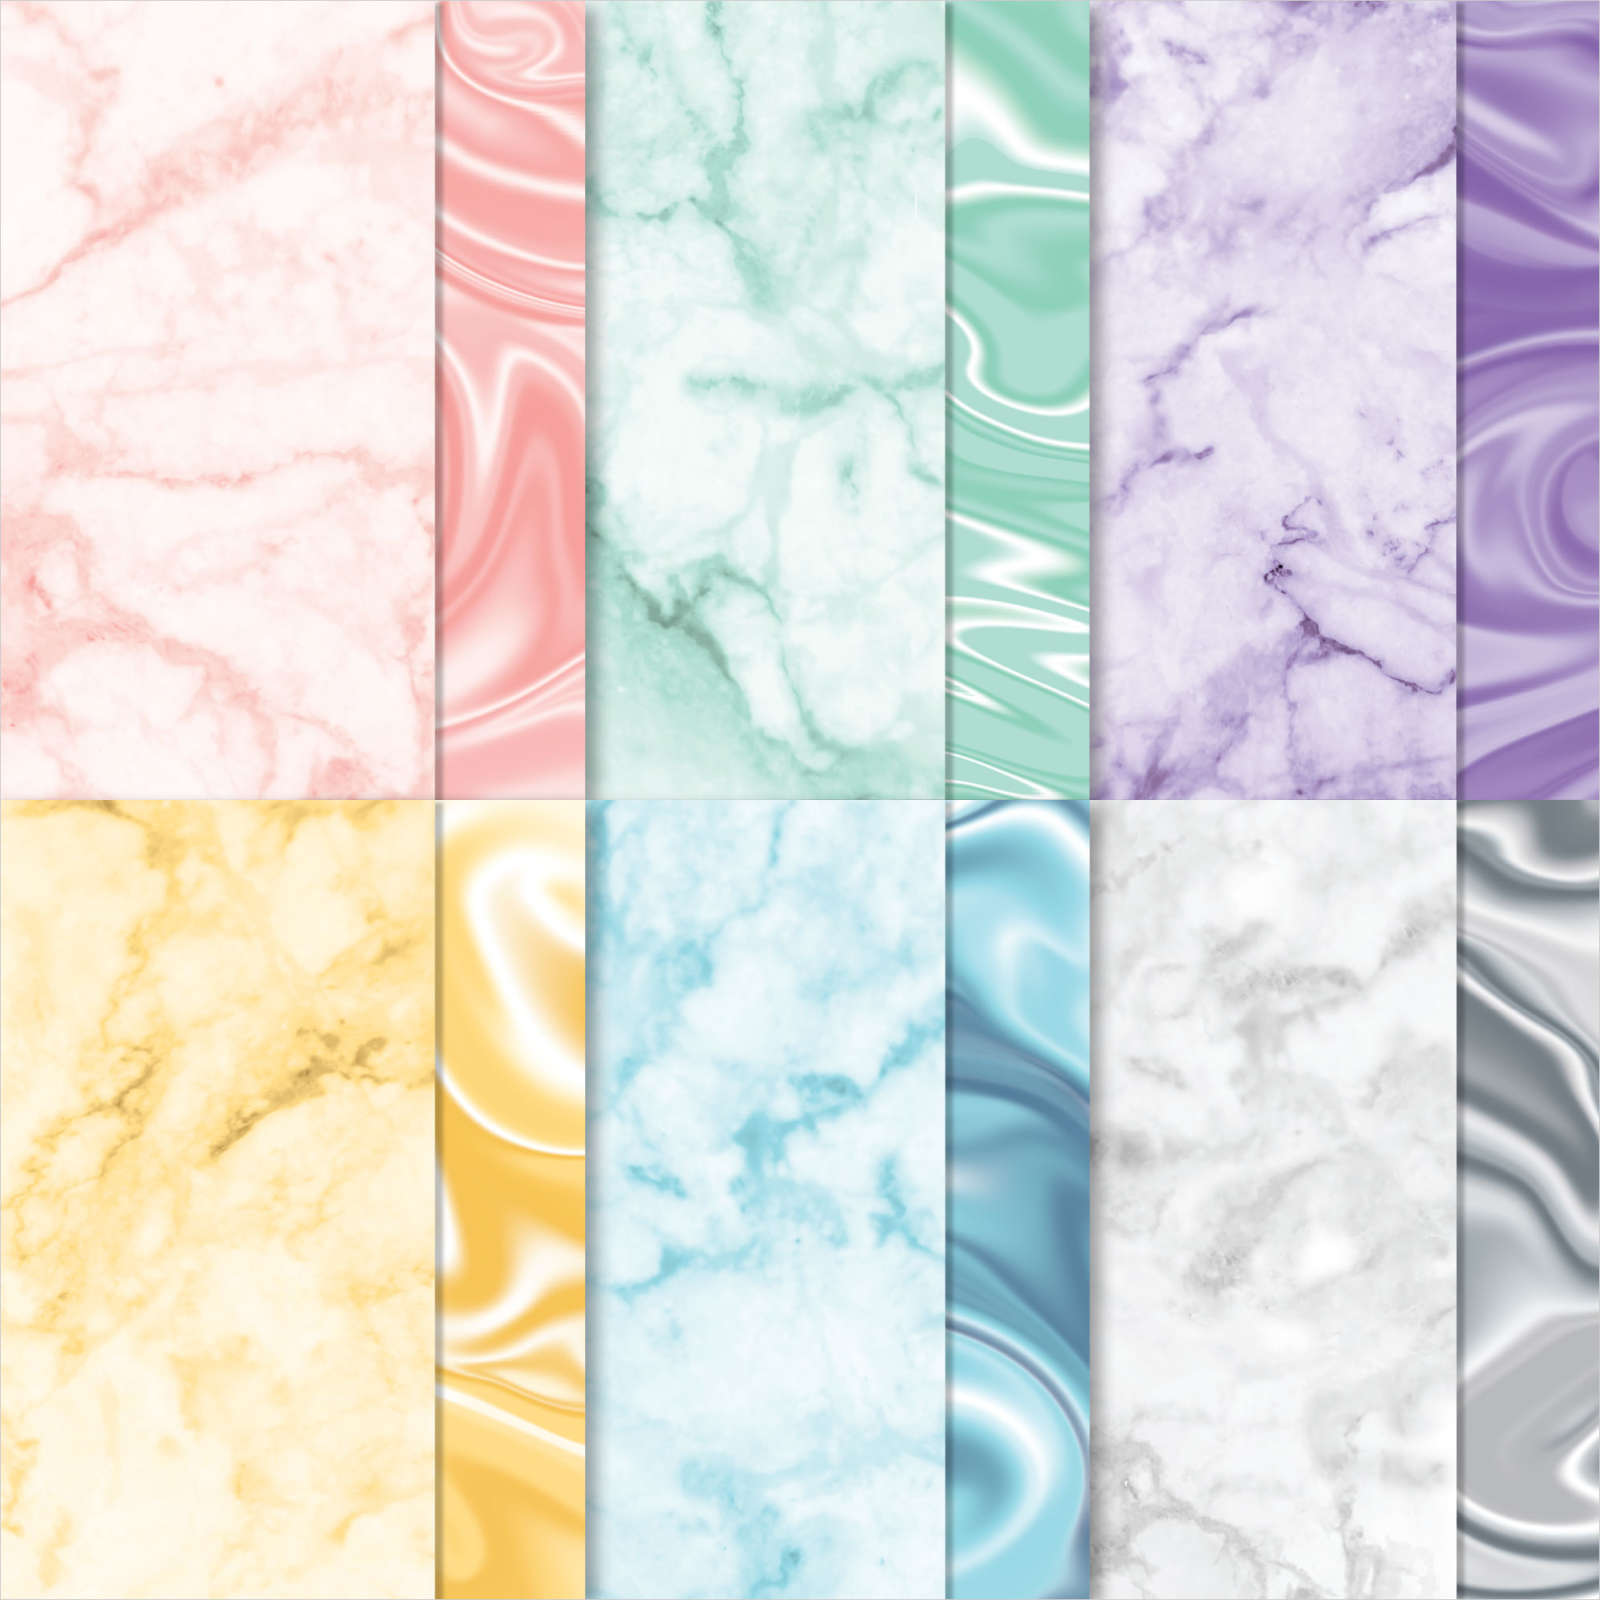
    It's perfect for a guy or even a young adult.  The Simply Marbelous designer series paper from our Sale-a-Bration catalog is absolutely amazing!  It does look a little psychedelic doesn't it?! 

    I covered the entire card front with it; no border at all.  I rarely do this but I wanted this unique & special paper to shine!  It has 6 different color combinations in it; all monochromatic too!  Everyone had a choice of their favorite color.  

    The birthday greeting is from the Slim Sayings stamp set seen here.  We stamped it in Versamark ink and heat embossed with Black embossing powder. 

    *There's a video to see how this card was created.  You can watch it here. 

    The car images were stamped with Black Memento ink on a Basic White Stitched rectangle die-cut and then colored in with our Stampin' Up! Blends markers.  

    I trimmed the balloon image off of the convertible so it could be added to any of the vehicles.  See the Driving By stamp set here; it's free with any $50 order through February. 

    The cute stitched banner is cut from more Simply Marbelous DSP using the Triangle dies.  

    After the card was assembled we added a finishing tough to the windows – a bit of Shimmery Crystal Effects for some shine. 


    Here's the video below: 

    ~~~

     Hot Deals & Gifts Galore in February:

    Choose $125 in product PLUS any 2 stamp sets free in February!

    It's just $99. Get FREE shipping too!

    Host codes: PA93N9CF

     *click here to order 

    End of February special for the end of Sale-a-Bration!

    Get 6 FREE card kits & PDF tutorial!


    Plus use the host code above & the card kits and an embellishment too!

    Leave a Reply

    Your email address will not be published. Required fields are marked *

  • Deals & Gifts galore; just for you! Times running out; just 6 days left!


    If you love good deals; I have two happening through February 28th.

    Keep reading! 

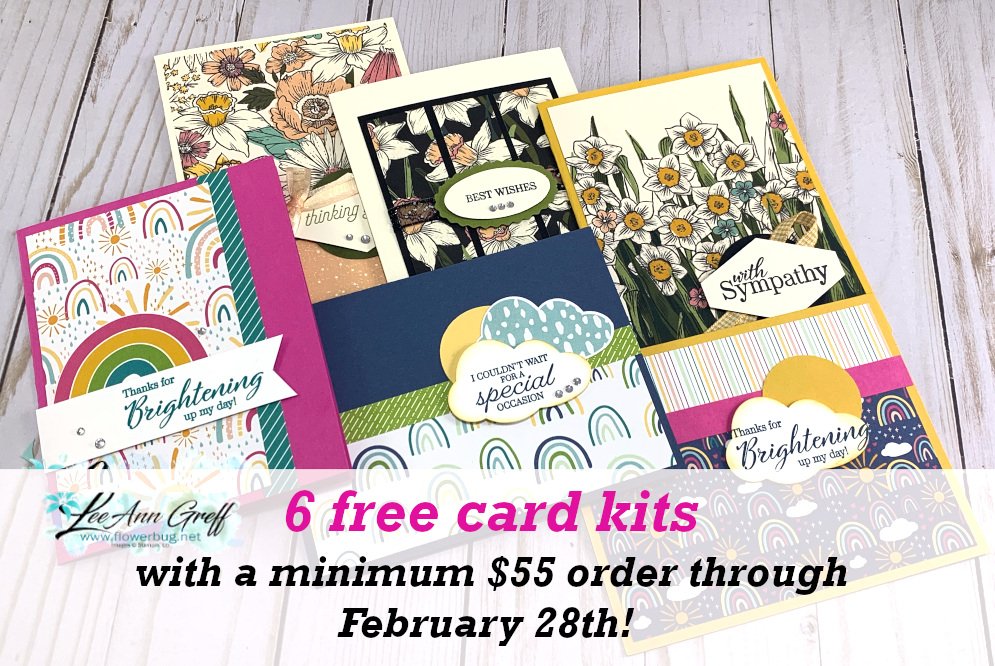
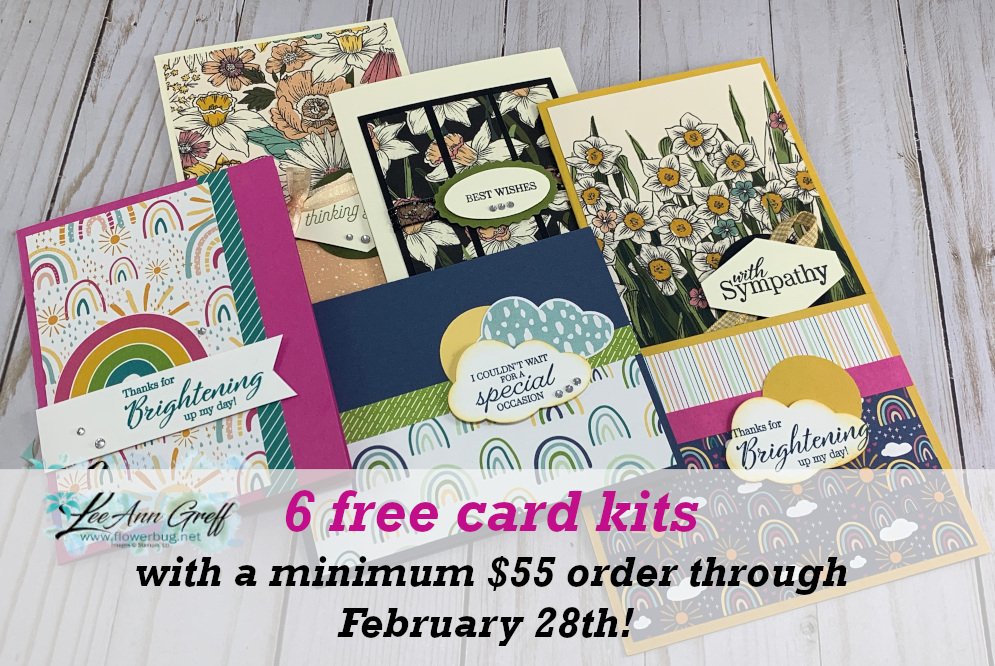
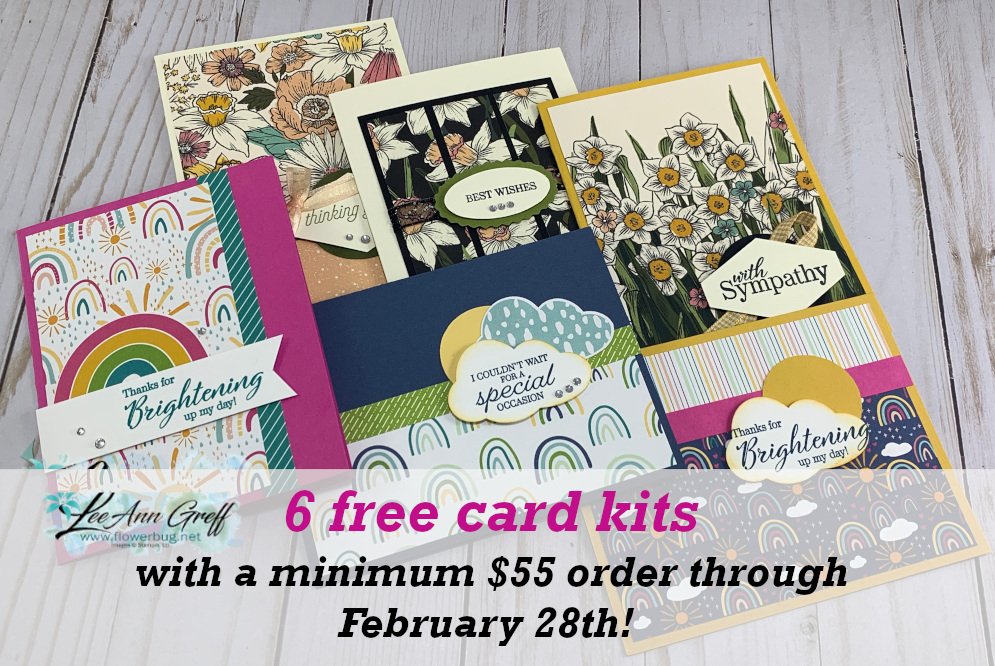
    I'm giving you 6 free card kits for orders over $55 through the end of February.  Plus my other gifts as well! *I ran out of the easel calendars & embossing folders; I'll be substituting Rhinestone jewels instead. (Gingham embossing folder & Easel calendar kit!). 

    In addition to my free gifts you'll get a free Sale-a-Bration choice too! Gifts galore! It ends on February 28th. Go here to order. 


    Next deal….. how about $100 in free product?  

    During our Sale-a-Bration promotion (ends February 28th) you can choose $125 in product of your choice for just $99.  Plus TWO free stamp sets too!  In addition to that the Starter kit includes a free Paper Pumpkin kit, business supplies and catalogs too. 

    I polled my Flowerbug's Team to ask them why they joined when they did. 

    Top 5 reasons my gals chose the Stampin' Up! Starter Kit:

    1. A good deal
    2. Continuous discount
    3. Love of Stampin’ Up! products
    4. See new products & catalogs early (cannot wait!)
    5. Ordering regularly anyway

    You may think you have to 'sell' or hold events.  Or order a bunch of items to have on hand.  Nope!  Here are some myths you might have about being a Stampin' UP! Demonstrator: 

    Myths:

    1. You have to sell.  Or hold classes.  Nope! I call my gals who simply enjoy the discount ‘Happy Shoppers’.  
    2. It’s a commitment.  Wrong. You can quit ordering at any time. Enjoy it while you can and end when you want. There's no pressure from me or Stampin’ Up! to do more than you want to.
    3. You have to join in swaps or group activities. It's your choice.   
    4. I don’t have time.  You're in charge! Spend as much time as you want on this hobby; nothing has to change.
    5. I’m not creative enough.  Case & copy anything you see online or use any of my free tutorials.      

    Here are some Facts:  

    1. To stay active, you need $300 in orders/sales each quarter.  But with the 20% discount you’re really paying just $240 out of pocket!  But you get the benefits of the full $300. WOW! And you're taxed on the lower amount; not the full $300. 
    2. Your first quarter is waived so you do not need the $300 in orders until the end of June. That means you can pre-order from the new 2021 Annual catalog that starts in April.  New In Colors!
    3. You get all of the benefits a customer does; including free host rewards and we get our discount on top of special promotions.
    4. Plus we get extra $$ income if our orders/sales are over a certain amount each month. That includes our own orders! 

    Are you ready to get yours?


    Here is what my Flowerbug's Team love about being in our group (from my poll):

    Flowerbug’s Favorites:

    • Friendly & supportive community
    • Free tutorials
    • Creative inspiration, monthly challenges
    • Local & online gatherings
    • Friendships with like-minded crafters
    • Good leadership
    • Swaps & friendships

    Flowerbug Benefits:

    • Get all of my Tutorials FREE!
    • Exclusive access to our very active FB Group
    • Weekly & monthly inspiration challenges with prizes!
    • Business training if desired.
    • Monthly Team Meetings, Zooms & Facebook Lives
    • Option to join swaps
    • Being part of a positive, happy group where you can share, learn, get inspired and receive support.

    ~~~

     Hot Deals in February:

    Choose $125 in product PLUS any 2 stamp sets free in February!

    It's just $99. Get FREE shipping too!

    Click here to get the deal.


    Host codes: PA93N9CF

     *click here to order 

    End of February special; 6 FREE card kits!


    Plus a package of free rhinestones too!  

    Leave a Reply

    Your email address will not be published. Required fields are marked *

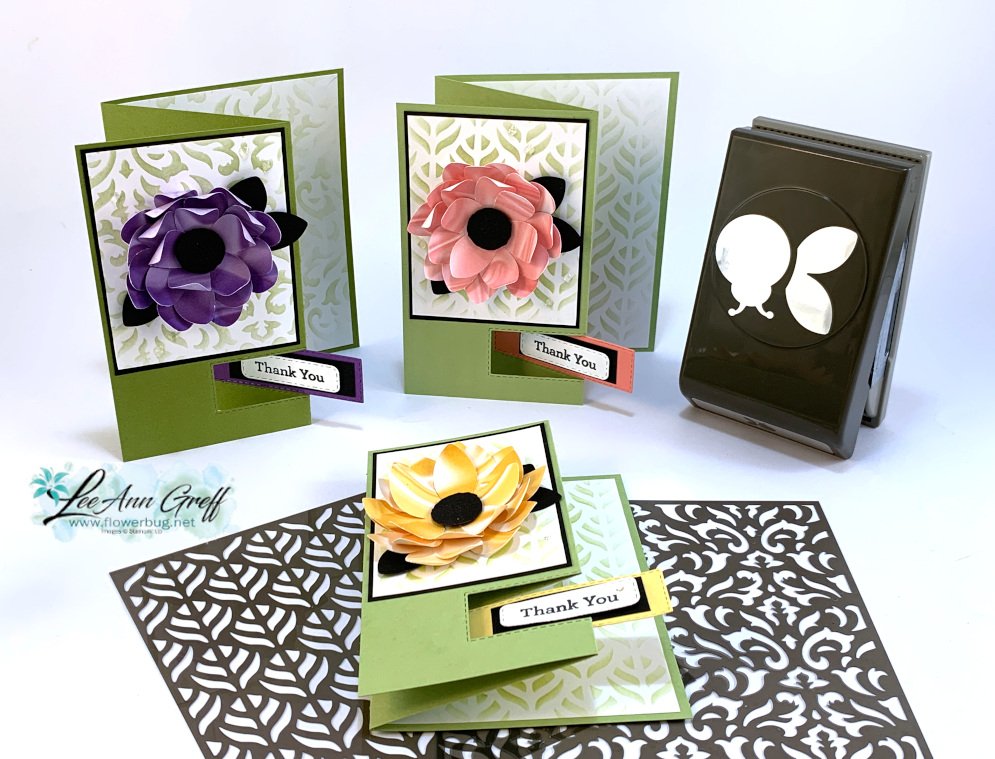
  • An amazing flower from the Ladybug Builder punch? Yes!


    I have been sharing many cards made with the Hello Ladybug stamp & punch bundle in the last few days.  I've gone a bit crazy with it lately!  If you missed them scroll to the next few posts before this one or watch the video here to see most of them.  

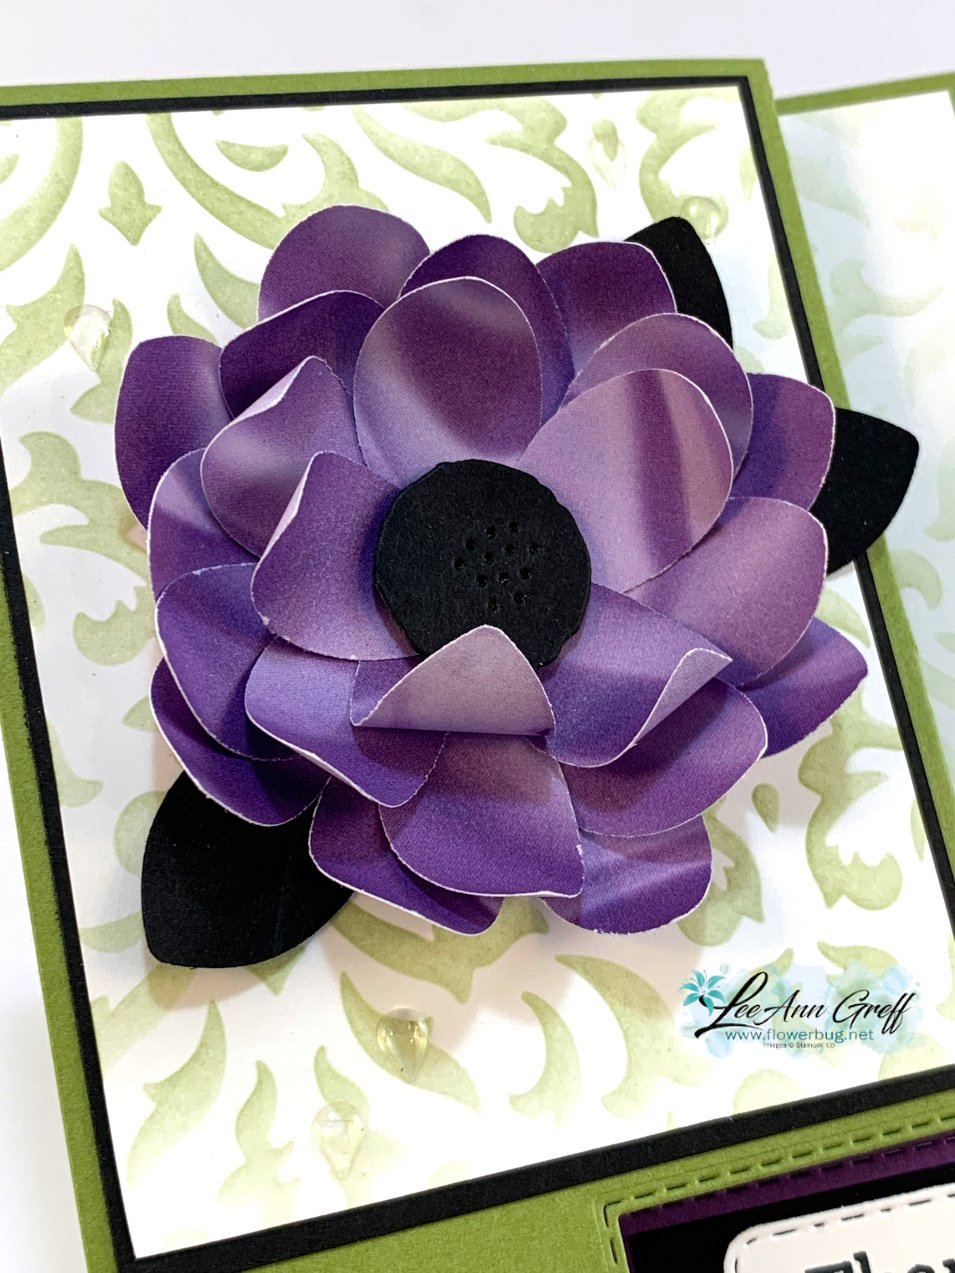
    I've seen a few samples of flowers made with the Ladybug Builder punch and had to try one myself.  I love the dimension you get when you curl the 'wings' a bit! 

    It's definitely a 3D type flower; maybe suited best for a box or gift bag.  Wouldn't that be pretty!

    I punched 'wings' from the Ladybug Builder punch from our Simply Marbelous designer paper.  This paper is free during our Sale-a-Bration promotion through February 28th.  See it here!  

    It's my top favorite item in our Sale-a-Bration catalog!  I love that each sheet is monochromatic on both sides; many shades of the same colors. Don't miss out on this amazing paper. 

    I used quite a few punched wings to make these flowers.  Start with a 1 1/2" – 1 3/4" circle punch as a base to add them to, working your way from outside towards the center.  Be sure to curl them first with a bone folder.   

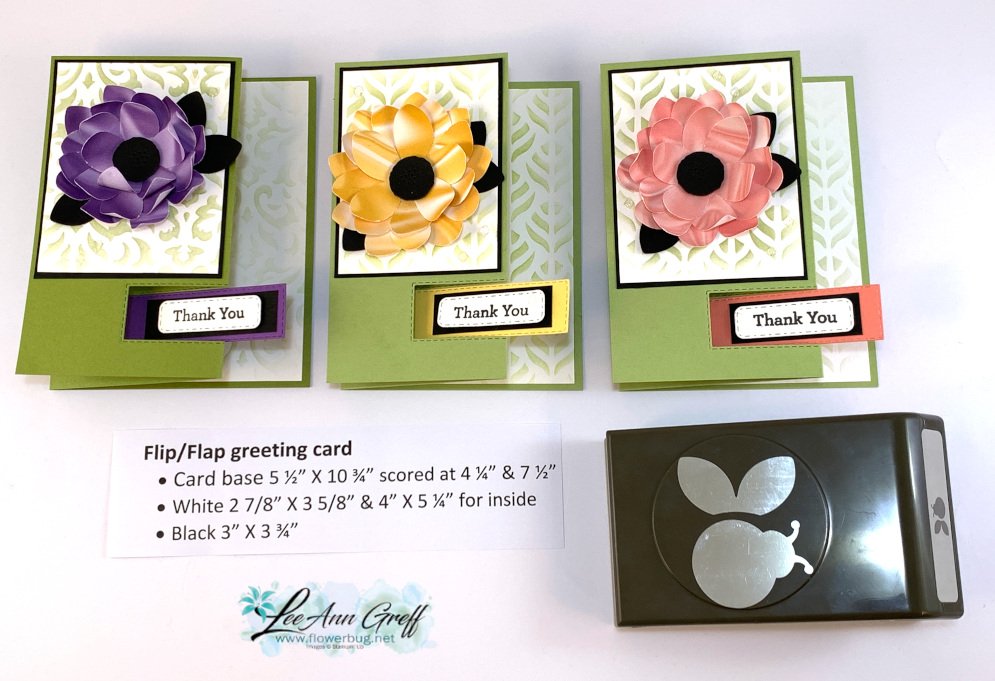
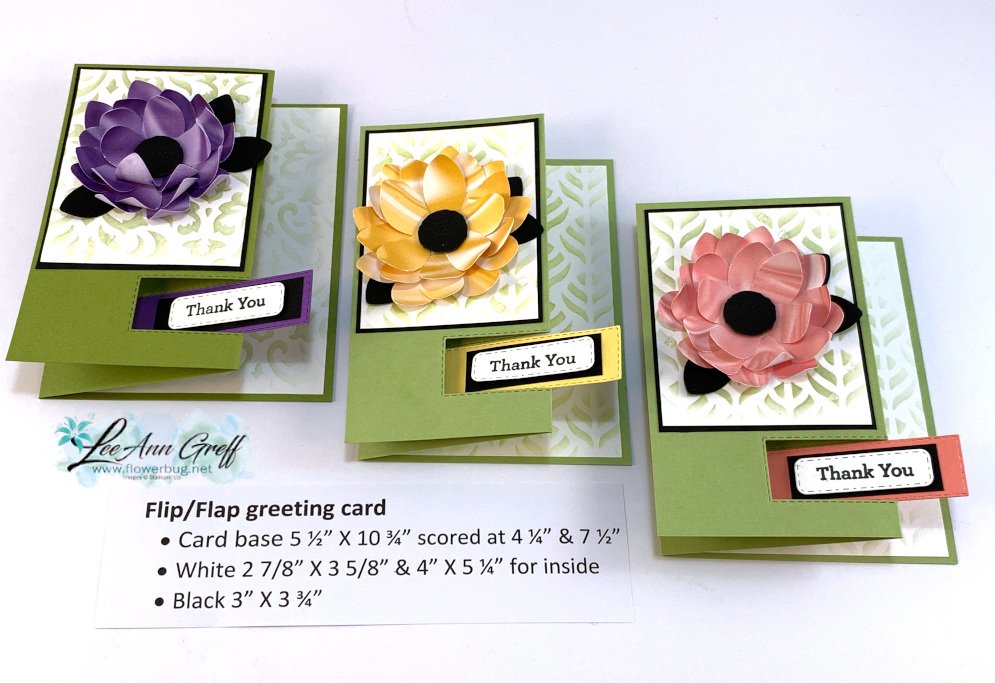
    This card is also a unique fun fold I'd never seen before.  I used our Stitched Rectangle dies to cut a partial window in the front fold.  You can get my tips on achieving this fold in the video seen here or below.

    I used the Basic Patterns Decorative Masks seen here for my background.  Our blending brushes make this a breeze.

    You can see the measurements in the photo below. 

    Which is your favorite color? 


    Below is the video; click on the photo to watch.  Don't forget to subscribe to my You Tube Channel here. 

    ~~~

     Hot Deals in February:

    Choose $125 in product PLUS any 2 stamp sets free in February!

    It's just $99. Get FREE shipping too!

    Click here to get the deal.


    Host codes: PA93N9CF

     *click here to order 


    Use the host code above & get a free Easel Calendar kit

    & the Gingham embossing folder with a $55 order in February, 2022! 

    Leave a Reply

    Your email address will not be published. Required fields are marked *


Notice: LeeAnn Greff, Independent Stampin’ Up! Demonstrator, Manager. The content of this website is my sole responsibility as an independent Stampin’ Up! demonstrator and the use of, and content of, the classes, services, or products offered on this website is not endorsed by Stampin’ Up! Copyright 2025