/


Latest Post

Still more incredible Fun Fold Team swap cards!


We had sooo many fabulous fancy fold cards at our February Team swap!  I've been sharing a few each day this past week. Please look back to see them all; I'm sharing measurements for each one!

Jacki made this stunning Pinwheel Tower card featuring the Nature's Sweetness Suite: 

Her colors include White, Pebbled Path and bit of Gold foil & Vellum. She also added gold pearls and Gold Elegant Trim. The texture is made with the Exposed Brick embossing folder.  The greeting is from the Charming Sentiments bundle.

See the Nature's Sweetness suite here; it's huge & filled with beautiful stamps, textures & die-cuts. 
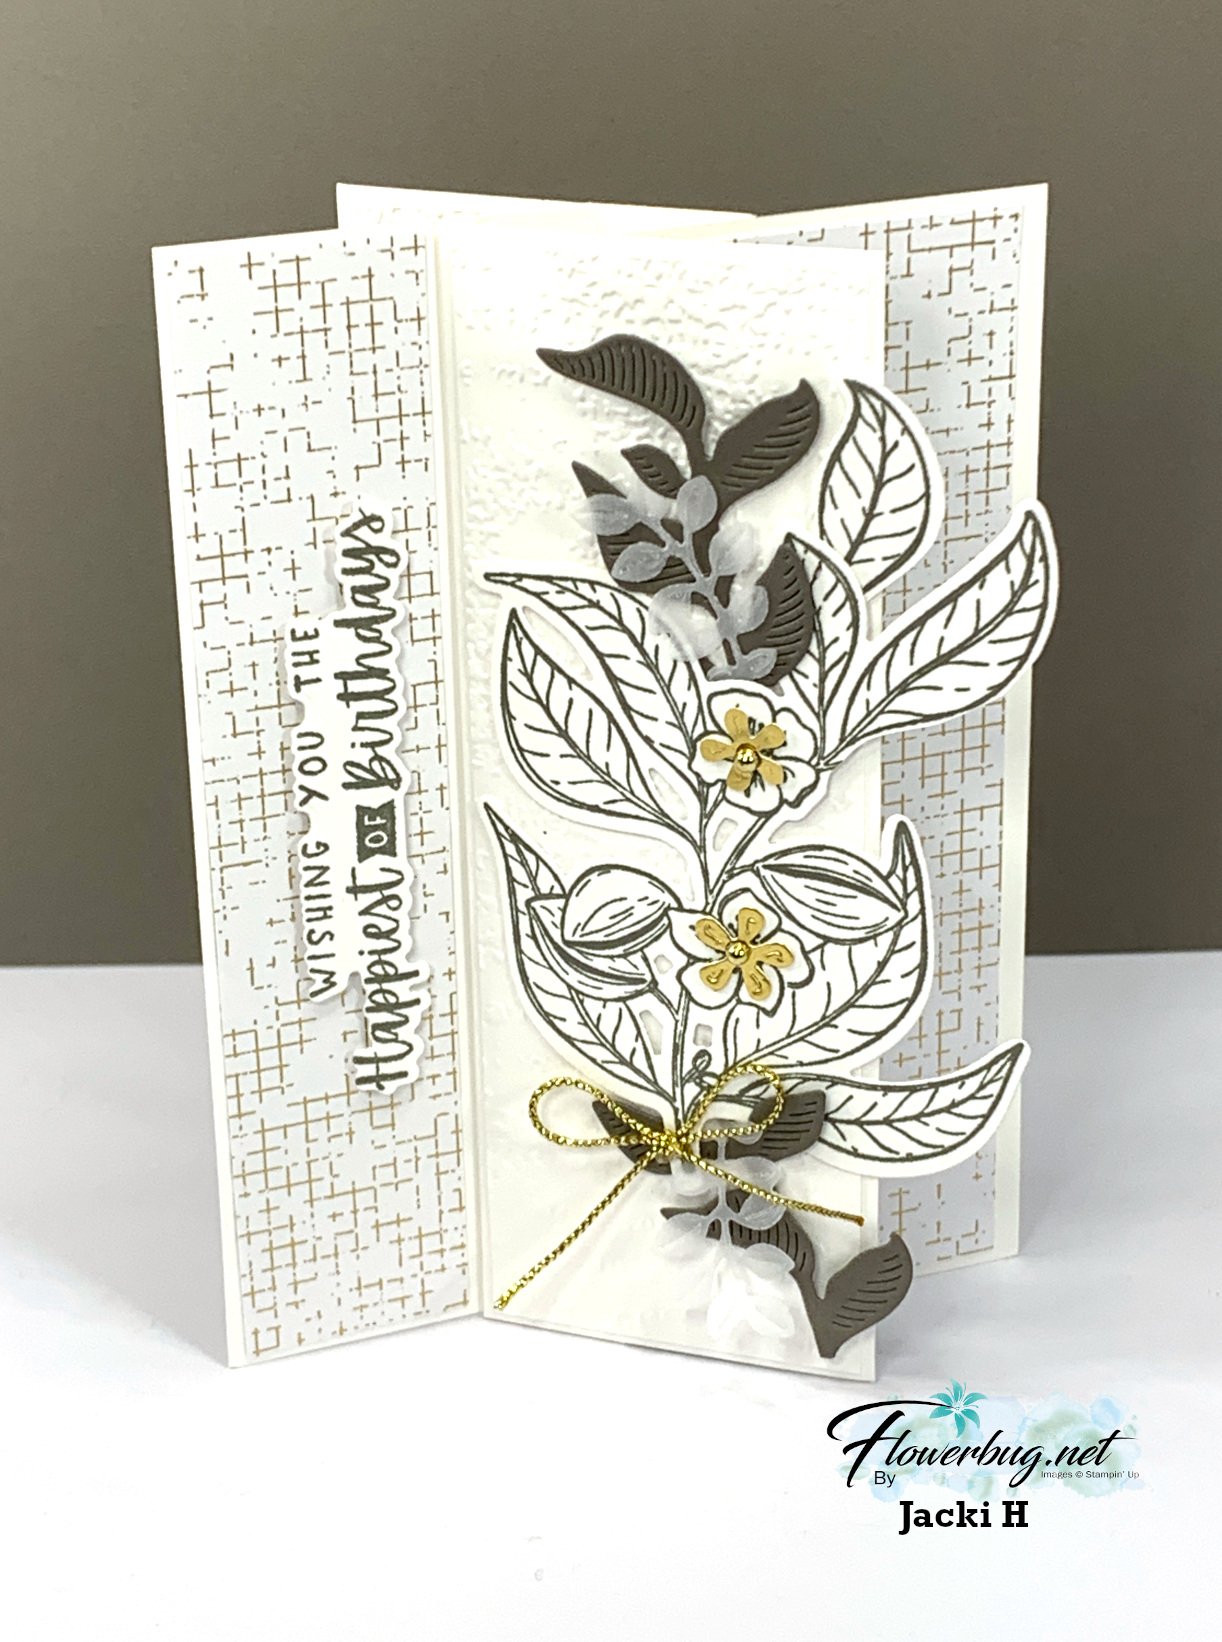
The picture doesn't do it justice; it's simply stunning! If you haven't made one and want to know how check out this video I shared a while back. 

Measurements:

  • Center box is 3 1/4" X 4 1/4"; scored at 1/4", 1", 1 3/4", 2 1/2" 
  • 4 pieces at 2" tall X 4 1/4" 
  • Designer paper layers are 1 1/8" & 1 7/8" – 2 each of 2 patterns

Next is another incredible card made by Jonna who chose the Gone Fishing bundle seen here.  
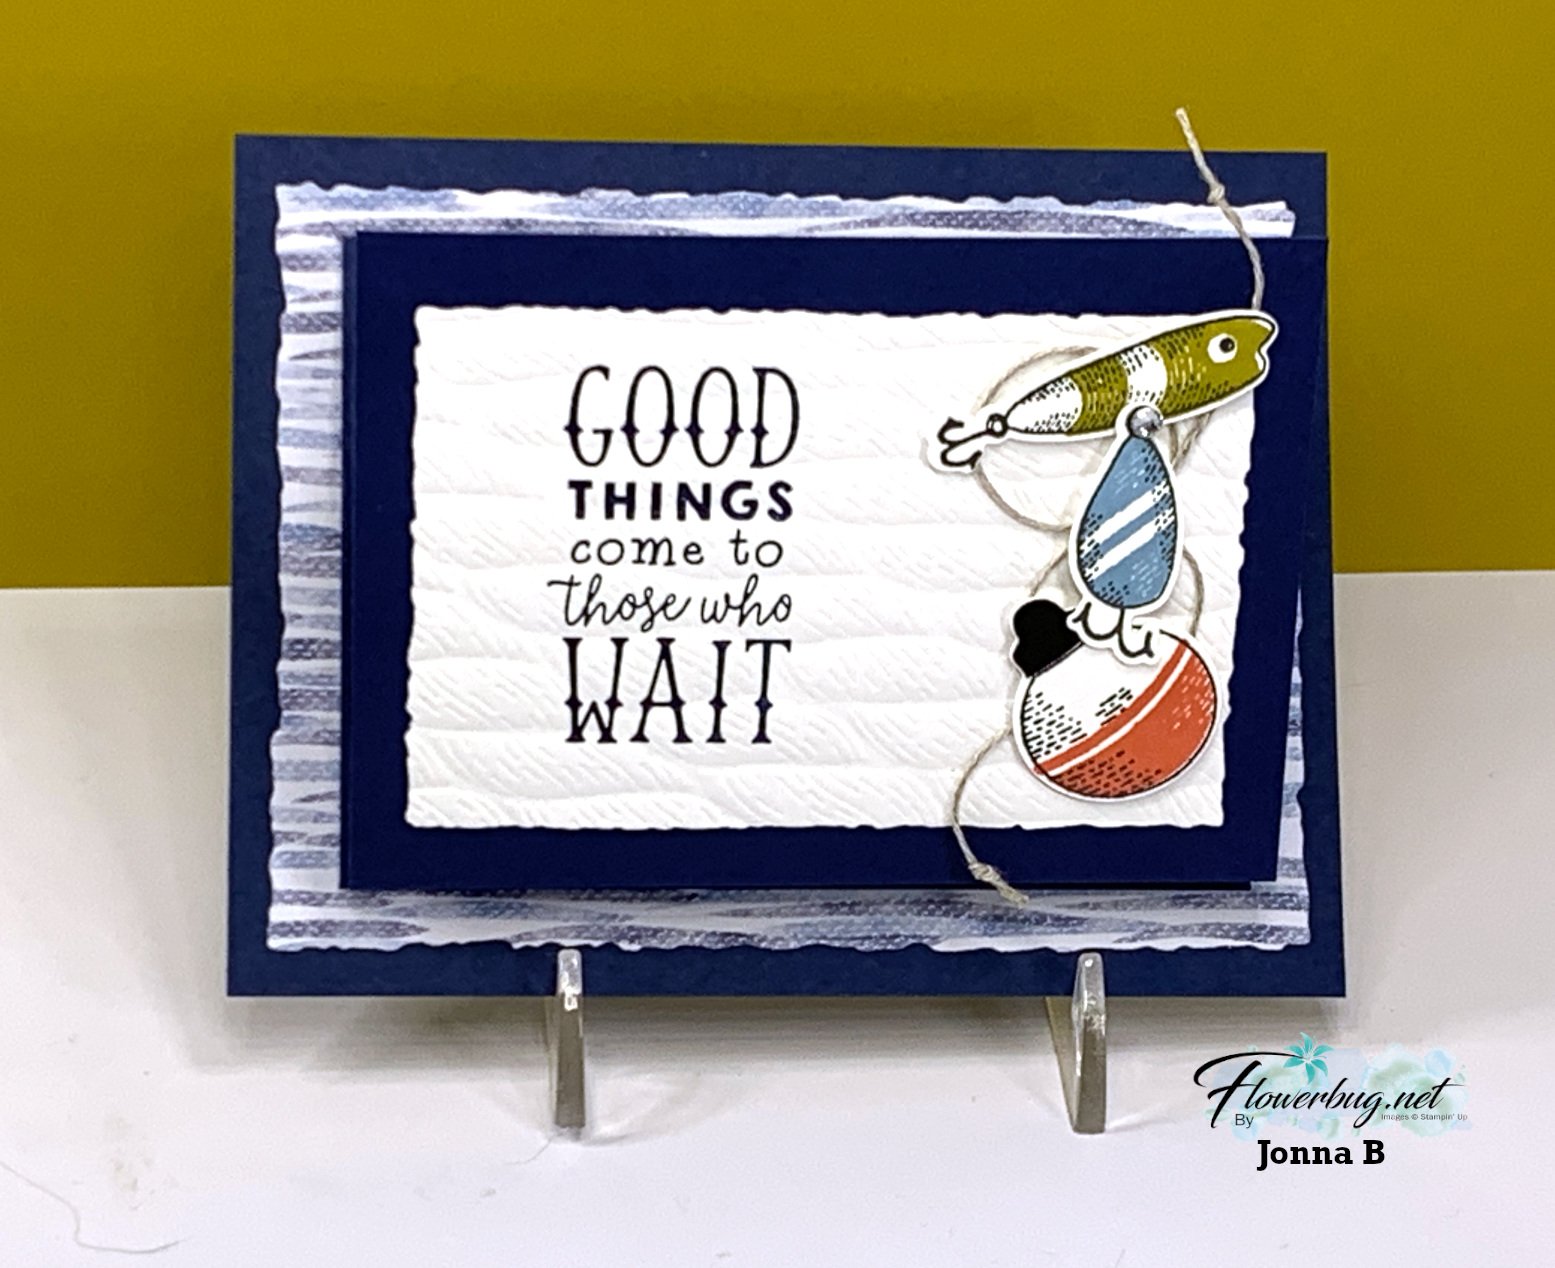
She paired it with the Let's Go Fishing designer paper & Twisted Rope 3D embossing folder. This is an entire suite in the Annual catalog and could retired in April. See it all here. 

When you open up her card it's a gift card.  What a great men's card idea!  

Measurements:

  • Navy card base 5 1/2" X 4 1/4", folded layer is 4 1/2" X 9 3/4" scored at 3 1/4" & 6 1/2"
  • Designer paper – striped on front is cut with the Deckled Rectangles – finished size is 5 1/8" X 3 3/4", inside gift card is 4 1/4" X 2 1/4"
  • White front – Deckled Rectangle die-cut is 3 7/8" X 2 5/8" finished, center white is 4 1/4" X 3" 

~~~

Oh; this one is so beautiful!  Tracey made this one with the One Horse Open Sleigh designer paper. 

This fold is my absolute favorite way to show off our scenic papers!  the card base has one extra score line and you cut your paper into pieces from left to right so when the card opens it's a full scene! 

I LOVE her heat embossed greeting; it's fussy cut into multiple pieces and added with mini dimensionals; what a fabulous effect!  The texture on the front left panel is the Exposed Brick 3D emboss folder seen here. 

Measurements: 

  • Misty Moonlight card base 8 1/2" X 5 1/2" score at 1 1/2" & 4 1/4", second textured layer is 1" X 5 1/4"
  • Designer paper is 6" X 5 1/4" tall. Cut from left to right at 2 3/4" & 4"
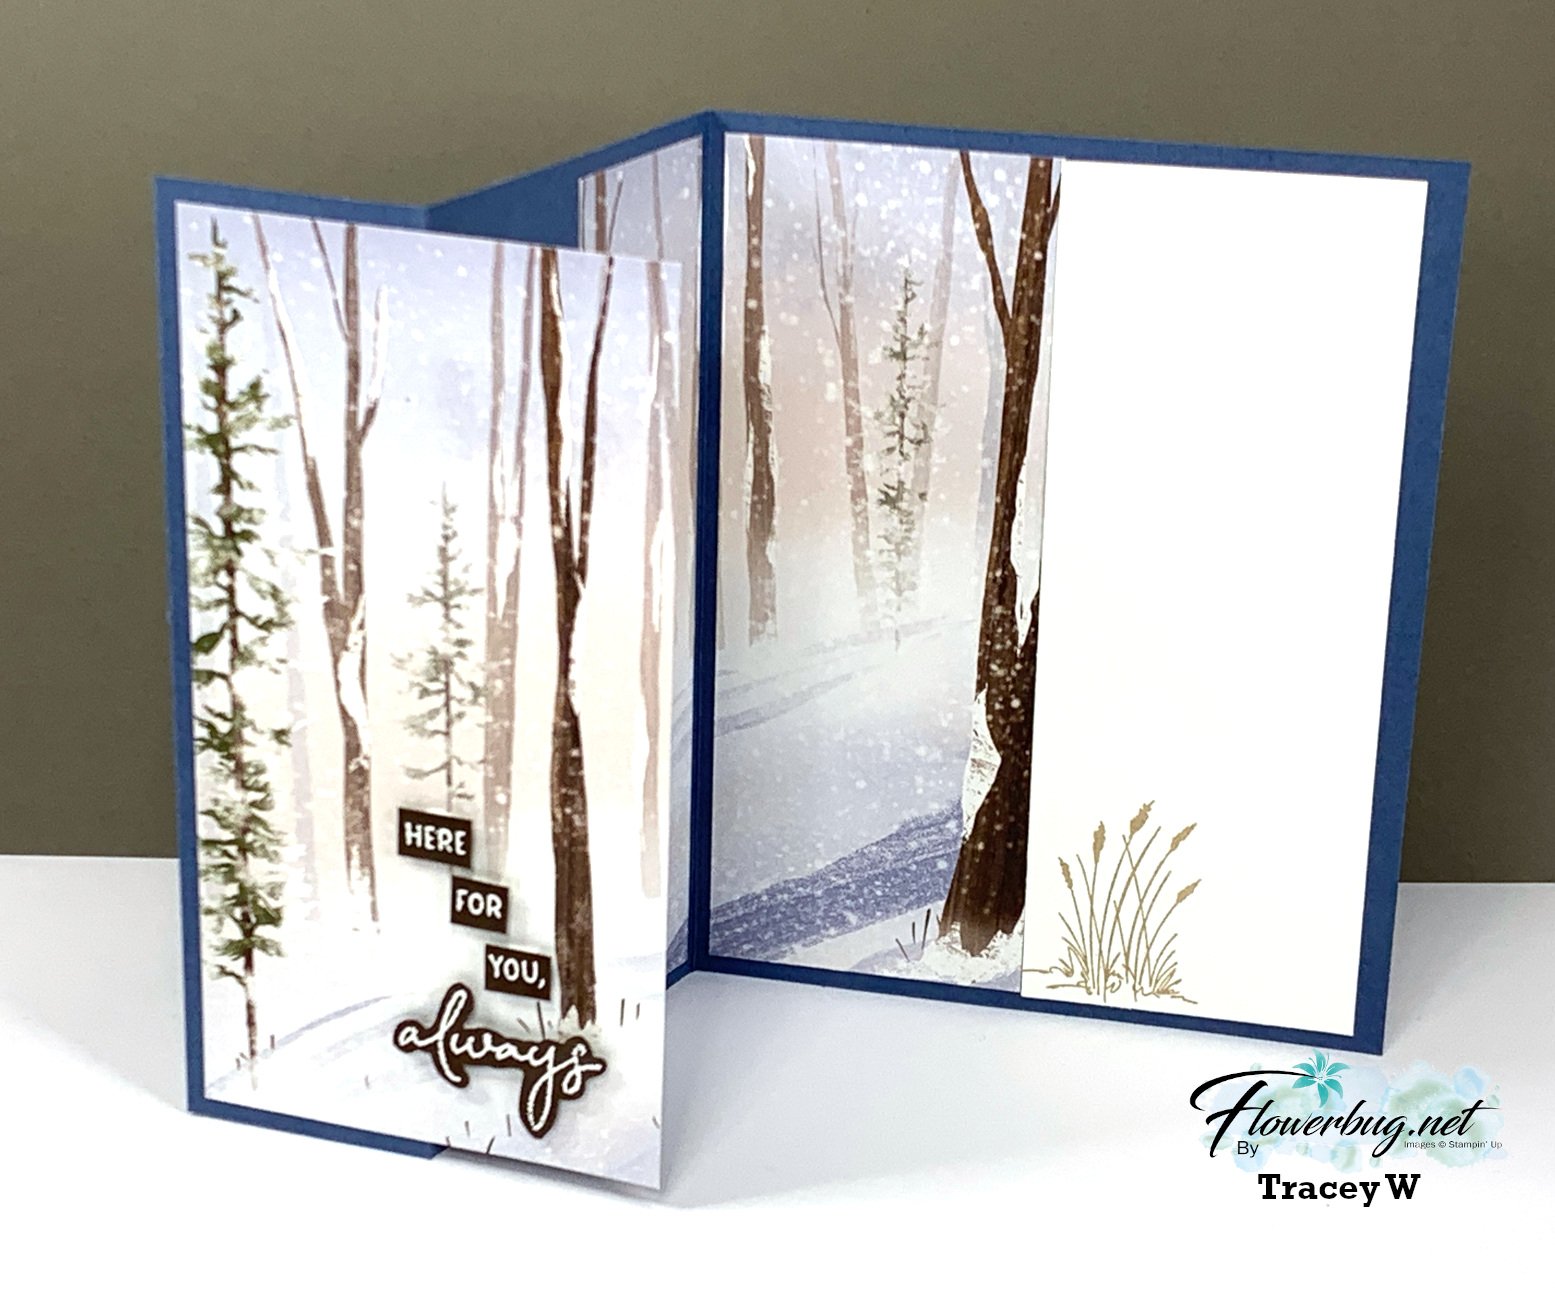
This pretty paper was available online but is sadly gone now.  *Our Online Exclusives are available while supplies last.

I shared how to make this card on a video a few months back. See it here. 

*Stop back in for more fancy fold swaps tomorrow! 

~~~

February Specials: 

Earn FREE products with your Stampin' Up! purchase during

Sale-a-Bration! *click here

*current host code link: 6SUH2MUQ

It's the best time to get a pre-paid Sale-a-Bration subscription

& earn free Sale-a-Bration products!  

~~~

Get a free Gold Foiled cards & envelopes kit

with online orders over $55 in February

All online orders in February will receive this free Nature's Sweetness tutorial with 8 projects!

All Posts

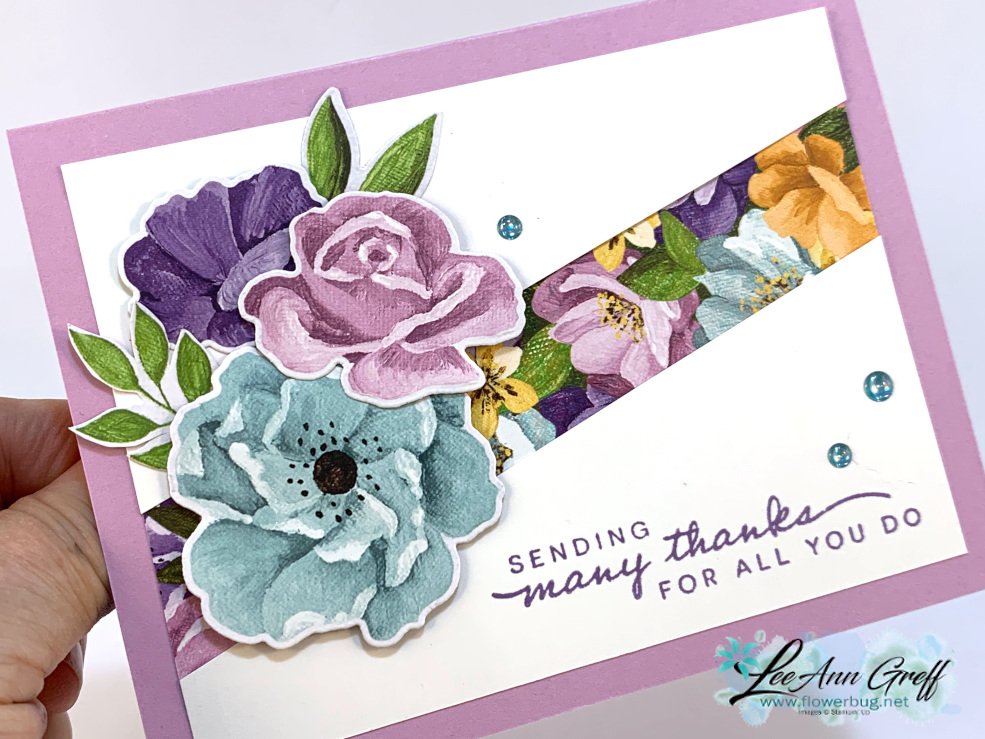
  • Unique diagonal card layout using your Designer Paper


    I've made a few of these cards lately; I just love the diagonal layout and how easy it is to stamp your greeting directly on the White layer.  

    It's made with the beautiful Hues of Happiness designer paper seen here.  It's been my top seller this month!  So far it's not on the low inventory list but I fear it will be the way it's going! 

    I cut some of these flowers directly from the DSP using the Blossoming Happiness dies; they match up perfectly to many of the flowers in the paper.  

    I made a bunch of these cards for swaps in May in both colors seen below. This way I could use two different sheets of paper since they provided flowers in many hues. 

    Tip: The nice thing about this layout is that you don't have to measure your diagonal cut on the White CS perfectly.  Mine are about 3/4" from the lower left and the upper right. 

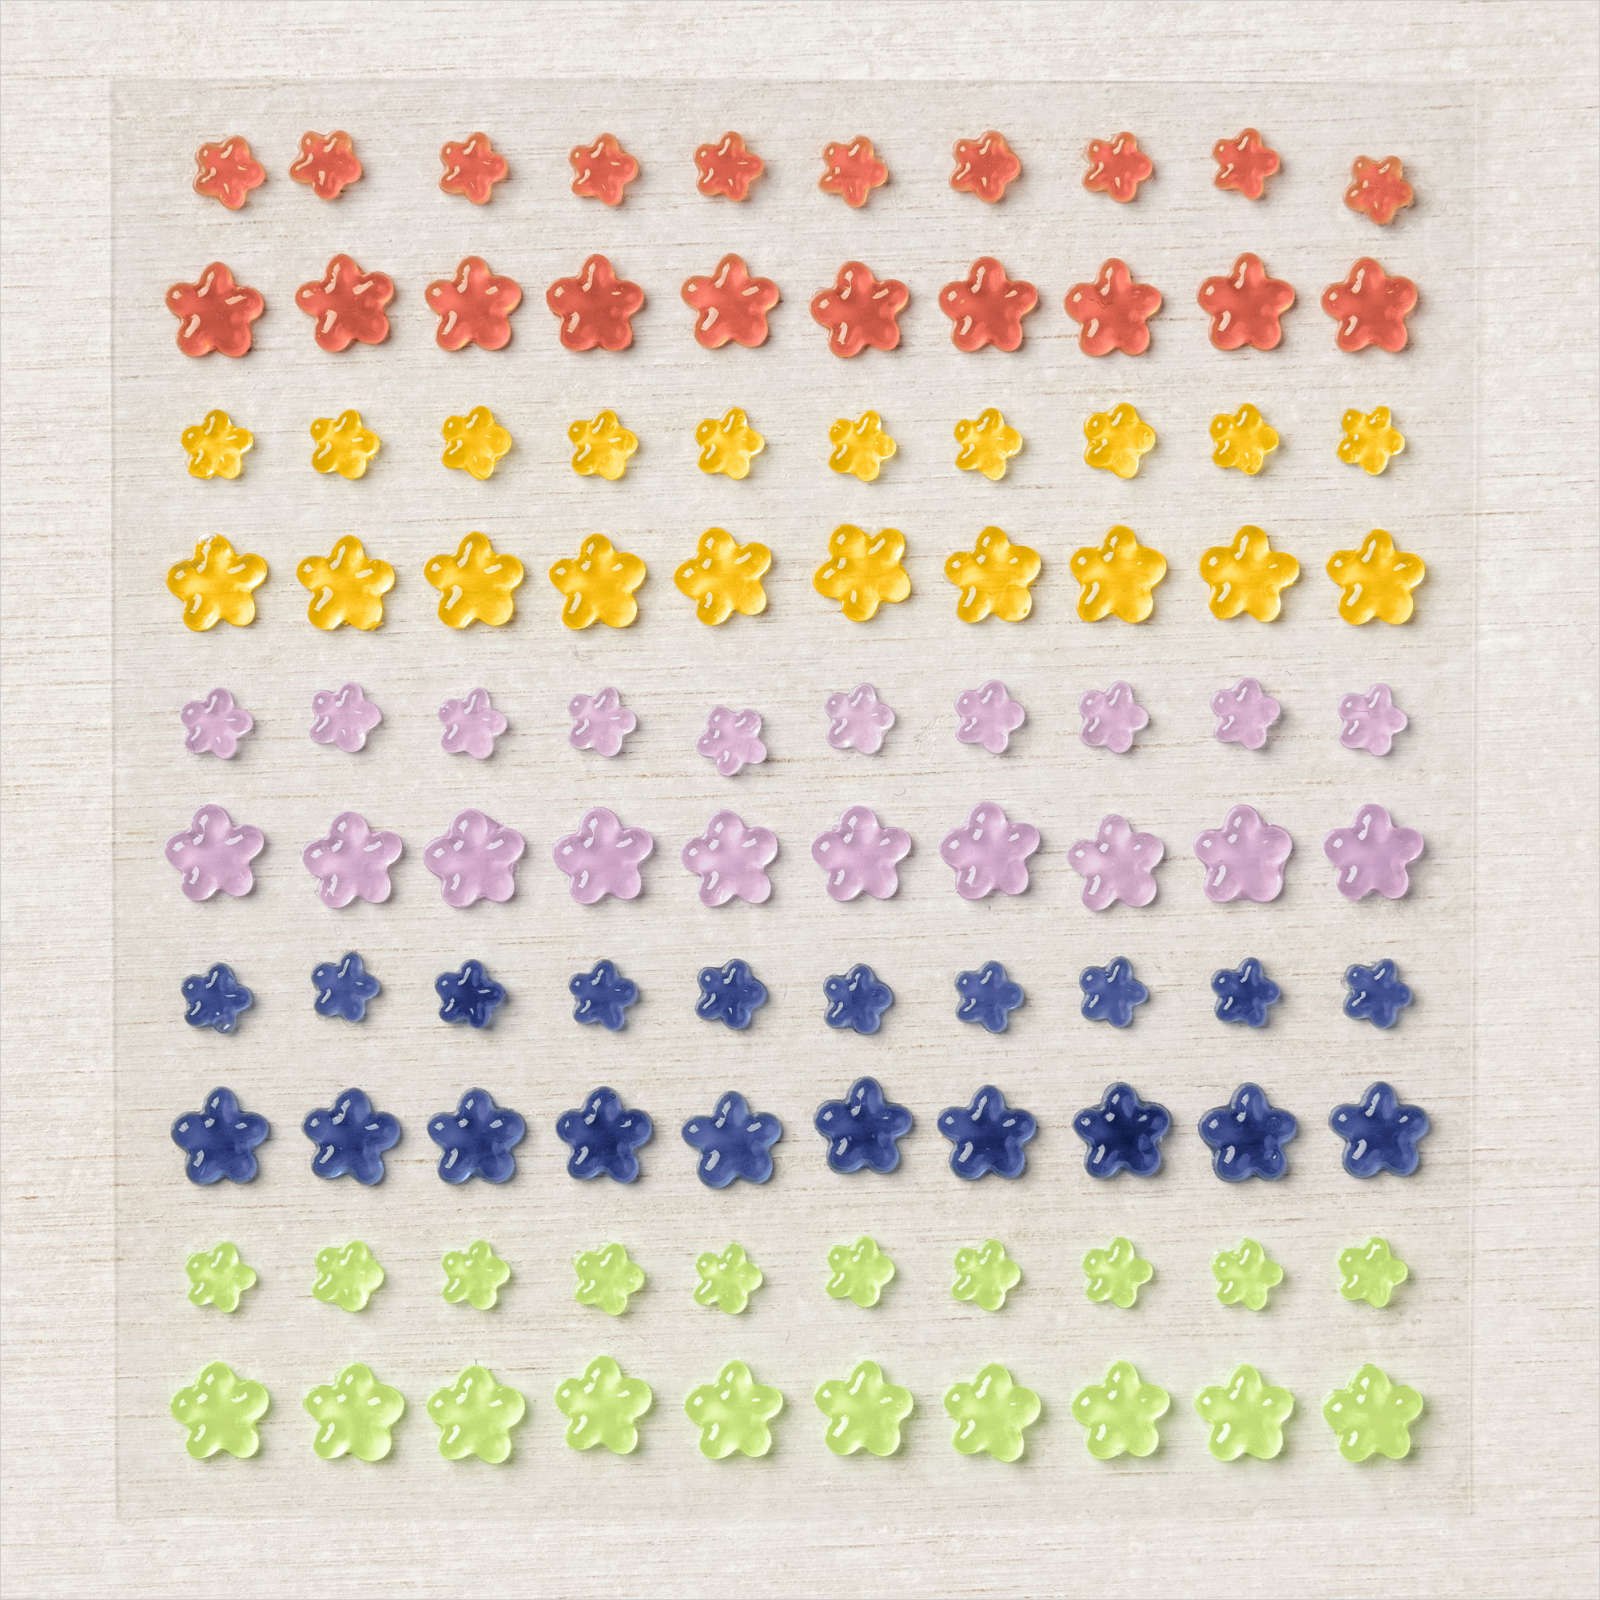
    The Melon Mambo card on the upper left is part of my Hues of Happiness card kit to go seen below.  You get 1/2 pkg of this pretty DSP, a share of ribbon and Glossy dot gems in the kit for $28 plus shipping. Tomorrow (May 18th) is the last day to opt in for this pre-cut kit to go.  See details on it here.  

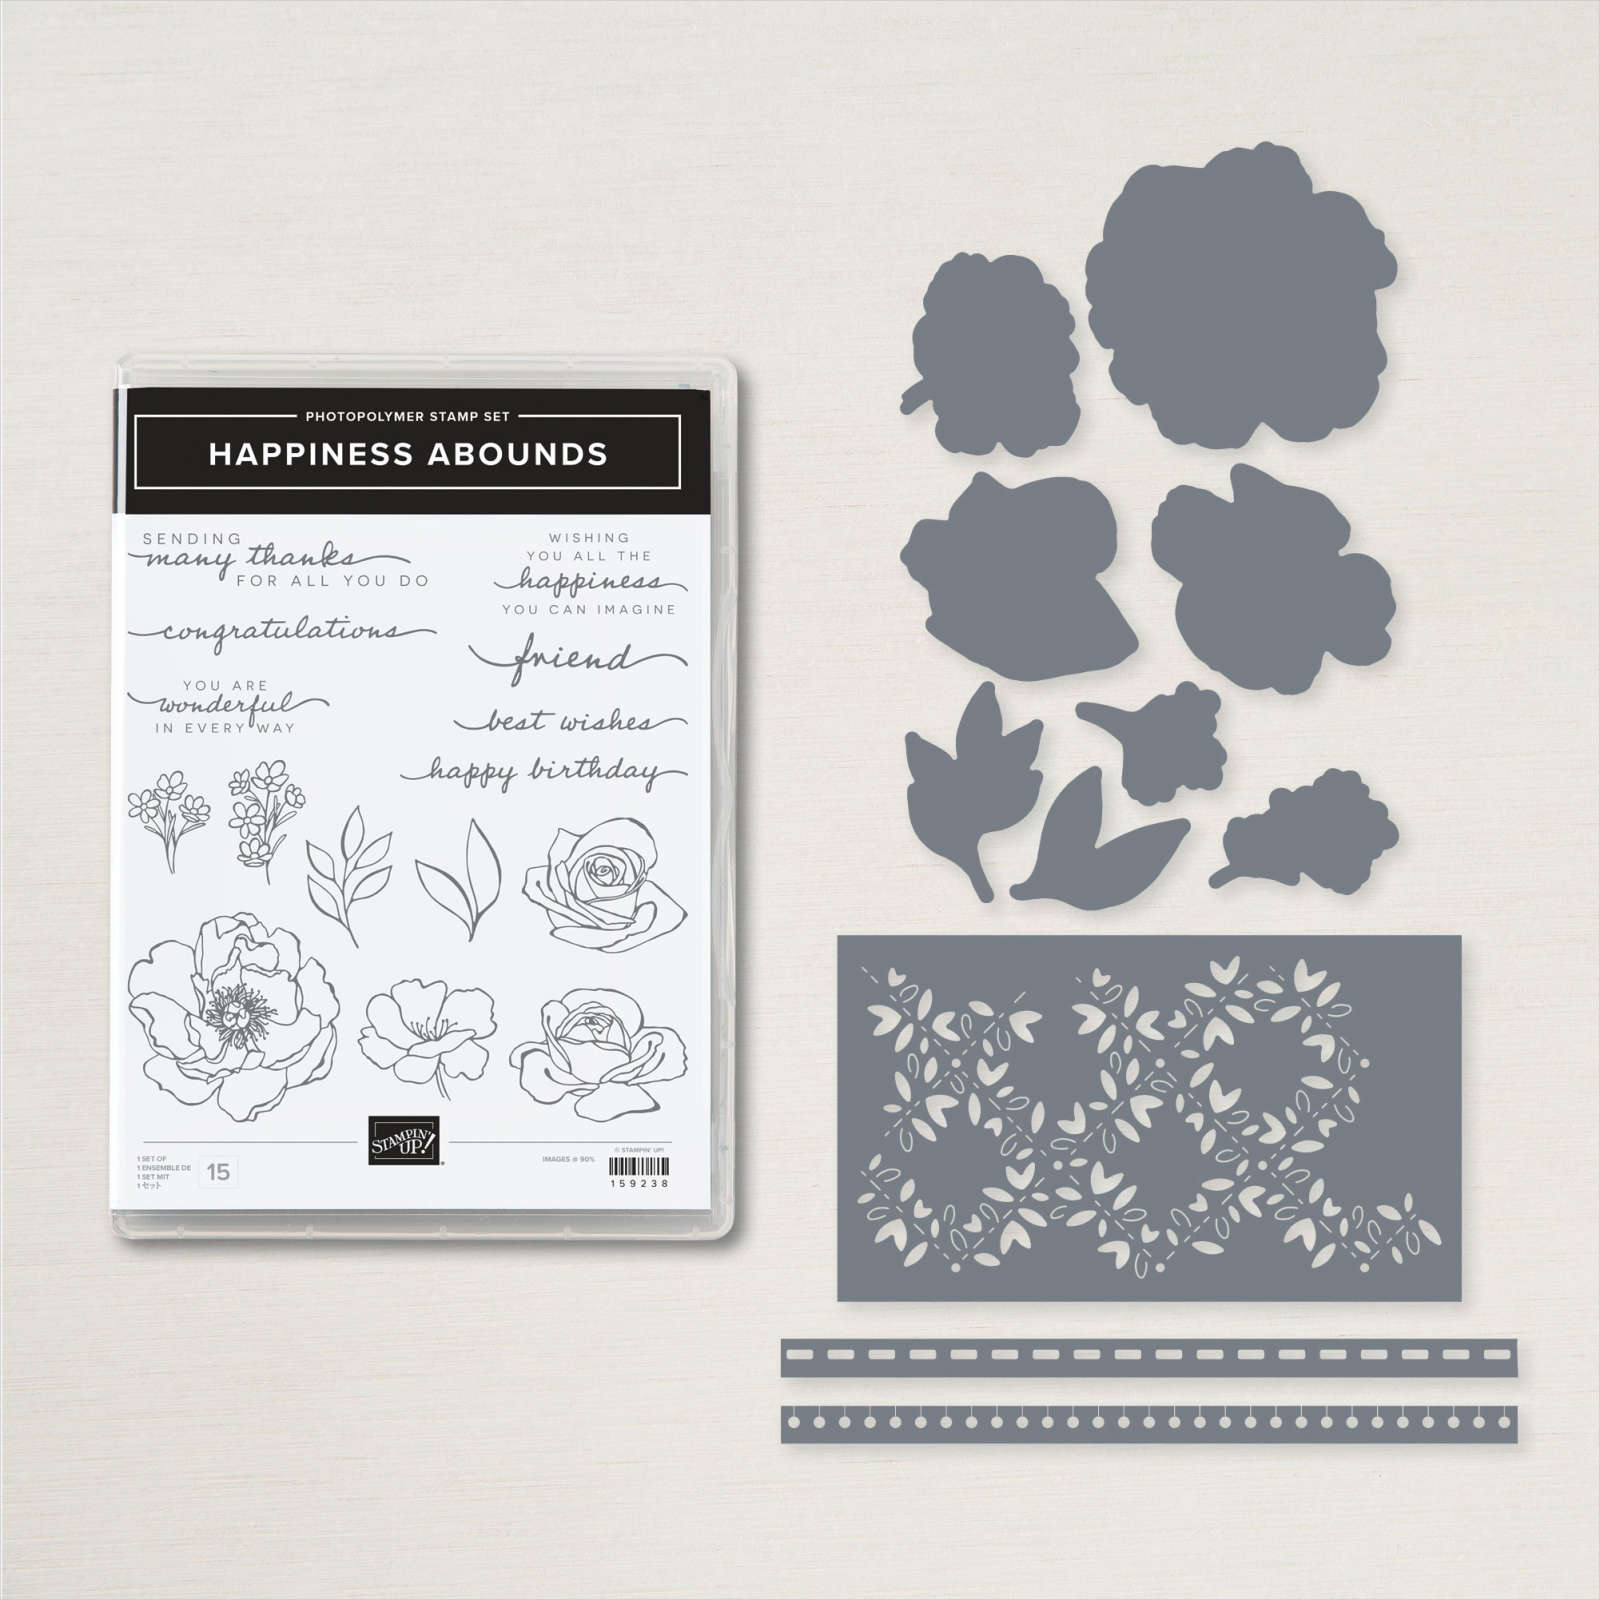
    I used the Happiness Abounds bundle for these cards.  See that here.  

    This card below is made with Fresh Freesia as it's card base.  There are a nice variety of colors in this designer paper; so many card stock & ink colors will work with it.

    Here are the measurements: 

    • Card base 5 ½” X 8 ½” scored at 4 ¼”
    • White front 5” X 2 ¾” cut in half about 3/4" from the lower left and upper right
    • DSP – 5” X 2 ¾”

    ~~~

    Get a bunch of NEW In Color products FREE in your Starter Kit! 

    It's $99 for $213 in products!!!  And Free Shipping! Click here. 


    Host codes: HUNR9DB6

     *click here to order 

    If your order is over $50 you'll receive a set of NEW embellishments from me.

    Don't forget about my loyalty rewards! 

    Click here to download yours and earn a $50 shopping spree!  

    Leave a Reply

    Your email address will not be published. Required fields are marked *

  • Sweet Songbirds bundle with our newest Stampin’ Up! In Colors


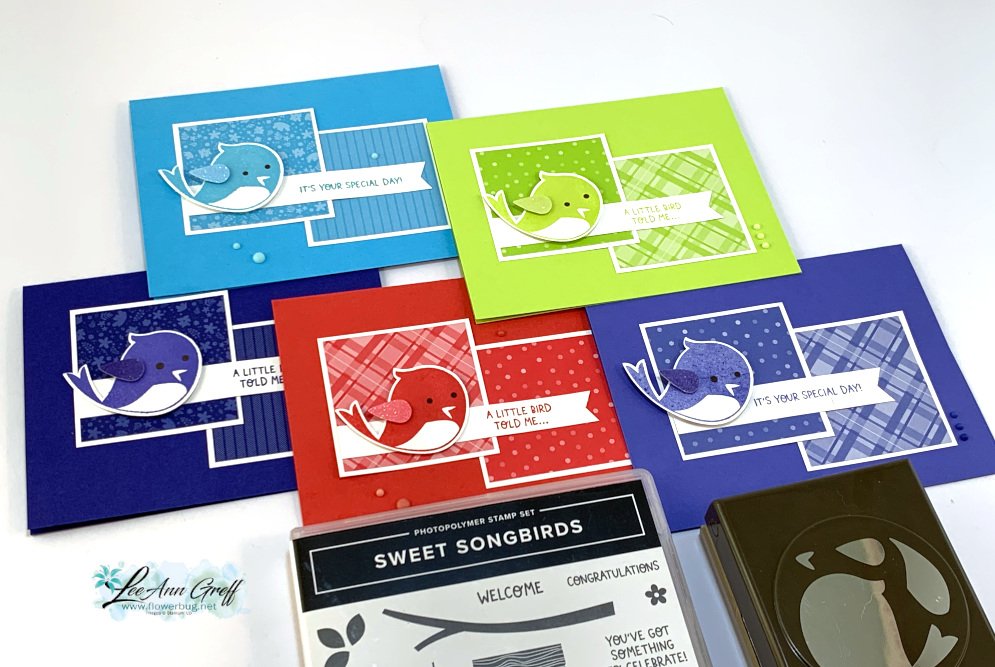
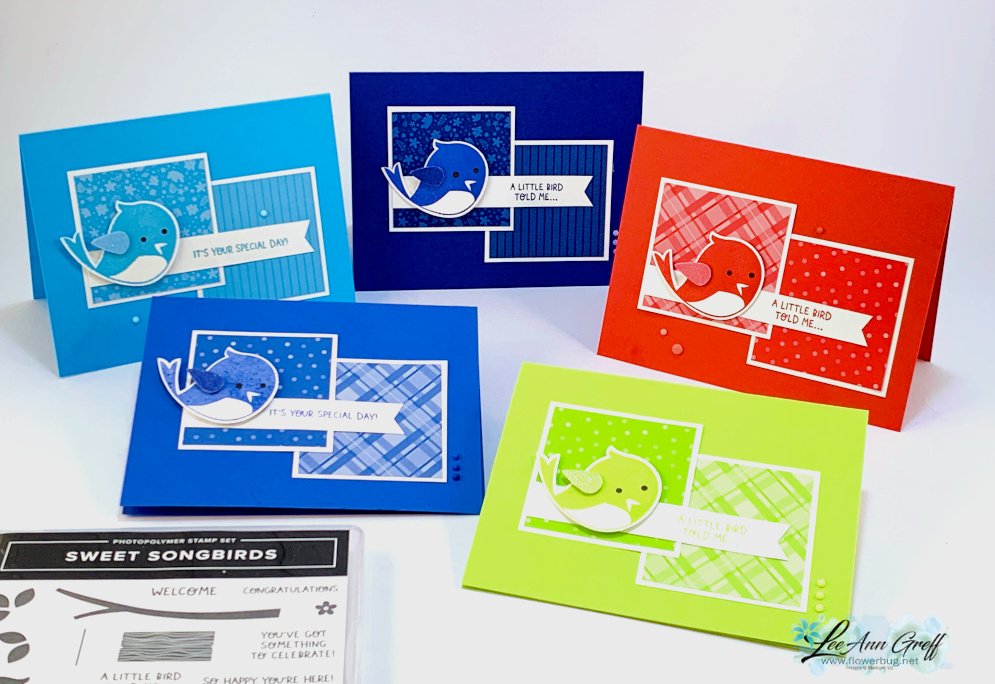
    For my In Color display board I made these 5 cards with the new Sweet Songbirds stamp set & punch bundle.  

    These colors are so vibrant and striking; they are a wonderful addition to our Stampin' Up! color line.  

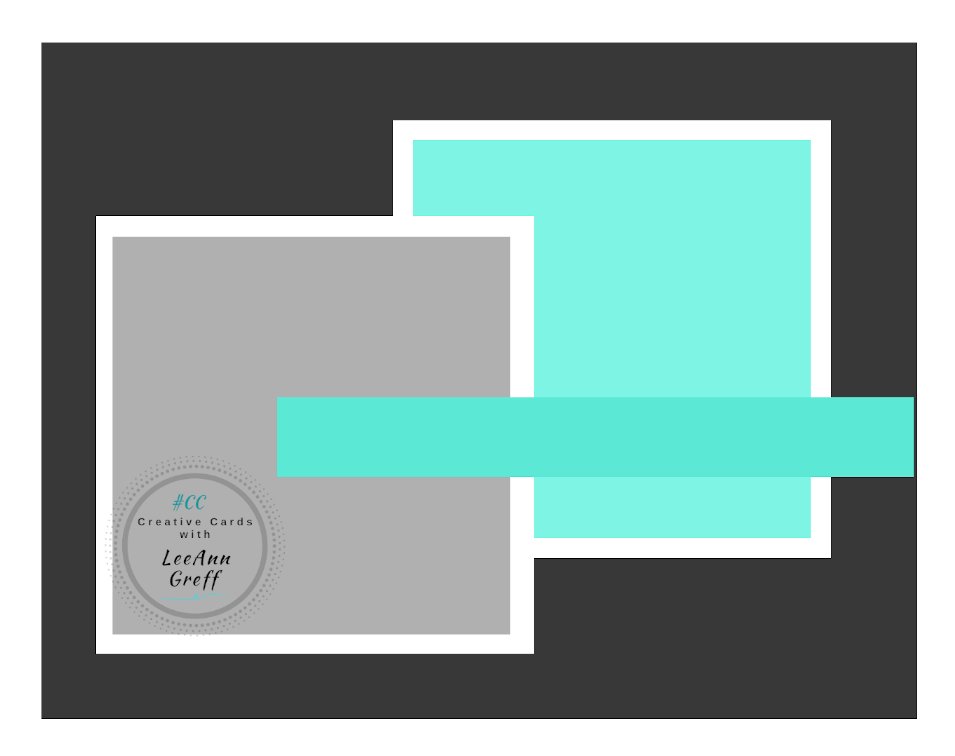
    I used this sketch for inspiration.  I find card sketches can be one of the easiest ways to create and design a card.  

    The squares of In Color Designer Paper are  2 1/4" and the White layers are 2 1/2".  The greeting strips are 5/8" X 4 1/4".  

    The sweet birds are stamped in each In Color and punched out with the Bird punch.  I punched the wings from our In Color Glimmer Ombre paper.  

    ~~~

    Speaking of our wonderful new In Colors, I'm thrilled that we've been adding lots of people to our Flowerbug's Team this month with the incredible In Color Starter Kit promotion.  If you love a good deal you should seriously consider this option!  Why wait?!  

    Here's the details: You receive over $220 in Stampin' Up! products for just $99 and FREE SHIPPING too!  It costs $99 and YOU PICK $125 in product of your choice and get the In Color items below FREE plus a FREE Paper Pumpkin kit too!  Of course they add in the catalogs and business supplies at no cost.  

    Check out these Details:

    Fact 1: You get 20% and up to 25% off every single order you place while you're active as a Demo. 

    Fact 2: In June we can order from the new Holiday AND Sale-a-Bration catalogs!  And we earn FREE SAB items for our orders at the same time!

    Fact 3: Many demos are in it for the discount and fun only.  But if you do want to run a business I'll be there to help guide and support you. *I've been in the top 100 in the Stampin' Up! company for the last 15 years; I'm happy to share & work with you. 

    Fact 4: You get all of my past AND future PDF tutorials FREE!

    Fact 5: Your first $300 minimum purchase is due by the end of September and ALL orders count towards that minimum. 

    Fact 6: Get inspired by the exclusive websites/FB groups only Demo's have access to. 

    Fact 7: If you're ordering up to or over $90 anyway why not get another $100 FREE and the continuous discount on all purchases?

    Fact 8: When you're done being a Demo you just stop ordering.  That's it!  Enjoy it while you can.  No pressure to stay or do more than you want.  

    Fact 9. Most of my Team say they wish they'd joined earlier.  TRUE! 

    Fact 10: We have the most supportive and friendly team there is!  Seriously! 

    Go here to get your Starter Kit Deal and join in the fun!

    ~~~

    Get a bunch of NEW In Color products FREE in your Starter Kit! 

    It's $99 for $213 in products!!!  And Free Shipping! Click here. 


    Host codes: HUNR9DB6

     *click here to order 

    If your order is over $50 you'll receive a set of NEW embellishments from me.

    Don't forget about my loyalty rewards! 

    Click here to download yours and earn a $50 shopping spree!  

    Leave a Reply

    Your email address will not be published. Required fields are marked *

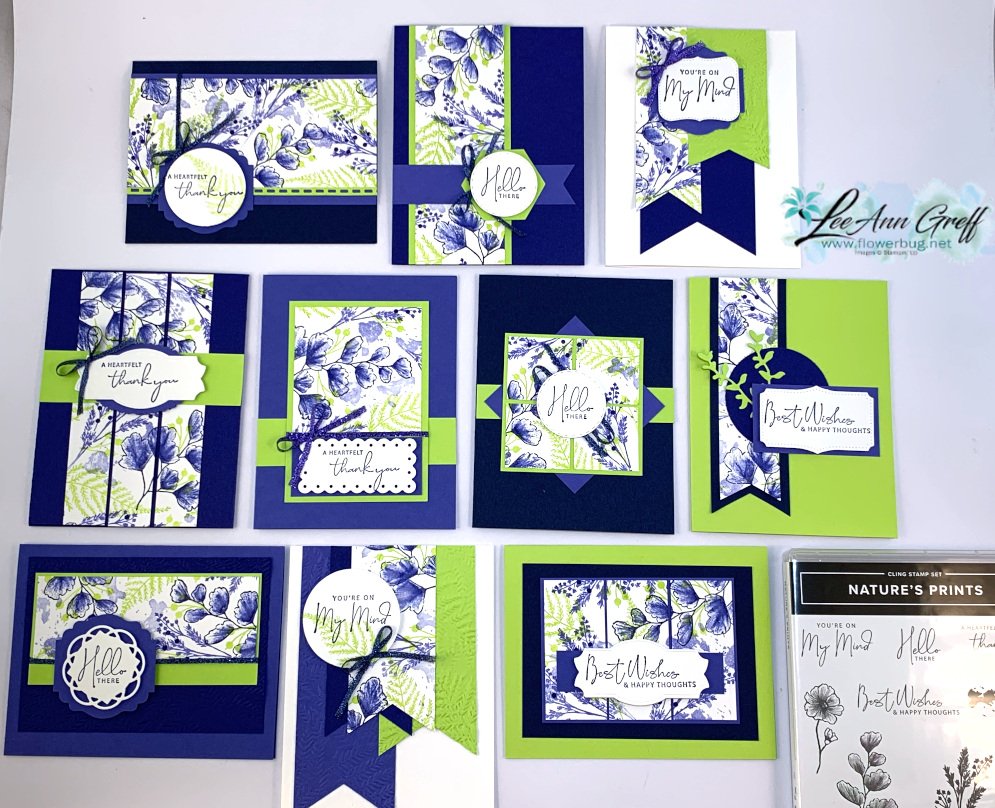
  • Nature’s Prints 5 sheet wonder; these 5 templates make creating so easy!


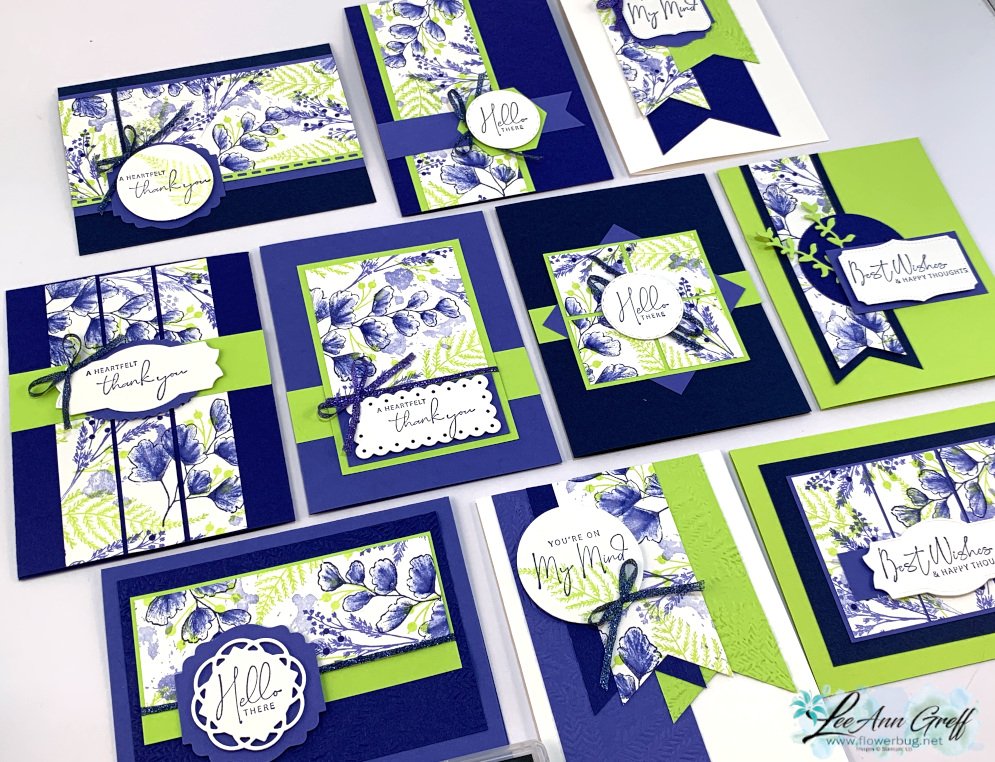
    It's been awhile since I made a group of cards with my 5 sheet wonder templates.  The Nature's Prints stamp set was a perfect choice for it.  

    And playing with three of our newest In Colors paired with Navy & White helped create these beautiful cards. 

    I'm holding a class on Wednesday, May 25th at 6 pm here in Minot, ND for my local customers. RSVP to attend by May 22nd. You can see my PDF tutorial on my shop here.  I am not offering it as a kit to go at this time. 

    I chose the new colors of Starry Sky, Parakeet Party & Orchid Oasis to start with.  I needed a 4th color and wanted to stick with the blues and greens so I added Navy to the mix.  

    My greetings and images are all from the Nature's Prints stamp set seen here.  

    How do my 5 sheet wonder templates work?  Here are the steps:

    1. Choose at least 4 colors of ink and card stock for your cards.  
    2. Choose a stamp set that has a variety of images, from large to small. It helps if they are non directional (okay stamped in different directions). 
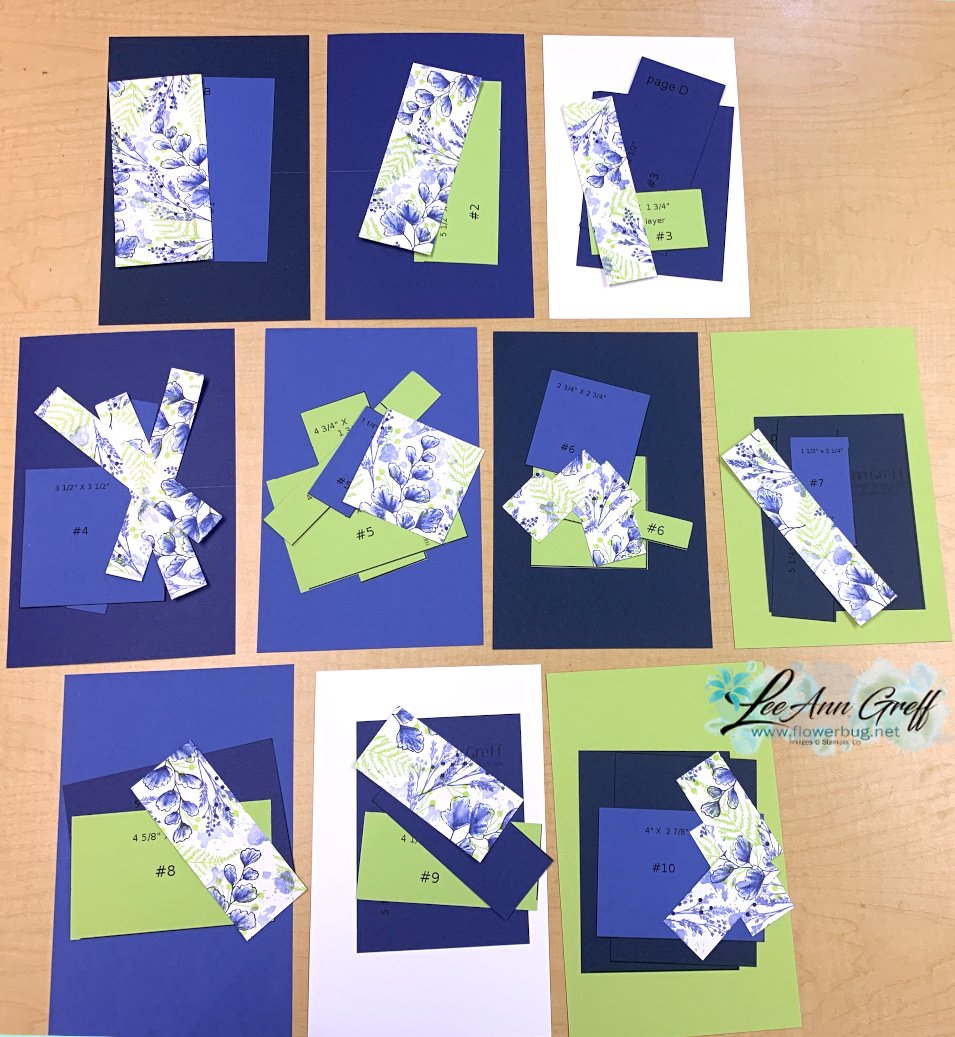
    3. Print out Template A on White CS and stamp the non printed side with the images and inks you chose creating your own paper. *You could use DSP but you'll want to print on the reverse side. Here is mine below: 

    3. Turn the stamped piece over and cut on the printed lines.  (I print my card stock with a printer but if your printer will not work with card stock you can have a copy place print them for you.  Or just use the template measurements as a guide. 

    4. You'll also print templates B-E on four other colors of card stock.  Cut on the printed lines (you'll use the reverse side for your cards).  

    5. You'll need 10 card bases in the colors you chose.  Place them on the table and add all of the cut pieces over each card base.  Tip; Use contrasting colors.  If there are many dark pieces I use a light card base and if there are mostly light pieces like the examples below, I'll use a dark card base.  

    6.  Now you'll assemble the cards using my finished samples as a guide. 

    7.  You'll stamp your greetings using a variety of punched or die-cut pieces and finish your cards, adding ribbon or gems as desired.  

    Easy, no measuring cards that are BEAUTIFUL and multi-layered.  You can see my 5 sheet wonder PDF tutorial here on my Shop site.  The PDF tutorial includes multiple card and color examples. 

    ~~~

    Get a bunch of NEW In Color products FREE in your Starter Kit! 

    It's $99 for $213 in products!!!  And Free Shipping! Click here. 


    Host codes: HUNR9DB6

     *click here to order 

    If your order is over $50 you'll receive a set of NEW embellishments from me.

    Don't forget about my loyalty rewards! 

    Click here to download yours and earn a $50 shopping spree!  

    Leave a Reply

    Your email address will not be published. Required fields are marked *


Notice: LeeAnn Greff, Independent Stampin’ Up! Demonstrator, Manager. The content of this website is my sole responsibility as an independent Stampin’ Up! demonstrator and the use of, and content of, the classes, services, or products offered on this website is not endorsed by Stampin’ Up! Copyright 2025