/


Latest Post

Stack & Cut cards with Dandy Designs & Something Fancy with PDF project sheet & template download!


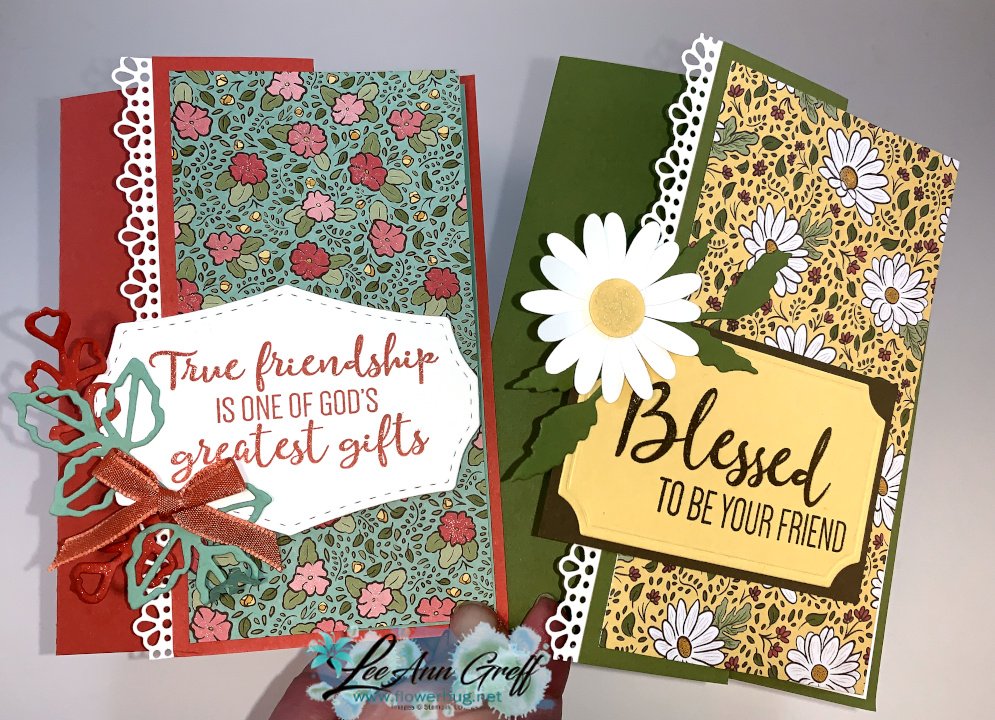
I LOVE the cards I'm sharing with you today!!  So much!  

They're 'Stack & Cut' cards using an easy template I'll share below.  I created these for last week's Facebook Live.  The Dandy Design SAB designer paper features gorgeous color combinations like this one: 
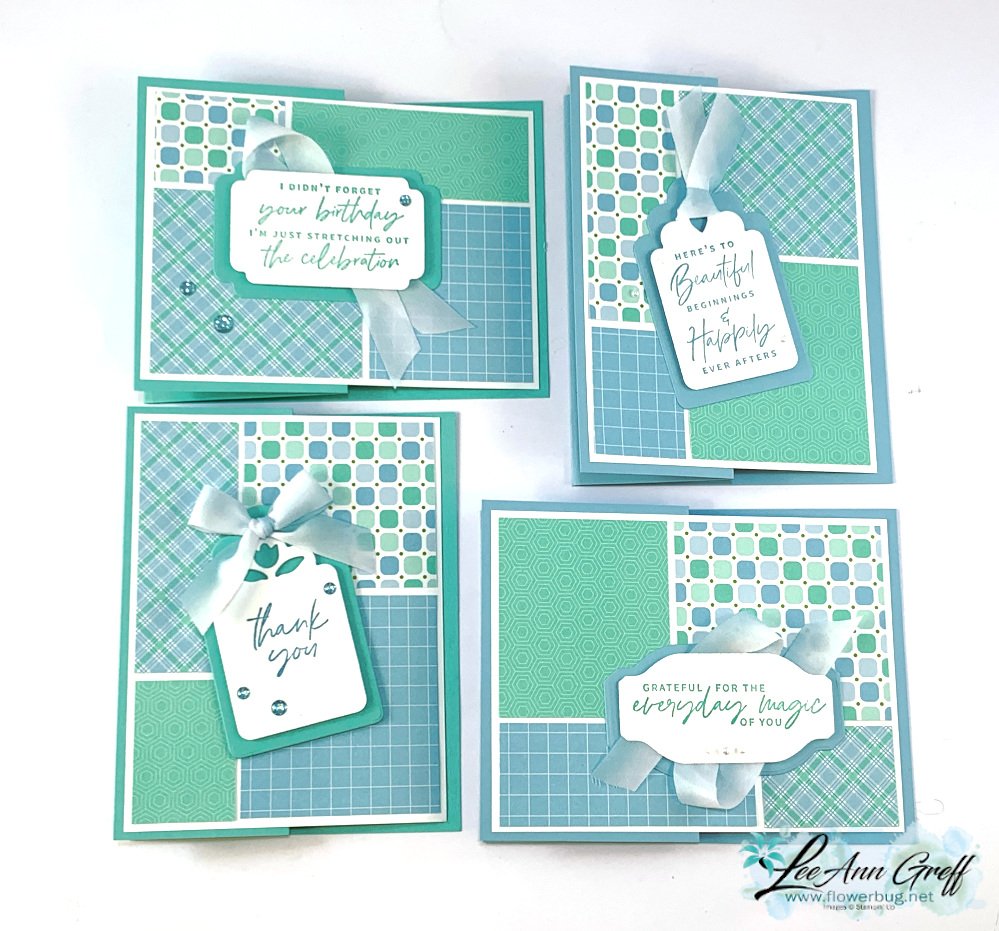
Who would have thought Balmy Blue & Coastal Cabana would be so pretty together?!  I sure didn't.  But with the small prints and the addition of White & Pool Party it works beautifully. 

Each set of cards feature this neat Dandy Designs designer paper seen here.  This huge pack of 48 12 X 12" sheets is free during Sale-a-Bration with any $100 purchase.  

For each of these sets of cards I also featured the Something Fancy bundle.  It's one of my top picks. See it here.  The greetings are great but the dies!  WOW; the tags and layers are perfect!  
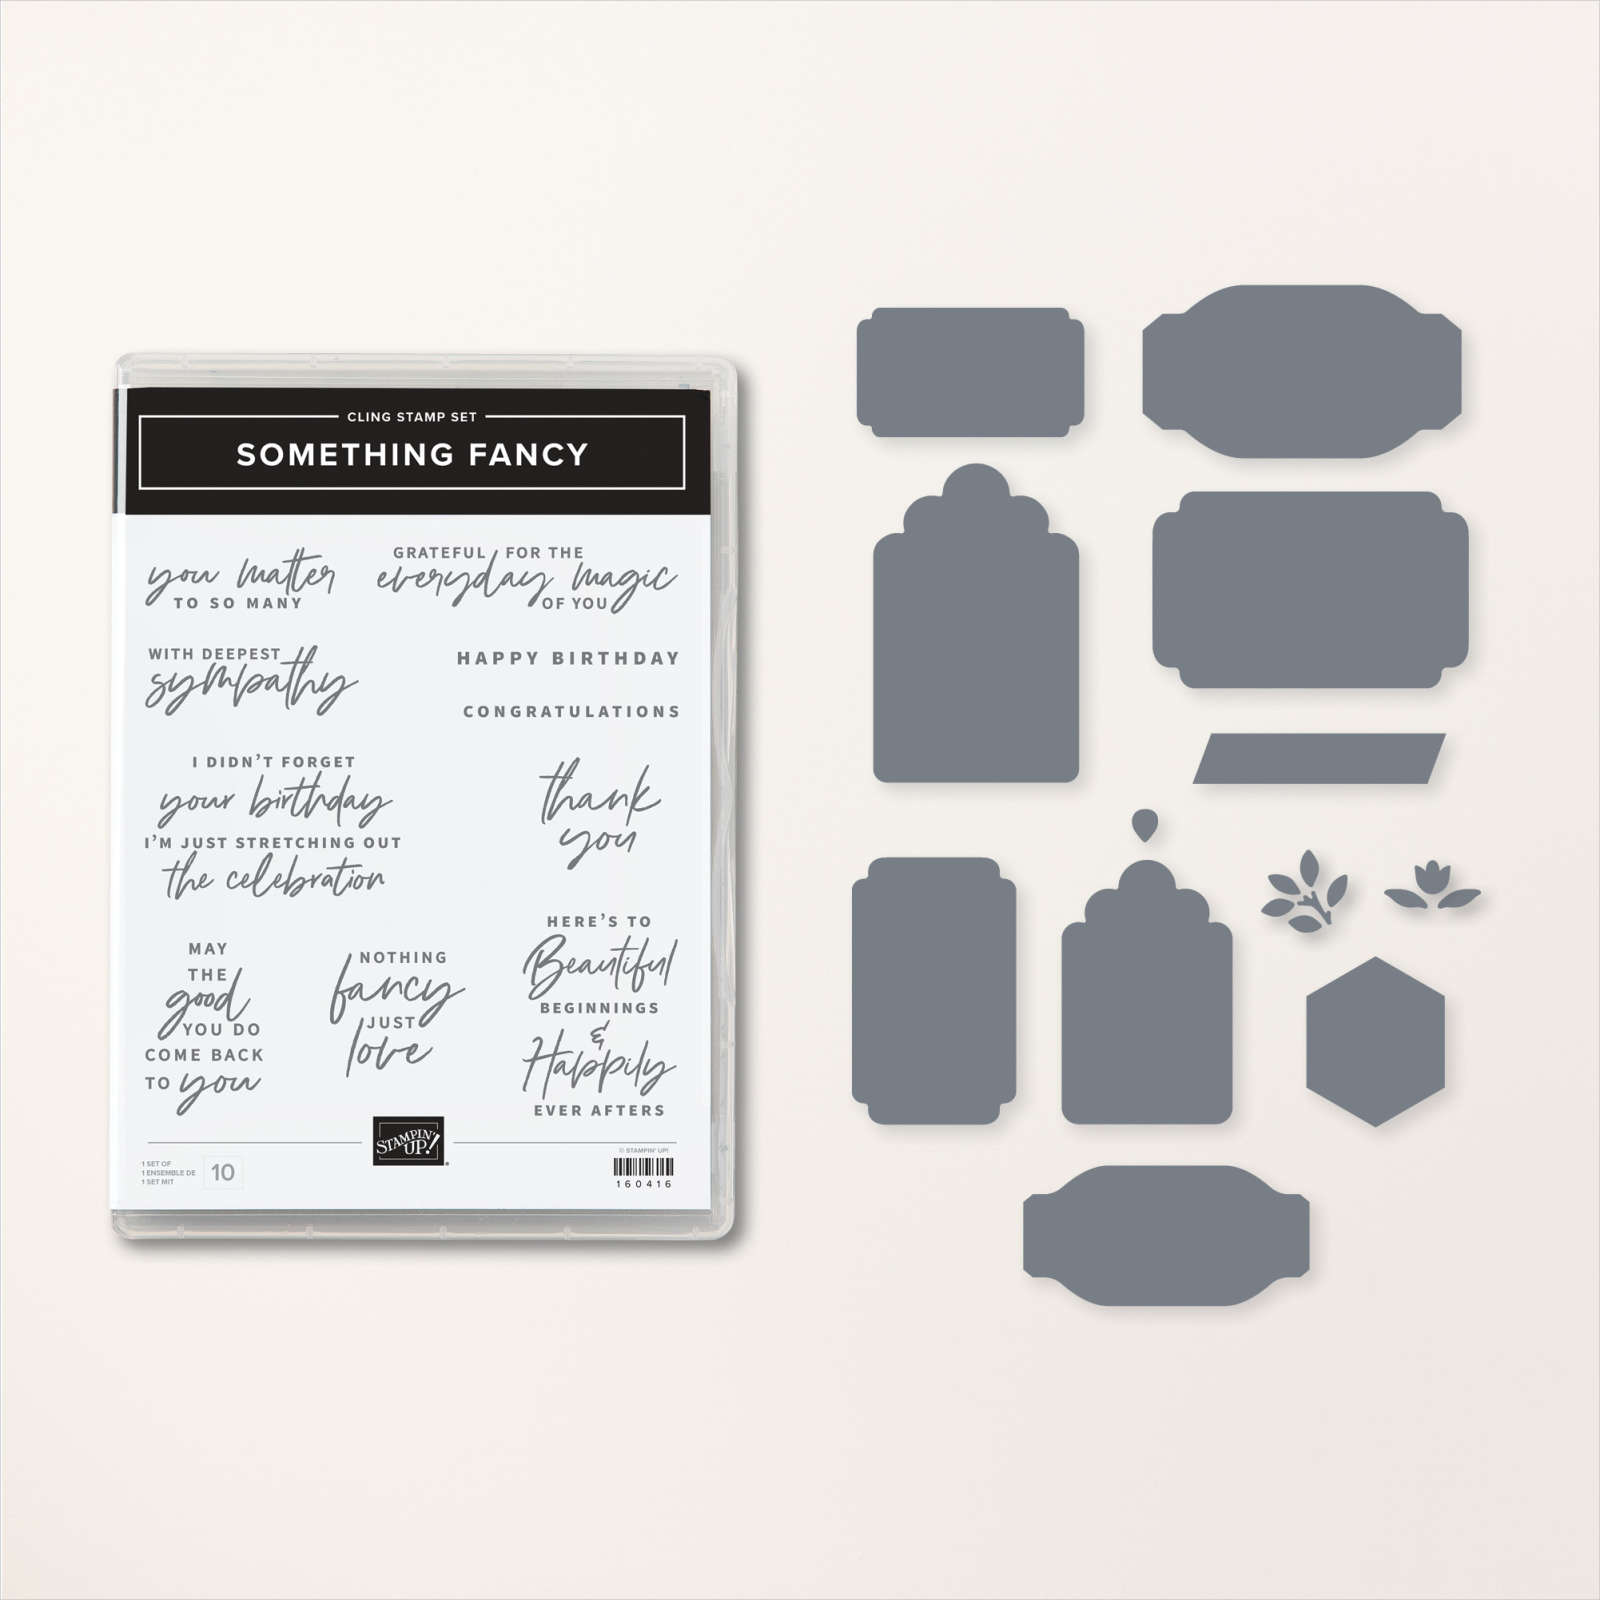
Add this bundle to your order and you're over half way towards getting the Dandy Designs paper pack free! All of these tags and greeting die-cuts are from these Something Fancy dies.  

This next set is all pastels in Fresh Freesia & Petal Pink; another color combo I would never have put together.  But it works!  

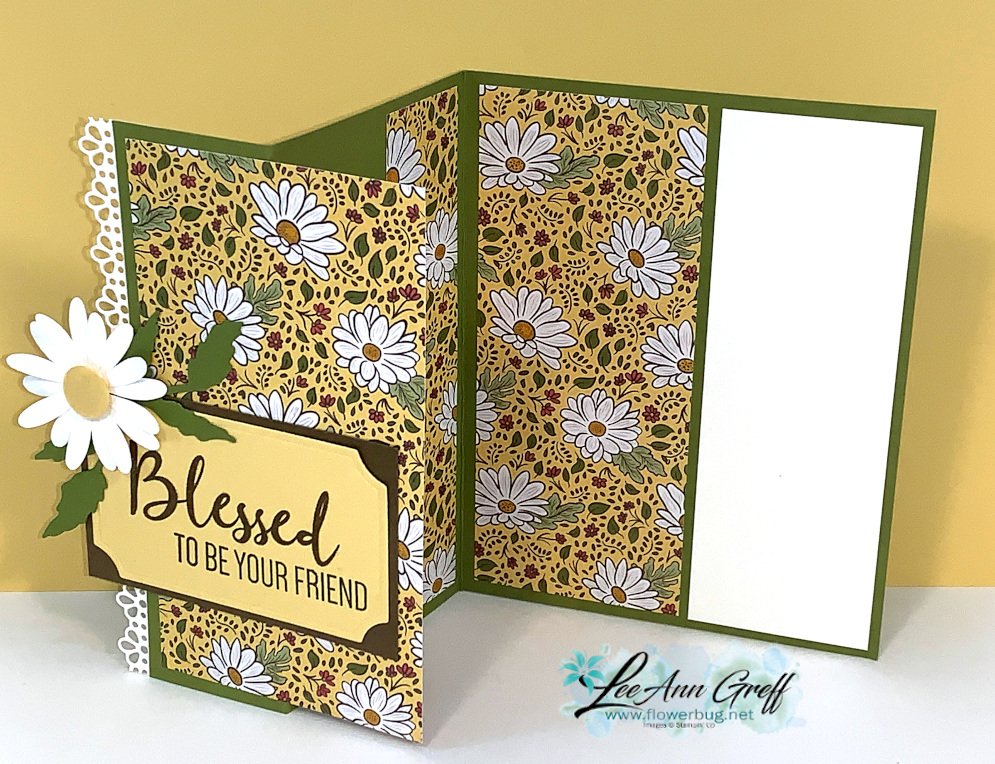
You also might notice that each card is a fun fold.  Here are the measurements:

  • Horizontal cards – 4 1/4" X 11" card base, scored at 2 3/4" & 5 1/2"
  • Vertical cards 5 1/2" X 8 1/2" card base, scored at 2 1/8" & 4 1/4" 

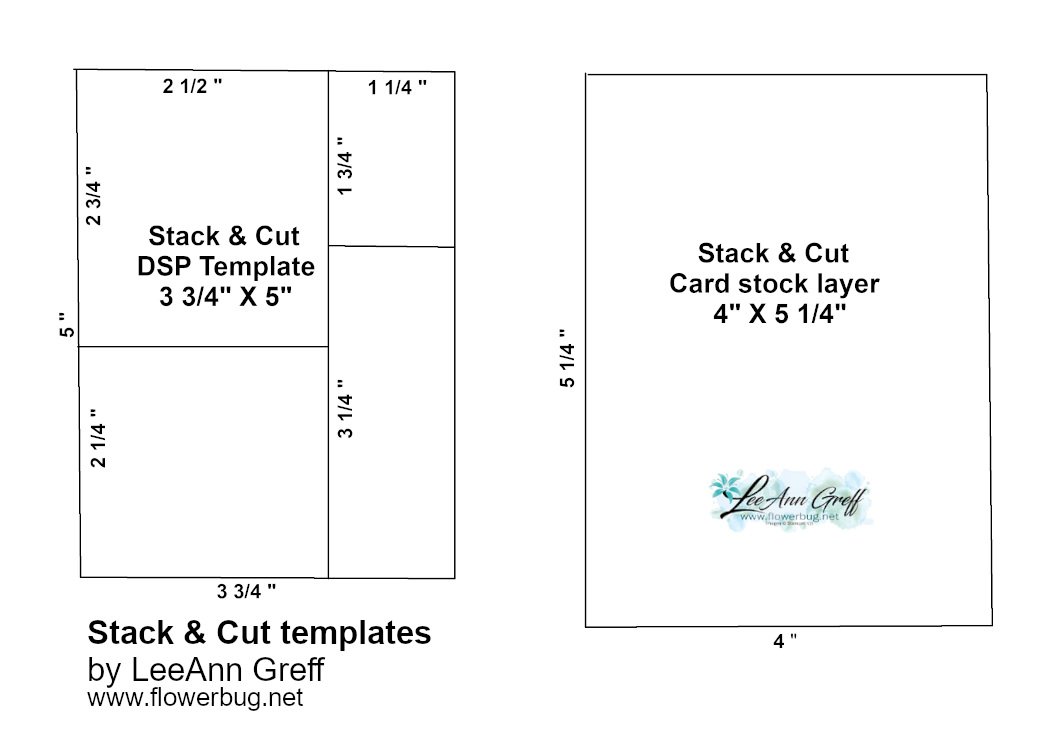
Below is the template I used.  I started out with 4 pieces of designer paper measuring 3 3/4" X 5".  I cut two at a time using the measurements on the template.  Then I cut 4 pieces of card stock for the layer under the designer paper pieces.  It's so easy and a fabulous way to use up your designer paper AND get a bunch of cards done quickly.  

*Save the photo or Download Stack & Cut cards & template here

This last set features Calypso Coral with Mango Melody; a bright and fun combination.  

You can see on the upper left and lower right a few of the optional die-cuts you can add to the tags.  The set actually features 3 options for details or a ribbon pull. 

Here you can see all 12 of the cards I made with the Dandy Designs designer series paper and the Something Fancy bundle.  

Click here to watch the video or click on the photo below. 

Be sure to subscribe to my new YouTube channel here!  Unfortunately my previous channel was hijacked! 

~~~

Sale-a-Bration & the Spring Catalog!


Order online using the links below:
January Host code links: FYRQ94HR or 69GXSA3B

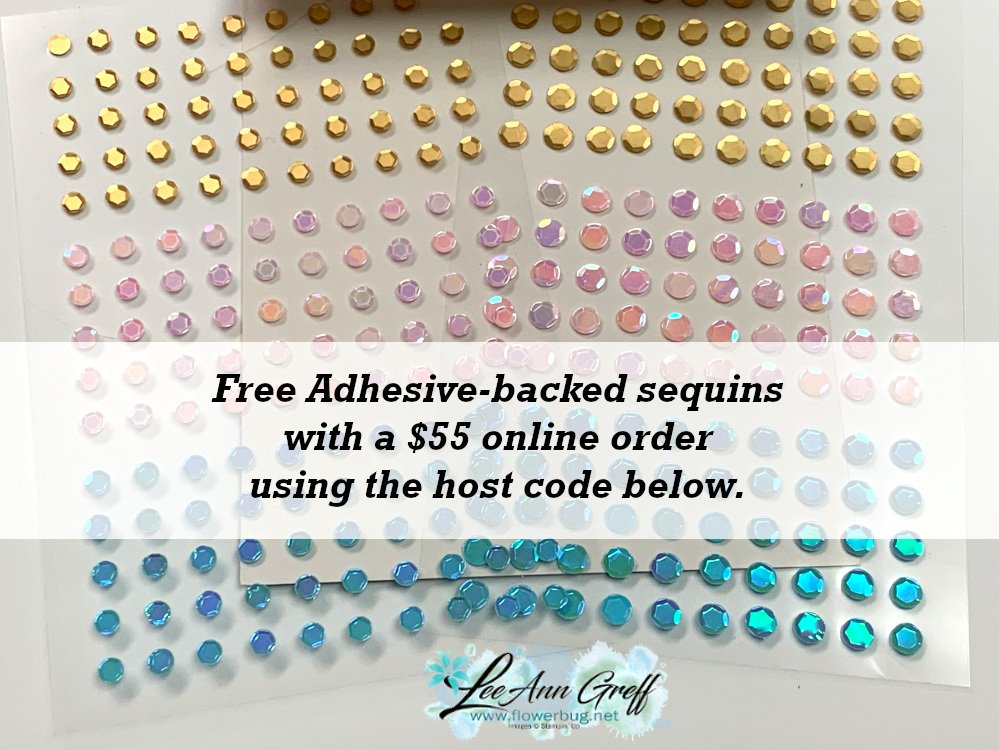
Get free Pastel Sequins with online orders over $55 when using the host code above! 

January Host code links: FYRQ94HR or 69GXSA3B
 Earn free products with my loyalty rewards! 

Click here to download yours and earn a $50 shopping spree!

~~~

Best Deal Ever on the Starter kit here!

Choose $175 in products for just $129 plus the new mini machine!

Or choose $175 for $99 without a new Mini.  AMAZING!

All Posts

  • Ornate Thanks & Ornate Borders with a clever fun fold idea


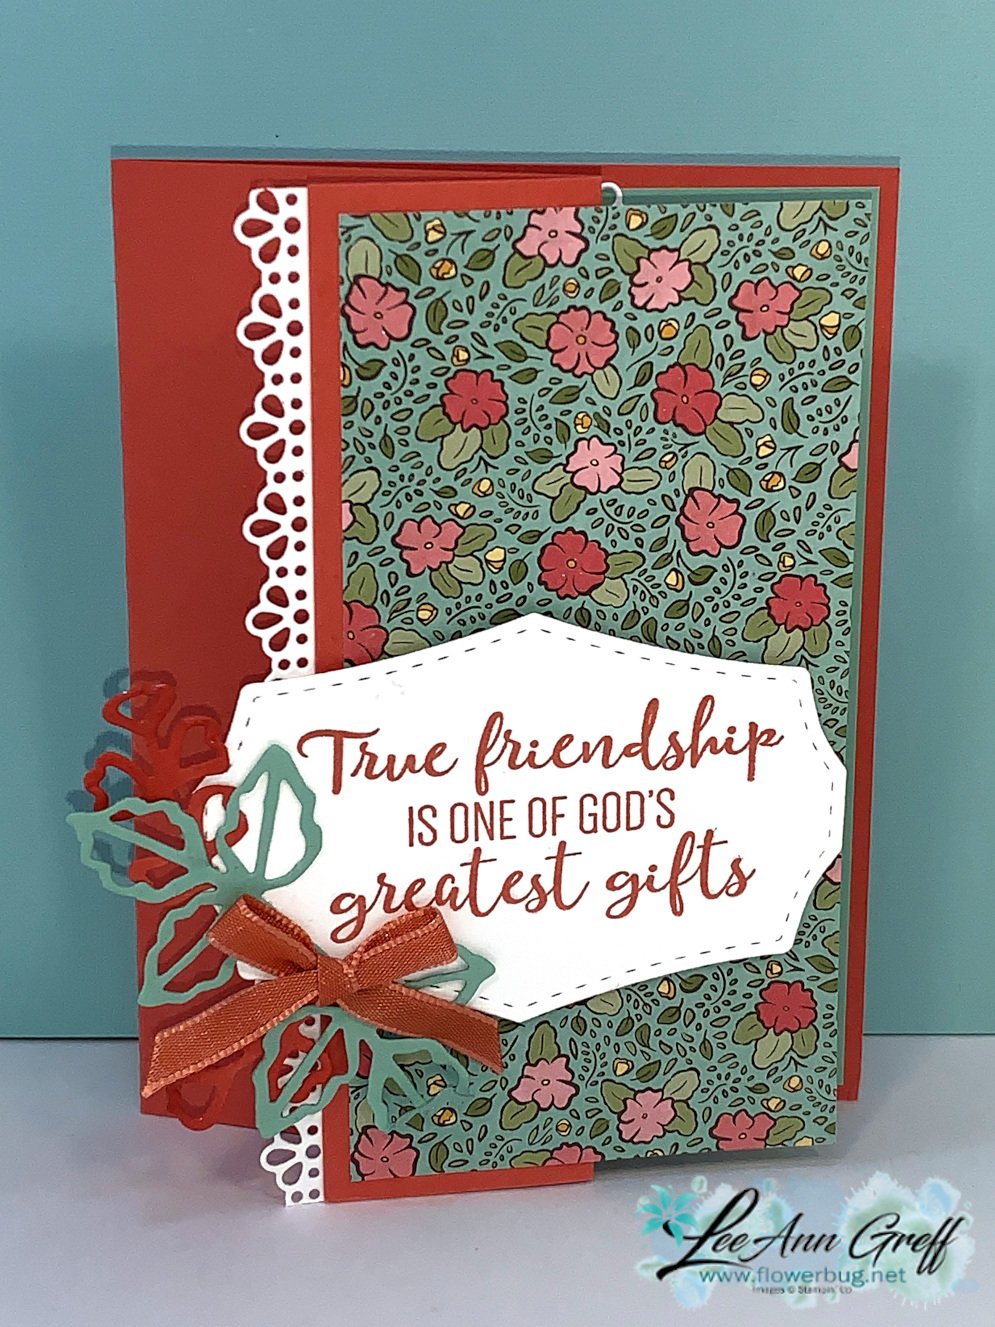
    I shared these two pretty cards on my Facebook Live last Tuesday. (Click here to see my page.)  I made another version using the Best Dressed designer paper.  I'll share those tomorrow. 

    They are made from a standard 5 1/2" X 8 1/2" piece of card stock but you add a second score to it.  It's scored on the long side at 1 1/2" and 4 1/4".

    The best part of this fun fold card is how it makes the most of your designer paper!  Each card uses one piece measuring 5 1/4" X 6".  Cut it into three pieces; the first (left) piece at 2 3/4" wide X 5 1/4" tall, the middle piece at 1 1/8" wide and the right (inside) piece at 2 1/8" X 5 1/4".

    Those three pieces add up to 6" across!  What a great way to use your designer paper! You can make 4 cards from a 12" sheet! 

    The white layer inside the card (for writing or stamping onto) is 5 1/4" X 1 3/4".  I used the To a Wild Rose stamp set for the greeting. The leaves and greeting die-cut are from the popular Painted Labels dies (now available again!!!) 

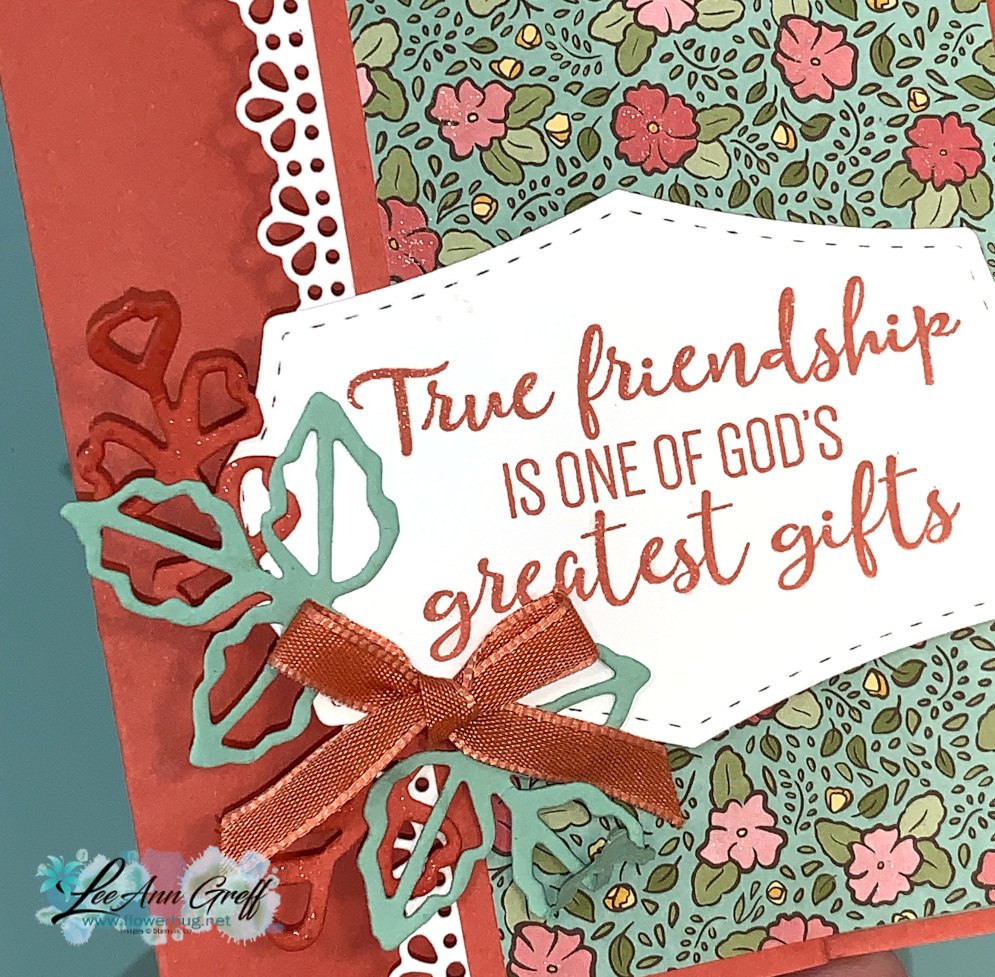
    Here's a close up view of the greeting.  It looks like I heat embossed it right?  

    I didn't but it is sparkly!  I used the Wink of Stella pen!  It's fun to trace the stamped greeting; it's large enough that it was easy to do. 

    You can find this pretty Ornate Garden specialty paper and the entire Ornate Garden suite of products here.  

    This card base is Terracotta Tile; one of our 2019-21 In Colors.  I paired it with Mint Macaron card stock.  

    I added an extra Ornate Border trim on the inside of the card too.  You might be able to spot more Wink of Stella on the designer paper and I added it to the die-cuts too.  See that pretty Terracotta Tile ribbon?  It's part of the Ornate Garden ribbon combo pack with Old Olive.  Gorgeous soft 1/4" ribbons! 

    The label and leafy die-cuts here are from the To a Wild Rose bundle seen here. 

    ~~~~

    April ordering specials:

    All online orders in April will receive my tutorial of the month; with 16 cards

    featuring the Ornate Garden products seen here.

    **Order either Ornate bundle from me and get a free 3 cards pre-cut kit! Order both and get a 6 cards kit with pdf tutorial! 

    Orders between $55 and $99 will receive a free Simple Shammy! If your order is over $150 please don't use the host code; you'll earn your own host benefits but still get a free Shammy. 

    Use this host code for April: MMM4SXSB  

    Leave a Reply

    Your email address will not be published. Required fields are marked *

  • Two days left and they’ll be gone!


    The retiring list is coming out this week Wednesday and these bright and vibrant In Colors will be gone within hours!  They're the 2018-20 In Colors seen on page 164 of the Annual Catalog. Click here to see everything available in these colors; there's a lot! 

    Be sure to order by Wednesday before they're gone!  

    I created 5 cute cards; one in each color using the Daisy Lane & Sweetly Swirled stamp sets.  These cards are going out to my family this week.  

    I used Black ink for the greetings and swirls and the In Color inks for the daisy. The Medium Daisy punch is part of a bundle with the Daisy Lane stamp set seen here. Remember that it will not be available as a bundle after May, 2020. Even if both items return in the next catalog, bundles always retire from one catalog to the next. 

    Here's the Lovely Lipstick version: 

    Details:
    Main cards 5 1/2" X 8 1/2"
    Black 3 1/2" X 4 1/2"
    White 3 1/4" square plus 3/4" strips for greetings
    In Color DSP 1" X 3 1/4"


    Products used:

    Sweetly Swirled & Daisy Lane stamp sets, Retiring 2018-20 In colors plus Black ink, Daisy punch, Faceted gems, In Color ribbons & In Color enamel dots

    See the Retiring In Color items here while supplies last! 

    ~~~~

    April ordering specials:

    All online orders in April will receive my tutorial of the month; with 16 cards

    featuring the Ornate Garden products seen here.

    **Order either Ornate bundle from me and get a free 3 cards pre-cut kit! Order both and get a 6 cards kit with pdf tutorial! 

    Orders over $55 will receive a free Simple Shammy!

    Use this host code for April if your order is under $150.  If it's over you'll get host benefits!

     MMM4SXSB  

    Leave a Reply

    Your email address will not be published. Required fields are marked *

  • Best Dressed FB Live cards


    I made these 3 pretty cards during my weekly 'Stamp with Me' Facebook Live last night.  

    Each Thursday at 8 pm CT we'll finish 3 cards together in about 30 minutes.   Prep your pieces ahead of time using the measurements I provide and you'll be surprised how quickly you can make your cards!  Join me here: 

    I used the Best Dressed Designer paper seen here but you can substitute other paper, colors, stamps and punches. The stamped greetings are from the Peaceful Moments set here. I use this stamp set so much; the sentiments are wonderful.

    After the video many people share their finished cards. It's so fun to see what products everyone uses and how similar (or not) they are to mine. 

    Here are the details and close up views of these three cards: 

    Old Olive 5 1/2" X 8 1/2", Best Dressed DSP is 4" X 3", Lovely Lipstick is 4 1/4" X 3 1/4", White strip is 3/4" X 4 1/4".  A fast, easy card. 

    Purple Posy 4 1/4" X 8 1/2" scored at 5 1/2", Mint Macaron 3 1/4" X 8 1/2" scored at 4 1/4", yellow DSP is 4" X 2 3/4", floral DSP is 3" X 4", Stitched So Sweetly die-cut in White, 2 1/4" Mint circle, punched butterflies , Mint 1/8" ribbon

    • Purple Posy 4 1/4" X 9 3/4" scored at 5 1/2", DSP is 4" square, Detailed Band die-cut (see it here) in Purple Posy (Or use a border and any punch or die-cut)

    ~~~~

    April ordering specials:

    ~~~

    All online orders in April will receive my tutorial of the month; with 16 cards

    featuring the Ornate Garden products seen here.

    **Order either Ornate bundle from me and get a free 3 cards pre-cut kit! Order both and get a 6 cards kit with pdf tutorial! 


    Leave a Reply

    Your email address will not be published. Required fields are marked *


Notice: LeeAnn Greff, Independent Stampin’ Up! Demonstrator, Manager. The content of this website is my sole responsibility as an independent Stampin’ Up! demonstrator and the use of, and content of, the classes, services, or products offered on this website is not endorsed by Stampin’ Up! Copyright 2025