/


Latest Post

Splendid Day cards with an easy background technique; video too.


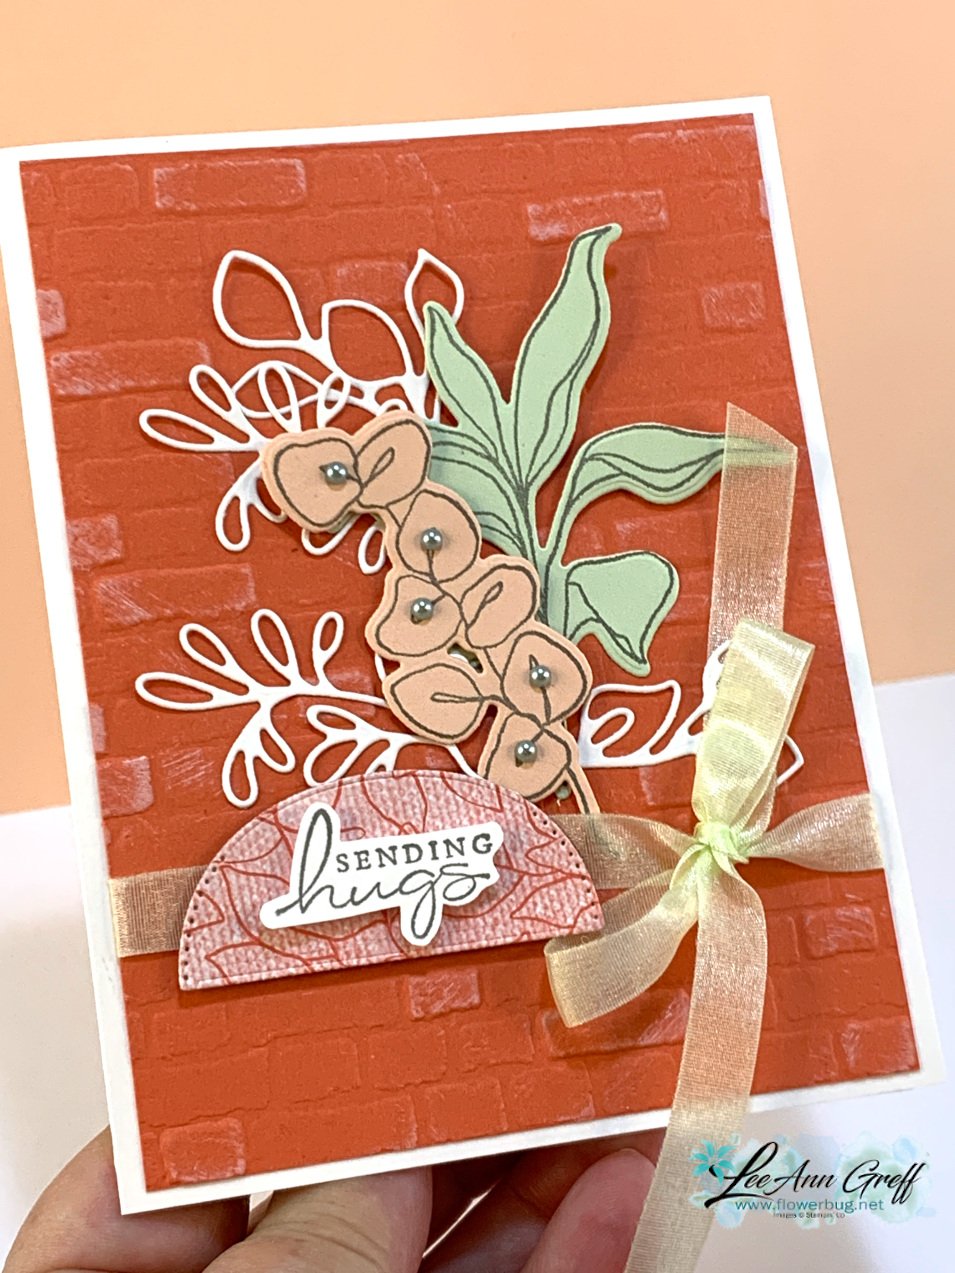
Check out this pretty card using the Splendid Thoughts bundle.  I shared how to make it in a recent Live video seen here.  

I think the Brick background is so pretty with the die-cuts.  I used the 'Direct to Paper' technique.  I used the Brick Wall embossing folder on the Calypso Coral CS and then used an open White Craft ink pad to lightly brush ink onto the textured CS.  I purposely keep my White Craft ink less inked than desired because I love doing this!  If yours is well inked you may want to use a sponge instead.  

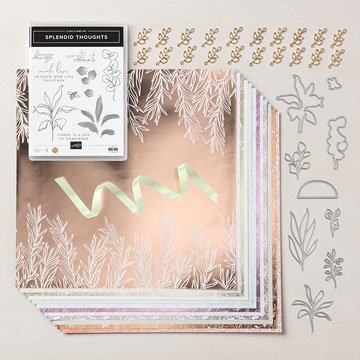
The colors include White, Calypso Coral, Soft Sea Foam and Petal Pink.  The Splendid Day Specialty designer paper is gorgeous and full of Foil & Copper accents on one side and subtle prints on the other.  Here's what the entire suite looks like.  It will be available tomorrow, July 1st.
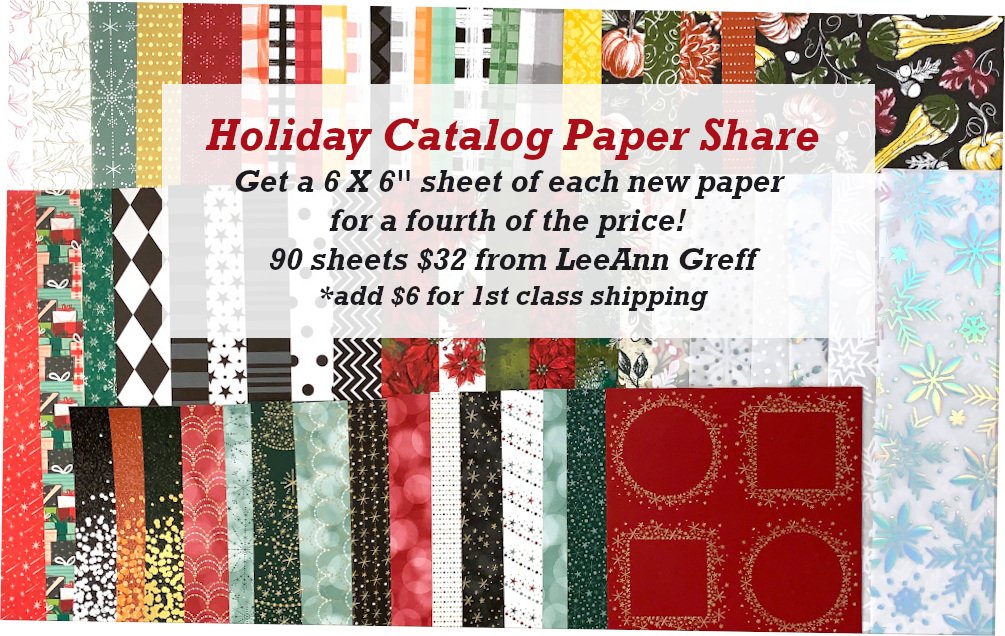
You can get a share of this beautiful paper in my new Holiday Catalog paper share.  Reserve yours here now! 

I stamped a few of the die-cuts and the greeting in Smoky Slate ink.  I fussy cut the greeting and added it to the curved 'half circle' die-cut over the ribbon.  I'll share more Splendid Thoughts projects tomorrow. 
Click on the photo below to watch the video. You'll see all 3 projects with the Splendid Thoughts bundle. 

~~~

Last Chance items are selling out!  


It's the last day for June's Kit Collection BOGO – buy 1 get 1 50% off!  

Host codes: 9F9AJHYG

If your order is over $50 you'll receive a set of Solid Faceted Gems from me. *click here to order 


Earn free products with my loyalty rewards! 

Click here to download yours and earn a $50 shopping spree!


All Posts

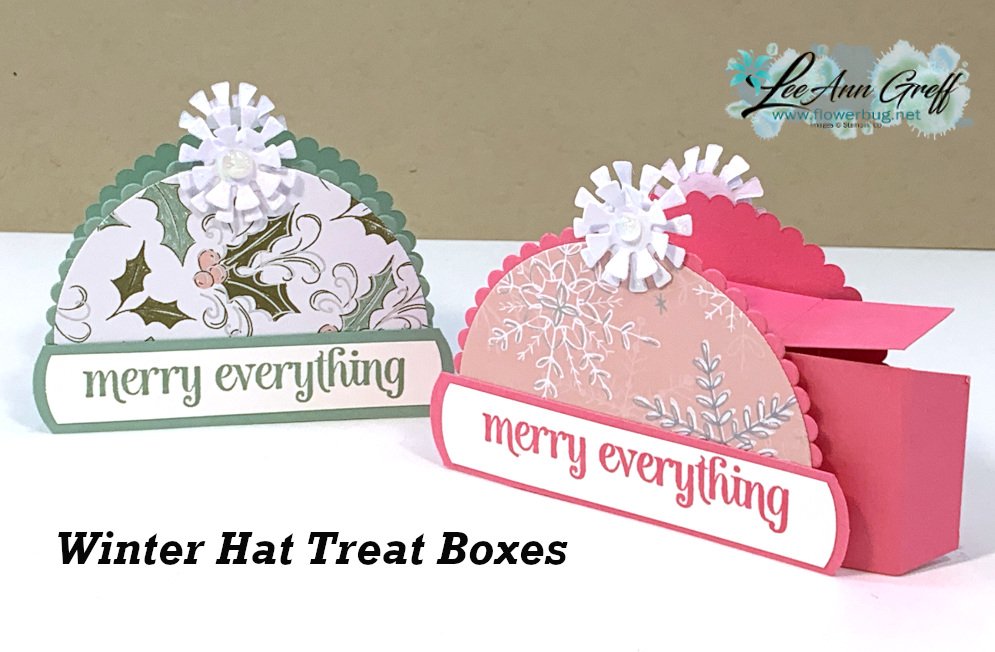
  • Cute Hat treat box with template for winter, Christmas or baby!


    Before I share an adorable box I want to give you a heads up on an upcoming Seasonal Sale Stampin' Up! is having.


    During the Seasonal Sale from November 16-18th, you can stock up and save 10% on cardstock, 15% on ink pads, and 20% on dies. 

    • The discount applies to products featured in the 2021–2022 Annual Catalog only. Products from the July–December 2021 Mini Catalog are not included.

    ~~~

    Check out this CUTE project I made on last week's Facebook Live.  It's an adorable hat that doubles as a treat box. Besides Christmas this could be perfect for a child or a baby shower!

    The two hats are made with our Layering Circle dies and Whimsy & Wonder specialty DSP. I used the largest scalloped die and the largest smooth die in the set.  To get the sides of the greeting strips I used the round end of a punch. *tip shared in the video here.  They are 1/2" and 3/4" in width. 

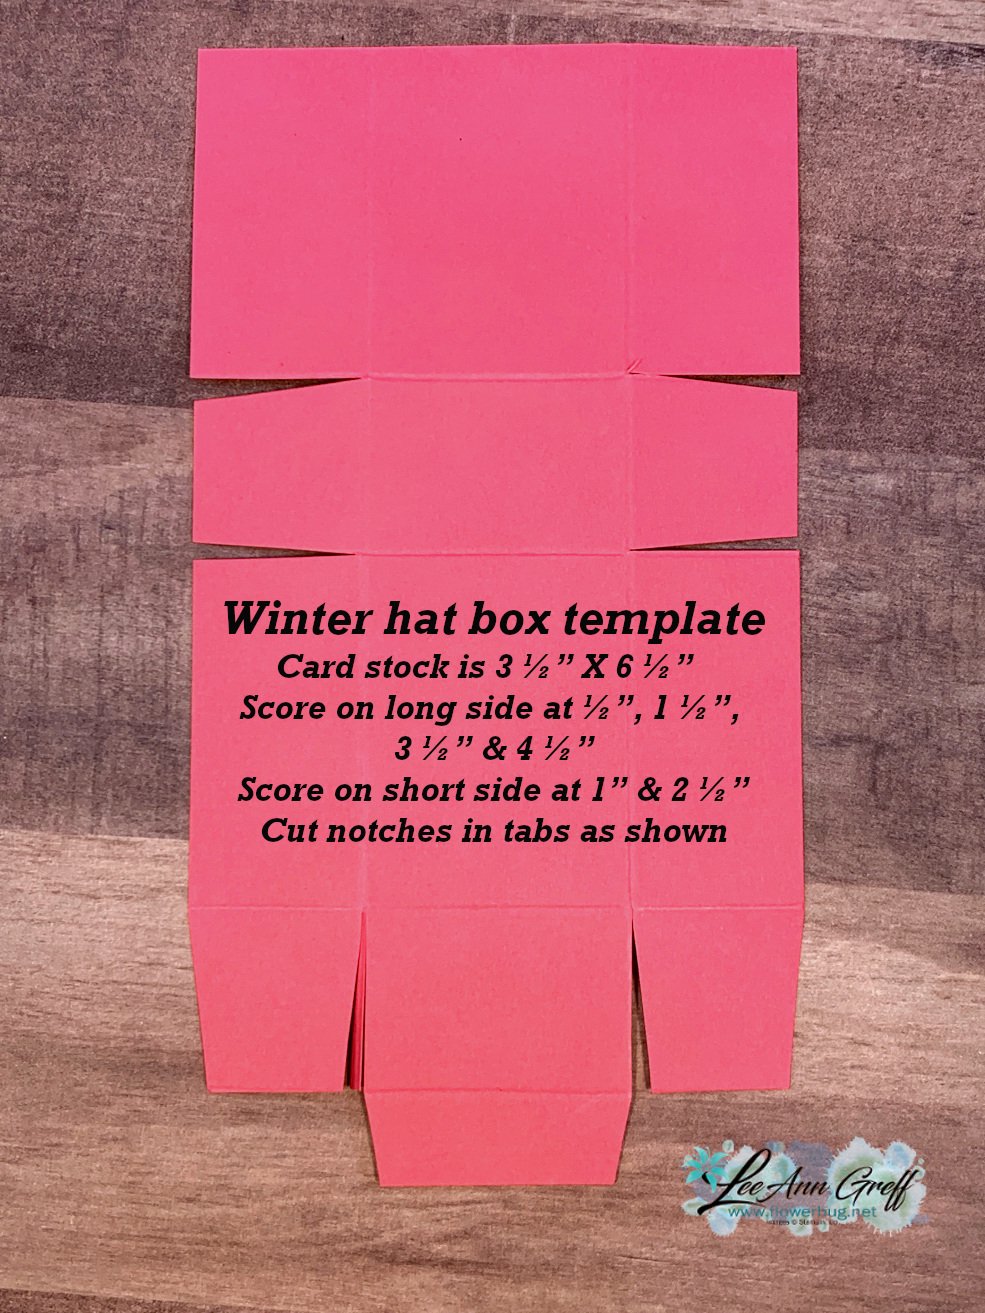
    Below is the template for the box; please watch the video below to see how it's put together. 

    These would be so fun to give treats in; who wouldn't be excited to receive this?!

    Click on the video below to see how this is done; and the box template is shared there as well!  

    ~~~

    Host codes: EXBDBRGY or RY3EDVMZ

    *click here to order

    Online orders over $50 get a pre-cut card kit of 4 cards & PDF tutorial.
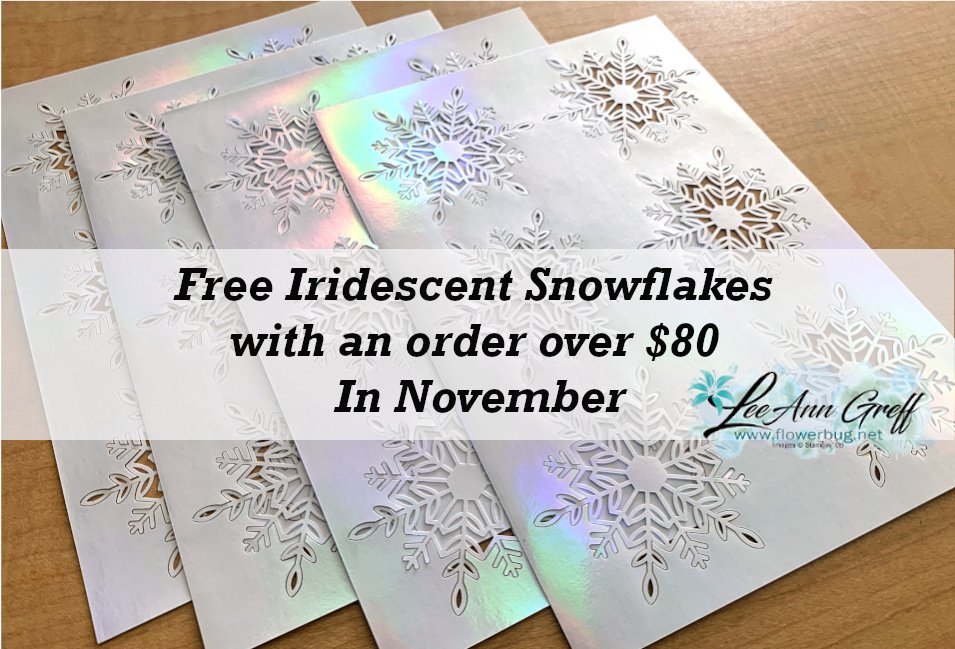
    *Orders over $80 will receive the card kit PLUS 24 Iridescent snowflakes!

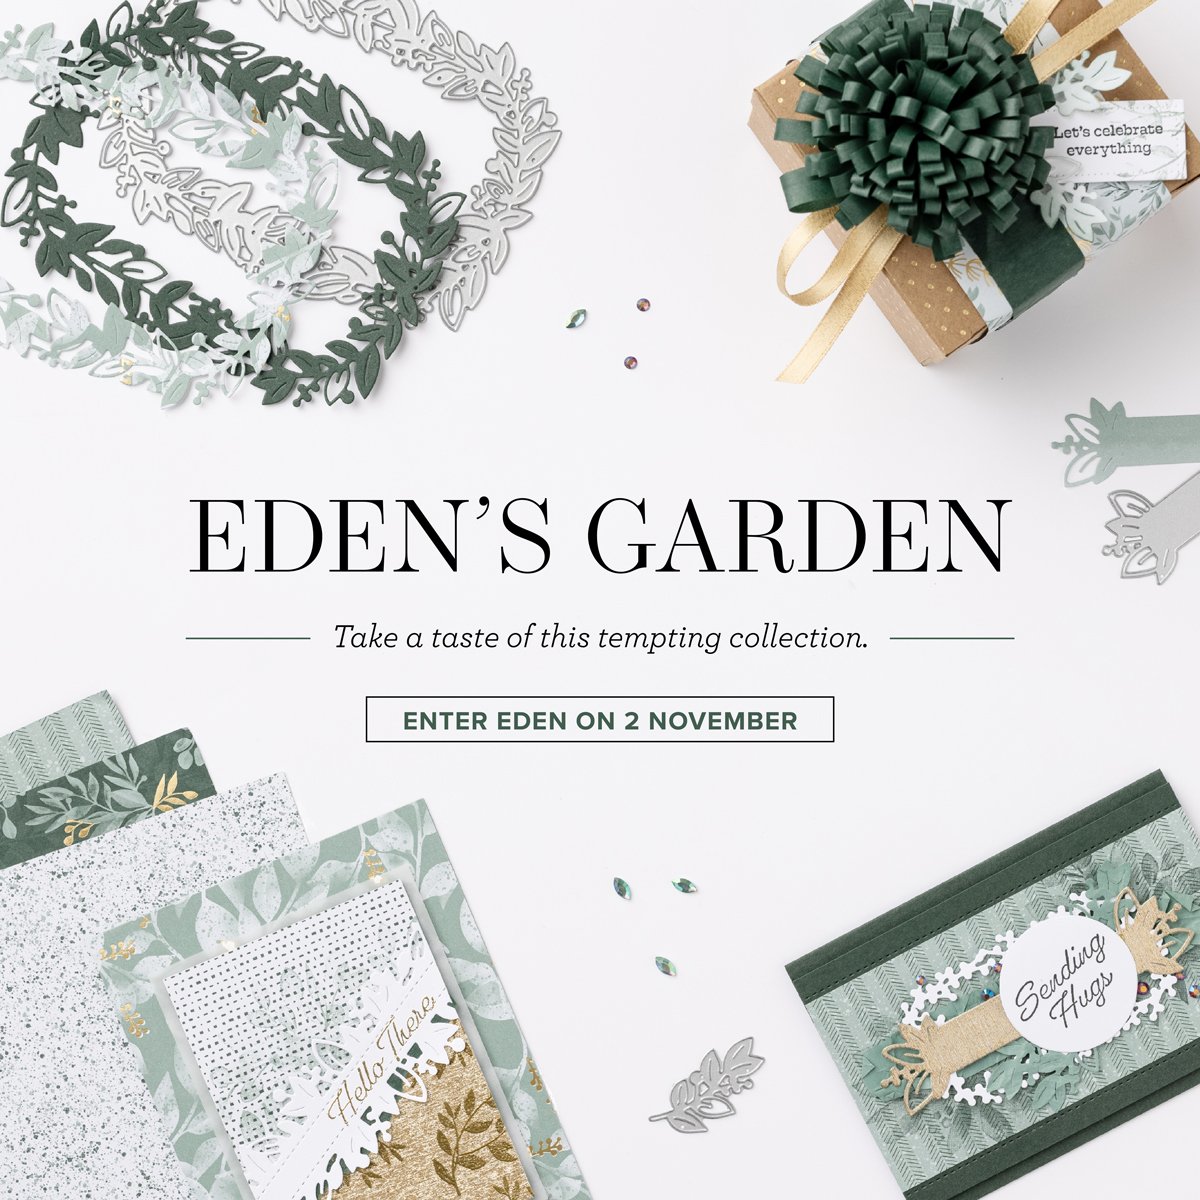
    All online orders will receive my Eden's Garden PDF 22 project tutorial free! 

    Get any of the tutorials or kits to go below in my Kit & Tutorial shop here:

    Gingerbread & Peppermint Kit or Tutorial:

    Eden's Garden Kit or tutorial 


    Christmas cards stamp a stack; limited supply! 

    Leave a Reply

    Your email address will not be published. Required fields are marked *

  • Lots of Whimsical Trees card ideas; with video!


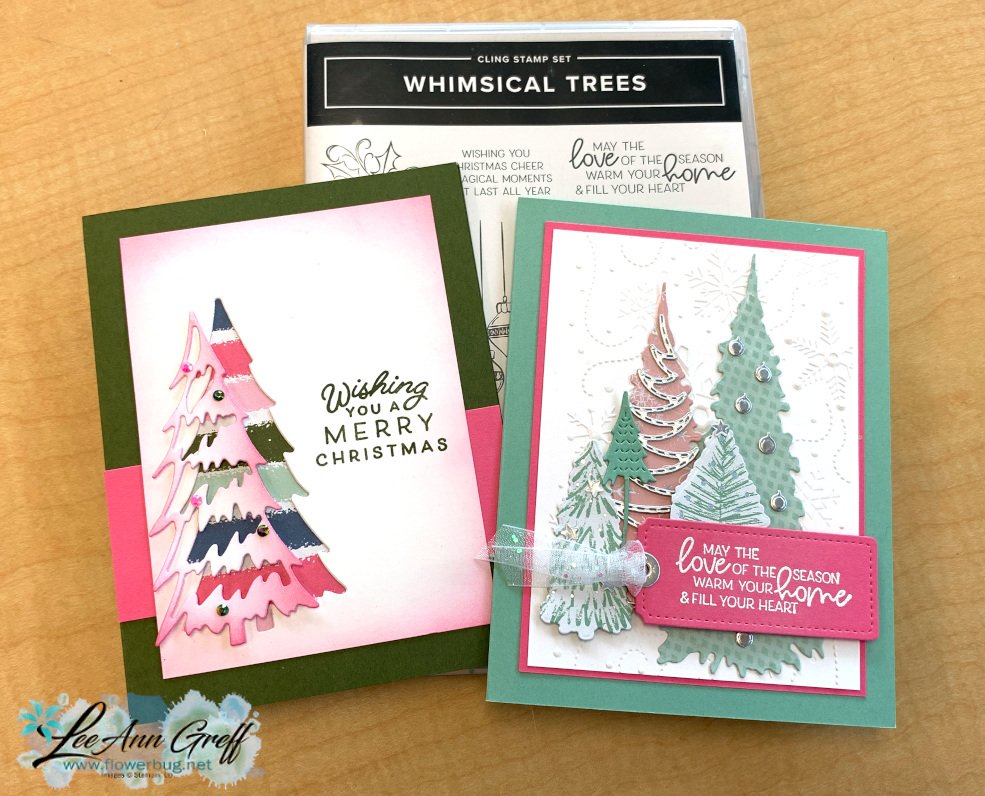
    I played with the Whimsical Trees bundle on last week's FB Live.  You can watch the video here. 

    The Whimsy & Wonder specialty paper coordinates with it too.  And it's back in stock too!  

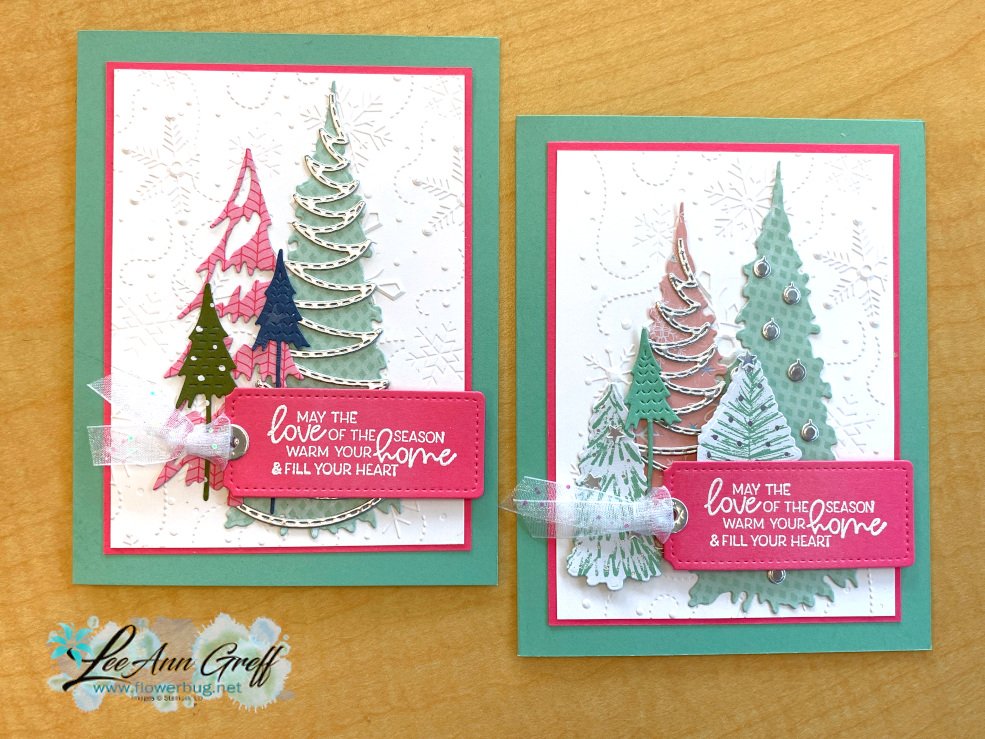
    I kept to the colors in the Whimsy & Wonder DSP for my card projects.  Mostly Mossy Meadow, Mint Macaron & Polished Pink. I made the lower left card ahead of time and the right  during the Live video.  Look at the detail on these die-cuts!  So many choices! 

    Every tree and accent was die-cut using the Whimsy & Wonder DSP, Silver foil paper & Mint Macaron CS. The tag is from the Tags & More set of dies seen here.  The embossing folder is called Wintry 3D and it comes in a pair seen here. 

    I wanted to include some silver embossing for the ornaments card and used an entire panel of the pretty Specialty Paper on the card front. I pulled in Mint Macaron & Polished Pink from the DSP and coloring to coordinate.  That's my favorite thing about Stampin' Up! – our color coordination.  No more shopping for things that match!  

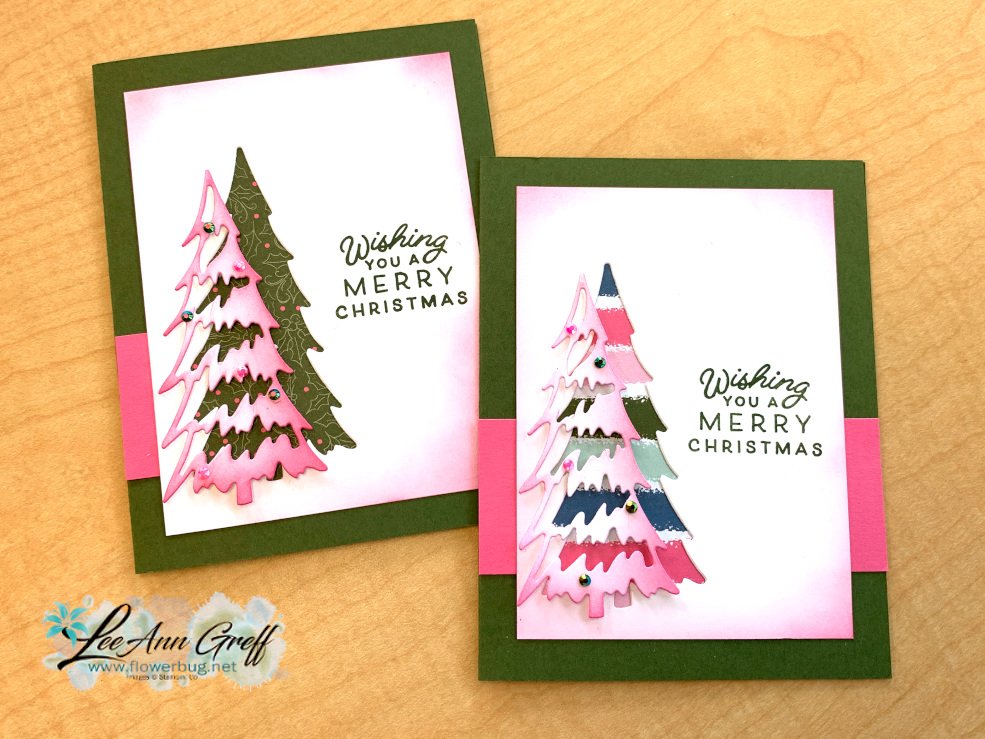
    This card below is probably my favorite of the three.  I die-cut a white tree from my card front (4 3/4" X 3 1/2") and sponged it with Polished Pink ink.  Then I added a piece of designer paper behind the window and offset the sponged tree. 

    What a neat but quick Christmas card this would be!  

    The 2021-23 In Color gems add a bit of bling to the popped up tree.   The greeting is from the Frosted Gingerbread stamp set. 

    Click below to watch the video. 

    ~~~

    Host codes: EXBDBRGY or RY3EDVMZ

    *click here to order

    Online orders over $50 get a pre-cut card kit of 4 cards & PDF tutorial.
    *Orders over $80 will receive the card kit PLUS 24 Iridescent snowflakes!

    All online orders will receive my Eden's Garden PDF 22 project tutorial free! 

    Get any of the tutorials or kits to go below in my Kit & Tutorial shop here:

    Gingerbread & Peppermint Kit or Tutorial:

    Eden's Garden Kit or tutorial 


    Christmas cards stamp a stack; limited supply! 

    Leave a Reply

    Your email address will not be published. Required fields are marked *

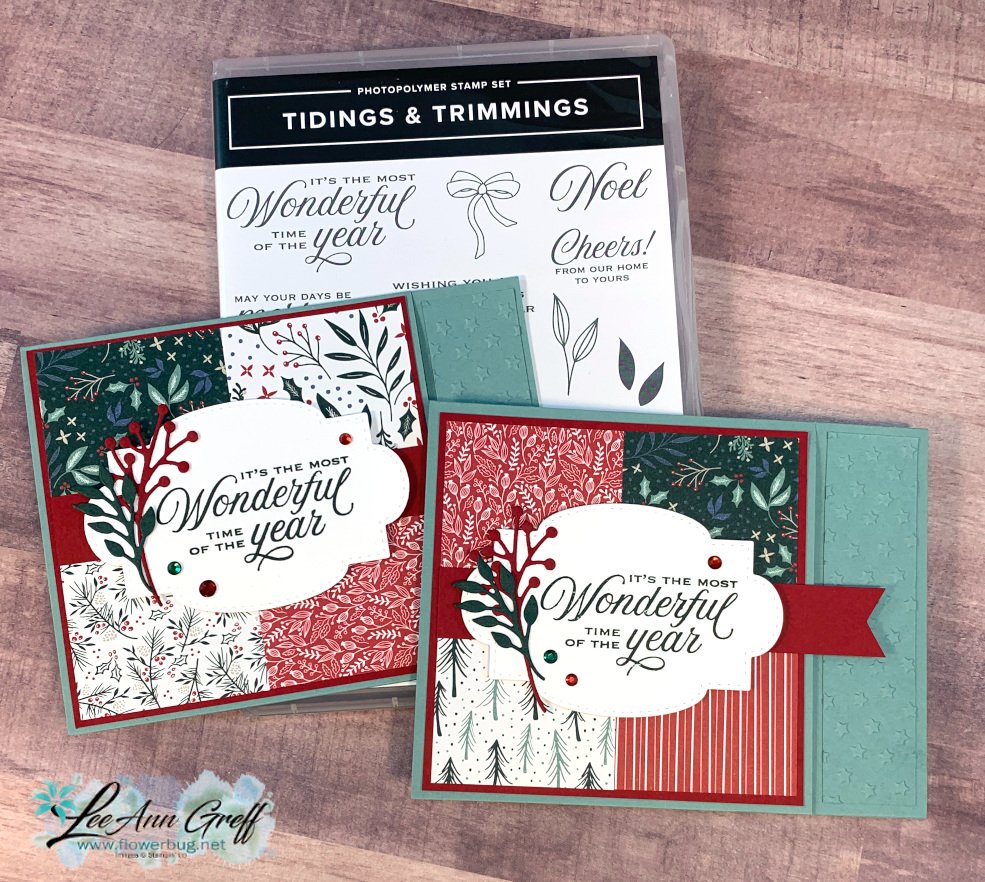
  • A unique but easy fun fold card; join me Live tonight!


    I do a Live video the 2nd & 4th Monday evenings focusing on using Designer Paper.  Many of us hoard it so I'm hoping to inspire you to use it!

    We're making these neat fun fold cards on FB live at 7:30 pm CT tonight. Go here to join me.

    Or see it here afterwards. 

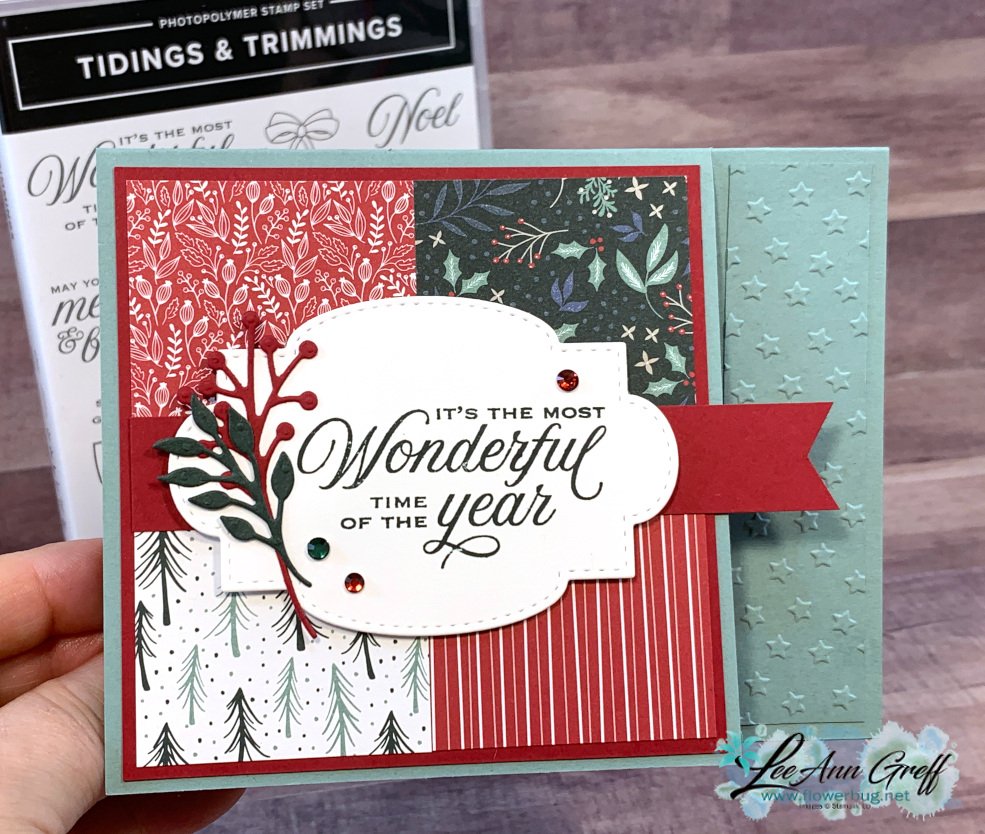
    The right side is adhered down so only the left side of the card opens up.  It's different yet fun and simple. You will need a paper trimmer to cut the card front. 

    I chose to use the Tidings of Christmas designer series paper in the Stampin' Up! Annual Catalog.  See it here or on page 133. 

    Other products include:

    • Tidings of Christmas bundle (annual catalog pg. 89 or seen here)
    • Stitched so Sweetly dies
    • Star-crossed embossing folder
    • Holiday rhinestones

    Measurements

    • Card base 5 1/2" X 8 1/2" scored at 4 1/4" plus 1" X 4" strip for embossed layer. *To cut the front flap, cut at the 4 1/4" point to the score line. 
    • Cherry Cobbler card stock 4" square, plus 3/4" X 5" strip
    • DSP 1 7/8" squares X 4 (can be 1 3/4" also)
    • White inside layer 3 1/2" square


    ~~~

    Host codes: EXBDBRGY or RY3EDVMZ

    *click here to order

    Online orders over $50 get a pre-cut card kit of 4 cards & PDF tutorial.
    *Orders over $80 will receive the card kit PLUS 24 Iridescent snowflakes!

    All online orders will receive my Eden's Garden PDF 22 project tutorial free! 

    Get any of the tutorials or kits to go below in my Kit & Tutorial shop here:

    Gingerbread & Peppermint Kit or Tutorial:

    Eden's Garden Kit or tutorial 


    Christmas cards stamp a stack; limited supply! 

    Leave a Reply

    Your email address will not be published. Required fields are marked *


Notice: LeeAnn Greff, Independent Stampin’ Up! Demonstrator, Manager. The content of this website is my sole responsibility as an independent Stampin’ Up! demonstrator and the use of, and content of, the classes, services, or products offered on this website is not endorsed by Stampin’ Up! Copyright 2025