/


Latest Post

Splendid Day cards with an easy background technique; video too.


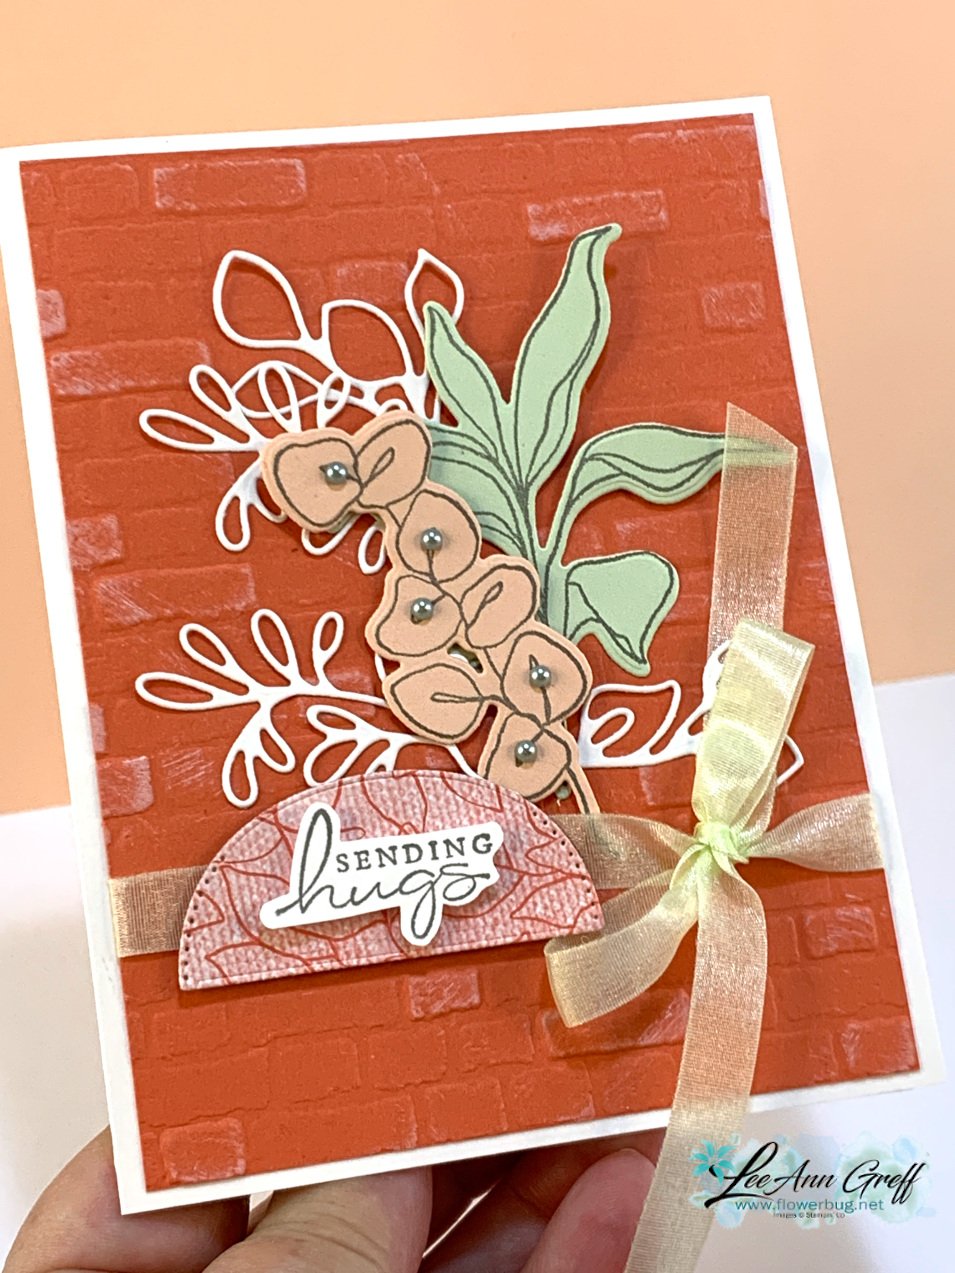
Check out this pretty card using the Splendid Thoughts bundle.  I shared how to make it in a recent Live video seen here.  

I think the Brick background is so pretty with the die-cuts.  I used the 'Direct to Paper' technique.  I used the Brick Wall embossing folder on the Calypso Coral CS and then used an open White Craft ink pad to lightly brush ink onto the textured CS.  I purposely keep my White Craft ink less inked than desired because I love doing this!  If yours is well inked you may want to use a sponge instead.  

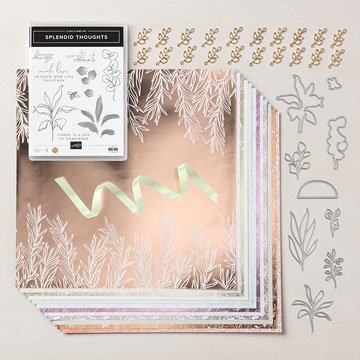
The colors include White, Calypso Coral, Soft Sea Foam and Petal Pink.  The Splendid Day Specialty designer paper is gorgeous and full of Foil & Copper accents on one side and subtle prints on the other.  Here's what the entire suite looks like.  It will be available tomorrow, July 1st.
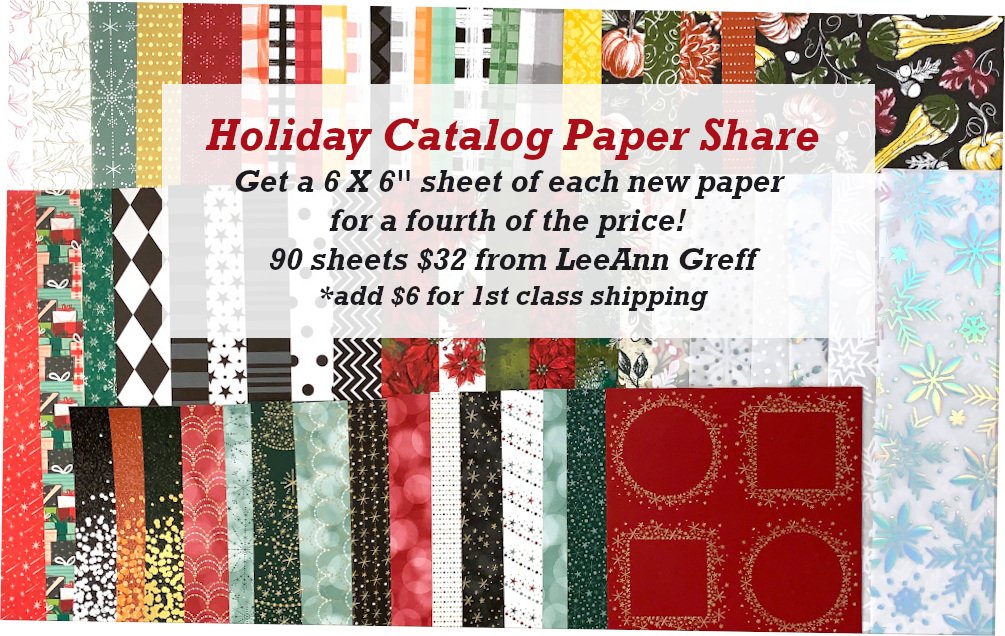
You can get a share of this beautiful paper in my new Holiday Catalog paper share.  Reserve yours here now! 

I stamped a few of the die-cuts and the greeting in Smoky Slate ink.  I fussy cut the greeting and added it to the curved 'half circle' die-cut over the ribbon.  I'll share more Splendid Thoughts projects tomorrow. 
Click on the photo below to watch the video. You'll see all 3 projects with the Splendid Thoughts bundle. 

~~~

Last Chance items are selling out!  


It's the last day for June's Kit Collection BOGO – buy 1 get 1 50% off!  

Host codes: 9F9AJHYG

If your order is over $50 you'll receive a set of Solid Faceted Gems from me. *click here to order 


Earn free products with my loyalty rewards! 

Click here to download yours and earn a $50 shopping spree!


All Posts

  • Last Chance Products; Retiring List is here!


    Here's the list of items going away!  Get your order in ASAP if you want something really bad; things go so fast!

    Annual Catalog Retiring List

    Mini Catalog Retiring List

    Or click here to see them in my online store; easier to see!

    Update on some products:

    1. There are many popular items on sale! See them all here. 
    2. Stampin' Blends are not retiring; they will only be available in combo packs though.
    3. Snail is retiring!  Get it while you can.  But the next tape runner is supposed to be better!
    4. Some of the bundles on the retiring list are returning separately; not in a bundle. 
    5. All Glimmer paper is retiring!
    6. The embossing buddy is on the list!  Yikes!  It's a must have for heat embossing. Get yours now! 


    ~~~

    Orders between $55 and up will receive a free Simple Shammy! 

    Use this host code for April: RBXHNWMV (unless you're order is over $150; then don't use the code. You'll receive your own host benefits). 

    Leave a Reply

    Your email address will not be published. Required fields are marked *

  • Dressed to Impress Best Dressed Triple Fold card


    The retired list will be out this afternoon.

    Stop back in to see it or click here to see it all in my store.

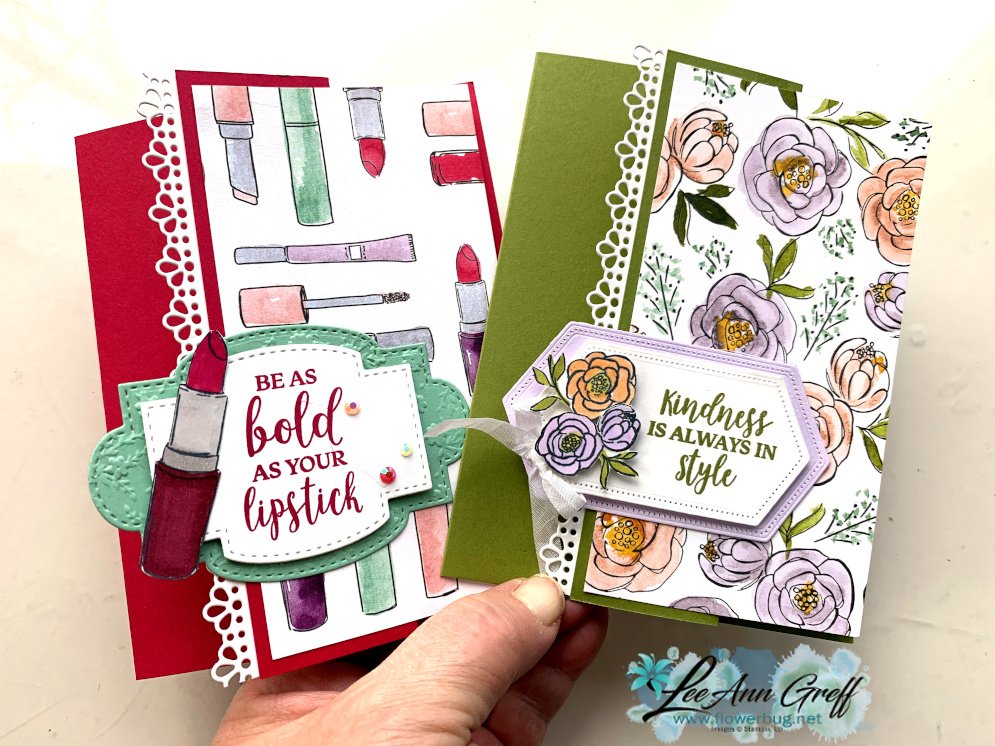
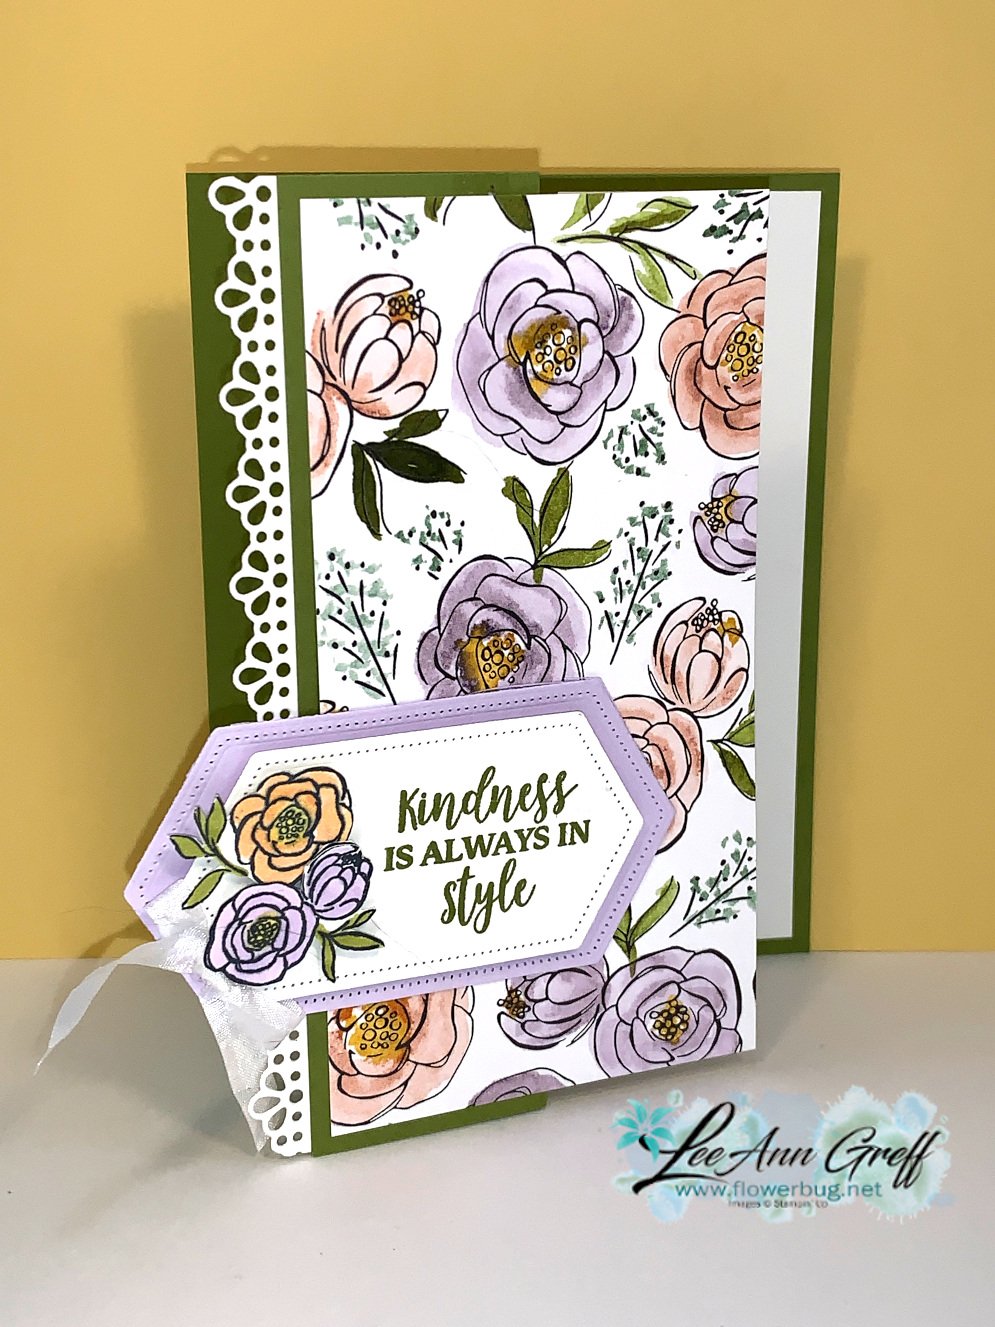
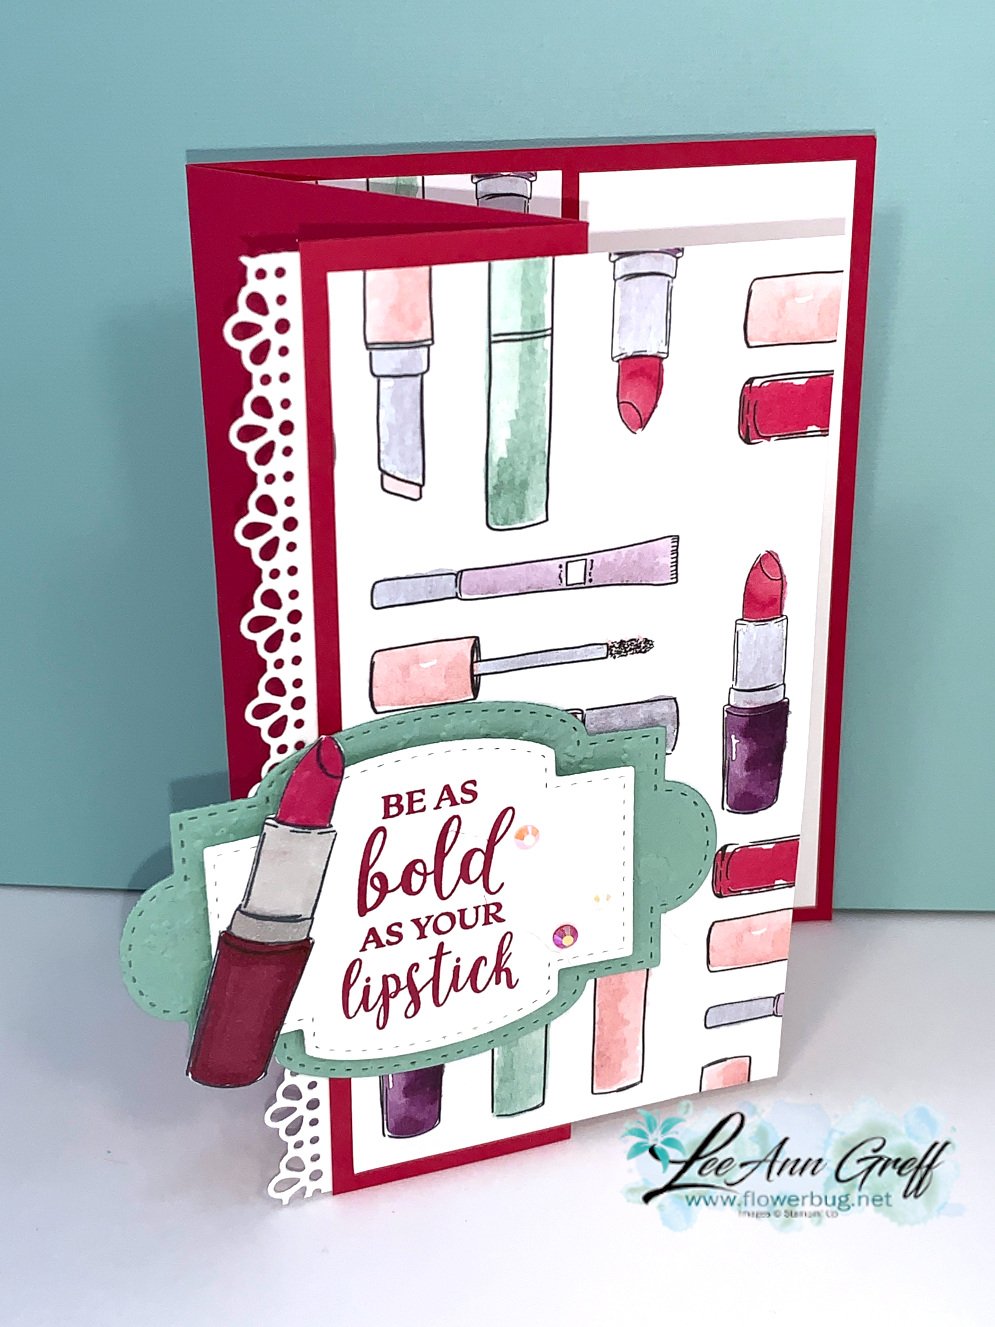
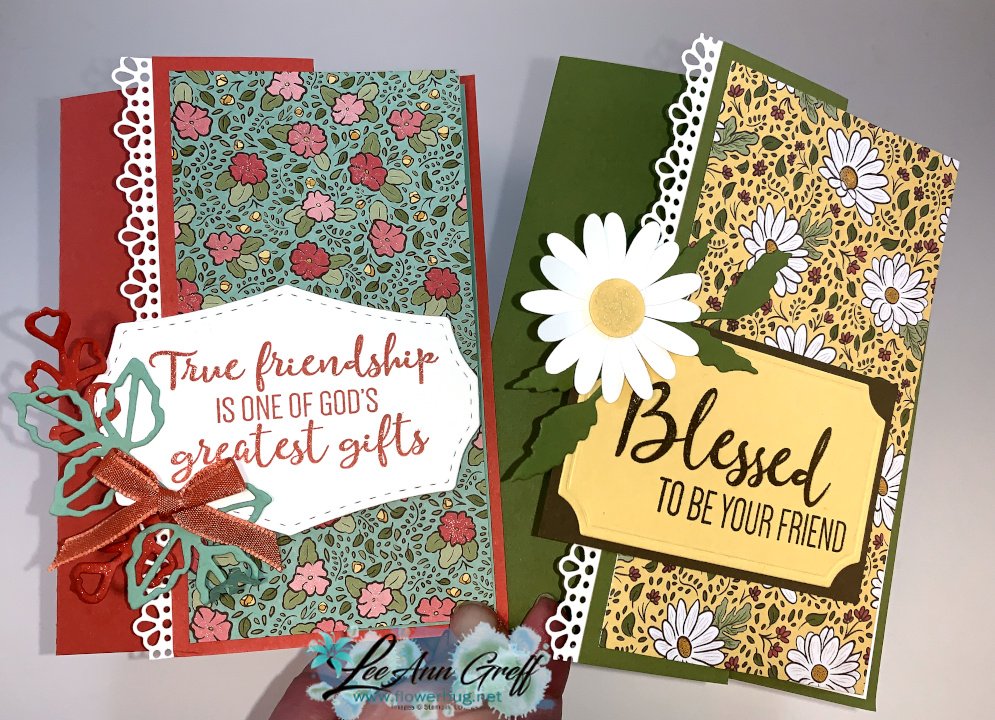
    Here's the Best Dressed fun fold card I promised you yesterday.  (See the Ornate Garden cards here.) 

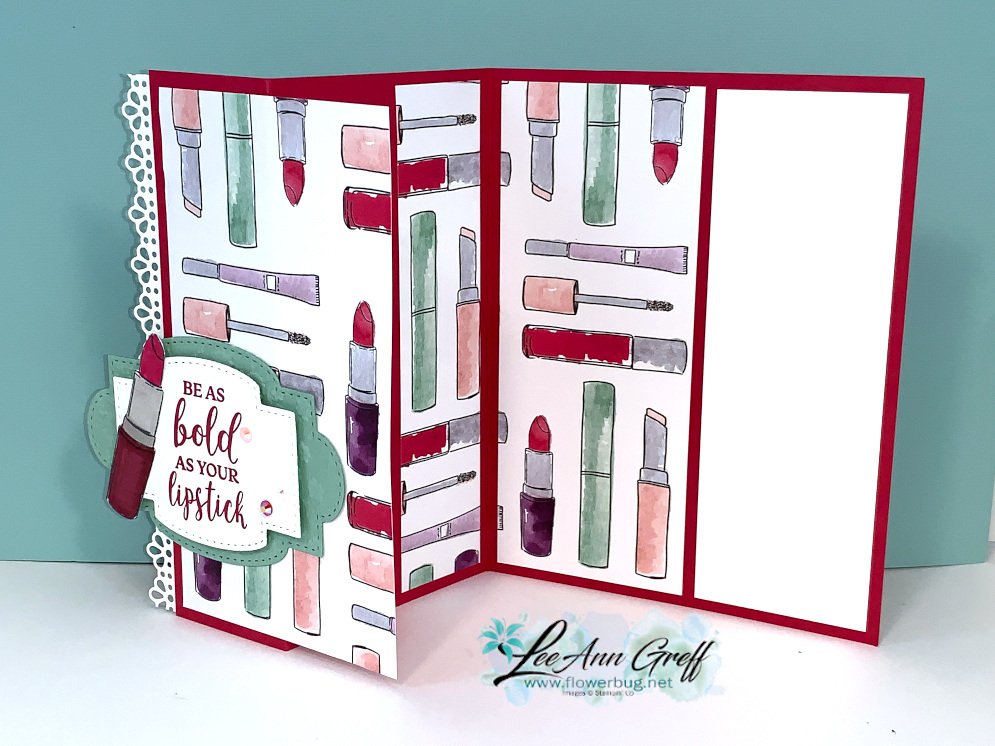
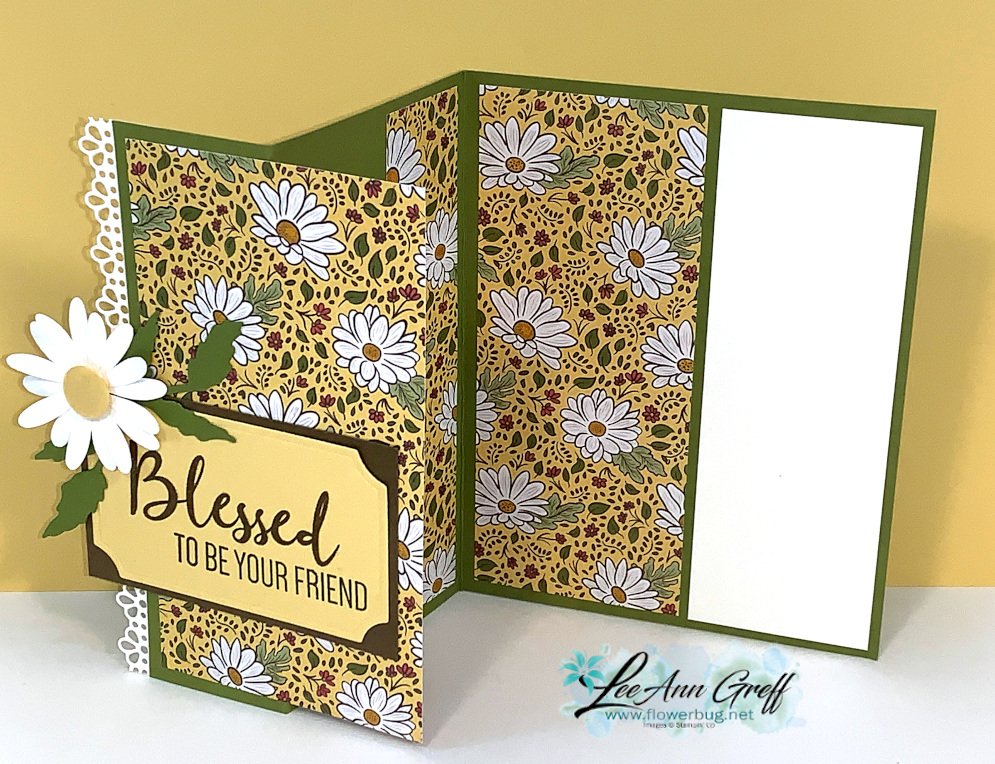
    Look at this cute fun fold card!  See how the paper matches up across the three panels?  So clever! **Watch the video here on Facebook. 

    This card is standard 5 1/2" X 8 1/2" but you score it at 1 1/2" and 4 1/4" to get the triple fold. 


    The best part of this fun fold card is how it makes the most of your designer paper!  Each card uses one piece measuring 5 1/4" X 6".  Cut the Best Dressed paper into three pieces; the first (left) piece at 2 3/4" wide X 5 1/4" tall, the middle piece at 1 1/8" wide and the right (inside) piece at 2 1/8" X 5 1/4".

    Those three pieces add up to 6" across!  What a great way to use your designer paper! You can make 4 cards from a 12" sheet! The white layer inside the card (for writing or stamping onto) is 5 1/4" X 1 3/4". 

    I added a pretty die-cut border cut from the Ornate Borders die; love the eyelet detail on it!  The set of dies are currently unavailable but should be back in stock in early May.
    The greeting layers are cut using the Stitched Nested Labels and the flowers and leaves are stamped and fussy cut. The colors are Old Olive and Purple Posy. 

    The stamps are all from the Dressed to Impress stamp set seen here. 


    The die-cuts here are from the Stitched So Sweetly dies from the mini catalog; also currently out of stock and unavailable.  They should be back in next week. The colors here are Lovely Lipstick and Mint Macaron. 

    See the entire Best Dressed suite of products here. 

    ~~~~

    April ordering specials:

    All online orders in April will receive my tutorial of the month; with 16 cards

    featuring the Ornate Garden products seen here.

    **Order either Ornate bundle from me and get a free 3 cards pre-cut kit! Order both and get a 6 cards kit with pdf tutorial! 

    Orders between $55 and up will receive a free Simple Shammy! 

    Use this host code for April: MMM4SXSB  (unless you're order is over $150; then don't use the code. You'll receive your own host benefits). 

    Leave a Reply

    Your email address will not be published. Required fields are marked *

  • Ornate Thanks & Ornate Borders with a clever fun fold idea


    I shared these two pretty cards on my Facebook Live last Tuesday. (Click here to see my page.)  I made another version using the Best Dressed designer paper.  I'll share those tomorrow. 

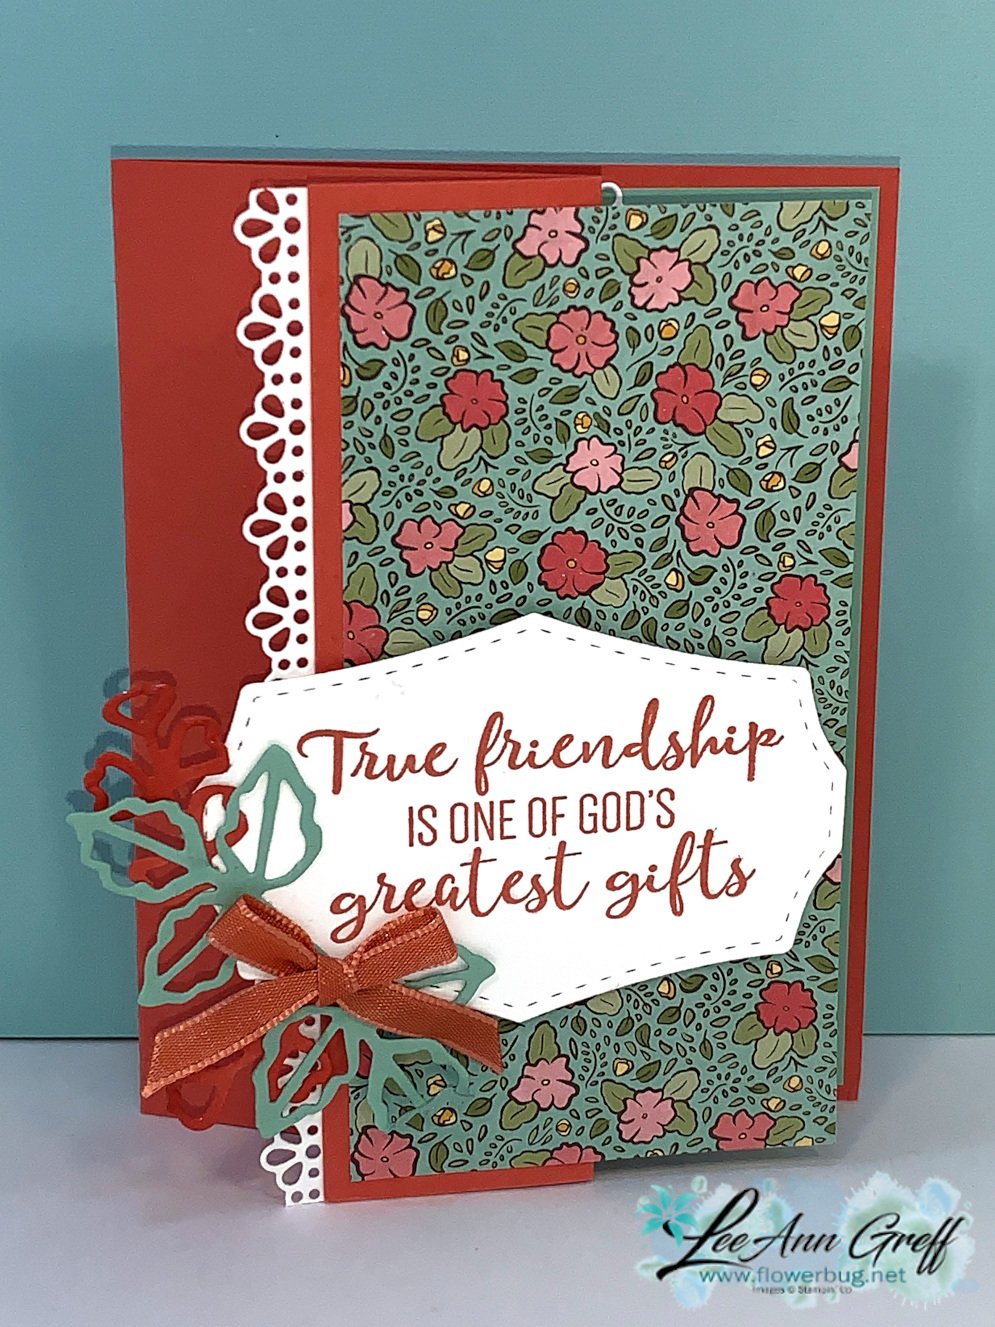
    They are made from a standard 5 1/2" X 8 1/2" piece of card stock but you add a second score to it.  It's scored on the long side at 1 1/2" and 4 1/4".

    The best part of this fun fold card is how it makes the most of your designer paper!  Each card uses one piece measuring 5 1/4" X 6".  Cut it into three pieces; the first (left) piece at 2 3/4" wide X 5 1/4" tall, the middle piece at 1 1/8" wide and the right (inside) piece at 2 1/8" X 5 1/4".

    Those three pieces add up to 6" across!  What a great way to use your designer paper! You can make 4 cards from a 12" sheet! 

    The white layer inside the card (for writing or stamping onto) is 5 1/4" X 1 3/4".  I used the To a Wild Rose stamp set for the greeting. The leaves and greeting die-cut are from the popular Painted Labels dies (now available again!!!) 

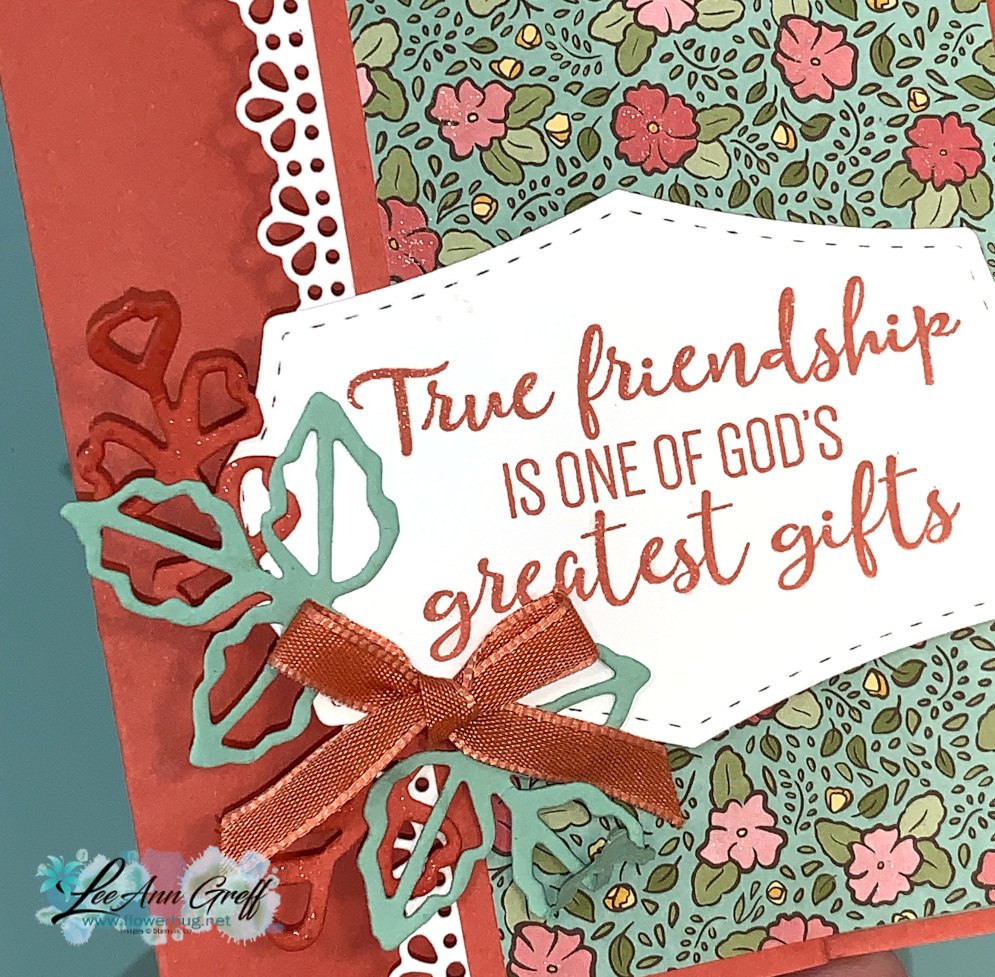
    Here's a close up view of the greeting.  It looks like I heat embossed it right?  

    I didn't but it is sparkly!  I used the Wink of Stella pen!  It's fun to trace the stamped greeting; it's large enough that it was easy to do. 

    You can find this pretty Ornate Garden specialty paper and the entire Ornate Garden suite of products here.  

    This card base is Terracotta Tile; one of our 2019-21 In Colors.  I paired it with Mint Macaron card stock.  

    I added an extra Ornate Border trim on the inside of the card too.  You might be able to spot more Wink of Stella on the designer paper and I added it to the die-cuts too.  See that pretty Terracotta Tile ribbon?  It's part of the Ornate Garden ribbon combo pack with Old Olive.  Gorgeous soft 1/4" ribbons! 

    The label and leafy die-cuts here are from the To a Wild Rose bundle seen here. 

    ~~~~

    April ordering specials:

    All online orders in April will receive my tutorial of the month; with 16 cards

    featuring the Ornate Garden products seen here.

    **Order either Ornate bundle from me and get a free 3 cards pre-cut kit! Order both and get a 6 cards kit with pdf tutorial! 

    Orders between $55 and $99 will receive a free Simple Shammy! If your order is over $150 please don't use the host code; you'll earn your own host benefits but still get a free Shammy. 

    Use this host code for April: MMM4SXSB  

    Leave a Reply

    Your email address will not be published. Required fields are marked *


Notice: LeeAnn Greff, Independent Stampin’ Up! Demonstrator, Manager. The content of this website is my sole responsibility as an independent Stampin’ Up! demonstrator and the use of, and content of, the classes, services, or products offered on this website is not endorsed by Stampin’ Up! Copyright 2025