/


Latest Post

Snowman Magic WOW card; amazing work by Candace!


Last weekend we held our monthly Flowerbug's Team swap.  Our theme was fun folds!  I know you're going to love seeing their wonderful creations. 

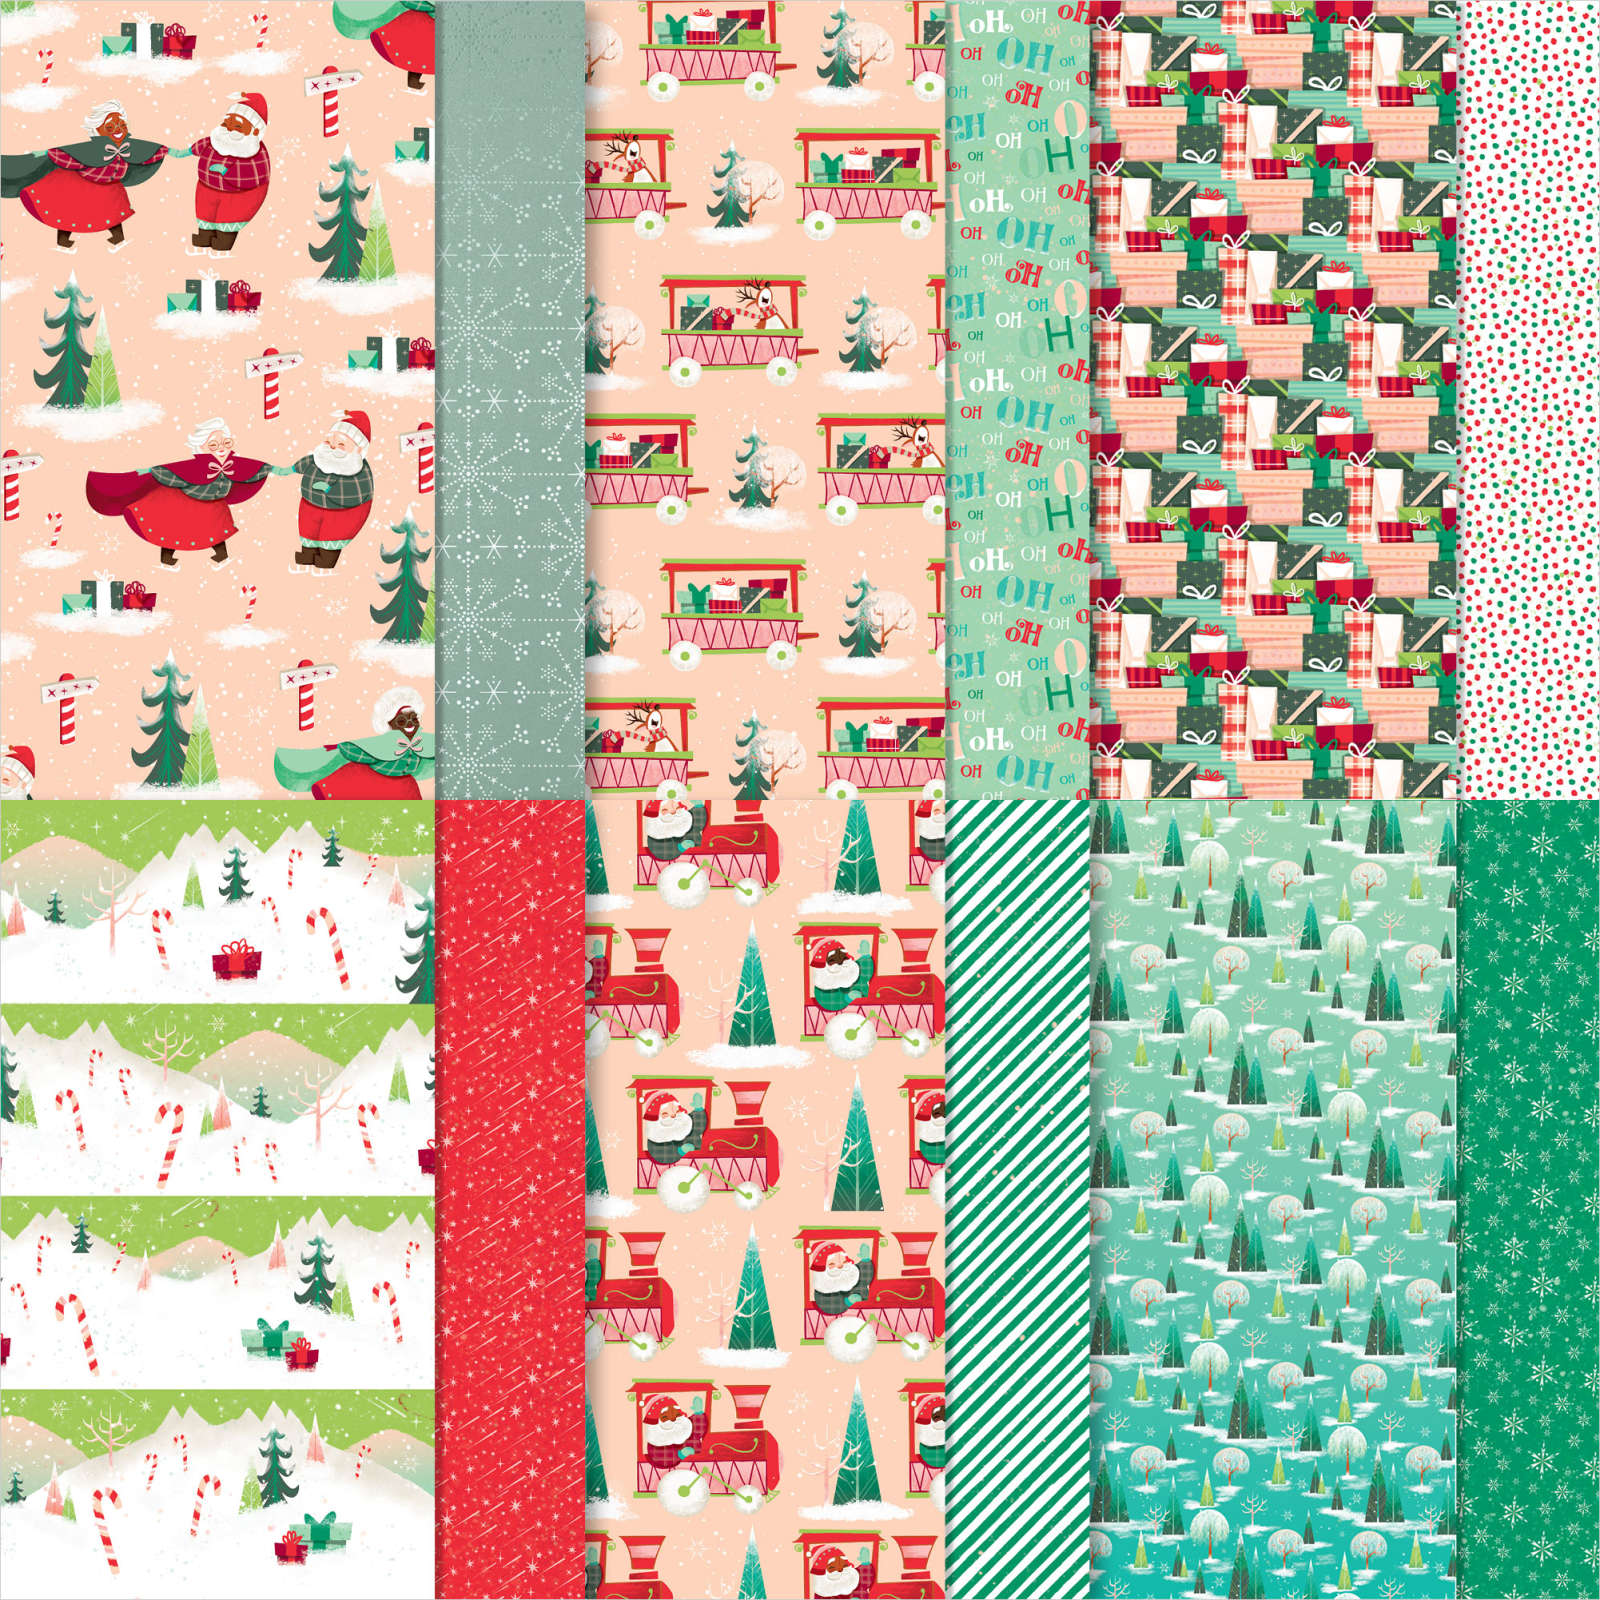
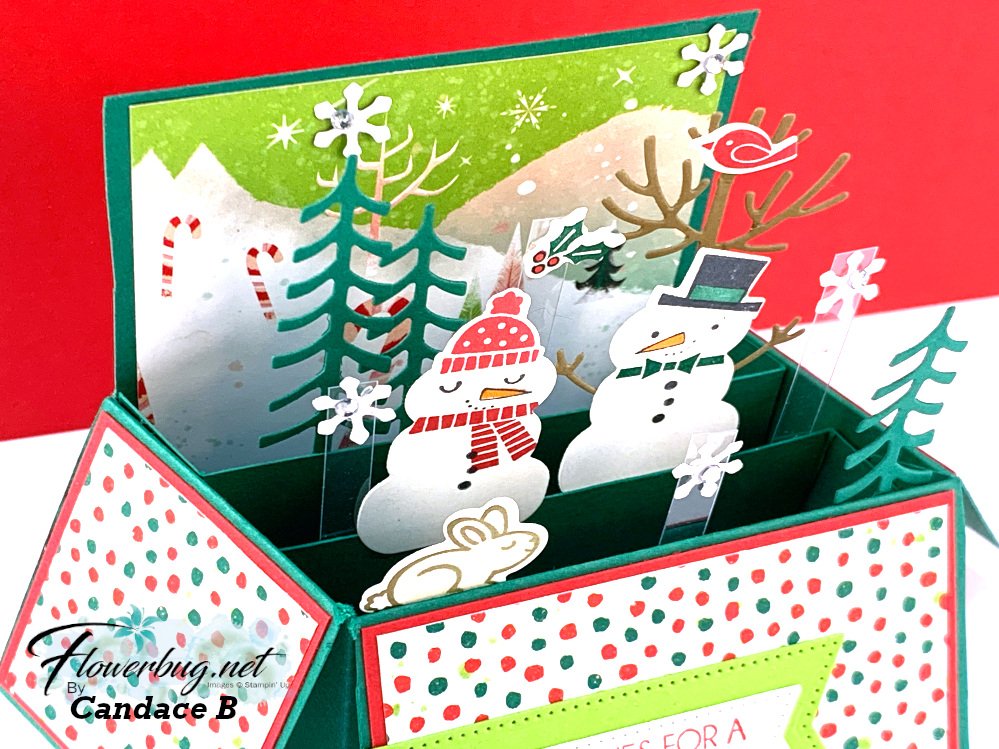
Today I'm sharing two cards featuring the Santa Express designer paper. This first is made by Candace. She used the Snowman Magic bundle seen here in the 2022 Holiday Catalog.  

Amazing, right?!  

It folds flat for mailing and fits in a standard A2 envelope.  

I'm going to do my best to provide the correct card stock measurements for this:  

  • Shaded Spruce 2 pieces at 4" X 6" score on the long sides at 2" & 5 1/2"; turn and score on the short side at 2".  Cut up to the score lines and trim off the extra 1/2" strip.  
  • inside pieces are 1" X 5 1/2" scored at 3/4" from both ends.  The scored ends are folded and adhered to the outer edges of the box inside. 

She used 1/4" strips of Window Sheets to hold up the snowflakes and holly.  The snowmen, trees and bunny are adhered to the box and inside strips.  It's so darn cute! 
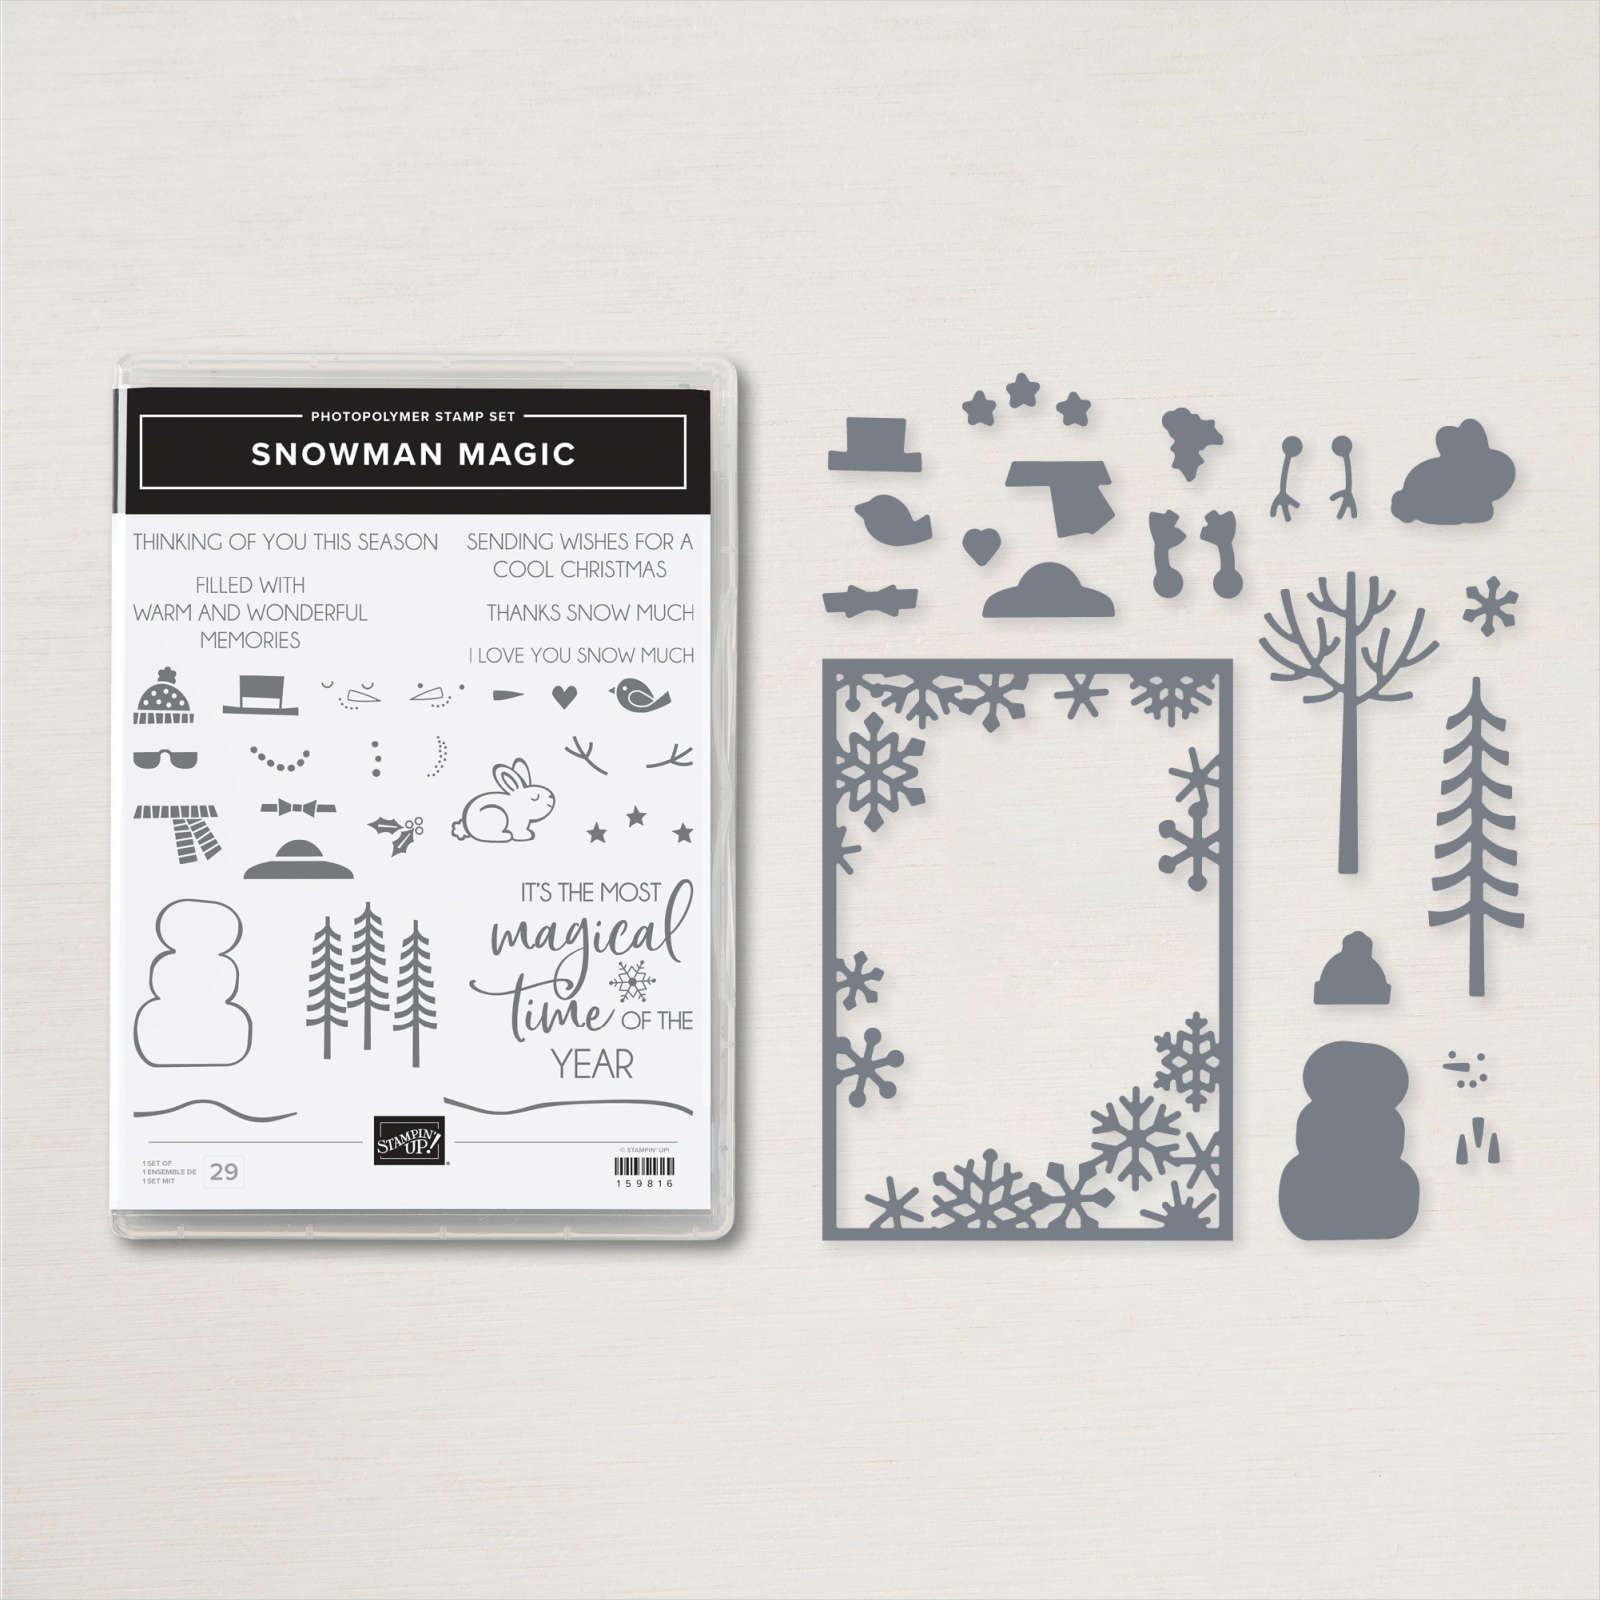
All of these elements are in the Snowman Magic bundle! 
Next is another incredible card made by Brenda; she chose to use the Santa Express designer paper also and added the coordinating Santa's Delivery bundle to hers.

It's a side-step fun fold card.  She chose to use Petal Pink and Pear Pizzazz for her card base & layers.  I love the jumping penguins and that smoke stack!  

Here are the measurements:

  • Card base 5 1/2" X 6" scored in half at 4 1/4".  Then make a mark at the 1" and at 6 3/8" at the 3" mark across.  
  • Now you'll cut from those marks down the center of the card.  
  • Next score up to the cut line at 1", 2", 3 1/4" and 6 3/8" 

She cut the trains from the Santa Express designer paper using the Santa's Train dies; which coordinate perfectly.  The cute penguins & smoke are stamped, colored & die-cut.  They're added with 1/4" strips of Window sheets so they pop up and flutter when opened.  Just adorable!  

See the Santa's Train bundle here and the Santa Express DSP here. 

Remember some of these items can sell out before the catalog ends.  Already we are out of the Lights Aglow specialty DSP. 

~~~

Order online here

Host code link: XZPZ6TDV  or BMGZZDPU

November Specials: 

1. Get a pack of mini Stampin' Dimensionals from me with online orders over $55!
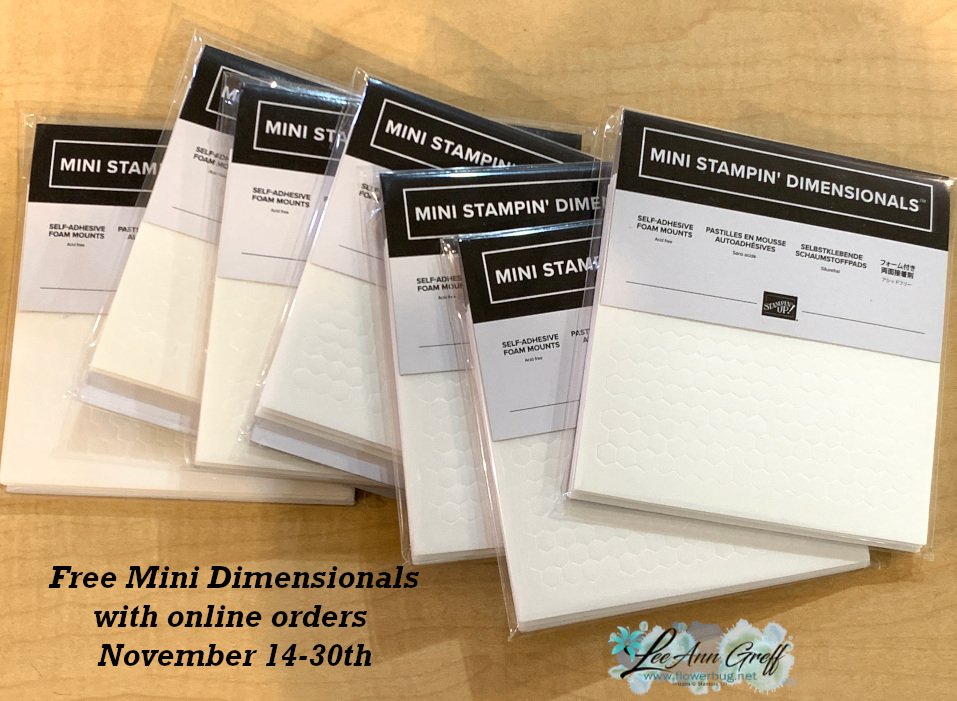

2. All orders in November will receive a big project tutorial – a collection of 12 cards featuring this new collection of products.

Earn free products with my loyalty rewards! 

Click here to download yours and earn a $50 shopping spree!

All Posts

  • Queen Anne’s Lace cards


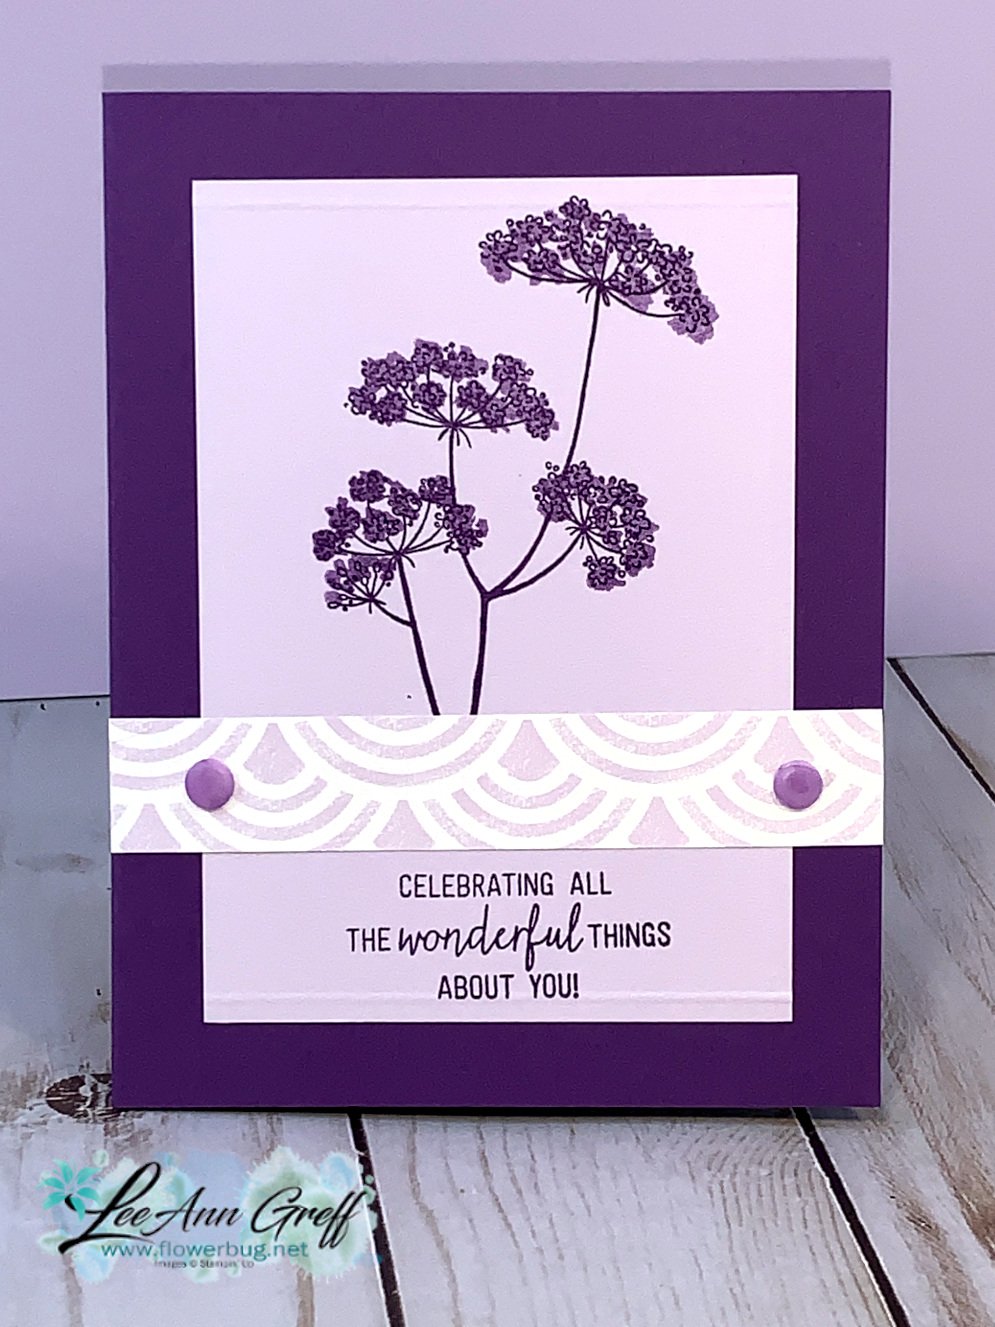
    I was playing with the Queen Anne's Lace stamp set and was in the mood for purple.  I combined Gorgeous Grape with Purple Posy to make the card below.

    There are just three pieces on this card but it looks like there's more!  Sometimes you don't need to add an extra layer for the sentiment. You can stamp it on the main piece below the image usually divided by a ribbon.  But this time I added the flower image on an additional layer of Purple Posy for an extra layered look.

    This Queen Anne's Lace stamp set is one of two you get free this month when you purchase the Starter Kit.  Read about that here!  It's such a great deal with over $75 in free product!  Pay just $99 and get $200!  And FREE Shipping too!  

    I added a piece of the Brights DSP on the left.  That tricolor ribbon sure brings it all together!  Tying a knot and securing the ends in the back is easy and with soft ribbon there isn't a thick bump at all. 

    Measurements:

    • Gorgeous Grape main card 5 1/2" X 8 1/2" scored in half at 4 1/4"
    • Purple Posy 2 3/4" X 3" tall
    • Whisper White 4 1/4" X 3" 

    I also made this additional card on the right using a sketch I found.  It's very similar but this time I stamped all on one layer and added a 3/4" strip of Playing with Patterns Designer paper between the main image and the greeting. Easy! 

    Hopefully these easy cards inspire you to stamp this week.  Using two shades of the same color sure makes it easy to choose colors!  Think of blues, pinks, greens, etc.  

    ~~~

    Current Host code is HYSHW6QB

    Get a free package of All the Trimming embellishments in September with an

    online order over $55. 

    *Remember that if your order is over $99 you should consider purchasing the Starter kit here.

    And if it's over $150 you should definitely get the Starter kit.  

    Order online here

     Get my Beautiful Autumn pdf tutorial free with any online order in September!


    It includes directions, photos and measurements for 13 cards!


    Leave a Reply

    Your email address will not be published. Required fields are marked *

  • Life is Beautiful Halloween card; masking & bats galore!


    Fall is in the air around here in North Dakota.  Each week it's getting cooler, the leaves are changing and it's getting dark so early! That means Halloween is coming soon!

    I was creating squares for a Halloween framed sampler for a Team swap (see this post) and had an extra one. So I decided to create a card with it.   

    To make the square I first stamped the tree image from Life is Beautiful onto a 2 3/4" piece of White CS using Smoky Slate ink.  Then I used a 1 1/2" mask over the center and sponged on Pretty Peacock ink.  Next I placed the window/mask over the sponged area and added Cajun Craze ink in the 'hole' to create the moon.   It's layered onto a 2 7/8" piece of Whisper White CS.

    Other details:

    • The bats are fussy cut from the Magic in This Night Designer paper.  I did sponge the edges with Black ink. 
    • The greeting is from the Banner Year stamp set and is on a Tasteful Labels die-cut. 
    • The main card is Cajun Craze and the designer paper strip is 2" X 5 1/2" 

    I can't wait for you to see the amazing Halloween samplers tomorrow!  

    ~~~

    Current Host code is HYSHW6QB

    Get a free package of All the Trimming embellishments in September with an

    online order over $55. 

    *Remember that if your order is over $99 you should consider purchasing the Starter kit here.

    And if it's over $150 you should definitely get the Starter kit.  

    Order online here

     Get my Beautiful Autumn pdf tutorial free with any online order in September!


    It includes directions, photos and measurements for 13 cards!

    Leave a Reply

    Your email address will not be published. Required fields are marked *

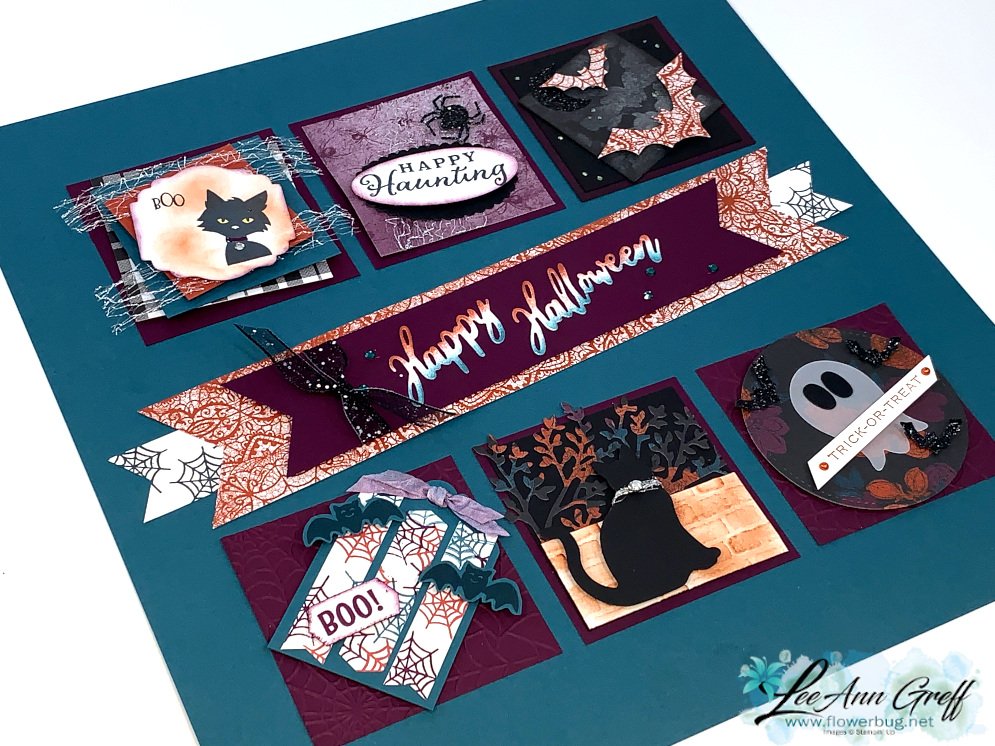
  • Wow! Check out the Magic in This Night Samplers! Remember Punch Art Wednesday?


    If you've followed me for awhile you may remember I used to do a Punch Art Wednesday post almost every week!  I loved creating things with punches.  But I've gotten away from that since my business has grown. But I think you'll find some great punch art in these projects!

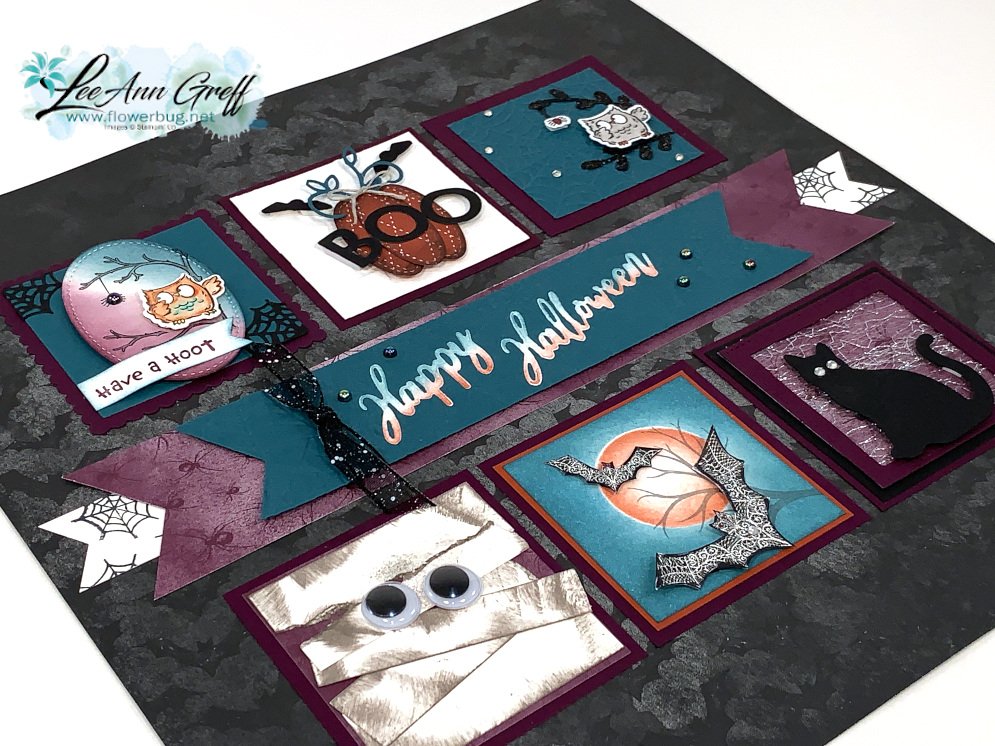
    My Flowerbug's Team decided to do a Halloween sampler swap for a home decor piece.  We chose to use the Magic in This Night designer paper as our theme & colors.  I had enough pieces to create 2 of them. Look at these!  

    Isn't it incredible?  Each so unique and all together create a fabulous home decor piece! 

    These 3" squares are adhered to a full 12" sheet of the Magic in This Night designer paper. I'll try to give some details on these squares. 

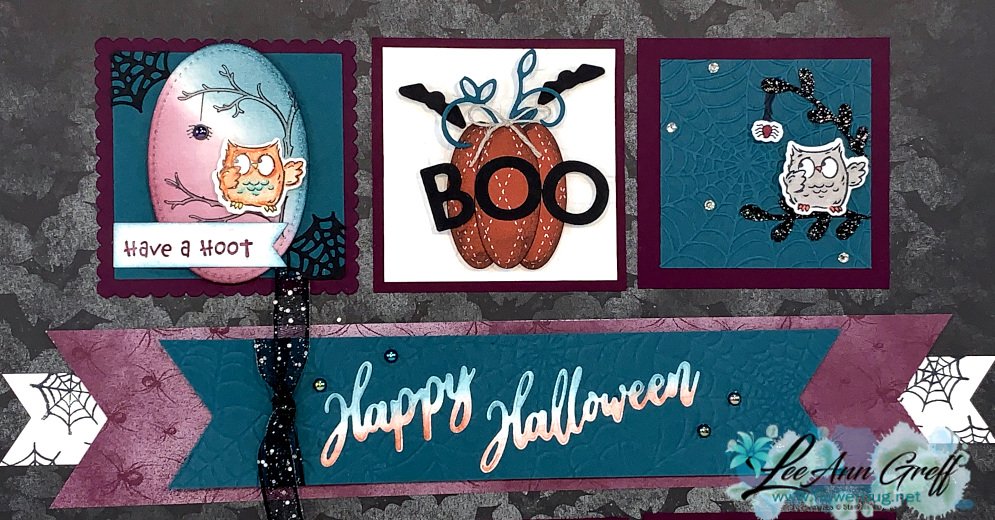
    I created the banners from the Word Wishes dies in White card stock.  I sponged the upper and lower areas with Pretty Peacock & Cajun Craze inks.  I stamped spider webs from the Banner Year stamp set on the White strip. 

    A mummy made from sponged White CS strips, a sponged night sky & masked moon with fussy cut bats from the Designer Paper and a punched cat on a Metallic Mesh ribbon background.

    An owl from the Have a Hoot bundle, a punched pumpkin with the Playful Alphabet BOO and another owl on a Cobweb textured background with Black Glimmer branches.

    Below is an entirely different sampler!   

    These sampler squares are adhered to a 12 X 12" sheet of Pretty Peacock card stock. 

    From left to right; the first one is made with the Ghoulish Goodies stamp set, second is from the Banner Year and far right are bats fussy cut from the Designer Paper. 

    Left is a tag made with the Banner Year stamp set, the cat is on a die-cut from the Sweet Silhouettes dies & a textured brick 'wall' and last on the right is a punched ghost made with the Tulip punch!  The eyes are from the 0's in the Playful Alphabet dies and the greeting from Hallows Night Magic set.

    I LOVE seeing what my talented Team members create for our swaps.  If you'd like to join my Team we'd love to have you; whether you like to swap or not!  Click here to purchase the starter kit!  The Get & Go Promotion is a fabulous deal and it ends in just 6 days!!  Read about it here. 


    ~~~

    Current Host code is HYSHW6QB

    Get a free package of All the Trimming embellishments in September with an

    online order over $55. 

    *Remember that if your order is over $99 you should consider purchasing the Starter kit here.

    And if it's over $150 you should definitely get the Starter kit.  

    Order online here

     Get my Beautiful Autumn pdf tutorial free with any online order in September!


    It includes directions, photos and measurements for 13 cards!

    Leave a Reply

    Your email address will not be published. Required fields are marked *


Notice: LeeAnn Greff, Independent Stampin’ Up! Demonstrator, Manager. The content of this website is my sole responsibility as an independent Stampin’ Up! demonstrator and the use of, and content of, the classes, services, or products offered on this website is not endorsed by Stampin’ Up! Copyright 2025