/


Latest Post

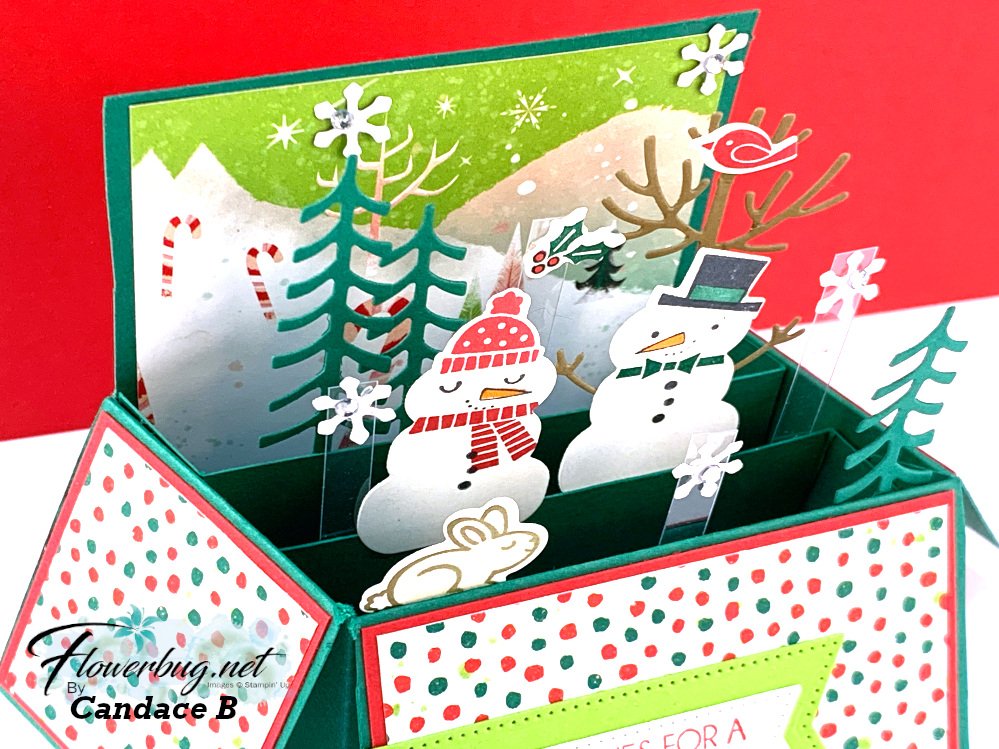
Snowman Magic WOW card; amazing work by Candace!


Last weekend we held our monthly Flowerbug's Team swap.  Our theme was fun folds!  I know you're going to love seeing their wonderful creations. 

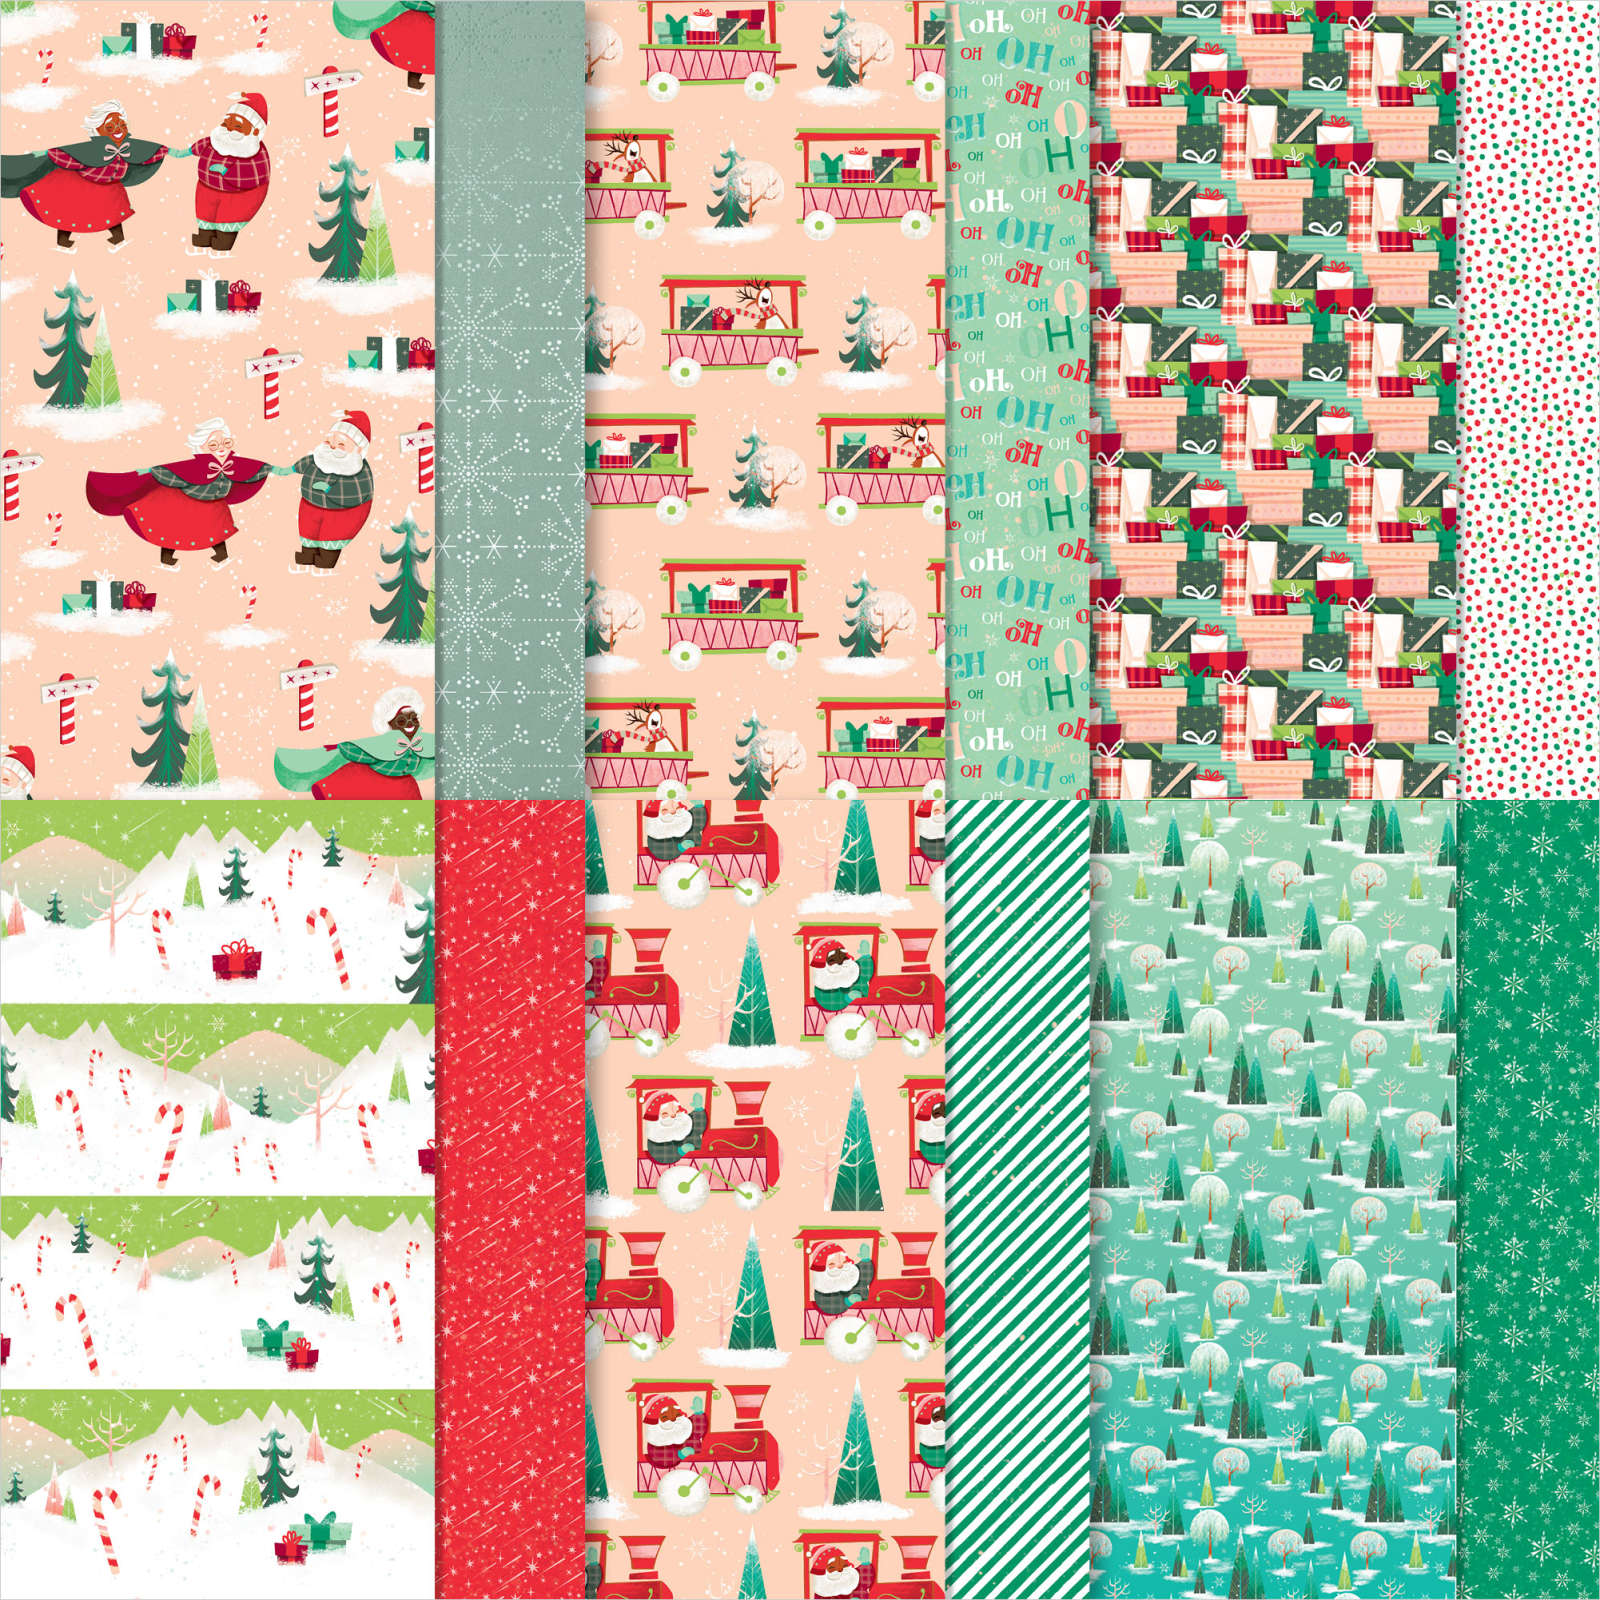
Today I'm sharing two cards featuring the Santa Express designer paper. This first is made by Candace. She used the Snowman Magic bundle seen here in the 2022 Holiday Catalog.  

Amazing, right?!  

It folds flat for mailing and fits in a standard A2 envelope.  

I'm going to do my best to provide the correct card stock measurements for this:  

  • Shaded Spruce 2 pieces at 4" X 6" score on the long sides at 2" & 5 1/2"; turn and score on the short side at 2".  Cut up to the score lines and trim off the extra 1/2" strip.  
  • inside pieces are 1" X 5 1/2" scored at 3/4" from both ends.  The scored ends are folded and adhered to the outer edges of the box inside. 

She used 1/4" strips of Window Sheets to hold up the snowflakes and holly.  The snowmen, trees and bunny are adhered to the box and inside strips.  It's so darn cute! 
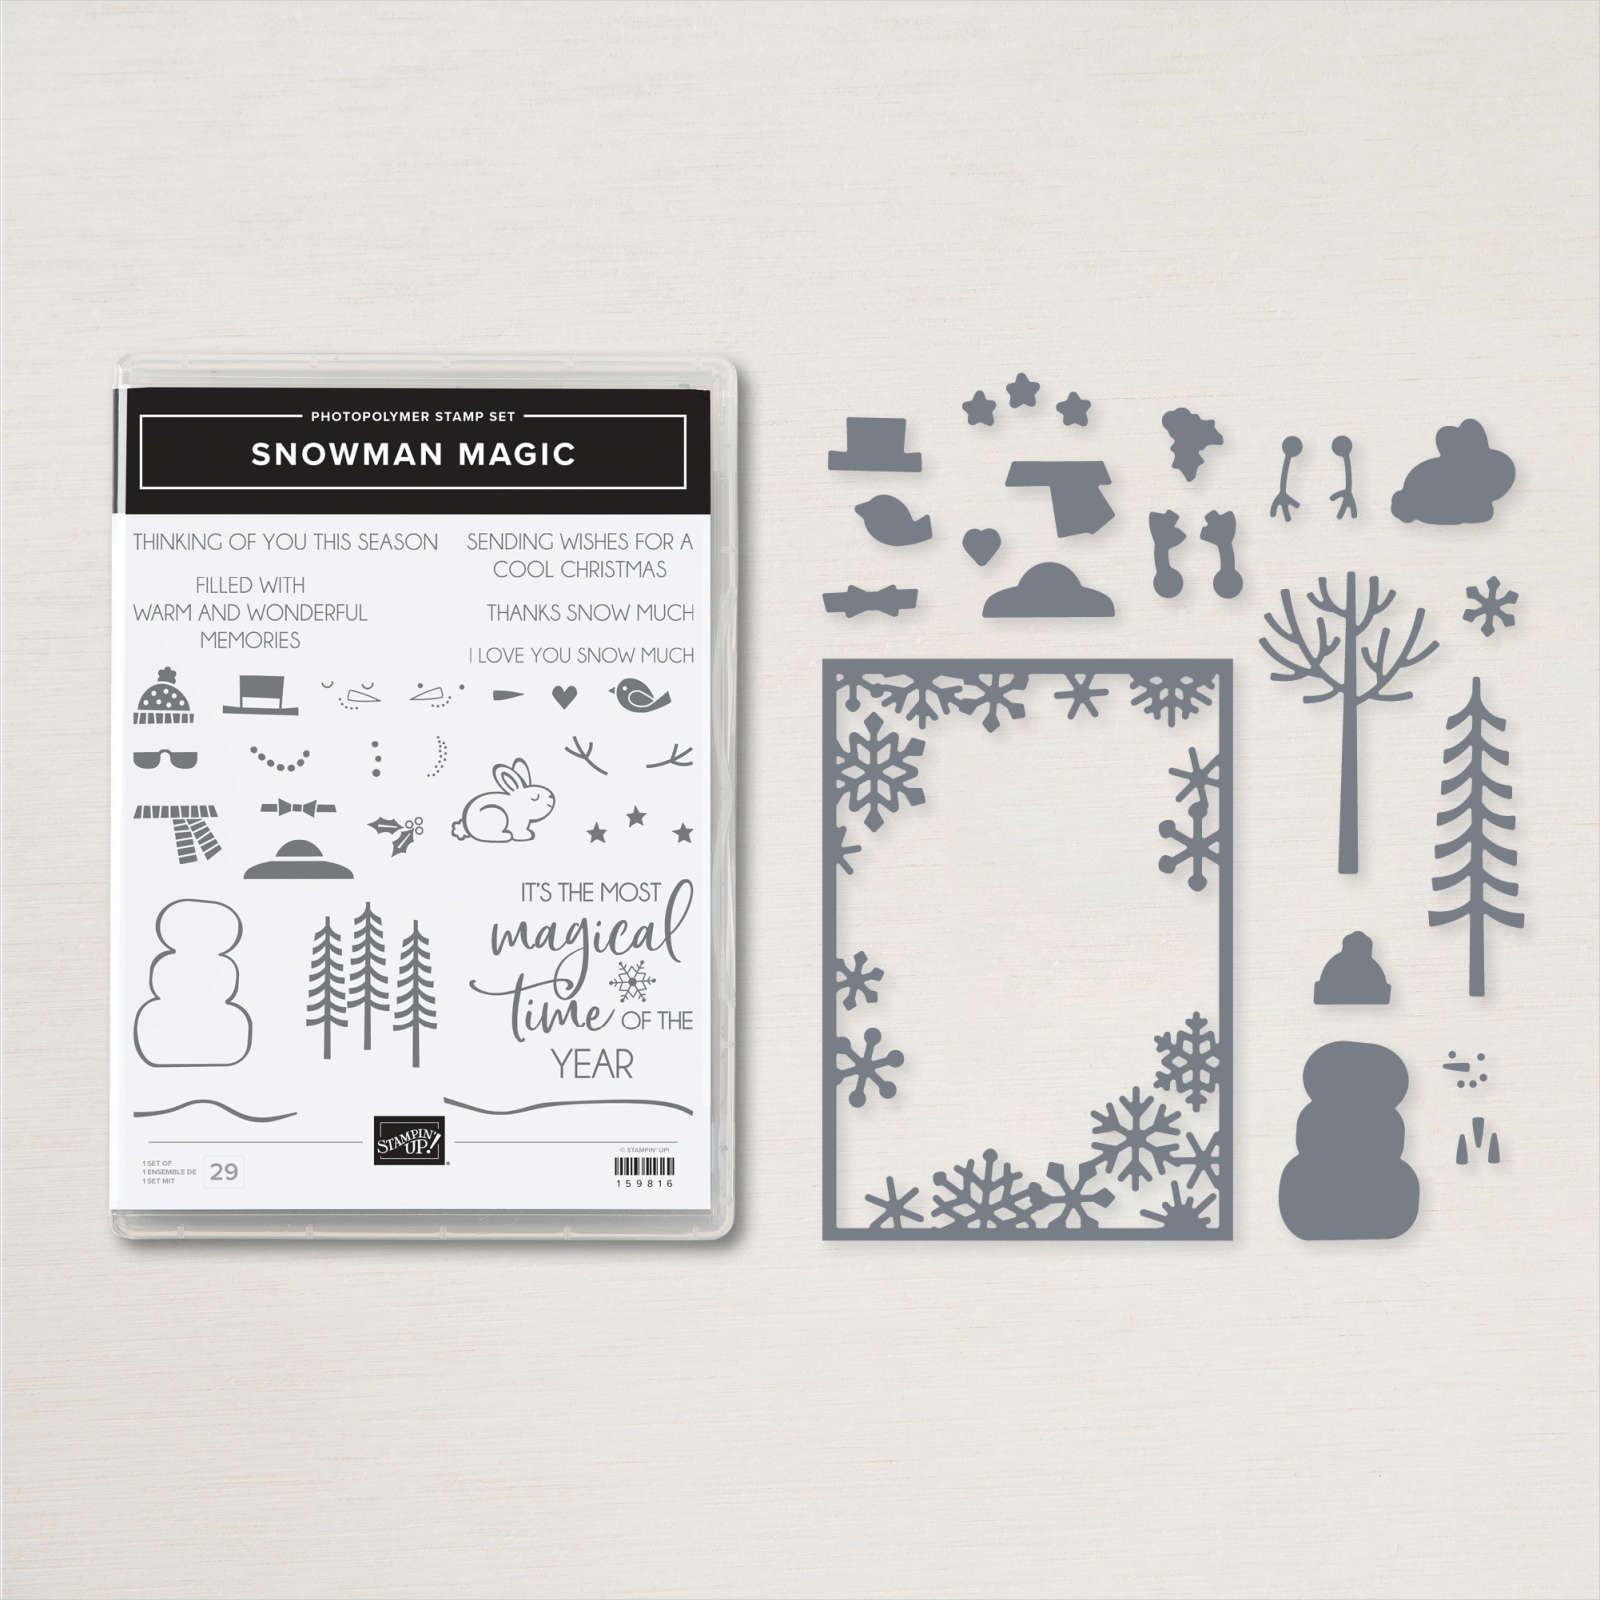
All of these elements are in the Snowman Magic bundle! 
Next is another incredible card made by Brenda; she chose to use the Santa Express designer paper also and added the coordinating Santa's Delivery bundle to hers.

It's a side-step fun fold card.  She chose to use Petal Pink and Pear Pizzazz for her card base & layers.  I love the jumping penguins and that smoke stack!  

Here are the measurements:

  • Card base 5 1/2" X 6" scored in half at 4 1/4".  Then make a mark at the 1" and at 6 3/8" at the 3" mark across.  
  • Now you'll cut from those marks down the center of the card.  
  • Next score up to the cut line at 1", 2", 3 1/4" and 6 3/8" 

She cut the trains from the Santa Express designer paper using the Santa's Train dies; which coordinate perfectly.  The cute penguins & smoke are stamped, colored & die-cut.  They're added with 1/4" strips of Window sheets so they pop up and flutter when opened.  Just adorable!  

See the Santa's Train bundle here and the Santa Express DSP here. 

Remember some of these items can sell out before the catalog ends.  Already we are out of the Lights Aglow specialty DSP. 

~~~

Order online here

Host code link: XZPZ6TDV  or BMGZZDPU

November Specials: 

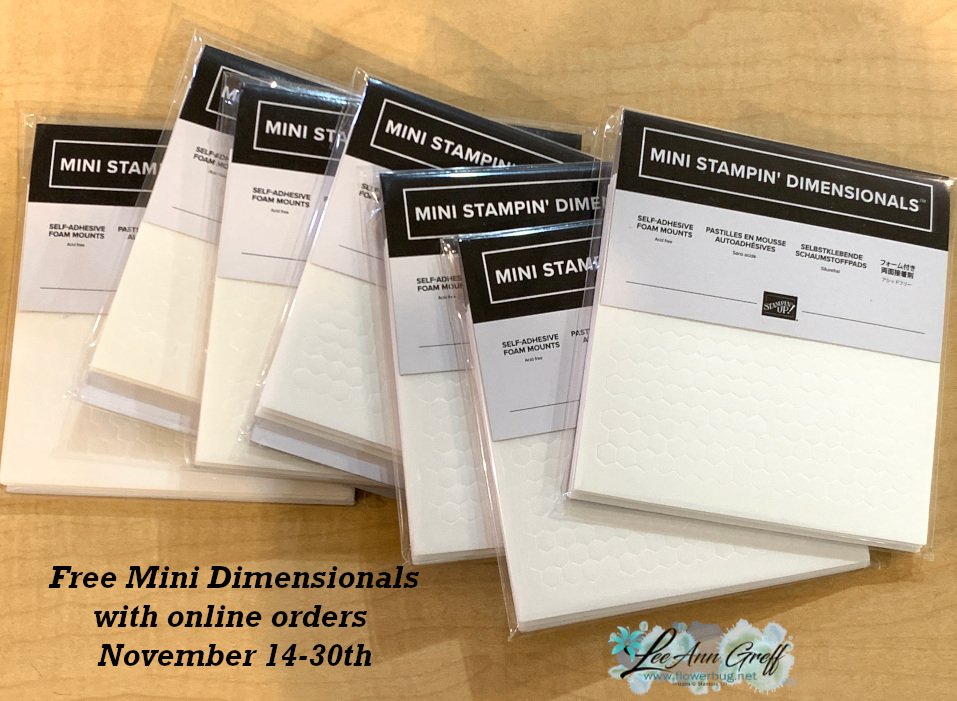
1. Get a pack of mini Stampin' Dimensionals from me with online orders over $55!

2. All orders in November will receive a big project tutorial – a collection of 12 cards featuring this new collection of products.

Earn free products with my loyalty rewards! 

Click here to download yours and earn a $50 shopping spree!

All Posts

  • Easy stack & cut layout with Regal Winter with free project sheet & video


    This is one of the cards I shared on last week's Live video.  I chose to feature the beautiful Regal Winter suite seen here. It's new from our 2024 Holiday catalog by Stampin' Up! 

    Isn't the color combination pretty?  It's Blueberry Bushel with Wild Wheat & White.  It's interesting that I chose the color combo from the pretty Regal Winter designer series paper but afterwards I realized they are complimentary colors.  Check out pages 132-133 in the 2024-25 Annual Catalog. Blues & purple are complimentary colors with yellow hues. I explain how to do this this in my video seen here. 

    If you have trouble combining colors together start with two main colors.  Using our designer papers as a starting point can make it quite easy. I tend to grab the card stock and hold them next to each other.  I can usually tell if they work well.  But if you can't try using our color wheel information on the pages above.  

    Isn't that double die-cut pretty?  It comes as one die but cuts the main and the outer frame all at once. Click here to see the Regal Flora bundle and here for the Regal Winter designer paper. 

    I stamped the leaf image in Wild Wheat and the blue flower is stamped & die-cut. Next I colored the white areas with a Wild Wheat Blends marker.  Love the golden highlights!  

    Click here to print or download the free project sheet. Download Regal Flora Golden Hues of Blue

    How did I cut the three pieces of designer paper for this card? I explain in the video below and in the tutorial above.  But basically you stack 3 pieces of designer paper measuring 3 3/4" X 5" and cut into 3 pieces. It's incredibly gorgeous designer paper! 

    As long as you cut them all together it does not matter where your cuts are. You'll get 3 card fronts from the pieces you'll get.  These are layered onto another 4" X 5 1/4" piece of card stock. 

    Below is the video tutorial for this and one other card. I hope you watch it AND follow me on my YouTube channel too!

    ~~~

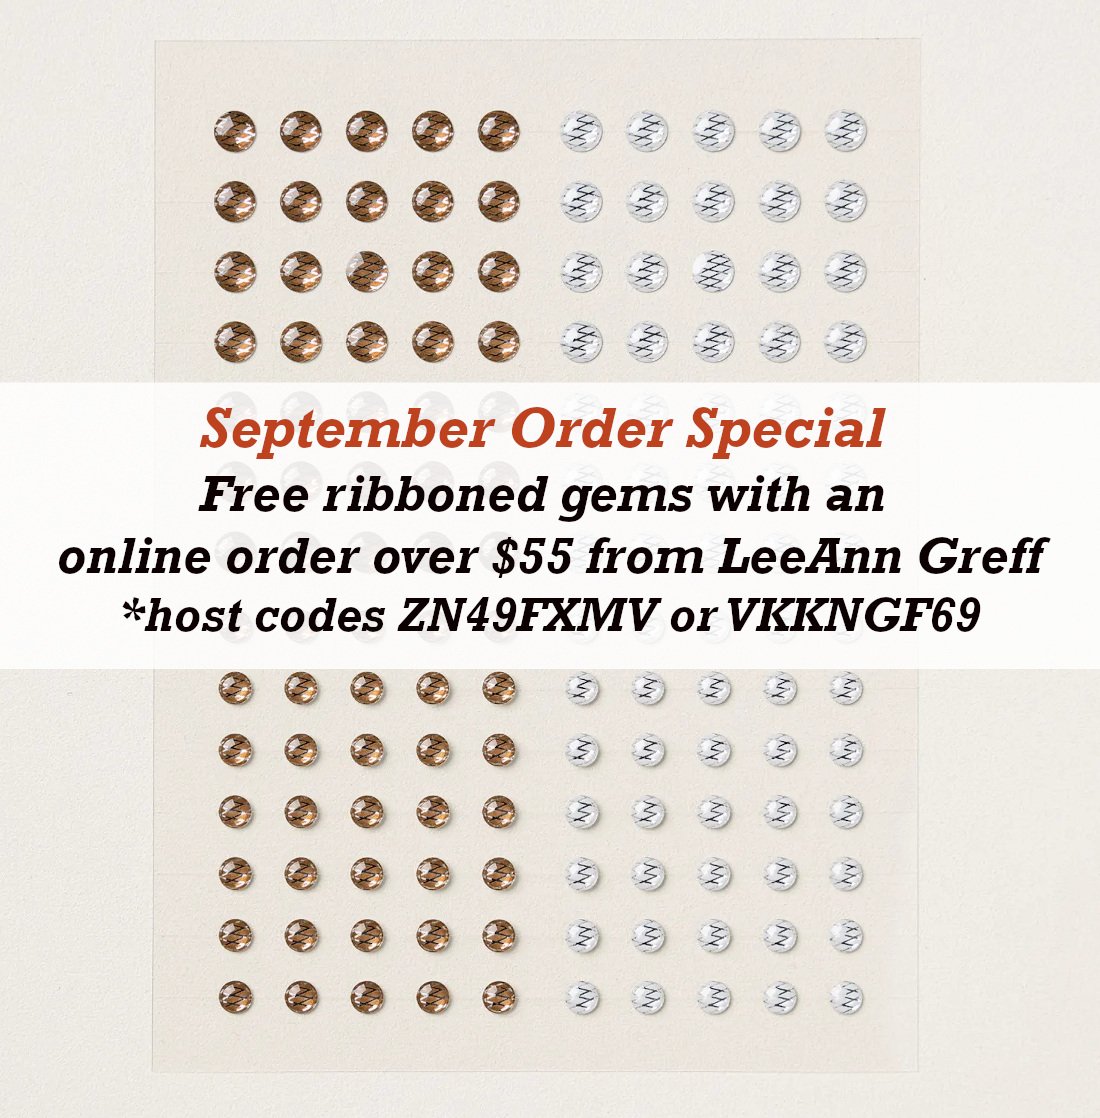
    September Specials:

    *current host code links: ENS36KE4 or ZN49FXMV


    ~~~

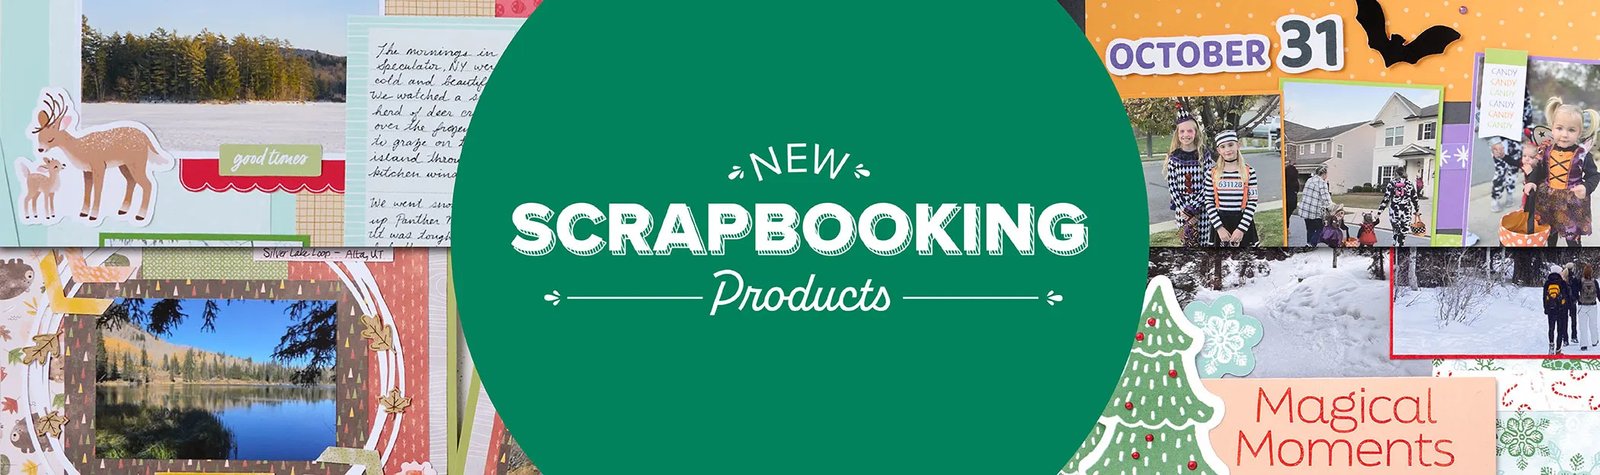
    Check out the new Scrapbooking Line from Stampin' Up! 

    See the Brochure here

    ~~~

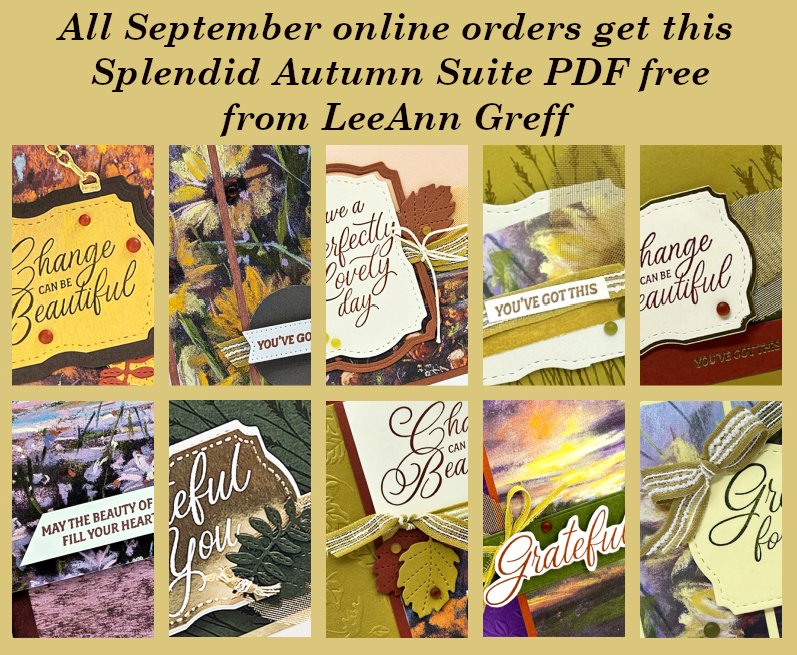
    All online orders will receive a free PDF tutorial featuring the

    Splendid Autumn suite

    Leave a Reply

    Your email address will not be published. Required fields are marked *

  • Holiday Catalog Launch Party with lots of new product displays


    My new Holiday Catalog open house event went wonderfully on Wednesday; it was a big smash with lots of people attending.  I was ready with fabulous displays and yummy food.  Of course I forgot to take photos of the food but I did remember to grab some of the displays. 

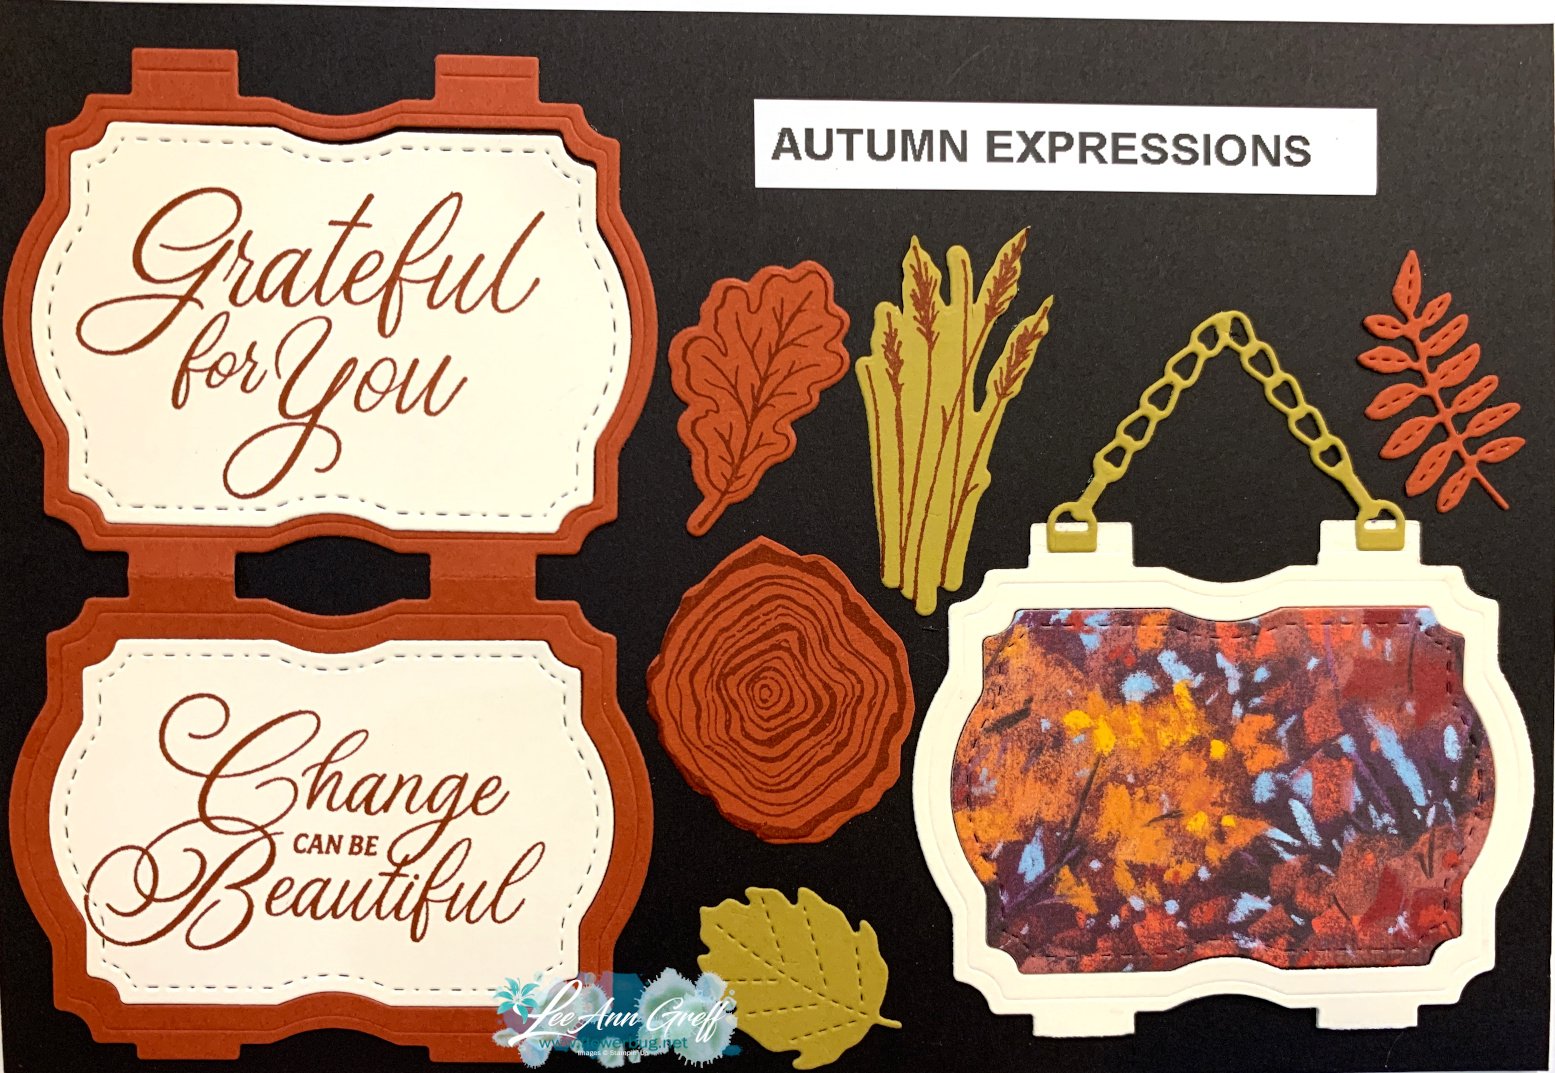
    First is the Splendid Autumn display: 

    I also included swaps from the Caring Leaves stamp set in the upper left. 

    I made samples of some of the die-cuts I have to help showcase how they can be used.  

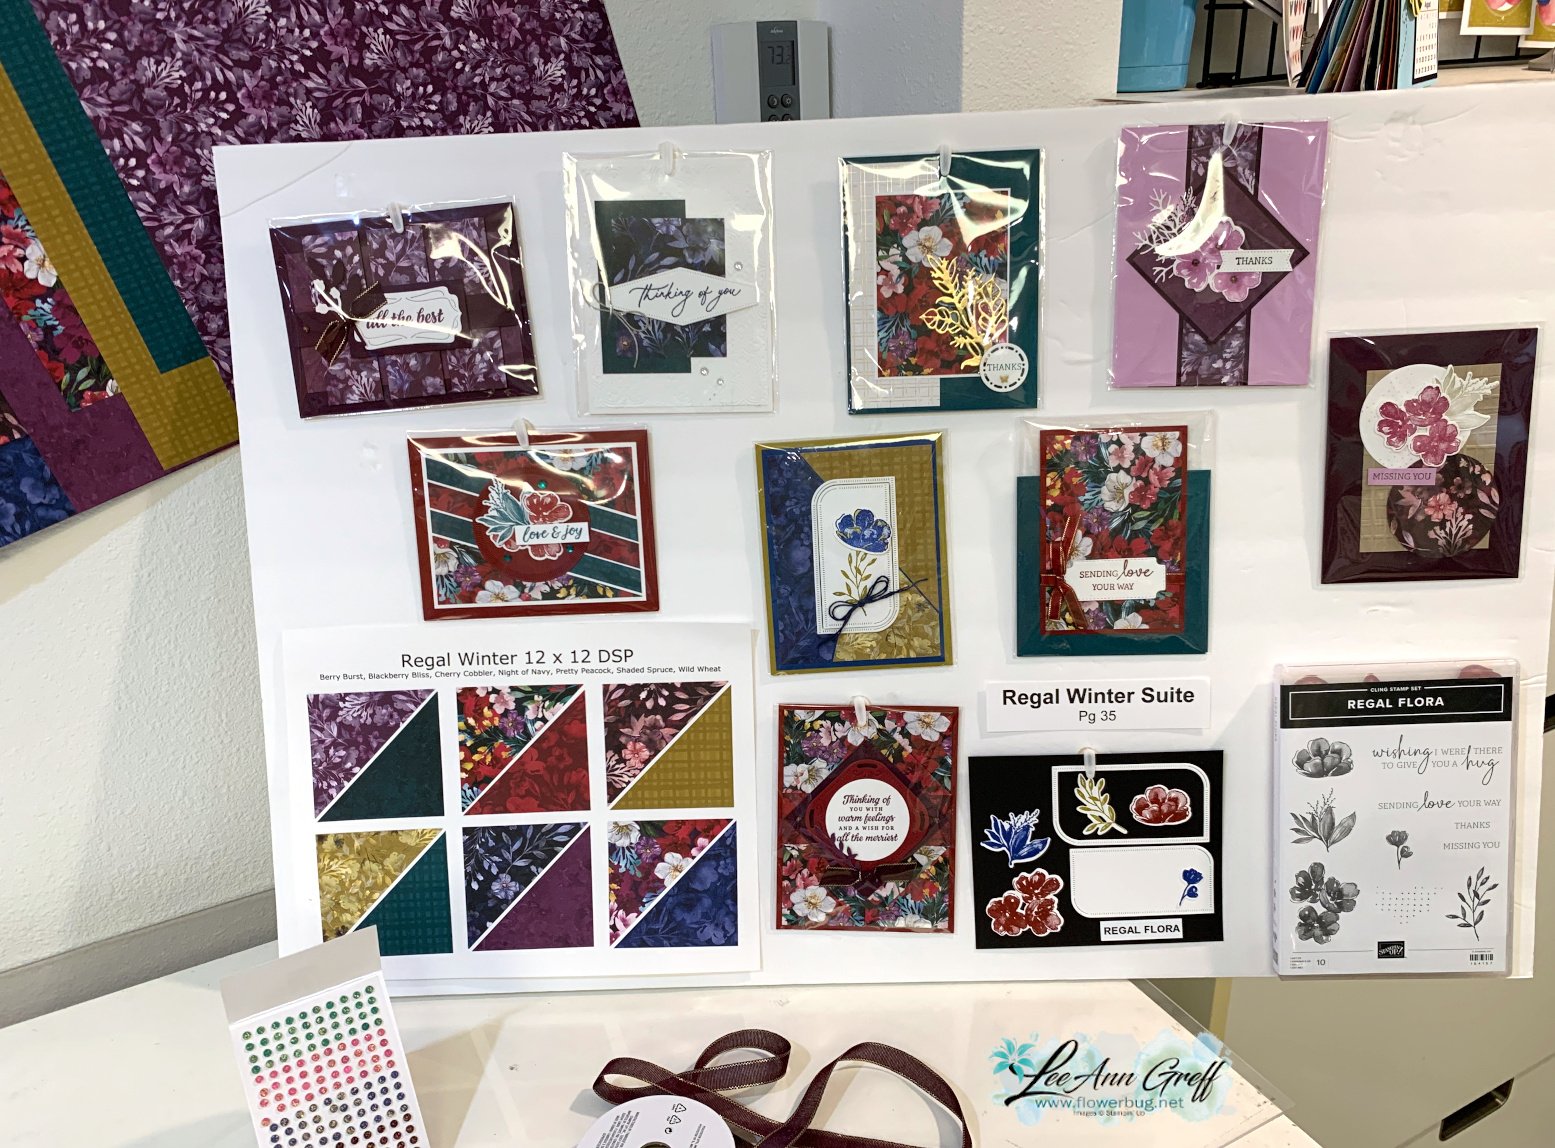
    Next is my Regal Winter display: 

    I shared a few of these cards on last week's Live video which you can here and another one here.

    Next is the Nest of Winter suite which is filled with wood grains, birds and nature. 

    I shared some of these cards in this video seen here. 

    I created a sample for the dies in this suite too.  I should have colored them in but I didn't take the time. 

    I'll share more soon! 

    ~~~

    September Specials:

    *current host code links: ENS36KE4 or ZN49FXMV


    ~~~

    Check out the new Scrapbooking Line from Stampin' Up! 

    See the Brochure here

    ~~~

    All online orders will receive a free PDF tutorial featuring the

    Splendid Autumn suite

    Leave a Reply

    Your email address will not be published. Required fields are marked *

  • 2 Incredible new kits – Christmas ornaments & a Card keeper box & cards


    I love that Stampin' Up! released 2 new kits at the beginning of each month.  Kits by Stampin’ Up! are perfect for new crafters, busy crafters, or crafters who want quick and easy projects. All-inclusive project kits have everything you need in one box! 

    Aren't they beautiful!  And what a beautiful gift or gift add-on!  Click here to see it in the online store. 

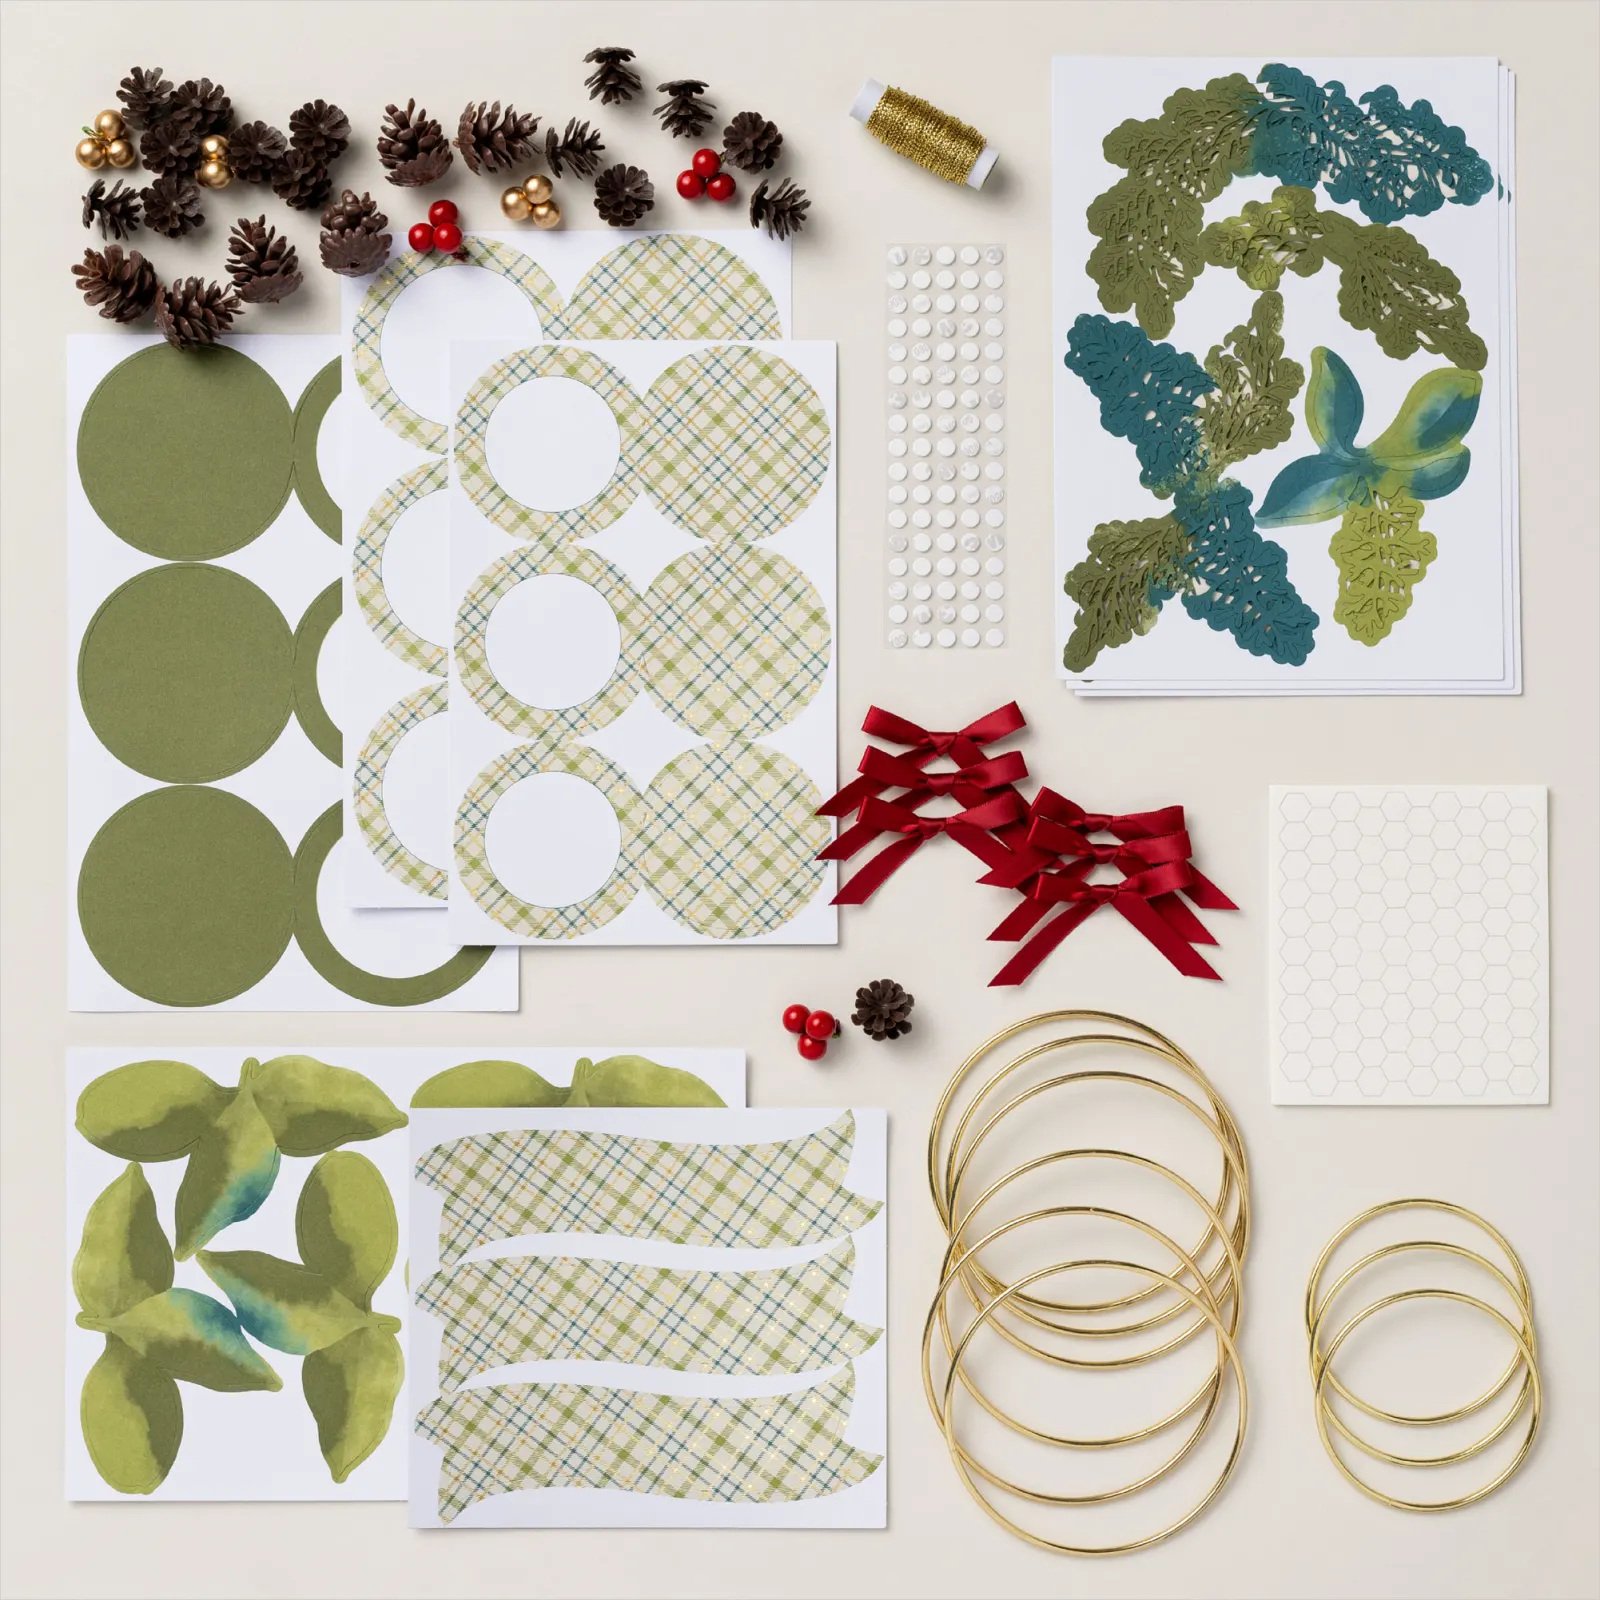
    Here's a photo of the supplies included in this kit.  It makes 9 ornaments in 3" and 4" size. 

    Both of these kits are $25. 

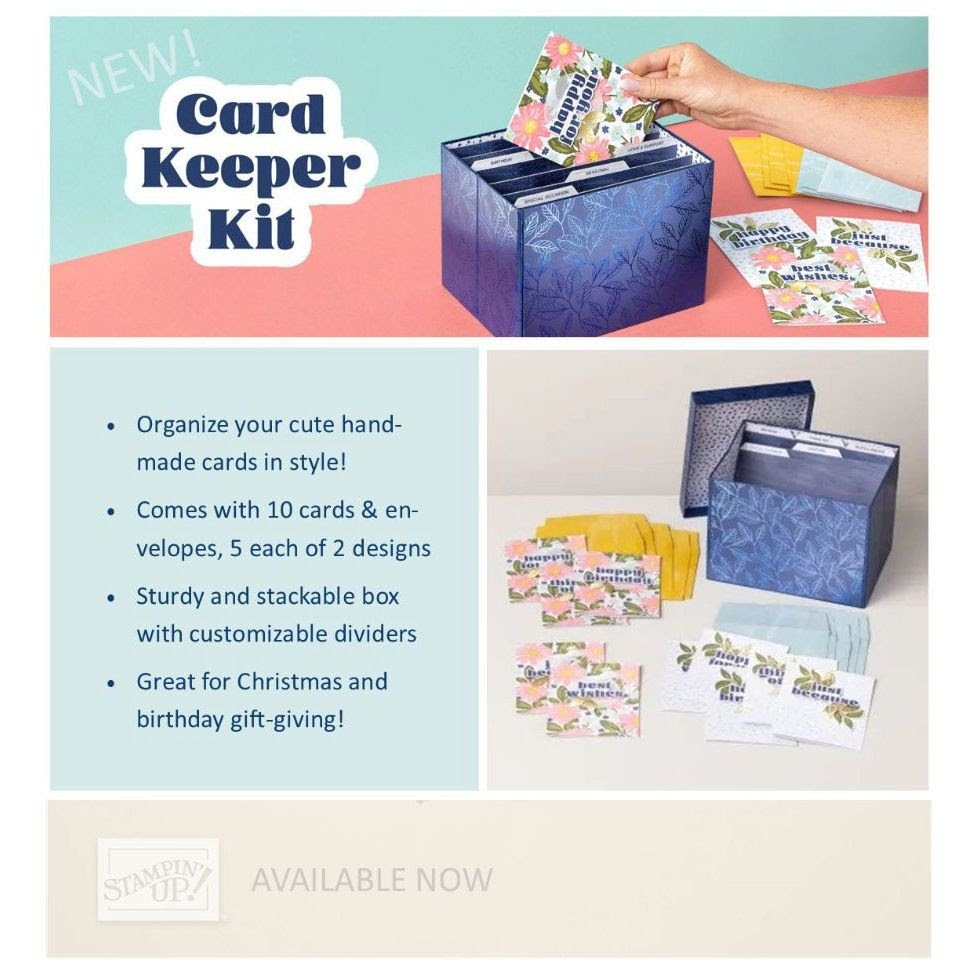
    Next is the Card Keeper kit. A convenient box filled with all occasion cards! Click here to see it. 

    Kit includes:
    * Predesigned projects
    * Step-by-step instructions
    * Precut pieces (No prep work! Get right to crafting)
    * Makes 10 cards: 5 each of 2 designs, and 1 card container (includes lid)
    * Folded card size: 5-1/2" x 4-1/4" (14 x 10.8 cm)
    * Card container size: Approx. 8-1/4" x 6-1/4" x 6"

    Below you can see the contents of this neat kit. 

    Give as a gift or try them yourself. Kits are while supplies last. 

    ~~~

    September Specials:

    *current host code links: ENS36KE4 


    ~~~

    Check out the new Scrapbooking Line from Stampin' Up! 

    See the Brochure here

    ~~~

    All online orders will receive a free PDF tutorial featuring the

    Splendid Autumn suite

    Leave a Reply

    Your email address will not be published. Required fields are marked *


Notice: LeeAnn Greff, Independent Stampin’ Up! Demonstrator, Manager. The content of this website is my sole responsibility as an independent Stampin’ Up! demonstrator and the use of, and content of, the classes, services, or products offered on this website is not endorsed by Stampin’ Up! Copyright 2025