/


Latest Post

What? Whisper White card stock is discontinued! Snowflake Splendor card & bookmark in a pocket


Sad news!  Here's a message from Stampin' Up! regarding our favorite White card stock:

We are sad to announce that the supplier’s mill producing our Whisper White cardstock has permanently closed due to impacts from the COVID-19 pandemic. Unfortunately, we weren’t given much notice on this closure. This means that the technology unique to this particular supplier is now unavailable to us and we can no longer offer our Whisper White cardstock and related products, such as Whisper White Note Cards & Envelopes. Please note that this won’t affect any of our other cardstocks, this only affects Whisper White.

We know Whisper White has a huge fan base; we’re big fans, too! And we are crushed that it’s going away. Even though this decision was out of our hands, rest assured that we jumped right into action to find the best replacement paper possible. We have dedicated many hours to source and test alternative cardstock options from several suppliers to find the perfect fit that still maintains the Stampin’ Up! quality you know and trust. We are happy to share that we have found a winner for our new cardstock, Basic White!

Our new Basic White products will become available to purchase as soon as we have them in stock. Additionally, due to the nature of sourcing, some Basic White products may not be available before the Whisper White products sell out. Please know that we are working on getting these products available to you as fast as possible.

Below is a list of all products that will be replaced with our new Basic White cardstock. These items are now available while supplies last with an order limit of 2 per item per order.

  • Whisper White 12" x 12" (30.5 x 30.5 cm) Cardstock (124302)
  • Assorted Memories & More Cards & Envelopes (149710)
  • Whisper White Note Cards & Envelopes (131527)
  • Whisper White 3" x 3" (7.6 x 7.6 cm) Envelopes (145829)
  • Whisper White 8-1/2" x 11" Cardstock (100730)
  • Whisper White 8-1/2" x 11" Thick Cardstock (140272)
  • Whisper White Medium Envelopes (107301)

If you love any of these products I recommend you order them ASAP.  Remember there is a limit of 2 per customer. Go here to order.

~~~

Here's a few sparkly projects featuring the Snowflake Splendor designer paper.  I think I could play with this for the next few months!  Here in ND we're usually in snow through March for sure and usually into April. 

For this card I simply cut a few snowflakes from the White panel and adhered it to the designer paper with Dimensionals.  The greeting is heat embossed using White powder on a Highland Heather Stitched Nested Label and a swirl of Iridescent ribbon is added behind it.  

This pretty paper is on the Closeout Sale happening now here.  It's 30% off while supplies last.  The Snowflake Wishes bundle is returning next year; I've used it a ton! 

Today is the last day to get my Snowflake Splendor kit to go.  It includes these same products: a half pkg. of this pretty paper, Iridescent ribbon and the pretty blue faceted gems plus 10 pre-cut fun fold cards.  That's $20 in product AND the 10 pre-cut cards for just $28.  Go here to get yours.    Or get the tutorial here. 

Here are the directions for the bookmark pocket:

  • Start with a 6” square for bookmark pocket; score lightly at 3”
  • Fold the Designer Paper in half at the 3” mark.  Then fold down the upper corner and glue down.
  • Use Stampin’ Seal on the lower and right side edges to close the pocket.
  • Punch the ends of the Highland Heather strip (1 ¼” X 8”, scored at 4)  and adhere across the lower middle. 
  • Stamp the greeting in Pacific Point ink onto the White Nested label die-cut (1 ½” X 2 ¾” finished size). Add with Stampin’ Dimensionals.
  • Add a few White snowflakes with Multipurpose Glue. Add a few Blue Gems.
  • Stamp the greeting on the Bookmark using Pacific Point ink.  Add some snowflakes in Highland Heather ink, stamping off first for a lighter hue
  • Punch the upper end with the Fancy Tag Topper punch. Fold a 6” length of ribbon in half and insert the folded end in the front and pull the tails through the loop.  Tighten carefully, one end at a time. 


~~~


December Ordering Special: 

Current Host code is AHJNPWNB

Order online here

All online orders will receive my 16 Christmas cards class PDF!

Get a free package of 220 Red Rhinestones from me with an online order over $50 using the host code above.
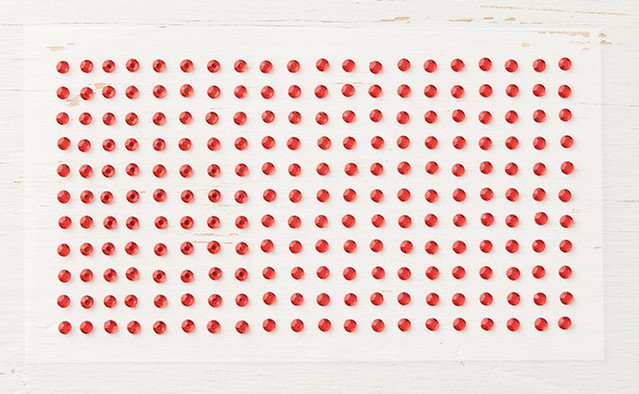
Below are the Multipurpose Glue stands we're making. They're $6 each and available in my Shop here.  

All Posts

  • Decorative Borders Book Binding card with video tutorial


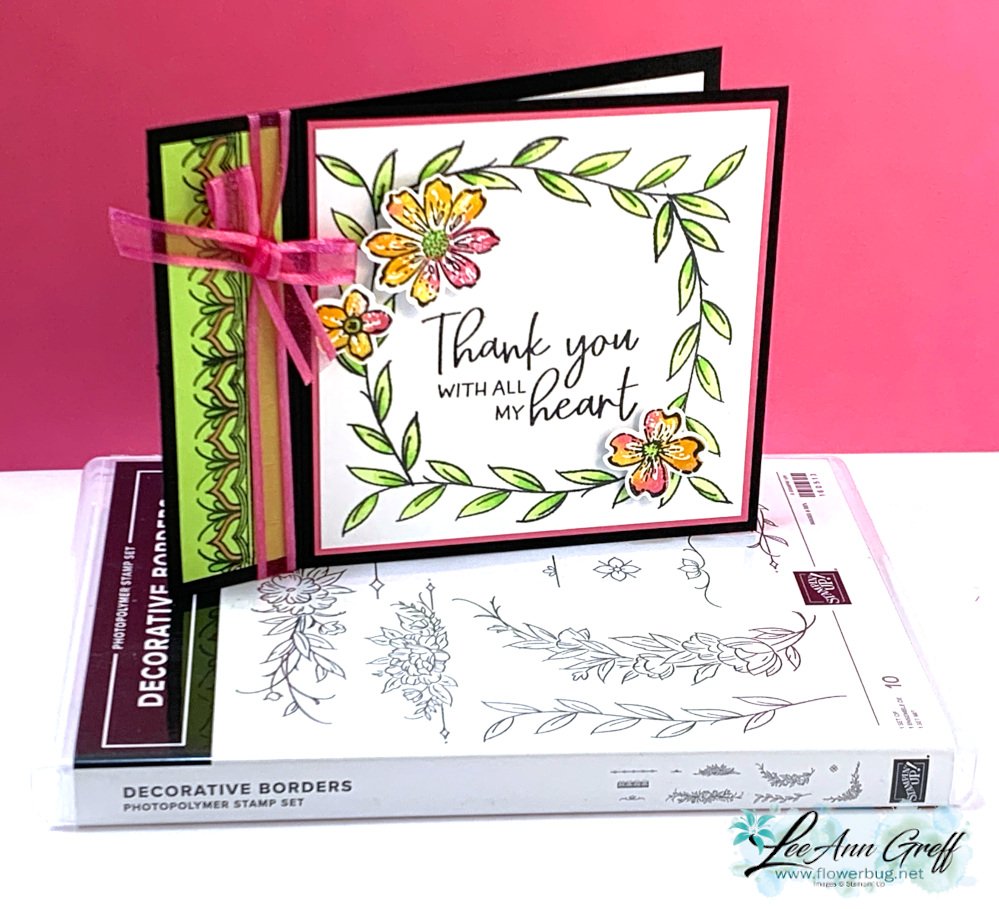
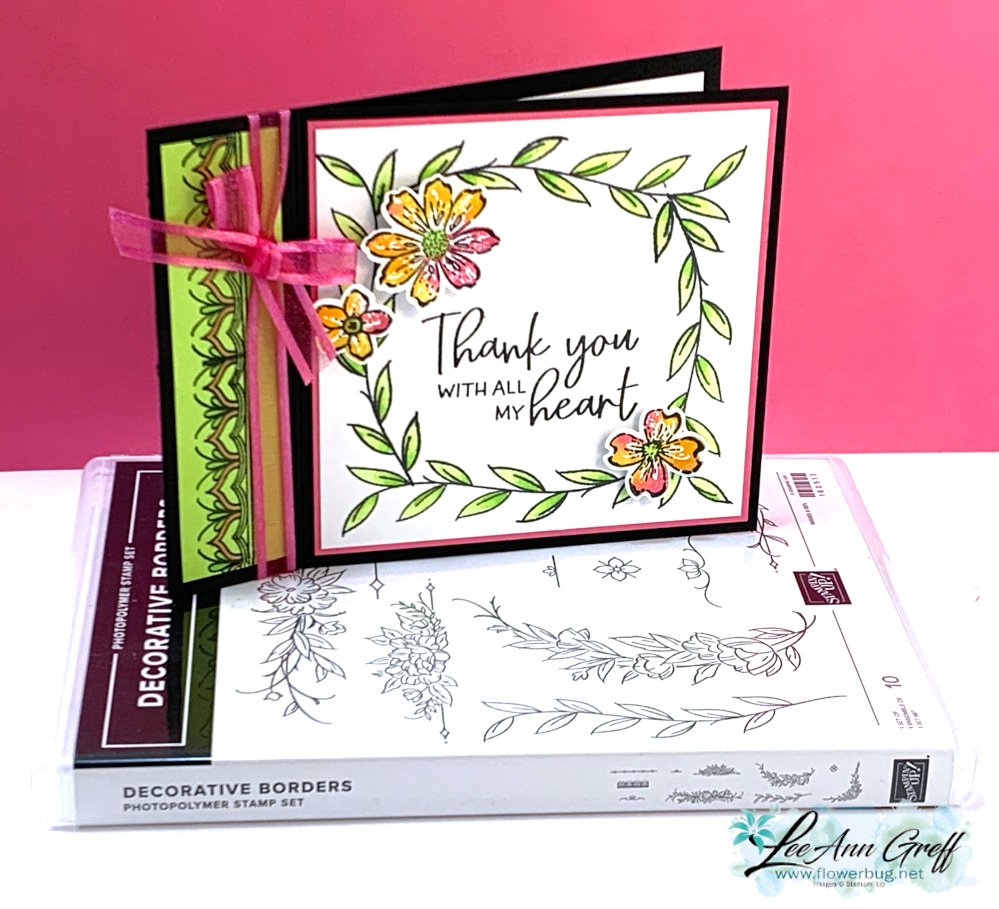
    I shared this special card on a recent FB Live.  It features a few techniques and is a fun fold card too.  

    It's made with the Decorative Borders stamp set seen here; a new favorite! 

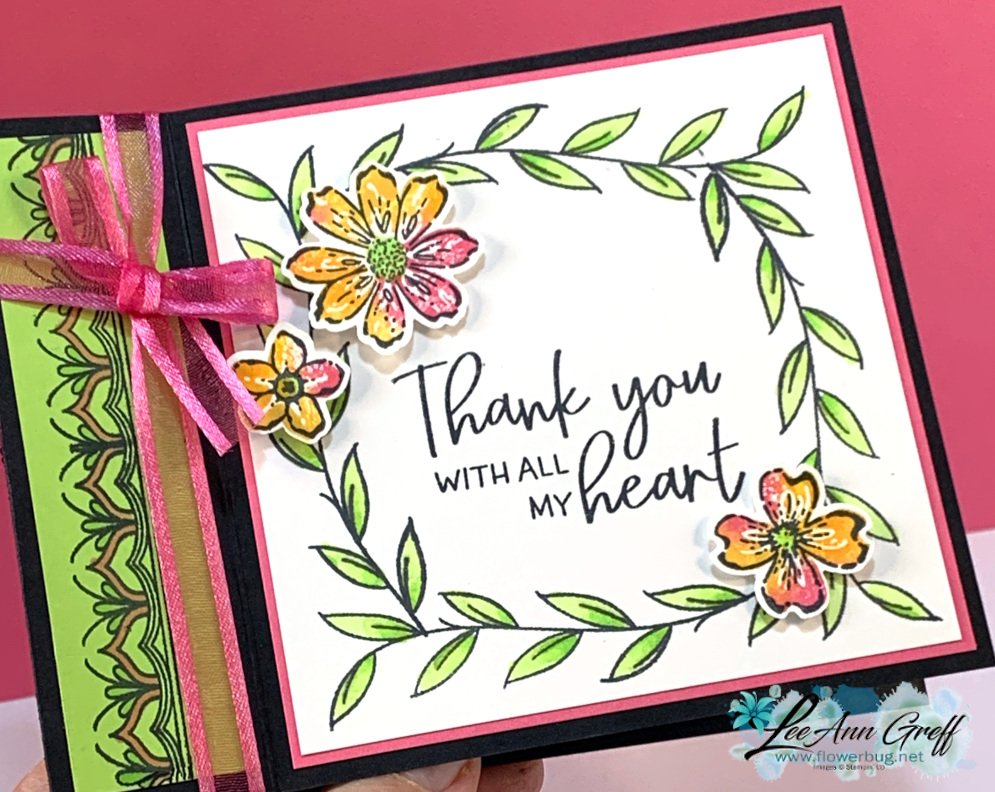
    When I saw this pretty leaves image I thought of creating a frame with it.  I show how on the video below.

    This book binding fold is so easy; it's just one extra fold line! 

    Measurements:

    • Black card base 4 ¼” X 11” score at 4 ¼” & 5 ½”
    • White 3 7/8” square, inside is 4" square
    • Polished Pink 4”
    • Parakeet Party 1” X 4

    I used my Stamparatus to create the pretty border on the Parakeet Party strip and a Baby Wipe technique for the colorful flowers. The leaves are colored with Blends markers; note the pretty shading!  Parakeet Party & Granny Apple Green blends.

    The greeting is from the Framed Florets set seen here.

    There are so many ways you might use this set; I share a few more in the video below.  It would be perfect to decorate your envelopes too! 

    Here's how I finished the inside of the card. 

    Click here or on the photo below to watch the video. 

    ~~~

    March Specials:

    See the new Online Exclusives here! 

    *current host code:  TMJXFR2T or BFE4C2KM

    Get a free class kit with online orders over $55 when using the host code above!

    Earn free products with my loyalty rewards! 

    Click here to download yours and earn a $50 shopping spree!

    Leave a Reply

    Your email address will not be published. Required fields are marked *

  • Decorative Borders & coloring vellum technique with video


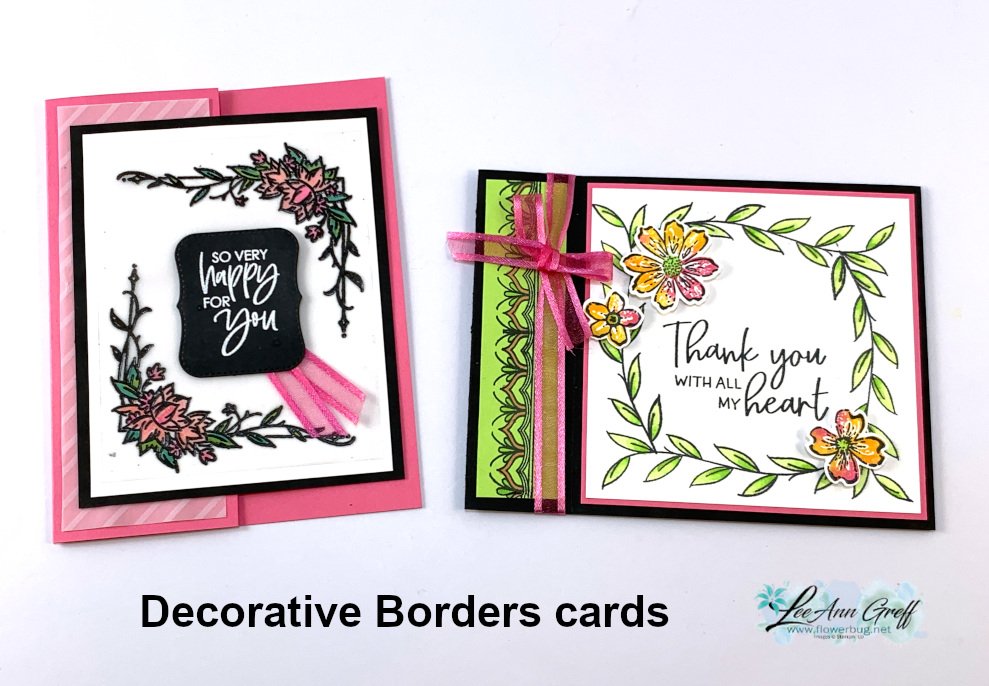
    Last month our Flowerbug's Team swap theme was to use vellum or window sheets.  Here's what I came up with featuring the Decorative Borders stamp set seen here.  

    I heat embossed the image twice with black embossing folder in two corners.  This is on vellum card stock. After it was set I colored in the images with Blends markers – Polished Pink, Granny Apple Green and Old Olive.  The corner image is small but it still took a bit of time to do them all.  I colored on the back side; no real reason except it's a little more forgiving. 

    The greeting die-cut is from the Potted Succulents dies; the heat embossed image is from Color & Contour stamp set in the Annual Catalog. 

    My measurements are:

    • Card base 5 1/2" X 6 1/2" scored at 4 1/4"
    • Printed vellum 1 7/8" X 5 1/4"
    • Vellum card stock 3 1/4" X 4 1/8"
    • White front 3 1/2" X 4 1/2" , inside 3 1/2" X 4 3/4" 
    • Black 3 3/4" X 4 3/4" 

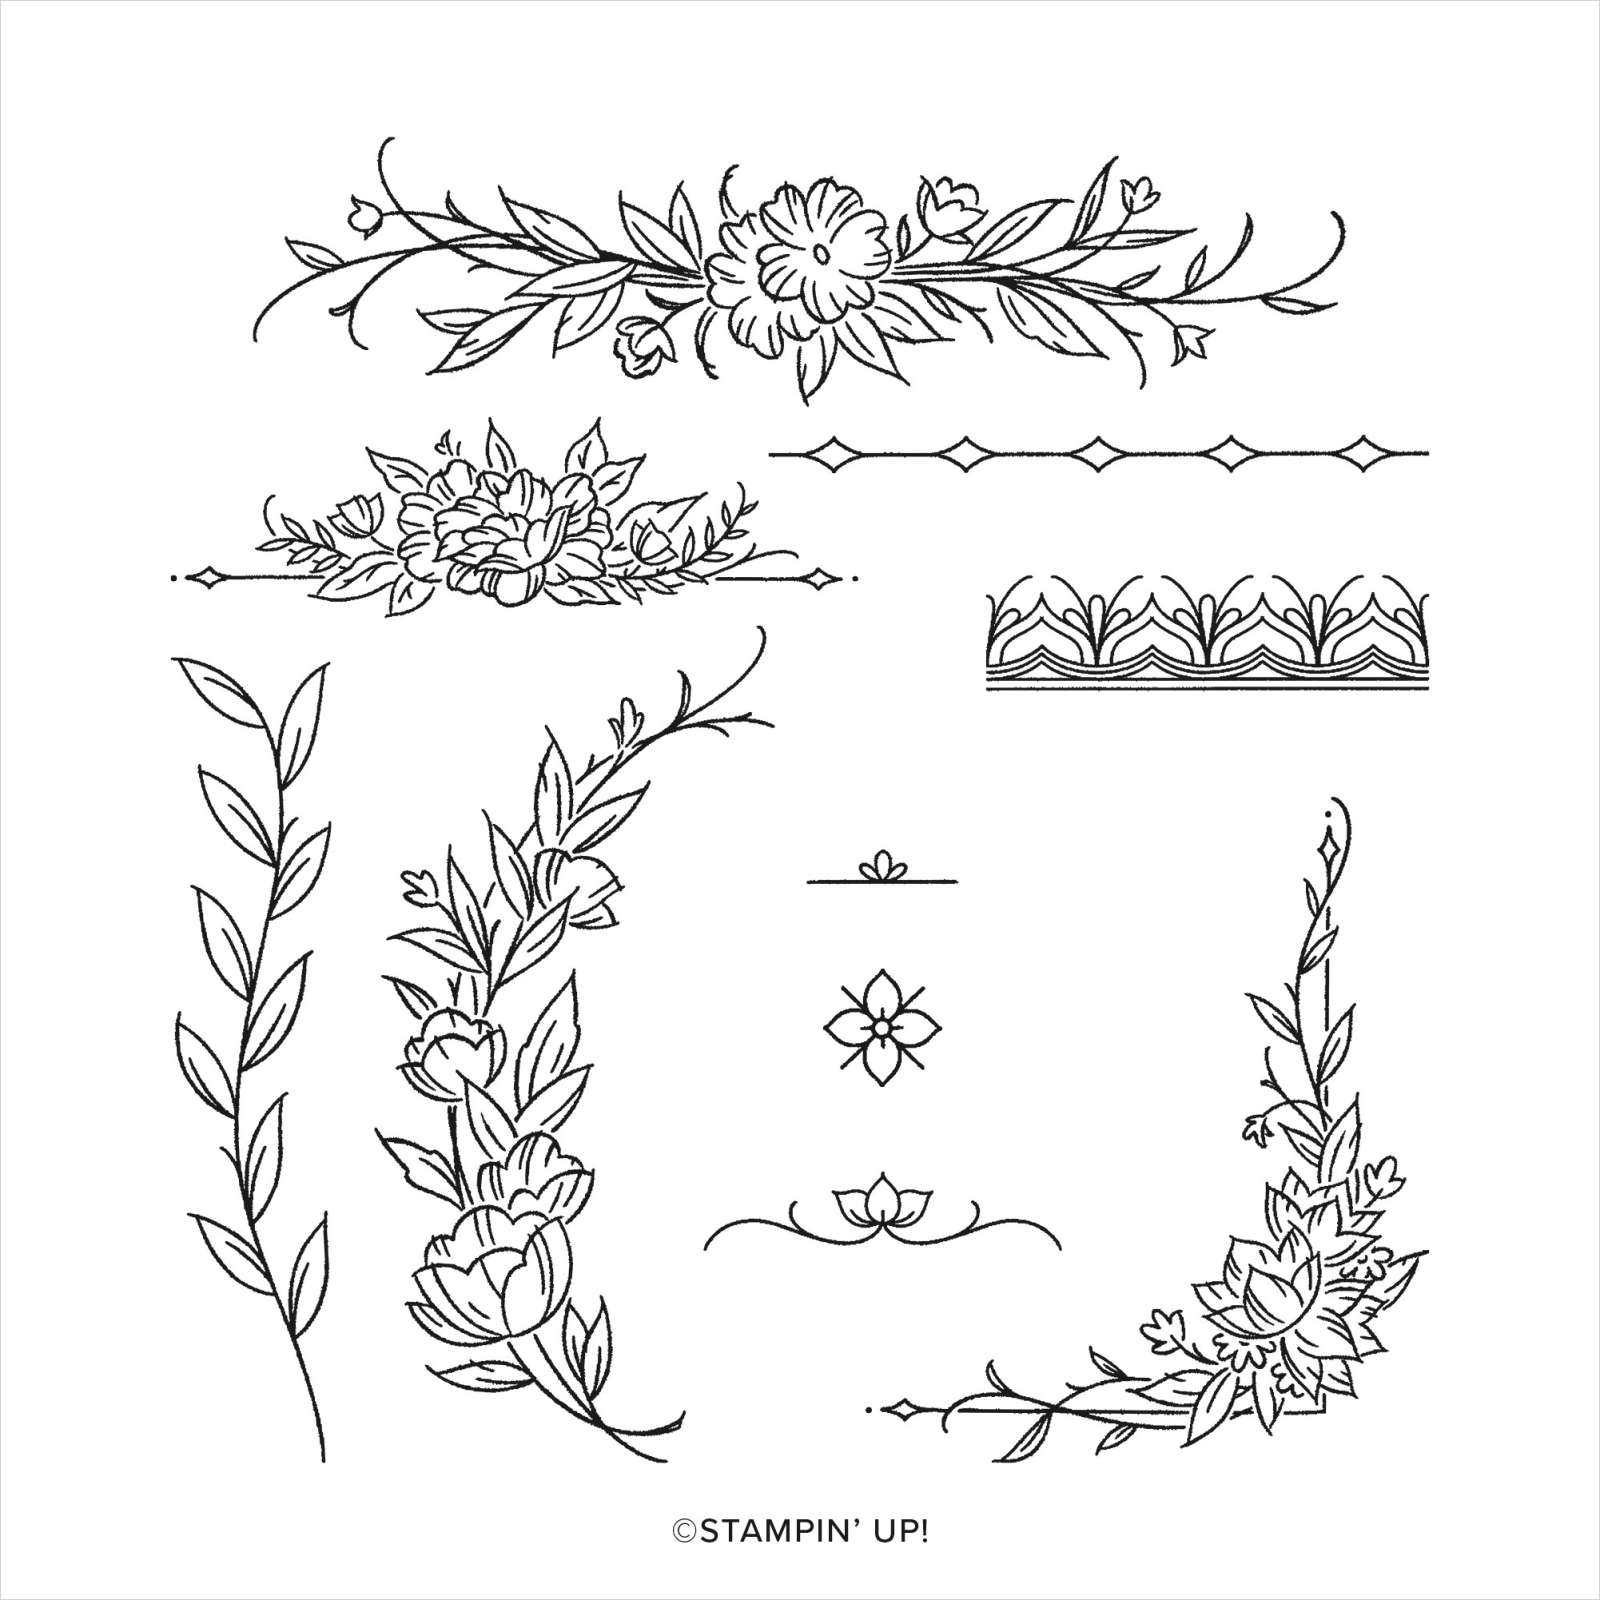
    Below is a photo of the pretty Decorative Borders stamp set.  There are so many ways you might use this set; I share a few more in the video below.  It would be perfect to decorate your envelopes too! 

    Here's how I finished the inside of the card. 

    Click here or on the photo below to watch the video. 

    ~~~

    March Specials:

    See the new Online Exclusives here! 

    *current host code:  TMJXFR2T or BFE4C2KM

    Get a free class kit with online orders over $55 when using the host code above!

    Earn free products with my loyalty rewards! 

    Click here to download yours and earn a $50 shopping spree!

    Leave a Reply

    Your email address will not be published. Required fields are marked *

  • Love Cats video tutorial with an easy but unique fun fold


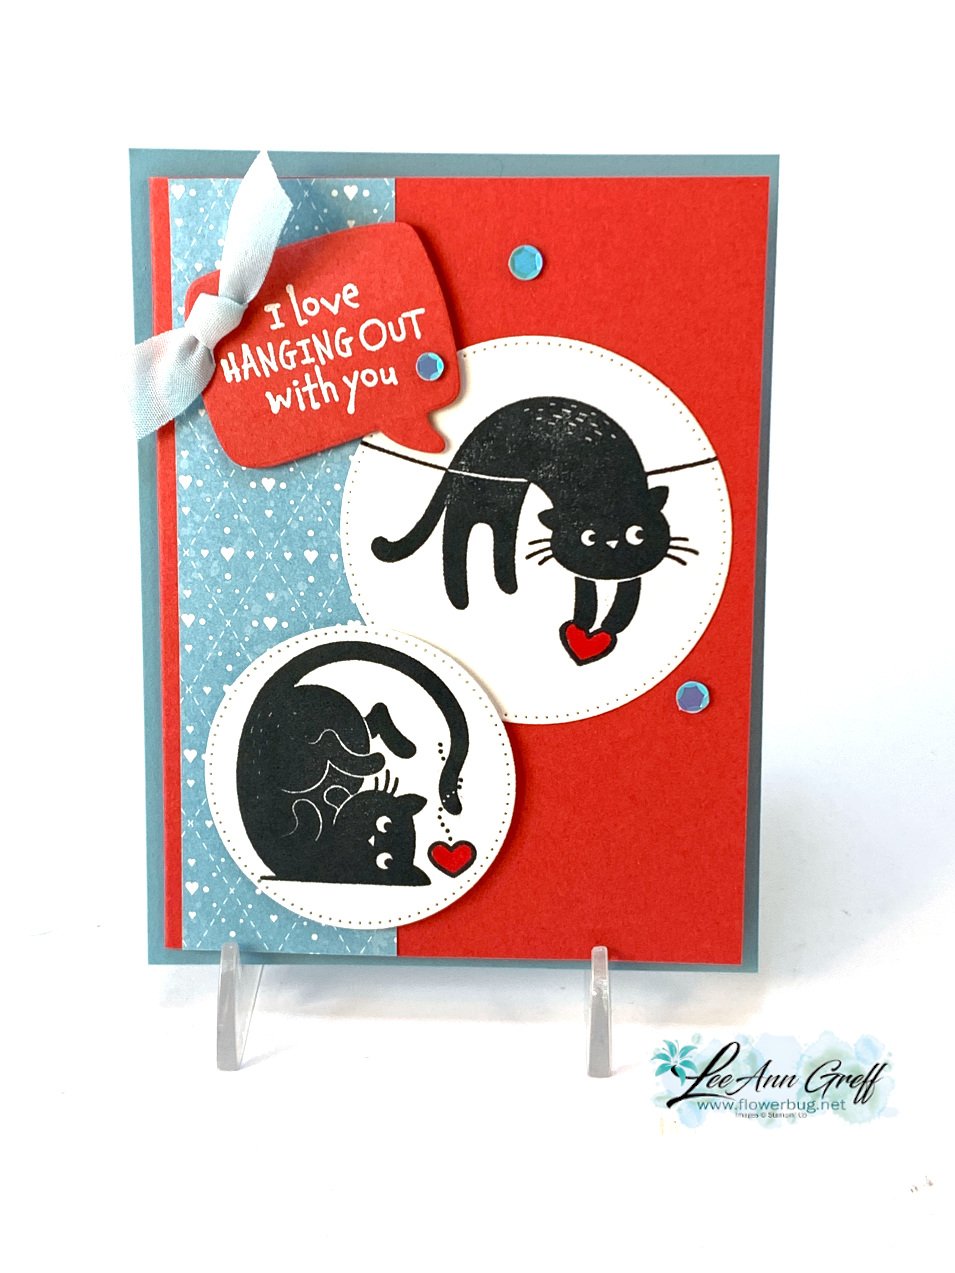
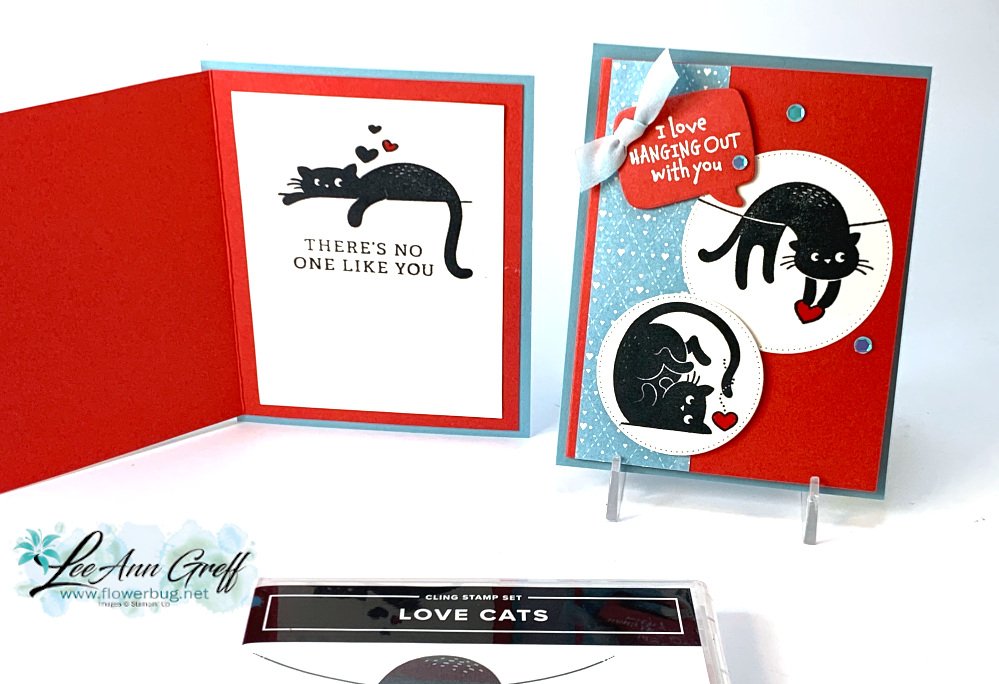
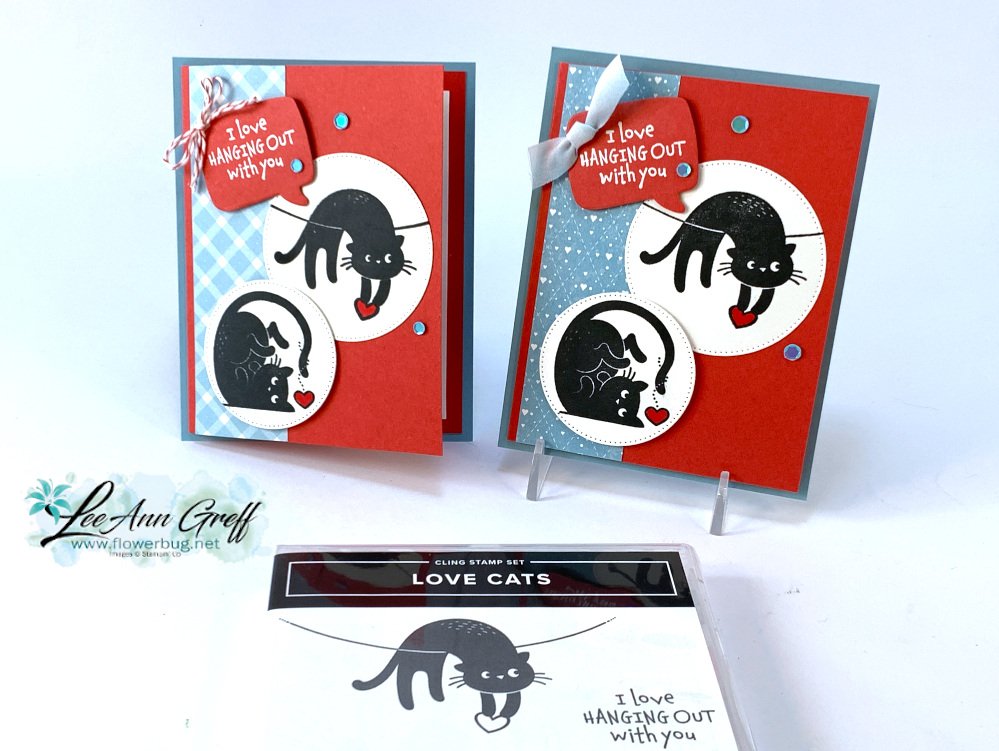
    We made this CUTE card at my February card clubs.  It really shows off the Love Cats stamp set seen here. 


    I shared it on my FB Live yesterday (see video below). It's sort of a unique fold in that the card base is a quarter sheet and the Sweet Sorbet is smaller and opens; see?  

    In order to get full, solid images I used the Stamparatus for the cats.  It makes a world of difference!  *Catch the tips in the video below.


    *Other items used here are the Conversation Bubbles dies, Pastel Adhesive-backed sequins, Balmy Blue variegated ribbon, Stylish Shapes dies, White embossing powder, Heat Tool, Sweet Sorbet Blends marker

    Measurements:

    • Card base 8 ½” X 5 ½”
    • Sweet Sorbet 8” X 5 ¼” scored at 4”
    • White inside is 3 ½” X 4 ¾”
    • DSP 1 ½” X 5 ¼”

    I used the Happy Labels stamp set for the inside greetings.  It has some fabulous images; see it here.  

    Click here or on the photo below to watch the video. 

    ~~~

    March Specials:

    See the new Online Exclusives here! 

    *current host code:  TMJXFR2T or BFE4C2KM

    Get a free class kit with online orders over $55 when using the host code above!

    Earn free products with my loyalty rewards! 

    Click here to download yours and earn a $50 shopping spree!

    Leave a Reply

    Your email address will not be published. Required fields are marked *


Notice: LeeAnn Greff, Independent Stampin’ Up! Demonstrator, Manager. The content of this website is my sole responsibility as an independent Stampin’ Up! demonstrator and the use of, and content of, the classes, services, or products offered on this website is not endorsed by Stampin’ Up! Copyright 2025