/


Latest Post

Simple Direct to Paper Technique for quick gorgeous cards! Plus 6 ways to add ribbon! Video & free project sheet too!


On last week's Live video I focused on the Most Adored specialty designer paper and shared the Direct to Paper technique and these gorgeous cards: 
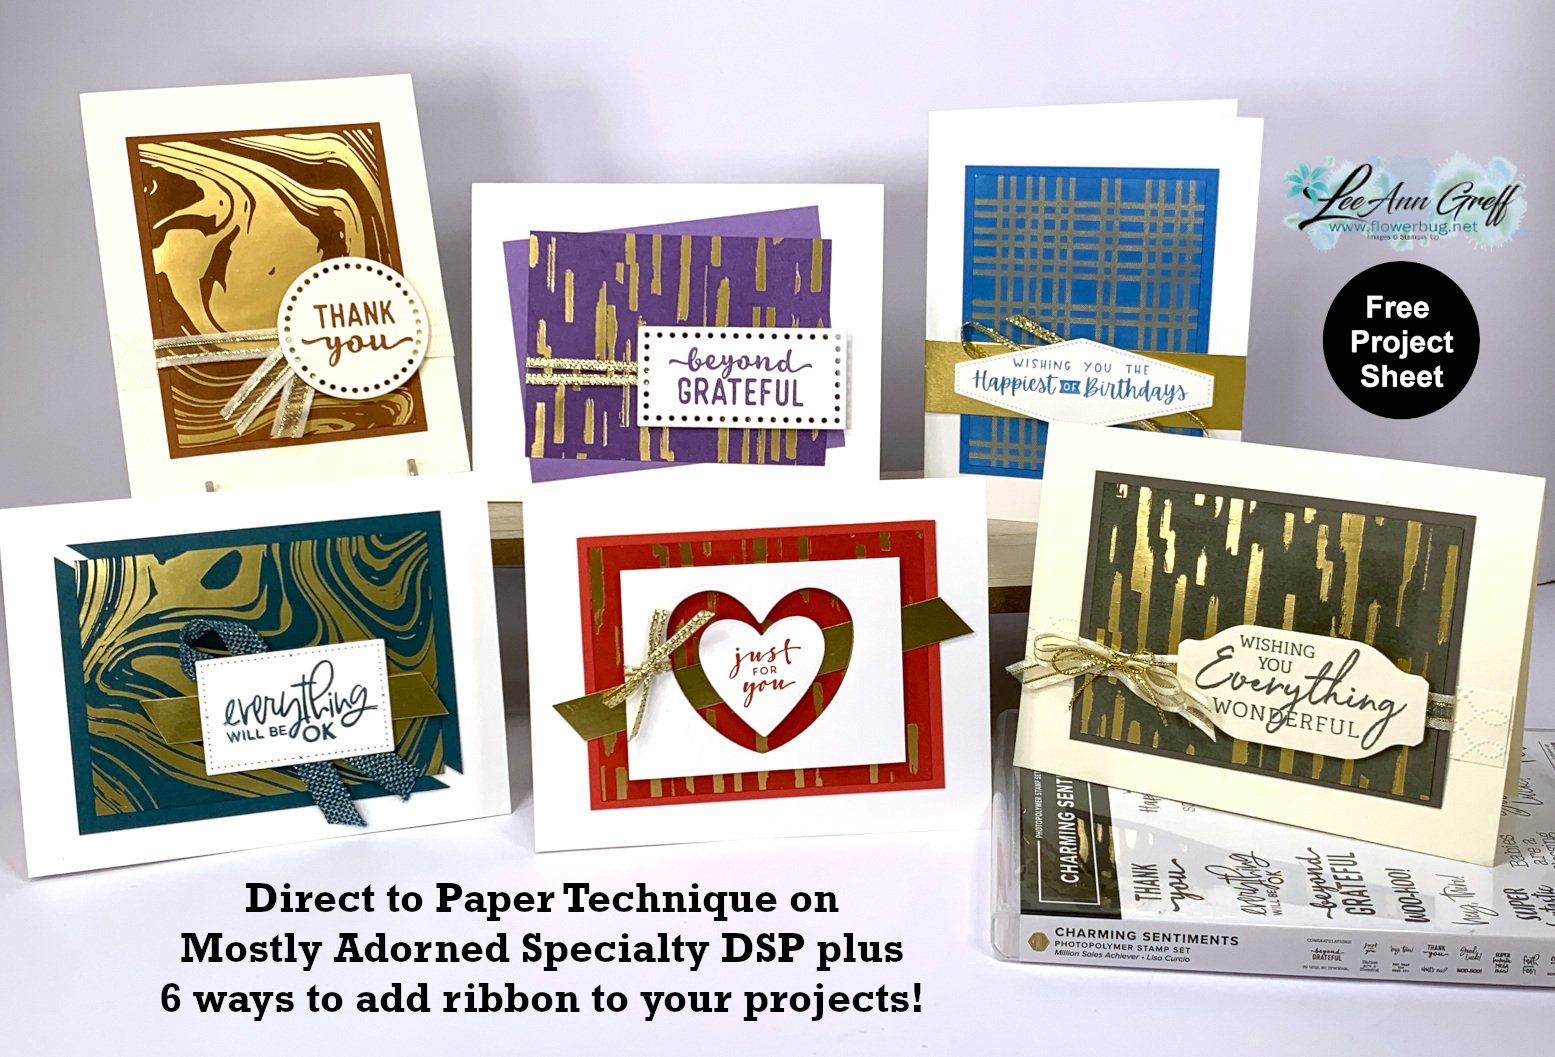
Anytime we have designer papers with foil designs I think of this fun technique! It's basically rubbing or tapping your water based ink pad onto the designer paper. The ink soaks into the background but resists the foil designs. Simply wipe the excess ink off the foil with a tissue – done!
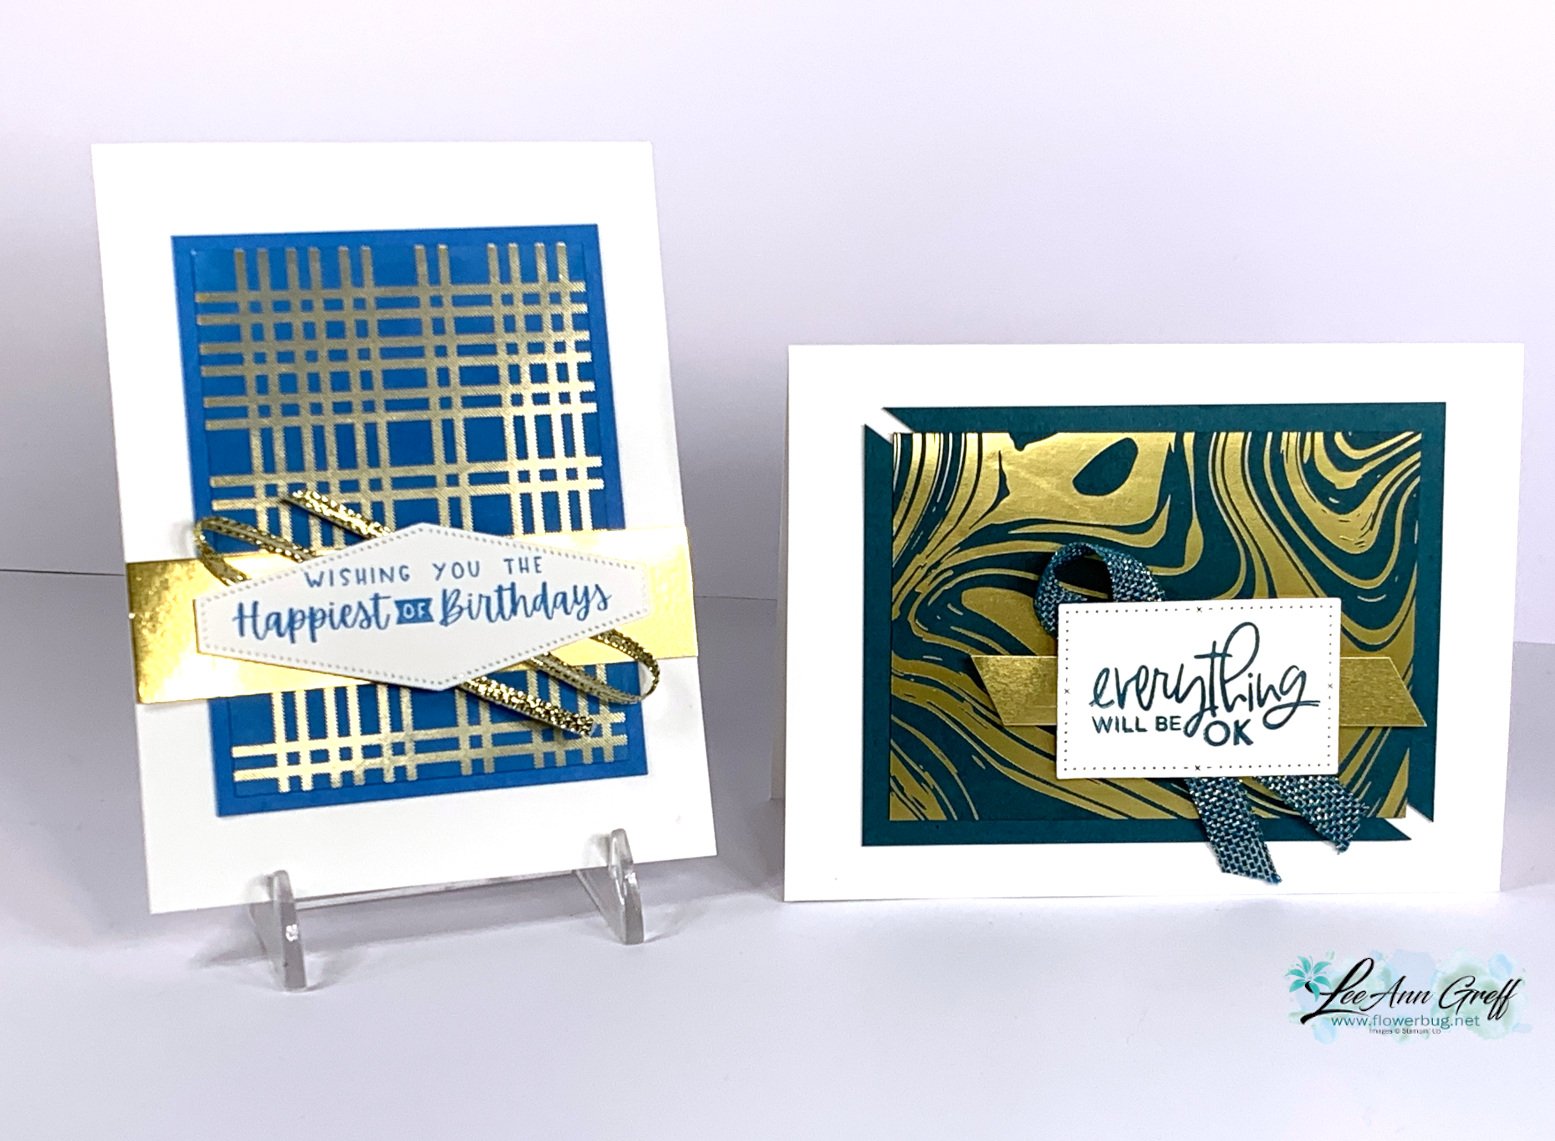
The colors above are Azure Afternoon and Pretty Peacock. Notice the different ribbon techniques and layouts. The left card has loops of ribbon added to the greeting label; the right has a simple fold of ribbon. 

Each card has two main pieces – the designer paper is 3" X 4" and the layered, coordinating card stock is 3 1/4" X 4 1/4". Check out the different layouts with these basic pieces.  

The left card above is Highland Heather and the right is Sweet Sorbet.  A few more examples of ways to add ribbon and change up this simple layout.  I added two thin strips of ribbon across the left card and tied a bow around the window frame on the right. 

Remember this pretty specialty paper is available through February during Sale-a-Bration. It's free with any $50 Stampin' Up! purchase. See it here. 

Keeping to a basic layout like this is a wonderful way to get a bunch of cards done quickly and use up your designer paper at the same time! I chose the Charming Sentiments stamp set for all of my greetings.  
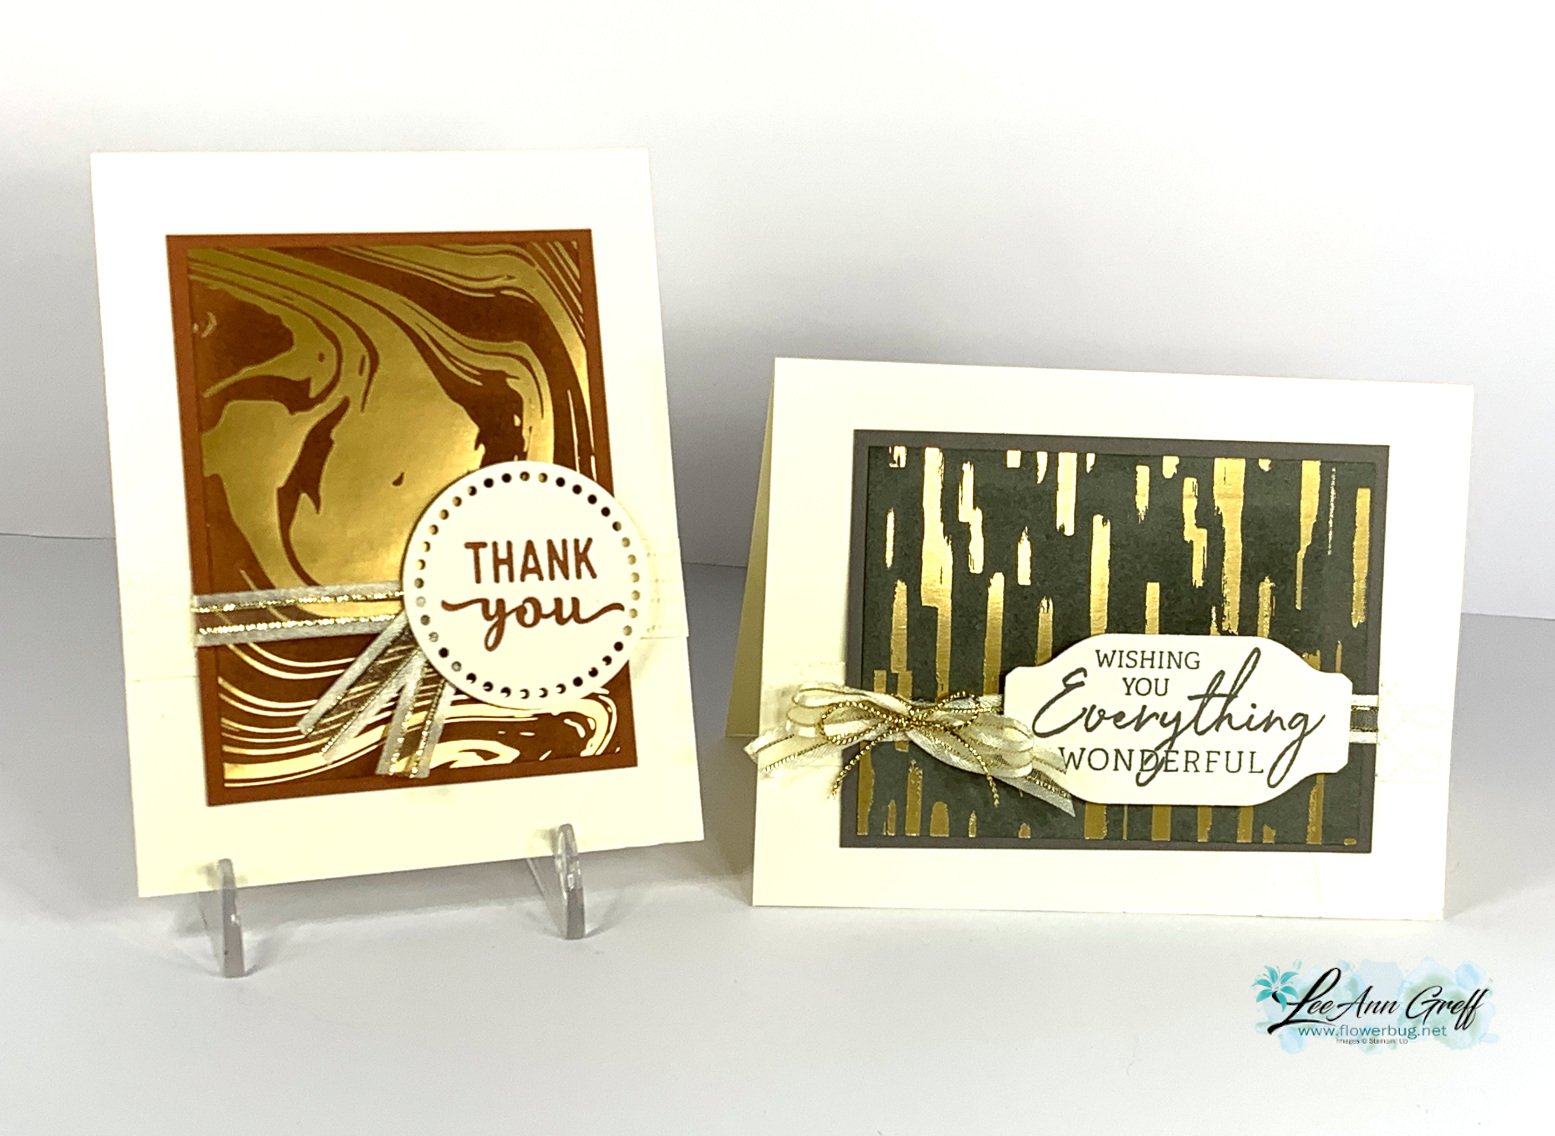
The colors above are Copper Clay and Pebbled Path – 2 of our newest in colors.  Ribbon uses include a flag and a double bow.

The free project sheet can be downloaded here: It's also a great reference for ways to add ribbon! Download Direct to Paper technique with 6 ways to add ribbon

I hope you're inspired by the simply card idea, the technique and the 6 ways to add ribbon!  Watch the video below to see this technique in action!

I'm Live on Facebook here every Tuesday at 11 am. Follow me to catch it live. 

Or see and follow me on YouTube here! 

~~~

February Specials: 

Earn FREE products with your Stampin' Up! purchase during

Sale-a-Bration! *click here

*current host code link: 4BXU7SGH 

It's the best time to get a pre-paid Sale-a-Bration subscription

& earn free Sale-a-Bration products!  

~~~

Get a free Gold Foiled cards & envelopes kit

with online orders over $55 in February

All online orders in February will receive this free tutorial with 8 projects!

All Posts

  • Blossoms in Bloom; puzzling it together?


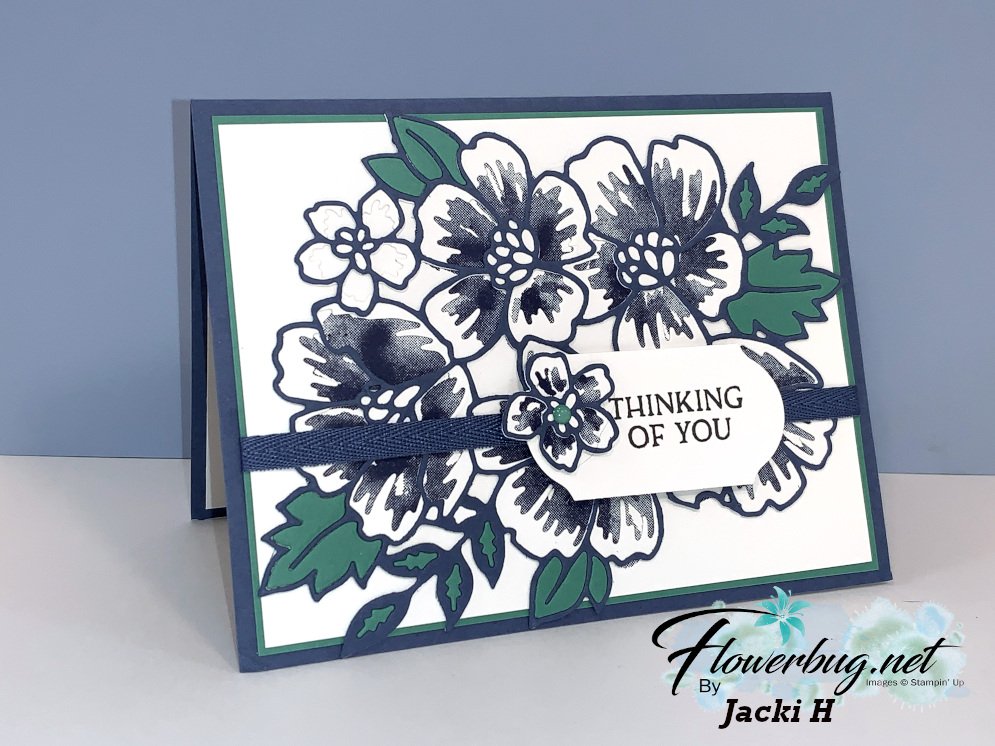
    Here's an incredible card featuring the Blossoms in Bloom bundle made by my Flowerbug's team member Jacki for a new catalog card swap.

    I just love these colors together; Just Jade and Misty Moonlight.  

    Can you tell that she stamped the large floral image on her White CS using Misty Moonlight?  Then she added die-cut layers in White, Misty Moonlight and Just Jade.  Yes; she cut out three dies for each card and puzzle fit them over the stamped image!!!  Amazing, but stunning!  

    If you want to see this bundle online, click here. 

    I believe she cased this card from Pinterest; made by Mary Detherage.

    ~~~

    Choose the best deal in the catalog and pick any bundle of your choice FREE!  

    Get my Lovely You pdf tutorial free with any online order in June


    It includes directions, photos and measurements for 10 cards!


    June Host code is R6XWPMRP

    Get a free pkg. of Elegant Faceted Gems from me if your order is over $55. 

    Order online here

    Leave a Reply

    Your email address will not be published. Required fields are marked *

  • Colorful Sunflowers the easy way!


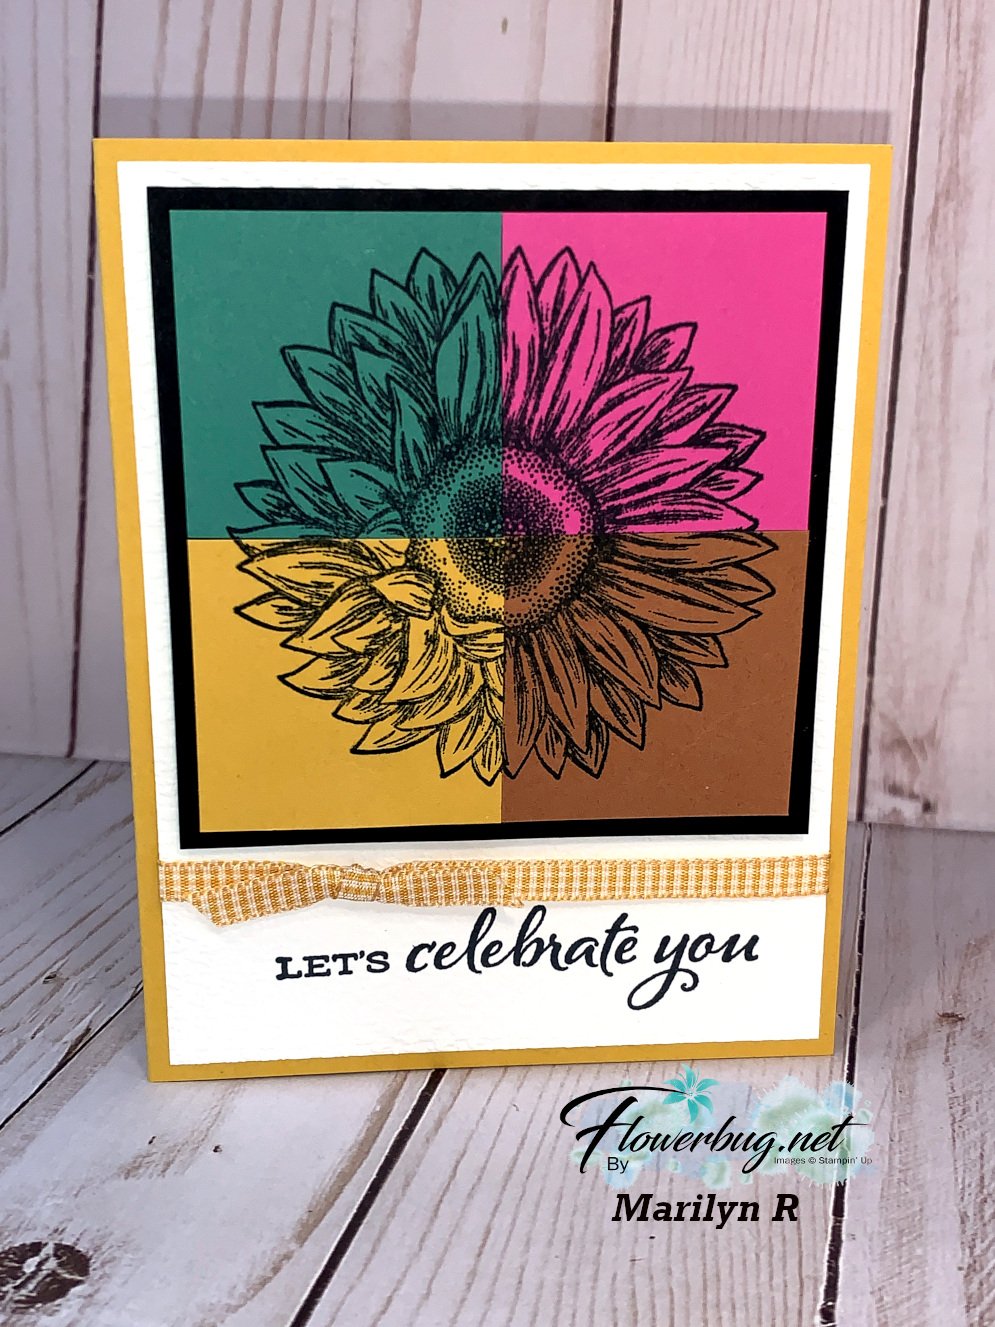
    Marilyn made this pretty card with the Celebrate Sunflowers stamp set (seen here) for one of our latest Flowerbug's Team swaps.  I believe she found the idea on Pinterest.  I love how it features 4 of our new In Colors! 

    The card base is Bumblebee.  She added Black card stock and ink to pull the colors together.  Here is a tip: stamp the sunflower on 4 different colored squares and then cut them into smaller squares.  You'll get enough stamped pieces for 4 cards!

    Measurements:

    • Bumblebee card base 5 1/2" X 8 1/2"
    • White – 5 1/4" X 4"
    • Black 3 3/4" square
    • Just Jade, Magenta Madness, Cinnamon Cider and Bumblee – 3 1/2" squares for stamping. Then cut into 1 3/4" squares to puzzle piece on each card.

    ~~~

    Are you planning a nice sized order soon?  If so choose the best deal in the catalog and pick any bundle of your choice FREE!  

    Get my Lovely You pdf tutorial free with any online order in June


    It includes directions, photos and measurements for 10 cards!


    June Host code is 7H2FW9FG

    Get a free pkg. of Elegant Faceted Gems from me if your order is over $55. 

    Order online here


    Leave a Reply

    Your email address will not be published. Required fields are marked *

  • Window cards for tonight’s FB Live; stamp right along with me!


    Here are the cards for tonight's FB live projects.  Monday night's videos are designed for you to stamp right along with me.

    Gather some supplies, pre-cut your pieces and join me here at 7: 30 pm CT.  The measurements are below.

    For the card above I used the Flowers for Every Season designer paper and the Tasteful Labels dies.  There are two separate pieces of Misty Moonlight and White CS below the DSP panel.  The greeting is from the Lovely You stamp set. 

    I used the Lovely You stamp set in Magenta Madness and Just Jade.  That pretty texture is the Dainty Diamonds embossing folder. The window is made with the Label Me Lovely punch seen here. 

    I had to use my new favorite stamp set Forever Fern for this window card.  I stamped the same leaf image repeatedly in Misty Moonlight, Cinnamon Cider and Crumb Cake.  Love blues and browns together!  The circle is a 2" punch and the pretty label die is the Tasteful Labels again. My favorite set of label dies now! 

    Measurements:

    • Card base 5 1/2" X 8 1/2"
      Main window layer 3 1/2" X 4 3/4"
      Layered piece 3 3/4" X 5" (the Magenta card has a tighter layer; 3 5/8" X 4 7/8")

    Use Designer paper, stamped or textured card stock and assorted dies or punches for your windows; layer them if you'd like.

    Supplies:

    • Punches – Label Me Lovely, 2" circle, Medium Daisy, Confetti Flowers Border punches
      Designer series paper – Flowers for Every Season
      Ink & Card stock – 2020 In colors, Crumb Cake & White
      Dies – Tasteful Labels
      Stamps – Forever Fern, Lovely You
      Other – jewels, embossing folder, dimensionals, sponge


    Join me tonight when I make these three cards! 

    ~~~

    Are you planning a nice sized order soon?  If so choose the best deal in the catalog and pick any bundle of your choice FREE!  

    Get my Lovely You pdf tutorial free with any online order in June


    It includes directions, photos and measurements for 10 cards!


    June Host code is 7H2FW9FG

    Get a free pkg. of Elegant Faceted Gems from me if your order is over $55. 

    Order online here


    Leave a Reply

    Your email address will not be published. Required fields are marked *


Notice: LeeAnn Greff, Independent Stampin’ Up! Demonstrator, Manager. The content of this website is my sole responsibility as an independent Stampin’ Up! demonstrator and the use of, and content of, the classes, services, or products offered on this website is not endorsed by Stampin’ Up! Copyright 2025