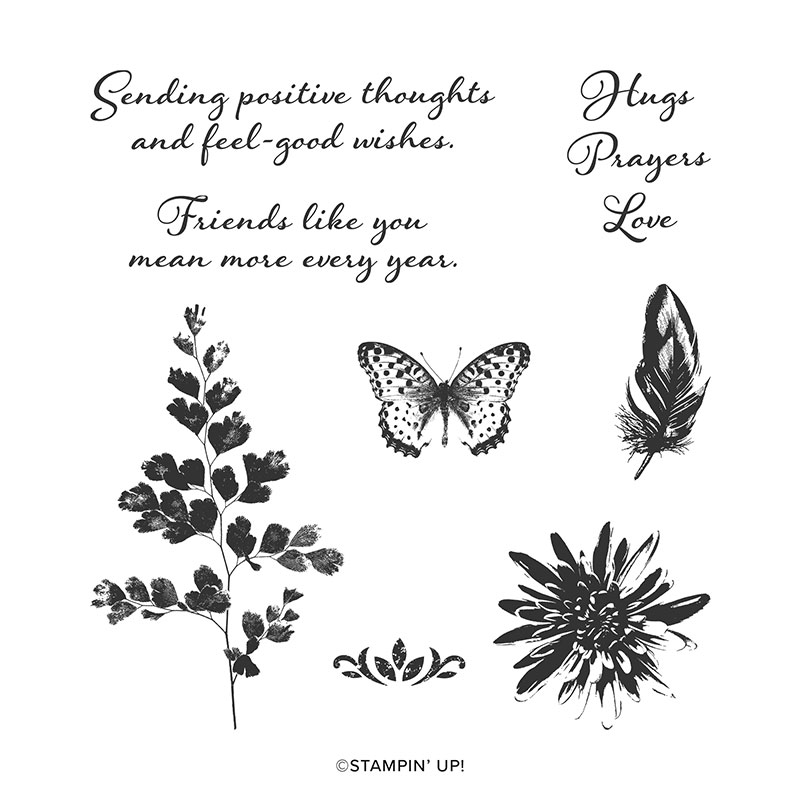
Sending Positive Thoughts; love this new stamp set!
This Positive Thoughts stamp setseems to be a 'sleeper' to some people but it caught my eye right away! Everyone asked where the stamp set was when they saw my cards.
I knew I could make pretty cards with the images; the leaves, flower and feather are perfect with lots of fine details. But the greetings; they are some I will definitely get a lot of use of.
This soft, botanical card is one I made for an online swap I participated in. I used Mint Macaron, Pretty Peacock and of course the pretty Petal Pink. The new champagne rhinestones and Petal Pink/Champagne ribbon was color inspiration.
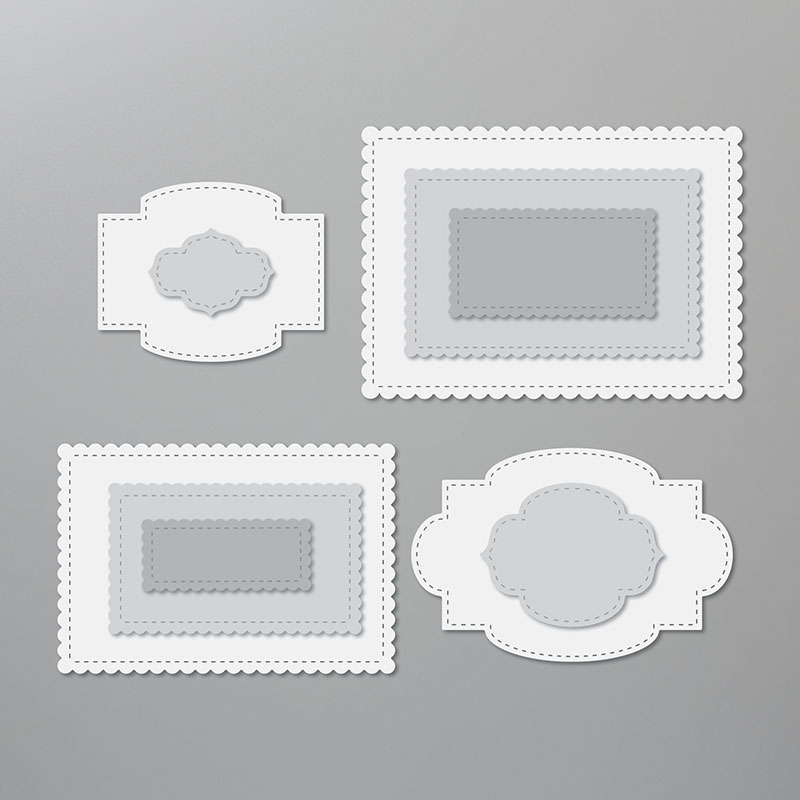
I also used the new Stitched So Sweetly dies; my top pick in the entire new catalog! See them here.
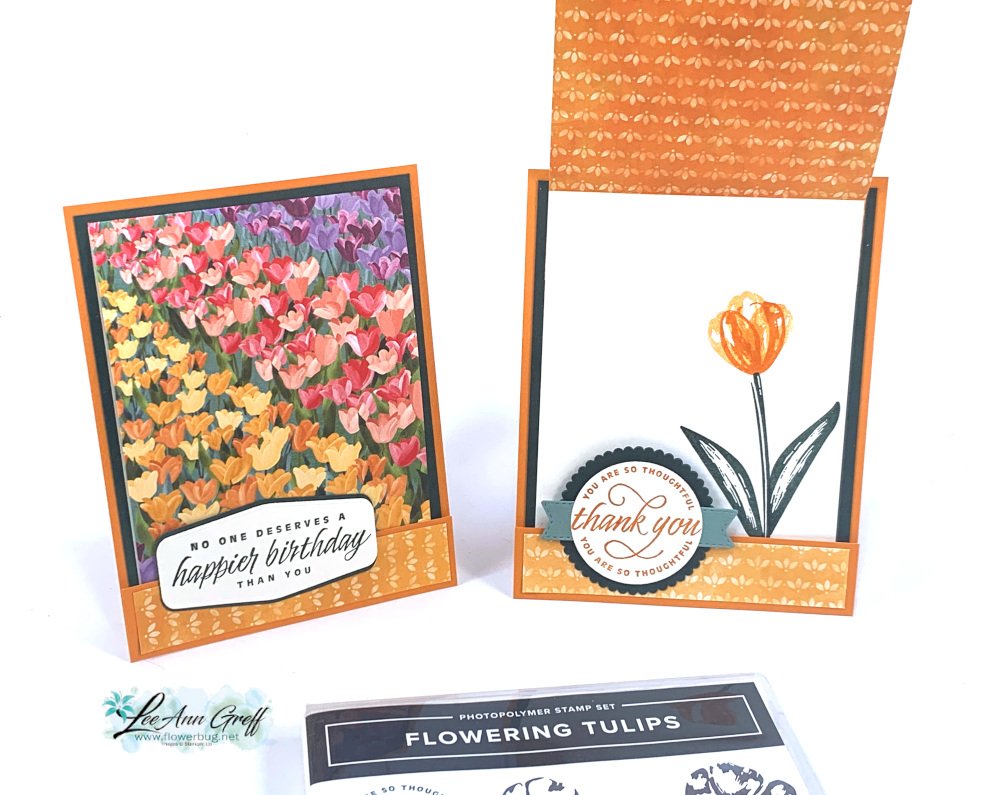
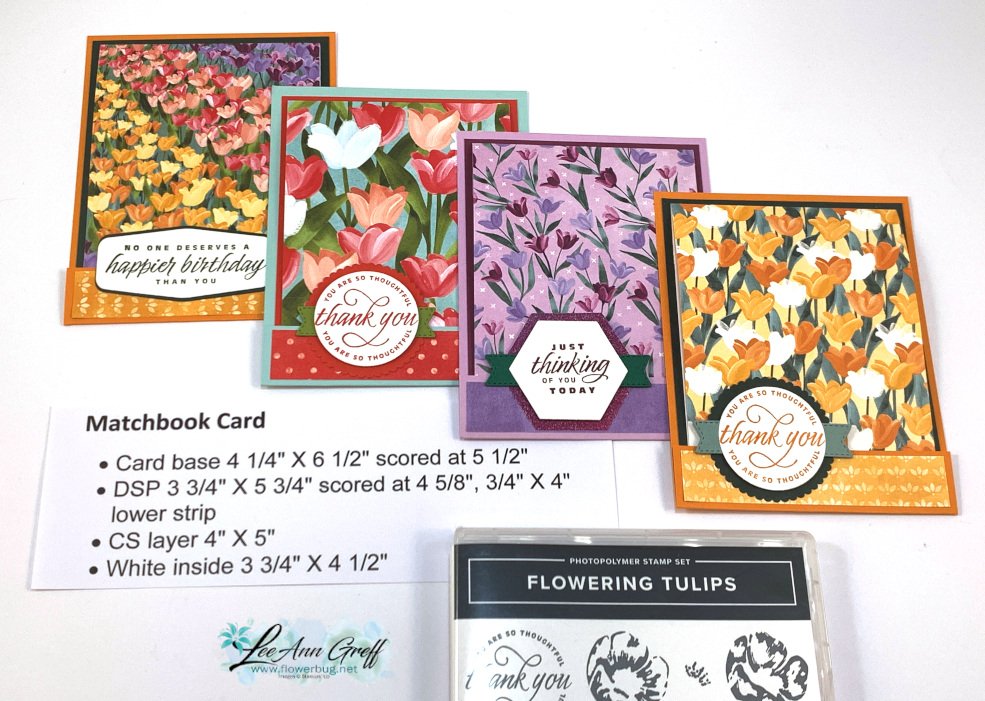
Flowering Tulips Matchbox cards; easy fun-fold cards with video
Happy April 1st!!! It even feels a bit like spring is coming here in North Dakota. I've been able to get out for walks again lately without worrying about slipping on ice.
I wish we had real tulips out but it's too early here.
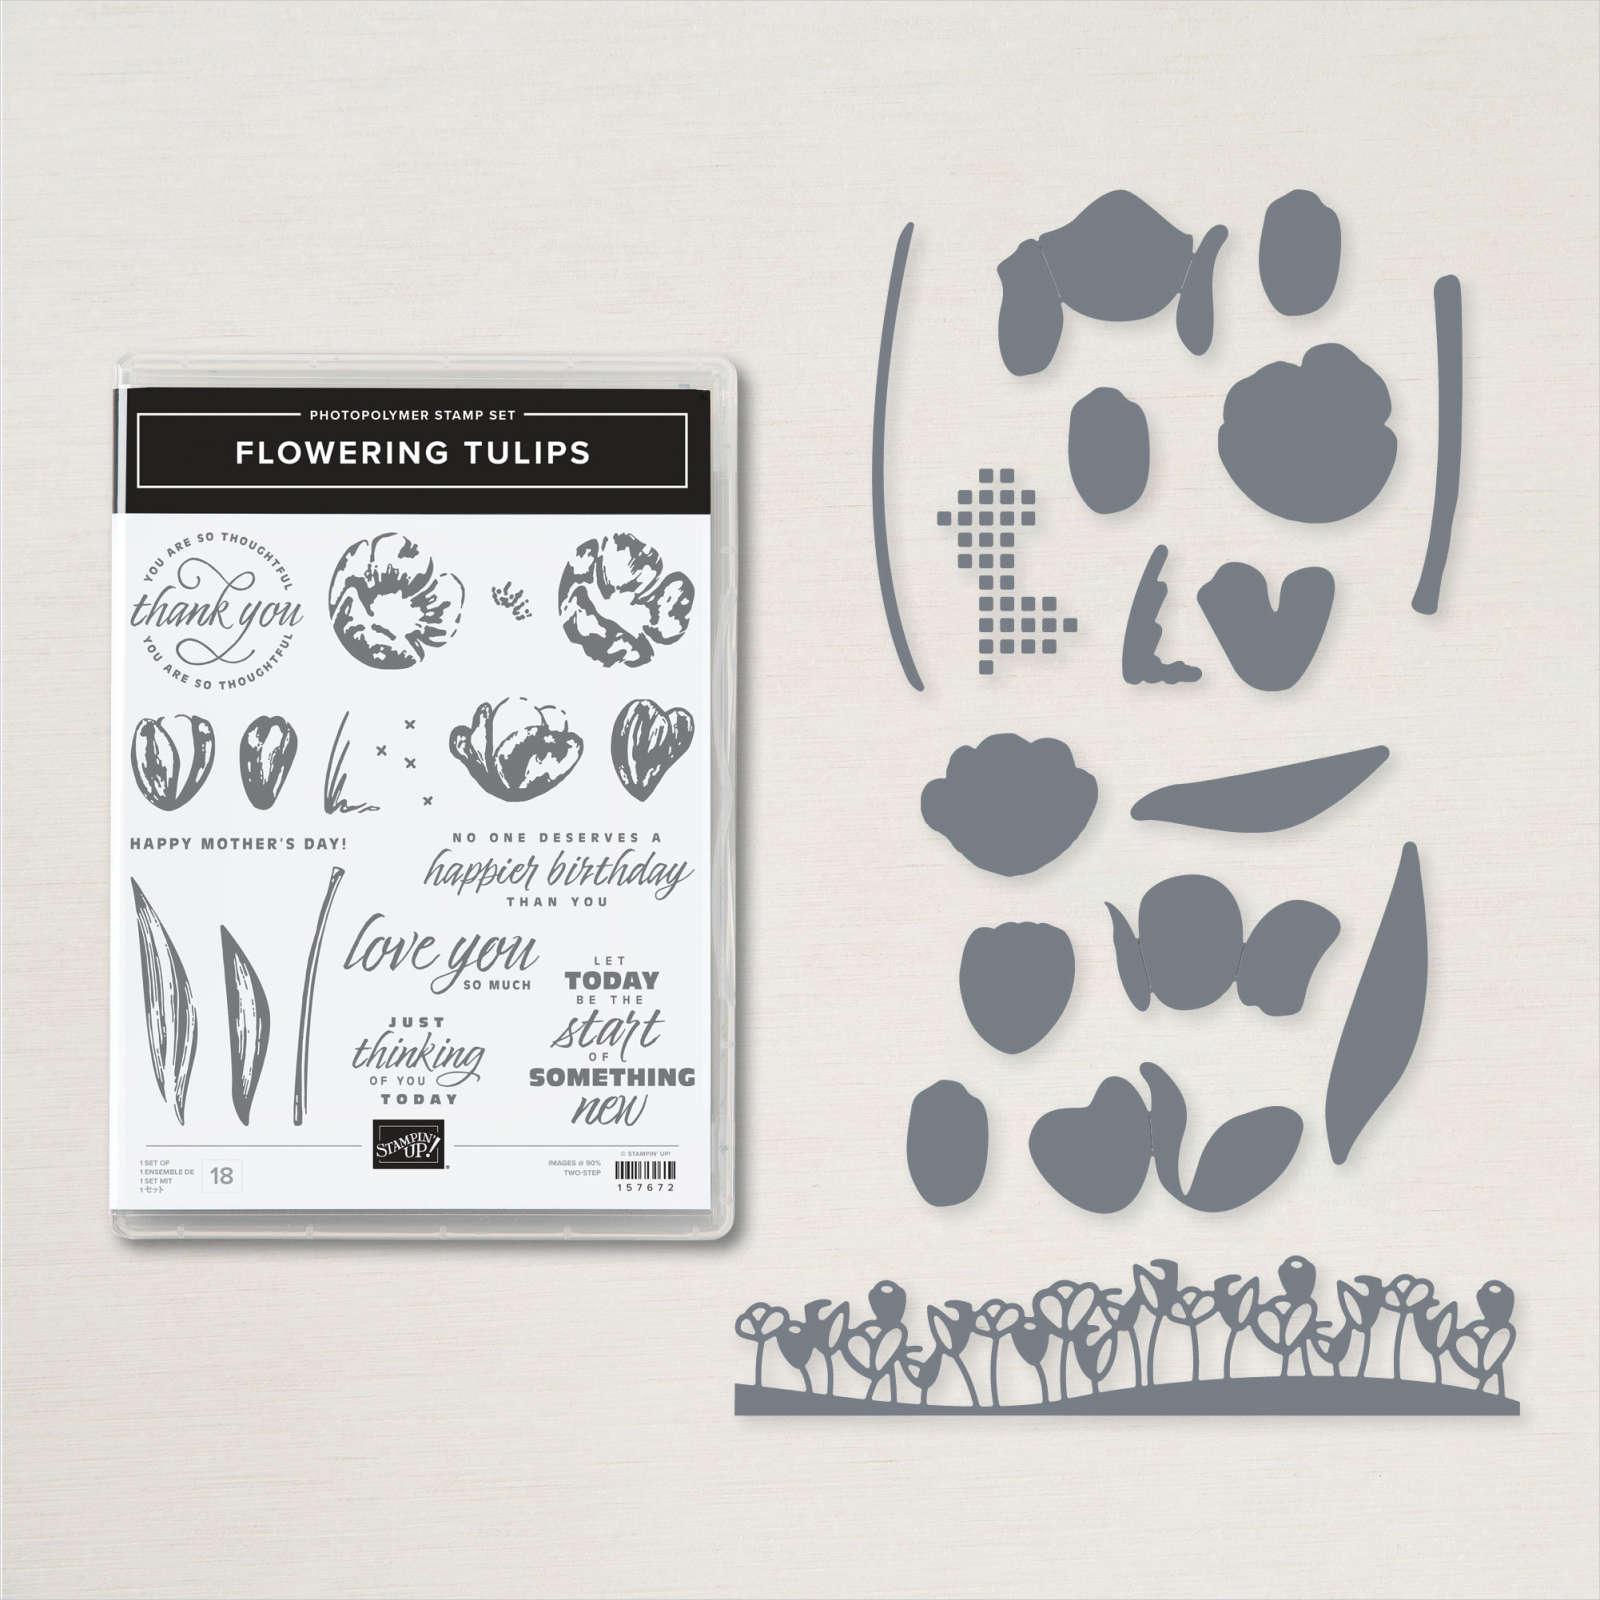
Here are two more Matchbook style cards featuring the Flowering Fields designer paper and Flowering Tulips stamp set. The set includes lots of greetings and many different tulips too.
Isn't this designer paper pretty?! See the Flowering Fields DSP here.The dies for the greetings include the Layering Circles, Tasteful Labels & Beautiful Shapes.
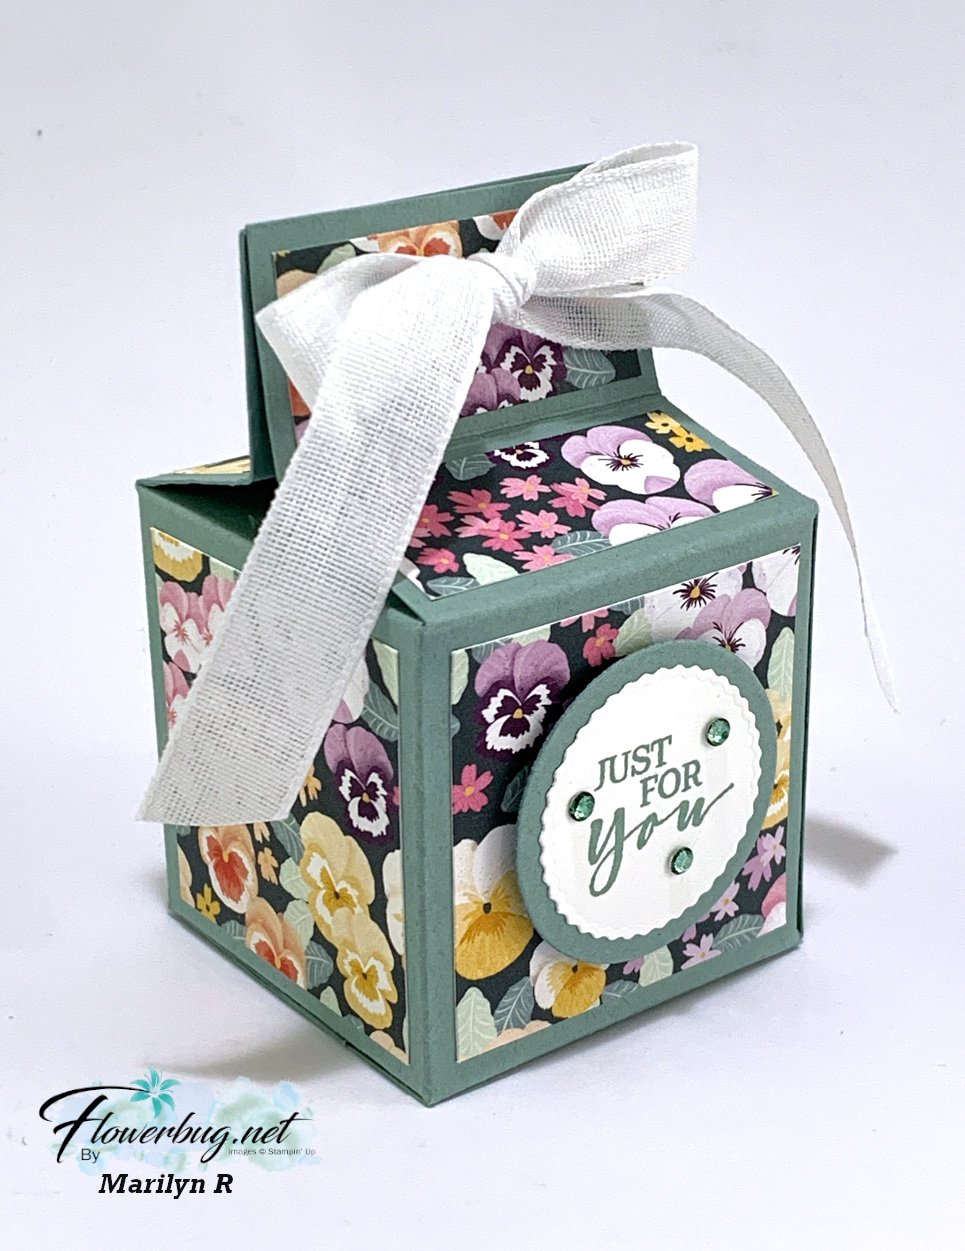
Her box is 2 X 2" and 3 1/4" tall. She used the Pansy Petals designer paper, Soft Succulent card stock and ink. This pretty DSP is retiring now; get it here while supplies last.
I made one for a recent FB Live video too. I chose to use the Flowering Fields DSP; it's so springy!
They're made in Pear Pizzazz and Fresh Freesia card stock and the greeting is from the Celebrating You stamp set seen here. The greeting tag is from the Stitched So Sweetly dies which are retiring now and available while supplies last! See the dies here.
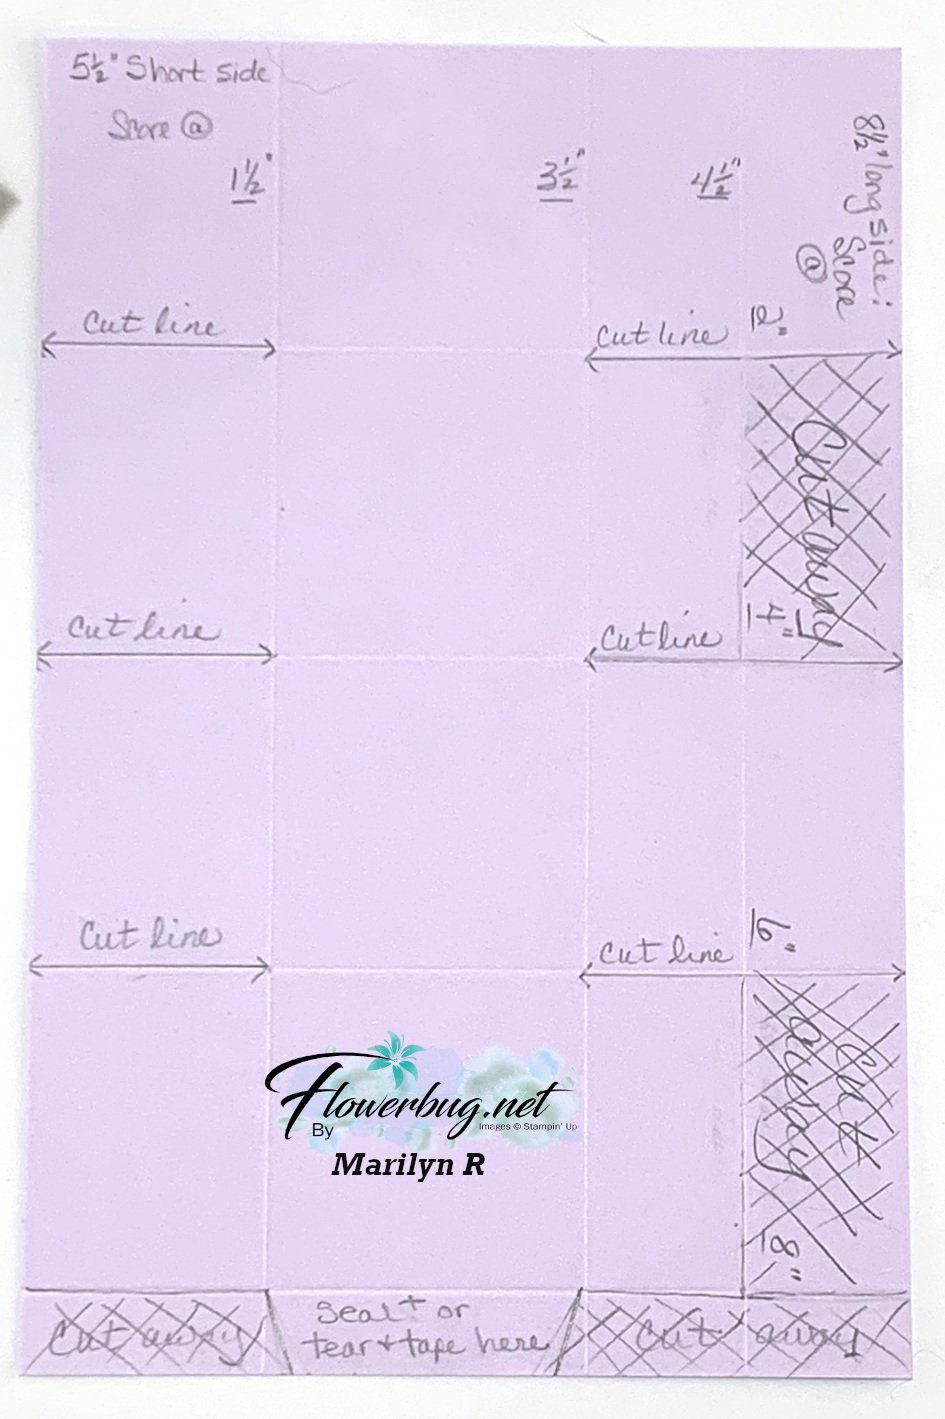
She made up a template and another sheet of card stock showing you how it looks after trimming and cutting the template as shown. Watch the video here or below to see how it's made.
It's 5 1/2" X 8 1/2" and is similar to a 2 4 6 8 box. Score on the short side at 1 1/2", 3 1/2" & 4 1/2". Score on the long side at 2", 4", 6", & 8". Then cut away the areas crossed off and cut up to the score lines as shown.
You'll need 4 pieces of Designer Paper measuring 1 3/4" square. And 4 pieces measuring 1 3/4" X 3/4" for the top. She punched two holes in the top flaps to thread ribbon through to tie in a bow.
Notice: LeeAnn Greff, Independent Stampin’ Up! Demonstrator, Manager. The content of this website is my sole responsibility as an independent Stampin’ Up! demonstrator and the use of, and content of, the classes, services, or products offered on this website is not endorsed by Stampin’ Up! Copyright 2025




















Leave a Reply