/


Latest Post

See both sides of your designer paper with this cool fun fold card; video tutorial too!


The Last Chance list has been out for almost 2 weeks now; things are going fast!  Do you have everything you want from this sale?  Remember it's while supplies last! 


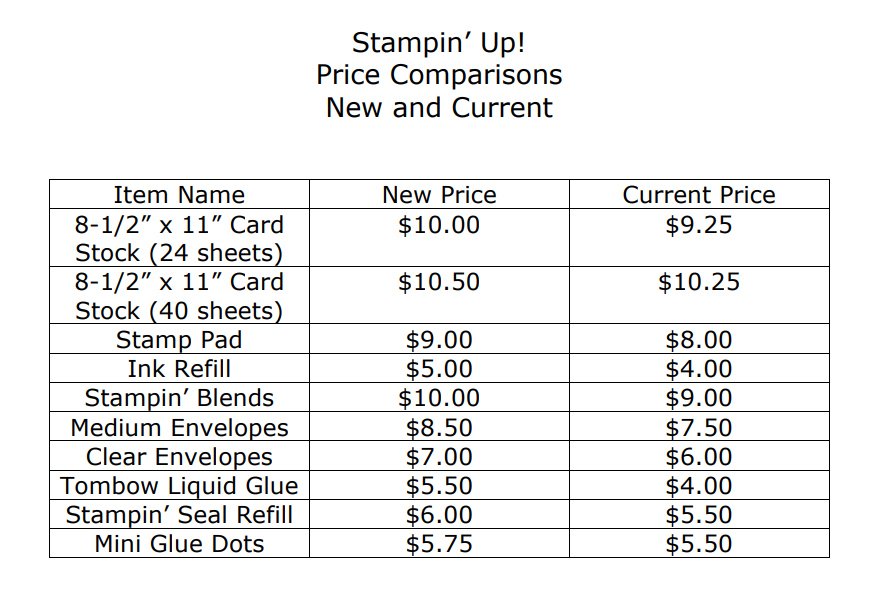
Also note that some prices are going up. The cost of business is increasing world wide; as I'm sure you've noticed when shopping.  Here's a chart showing some of the price changes in the upcoming new Annual Catalog. 
Now on to the projects! 

I shared these neat cards on last week's Live video. I love it when you can show off both sides of our pretty designer papers! 
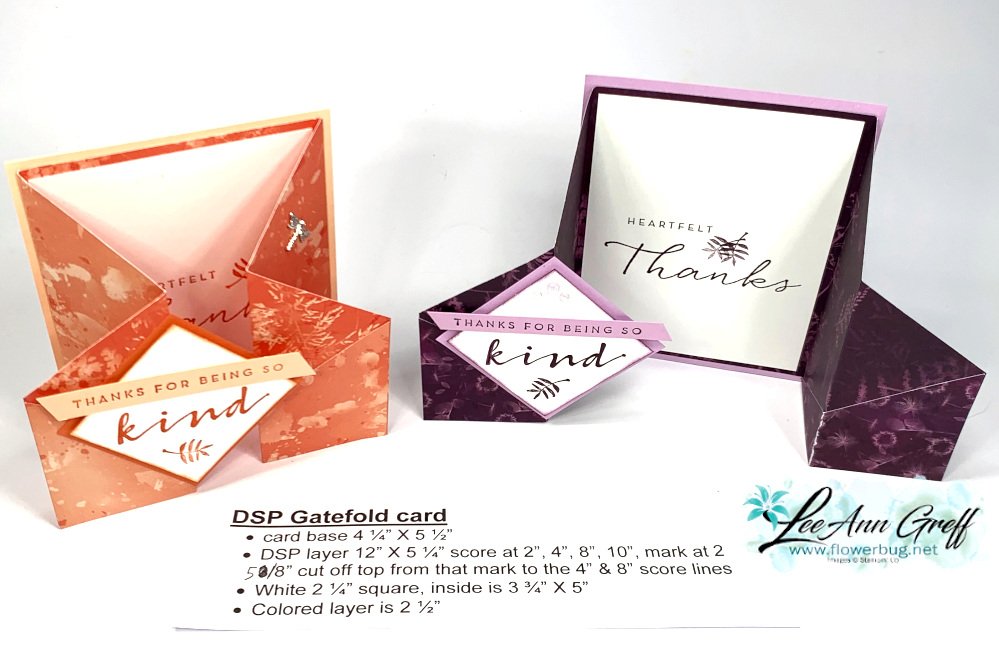
This card uses almost half of a 12 X 12" piece of designer paper; but it truly makes the most of your printed paper. 

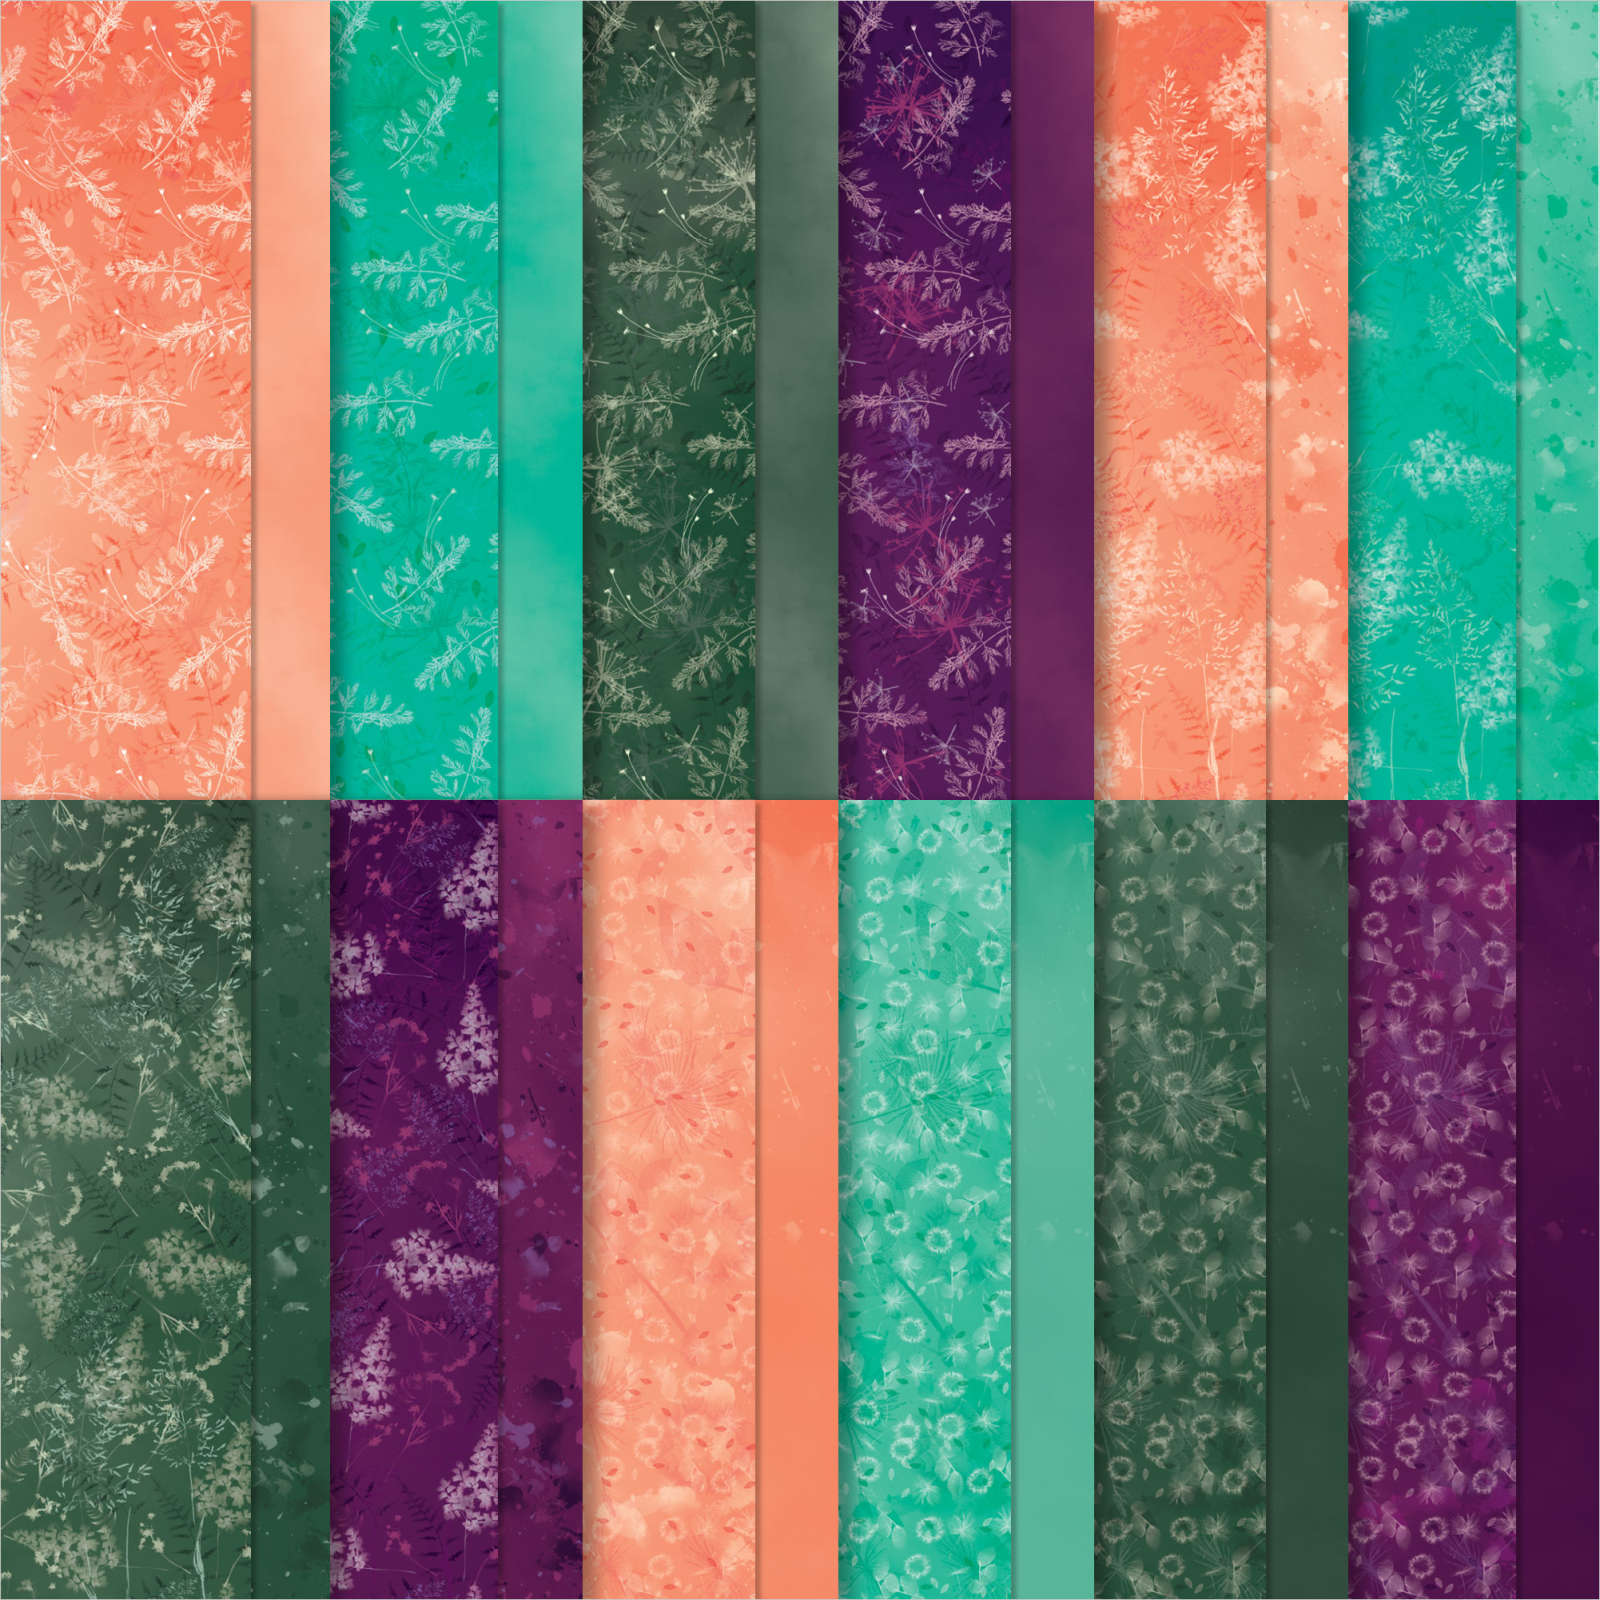
I chose the Pretty Prints DSP from the Annual catalog.  It includes 4 colors; Calypso Coral, Bermuda Bay, Evening Evergreen and Blackberry Bliss. It's on the retiring list now and discounted to $8.40 instead of $12.  See it here. 
It's quite an easy fold to make.  You make a few score lines and then trim off the top at an angle; then add that trimmed piece to the bottom edge.  Watch the video to see how it's done.  

Measurements: 

  • Card base 4 ¼” X 5 ½”
  • DSP 5 ¼” X 12” score at 2”, 4”, 8” & 10”. Mark at 2 3/8” and cut off to 4” mark
  • White front square 2 1/4", inside 3 3/4" X 5" 
  • Front square layer 2 1/2"


I chose the Kind & Sincere stamp set for my greetings.  I think the mixed font and wide range of phrases is fabulous.  Unfortunately it is on the retiring list. It's now $15.60 instead of  $26. 


Click here or below to watch this week's Live video. 

**Don't forget to follow me here on Facebook or subscribe to my YouTube channel here. 

~~~

April Specials:

See the 2023 Last Chance list here 

*current host code: SYZD4PH2 or SFHU3WMT

Get a free specialty paper sampler with online orders over $55 using a host code above plus an embellishment if your order is over $100

Earn free products with my loyalty rewards! 

Click here to download yours and earn a $50 shopping spree!

All Posts

  • A new Perpetual Calendar kit!


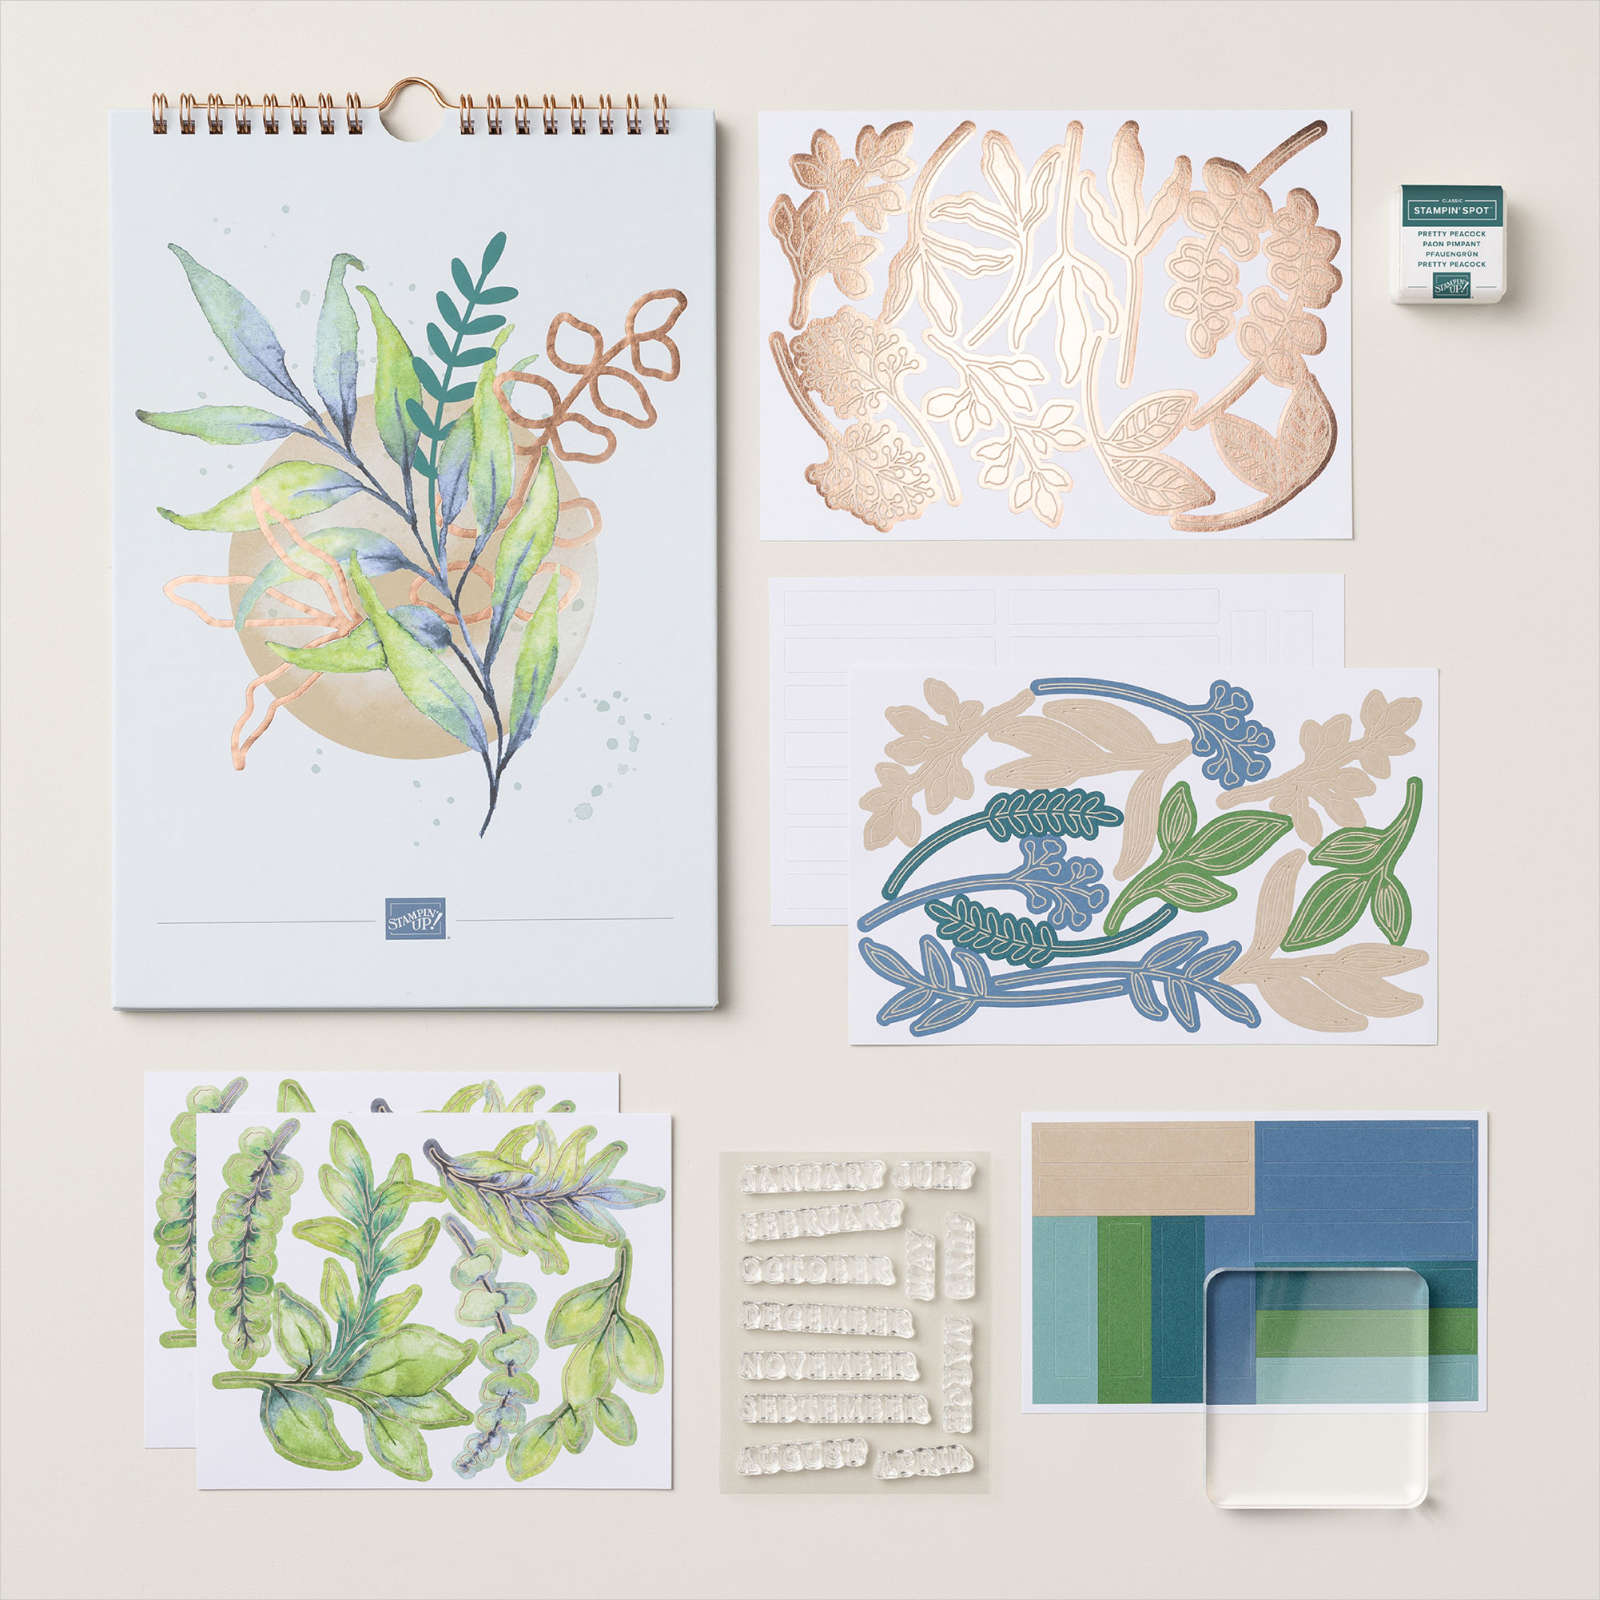
    There's a fabulous perpetual calendar out now in our Kits Collection.  What a wonderful gift this would make.  Or use it to keep track of your birthdays and special dates. 

    Use the Perpetual Beauty Calendar Kit to create the perfect 12-month calendar. Stamp out the months of the year using the included stamp set, then use the precut paper pieces and stickers to add some final touches and voilà—a calendar that fits your schedule!

    See it here.  It's just $25. 

    Kit includes:
    * Perpetual Beauty Calendar Photopolymer Stamp Set
    * Clear Stamp Block
    * Pretty Peacock Classic Stampin’ Spot
    * Precut pieces (No prep work! Get right to crafting)
    * Calendar size: 7" x 10-1/2" (17.8 x 26.7 cm)
    * Sticker sheets
    * Enough adhesive to complete projects

    It includes this awesome stamp set with each month of the year!  Think of how you could personalize your hand-made items. 

    These are the two new kits released earlier this month:

    ~~~

    December Specials:

    *current host code link:  

    P243X6VH

    3 new designer papers!

    ~~~

    Available December 3rd; while supplies last!

    ~~~

    ~~~

    Leave a Reply

    Your email address will not be published. Required fields are marked *

  • A few favorite craft storage tips


    I thought I'd share some of my favorite ways to store my stamping products.  Some people enjoy organizing more than creating! 

    First is how I store my stamp sets.  In a dresser drawer.  I purchased a few dressers from IKEA many years ago and they've held up very well despite multiple moves.  

    Here's a photo of my craft studio.  I am very, very lucky to have such a beautiful room in our home for my business and classes. 


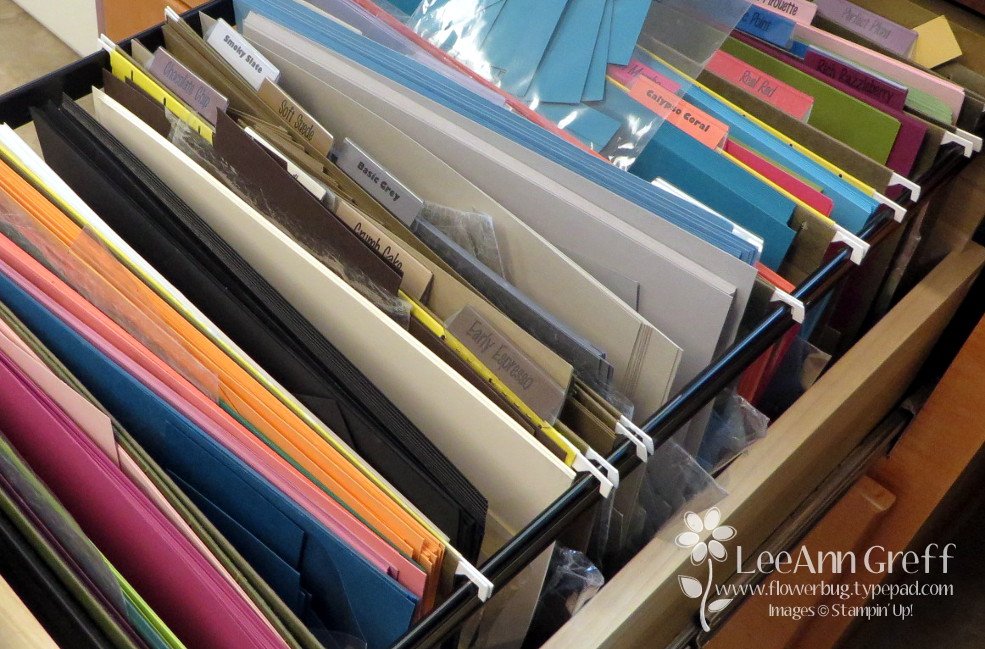
    Here's how I store my 8 1/2" X 11" card stock and paper scraps.  In front of each color of card stock I keep a cello bag for the scraps in that color. I've used this method for years and it really helps me use my scraps.

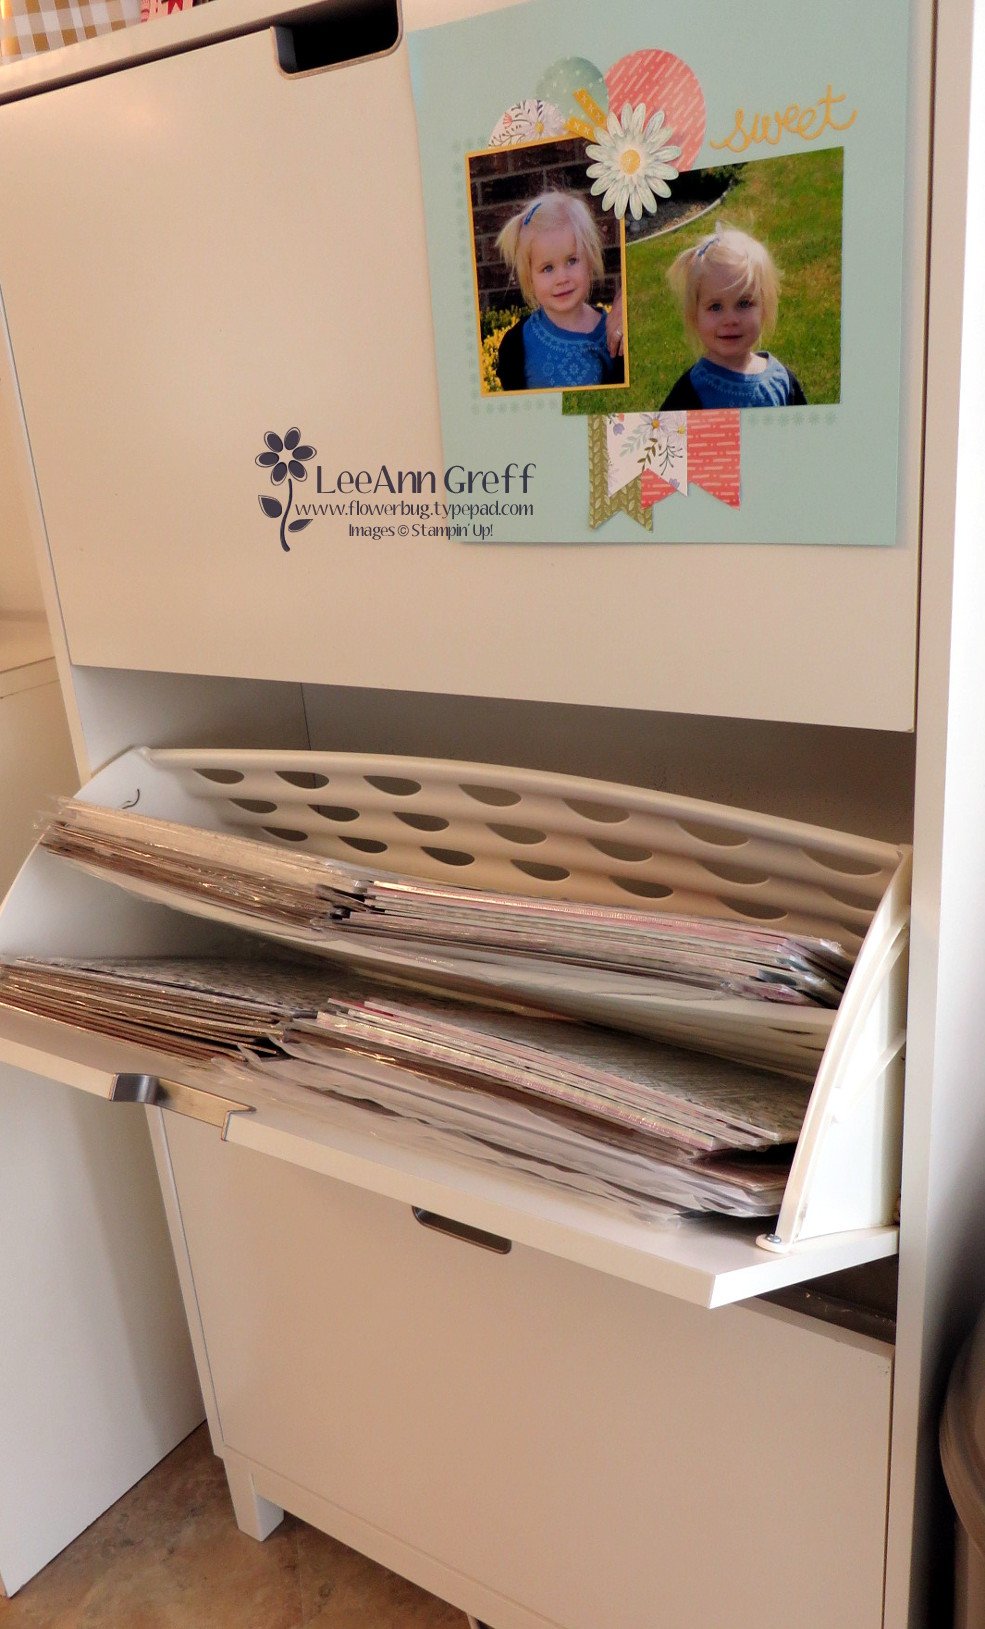
    Next is how I store my 12 X 12" designer paper and scrapbook pages. 

    It's a shoe storage cabinet! My 12 X 12" paper fits like it was made just for it!  You can get two stacks side by side in it since it's about 30" wide.    Plus it has a divider to fit even more paper above it.  I love the way the doors hinge open.  There are three doors and it's only about a foot deep.

    Lastly here's how I store my inks, markers and ribbon. These are Stampin' Up! storage and they're fully customizable to fit what you need.  Click here to see the options. 

    I love that it fits right on my work area for easy reach. As you can see I organize my inks in rainbow order. I'm not sure why my Blends aren't but I know my granddaughter will love to do that for me this week while she's here.  

    ~~~

    December Specials:

    *current host code link:  

    P243X6VH

    3 new designer papers!

    ~~~

    Available December 3rd; while supplies last!

    ~~~

    ~~~

    Leave a Reply

    Your email address will not be published. Required fields are marked *

  • Merry Christmas!


    I hope you enjoy a beautiful Holiday with family & friends.  

    Leave a Reply

    Your email address will not be published. Required fields are marked *


Notice: LeeAnn Greff, Independent Stampin’ Up! Demonstrator, Manager. The content of this website is my sole responsibility as an independent Stampin’ Up! demonstrator and the use of, and content of, the classes, services, or products offered on this website is not endorsed by Stampin’ Up! Copyright 2025