/


Latest Post

Incredible By the Bay suite projects by our Artist of the Month!


Each month one of my Flowerbug's team is the 'Artist of the Month'.  This month Bobby is the featured Artist and she chose to use the Seaside Bay bundle with the By the Bay Suite seen here.  It's filled with beautiful fold & pearl foil specialty designer paper, Flat Adhesive-Backed pearls & blue & white variegated ribbon.  
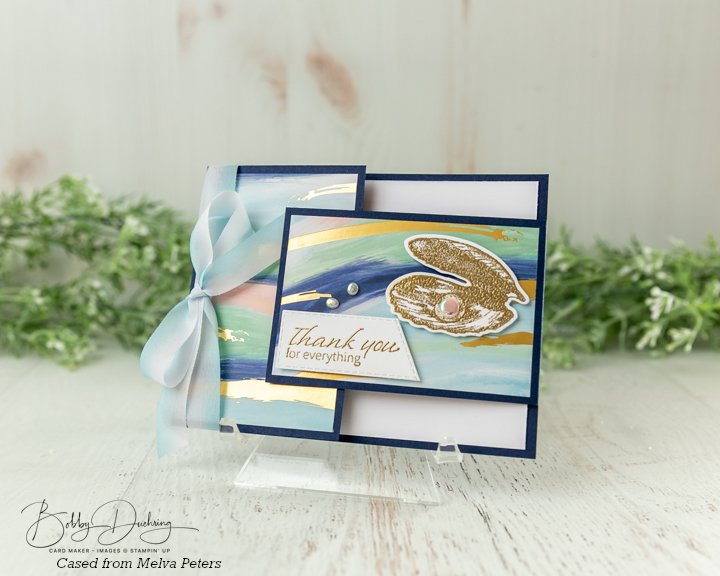
This pretty fun fold card was cased from Melva Peters

The Thank you sentiment is cut out with the Stitched Rectangular Framelit dies; she ran the long edge of the die over the sentiment at an angle to get the angled effect.  

Measurements:

  • Navy Card base 8 1/4" X 4 1/4" scored at 5 1/2"; second piece is 4 1/2" X 2 3/4" scored at 4"
  • DSP 2 1/2" X 4" and 3 3/4" X 2 1/2"
  • White inside is 5 1/4" X 4", scrap for greeting and clam shell die-cut

Magnetic closures are used to secure the card closed.  

Next is a pretty card cased from Leonie Stuart. 

The pretty texture is done with the Seashells 3D embossing folder.  She also used a vellum circle, Night of Navy ink, Wink of Stella, the Natural Finish ribbon and linen thread.

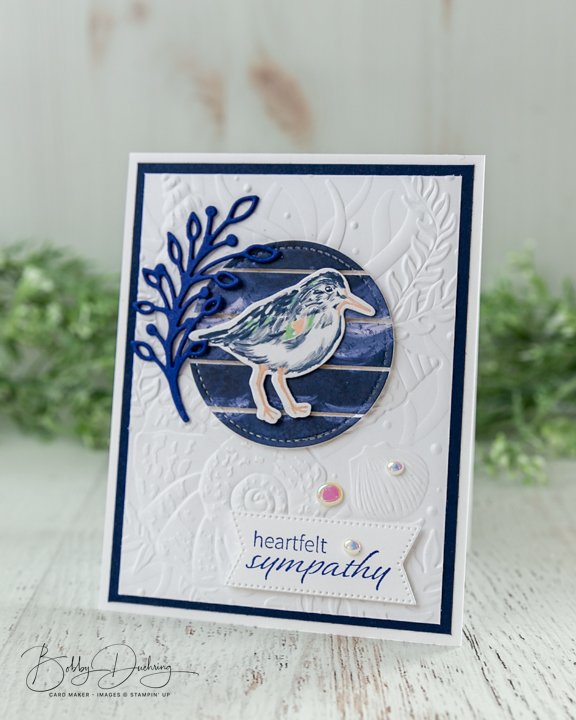
This next card is her own creation; she did the floating technique with the By the Bay DSP seen here. 


The floating technique is where you add strips of paper to a window sheet leaving spaces between.  Then die-cut it out and it looks like it's floating.  She used the Stylish Shapes dies for the circle.  
More details:

The bird is cut from the By the Bay Designer Series Paper. Leaf Sprig is from the Framed Florets and the embossing is from the Seashells 3D embossing folder in the annual catalog.  

Here's the inside view – all done in Navy & Starry Sky inks.

\

Next is a gorgeous card cased from Gail Ellis.  

She added 1 3/8" squares to a die-cut stitched rectangle measuring 3 3/8" X 4 3/4".  I love the white on white with that pop of gold and sea greens & blues!  The Faux Sea Glass shapes are added too.

Lastly for today is a card cased from Evelyn Rosborough. A beautiful monochromatic card – some of my favorites! 
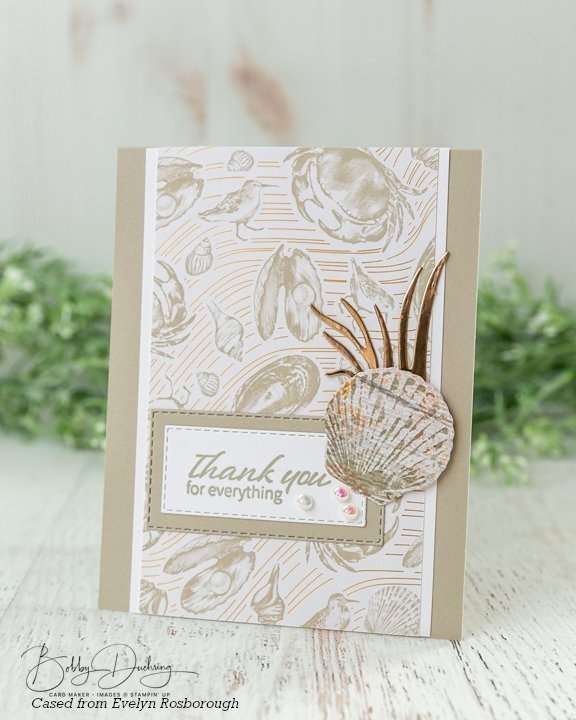
The DSP measures 3 1/4" X 5 1/2", the White layer is 3 1/2" X 5 1/2" on a Sahara Sand card base.  

The seashell is cut from the Texture Chic DSP and the greetings are cut from the Stitched Rectangle dies.  Love that foil sea grass accent!  

I'll share details on the other half of her cards tomorrow! 


~~~

Sale-a-Bration & the Spring Catalog!


Order online using the links below:
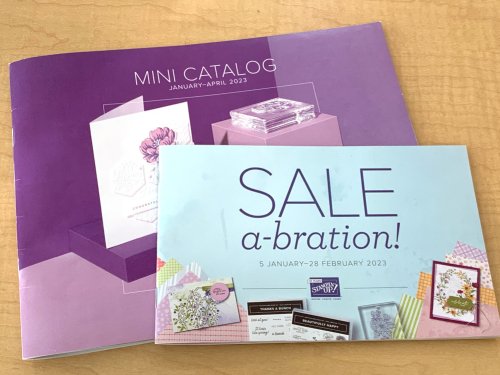
January Host code links: FYRQ94HR or 69GXSA3B

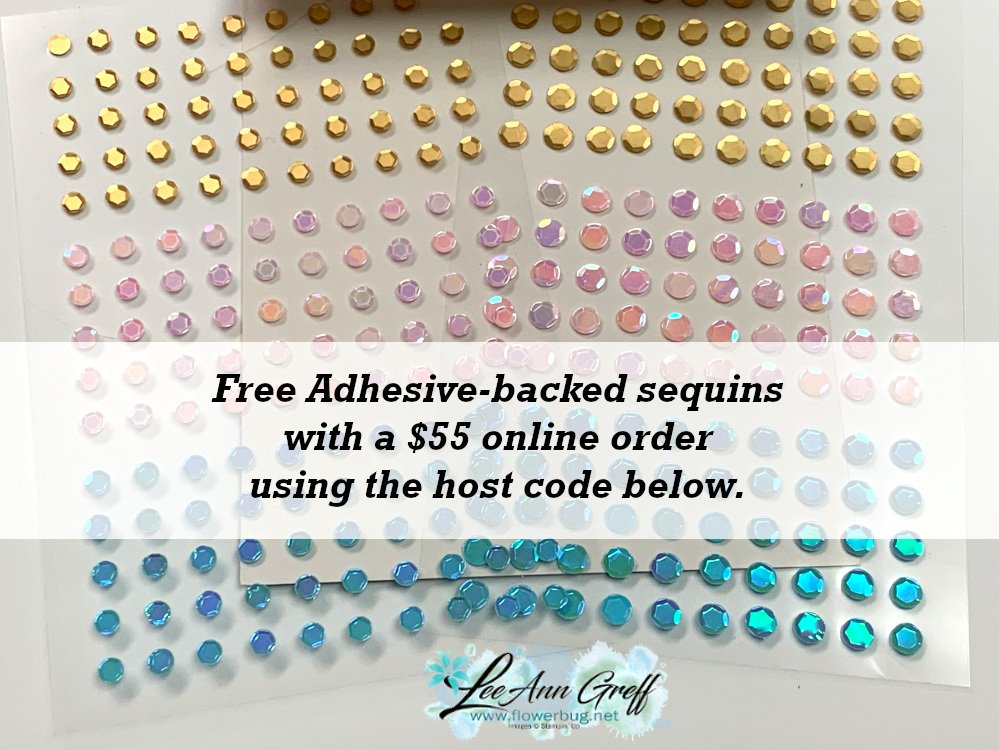
Get free Pastel Sequins with online orders over $55 when using the host code above! 

January Host code links: FYRQ94HR or 69GXSA3B
 Earn free products with my loyalty rewards! 

Click here to download yours and earn a $50 shopping spree!

~~~

Best Deal Ever on the Starter kit here!

Choose $175 in products for just $129 plus the new mini machine!

Or choose $175 for $99 without a new Mini.  AMAZING!

All Posts

  • 4-Card Wonder – free PDF tutorial, template, measurements & video!


    Before we get to the projects today I want to share the sale Stampin' Up! just announced:


    Check over your wish list and see how many stamp sets are on it.  Might be a good time to place an order. With the Bonus Days happening you can double dip!

    Plus the Trucking Along bundle is back in stock!  See it here; get it while you can.  

    I'm extremely excited & proud to share this project with you.  If you know me well, you know I love to create one sheet wonders. I've made quite a few over the last 10 years or so.  I'm so lucky that my husband is willing to create the templates for me; I'm not sure I'd love them as much without his help!  

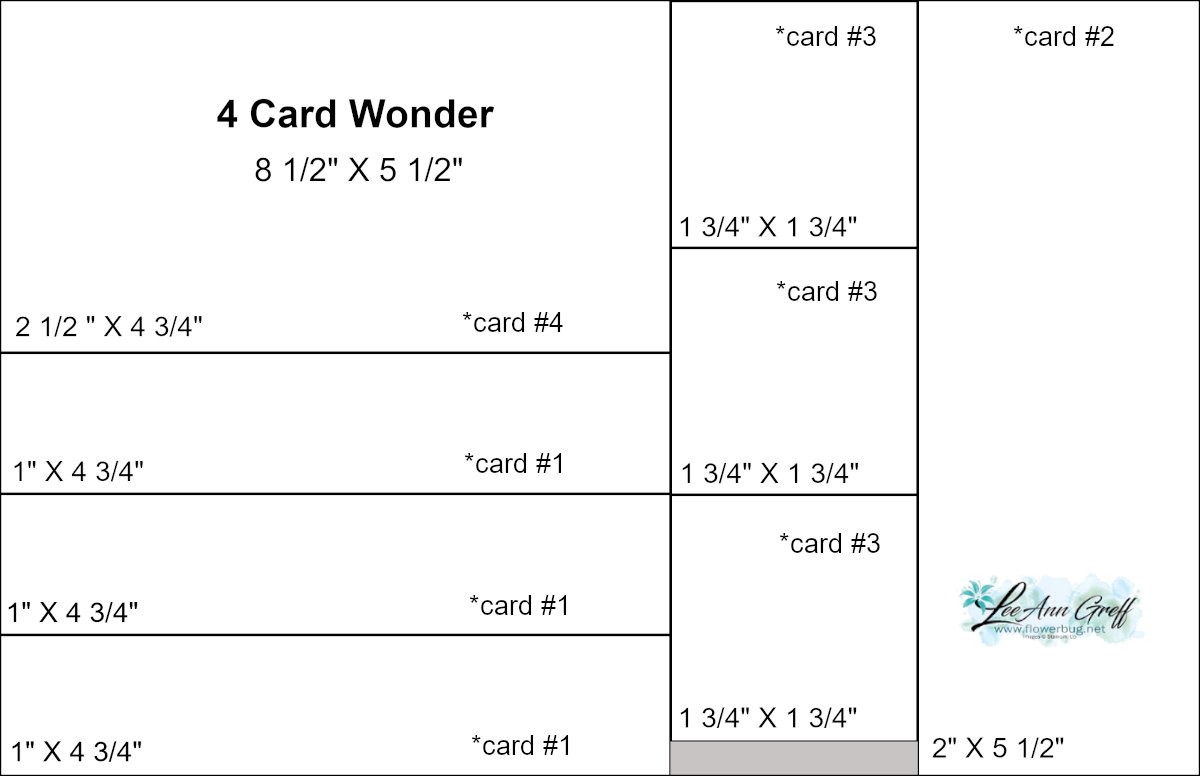
    I'm calling this project a 4-Card Wonder because it creates 4 cards.  I originally made this for a Team meeting project. I wanted it to be quick, create multiple cards and of course be easy and cute!  

    I shared this project & template on my weekly Live video but did record it and it's now on my YouTube channel as well. Scroll down to see the video.  

    Here's the template – it's meant for a 1/2 sheet of card stock – 8 1/2" X 5 1/2".  

    Grab your favorite colors of ink and stamp your own background.  Then cut it up using the measurements above!  It's so fun to create your own stamped paper. It's a bit addictive!  

    *Tip – choose stamps that include large & small images. When stamping your paper start with the largest stamps first and finish with the smallest; filling in any empty areas. 

    I chose the Beautiful Balloons bundle.  My colors include Bubble Bath, Berry Burst, Pool Party & Parakeet Party. 


    I kept the cards quite simple but you could sure jazz them up a bit more.  Make the cards like mine or this can be a starting point for your creative process.  

    You can watch the video on this project here.  It's the first project. Or click on the photo down below to watch it below.  *Remember to follow me on either my FB page here (Tuesday Live videos) or my YouTube channel here. 

    Here's the full PDF tutorial for you.  Download it here.

    ~~~

    July Specials: 

    Bonus Days!

    Get a $5 coupon for each $50 order you place in July.  Redeem in August!


    Clearance Rack update!

    See all items available here

     NEW Online Exclusives will be available

    See them all here

    ~~~

    Get a free card kit & a new Beautifully Happy stamp set 

    with online orders over $65; must use a host code.

     *current host code: MY4YDGEM

    Leave a Reply

    Your email address will not be published. Required fields are marked *

  • Birthday ‘Tackle’ Treat box with video tutorial & measurements!


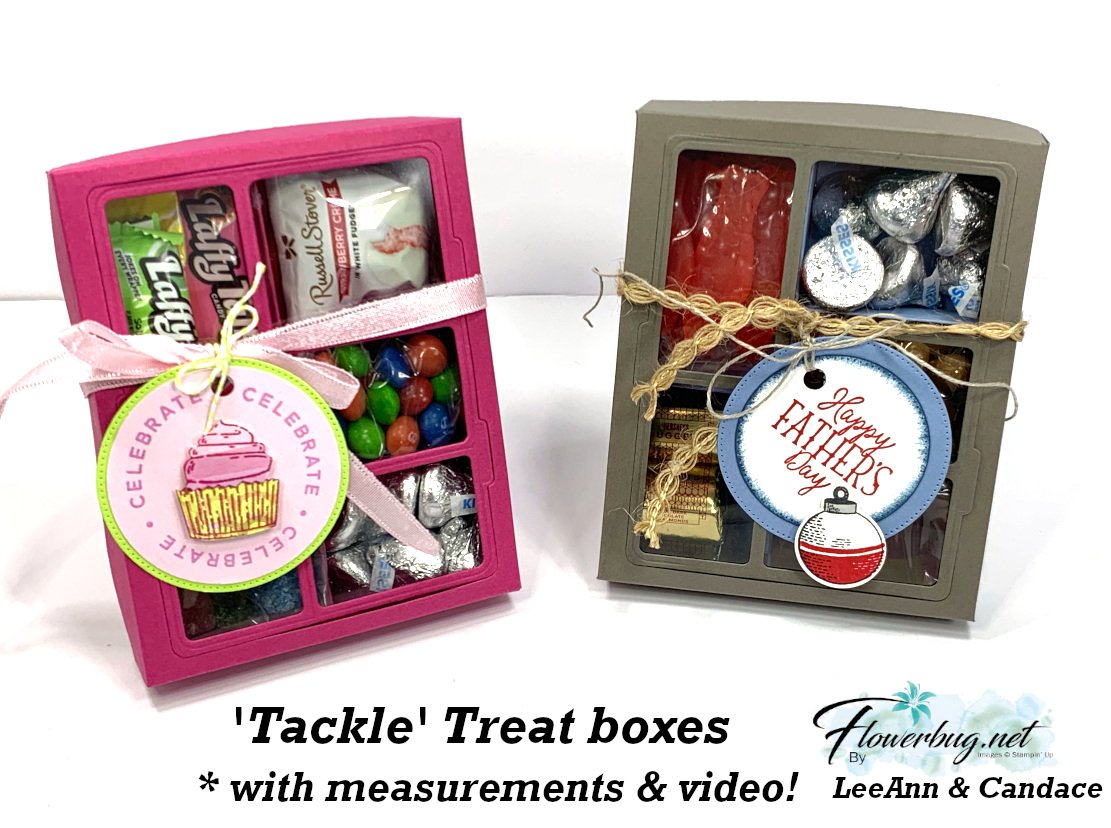
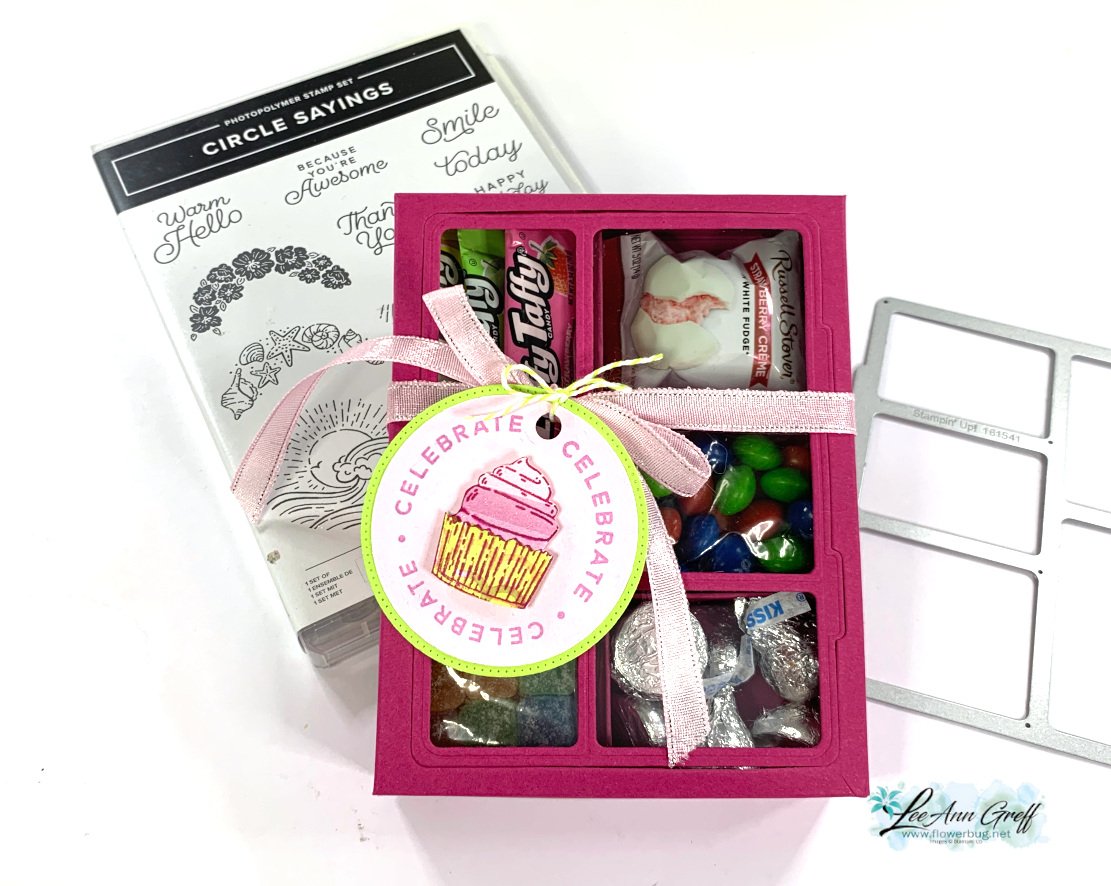
    I was so inspired by the 'Tackle' box Candace created for her 'Artist of the Month' projects I had to try making one.  She made hers with the Gone Fishing suite.  And she made this project up herself – she's incredible with box designs!  I decided to recreate it on a video and share it with you.  

    Isn't it amazing? I thought it would be really challenging to make, but with her box as my starting point it wasn't bad at all. And the Gone Fishing dies make the 'window' front a breeze. 

    I chose to use Berry Burst as my box color because I wanted it to be bright and happy for a Birthday gift.  I went to the dollar store and found some fun candy treats to add. I put the loose candies in small baggies I had on hand. 

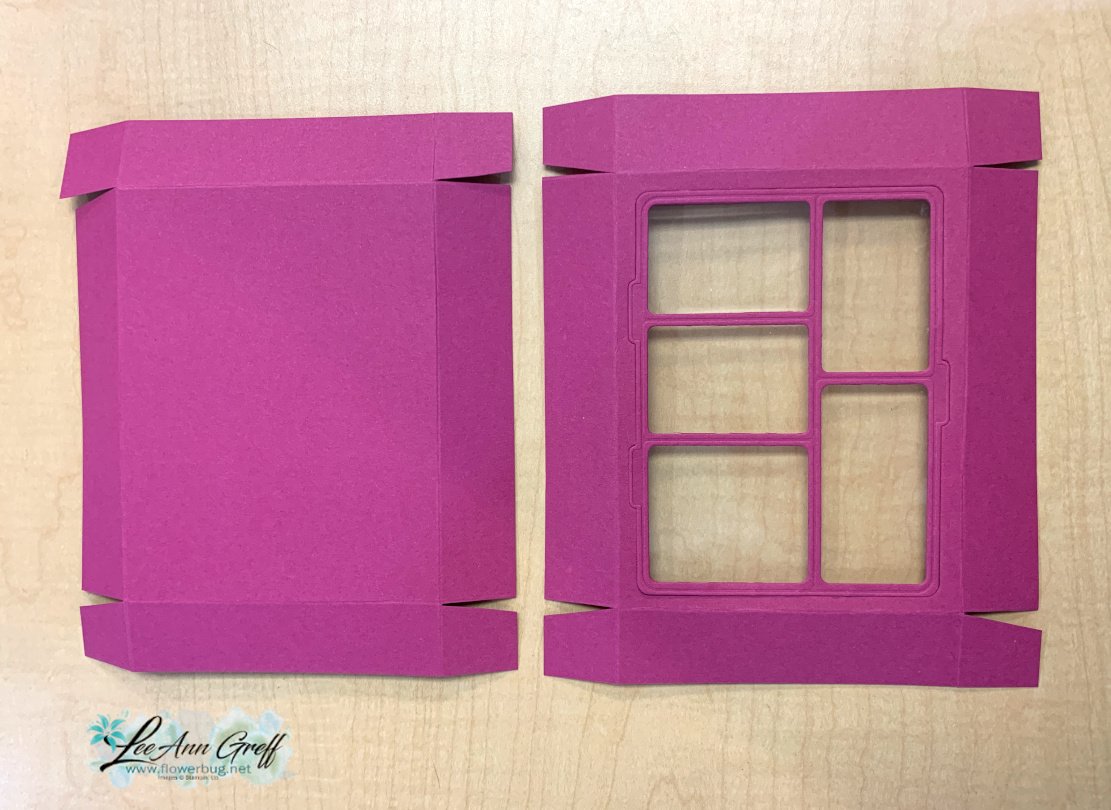
    The box is quite easy to put together. After scoring the box lid, be sure to die-cut the 'window' using the Gone Fishing die.  Then you adhere it to a window sheet and add to the inside front of the box lid. 

    I notched the tabs before adhering. 

    • top of box 6 1/4 X 7 1/2" score 1" on all sides
    • bottom of box 6 1/8" X 7 3/8" score at 1" on all sides
    • window sheet 4 1/8" X 5 1/4" 
    • left inside divider (two compartments) is 1 7/8" X 6 3/4" score at 2 3/4", 3 1/2" & 4 1/4" 
    • right inside divider (three compartments) is 2 1/8" X  8 1/4" scored at 2", 2 3/4", 3 1/2", 5 1/8", 5 7/8" & 6 5/8" 
    • inside bottom – add under the two divided sections; 5 1/4" X 5 5/8" score at 1 7/8", 2 5/8" & 3 3/8".  (It's shown vertically in the photo below)

    Watch the video to see how these sections go together.   

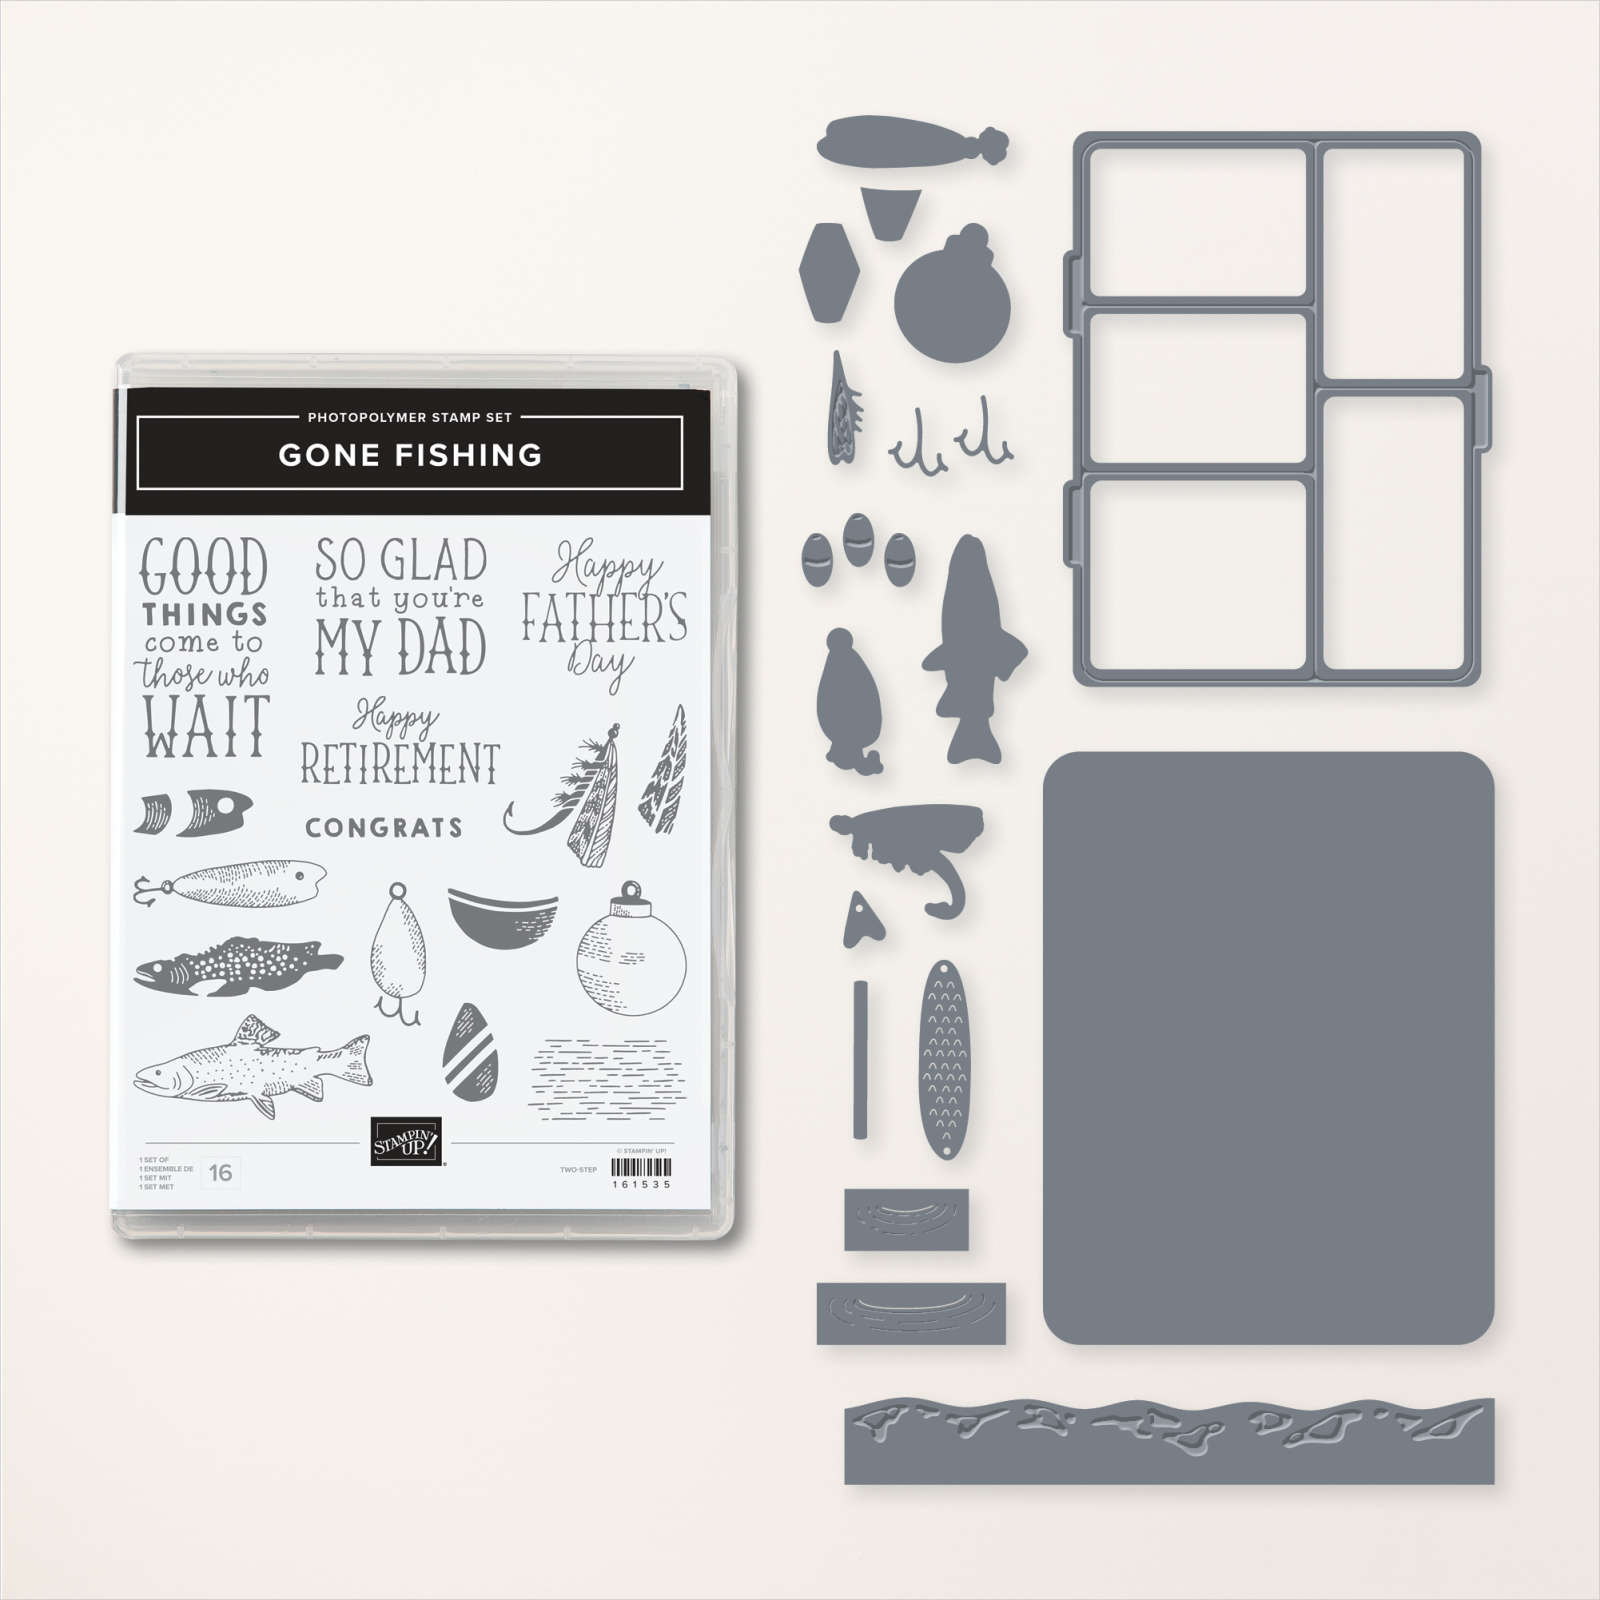
    You can see the Gone Fishing bundle here.  *They're currently out of stock but should be back in late August. 

    I chose the Circle Sayings bundle for my greeting tag. *see it here It's quite a versatile set and pairing it with the coordinating 2 2/8" circle punch was so smart of Stampin' Up!  *I added a die-cut stitched Lemon Lime Twist circle from the Stylish Shapes dies.


    You can watch the video on this project here.  It's the last project. Or click on the photo below to watch it below.  *Remember to follow me on either my FB page here (Tuesday Live videos) or my YouTube channel here. 

    ~~~

    July Specials: 

    Bonus Days!

    Get a $5 coupon for each $50 order you place in July.  Use the coupon in August!


    Clearance Rack update!

    See all items available here

     NEW Online Exclusives will be available

    See them all here

    ~~~

    Plus my monthly special for online orders:

    Get a free card kit & a new Beautifully Happy stamp set 

    with online orders over $65; must use a host code.

     *current host code: MY4YDGEM

    Leave a Reply

    Your email address will not be published. Required fields are marked *

  • Tomorrow is the last day – Inventory Reduction Sale; get a free stamp set in your package!


    There are just 2 days left of my Inventory reduction sale! 

    I have excess of 5 previous card kits to go so I'm offering a special through tomorrow, Sunday, July 16th.

     I'll add a free stamp set (retired but new) to your package with the purchase

    of any 2 or more pre-cut kits in my Shop. 

    *see them all here

    Leave a Reply

    Your email address will not be published. Required fields are marked *


Notice: LeeAnn Greff, Independent Stampin’ Up! Demonstrator, Manager. The content of this website is my sole responsibility as an independent Stampin’ Up! demonstrator and the use of, and content of, the classes, services, or products offered on this website is not endorsed by Stampin’ Up! Copyright 2025