/


Latest Post

Retro style circles layout; super easy! Catch the Live video tonight!


Tonight at 7:30 pm Central Time I'm sharing how to make these retro style circle cards on Facebook Live.  Click here to join me.   You can also see this video below!

Basically you need three sizes of circle dies or punches for the start of this layout.  Cut them in half and layer together with the edges meeting on one side. Adhere and add a long greeting between the two. 

Watch how on my FB Live replay!

Measurements:

  • 5 1/2" X 8 1/2" card base
  • 3 1/2" X 4 3/4" Whisper White; the greeting strip is about 5" long and either 1/2" or 3/4" wide depending on your greeting image.
  • 1" X 5 1/2" horizontal strip
  • Circles from the Stitched Shapes dies are the largest three circles. 

You'll want ink, stamps and embellishments that coordinate with your Designer Paper.  Remember you could use card stock instead of DSP. 
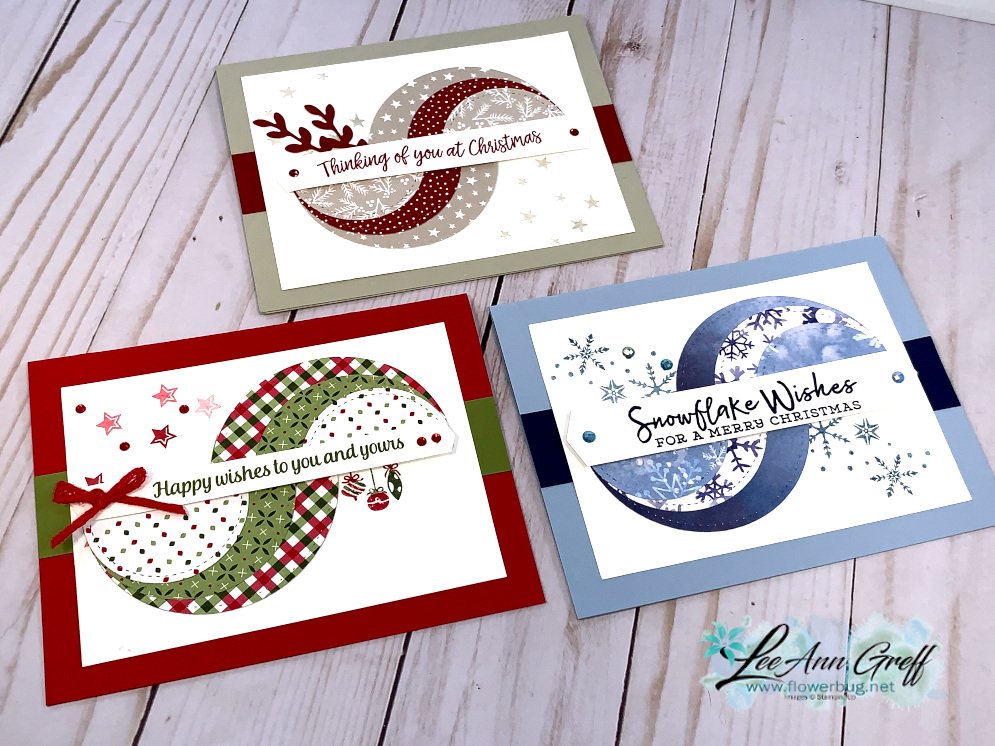

Products used:

  • Designer papers – Heartwarming Hugs, new Classic Christmas & Snowflake Splendor
  • Stamps – Tree Angle, Snowflake Wishes & Curvy Christmas
  • Colors – Real Red & Olive, Seaside Spray & Night of Navy, Sahara Sand & Cherry Cobbler  
  • Other: Stitched Shapes dies, Curvy Dies & Pick a Banner punch

~~~

November Specials!

Current Host code is GRC9VVUU


All online orders receive my FREE Curvy Celebrations 22 project PDF Tutorial! 

All Posts

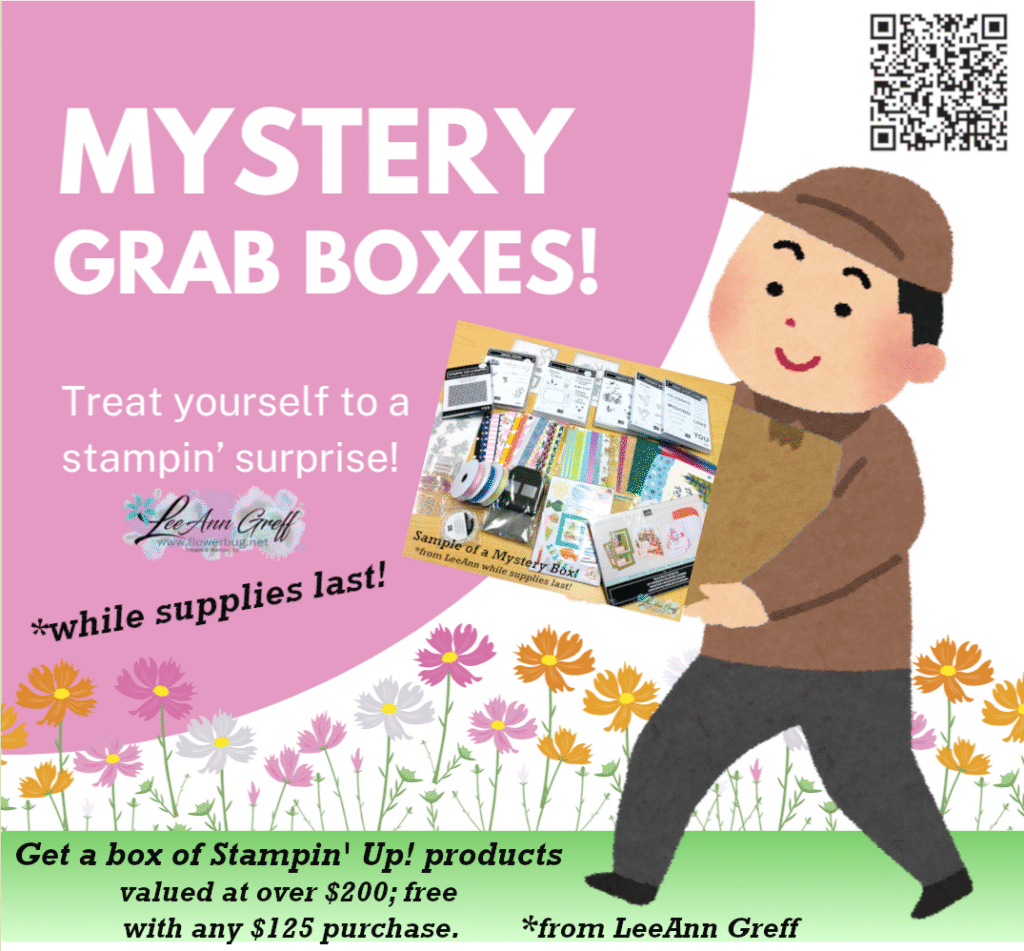
  • Mystery Boxes are ready to go; it’s my gift to you!


    Each year in the fall I de-stash my supplies by offering mystery boxes to my customers. Each box is filled with over $200 in retired Stampin’ Up! products and each box is different!

    How do you get one? All it takes is an online order of $125 & above (before tax/shipping). I’ll even pay to ship the box to you! Go here to order.

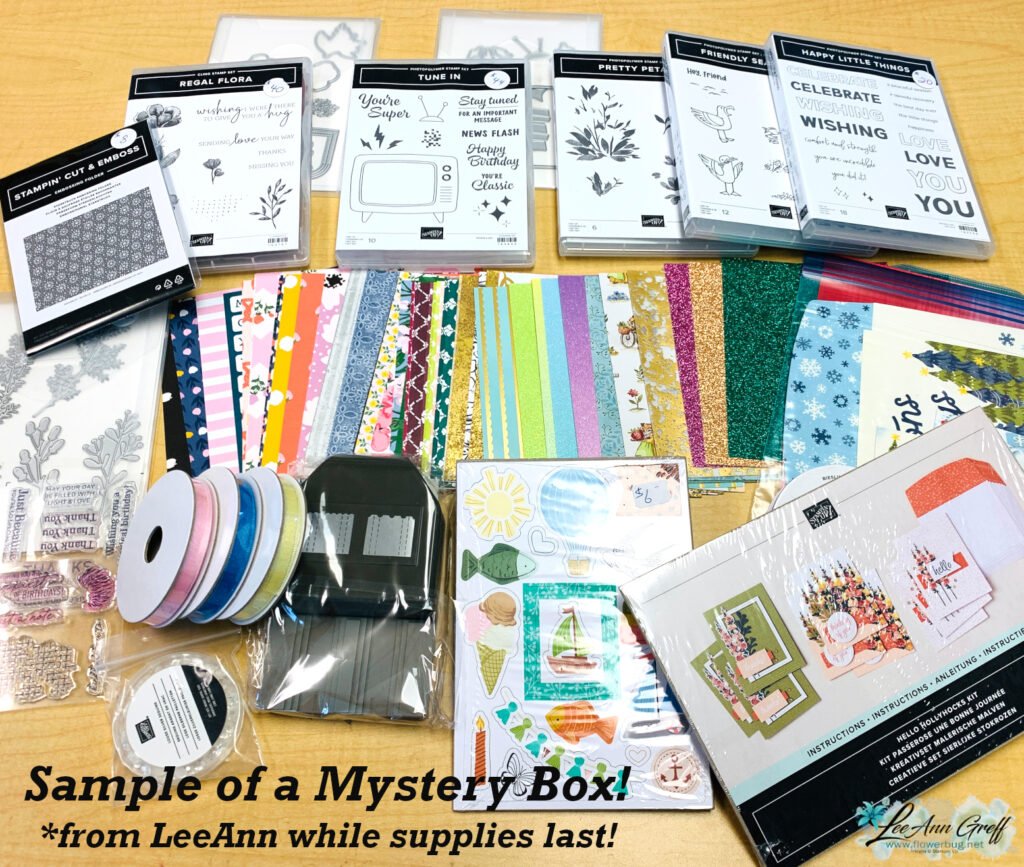
    Each box includes at least 2 bundles (stamps with dies or a punch), two or more stamp sets, more dies or embossing folders, a 6″ DSP share, embellishments, ribbon, ephemera, a card kit and a hand stamped card from me. Here’s a sample of the contents of one of the boxes. The boxes are now sealed so it’s a surprise to you and me!

    Go here to place your order. Remember these are while supplies last! If you’d like to check on availability click here to send me an email.

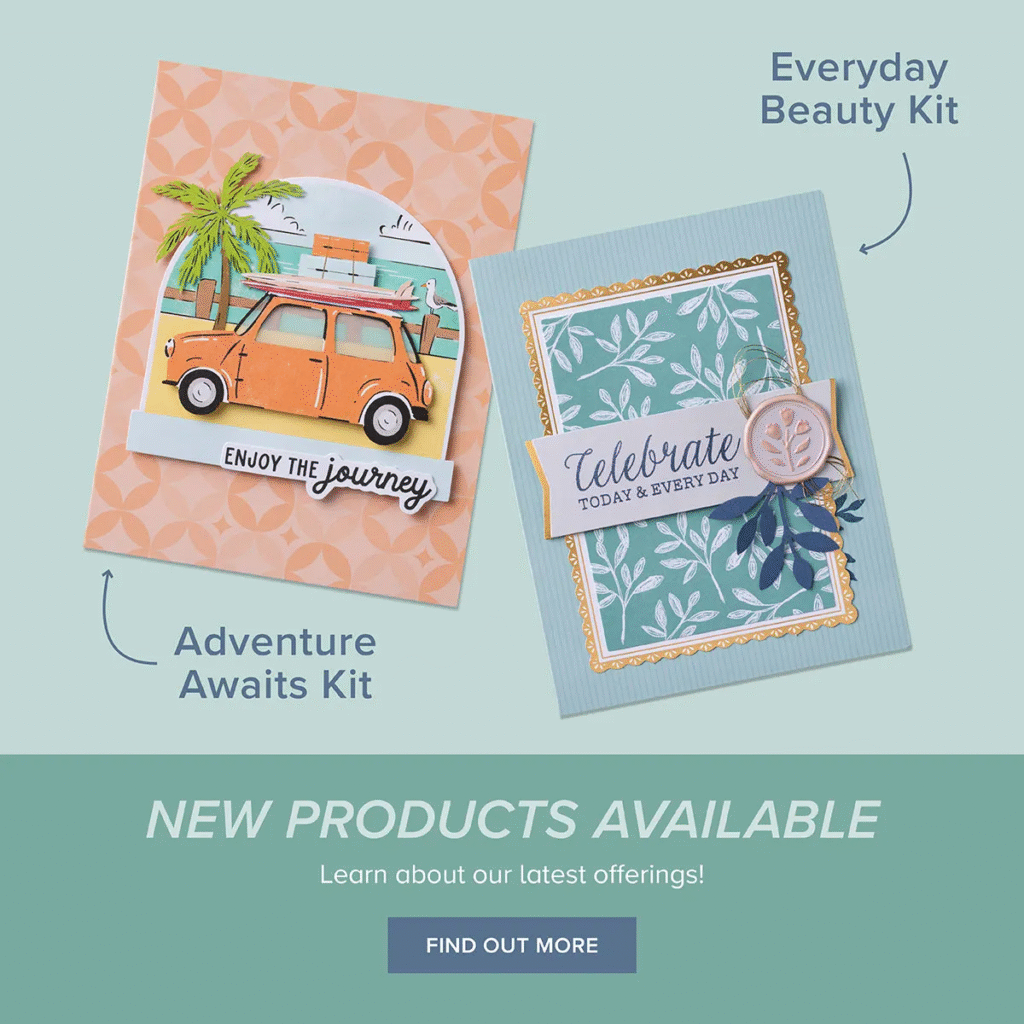
    Remember that there are lots of new product releases this week. Tons in the online store plus two new card kits! Go here to see everything new.

    ~~~

    November Specials

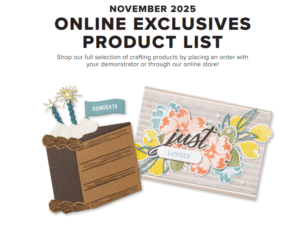
    New Online products are available on November 4th.
    See them here.

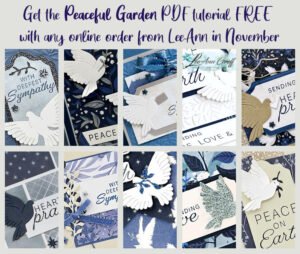
    Get the Peaceful Garden suite tutorial FREE with any online order in November!

    Leave a Reply

    Your email address will not be published. Required fields are marked *

  • Stunning Amber Autumn card with free project sheet


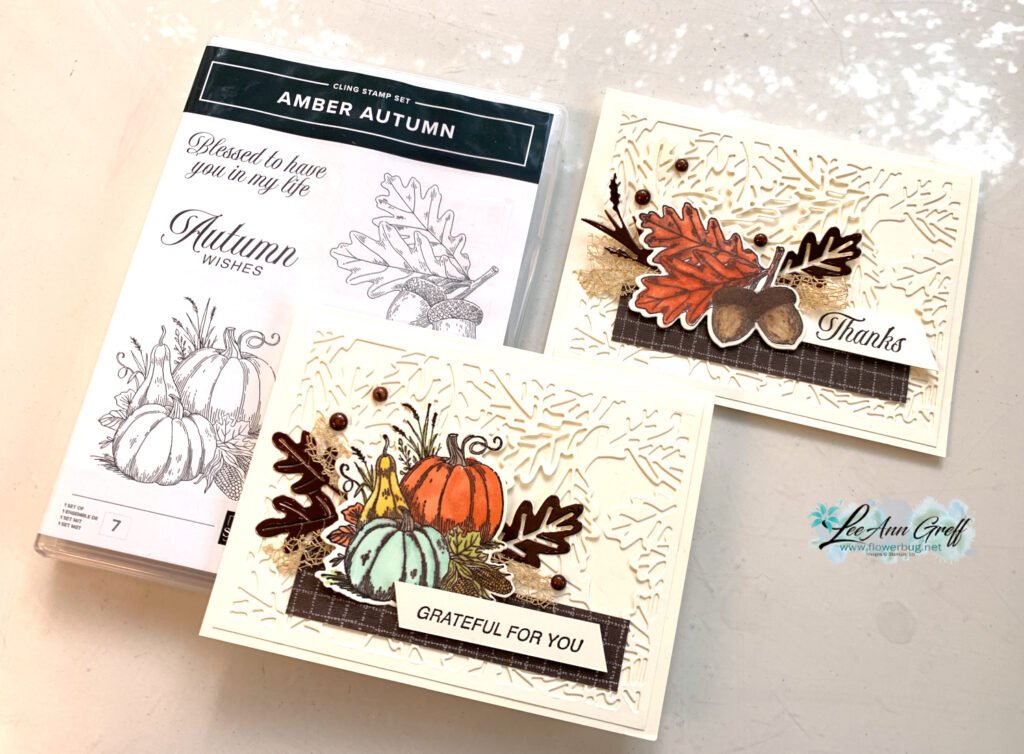
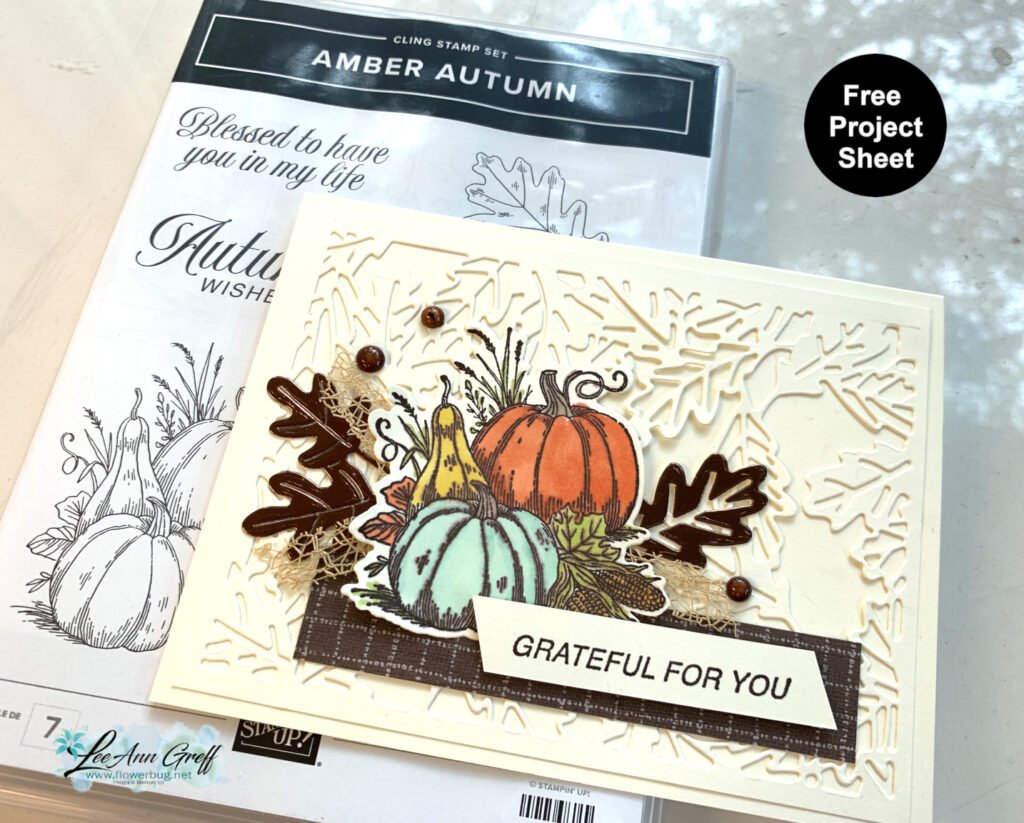
    This is the card we made at my October card clubs:

    Isn’t it beautiful? I got the idea from Akemi Geary from Everyday Stamping. I didn’t change much because I loved it that much.
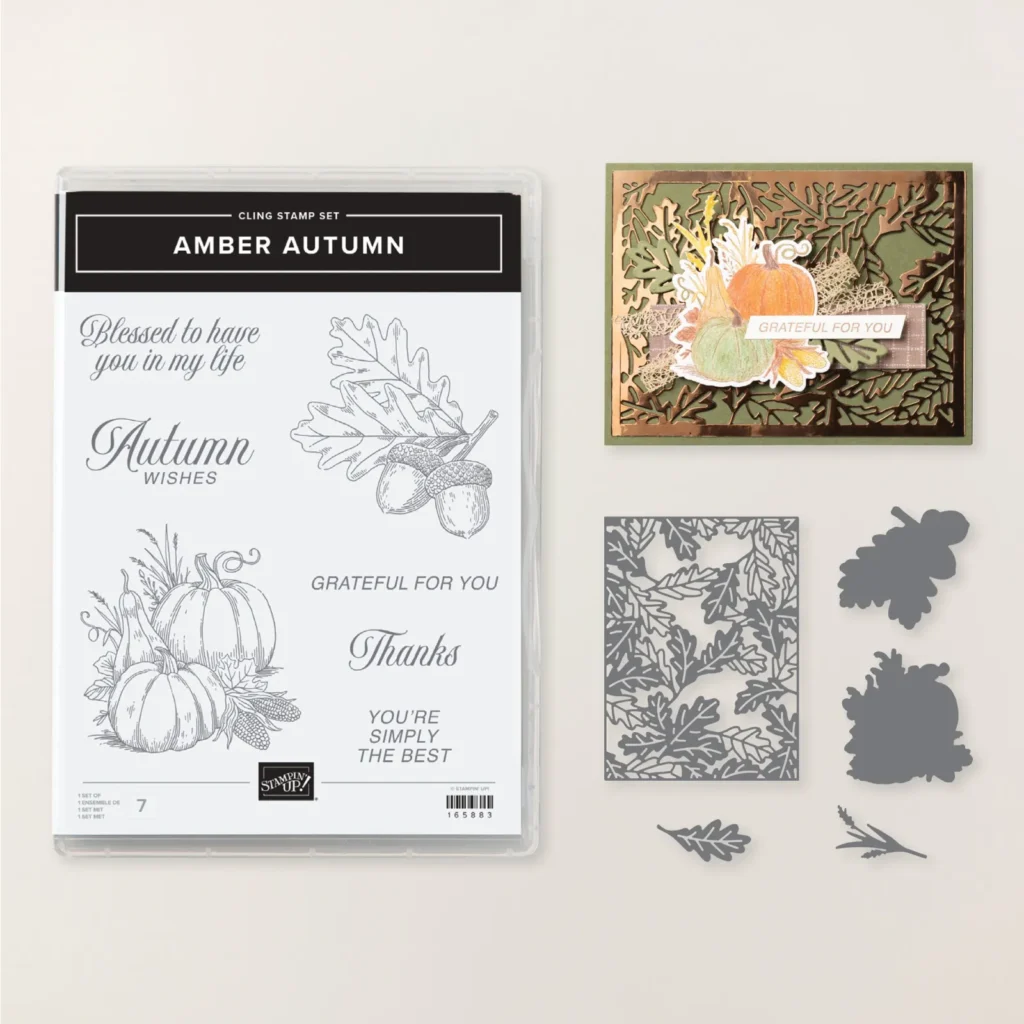
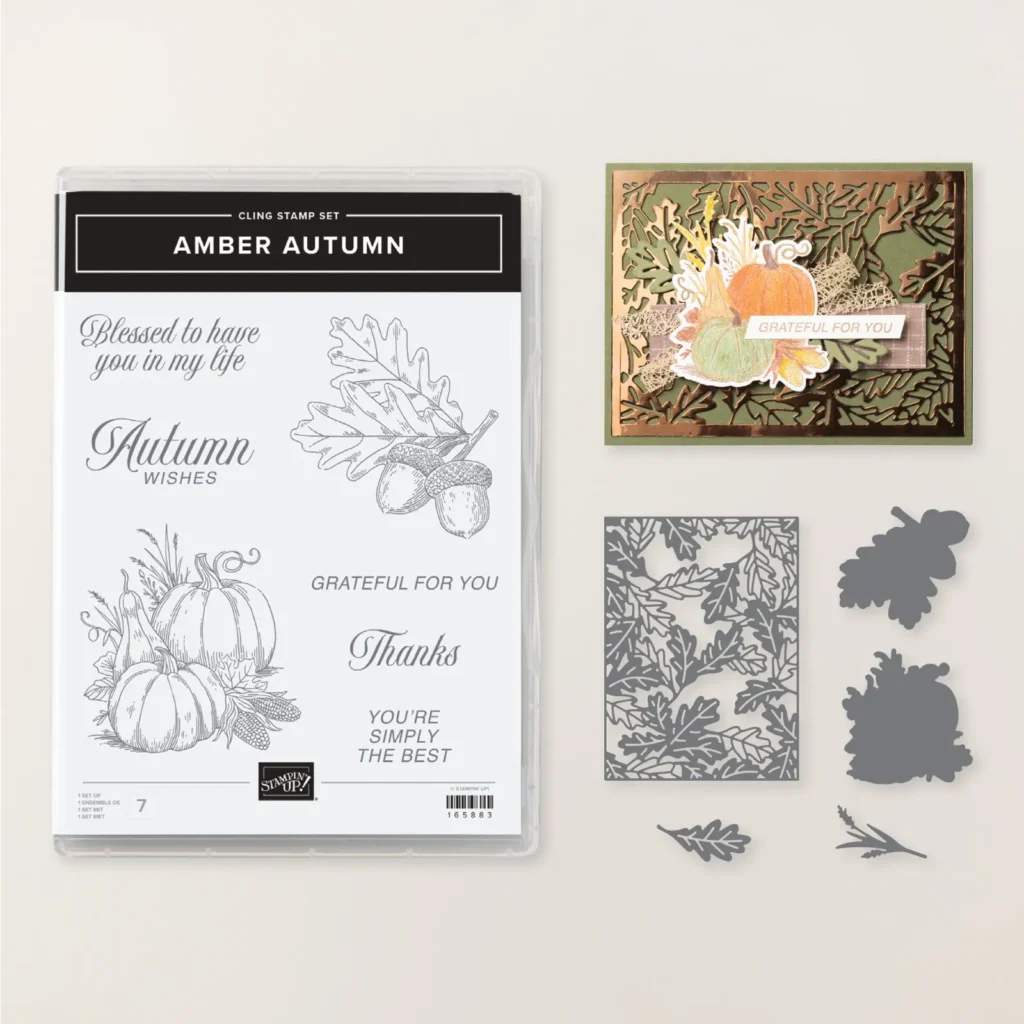
    It features the Amber Autumn bundle seen here. That beautiful, detailed background die creates the gorgeous backdrop for the pretty colored images and you can also get multiple leaf die-cuts from it by clipping them apart.

    We colored them with Blends markers and added a few die-cut leaves from the Earthen toned Metallic paper seen here. A thin strip of Autumn Toile DSP, the Irregular ribbon & gems finished it off beautifully.

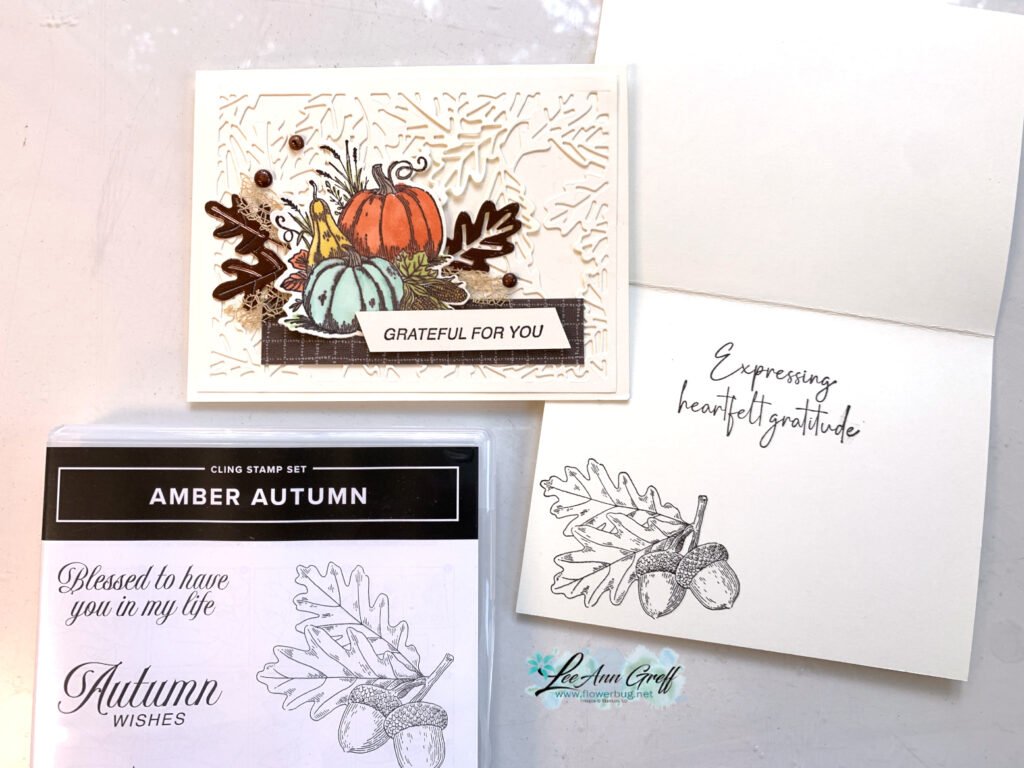
    I kept the inside quite simple by stamping a greeting from the Gathering Moments stamp set and adding the acorn & leaves image without coloring it.

    I created a free project sheet for you with photo, measurements and products used. Click here to download or print it.

    To watch the video for this card and another super neat but easy fun fold click on the video tutorial below. Don’t forget to subscribe to my YouTube channel while you’re there!

    ~~~

    November Specials

    New Online products are available on November 4th.
    See them here.

    Get the Peaceful Garden suite tutorial FREE with any online order in November!

    Leave a Reply

    Your email address will not be published. Required fields are marked *

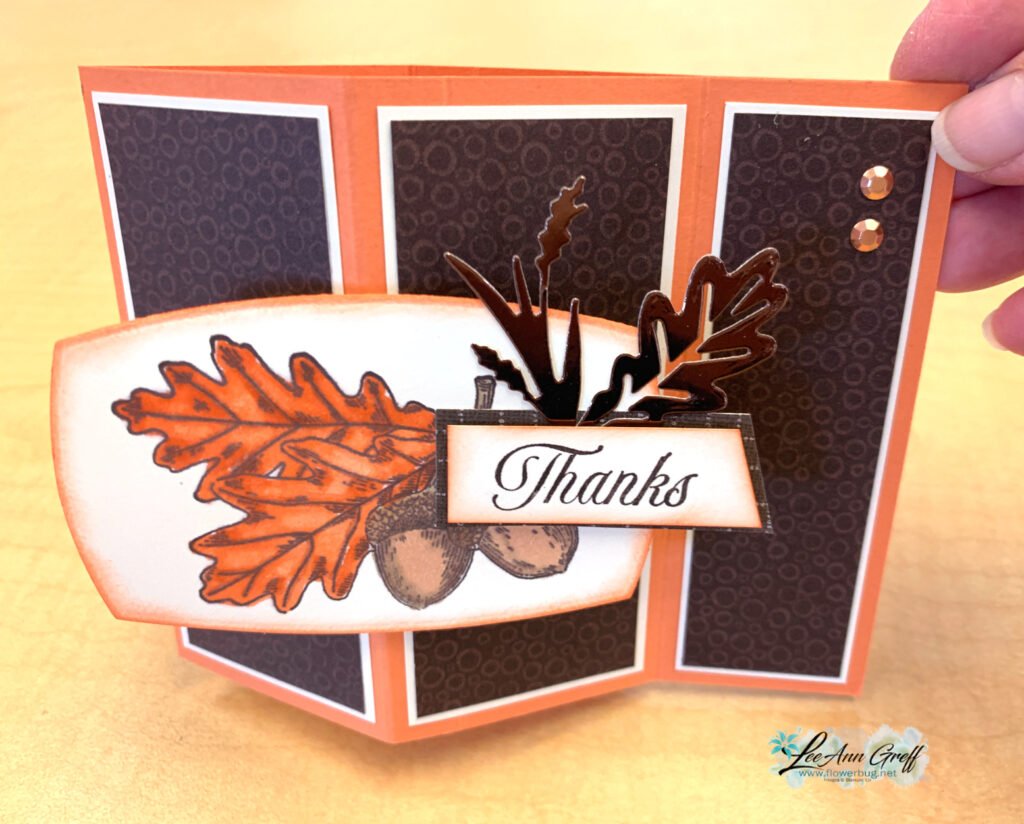
  • An Pillar fun fold card with Amber Autumn; with video & project tutorial


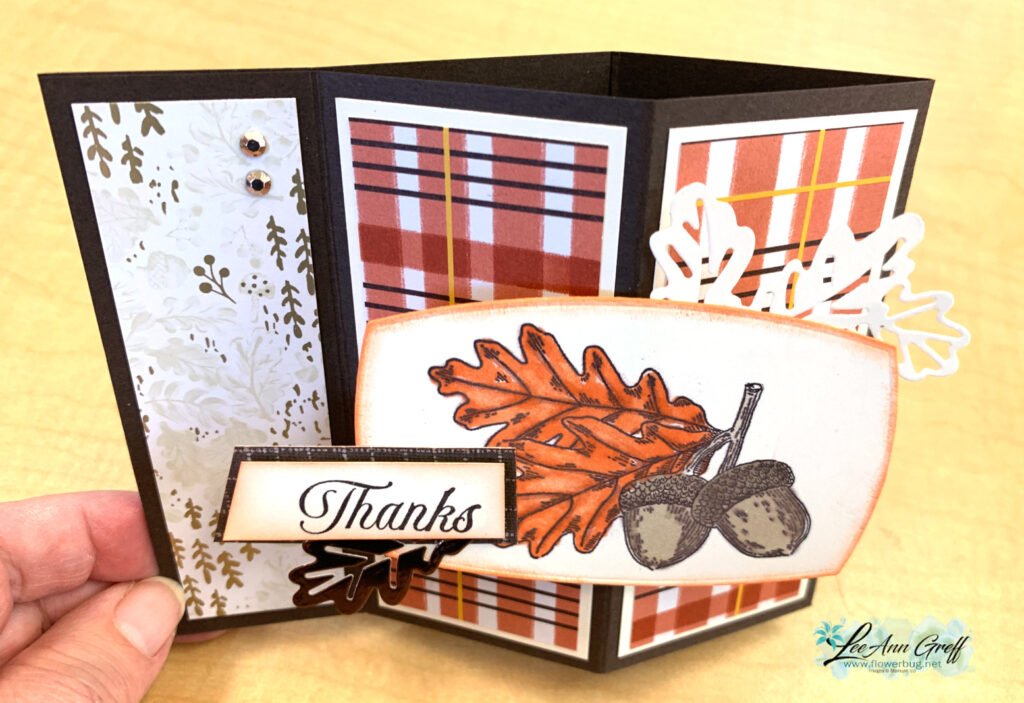
    I love this fun fold card! So easy yet unique as well.

    I used the Amber Autumn stamp & dies bundle seen here. I was initially on the fence about this set; did I need another fall themed bundle? But wow; am I glad I bought it!
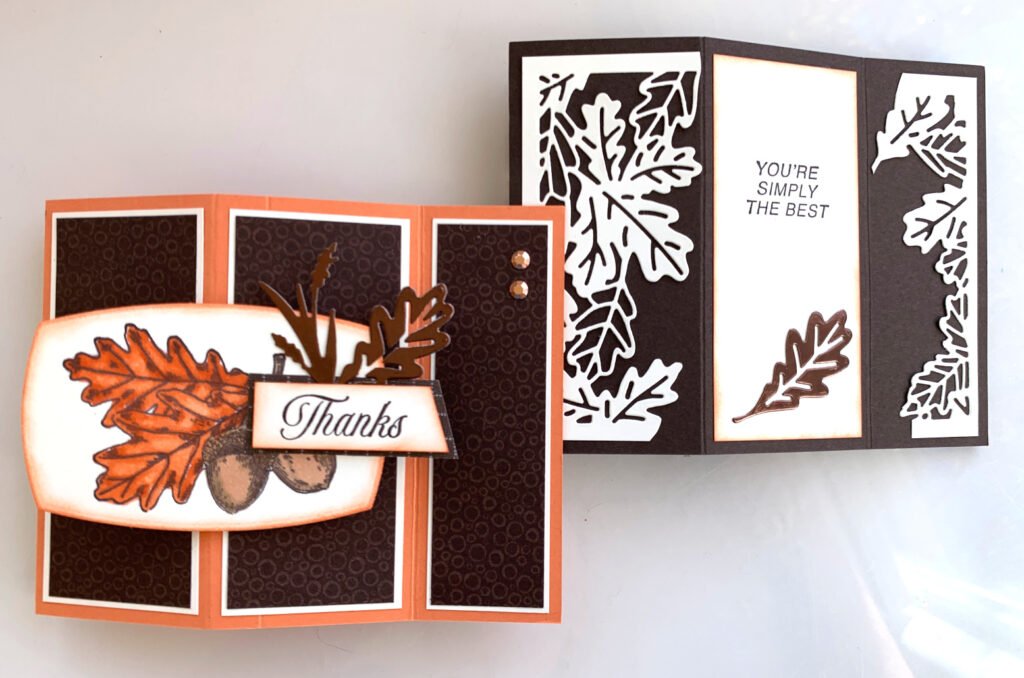
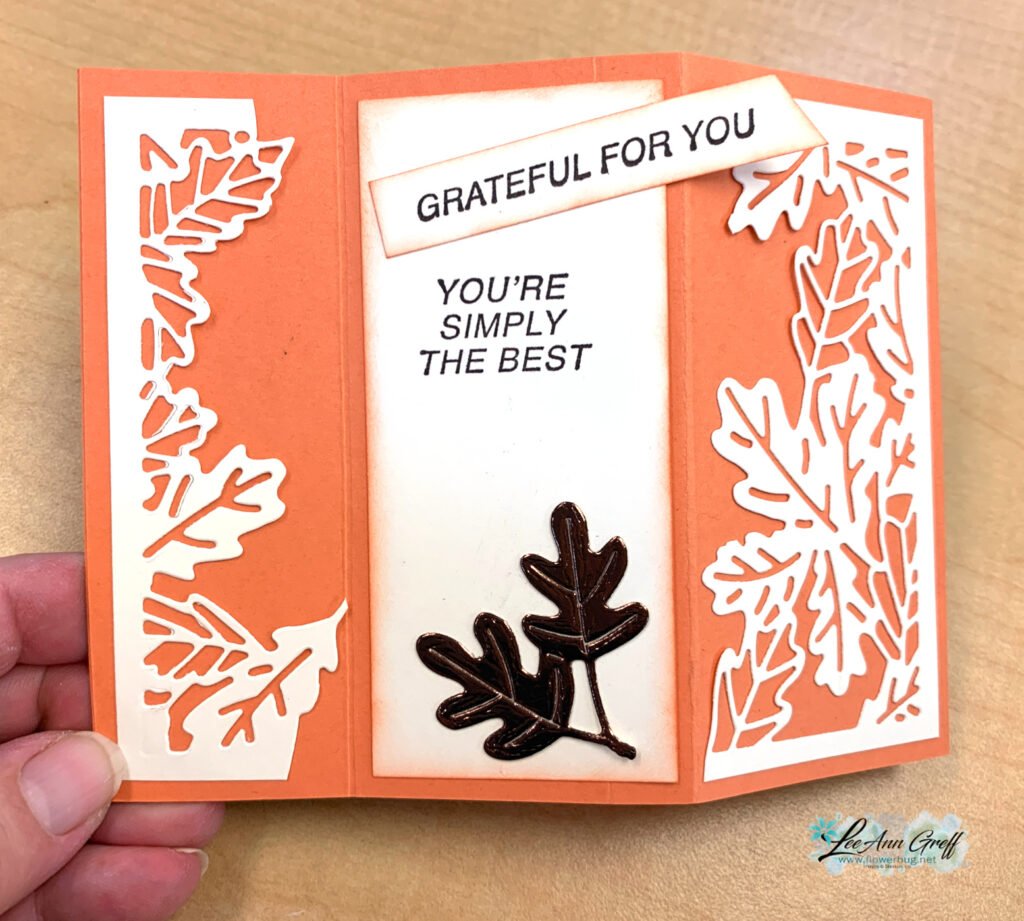
    See how I finished the back side?

    I used the large detailed die to add pretty borders to the sides. So pretty! It’s quite easy to snip a few of the connection points on the leaves. Here’s a photo of this pretty bundle:

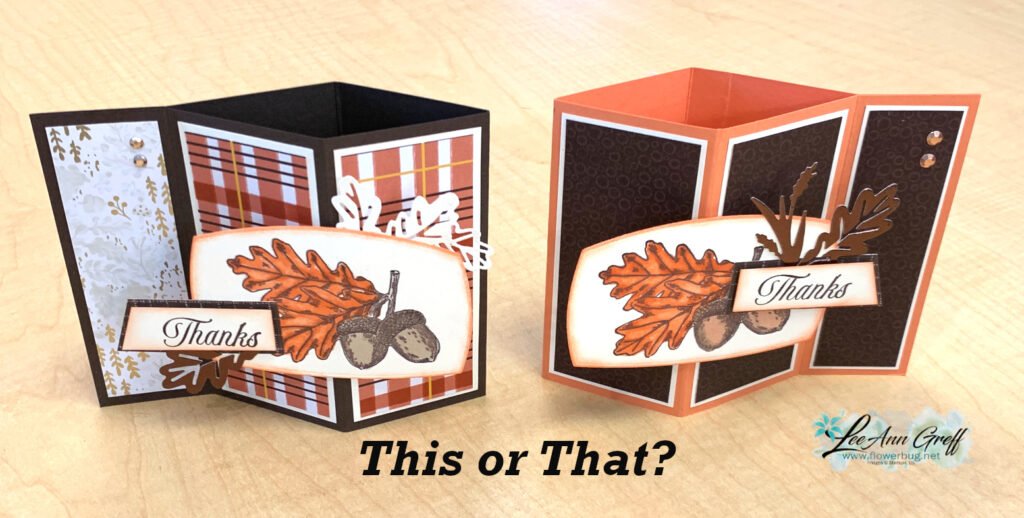
    I created a different version on my video.

    Which one do you prefer? Notice that the pillar is on different sides of each card; do you have a preference?
    Both feature the Gathering Together specialty designer paper. I also used a bit of the Earthen Toned Metallic paper for the die-cut leaves.

    The card stock colors include Early Espresso, Vanilla and Timid Tiger.
    In the video I shared how to get some highlights on your colored image using the Color Lifter Blends marker.

    Here’s how the back looks on the Timid Tiger card:

    Here is the free project tutorial you can print or download. Click here to access it.

    Be sure to watch the video tutorial for this fun fold card and my other project featuring the Amber Autumn bundle. It’s a gorgeous set of products!

    ~~~

    November Specials

    New Online products are available on November 4th.
    See them here.

    Get the Peaceful Garden suite tutorial FREE with any online order in November!

    Leave a Reply

    Your email address will not be published. Required fields are marked *


Notice: LeeAnn Greff, Independent Stampin’ Up! Demonstrator, Manager. The content of this website is my sole responsibility as an independent Stampin’ Up! demonstrator and the use of, and content of, the classes, services, or products offered on this website is not endorsed by Stampin’ Up! Copyright 2025