/


Latest Post

Retro style circles layout; super easy! Catch the Live video tonight!


Tonight at 7:30 pm Central Time I'm sharing how to make these retro style circle cards on Facebook Live.  Click here to join me.   You can also see this video below!

Basically you need three sizes of circle dies or punches for the start of this layout.  Cut them in half and layer together with the edges meeting on one side. Adhere and add a long greeting between the two. 

Watch how on my FB Live replay!

Measurements:

  • 5 1/2" X 8 1/2" card base
  • 3 1/2" X 4 3/4" Whisper White; the greeting strip is about 5" long and either 1/2" or 3/4" wide depending on your greeting image.
  • 1" X 5 1/2" horizontal strip
  • Circles from the Stitched Shapes dies are the largest three circles. 

You'll want ink, stamps and embellishments that coordinate with your Designer Paper.  Remember you could use card stock instead of DSP. 
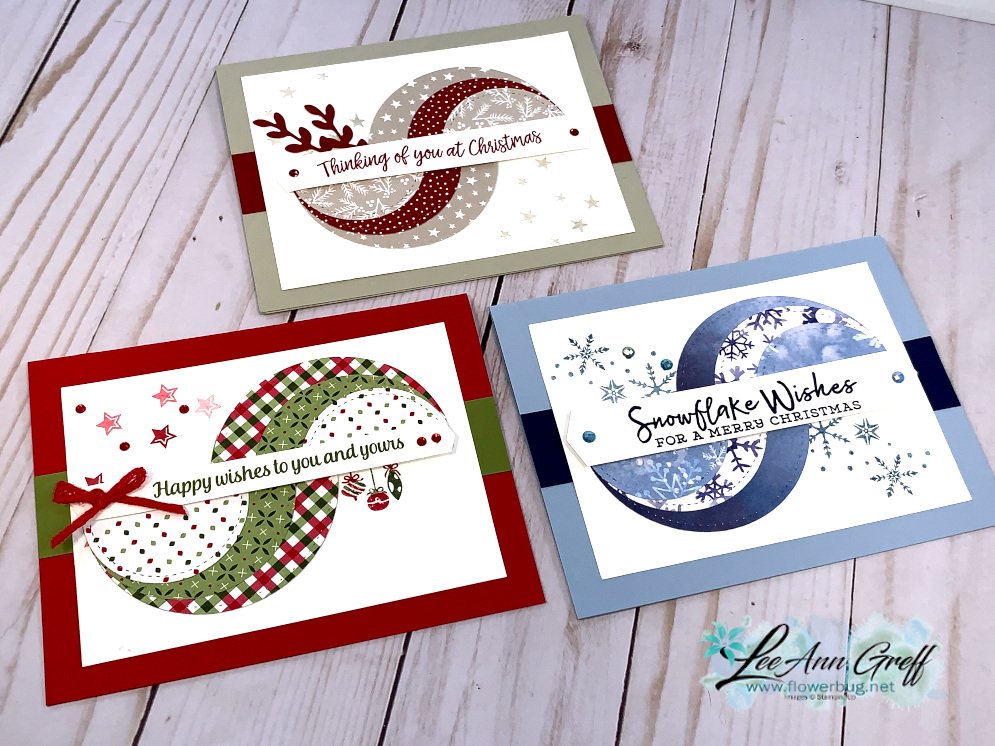

Products used:

  • Designer papers – Heartwarming Hugs, new Classic Christmas & Snowflake Splendor
  • Stamps – Tree Angle, Snowflake Wishes & Curvy Christmas
  • Colors – Real Red & Olive, Seaside Spray & Night of Navy, Sahara Sand & Cherry Cobbler  
  • Other: Stitched Shapes dies, Curvy Dies & Pick a Banner punch

~~~

November Specials!

Current Host code is GRC9VVUU


All online orders receive my FREE Curvy Celebrations 22 project PDF Tutorial! 

All Posts

  • Under the Moon scenic card with free project sheet & video


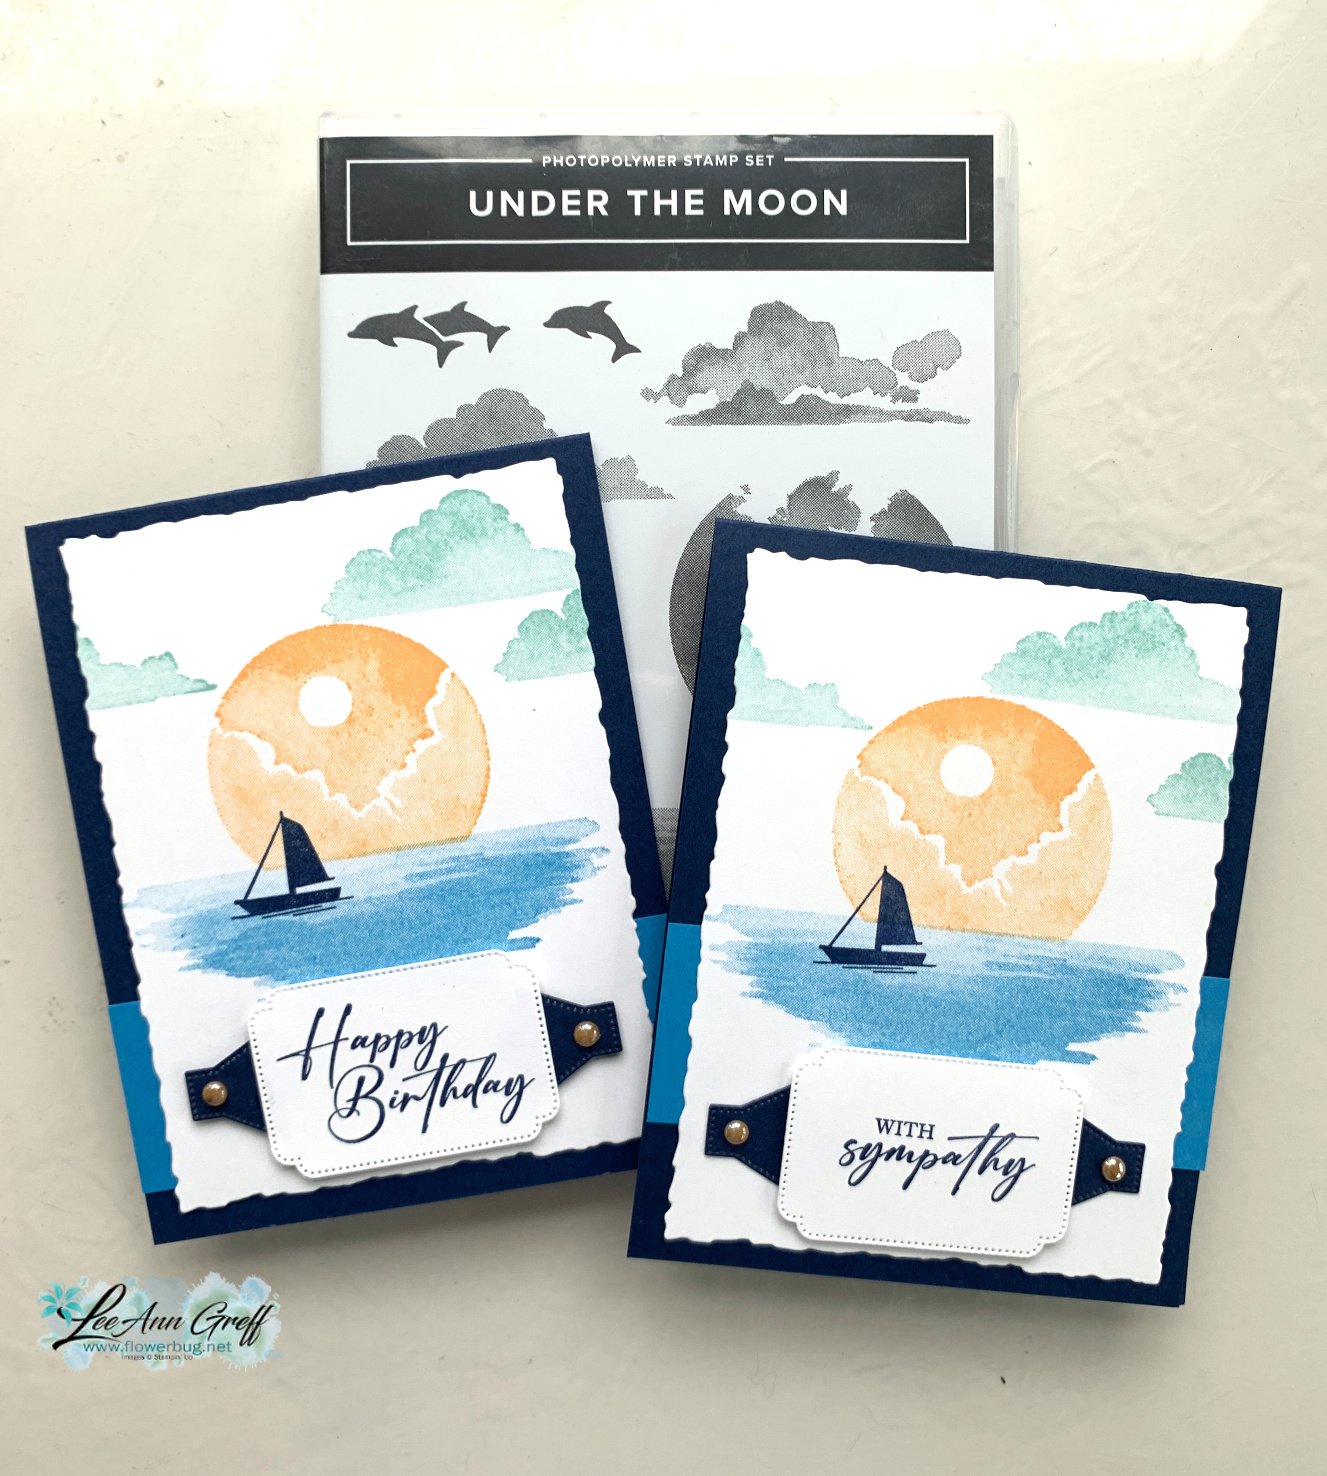
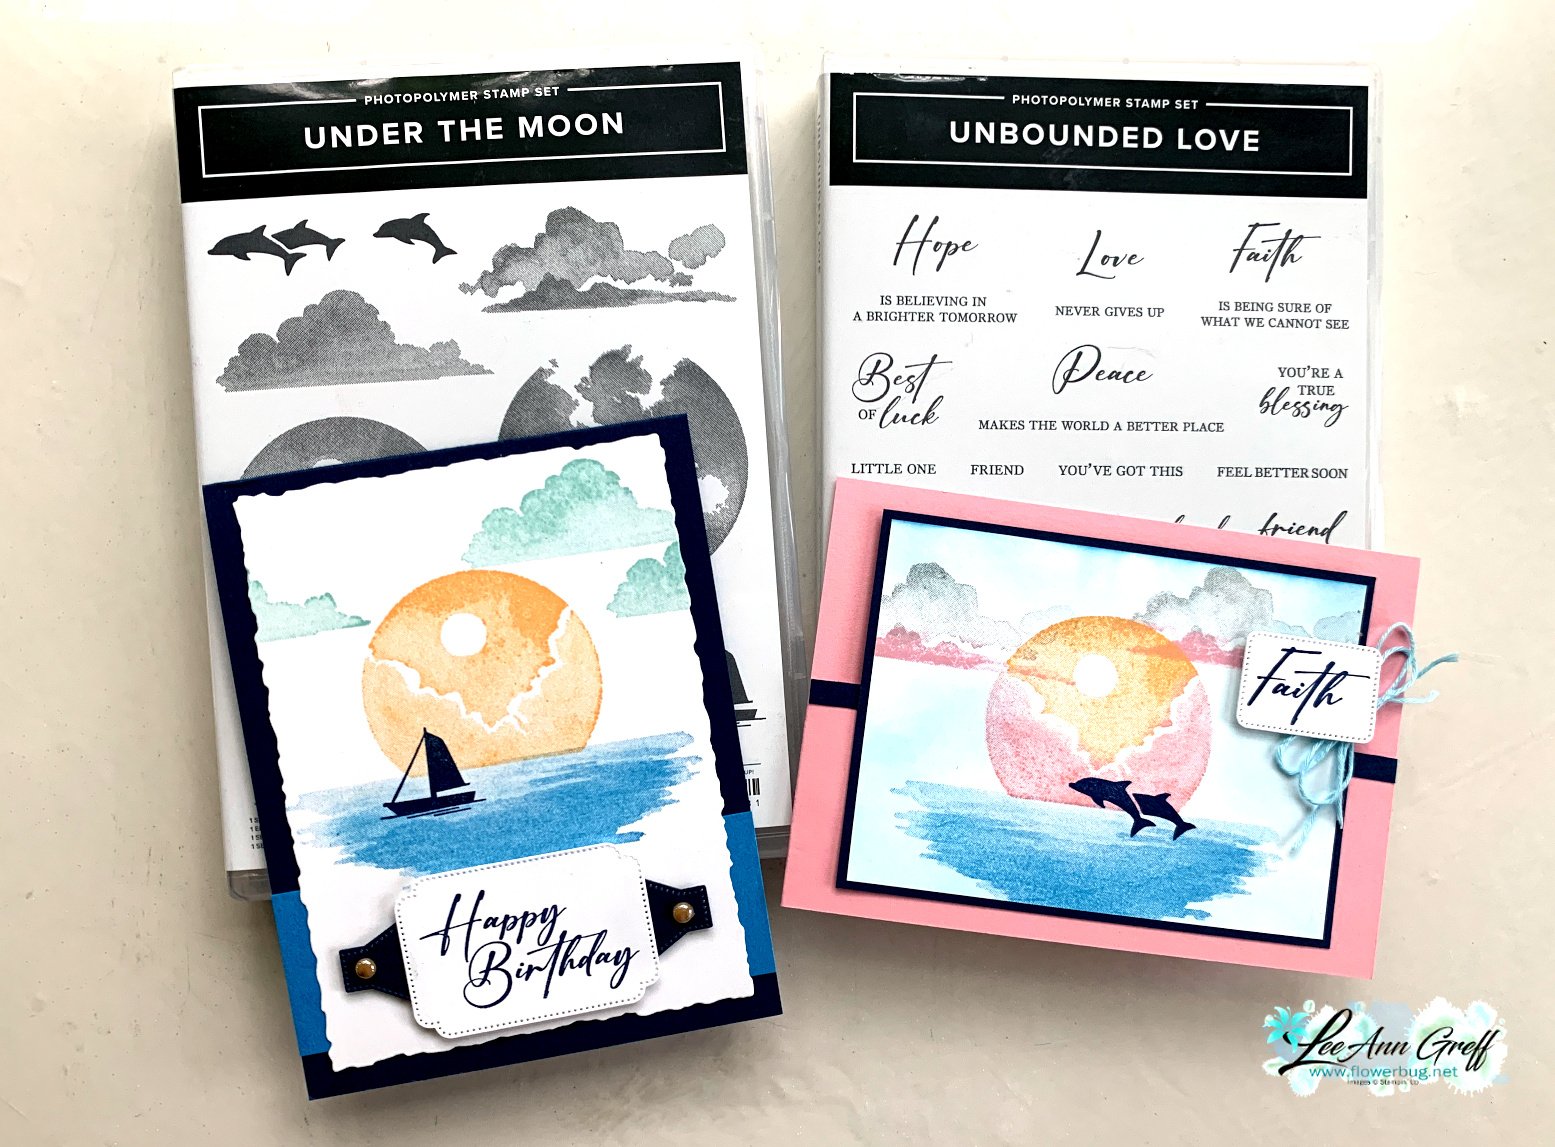
    Today I'm sharing the second project I made on last week's video – both feature the beautiful Under the Moon stamp set. It's a scene builder which can be so fun to create with. 

    My colors include Night of Navy, Azure Afternoon, Peach Pie & Pool Party.  

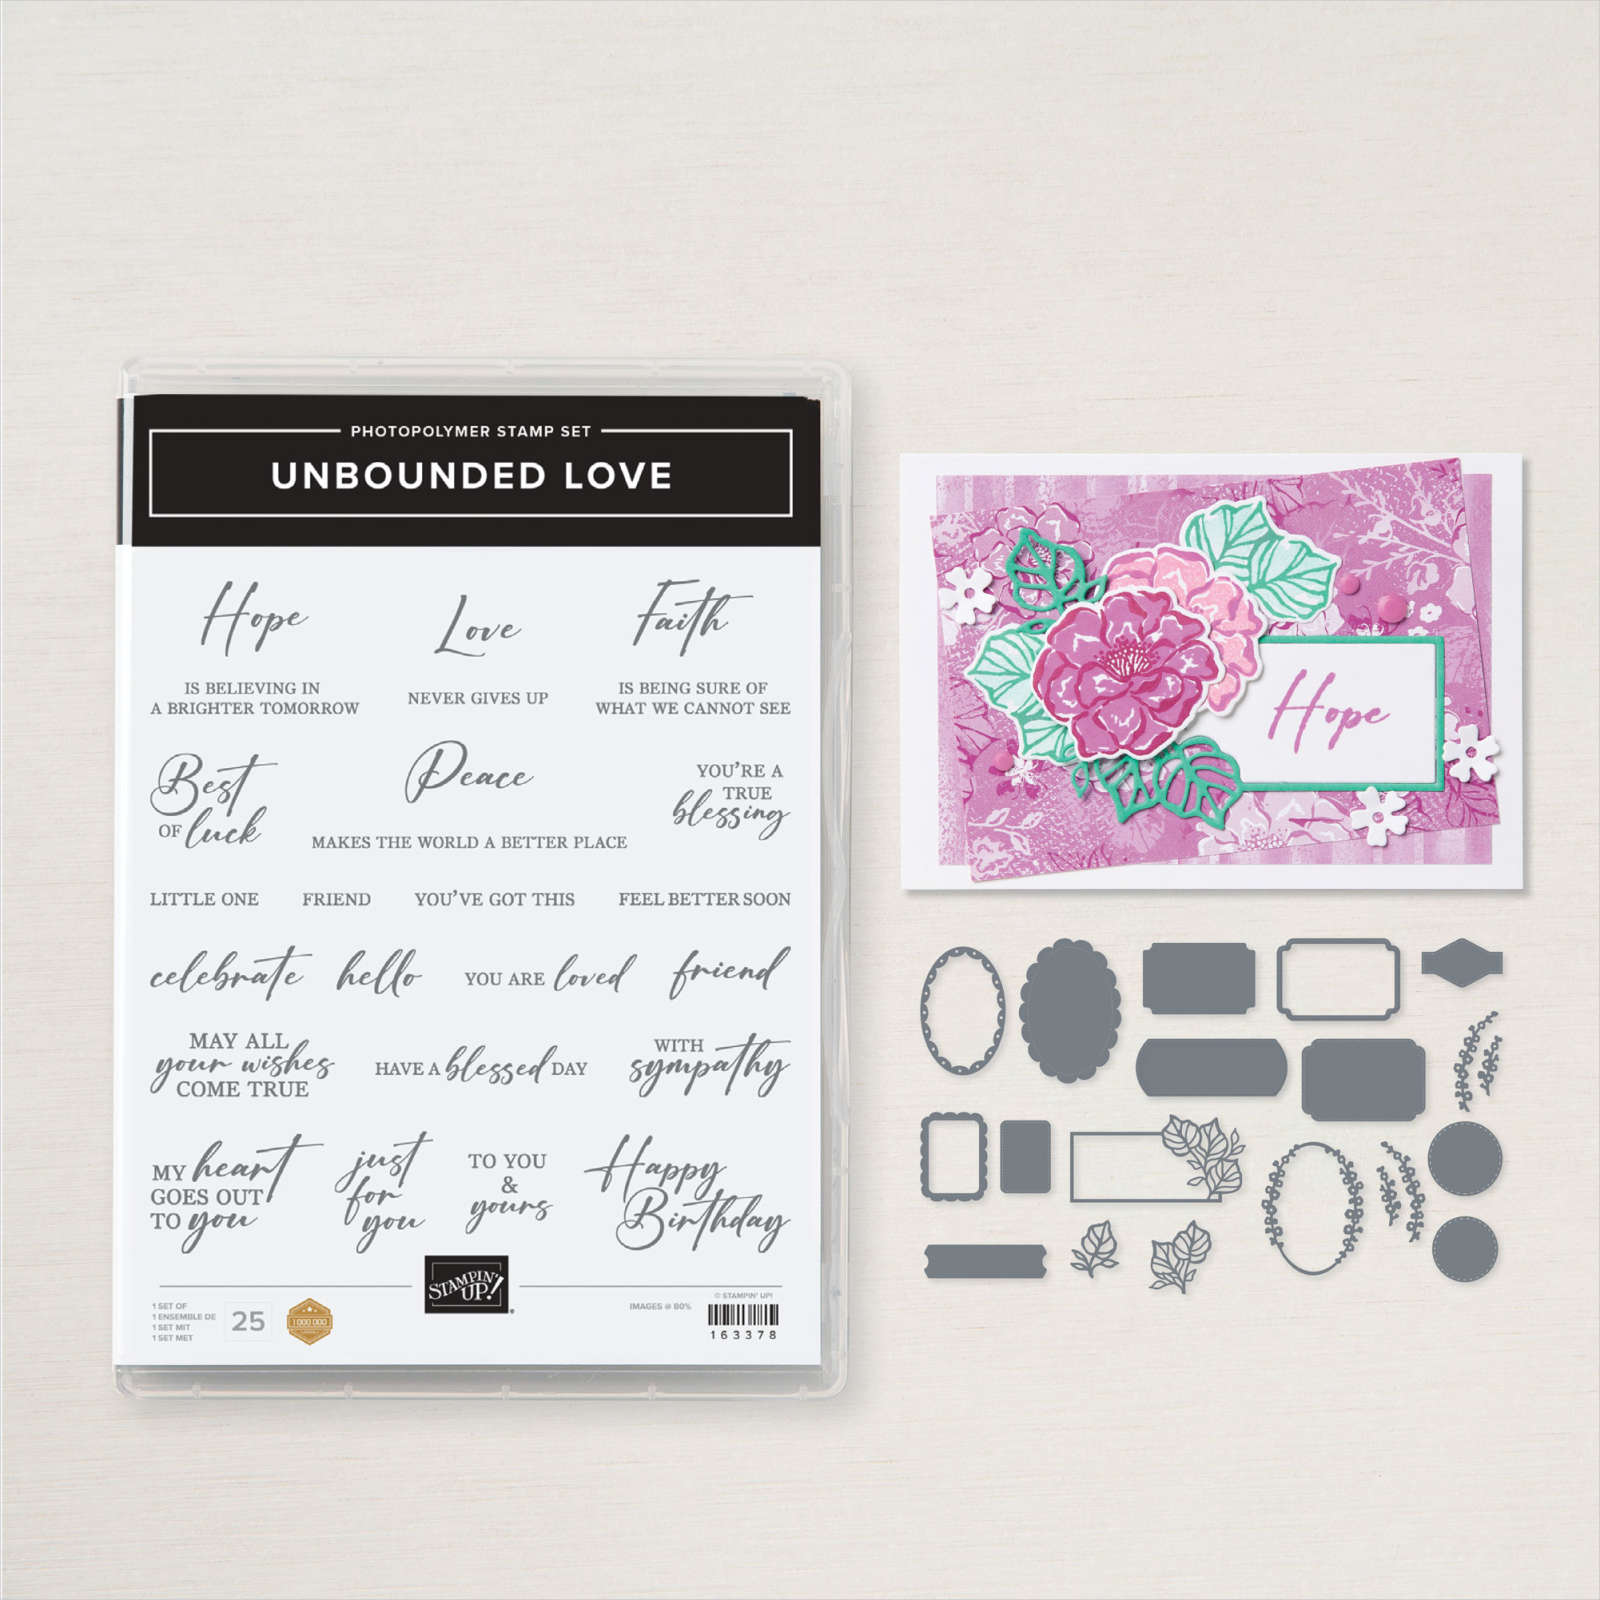
    You might wonder what die the Navy shape is around the greeting.  It's from the Unbounded Love dies – it's a small greeting shape that I cut in half and added to each side. 

    The large white die is from the Deckled Rectangle dies. The greeting die and the fun Navy shaped die are both from the Unbounded Love bundle seen here.  It's one of my new favorites. 

    Here's the video of the inside of these two cards.  One birthday and one sympathy – these stamp sets are both so versatile! 

    Here's the free project sheet you can download &/or print: Download May '24 Under the Moon Club

    Below is the video for this card tutorial and the other shown above.  I hope you watch it to see how easy it is to create with this beautiful stamp set. 

    ~~~

    June Specials: 

    *current host code links: FERX3EKC or GF24T6XG

    ~~~

    All online orders receive my free tutorial of the month & if your order is over $55 you'll also receive a free gift from me

    Leave a Reply

    Your email address will not be published. Required fields are marked *

  • Under the Moon Dutch-door card with video & free project tutorial


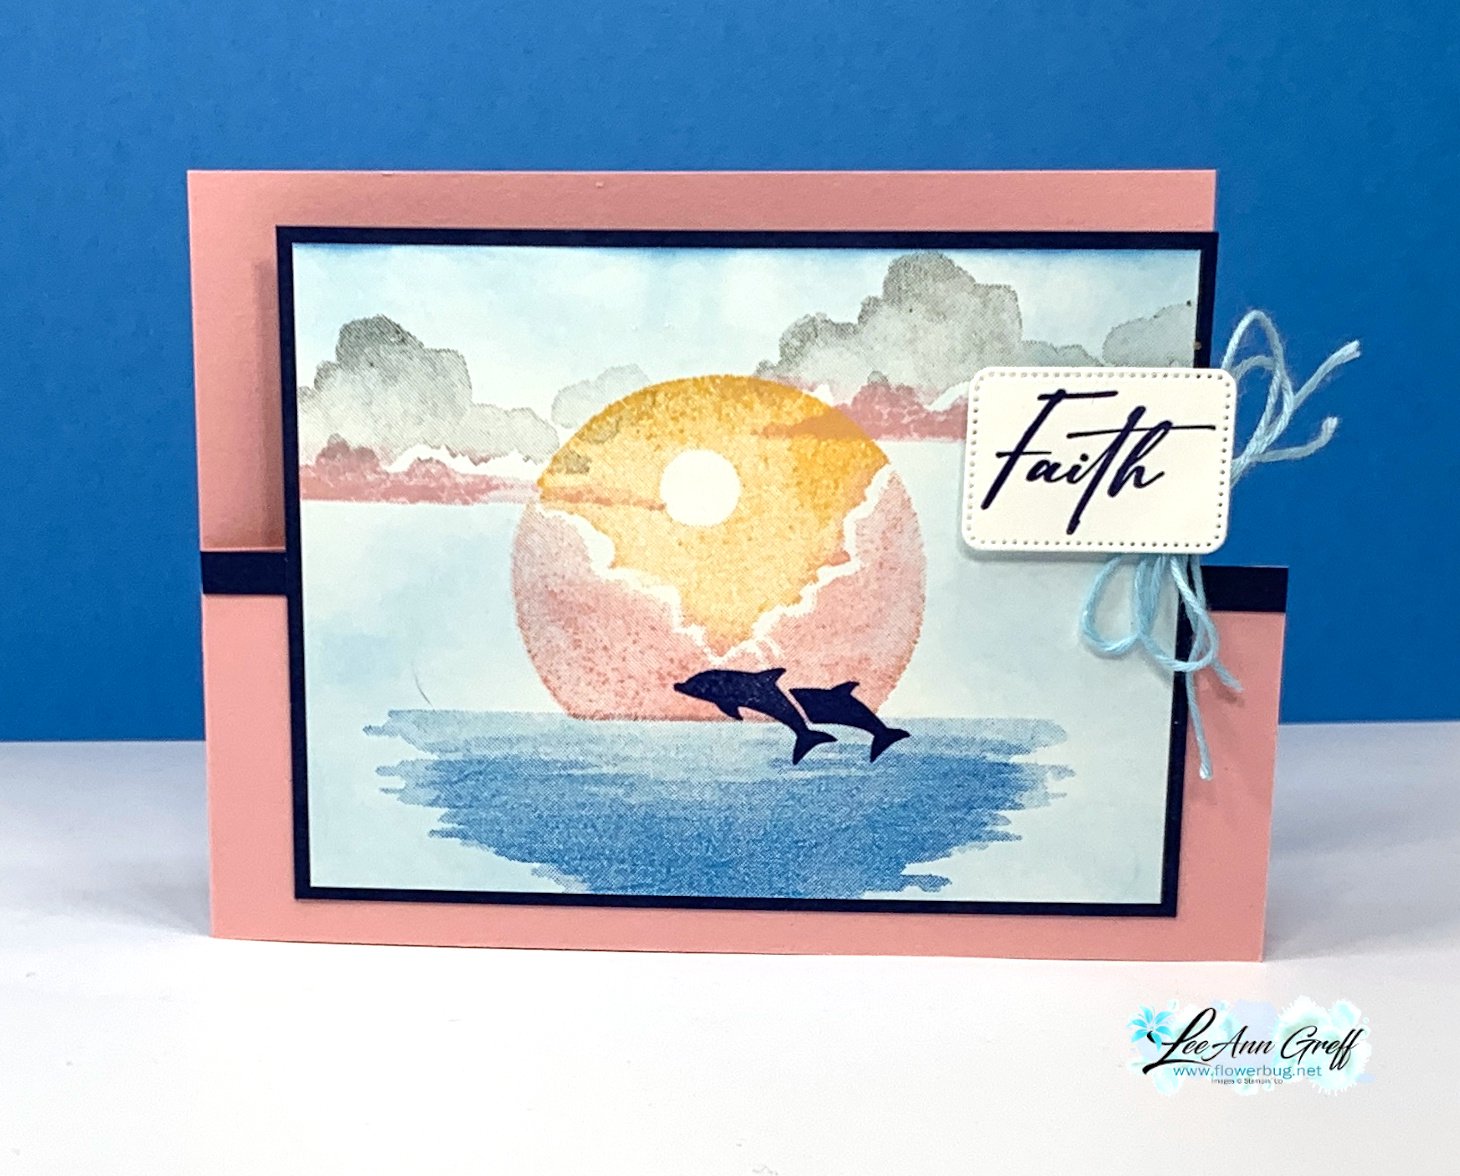
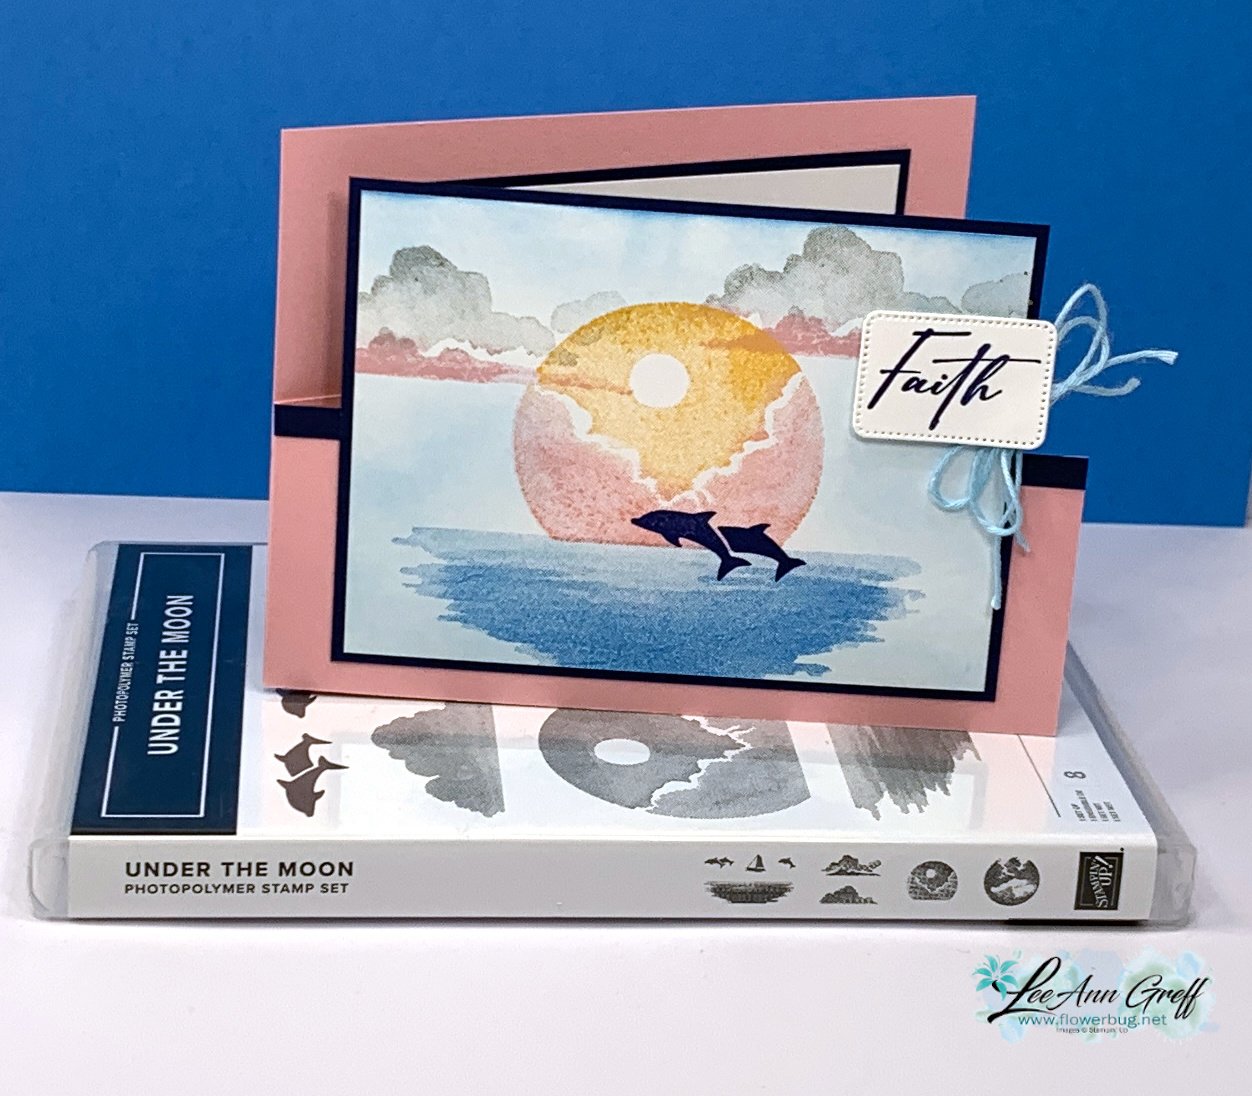
    I shared how to make this pretty card on last week's video. It features the Under The Moon stamp set which is what I refer to as a 'scene builder' set – one of my favorites to play with.  It's super fun & easy to create with! 

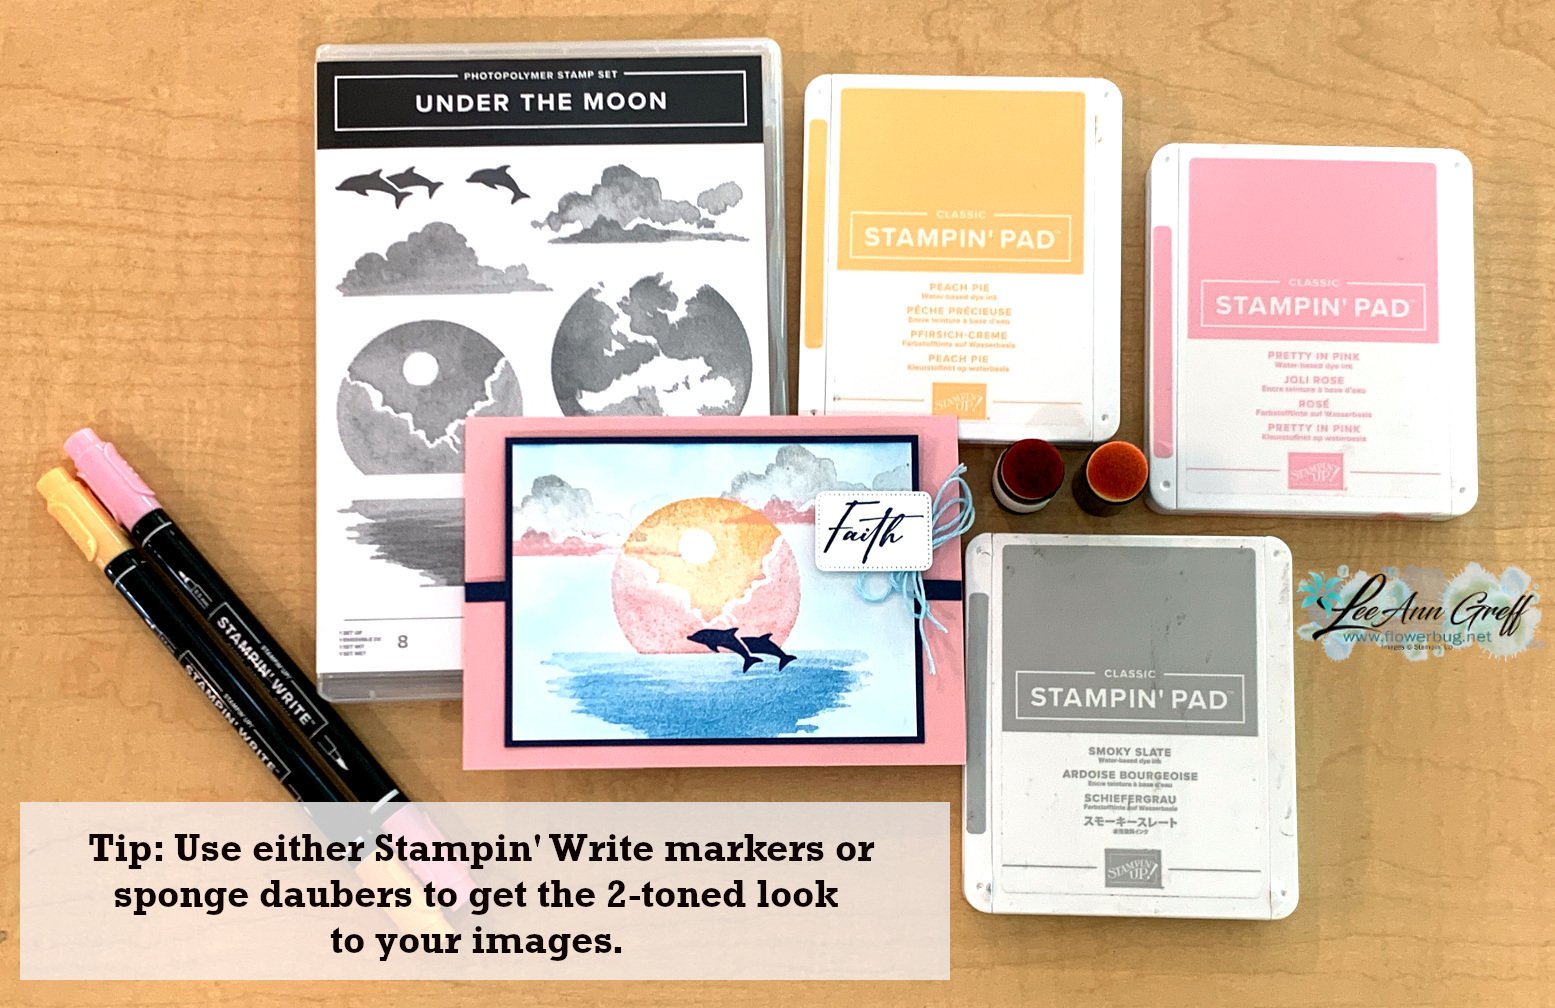
    See the two toned clouds & moon?  I used sponge daubers and 'direct to ink' techniques for this. You can see how it's done in the video here or below. 

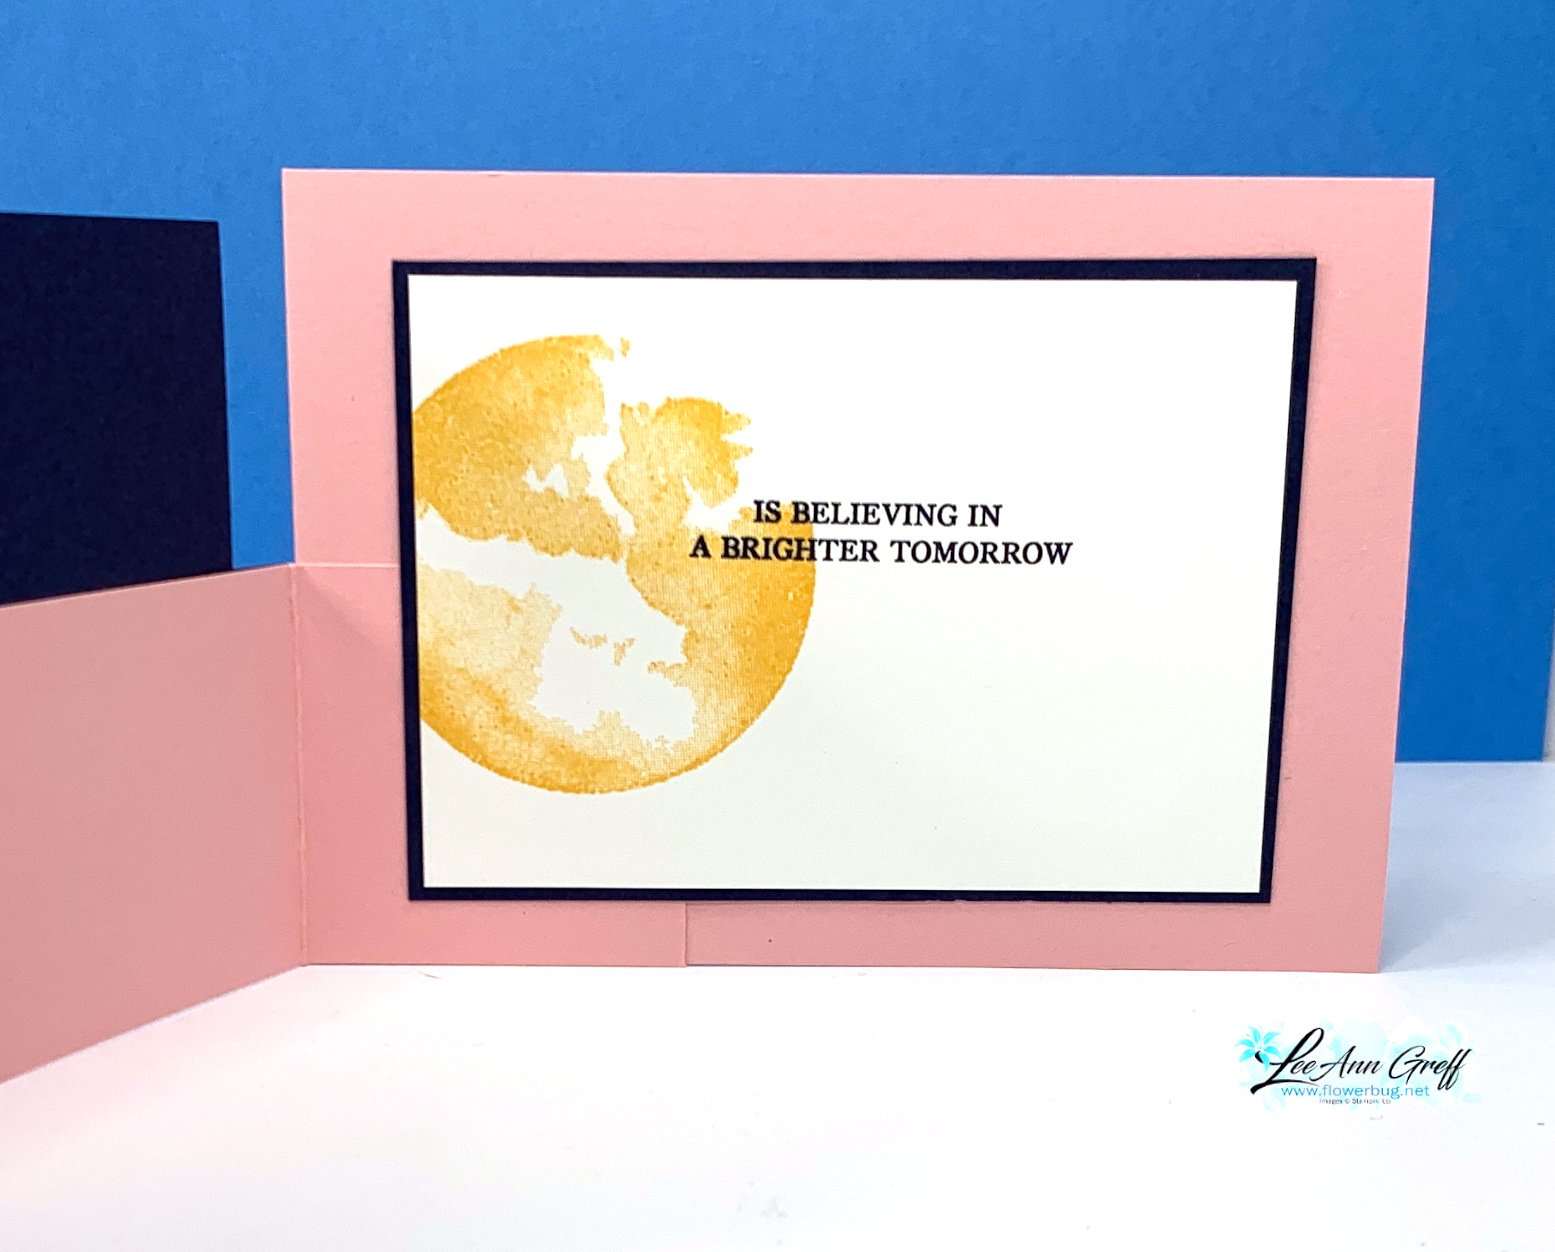
    Below is the view when the card is open.

    When making a Dutch door fold you have a few choices on adding the front half. You can make your 'door' an inch or so wider than 5 1/2" so you can add the score line. Or make it 11" wide and score it at 5 1/2".  Or the other option is to cut a full size card – 4 1/4" X 11", score it at 5 1/2" and cut off the section you do not want.  

    Here's the free project tutorial you can download & print: Download Under the Moon Dutch Door card

    My card stock colors include: Pretty in Pink, Night of Navy and White.  To these I also added these inks: Azure Afternoon (water & sky) & Peach Pie (moon) and Smoky Slate (clouds). 

    See the Under the Moon stamp set here.  I also used the Unbounded Love bundle for the greetings & dies seen here.  Remember that starting Wednesday all stamp & die bundles are an extra 10% off and will be 20% off through June.

    Below is the video for this card tutorial and another.  I hope you watch it to see how easy it is to create with this beautiful stamp set. 

    ~~~

    June Specials: 

    *current host code links: FERX3EKC or GF24T6XG

    All online orders receive my free tutorial of the month & if your order is over $55 you'll also receive a free gift from me


    Leave a Reply

    Your email address will not be published. Required fields are marked *

  • Basic Beige; a beautiful new neutral color in our line. Last day for the In Color deal!


    Everyone is loving the new Basic Beige color Stampin' Up! added to our basics line this year.  

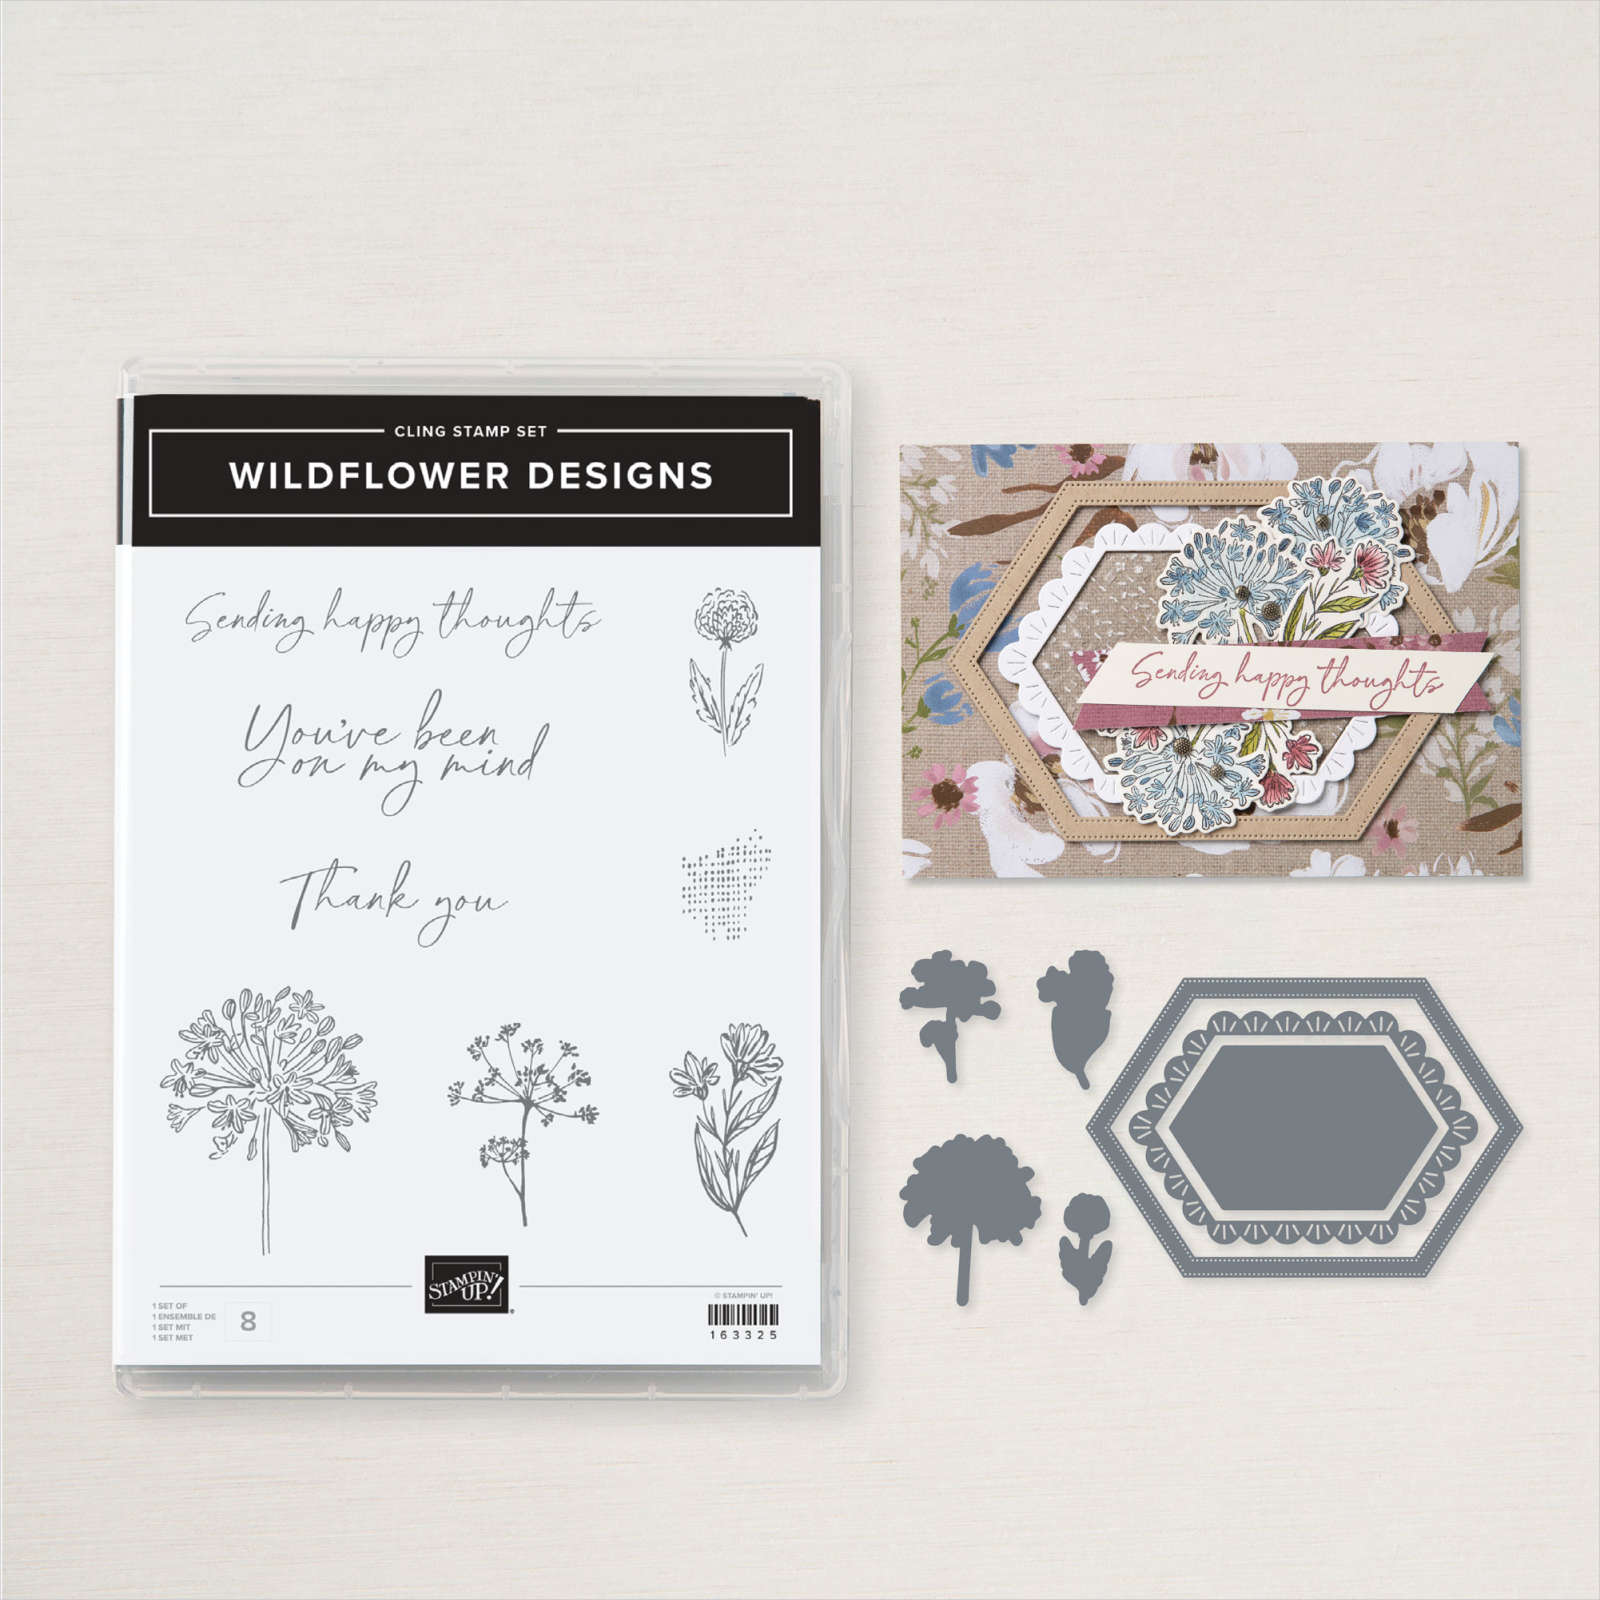
    I created this card for a recent online swap I joined. It features one of my recent favorite sets; Wildflower Designs. 

    I paired it with Copper Clay and White here.  We have four new products in Basic Beige – card stock, ink, ink refill and ribbon. It's a beautiful neutral! 

    There are coordinating dies to go with this pretty set too.  See this bundle  here:

    Details on this card:

    • The wood designer paper on the sides is from the Meandering Meadows 6" paper pack. 
    • The rectangle die-cut is from the Radiating Stitches dies which recently retired from our Online Exclusives. 
    • The background was made by stamping the little hashtag type stamp repeatedly in Basic Beige ink. 

    ~~~

    May Specials: 

    *current host code link:  9AWSF9T9 or FERX3EKC

    ~~~

    Today is the last day to get over $200 in products for just $99 & free shipping too! 

    You'll get tons of new In Color products plus choose $125 in products of your choice! 

    ~~~

    All online orders in May will receive a free project tutorial and if your order is over $50 I'll also send you a pre-cut card kit!

    Leave a Reply

    Your email address will not be published. Required fields are marked *


Notice: LeeAnn Greff, Independent Stampin’ Up! Demonstrator, Manager. The content of this website is my sole responsibility as an independent Stampin’ Up! demonstrator and the use of, and content of, the classes, services, or products offered on this website is not endorsed by Stampin’ Up! Copyright 2025