/


Latest Post

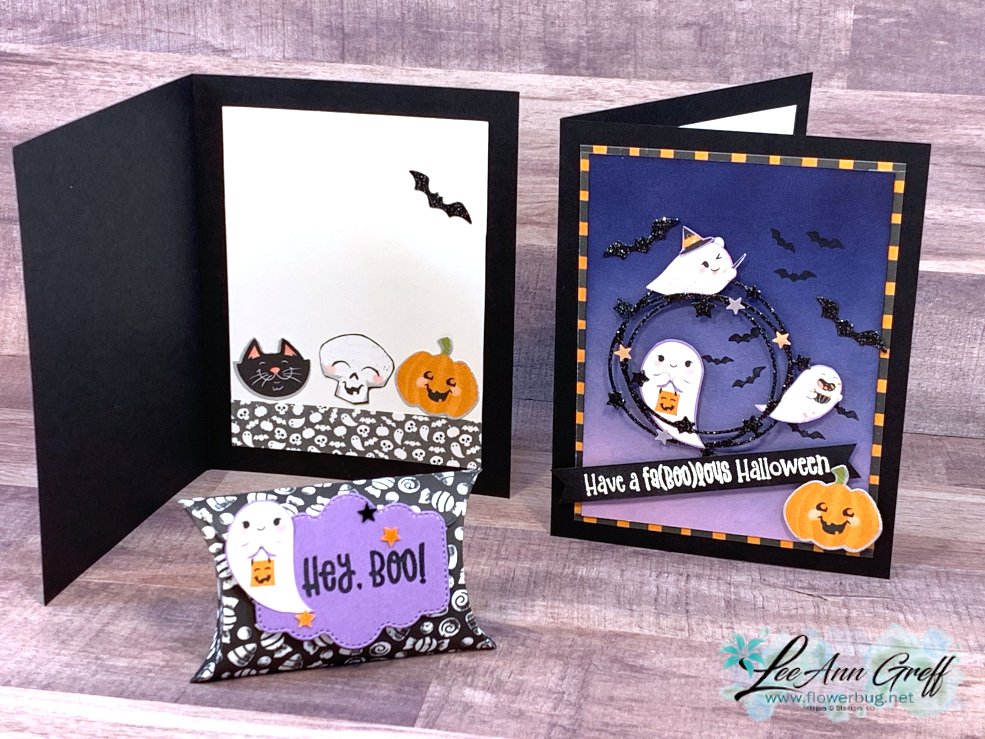
Ready for some fabulous ‘Cute Halloween’ projects?! Check out the video tutorial


Look at this adorable Halloween card I made on last week's FB Live.  Follow me on Facebook here so you don't miss my weekly videos!  There's on tonight at 7:30 pm CT and every Tuesday at 11 am CT. 
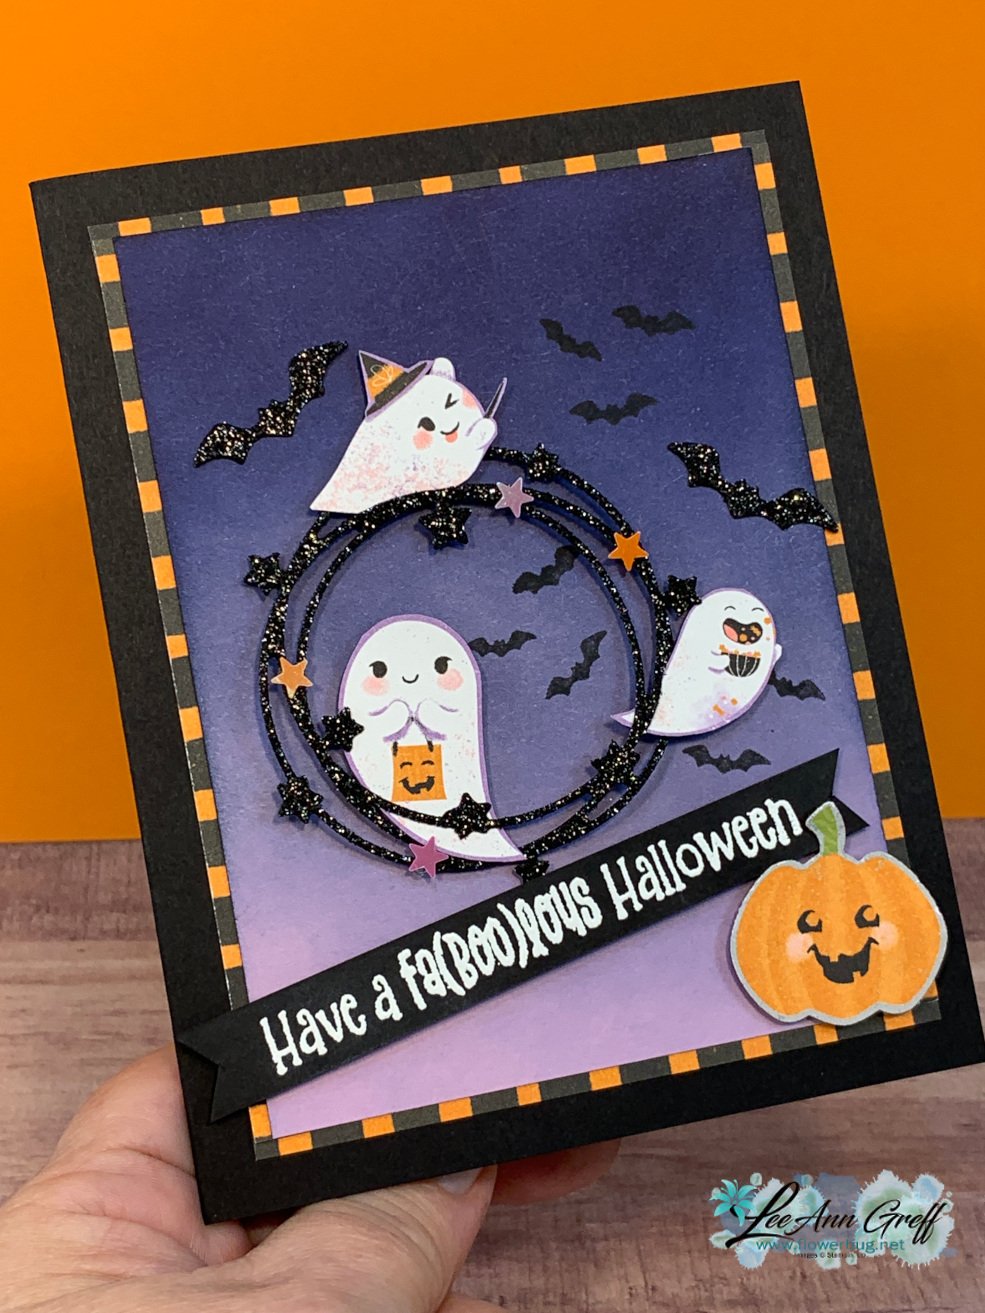
Product used:

  •  the ghosts, pumpkin and striped trim are from the Cute Halloween designer paper in the Holiday catalog.  See it here. 
  • I punched one of the ghosts and the pumpkin with the Halloween punch. It's in a bundle with the Cutest Halloween set seen here or on page 51, which is where the greeting is from. *Sadly the Halloween punch is now on back-order until November!
  • the wreath & bats are die-cut with the Seasonal Swirl dies seen here & Black Glimmer paper in the annual catalog; seen here
  • the ombre background is actually Fresh Freesia CS, with Misty Moonlight & Night of Navy added with our Blending Brushes *watch the video below
  • Cute Stars Adhesive-backed sequins are also added to the wreath
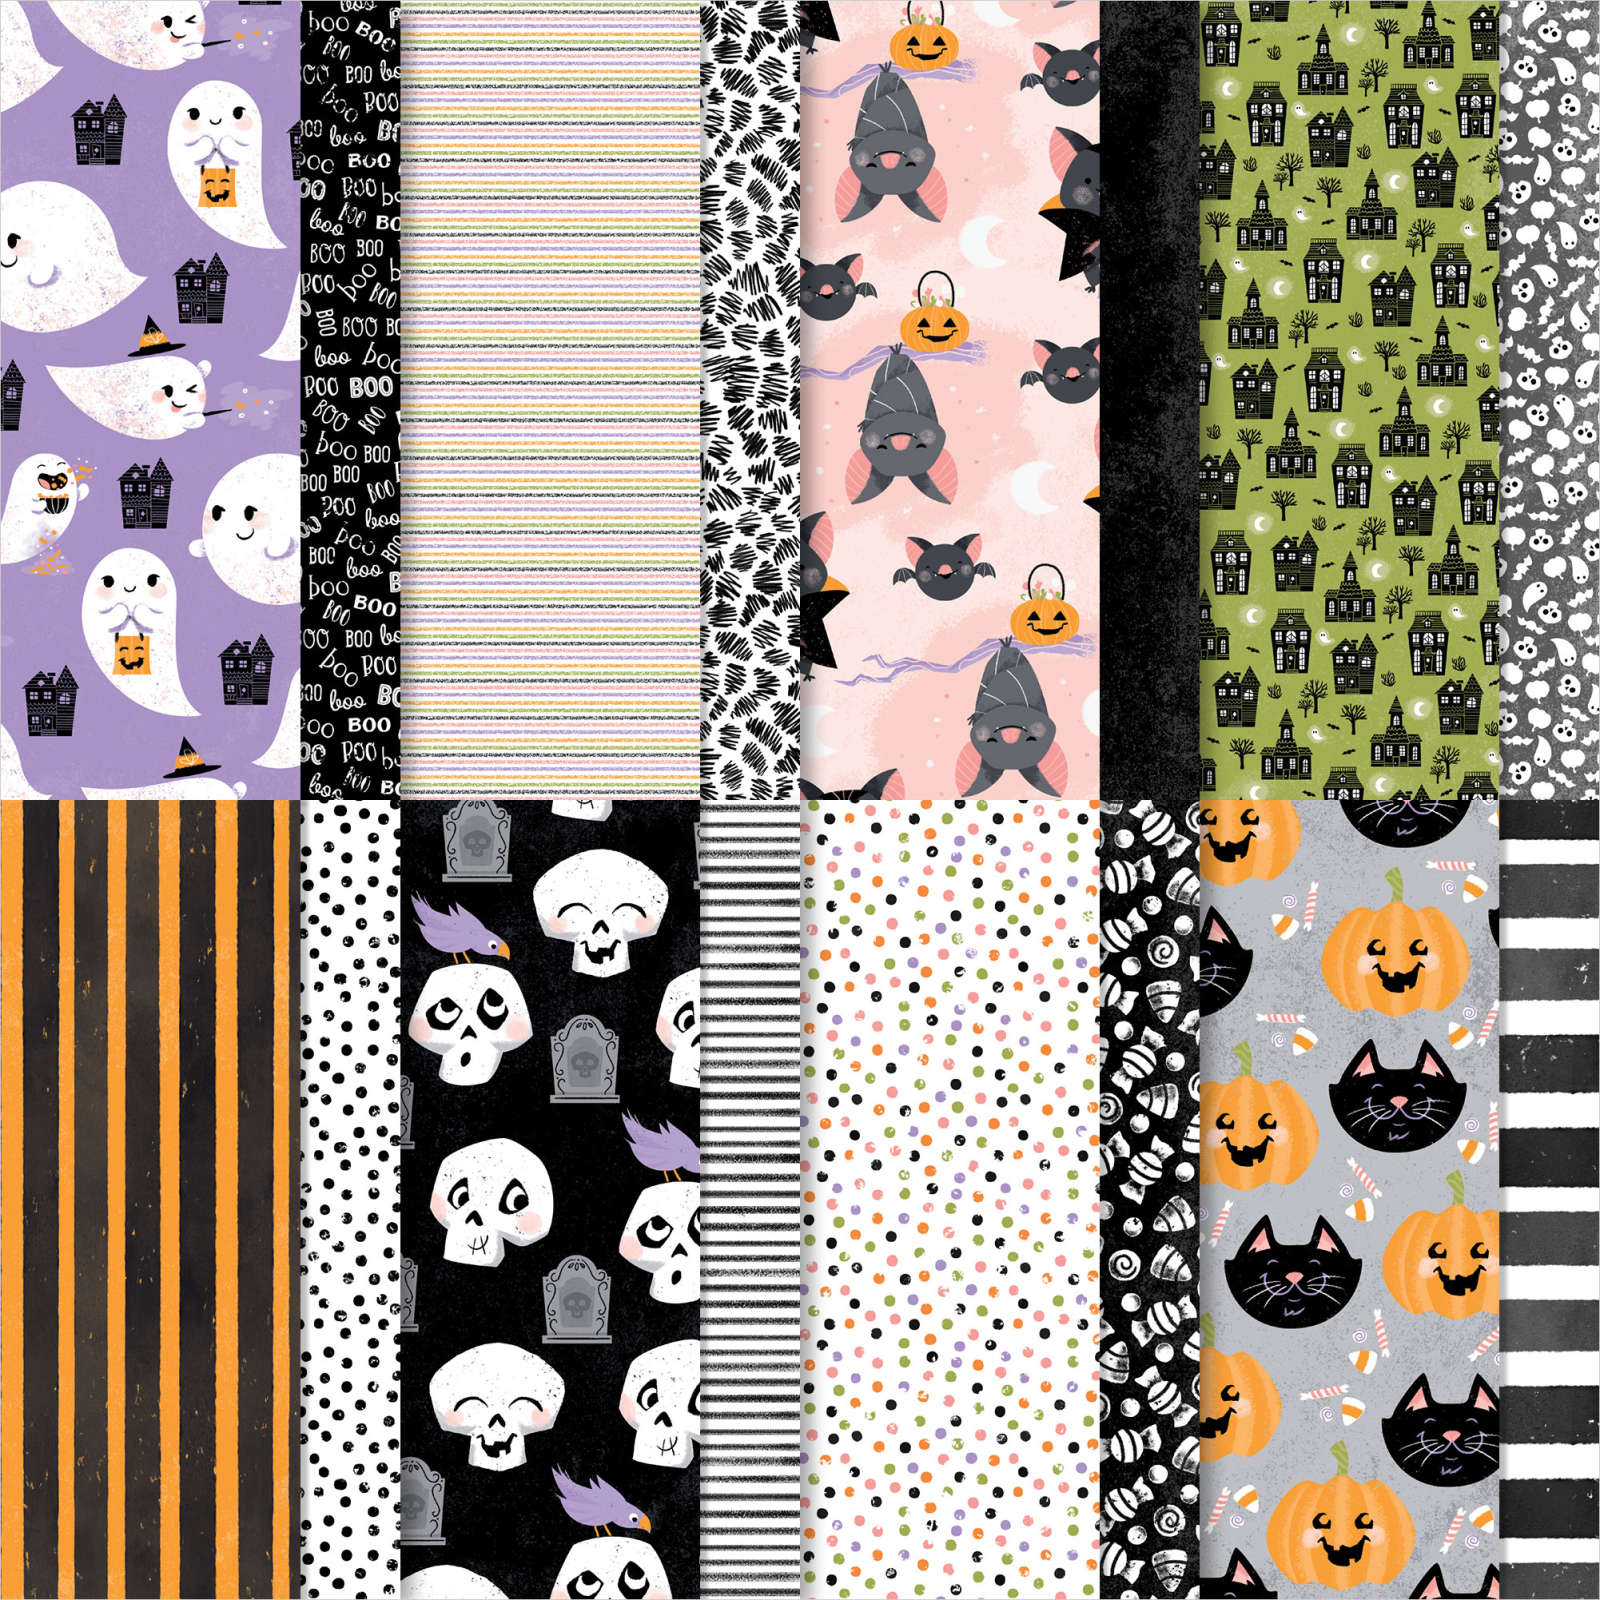
Check out the ghostly treat box in the photo above.  It's so simple to make with the Pretty Pillow box dies!
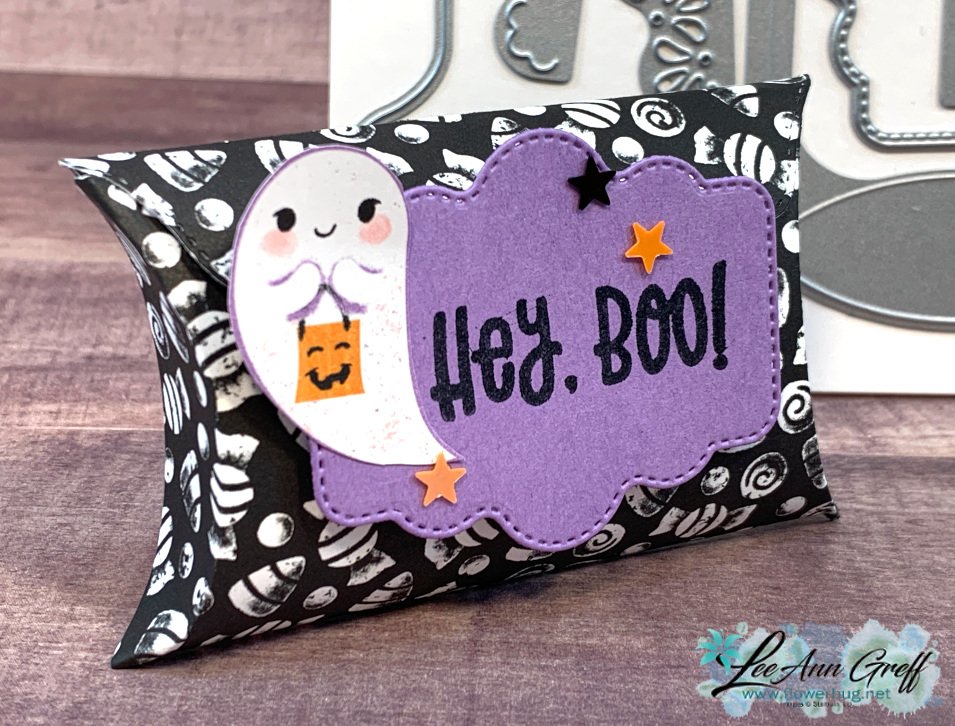
The stitched tag is also in the Pretty Pillow Box dies.  Look how it latches – the scalloped front slips in behind the tag in front.  I love that I don't need a special way to keep it closed; the tag does it for me! 

Check out the other version I made with the fun skeletons on the right?  I fussy cut them from the Cute Halloween paper. 

Measurements:

  • White 4 ¼” X 11” scored at 5 ½”, cut 1 ¾” from the right
  • Black 5 ½” X 8 ½” scored at 4 ¼”,
  • White & Fresh Freesia 3 ¾” X 4 ¾”, Black ½” X 4” strip for greeting
  • Cute Halloween DSP ½” strips

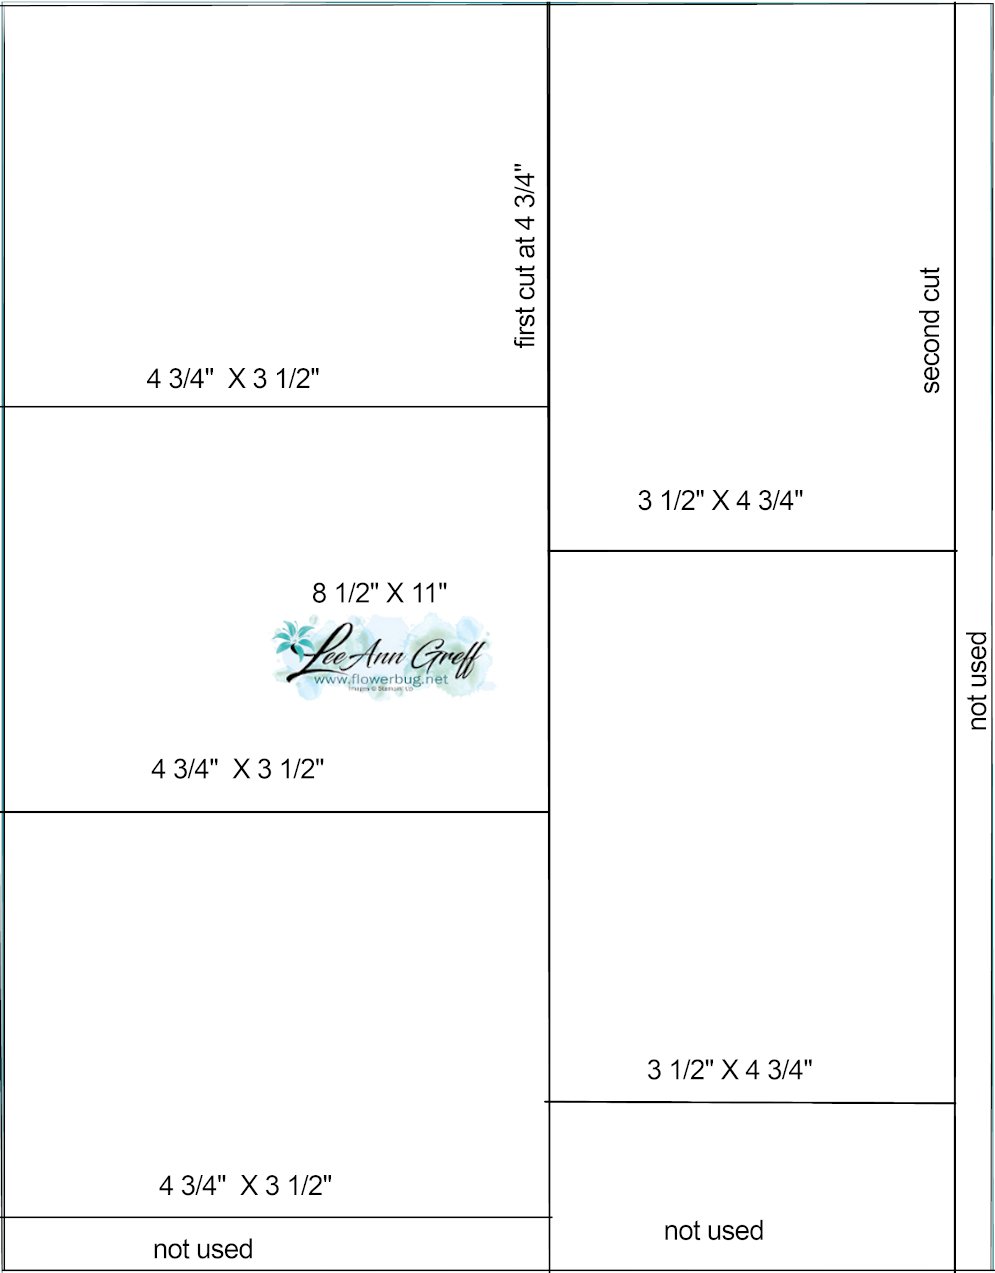
I haven't shared this for awhile so here it is; my favorite cutting template especially for inside a card.  Get 5 pieces from one 8 1/2" X 11" sheet of card stock. If you're making multiples this can save you a lot! 
Below is the video.  I make another project using Sparkle of the Season before this one. Fast forward to about 22 minutes in to see this neat Halloween card. 

~~~

September Specials

Host code: ASETFASJ or T7VSZQ64

*click here to order

All online orders will receive a free PDF tutorial filled with projects featuring

the Painted Christmas Suite!

Get a pkg. of Holiday Rhinestones with a $50 online order from me in September! 

Order here

BEST DEAL!

Get a Free Bundle  from the Holiday Catalog when you choose the Starter kit!  Pick out $125 in product of your choice for just $99 and shipping is free!  

All Posts

  • BEST DEAL!! Get the Stampin’ Cut & Emboss machine at almost half price!


    Have you been wanting the new Cut & Emboss machine but didn't want to pay $120 for it? 

    Well I have the answer!  

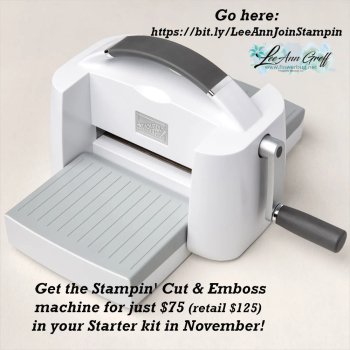
    During November you can add it to your Starter kit and pay just $75 instead of $120!  Or choose anything you want up to $125 and pay just $75 plus FREE SHIPPING! 

    *There are just a few days left on this deal.  Go here to get it. 

    People love how smooth this machine is; it's so well made and I really like that the ends fold up for storage or travel.  *See it here online. 

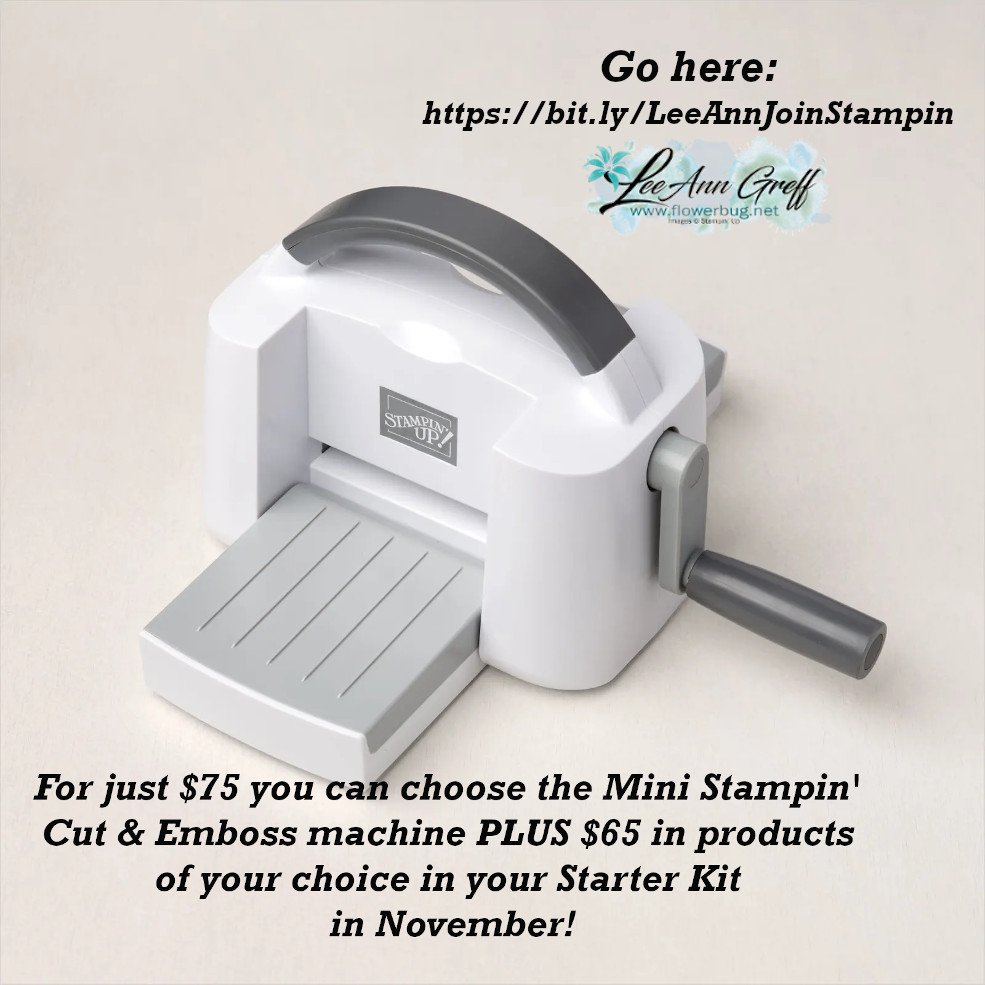
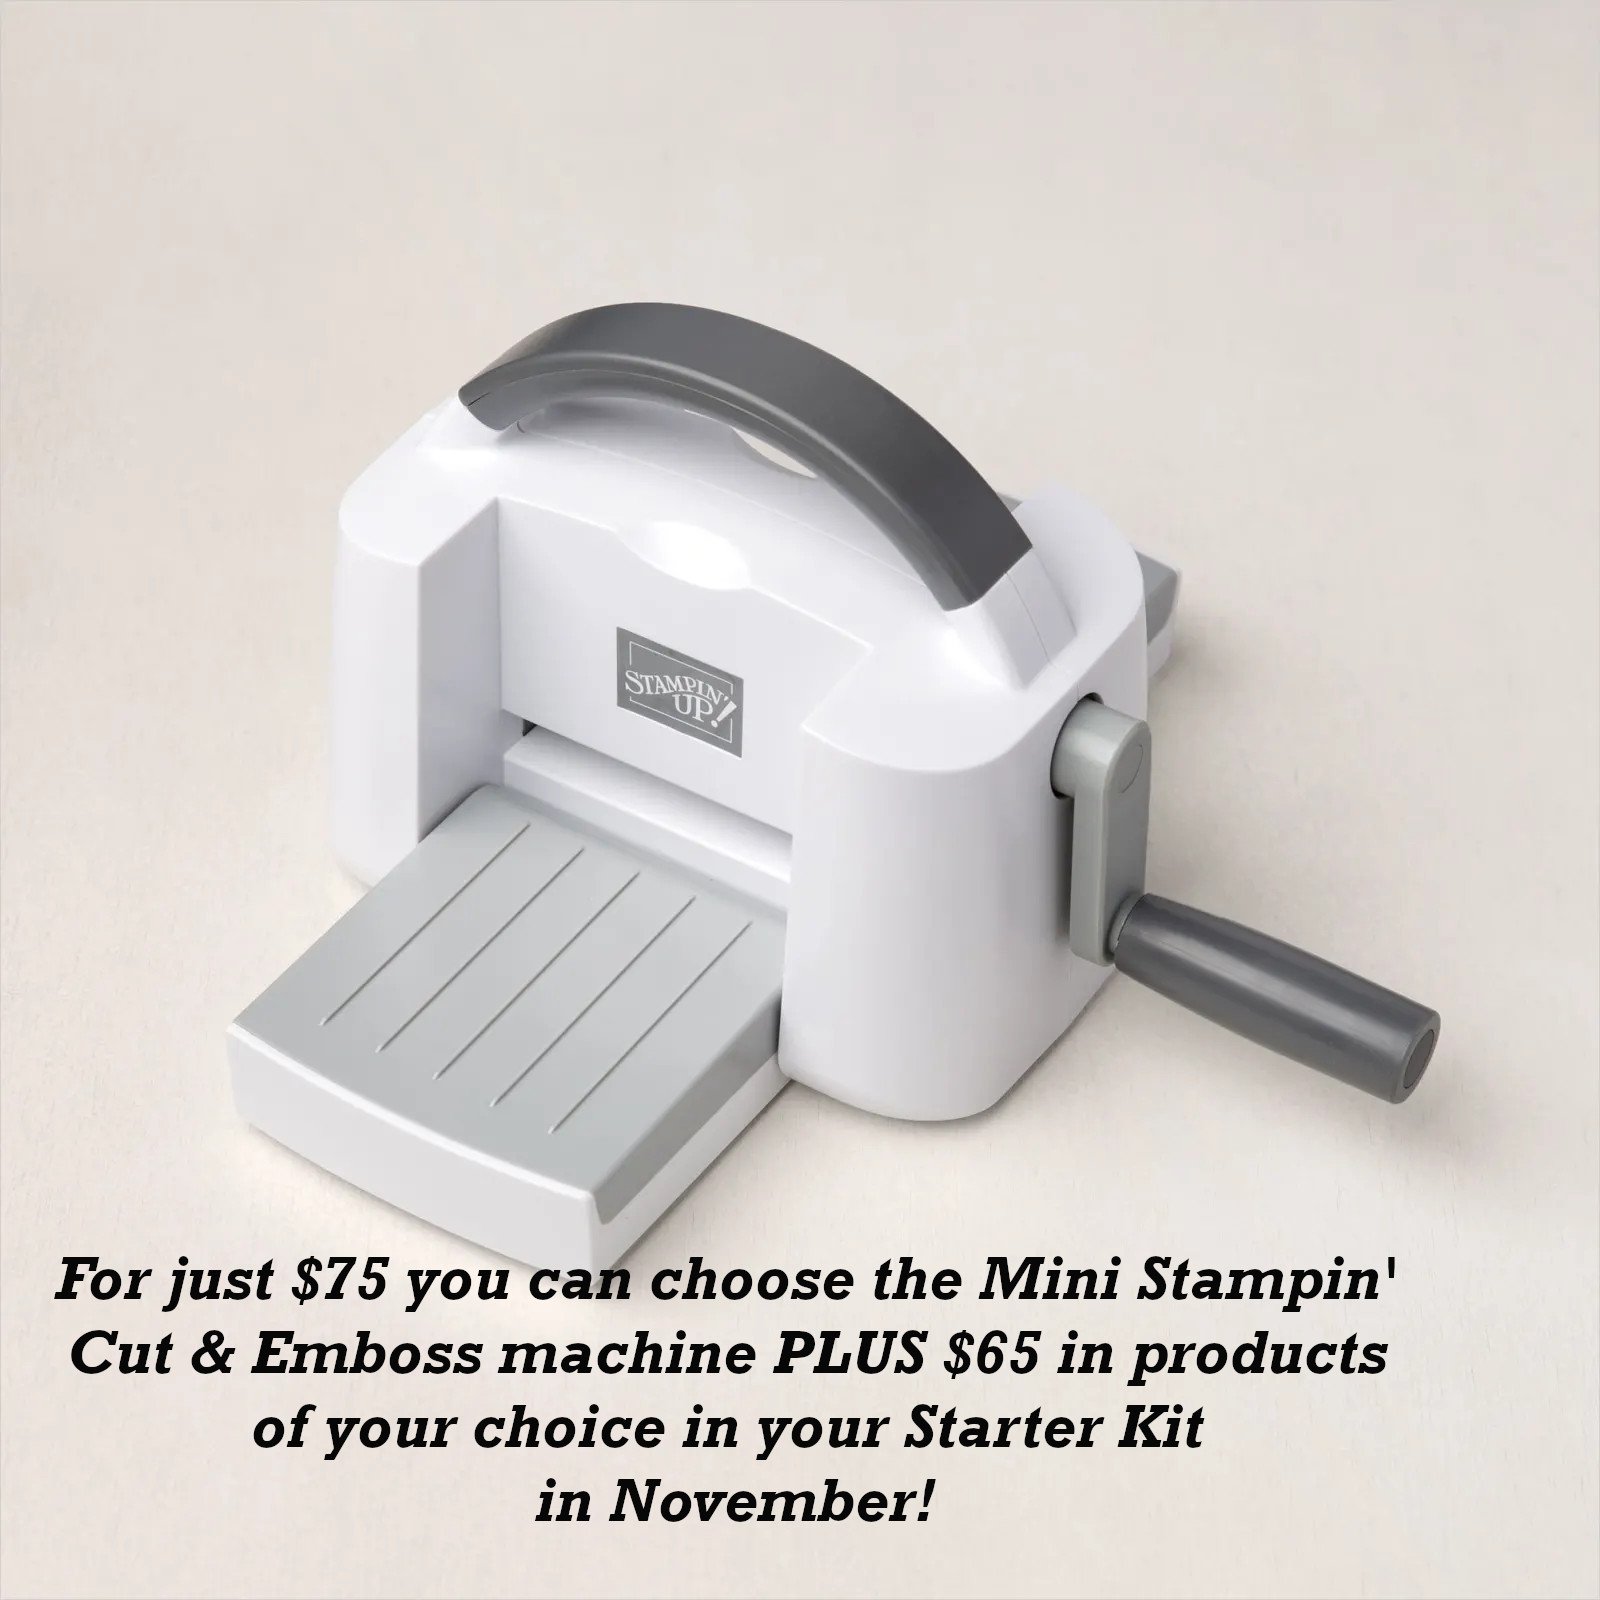
    Or maybe you've been eyeing the Mini Cut & Emboss machine….?  It's a smaller version; nice & compact to fit on your work surface.  It has a $60 value and if you add this to your Starter kit you can add another $65 in product and pay just $75!  Crazy!

    And did you know you get free shipping as well?  That's another $12.50 saved. *See the Mini here.


    Go here to get your Starter Kit; this fabulous deal ends November 30th!

    I'd love to have you on my Team!  

    Our Flowerbugs group is super active.  We have all kinds of options for every type of stamper.  You can join in as much as you want to or just enjoy the sharing & camaraderie. We have prizes, swaps, sharing, featured stampers, videos, free tutorials galore & more.  They all say they love being a Flowerbug! 

    ~~~

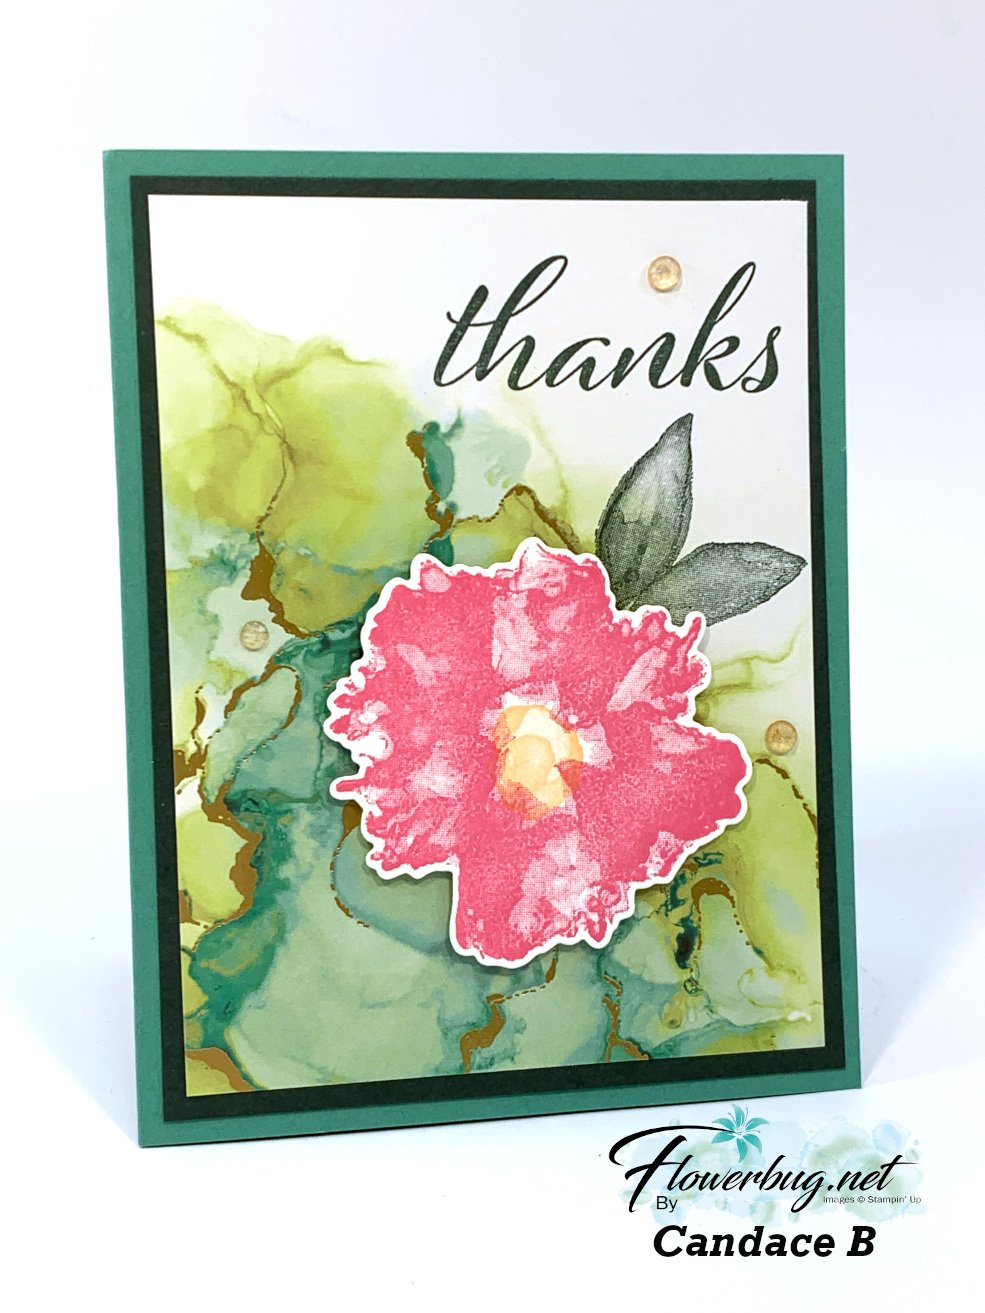
    Here are two more cards made by my talented Flowerbugs! Both used the Expressions in Ink suite. 

    Candace made this first one using a nice piece of the beautiful Expressions in Ink specialty DSP.  She stamped her greeting and leaves directly onto the DSP using Evening Evergreen ink.  


    Then she stamped the large flower on a separate piece of White CS and die-cut it out using the Artistic Dies.  Lovely!

    Tracey made this one using just the Artistically Inked stamp set.  She stamped all of her images on the White CS and added that to a layer of textured White CS.  She used the Timber 3D embossing folder.  

    You can see she added a bit of sponging to the embossed layer to really bring out the texture.  

    ~~~

    November Specials: 

    Host codes: Z2RQ7BB6

    *click here to order

    Online orders over $50 get a pre-cut card class of 4 cards & PDF tutorial.
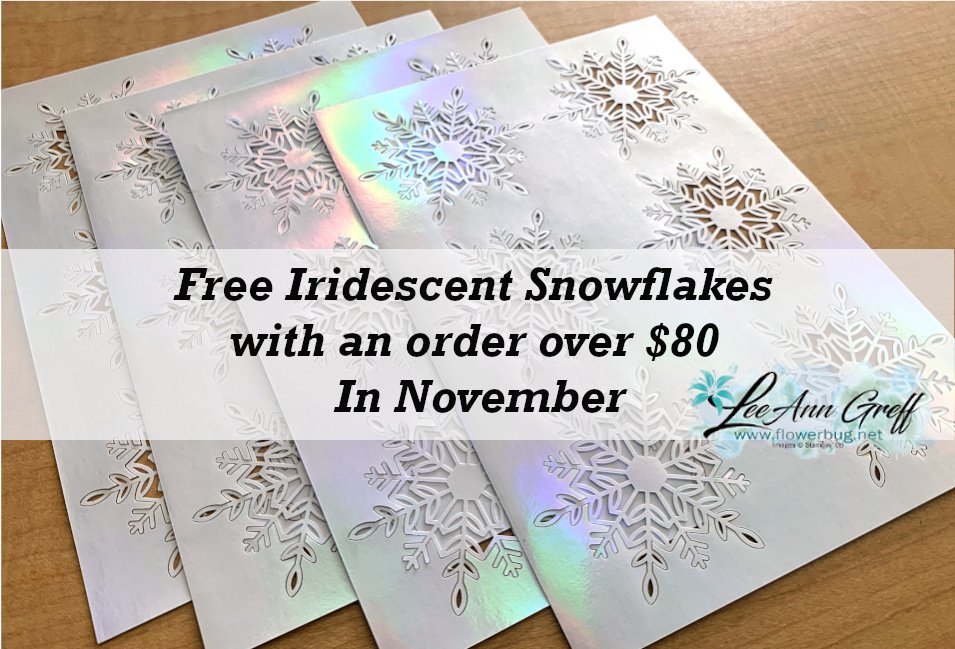
    *Orders over $80 will receive the card kit PLUS 24 Iridescent snowflakes!

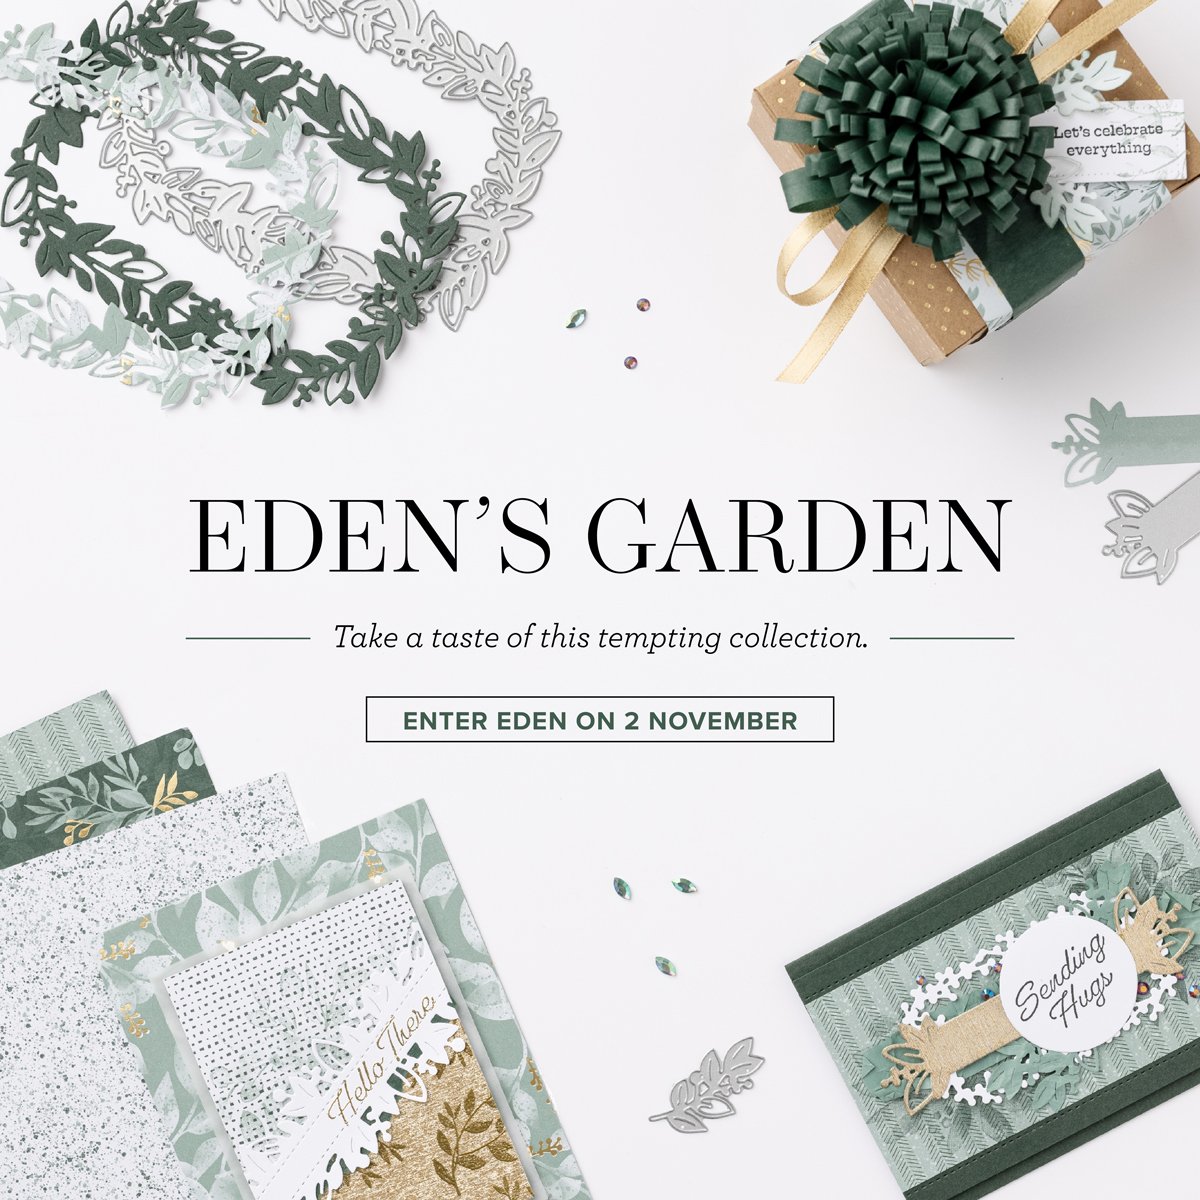
    All online orders will receive my Eden's Garden PDF 22 project tutorial free! 

    Get any of the tutorials or kits to go below in my Kit & Tutorial shop here:

    Peaceful Wishes Christmas – limited supply available; 20 cards!


    Christmas cards stamp a stack; limited supply! 

    Leave a Reply

    Your email address will not be published. Required fields are marked *

  • What’s Cookin’ & All For Baby card ideas


    Today I'm sharing two cards made by sisters on my Flowerbugs Team.  They're so talented and I love to see what they make for our swaps.  

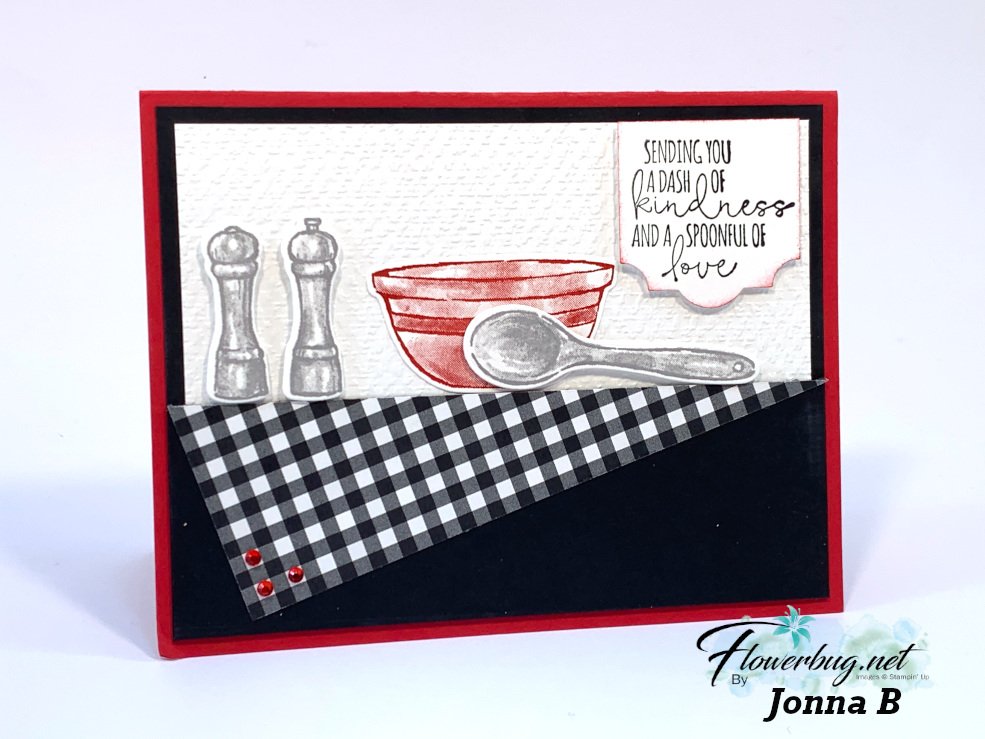
    First is an amazing card made by Jonna.  She used the What's Cookin' bundle seen here.  I LOVE her colors and how she created a tablecloth from the patterned paper by placing it on an angle.  

    She stamped & die-cut the cooking elements and added it to the 'table'.  The White background is textured with the Tasteful Textile 3D embossing folder.  

    The greeting is stamped and punched out with the Everyday Label punch. It's neat how she used it vertically instead of the usual way. 

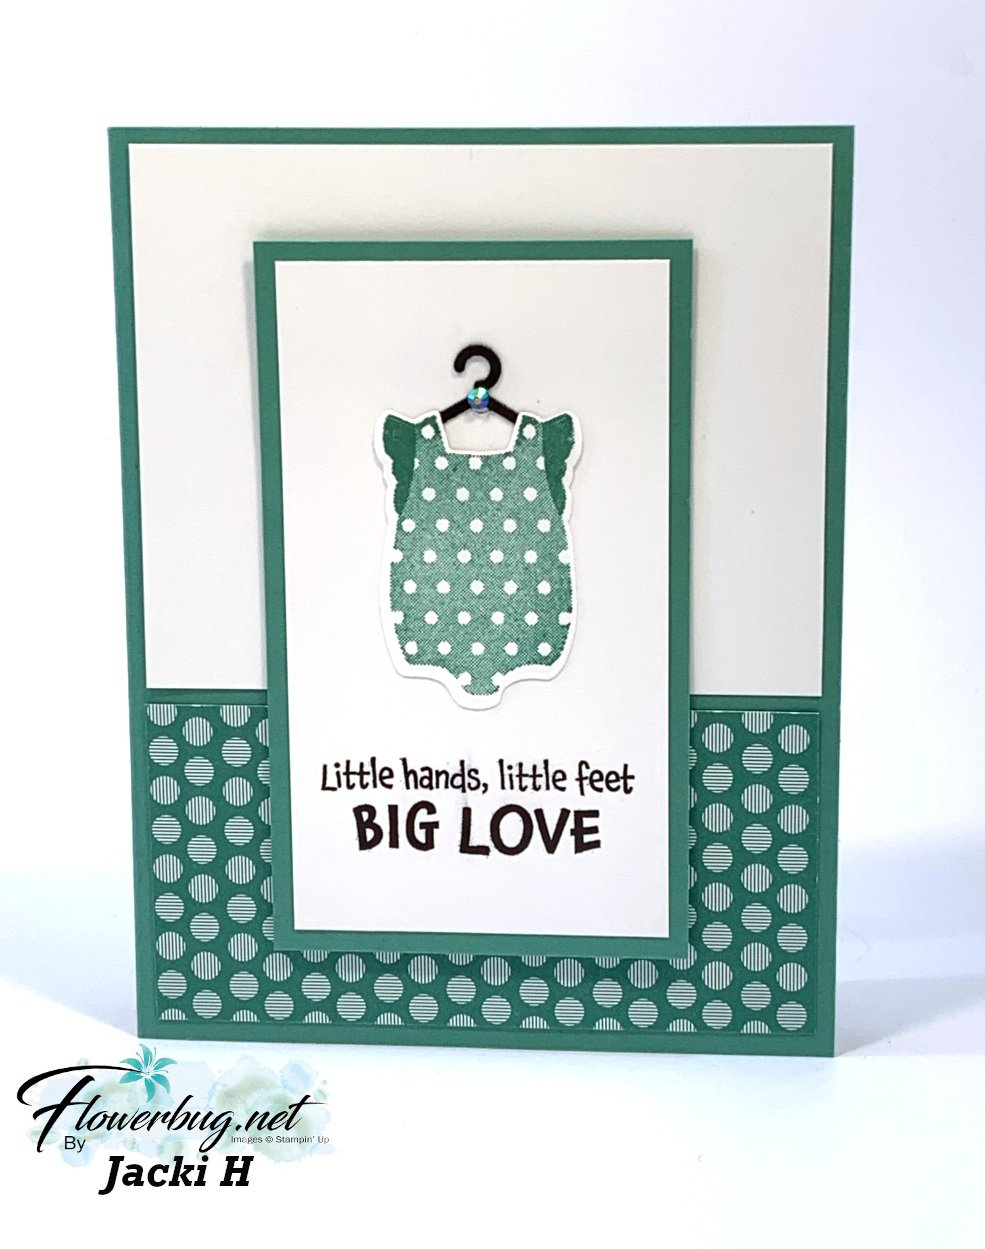
    Next is a sweet baby card made by Jacki featuring the All for Baby bundle seen here.  Her colors are Just Jade & Basic White.  The baby outfit is stamped in Just Jade ink and die-cut; then added with the hanger die-cut.  The designer paper is from our In color patterned paper packs – we have 6 sets of these in all of our color families. 

    That little rhinestone on the hanger is a great addition. I love the simplicity of this card; it really showcases the outfit & greeting.  

    ~~~

    November Specials: 

    Host codes: Z2RQ7BB6

    *click here to order

    Online orders over $50 get a pre-cut card kit of 4 cards & PDF tutorial.
    *Orders over $80 will receive the card kit PLUS 24 Iridescent snowflakes!

    All online orders will receive my Eden's Garden PDF 22 project tutorial free! 

    Get the deal on the Starter kit here!  $125 in product for $75 plus free shipping!

    Get any of the tutorials or kits to go below in my Kit & Tutorial shop here:

    Peaceful Wishes Christmas – limited supply available; 20 cards!


    Christmas cards stamp a stack; limited supply! 

    Leave a Reply

    Your email address will not be published. Required fields are marked *

  • Gorgeous Blackberry Beauty card swaps


    Happy Thanksgiving!!  I hope you have a wonderful day filled with good food, friends and family.


    There really isn't a better word for the Blackberry Beauty specialty designer paper.  Gorgeous just fits.  

    Today I'm sharing two fabulous card ideas made by two of my Flowerbug Team members. 

    First is Annette's pretty card.  I think my favorite thing is how she made the amazing designer paper the star of the card.  You don't need to add much to make a card shine with this Blackberry Beauty paper!  See it here. 

    She added a stitched rectangle die-cut in Blackberry Bliss for her greeting, heat embossing it with Gold embossing powder. That thinner strip of Gold foil brings your focus back to the greeting.  I love the 3 Elegant Faceted gems on the left too. 

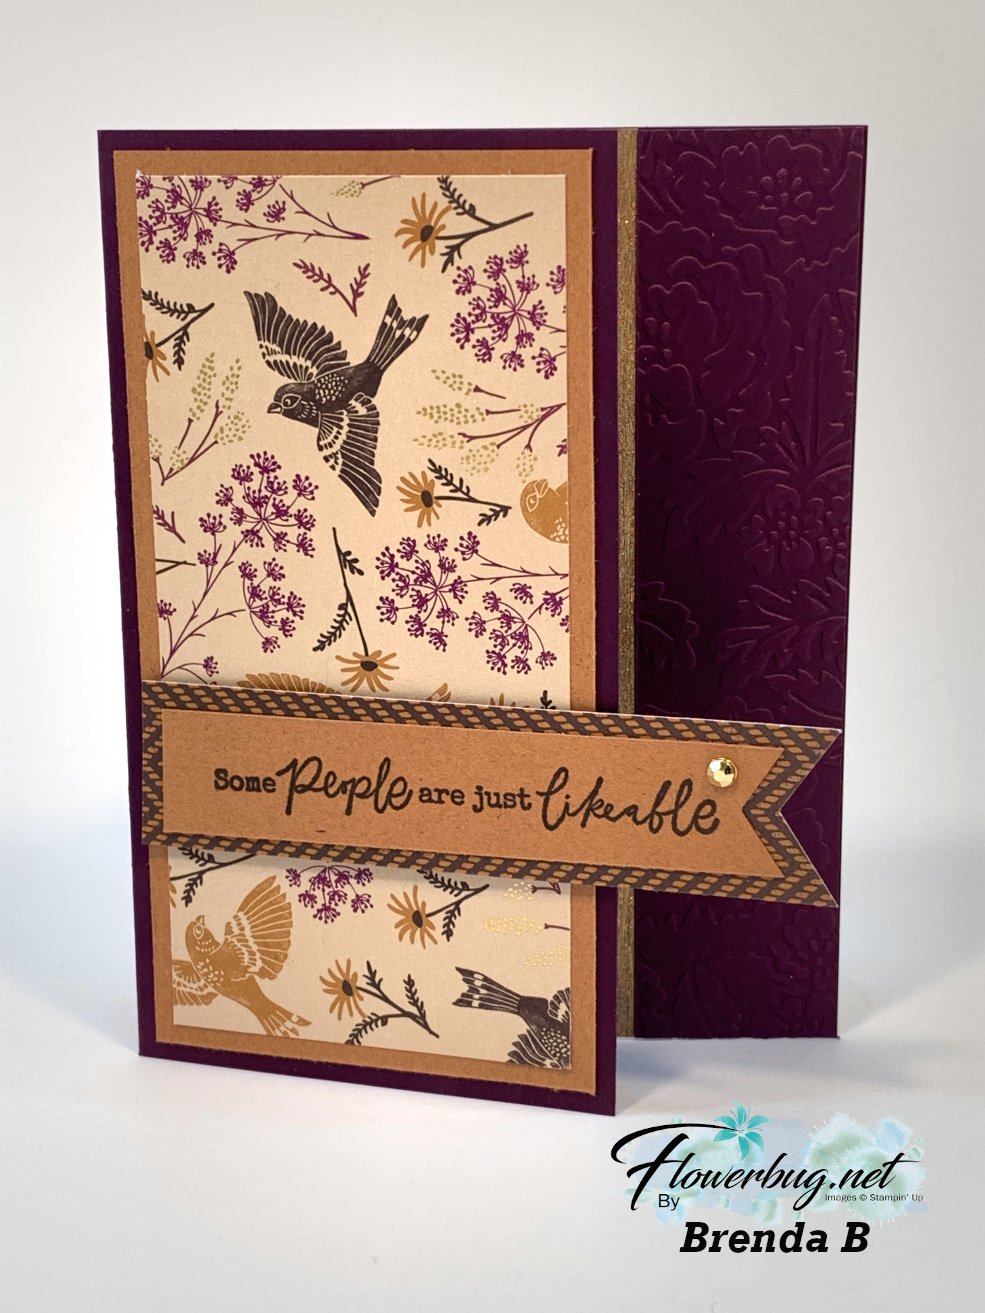
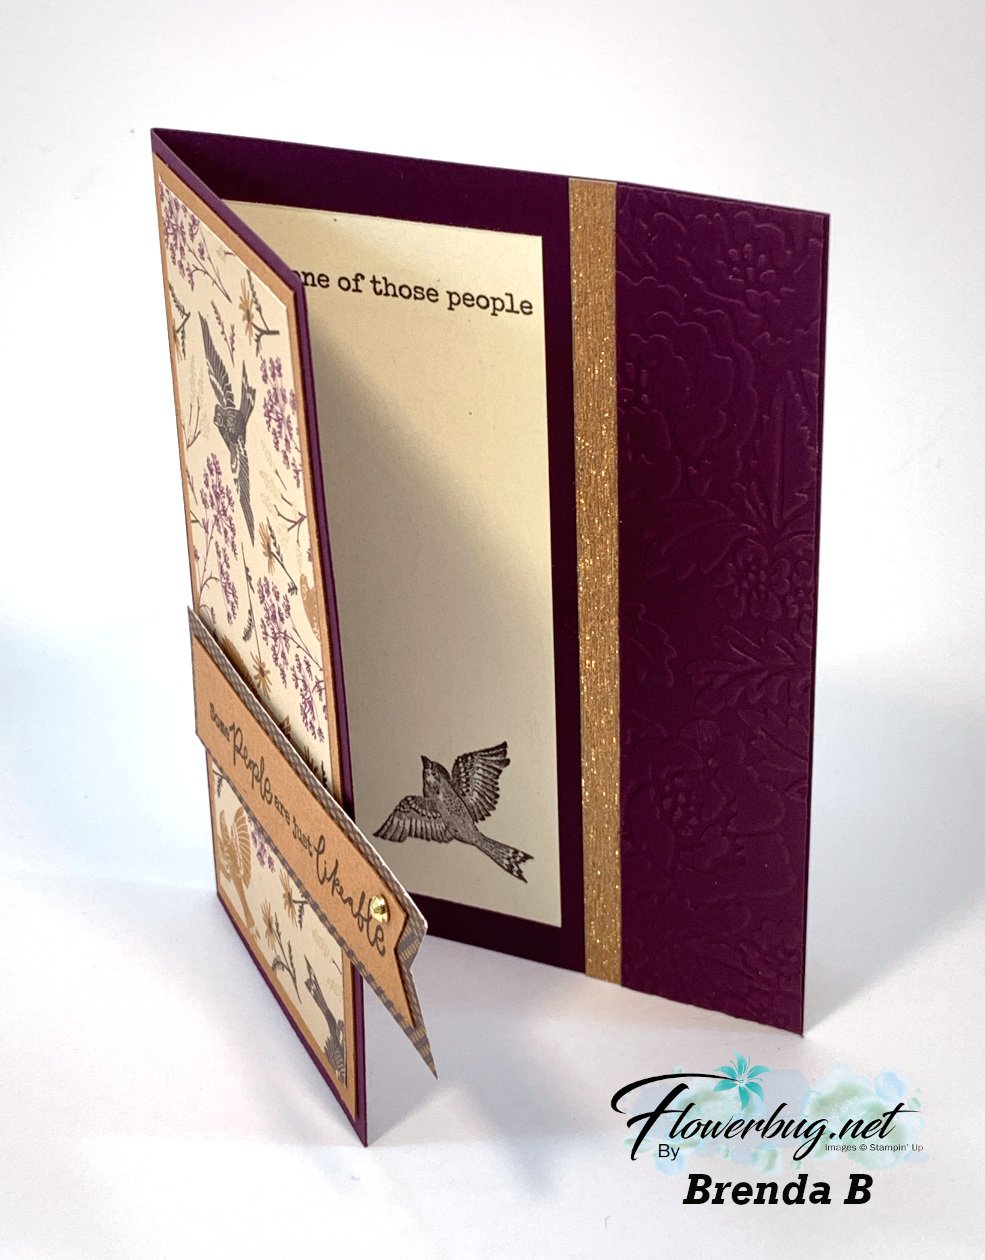
    Next is a neat fun fold card made by Brenda.  

    She trimmed off 1 1/4" off the right edge of the card base and textured it with the Pretty Flowers embossing folder.  Then she adhered it back onto the 'inside' of the card. 

    I like how she layered the greeting strip with another piece of this designer paper.  Look at the added detail of the thin strip of Brushed Gold paper.  

    Measurements: 

    • Blackberry Bliss card base 5 1/2" X 8 1/2" scored at 4 1/4".  Trim off 1 1/4" off the edge
    • DSP 5" X 2 1/2", 1" X 4 1/4" strip 
    • Cinnamon Cider 3" X 2 3/4", 3/4" X 4" greeting strip 
    • inside piece 2 1/3" X 4 3/4"
    • Gold strip 1/4" X 5 1/2" 

    ~~~

    November Specials: 

    Host codes: Z2RQ7BB6

    *click here to order

    Online orders over $50 get a pre-cut card kit of 4 cards & PDF tutorial.
    *Orders over $80 will receive the card kit PLUS 24 Iridescent snowflakes!

    Get the deal on the Starter kit here!  $125 in product for $75 plus free shipping!

    All online orders will receive my Eden's Garden PDF 22 project tutorial free! 

    Get any of the tutorials or kits to go below in my Kit & Tutorial shop here:

    Peaceful Wishes Christmas – limited supply available; 20 cards!


    Christmas cards stamp a stack; limited supply! 

    Leave a Reply

    Your email address will not be published. Required fields are marked *


Notice: LeeAnn Greff, Independent Stampin’ Up! Demonstrator, Manager. The content of this website is my sole responsibility as an independent Stampin’ Up! demonstrator and the use of, and content of, the classes, services, or products offered on this website is not endorsed by Stampin’ Up! Copyright 2025