/


Latest Post

Quick cards for Men using paper strips!


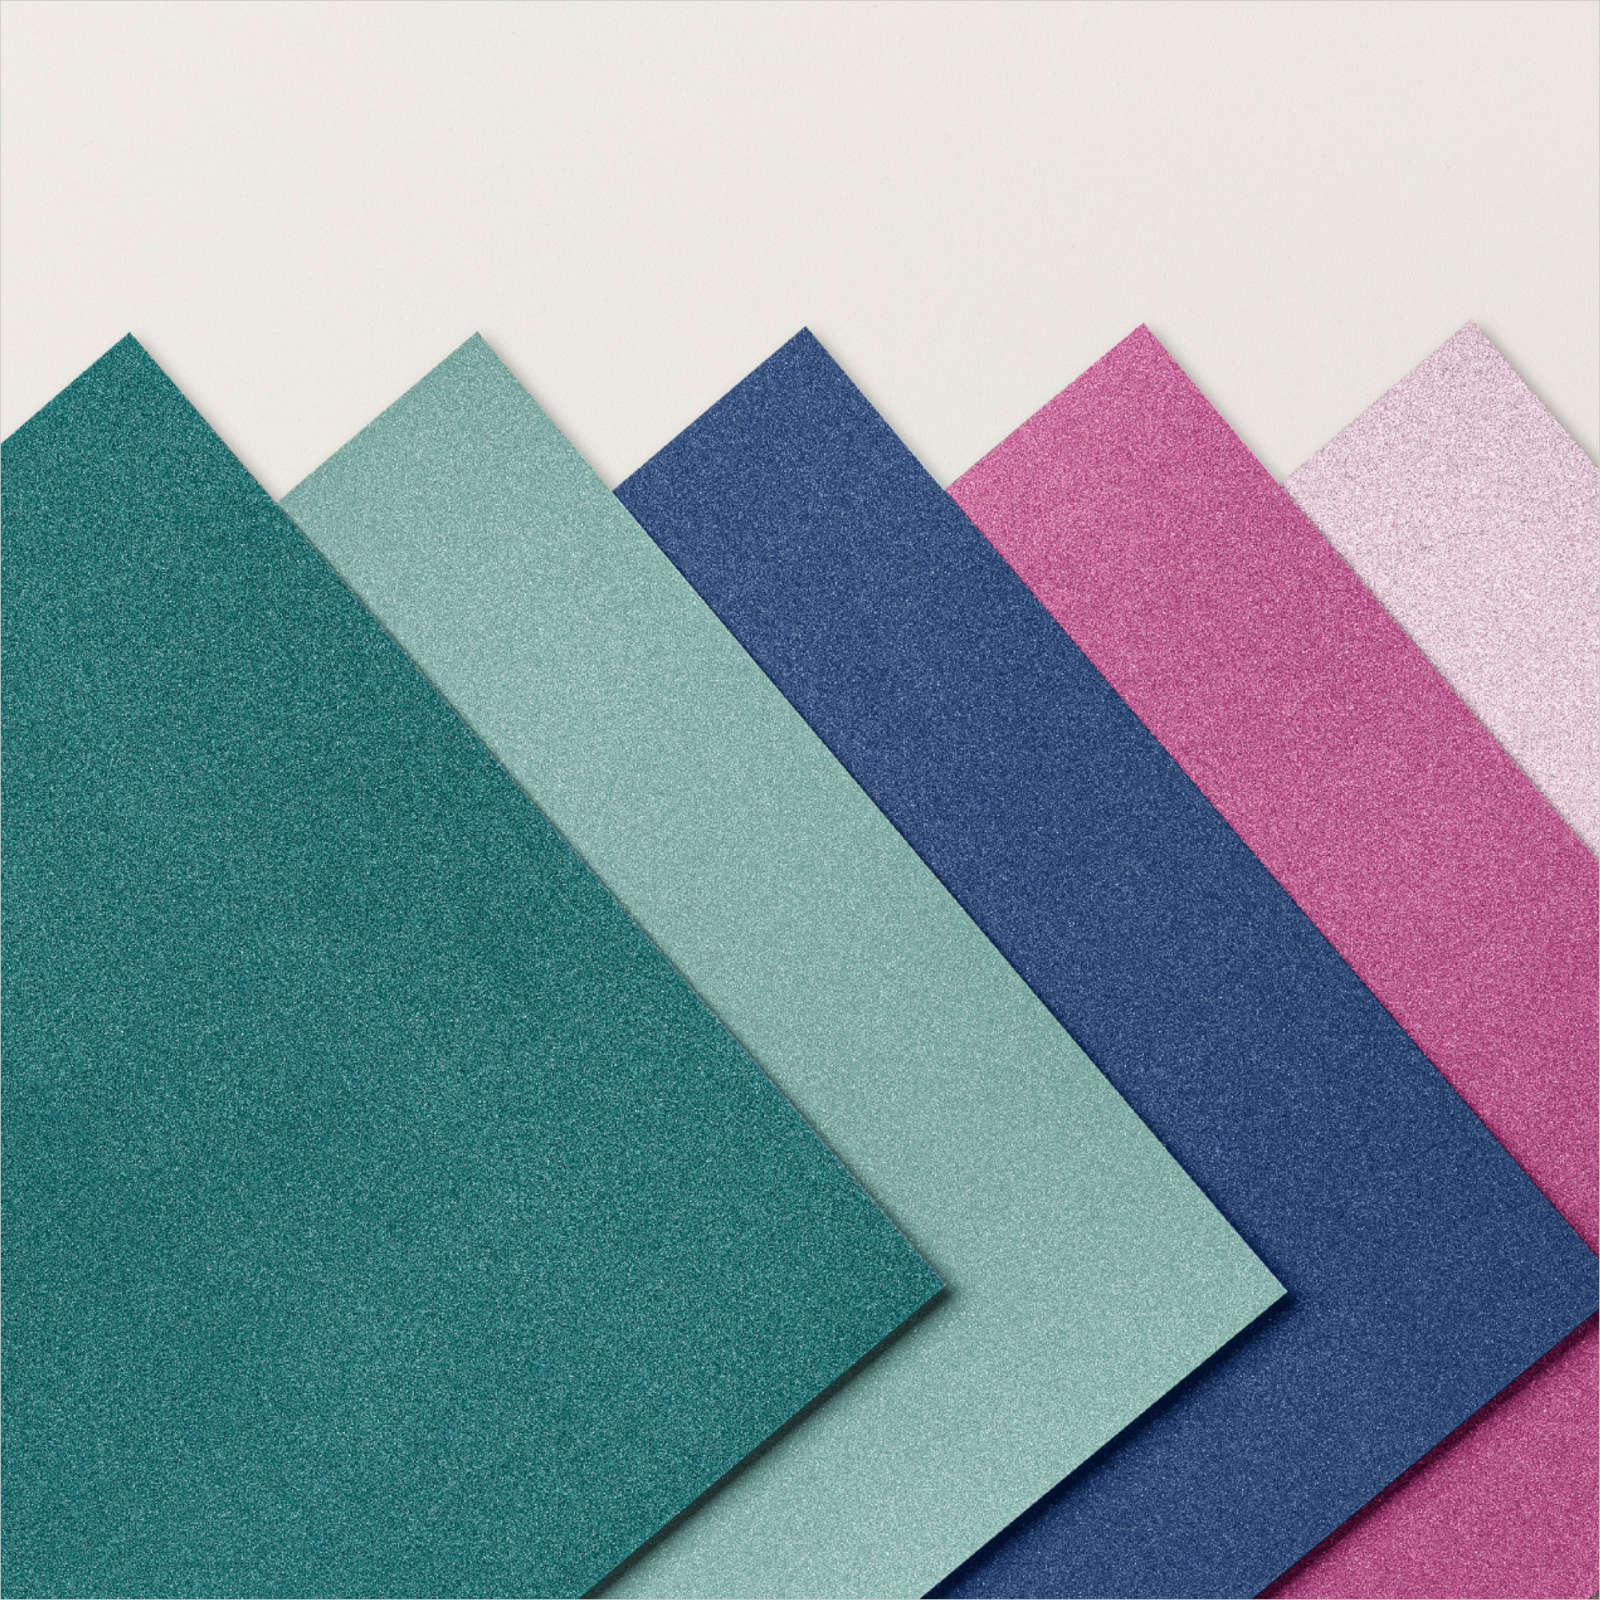
I thought paper strips were a perfect way to create cards for men.  So I chose some 1/2" strips of blues and greens and adhered them to a piece of White 4 1/4" X 5 1/2" card stock at an angle. 

Add them at an angle, graduating colors as you go if you wish.  Once you're added strips trim off the excess on the edges.  

Next I used the retiring Well Written 'birthday' dies seen here and cut it out of the stripes piece.  I wanted the greeting to reflect the same colors in the background.  So easy!  

I adhered it to the Tasteful Labels die-cut with Multipurpose Glue. I stamped 'Happy' from the coordinating stamp set Well Said seen here and fussy cut it to add to the card.  

~~~

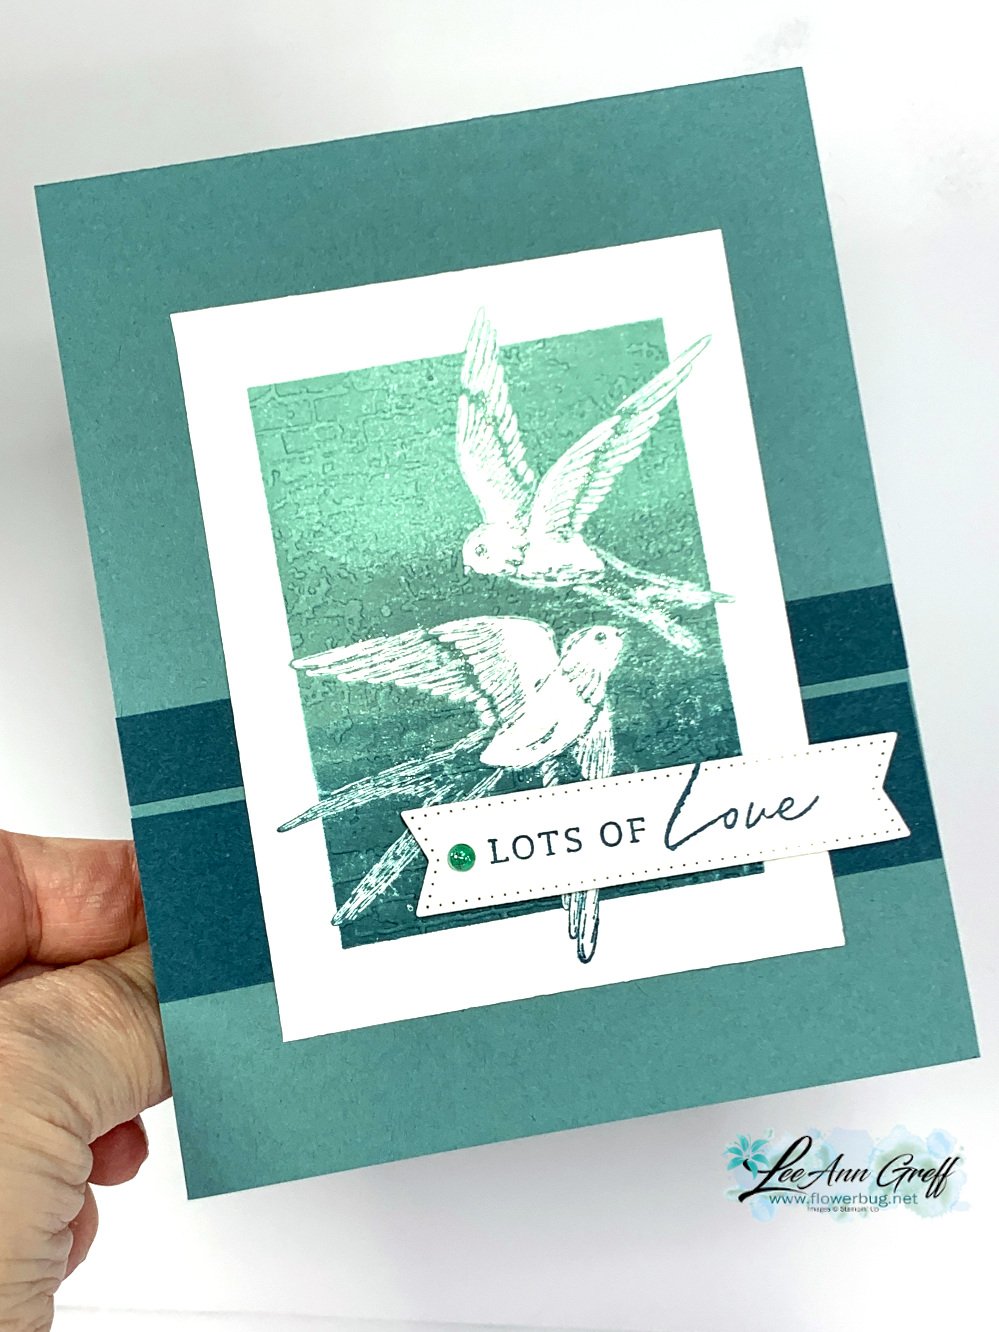
Next is another card with the exact same colors but totally different.  I adhered 1/2" strips to the edge of a White card base.  I didn't worry about the outer edge until I was done; trimming it off afterwards.  I focused on the left edge being even.   

I added a skinny 1/8" strip of Night of Navy to cover up any unevenness on my left edge.  A length of Navy twine wrapped around and into a bow finishes it off. 

The 'you' is from the Well Written dies and the 'make me smile' is rom the Well Said stamp set (heat embossed in White) on a Navy Tailored Tag punch.


Here's the video for all 10 paper strips projects!  

More details on my paper strips projects tomorrow! 

~~~

April Specials!

Click here for the Annual Catalog Retiring List; many discounted items while supplies last! 

Current Host code is 3PA3P32V

Order online here

~~~

Get a free multipurpose glue stand with an online order over $60 using the host code above. You'll receive a color of my choice unless you let me know your preference. *if you'd rather have gems; let me know.

*If your order is over $150 do not use the code; you'll still receive a gift! 

You can also order them in my Shop here. 

All online orders will receive a free 14 project PDF tutorial

All Posts

  • Marvelous Nature Ombre technique with video tutorial


    Today I'm sharing the other card I made during Tuesday's video.  Both featured the new set called Marvelous Nature.  


    I used an ombre technique where I inked the solid stamped image with three inks consecutively.  The top is Pool Party, the middle is Lost Lagoon and the bottom is Pretty Peacock.  


    You can see this pretty Marvelous Nature stamp set here. 

    The greeting is from the set but I did use the Stylish Shapes dies for it and popped it up on Dimensionals. 

    The card base is Lost Lagoon with two strips of Pretty Peacock under the main image.  As you can see by the photo below the left card is lighter than the right one.  In the video I went over the upper part of the image one more time using the Stamparatus; mostly so I could get a more solid, complete image. 

    Click here or on the photo below to watch the video.  Don't forget to subscribe to my YouTube channel too!

    ~~~

    June Specials:

    Designer Paper is 15% off in June!

    WOW – get $155 in product for $99 with free shipping! click here!

    Get a package of In Color pearls with online orders over $55 using a host code.

    *current host codes: ZHZ6CPYU or AJVB3B3V 

     Earn free products with my loyalty rewards! 

    Click here to download yours and earn a $50 shopping spree!

    Leave a Reply

    Your email address will not be published. Required fields are marked *

  • Pretty Marvelous Nature card with video tutorial & measurements


    I've seen a few projects with the Marvelous Nature set and was intrigued by it's reverse images. And it's nature so I ordered it.  This card was one of two I made on this week's Live video: 

    I chose to use Lost Lagoon with Pretty Peacock. I also added some of the Hello, Irresistible designer paper. This pretty DSP is on sale right now too!  See it here.  

    You may also spy the shimmery strip beside the greeting.  This is our Soft Shimmer 12" X 12" paper pack seen here.  It has 5 rich colors in it.

    The Marvelous Nature stamp set (seen here) includes two beautiful images and three greetings.  I kept my card very simple to show off the pretty fern image. 

    I love these colors together!  

    Click here or on the photo below to watch the video.  Don't forget to subscribe to my YouTube channel too!

    ~~~

    June Specials:

    Designer Paper is 15% off in June!

    WOW – get $155 in product for $99 with free shipping! click here!

    Get a package of In Color pearls with online orders over $55 using a host code.

    *current host codes: ZHZ6CPYU or AJVB3B3V 

     Earn free products with my loyalty rewards! 

    Click here to download yours and earn a $50 shopping spree!

    Leave a Reply

    Your email address will not be published. Required fields are marked *

  • Colorful Inked Botanicals card kit or PDF tutorial option; available now


    The Inked Botanicals designer paper is a favorite of my customers so I chose it as one of my June card kits.  The color combinations and botanical prints are pretty and quite colorful too. 

    Here are the cards I came up with: 

    This 10 card kit features the Inked Botanicals 6 X 6" designer paper by Stampin' Up!  There are 5 designs and you'll make 2 of each.

    Each month I offer at least two kits to go.  The other June kit features the Bright & Beautiful DSP seen here. Each one is available as a pre-cut kit (a convenience for those who don't like to measure or cut pieces) or as a PDF tutorial.  See all of my kits & tutorials here.  

    You'll receive the following in this pre-cut kit:

    • 1/2 pkg. 6 X 6" Inked Botanicals DSP
    • a share of Lost Lagoon 1/4" ribbon
    • a share of Brass Butterflies gems
    • All pre-cut pieces for the 10 cards including punched & die-cut pieces
    • the PDF tutorial is emailed to you immediately

    Click here to see the pre-cut kit option.  It's $28 plus shipping.  *Opt in by June 19th. 

    Or Click here for the PDF tutorial; it's $15.

    The tutorial includes photos, step by step directions, a supplies list and measurements.  You'll receive the PDF tutorial in an email immediately after payment.  Please check your spam or junk folder. 

    To complete the cards you will need the following: Calypso Coral & Lost Lagoon inks, a paper trimmer and adhesives. 

    I used the Layering Leaves stamp set for my greeting images.  If you'd like to add it to the kit at an extra 10% off, please message me here and I'll send you an invoice.   

    I think the colors and patterns in this designer paper are fantastic! 

    ~~~

    June Specials:

    Designer Paper is 15% off in June!

    WOW – get $155 in product for $99 with free shipping! click here!

    Get a package of In Color pearls with online orders over $55 using a host code.

    *current host codes: ZHZ6CPYU or AJVB3B3V 

     Earn free products with my loyalty rewards! 

    Click here to download yours and earn a $50 shopping spree!

    Leave a Reply

    Your email address will not be published. Required fields are marked *


Notice: LeeAnn Greff, Independent Stampin’ Up! Demonstrator, Manager. The content of this website is my sole responsibility as an independent Stampin’ Up! demonstrator and the use of, and content of, the classes, services, or products offered on this website is not endorsed by Stampin’ Up! Copyright 2025