/


Latest Post

Quick card with the Violet Dreams DSP


Here’s the second card I made featuring the Violet Dreams suite. I shared it during last week’s video.
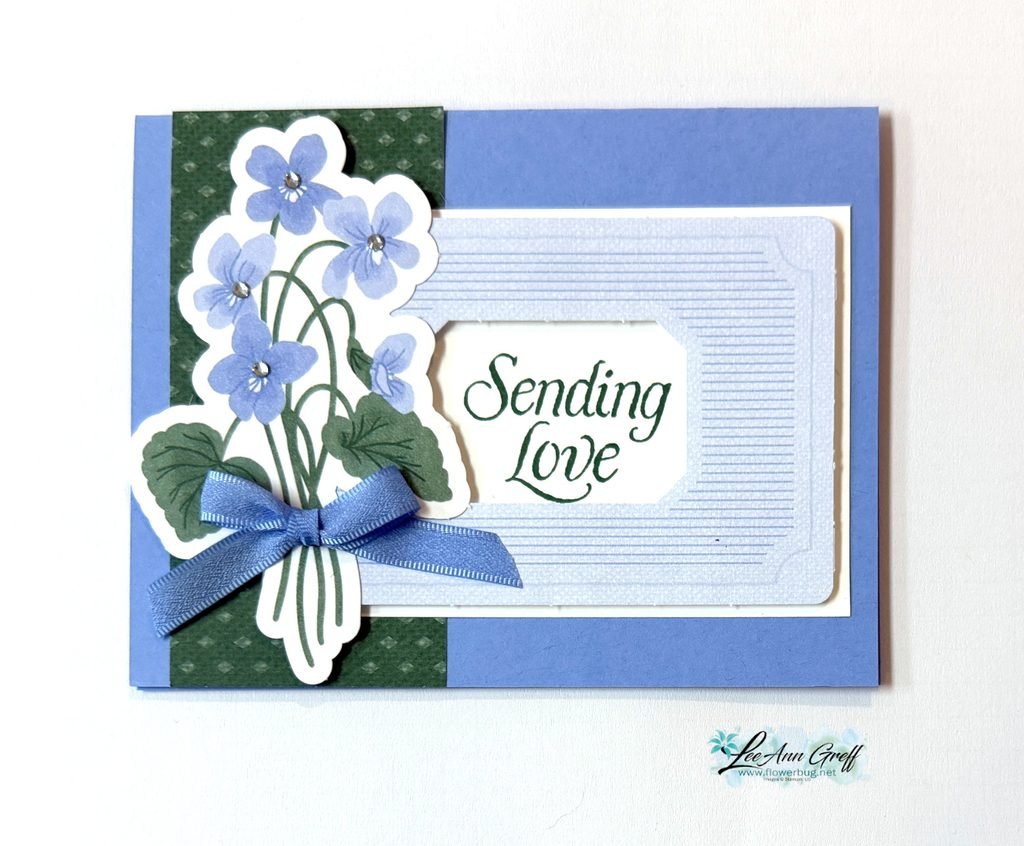
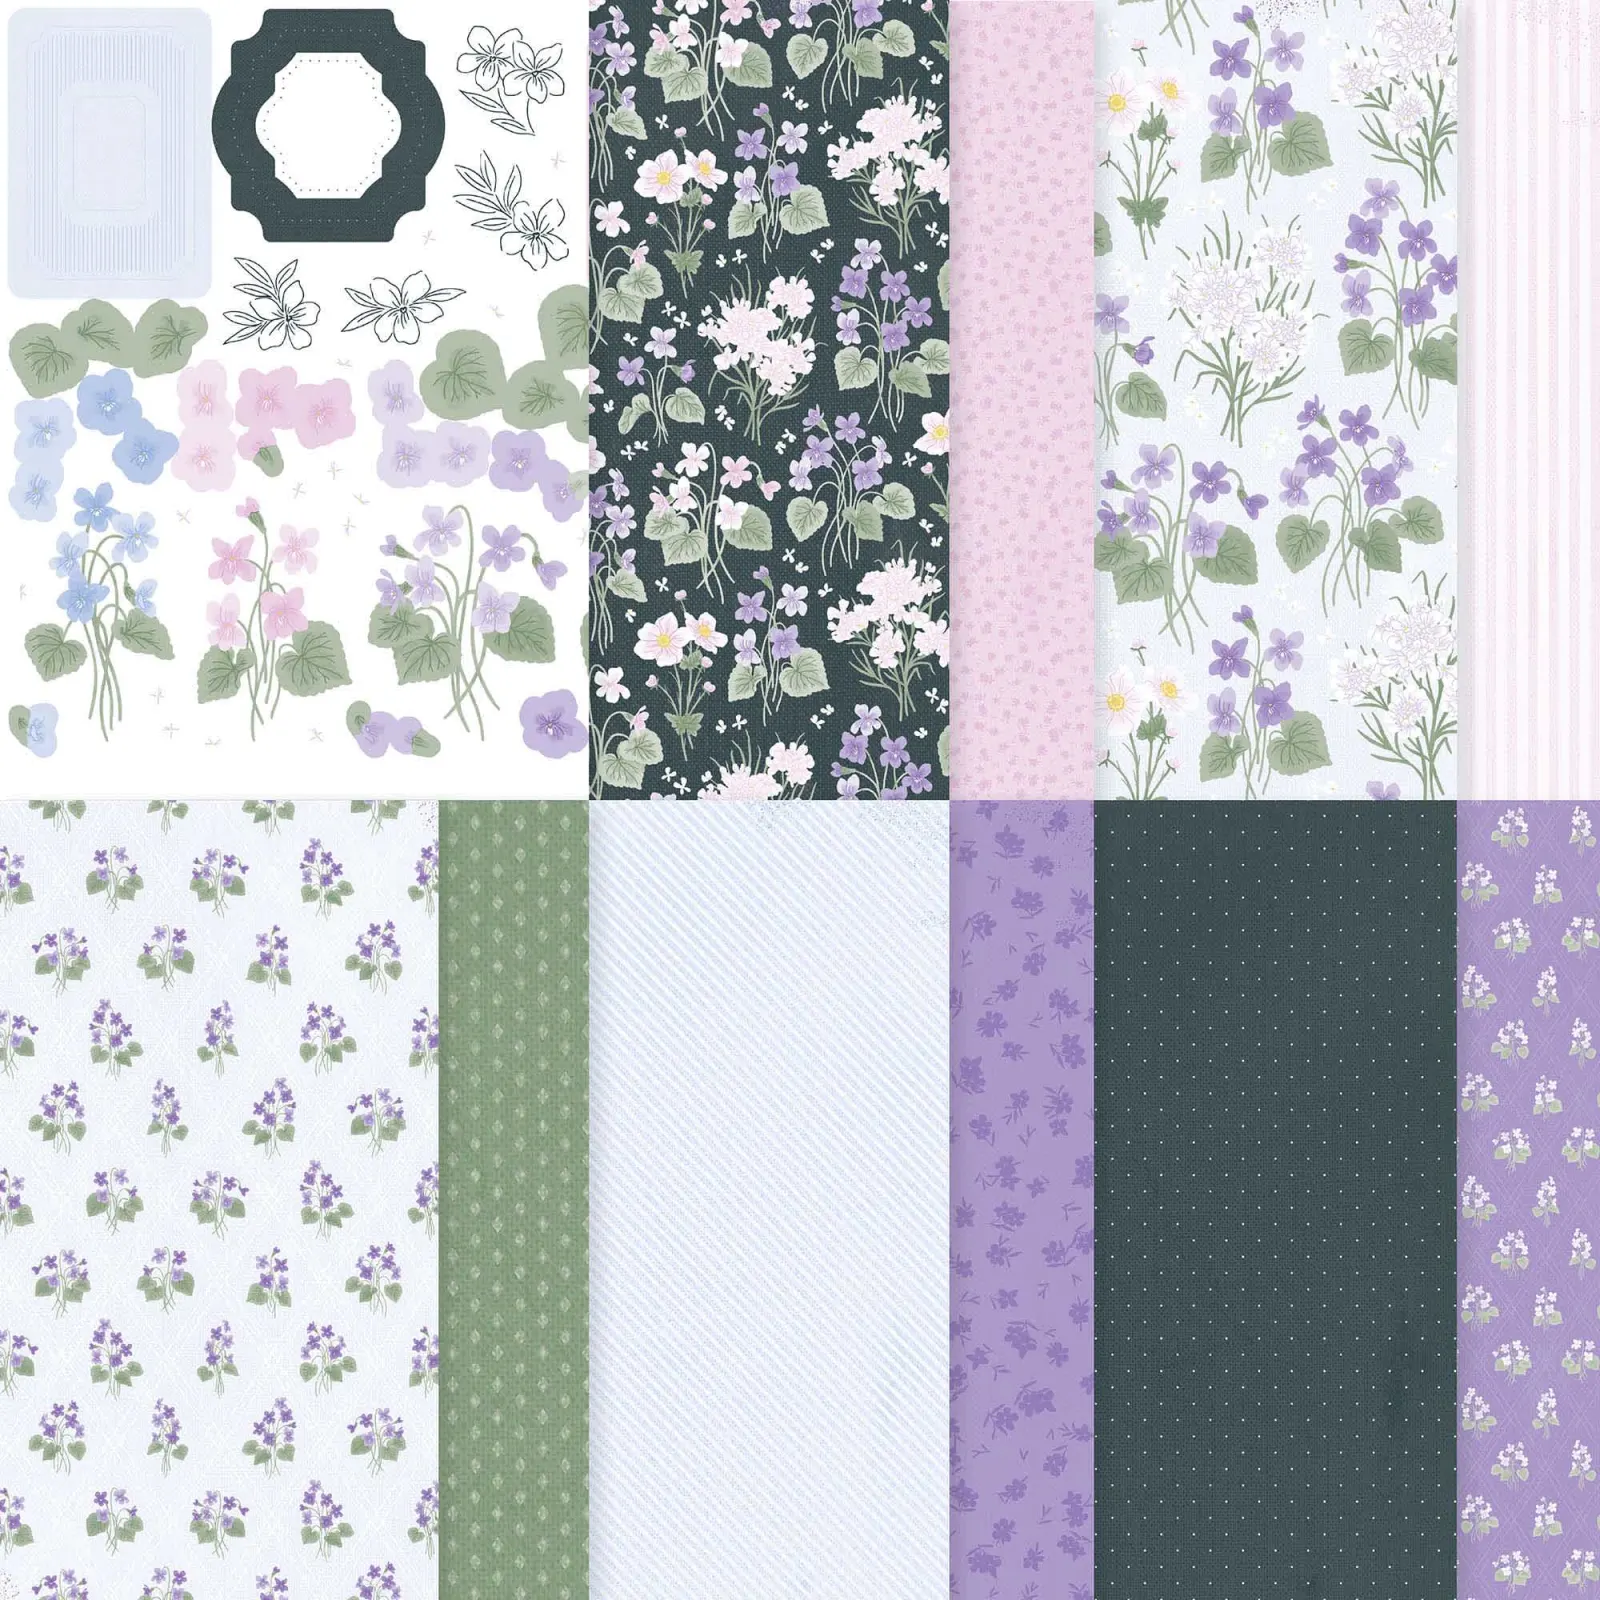
It showcases the pretty Violet Dreams DSP seen here. There are 3 pieces from the DSP on this card: the violets die-cut, the striped frame and the green DSP strip. This DSP has 2 sheets of die-cut ephemera included in the package. I love that; it opens up so many options when creating.

Besides the DSP I added the White layer behind the frame, the Hydrangea Hue ribbon and rhinestones. So quick!

Here’s the free project sheet for this card; click here.
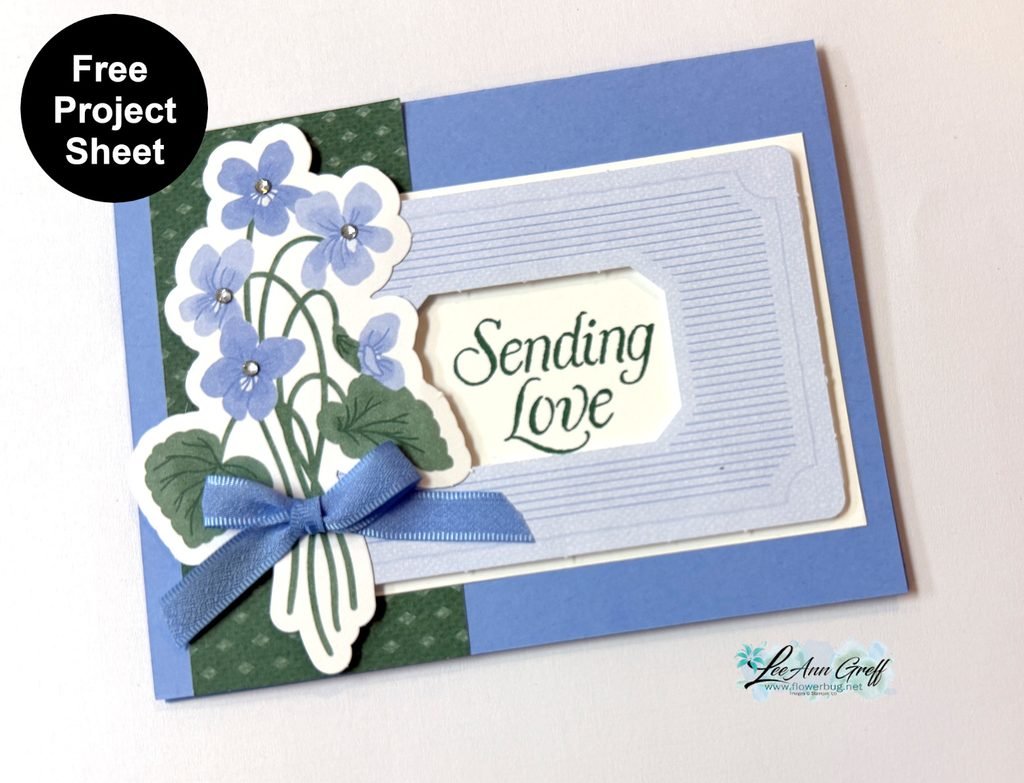
Look closely at the coordinating colors on this card. Stampin’ Up! makes it so easy to create with perfectly matching colors. It’s my very favorite thing about SU.
I used the violets as the starting point and simply repeated each color once or twice on my project for a wonderfully cohesive look.

Tip: If you struggle with color coordination pick two colors and repeat them at least once if not twice on your project. This works!

Check out the video below where I shared on more pretty card featuring DSP strips.

All Posts

  • Decorative Borders Book Binding card with video tutorial


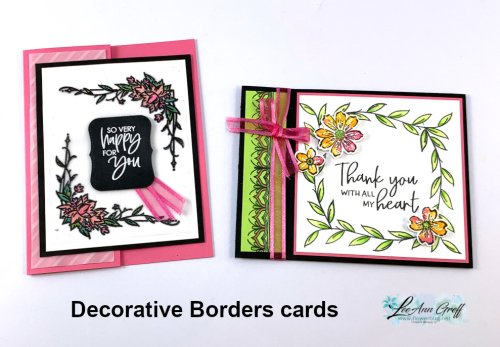
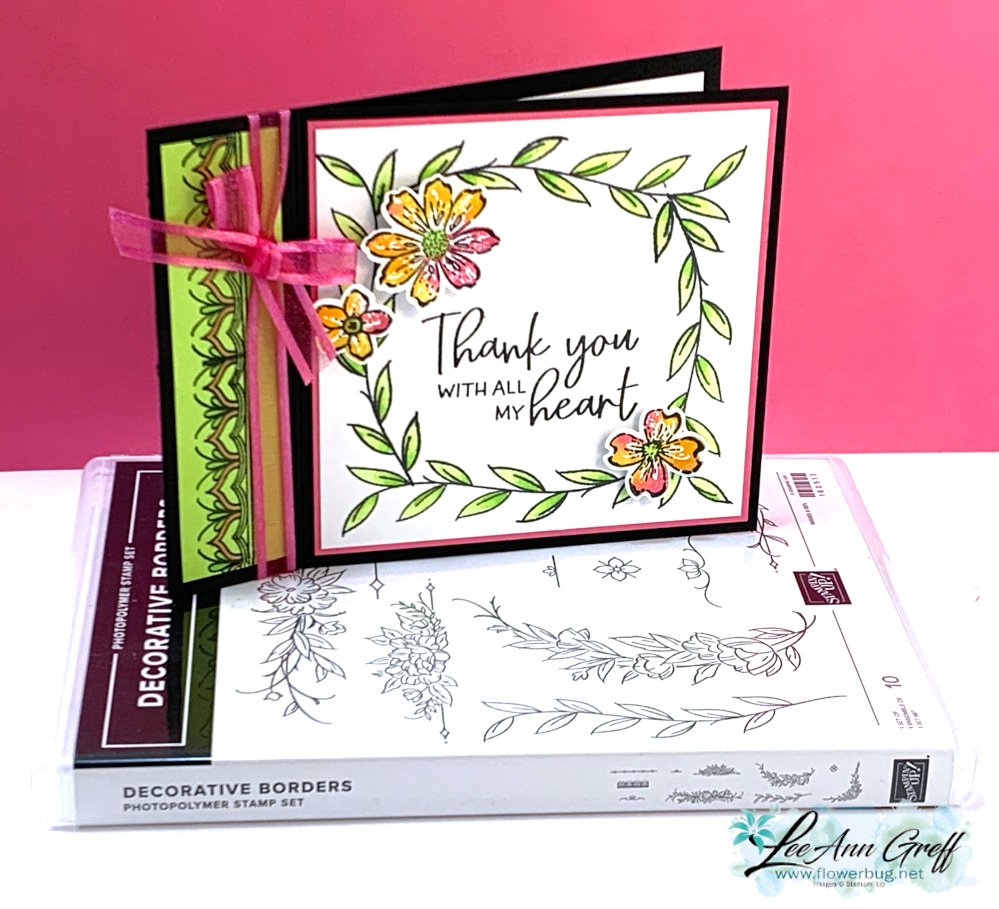
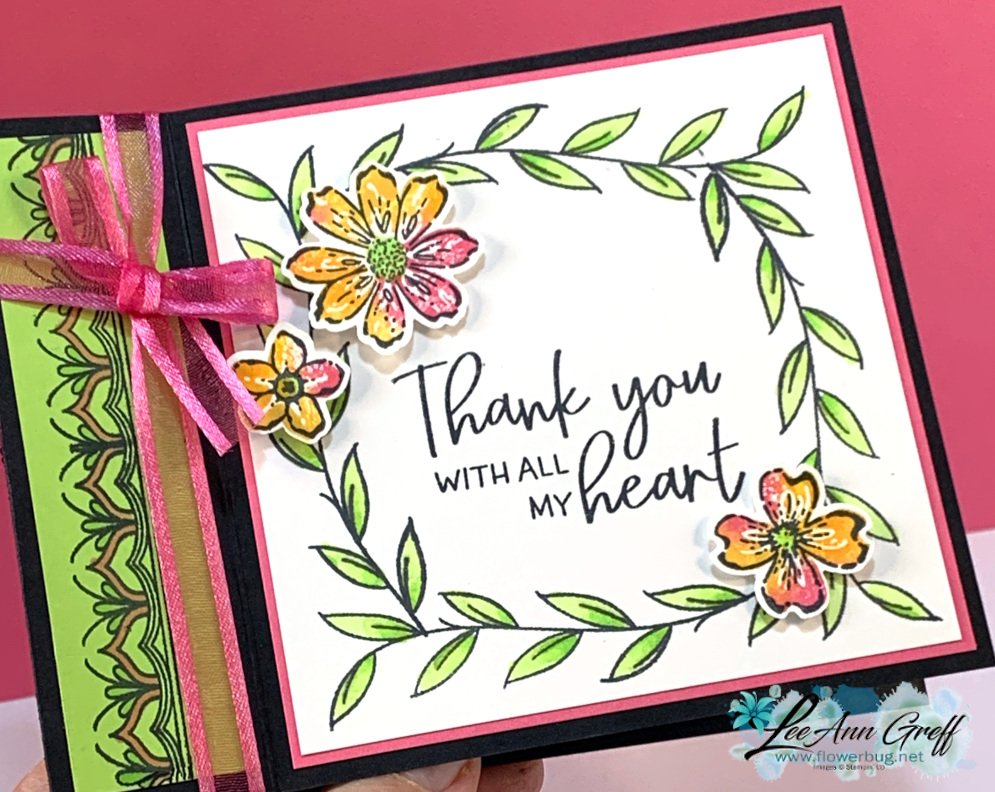
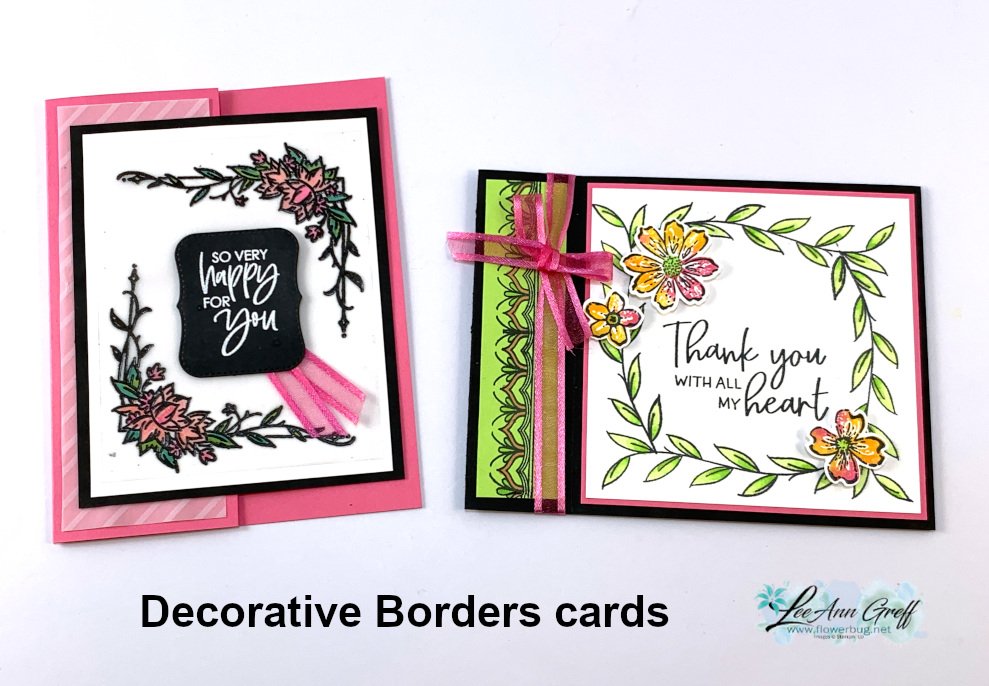
    I shared this special card on a recent FB Live.  It features a few techniques and is a fun fold card too.  

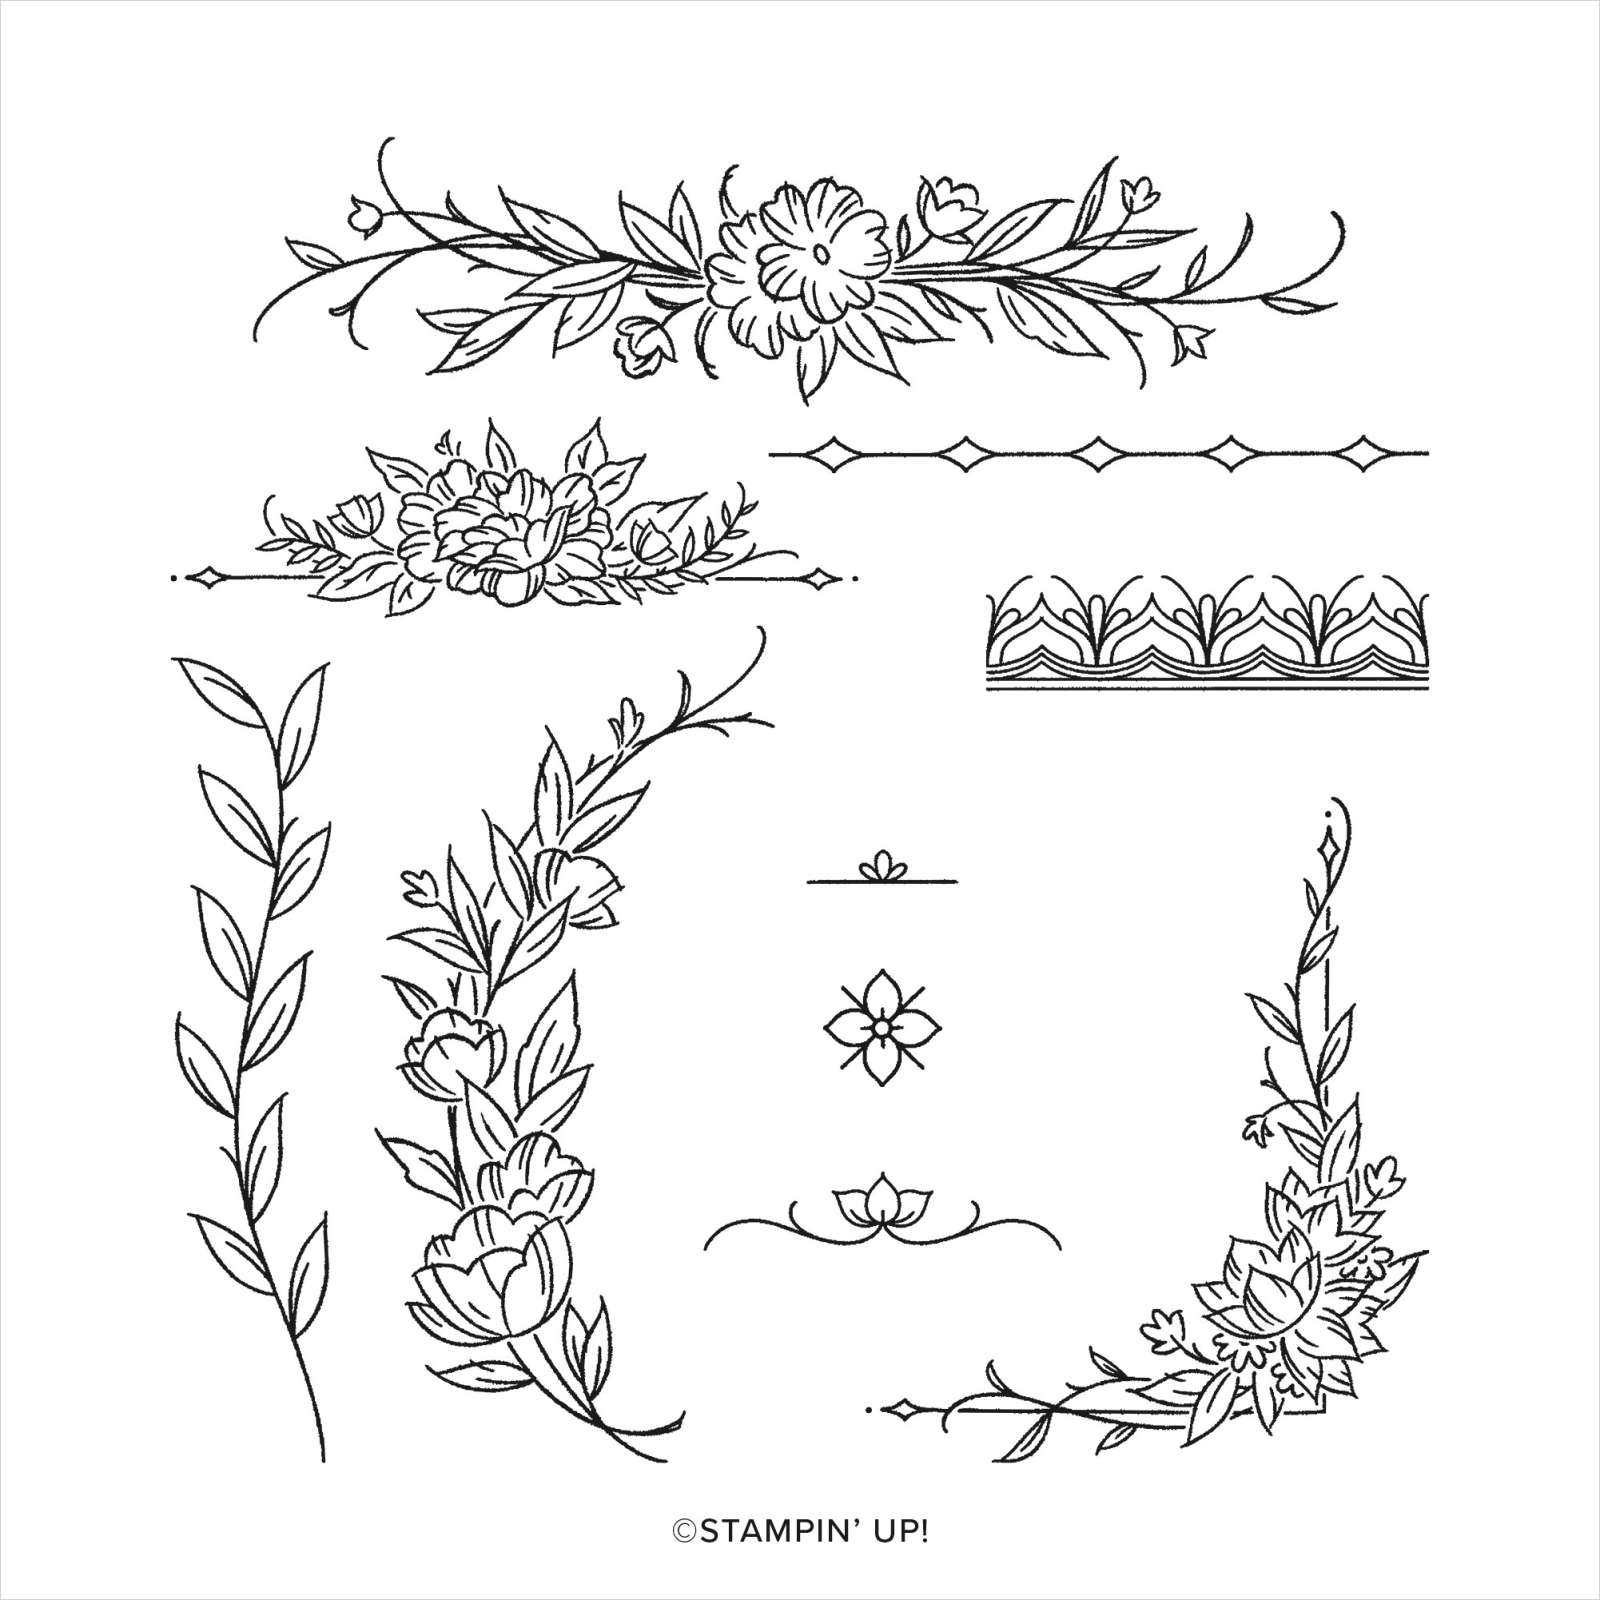
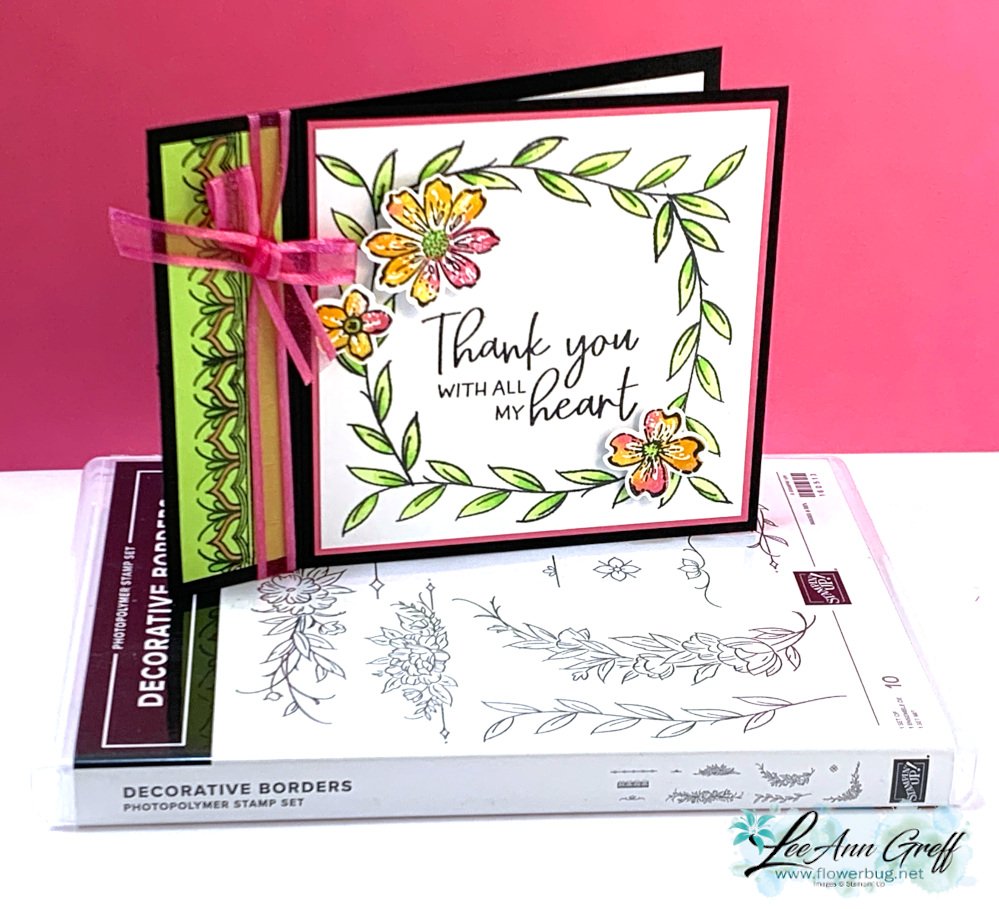
    It's made with the Decorative Borders stamp set seen here; a new favorite! 

    When I saw this pretty leaves image I thought of creating a frame with it.  I show how on the video below.

    This book binding fold is so easy; it's just one extra fold line! 

    Measurements:

    • Black card base 4 ¼” X 11” score at 4 ¼” & 5 ½”
    • White 3 7/8” square, inside is 4" square
    • Polished Pink 4”
    • Parakeet Party 1” X 4

    I used my Stamparatus to create the pretty border on the Parakeet Party strip and a Baby Wipe technique for the colorful flowers. The leaves are colored with Blends markers; note the pretty shading!  Parakeet Party & Granny Apple Green blends.

    The greeting is from the Framed Florets set seen here.

    There are so many ways you might use this set; I share a few more in the video below.  It would be perfect to decorate your envelopes too! 

    Here's how I finished the inside of the card. 

    Click here or on the photo below to watch the video. 

    ~~~

    March Specials:

    See the new Online Exclusives here! 

    *current host code:  TMJXFR2T or BFE4C2KM

    Get a free class kit with online orders over $55 when using the host code above!

    Earn free products with my loyalty rewards! 

    Click here to download yours and earn a $50 shopping spree!

    Leave a Reply

    Your email address will not be published. Required fields are marked *

  • Decorative Borders & coloring vellum technique with video


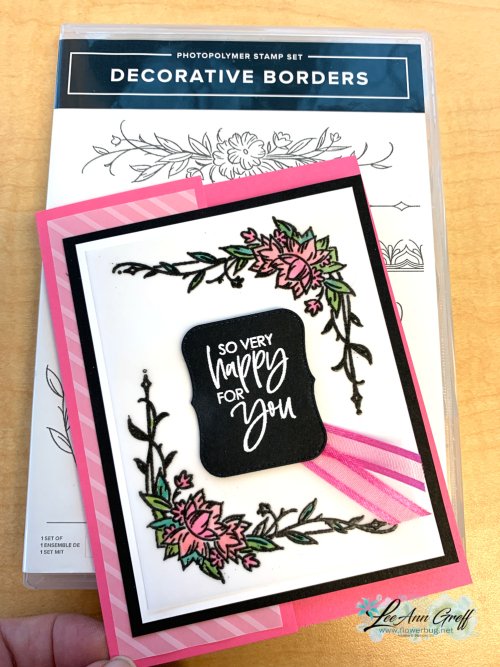
    Last month our Flowerbug's Team swap theme was to use vellum or window sheets.  Here's what I came up with featuring the Decorative Borders stamp set seen here.  

    I heat embossed the image twice with black embossing folder in two corners.  This is on vellum card stock. After it was set I colored in the images with Blends markers – Polished Pink, Granny Apple Green and Old Olive.  The corner image is small but it still took a bit of time to do them all.  I colored on the back side; no real reason except it's a little more forgiving. 

    The greeting die-cut is from the Potted Succulents dies; the heat embossed image is from Color & Contour stamp set in the Annual Catalog. 

    My measurements are:

    • Card base 5 1/2" X 6 1/2" scored at 4 1/4"
    • Printed vellum 1 7/8" X 5 1/4"
    • Vellum card stock 3 1/4" X 4 1/8"
    • White front 3 1/2" X 4 1/2" , inside 3 1/2" X 4 3/4" 
    • Black 3 3/4" X 4 3/4" 

    Below is a photo of the pretty Decorative Borders stamp set.  There are so many ways you might use this set; I share a few more in the video below.  It would be perfect to decorate your envelopes too! 

    Here's how I finished the inside of the card. 

    Click here or on the photo below to watch the video. 

    ~~~

    March Specials:

    See the new Online Exclusives here! 

    *current host code:  TMJXFR2T or BFE4C2KM

    Get a free class kit with online orders over $55 when using the host code above!

    Earn free products with my loyalty rewards! 

    Click here to download yours and earn a $50 shopping spree!

    Leave a Reply

    Your email address will not be published. Required fields are marked *

  • Love Cats video tutorial with an easy but unique fun fold


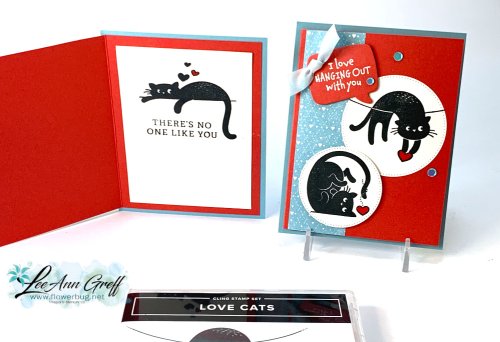
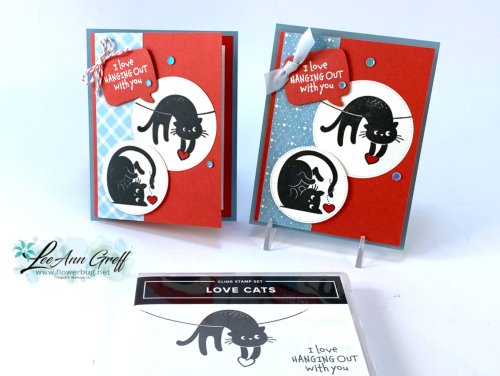
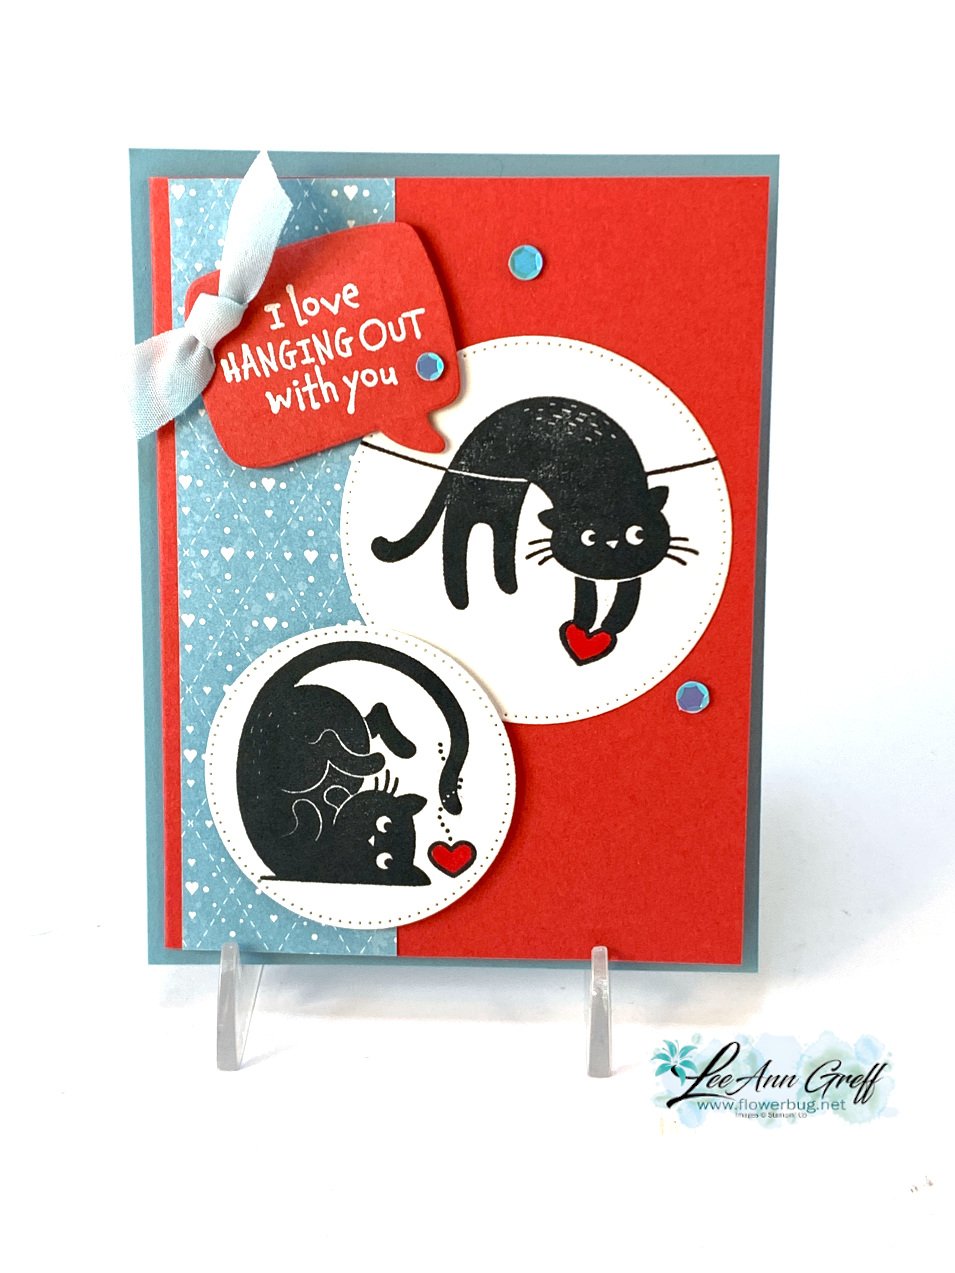
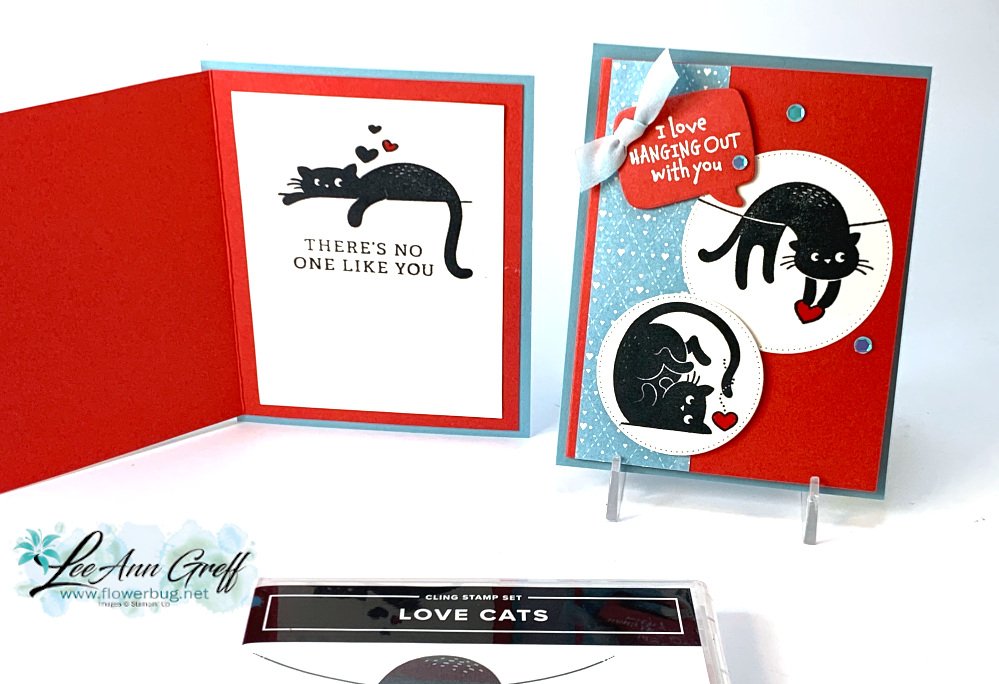
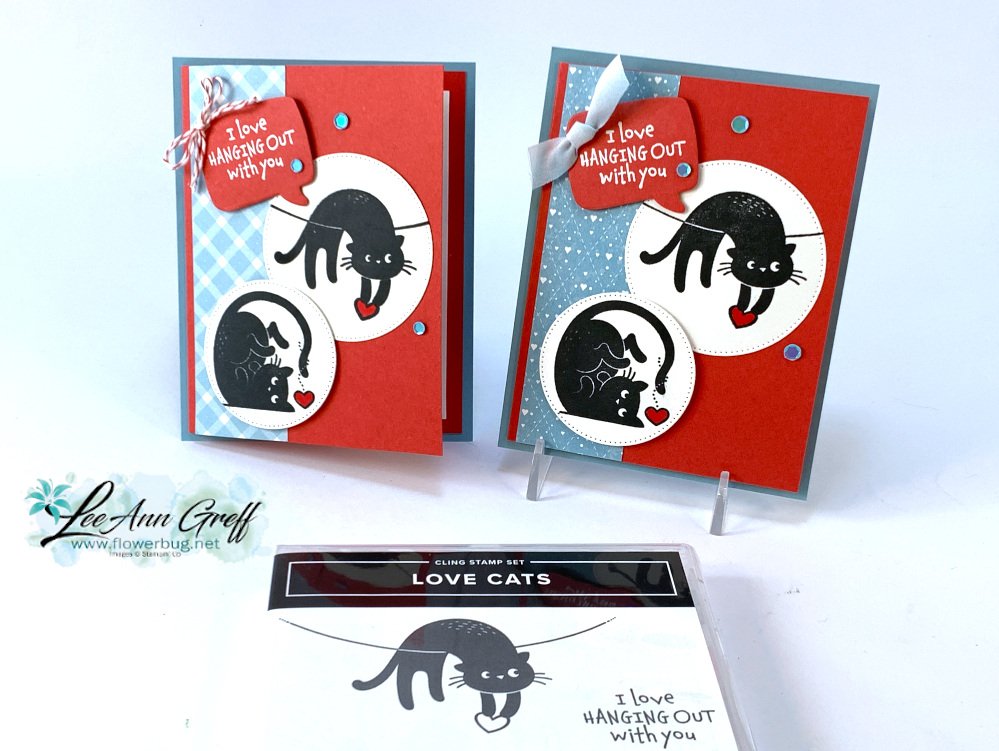
    We made this CUTE card at my February card clubs.  It really shows off the Love Cats stamp set seen here. 


    I shared it on my FB Live yesterday (see video below). It's sort of a unique fold in that the card base is a quarter sheet and the Sweet Sorbet is smaller and opens; see?  

    In order to get full, solid images I used the Stamparatus for the cats.  It makes a world of difference!  *Catch the tips in the video below.


    *Other items used here are the Conversation Bubbles dies, Pastel Adhesive-backed sequins, Balmy Blue variegated ribbon, Stylish Shapes dies, White embossing powder, Heat Tool, Sweet Sorbet Blends marker

    Measurements:

    • Card base 8 ½” X 5 ½”
    • Sweet Sorbet 8” X 5 ¼” scored at 4”
    • White inside is 3 ½” X 4 ¾”
    • DSP 1 ½” X 5 ¼”

    I used the Happy Labels stamp set for the inside greetings.  It has some fabulous images; see it here.  

    Click here or on the photo below to watch the video. 

    ~~~

    March Specials:

    See the new Online Exclusives here! 

    *current host code:  TMJXFR2T or BFE4C2KM

    Get a free class kit with online orders over $55 when using the host code above!

    Earn free products with my loyalty rewards! 

    Click here to download yours and earn a $50 shopping spree!

    Leave a Reply

    Your email address will not be published. Required fields are marked *


Notice: LeeAnn Greff, Independent Stampin’ Up! Demonstrator, Manager. The content of this website is my sole responsibility as an independent Stampin’ Up! demonstrator and the use of, and content of, the classes, services, or products offered on this website is not endorsed by Stampin’ Up! Copyright 2025