/


Latest Post

Quick card with the Violet Dreams DSP


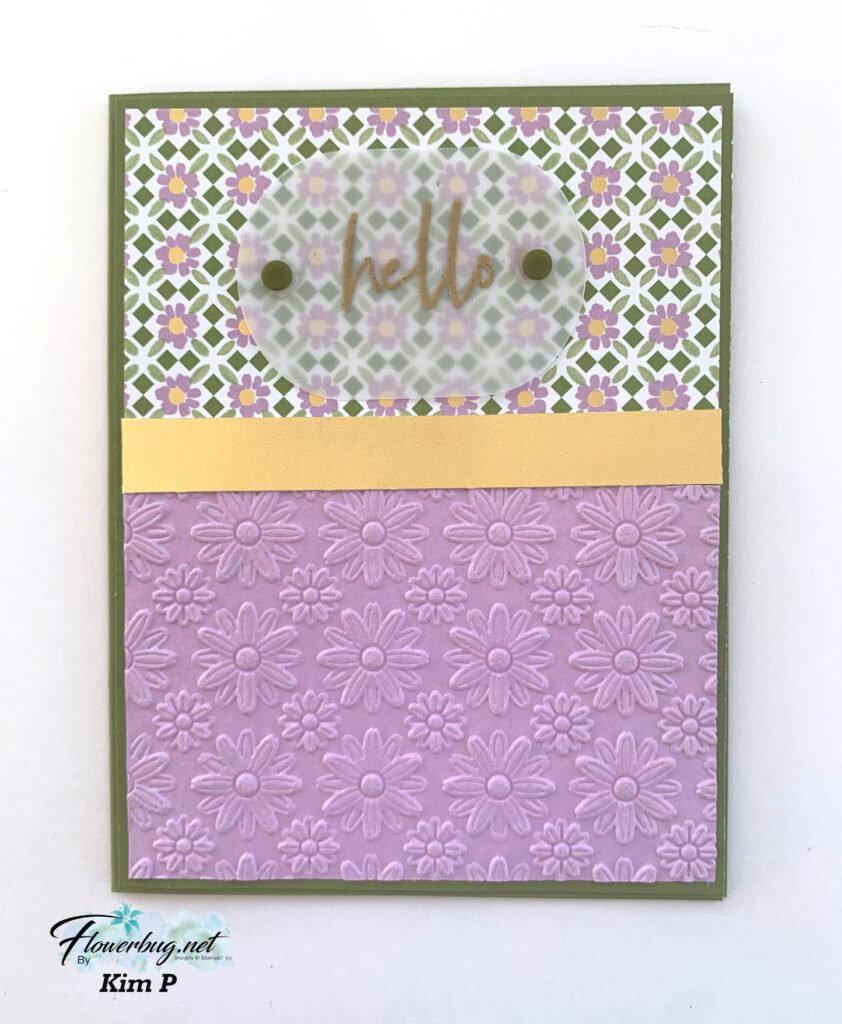
Here’s the second card I made featuring the Violet Dreams suite. I shared it during last week’s video.
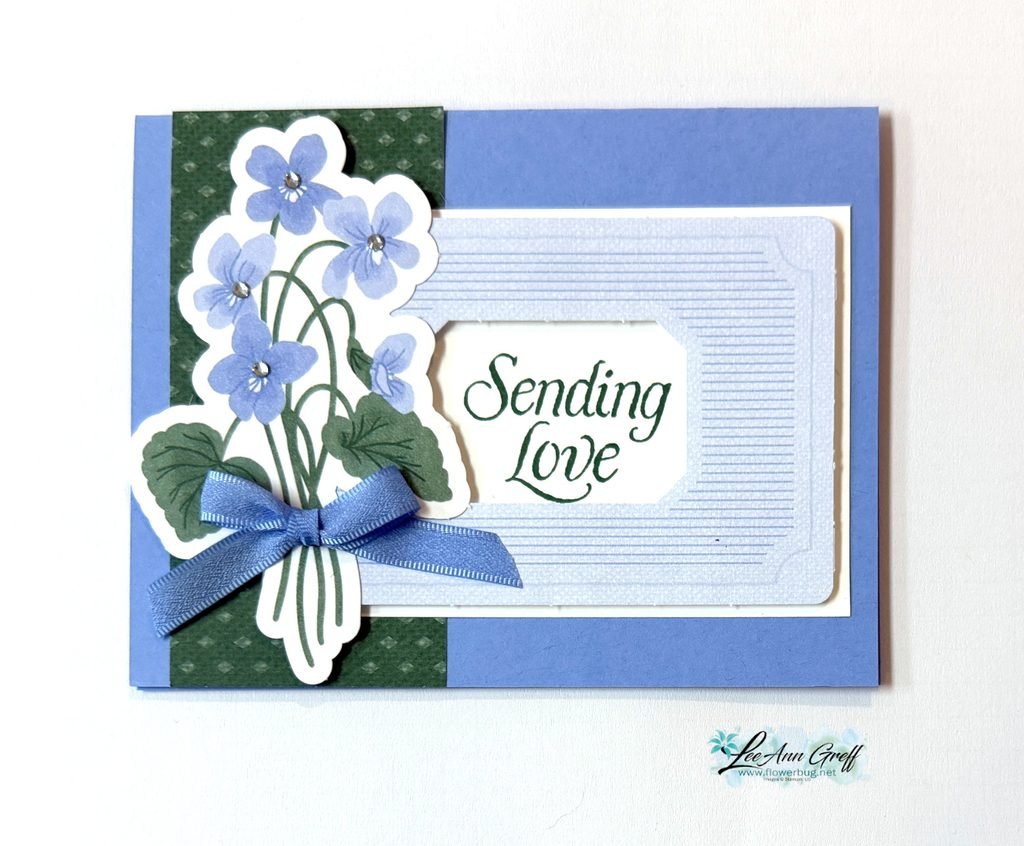
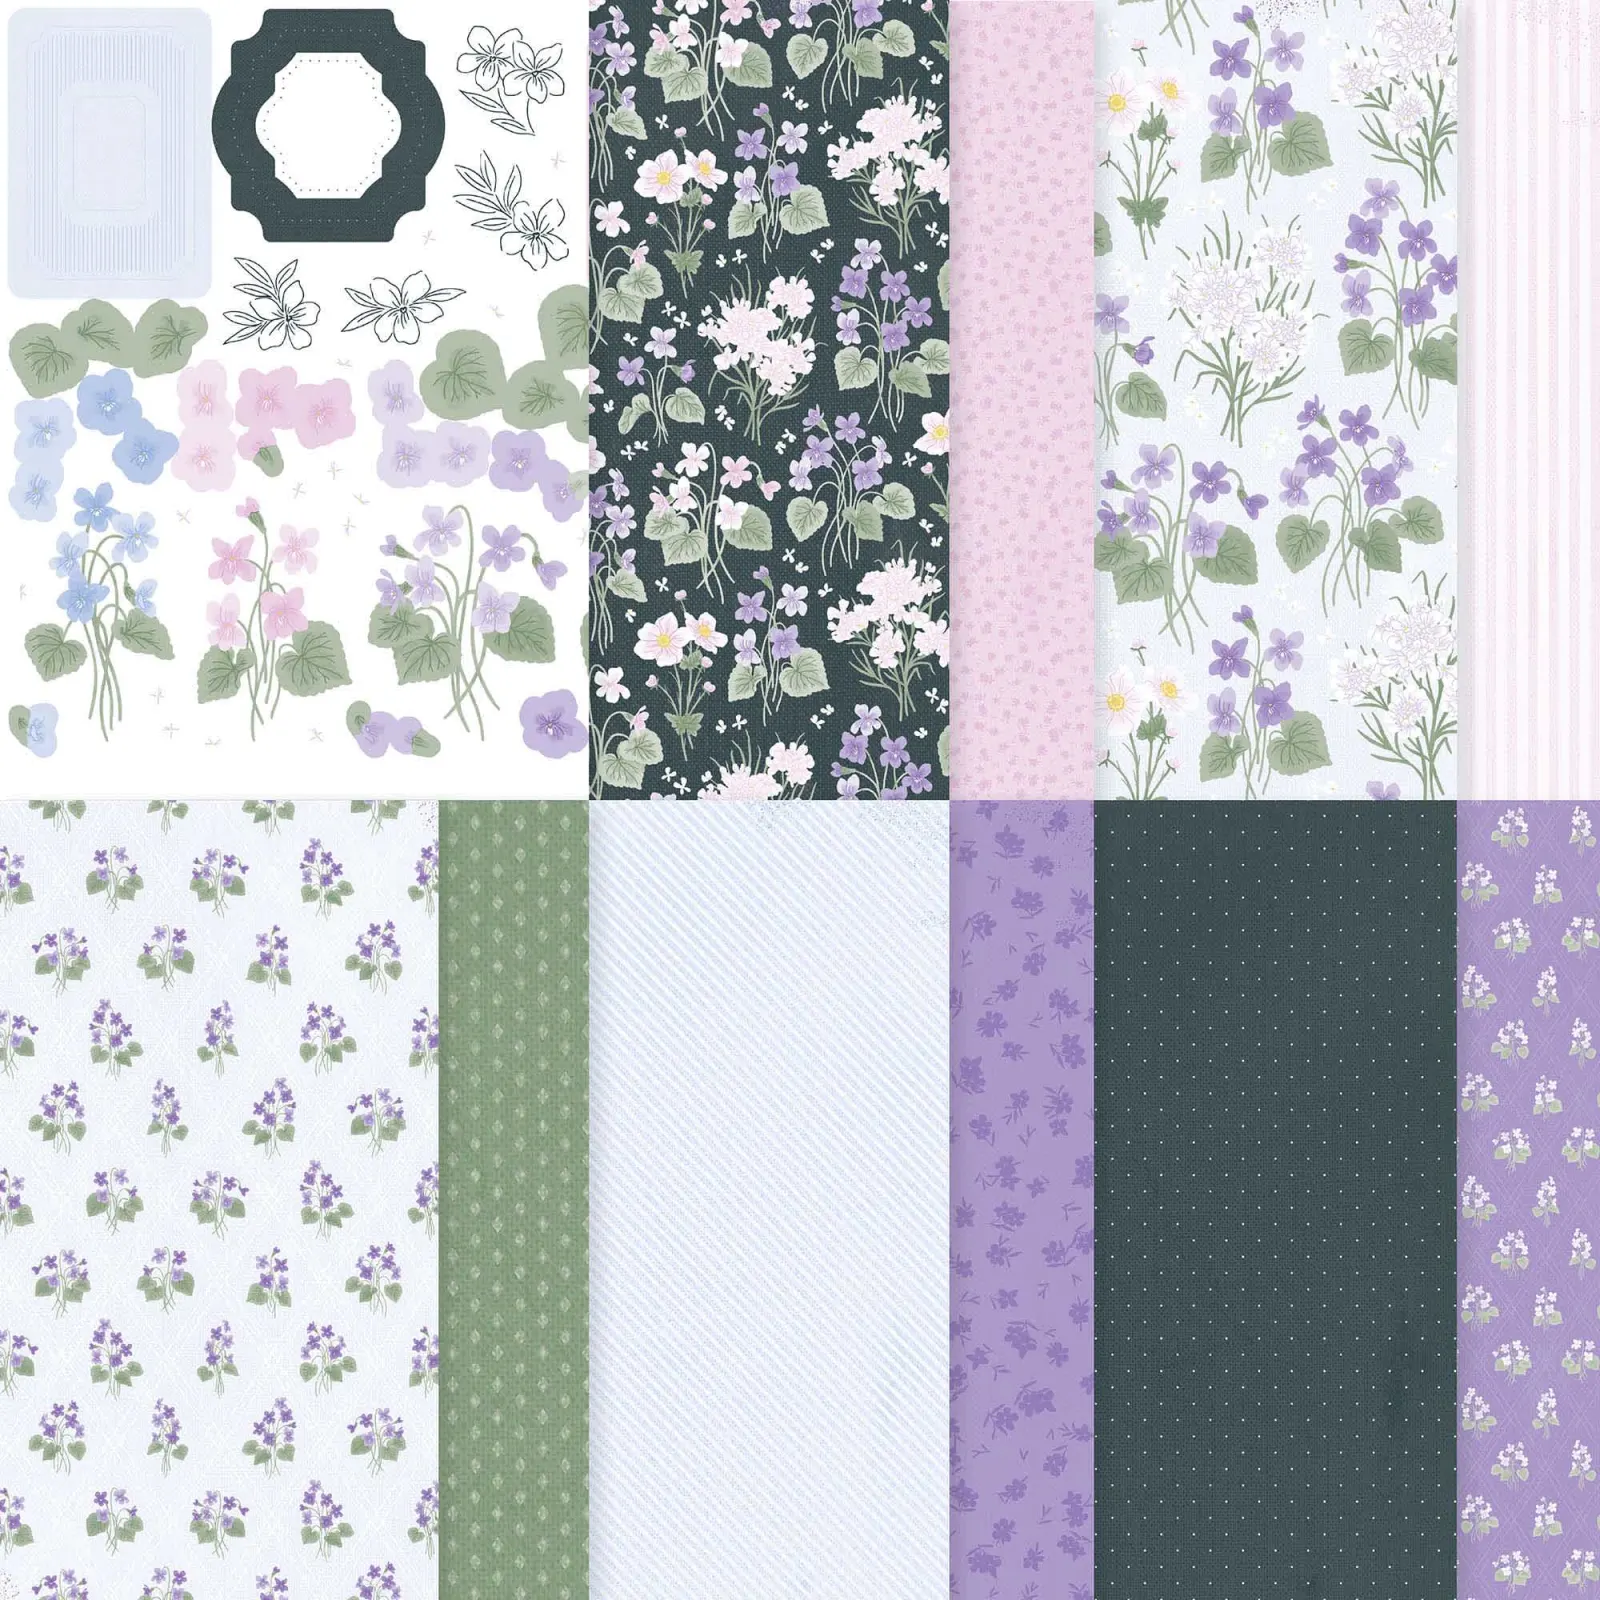
It showcases the pretty Violet Dreams DSP seen here. There are 3 pieces from the DSP on this card: the violets die-cut, the striped frame and the green DSP strip. This DSP has 2 sheets of die-cut ephemera included in the package. I love that; it opens up so many options when creating.

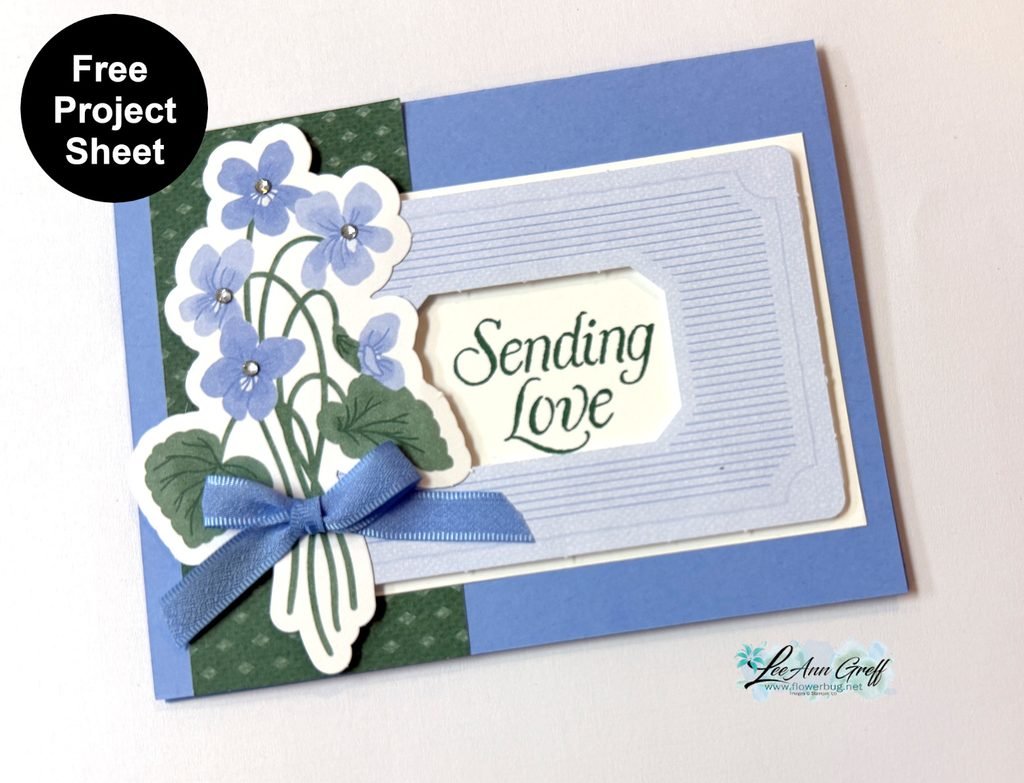
Besides the DSP I added the White layer behind the frame, the Hydrangea Hue ribbon and rhinestones. So quick!

Here’s the free project sheet for this card; click here.
Look closely at the coordinating colors on this card. Stampin’ Up! makes it so easy to create with perfectly matching colors. It’s my very favorite thing about SU.
I used the violets as the starting point and simply repeated each color once or twice on my project for a wonderfully cohesive look.

Tip: If you struggle with color coordination pick two colors and repeat them at least once if not twice on your project. This works!

Check out the video below where I shared on more pretty card featuring DSP strips.
All Posts

  • Neat fun fold card 3 ways! With free tutorial & video


    We made this special card at my January card clubs. They could choose between 3 colors and themes too!

    I featured the Addressed to You stamp set for all three cards. See the cute ovals & rectangle with the ‘filled in’ images on the right? Those are all part of this unique stamp set! See it here.

    I used the retiring Textured Notes dies seen here. They’re the stitched edge rectangle dies used twice on this card. They are on the last chance list right now and reduced in price too!

    This card opens with a type of flip/flap feel. Here’s how we cut off the tabs on the card base. Once you score your card you’ll make a pencil mark from the top and bottom at 1″. Then trim off the corners.

    My colors include Pool Party, White and either Pretty in Pink, Fresh Freesia or Peach Pie.

    I created a free project sheet for this card with measurements, supplies and step by step directions. Click here to print or download it.

    More details:

    • I used the images that finished the lined oval & rectangle to decorate the inside ‘left’ edge on the cards.
    • We used Blends markers to color in the small images.
    • The DSP is the Beach Boardwalk designer paper for the left edge.
    • The greetings are from the stamp set called ‘The Right Words’ seen here. It’s one of my favorite greeting sets.

    I was in the middle of the video tutorial for this card but the video failed right before I started the project. And I made my last packet. So I do not have a video for it. But hopefully the project sheet above helps you out.

    ~~~

    February Specials

    Product of the Month is the new Painted Illusions 12 X 12″ designer paper

    Get the NEW Stampin’ Positioner FREE when you choose the Starter Kit in February! Click here

    Bonus Days – Redeem your coupons in February!

    February’s PDF of the Month!

    Two NEW kits just released here:

    Check out the Last Chance List; new items are added and available

    while supplies last

    Leave a Reply

    Your email address will not be published. Required fields are marked *

  • A new fun fold card with the Nature Walk suite; wow!


    Karen’s swap card blows me away! I haven’t seen a card fold like this one before and I just love her color choices too.

    Isn’t it beautiful?! Can you tell that the front, main layers are ‘caught’ on the diagonal textured layer on the lower left? That’s what is keeping the flap tucked in.
    This is how it opens:

    Her colors include Cloud Cover, Secret Sea, Old Olive & Basic White. I’ll share measurements below.
    Did you catch the pretty textured layer? That’s the new Stone & Vine 3D embossing folder. And did you notice the ‘wood look’ die-cut in Olive near the greeting? That and the greeting are included the Nature’s Symphony bundle seen here.

    She used the Nature Walk suite for her card which includes gorgeous nature focused products. See it all here.

    Here’s how she finished the inside of her card:

    Measurements as follows:

    -card base 7″ X 5 1/2″ scored at 4 1/4″
    -White 7″ X 5″ scored at 3 3/4″. Make a mark on the shorter end at 1″ from the top and the bottom. Trim off the rectangle to the score line for the front flap
    -Secret Sea front is 3″ square, side is 2 1/2″ X 5 1/4″, the diagonal piece is 2 1/2″ X 2 3/4″ cut in half and inside is 4″ X 5 1/4″
    -DSP front is 2 3/4″ square, side is 2 1/4″ X 5″

    Thank you for creating and sharing this amazing card with us Karen!

    ~~~

    February Specials

    Product of the Month is the new Painted Illusions 12 X 12″ designer paper

    Get the NEW Stampin’ Positioner FREE when you choose the Starter Kit in February! Click here

    Bonus Days – Redeem your coupons in February!

    February’s PDF of the Month!

    Two NEW kits just released here:

    Check out the Last Chance List; new items are added and available

    while supplies last

    Leave a Reply

    Your email address will not be published. Required fields are marked *

  • 2 pretty Nature Walk card swaps


    Today I’m sharing two pretty swap cards made by my talented Team.

    Ginny made this first card with the Nature Walk designer paper and the Nature’s Symphony bundle.

    This card sure makes the DSP shine!

    Joan made this card with the Nature Walk designer paper, the Addressed to You and Prayers & Promises stamp sets.

    She fussy cut the main oval image which is from the Addressed to You set seen here. The greeting is from the wonderful Prayers & Promises set seen here.

    Thanks for the pretty cards gals!

    ~~~

    February Specials

    Product of the Month is the new Painted Illusions 12 X 12″ designer paper

    Get the NEW Stampin’ Positioner FREE when you choose the Starter Kit in February! Click here

    Bonus Days – Redeem your coupons in February!

    February’s PDF of the Month!

    Two NEW kits just released here:

    Check out the Last Chance List; new items are added and available

    while supplies last

    Leave a Reply

    Your email address will not be published. Required fields are marked *


Notice: LeeAnn Greff, Independent Stampin’ Up! Demonstrator, Manager. The content of this website is my sole responsibility as an independent Stampin’ Up! demonstrator and the use of, and content of, the classes, services, or products offered on this website is not endorsed by Stampin’ Up! Copyright 2025