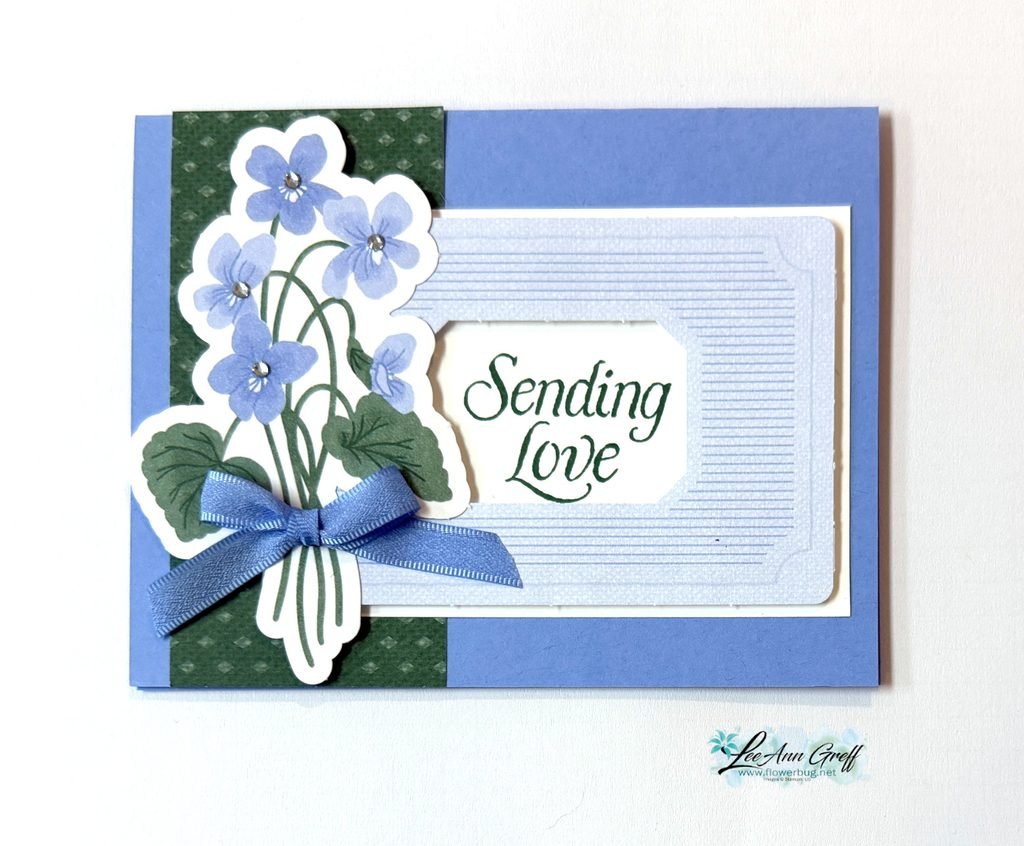
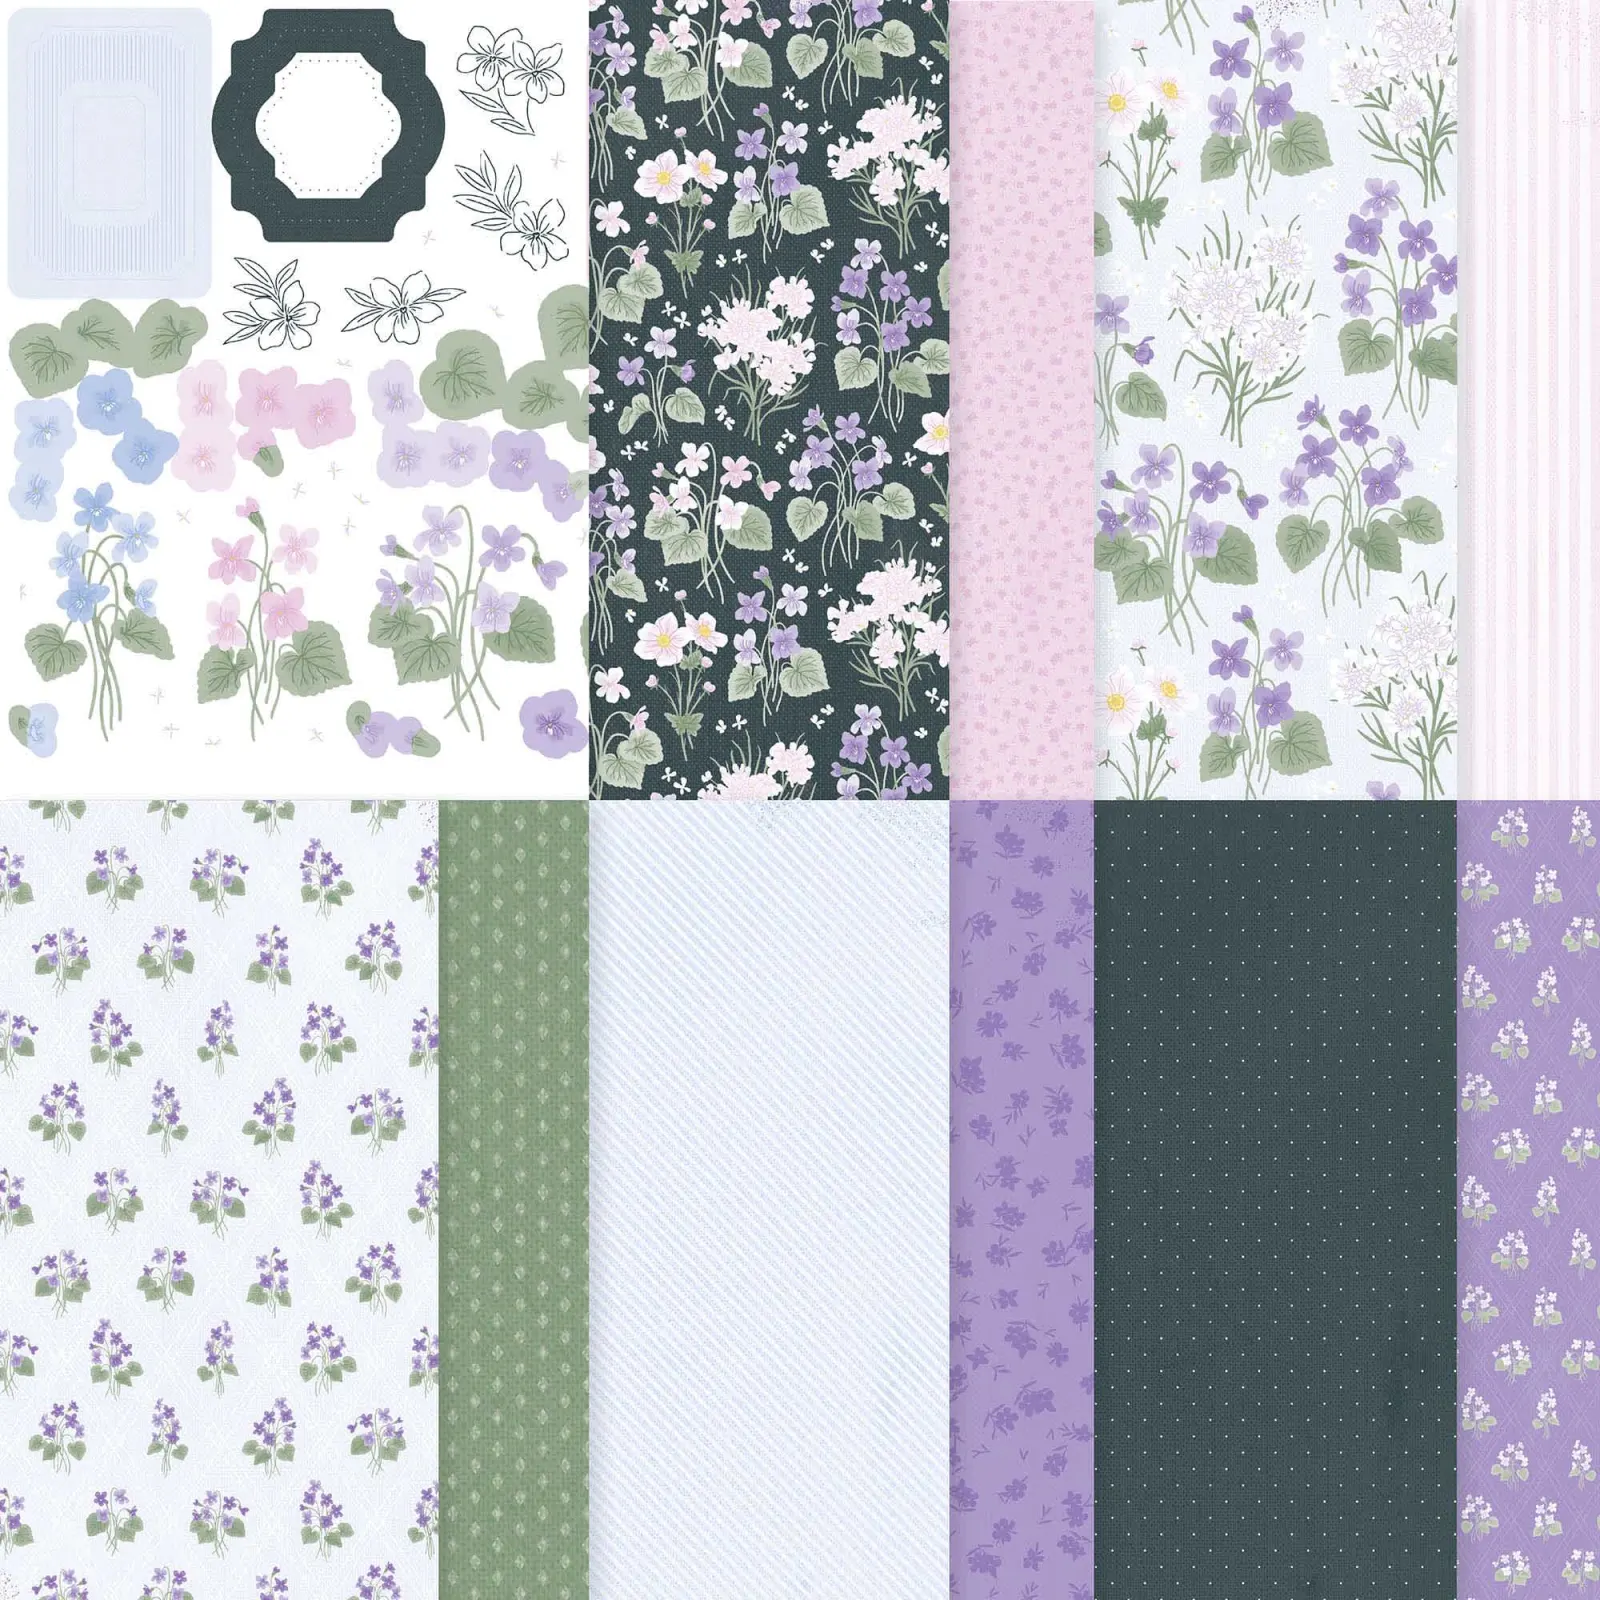
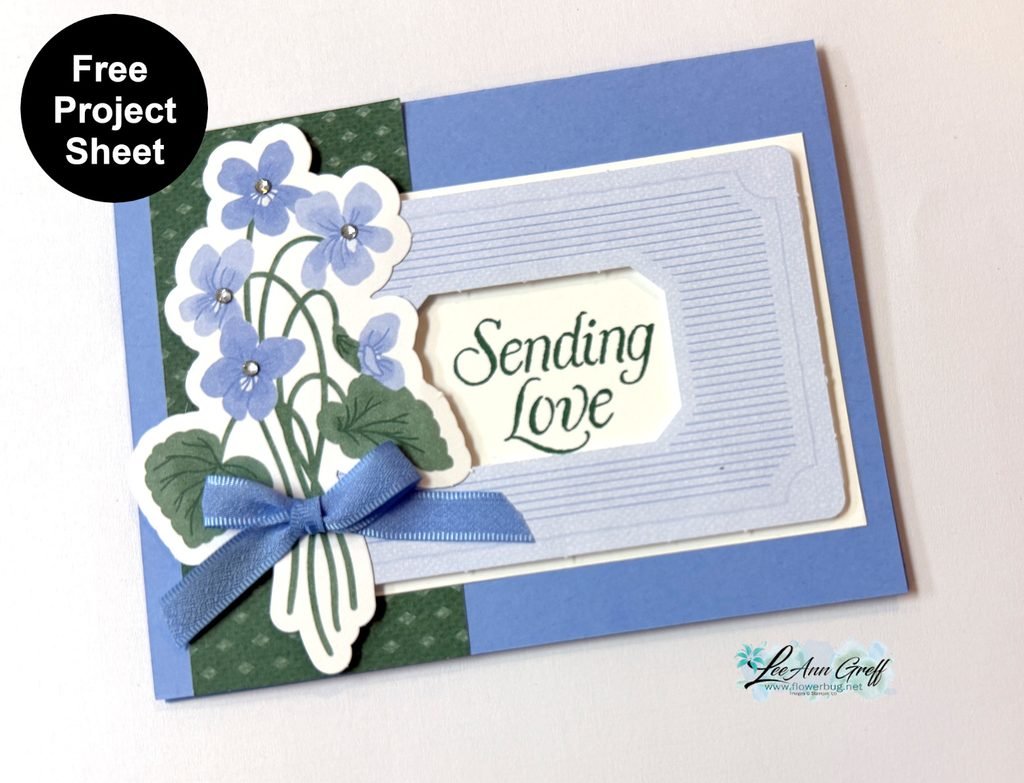
It showcases the pretty Violet Dreams DSP seen here. There are 3 pieces from the DSP on this card: the violets die-cut, the striped frame and the green DSP strip. This DSP has 2 sheets of die-cut ephemera included in the package. I love that; it opens up so many options when creating.
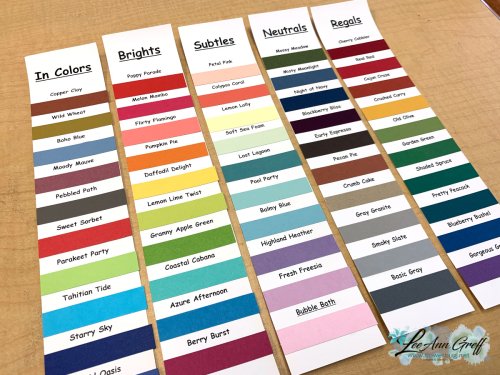
Look closely at the coordinating colors on this card. Stampin’ Up! makes it so easy to create with perfectly matching colors. It’s my very favorite thing about SU. I used the violets as the starting point and simply repeated each color once or twice on my project for a wonderfully cohesive look.
Tip: If you struggle with color coordination pick two colors and repeat them at least once if not twice on your project. This works!
Check out the video below where I shared on more pretty card featuring DSP strips.
All Posts
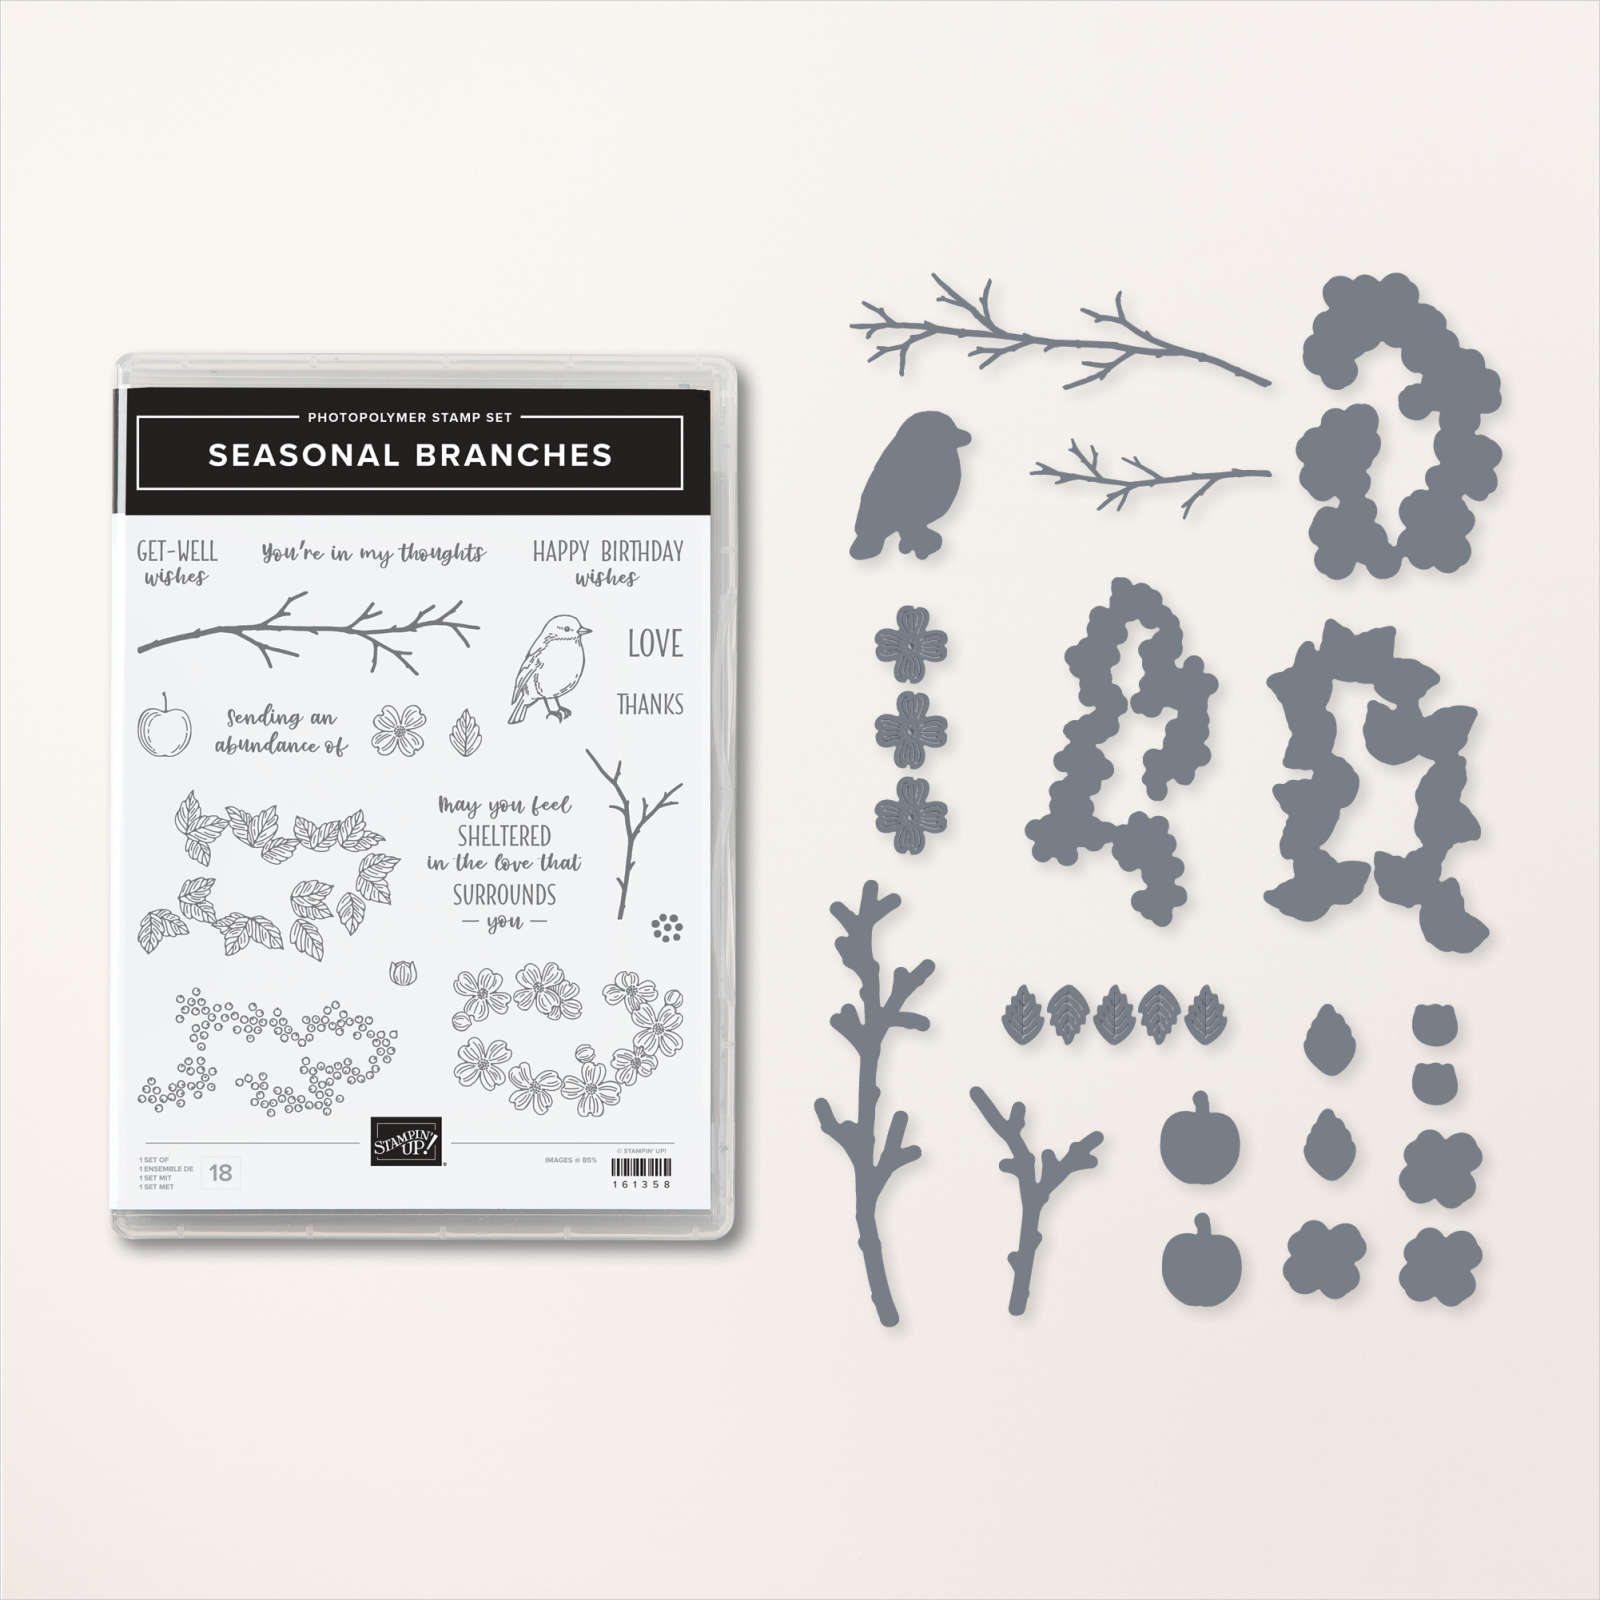
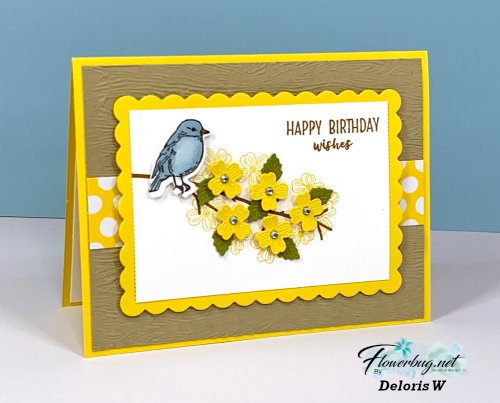
Spring is here with this Seasonal Branches swap
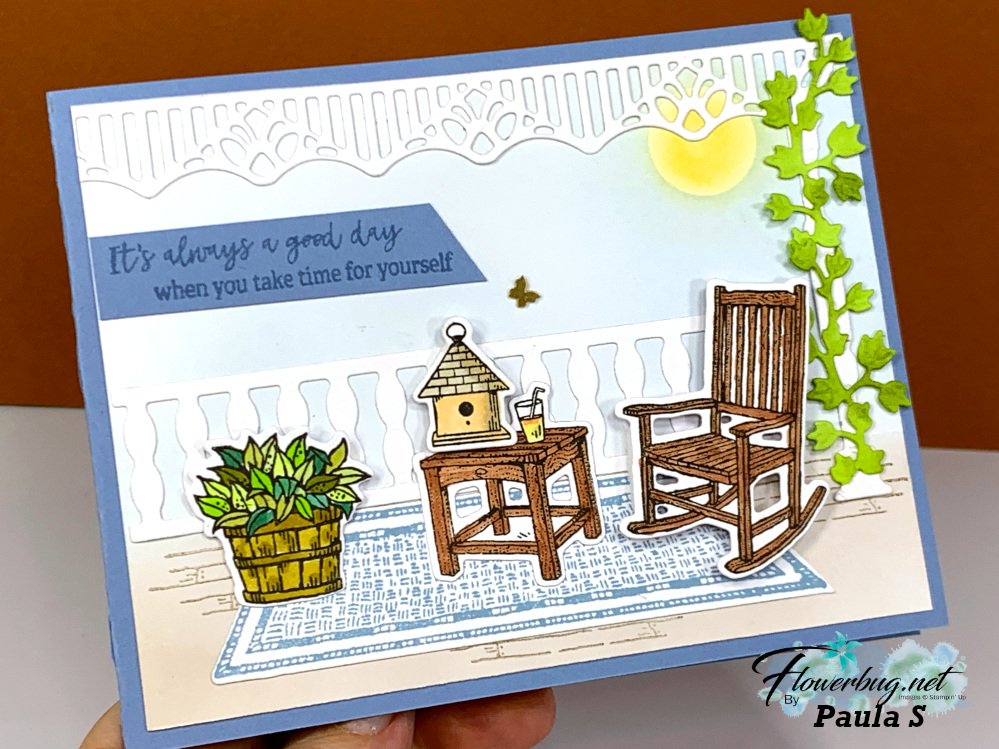
Deloris made this beautiful card for our May Team swap. It sure reminds me of springtime!
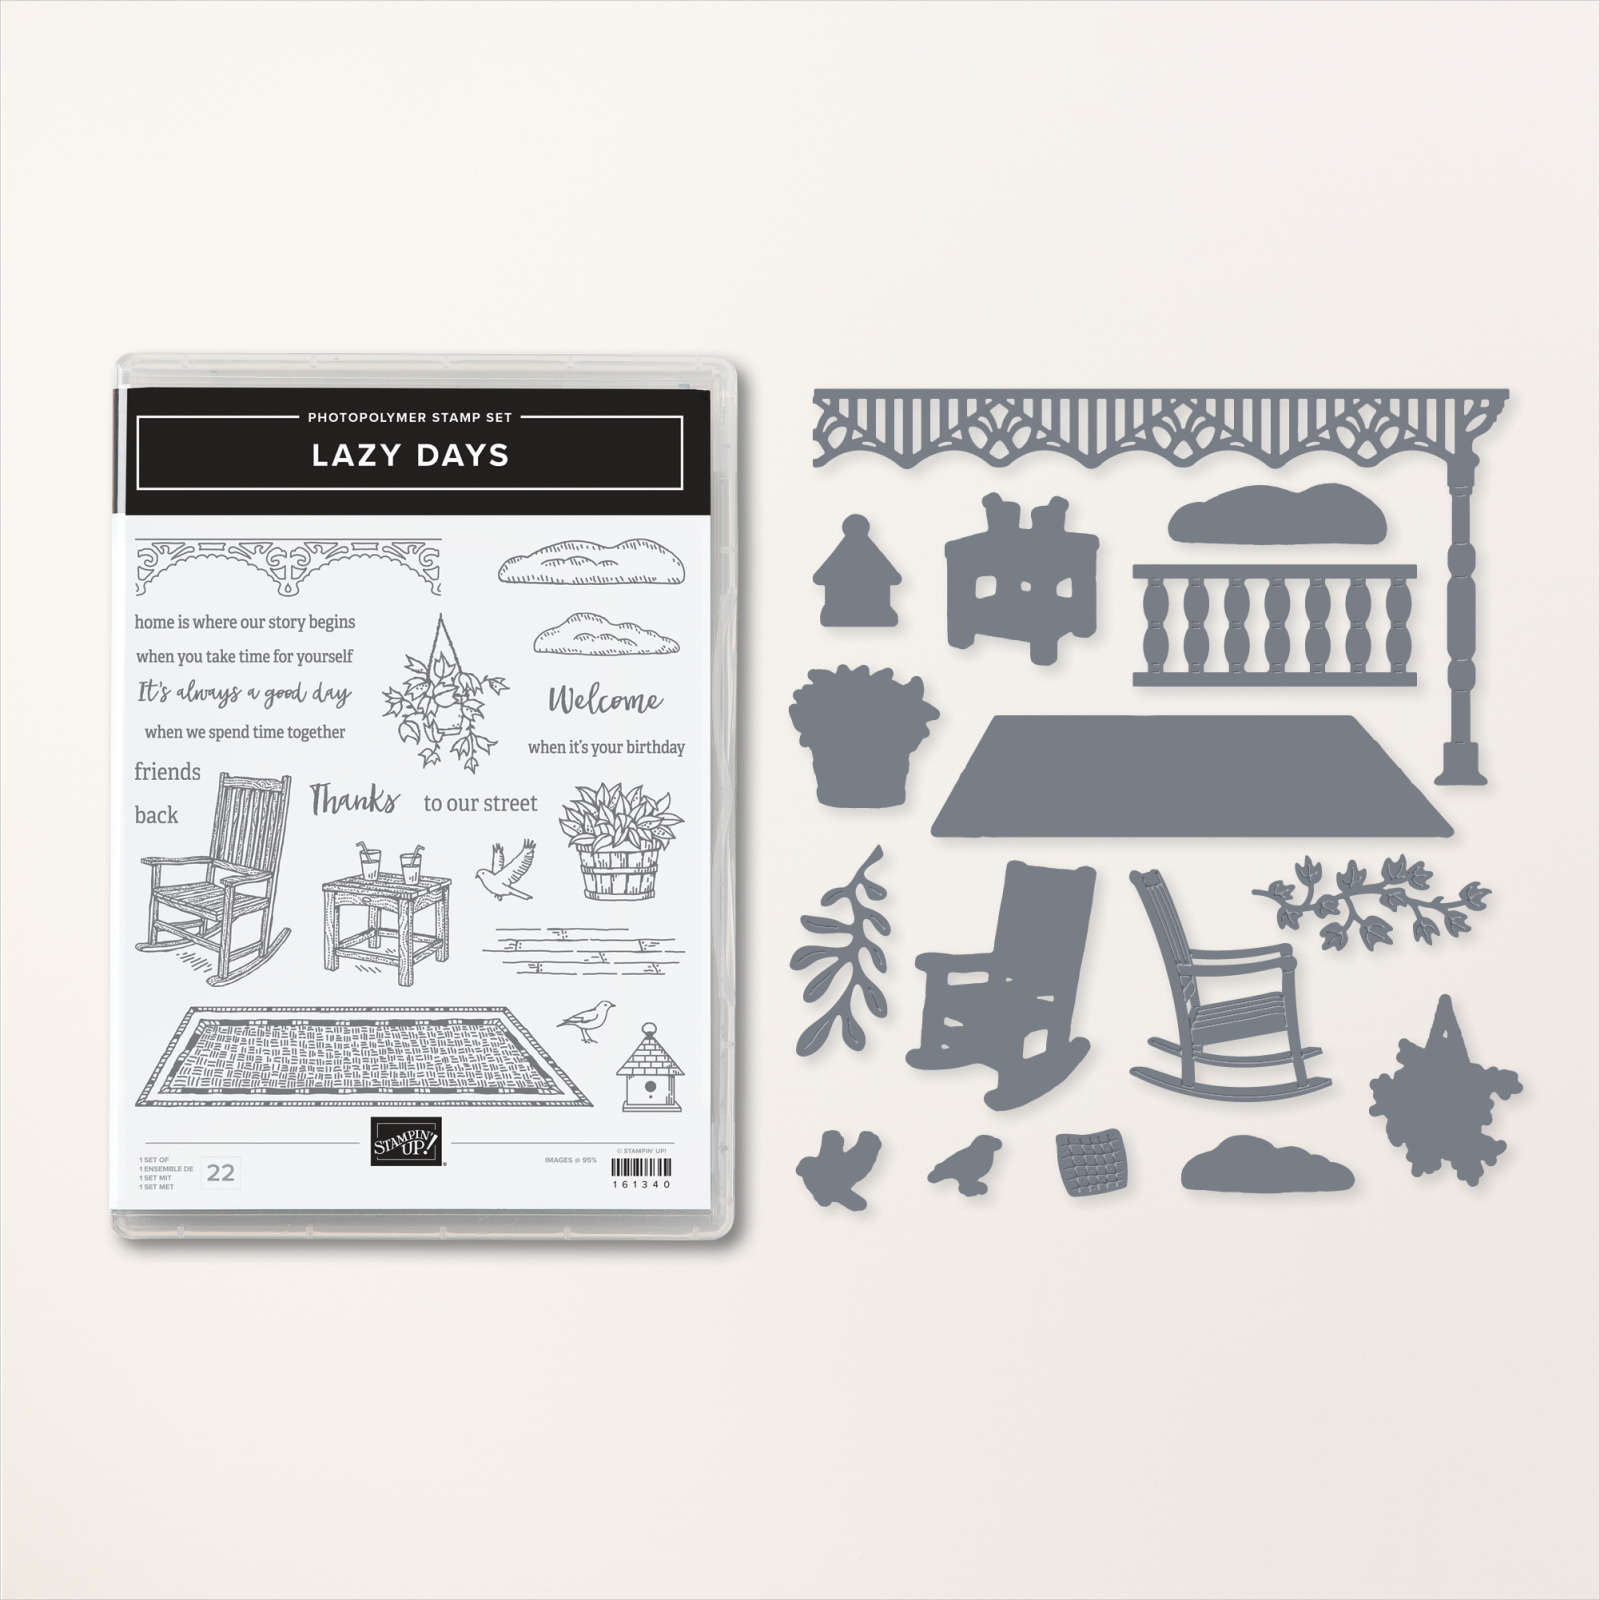
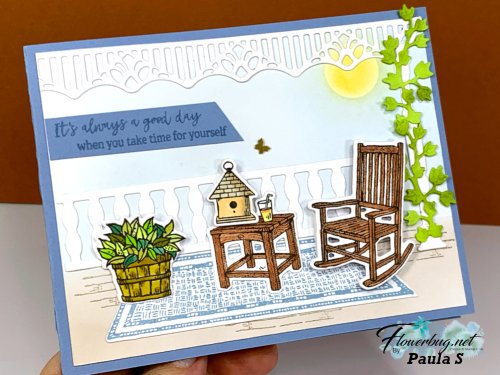
See what I mean? The scene she created is so real & life-like! This card features the new Lazy Days bundle seen here. And she used many of the stamps & dies in the bundle. I counted them – 9 stamps or dies!
Here's a photo of the bundle she used: Lazy Days seen here.
I think her soft colors set the tone for a real porch scene. That rug, lattice, fence and sponged sun – well just everything works! I'm so very proud of her talent. AMAZING!
Her background is white but she lightly blended blue ink for the sky and likely crumb cake for the porch.
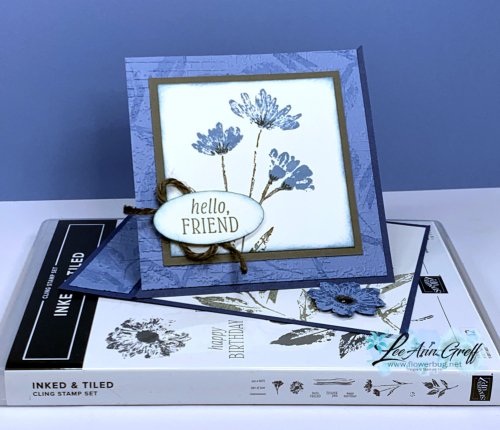
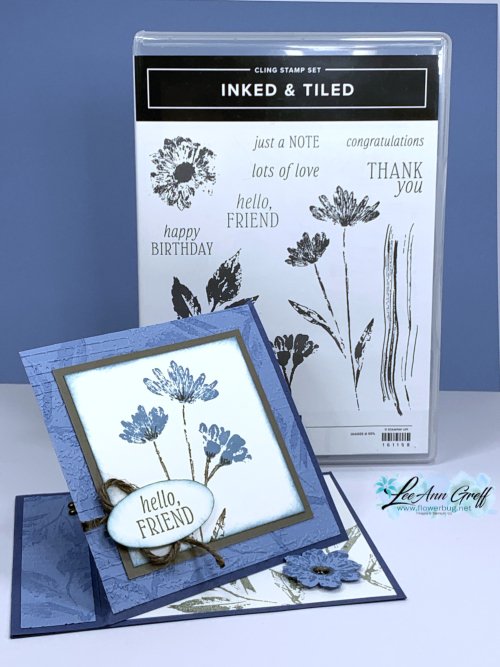
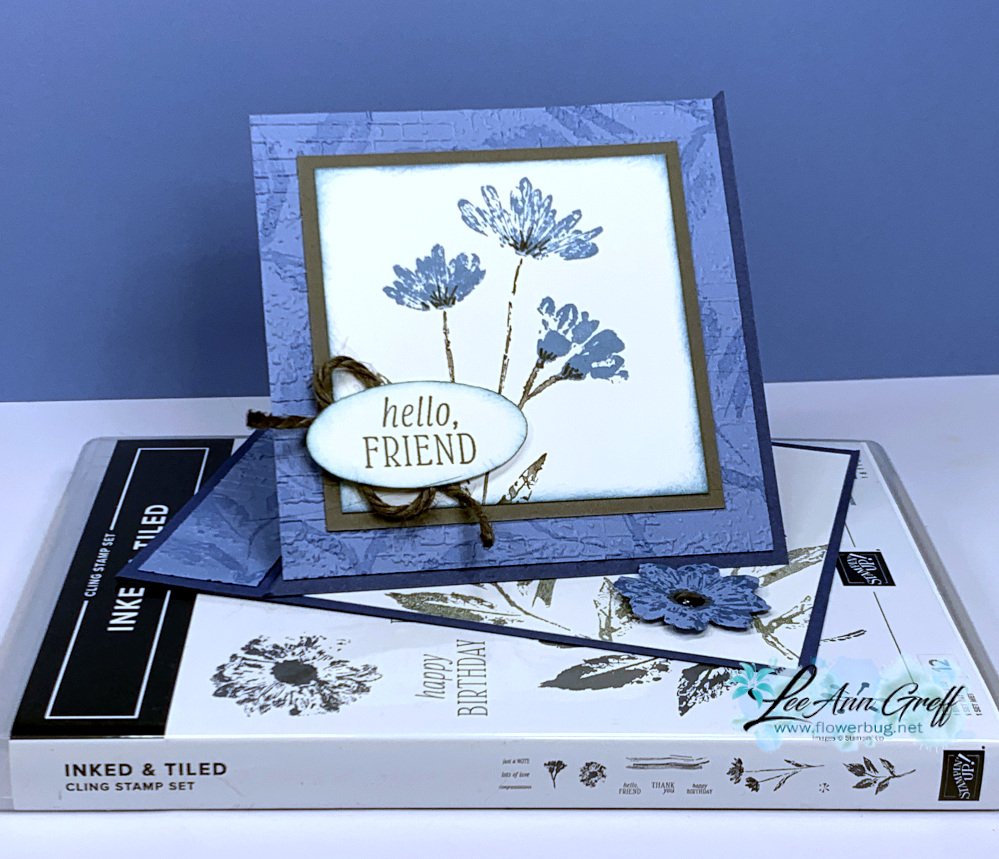
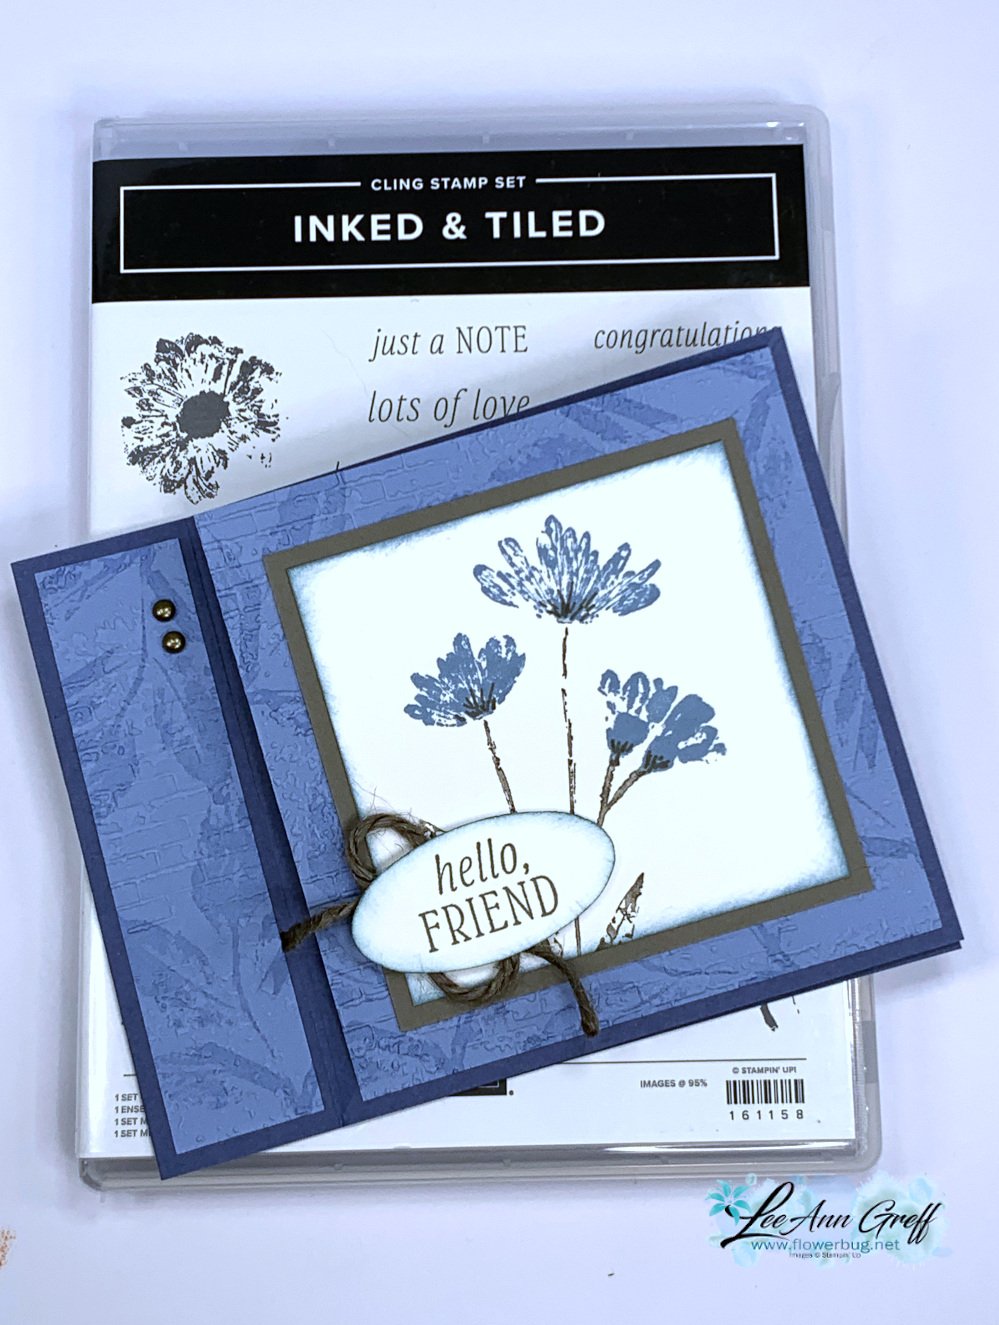
I stamped the large leaf repeatedly onto the Boho Blue layers using Versamark ink. I let it dry and then textured it with the Exposed Brick 3D embossing folder. I love this new folder!!
How did I get the two-tone colors on my flowers? I used both an ink pad and markers. I inked the flowers first in Boho Blue. Then I colored the stems using a Pebbled Path Stampin' Write marker. Huff and stamp! Why huff? Huffing with your moist breath re-moistens the ink on your stamp. This can be especially helpful with solid type stamps.
After stamping I used the same Pebbled Path marker to add more detail to the base of each flower.
For an easel card you need something to hold it open. I stamped the flower in the set onto a piece of Boho Blue and punched it out with the Petal Park Builder punch. I curled and distressed the petals and added it with a few Mini Dimensionals.
I added a looped piece of the 2023-25 In Color Jute trim under my punched Oval greeting. I did sponge a bit of Boho Blue on the edges first.
In the video I share two other beautiful cards made with the Inked & Tiled stamp set. I made two of them for swaps on the Stampin' Up! incentive trip I'm on right now! A Norwegian cruise!
Notice: LeeAnn Greff, Independent Stampin’ Up! Demonstrator, Manager. The content of this website is my sole responsibility as an independent Stampin’ Up! demonstrator and the use of, and content of, the classes, services, or products offered on this website is not endorsed by Stampin’ Up! Copyright 2025























Leave a Reply