/


Latest Post

Pretty Pumpkin projects in out of the box colors with Video too!


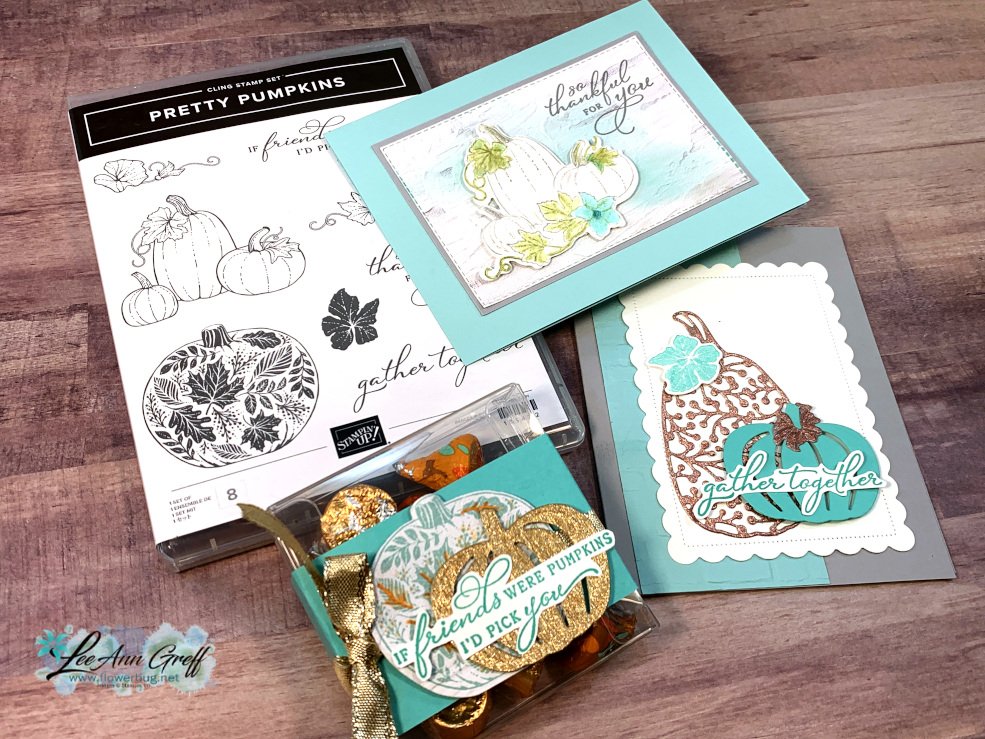
On Tuesday's FB Live I featured the Pretty Pumpkins bundle in out of the box colors.  I was inspired by the white pumpkins that are trendy now and by a card made by Deb Crowley.  
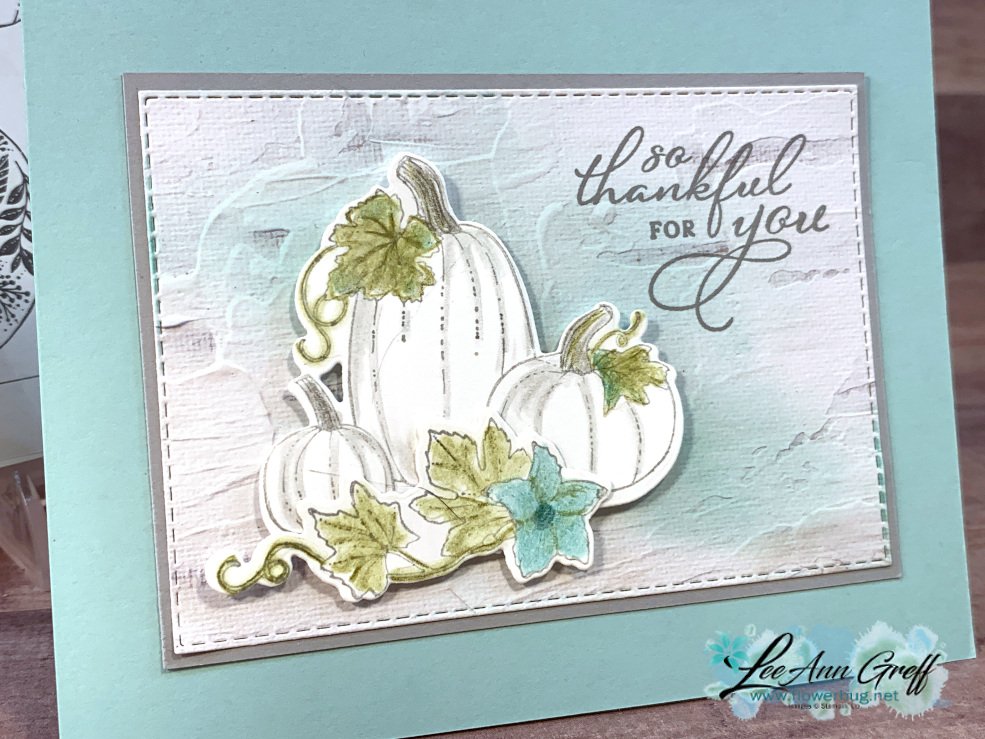
Isn't it gorgeous?  The colors are Pool Party, Olive & Smoky Slate. I stamped the pumpkins in Smoky Slate onto White Basic card stock and colored them in with our Watercolor Pencils seen here.  A Blender pen is the magic tool when using watercolor pencils!  Watch the video below to see how.  
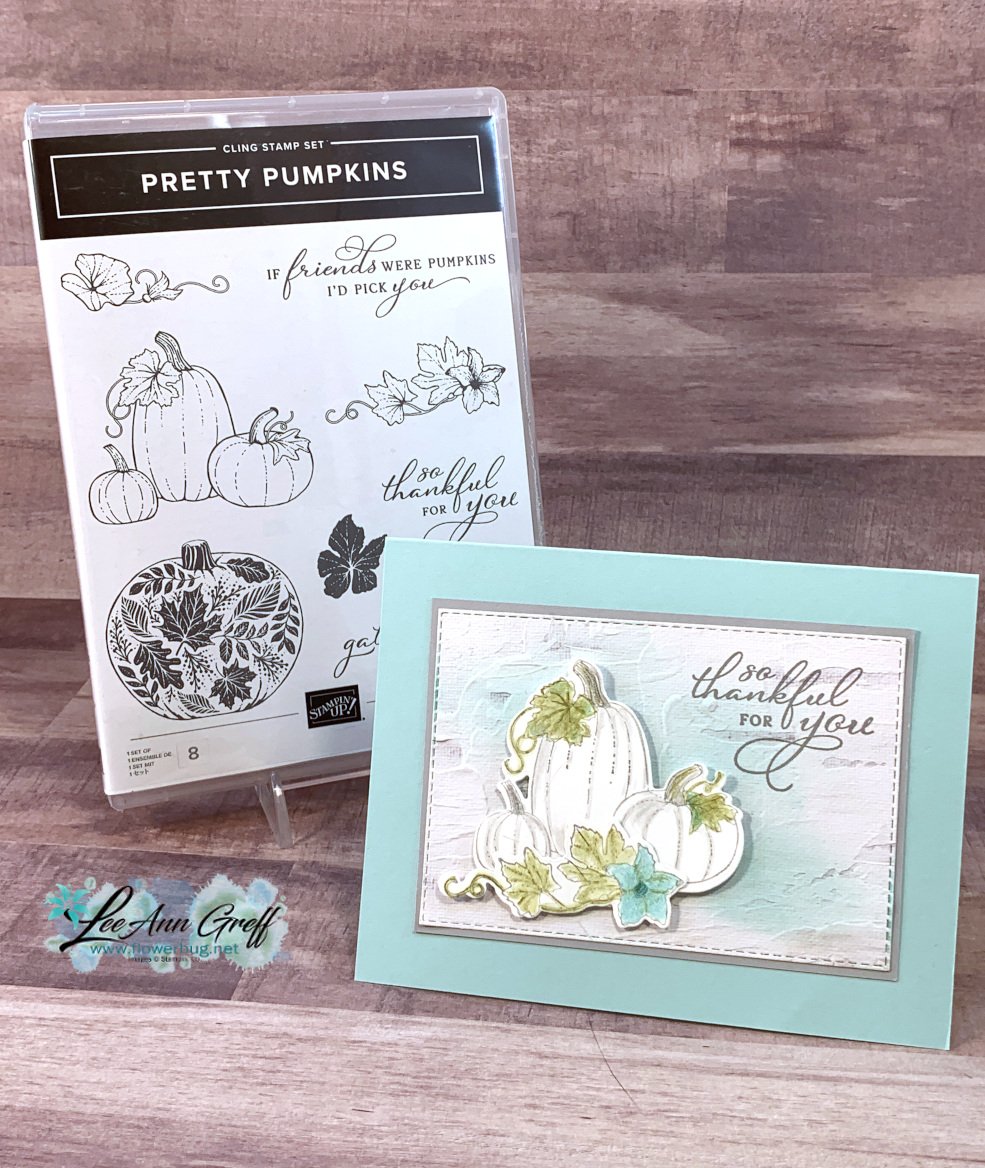
I stamped the greeting directly onto the die-cut stitched rectangle using Smoky Slate ink.  It's cut from In Good Taste designer paper.  I used a blending brush to add a bit of Coastal Cabana ink behind the die-cut pumpkins. 

Next is another pretty card in Smoky Slate, Pool Party, Coastal Cabana and Rose Gold.  This pretty specialty paper is in our Annual Catalog on page 134 seen here.  It's also my free gift for orders in October! *see details below
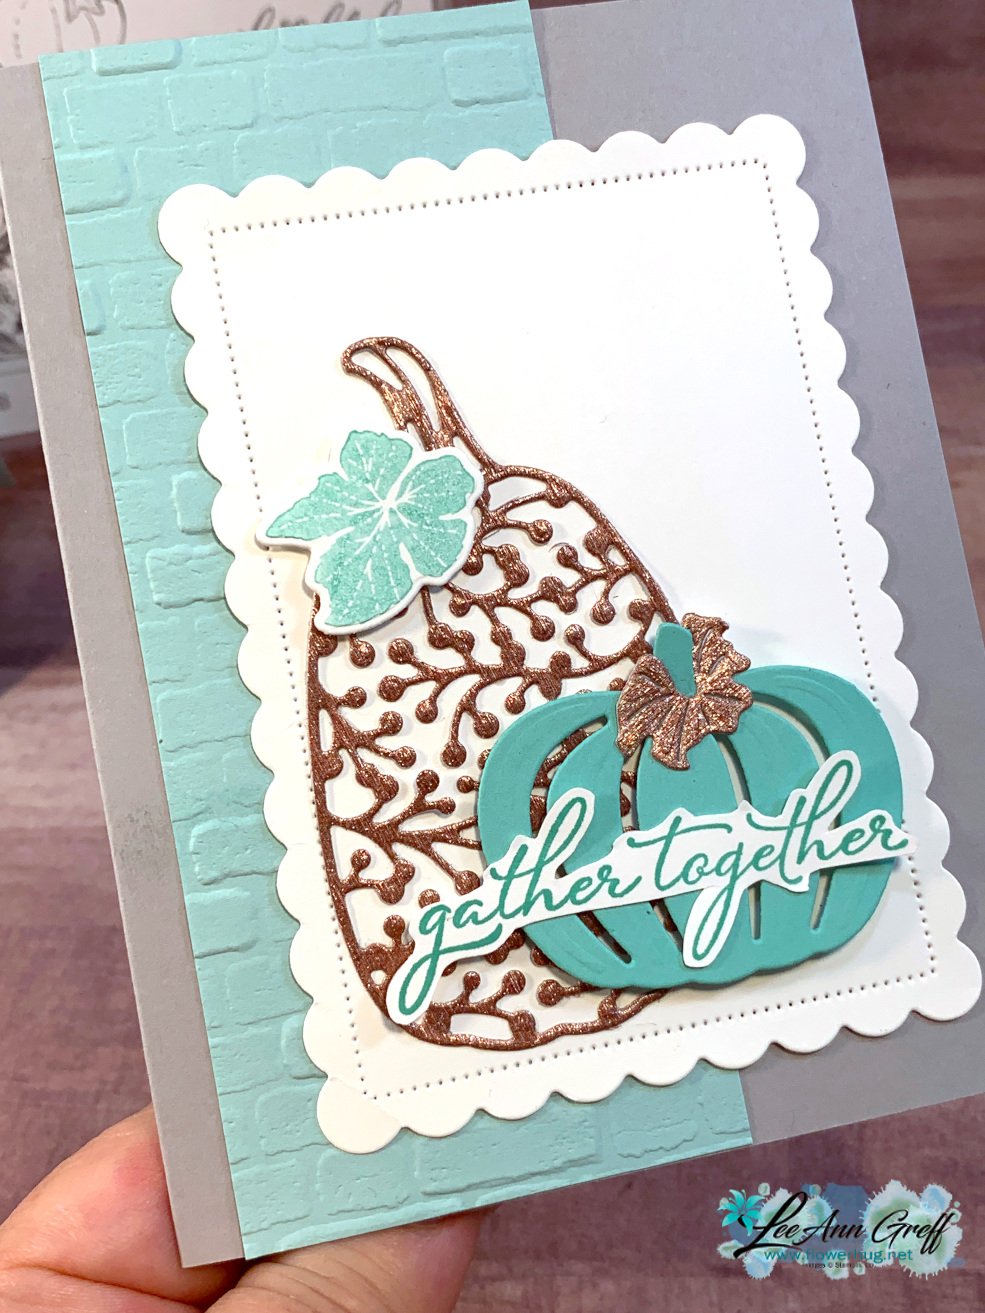
These pumpkin and leaf die-cuts are in the Detailed Pumpkin dies seen here.  *Save 10% when you purchase the bundle – stamp set & dies. I did fussy cut the greeting after stamping it. The embossing folder is called Brick Wall.  

Look at this pretty & quick treats box.  It's one of our 3 1/8" square Acetate boxes seen in the annual catalog here.  You get 10 boxes for $6.  Inside can hold either treats or 3 X 3 cards & envelopes.

I added a 2" X 9" belly band of Coastal Cabana card stock, a few pumpkin die-cuts, a wrap of Gold 3/8" shimmer ribbon and a fussy cut greeting.  
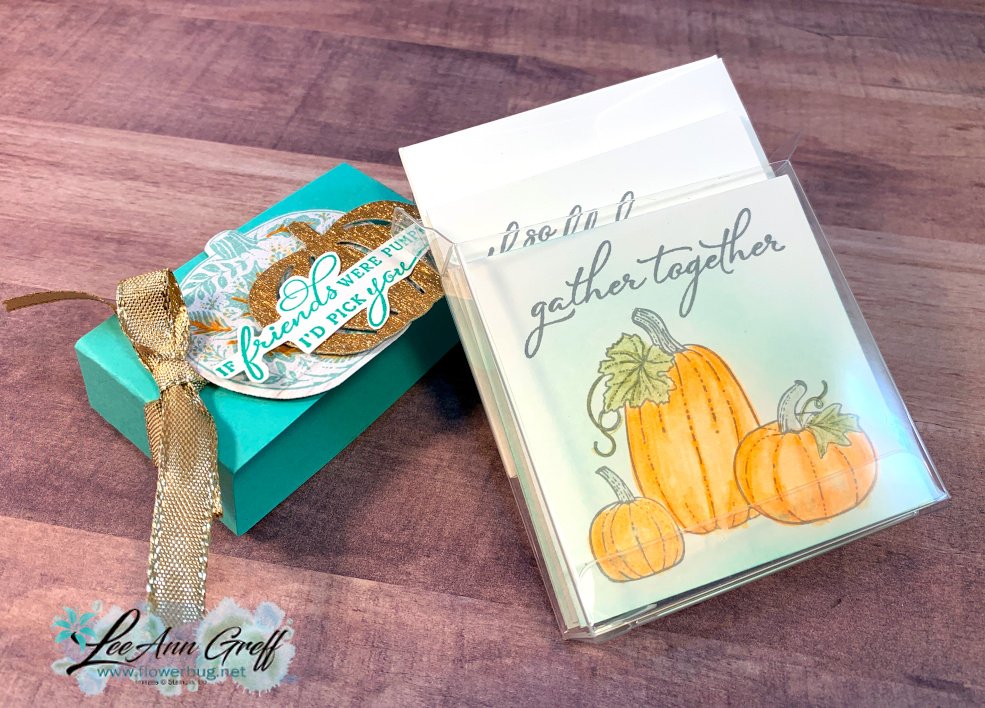
Did you know we carry 3" square envelopes in the Annual Catalog? Check out page 136. They're perfect for little note cards and they fit in this box too!  

You might wonder where you get 3 X 3" cards….   I made them from a piece of 12 X 12" card stock. It's the best size CS to start with. You'll get 8 small cards from one sheet with no waste!  Watch my tip on this in the video below. 

I think these cards would be great at each place setting on the Thanksgiving table!  Think white pumpkins, autumn colored leaves & turquoise ribbon or accents.  Mmm – I think I have a plan! 
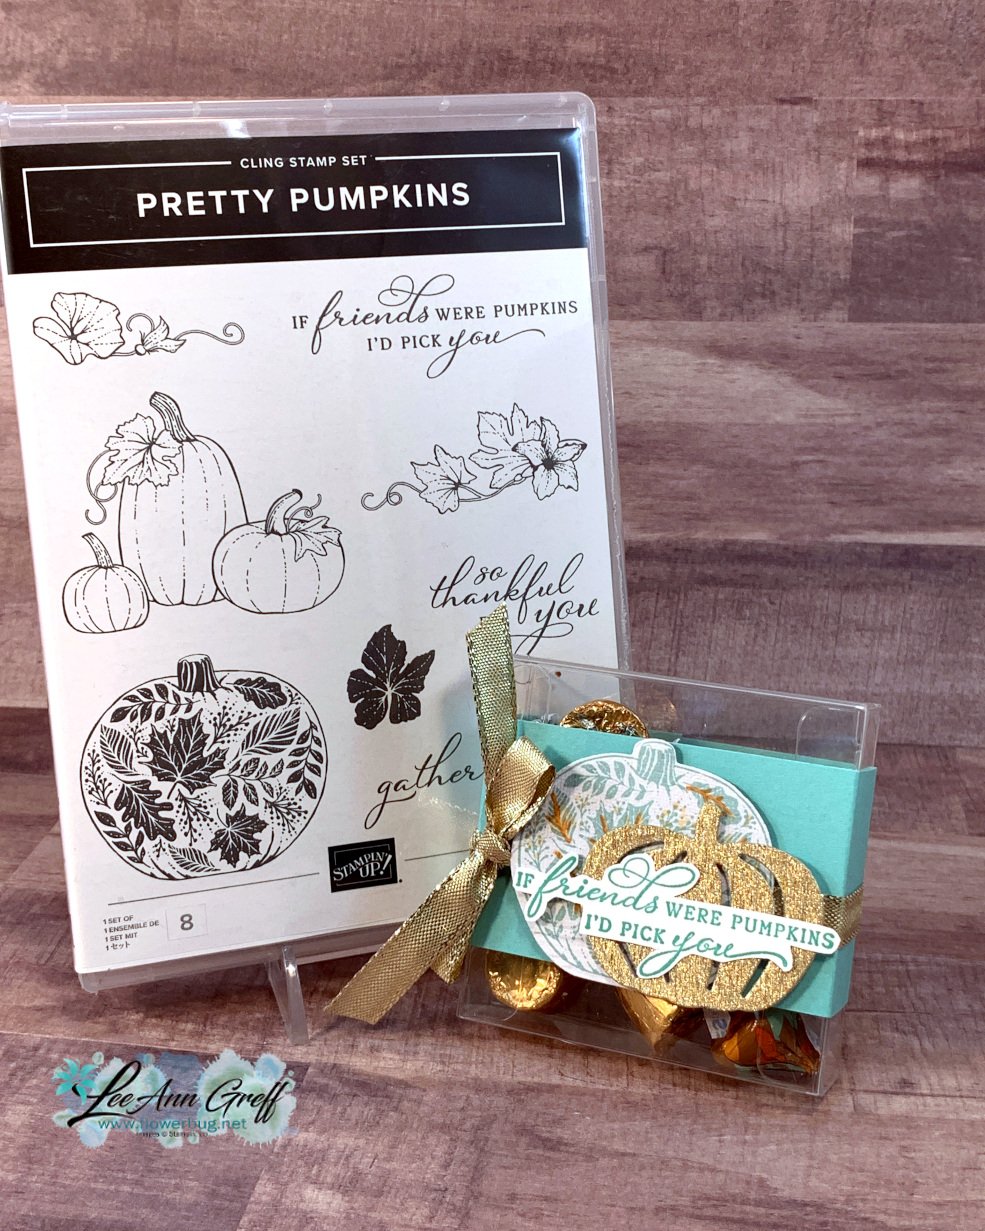
And here is the video; click on the image below to watch it. 

~~~

October Specials

Host code: YYUAWBVA

*click here to order

Clearance Rack has new items!!

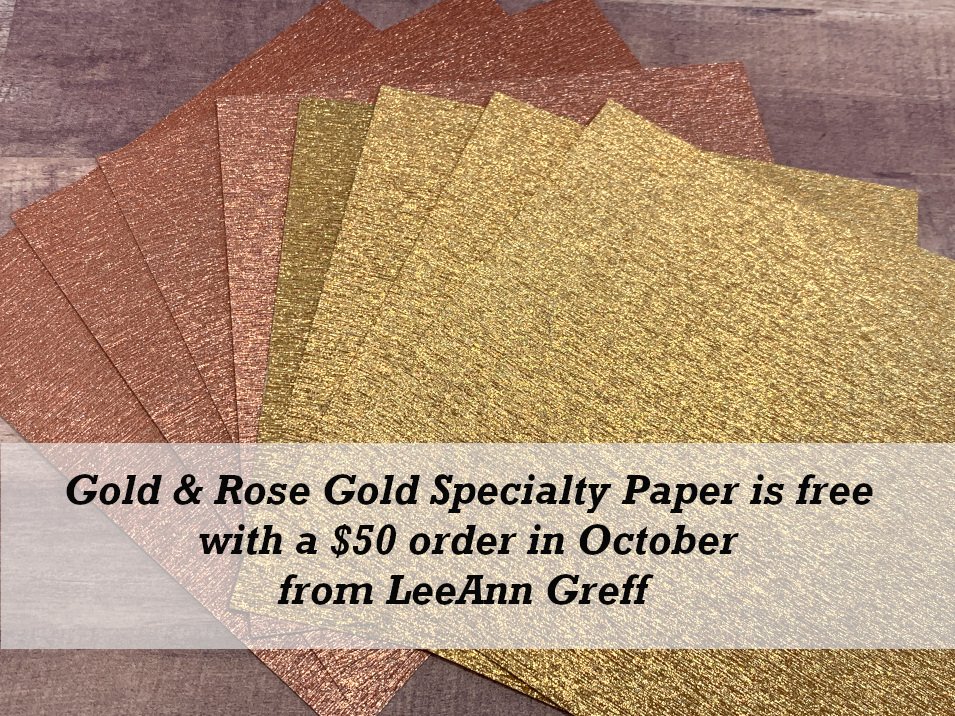
Get a free package of Gold & Rose Gold Metallic specialty paper from me with a $50 online order in October! 
All online orders will receive my October PDF tutorial free! 

This month it features the Gingerbread & Peppermint suite.

All Posts

  • 3 completely different cards with the Friendly Hello bundle; WOW!


    Our Sale-a-Bration promotion is everyone's favorite time of year; who doesn't love to get something free?!  

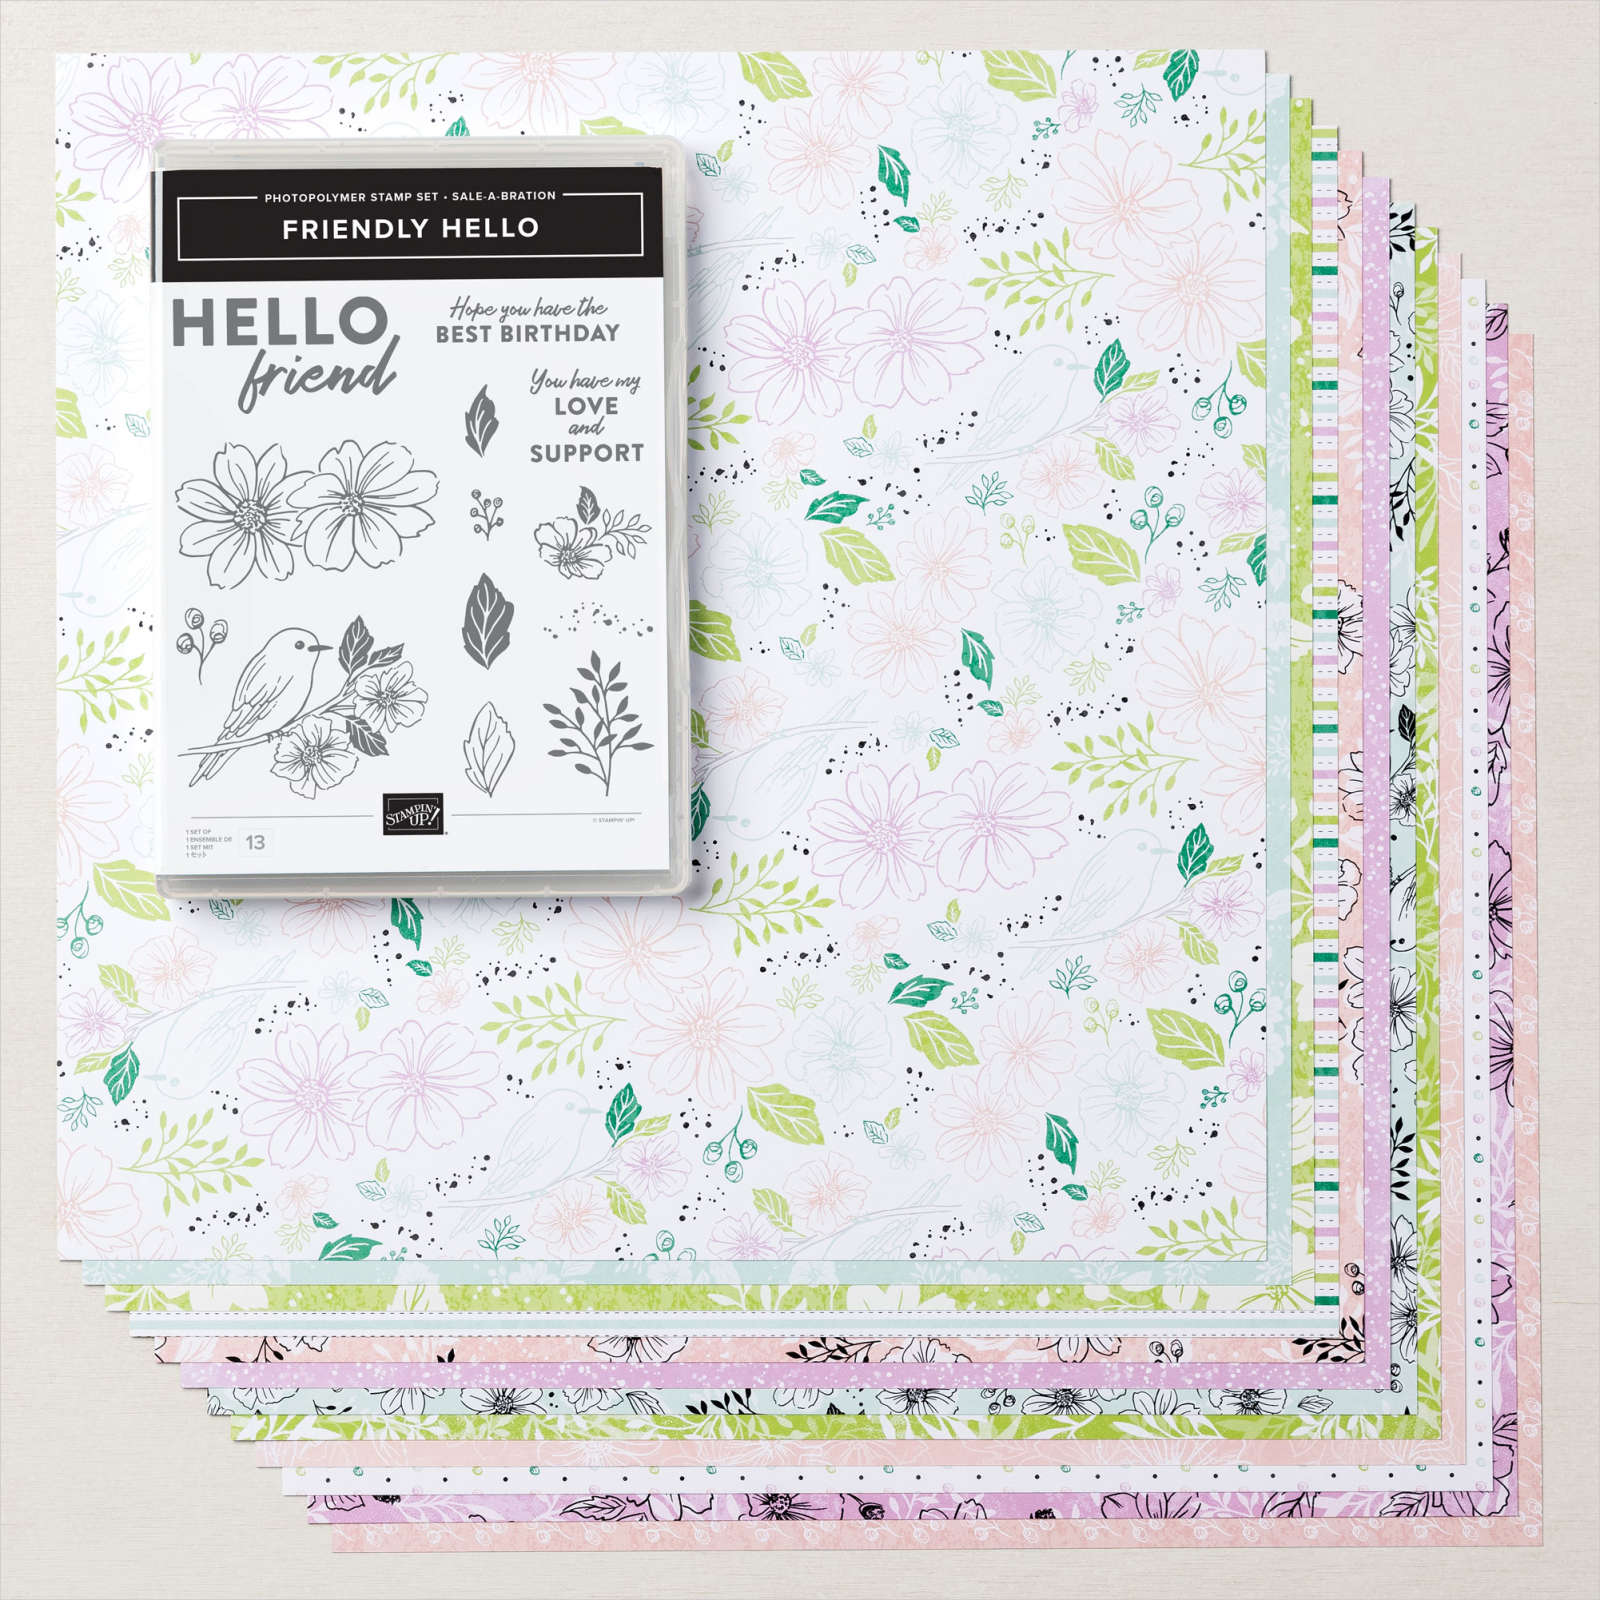
    This year our product line includes a stamp set & 12 X 12" designer paper combo called Friendly Hello.  I love both the stamps and the DSP.  The stamps include floral, botanical and greeting images and the paper can be either soft & pretty or bright & eye catching! 

    Look at these three extremely different cards all featuring the same stamps & DSP:

    This card is one I made for an online swap I participated in.  I chose to use the Granny Apple Green sheet of DSP and paired it with Black & White. It's a simple layout that really shows off the colors & products.

    Details:

    • The greeting is stamped onto a die-cut from the Hippo & Friends die. 
    • That delicate leaf die-cut is from the Tropical Layers dies in the Jan-June catalog.  
    • The butterfly is from the Catching Butterflies Sale-a-Bration stamp set. 

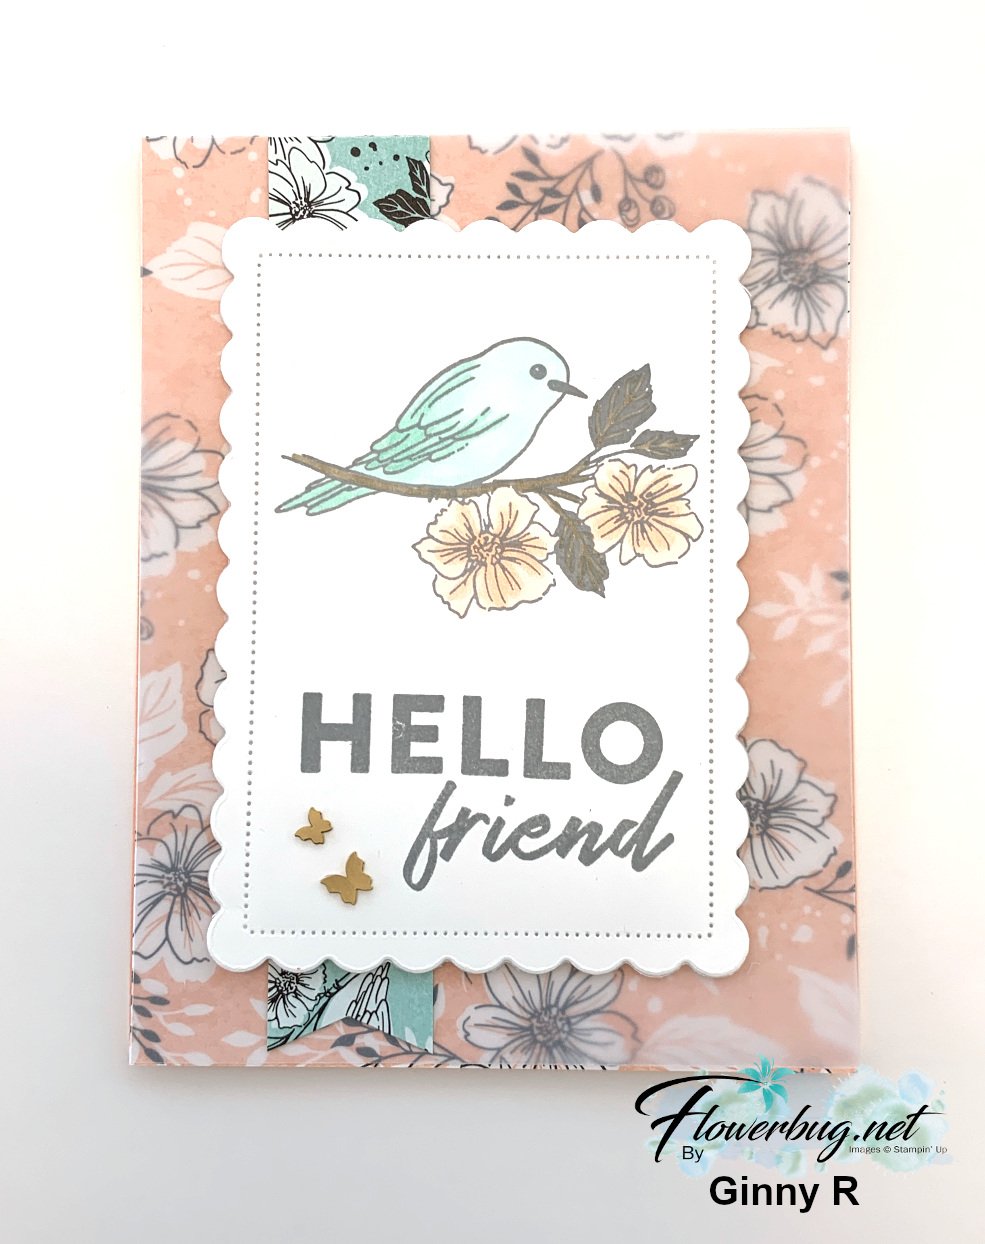
    Next is a pretty swap Ginny made but so much softer in colors.  

    She covered the entire card front with her Designer Paper and added a banner from another sheet of the DSP under the main White scalloped piece.  She stamped in Gray Granite and colored in the bird & flowers with Blends markers.  

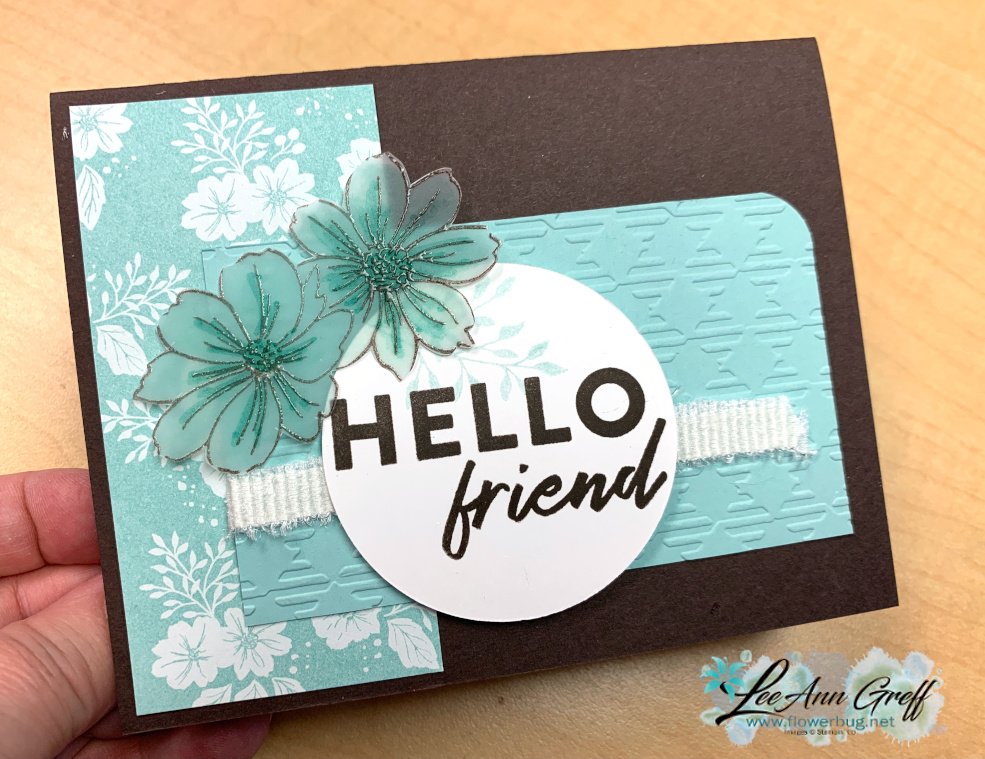
    Lastly today is another card I made for a swap.  I paired the Pool Party sheet of this Designer Paper with Early Espresso.  I've always loved these colors together.  I stamped the flowers in Early Espresso ink onto our Vellum card stock and immediately heat embossed with clear embossing powder.  Yes you CAN emboss with our Classic ink pads!  

    I textured the Pool Party card stock with the new Gingham embossing folder and rounded the upper right corner.  I also cut our new frayed 3/4" White ribbon in half lengthwise and wrapped it round the left edge of the card stock.  

    Thanks so much for stopping in to see my projects today!  If you want to get this pretty pack of Designer Paper & the Friendly Hello stamp set click here to see it.  It's free with any $100 purchase right now! 

    ~~~

    January Specials:

    Purchase the Starter Kit during Sale-a-Bration and choose ANY 2 stamp sets free plus FREE shipping too!

    Click here to get yours.


    Host codes:  T9YW6QCC or S9WGFH9Z

     *click here to order 

    Use the host code above & get free Iridescent Rhinestones with

    a $50 order in January, 2022! 

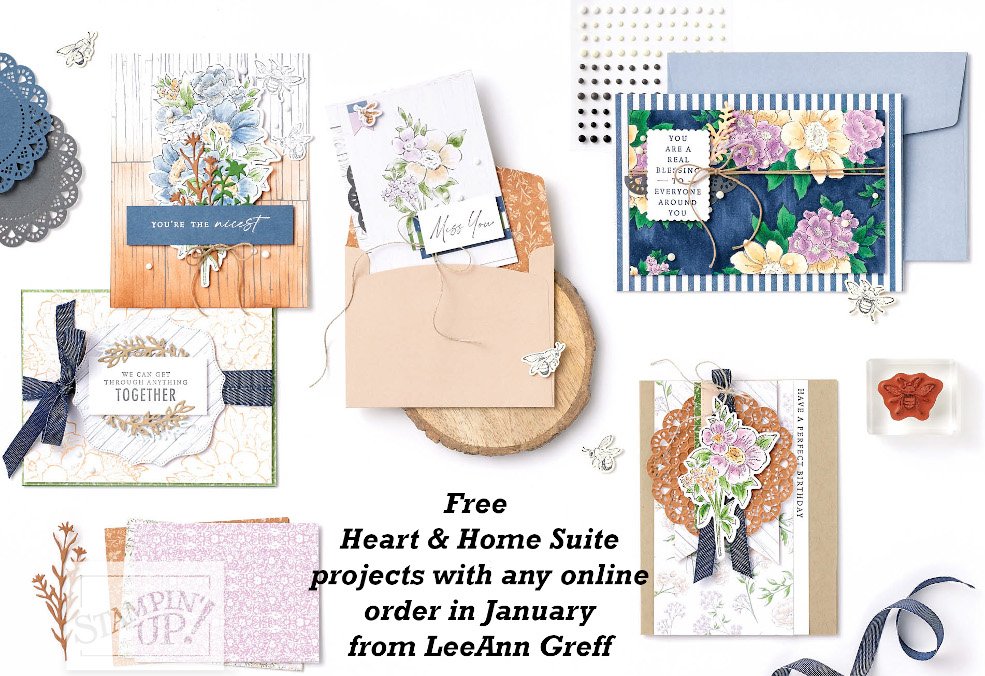
    Free Heart & Home PDF projects with any online order!

    Leave a Reply

    Your email address will not be published. Required fields are marked *

  • Pretty Botanical swap cards; all Monochromatic!


    This week I'm showcasing my talented Flowerbug's Team swaps with their monochromatic cards.  

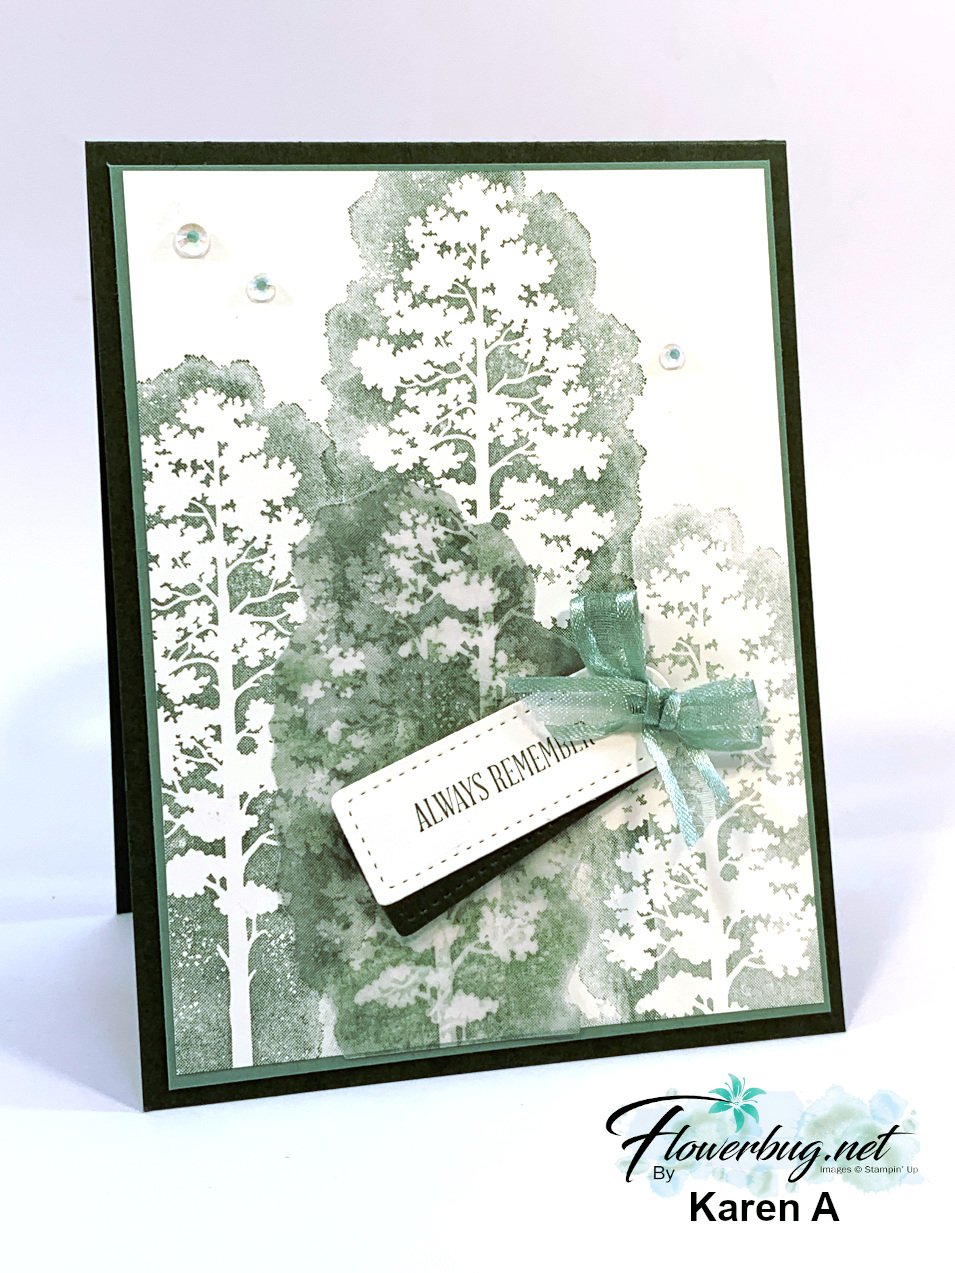
    First up is Karen's card; she used the Amazing Silhouettes stamp set; seen here in the new Jan-June catalog.  

    She stamped the floral image three times on her White CS using Evening Evergreen ink.  The last one is stamped on Vellum and fussy cut.  She added a double tag die-cut from the Tailored Tags dies along with a bow in Soft Succulent ribbon.  

    Next is a pretty card in Fresh Freesia made by Paula S.  She used a favorite stamp set of mine; the Queen Anne's Lace stamp set, along with some sponging and distressing of the edges.  

    Our In Color sheer ribbon is wonderful; easy to work with, soft & lovely!  

    Next is a pretty & very detailed card made by Sharon.  She used Soft Succulent with Evening Evergreen and the Ever Eden specialty designer paper. 

    She created double stitched window frames with the Stitched Rectangle dies. They're adhered over a scalloped rectangle made with the Stitched So Sweetly dies.  Her leaves are die-cut from our Shimmer In Color Vellum using the Forever Flourishing dies.  The greeting is from the Prized Peony stamp set. 

    Stop in for more Monochromatic card swaps tomorrow! 

    ~~~

    January Specials:

    Purchase the Starter Kit during Sale-a-Bration

    and choose ANY 2 stamp sets free plus FREE shipping too!

    Click here to get yours.


    Host codes:  T9YW6QCC or S9WGFH9Z

     *click here to order 

    Use the host code above & get free Iridescent Rhinestones with

    a $50 order in January, 2022! 

    Free Heart & Home PDF projects with any online order!

    Leave a Reply

    Your email address will not be published. Required fields are marked *

  • Control Freak’s Blog Hop; Favorite Colors theme!


    Welcome to the January Blog Hop from our talented Control Freaks group!  Our theme this month is to use our favorite Stampin' Up! color and make it monochromatic!  

    If you just stopped in from Wendy's blog I'm sure you enjoyed her projects. She is super creative!

    I haven't joined a blog hop in awhile and I've missed it!  This color theme was perfect for me as my Flowerbug's Team swapped monochromatic cards last week.  I've been sharing them here all week long.

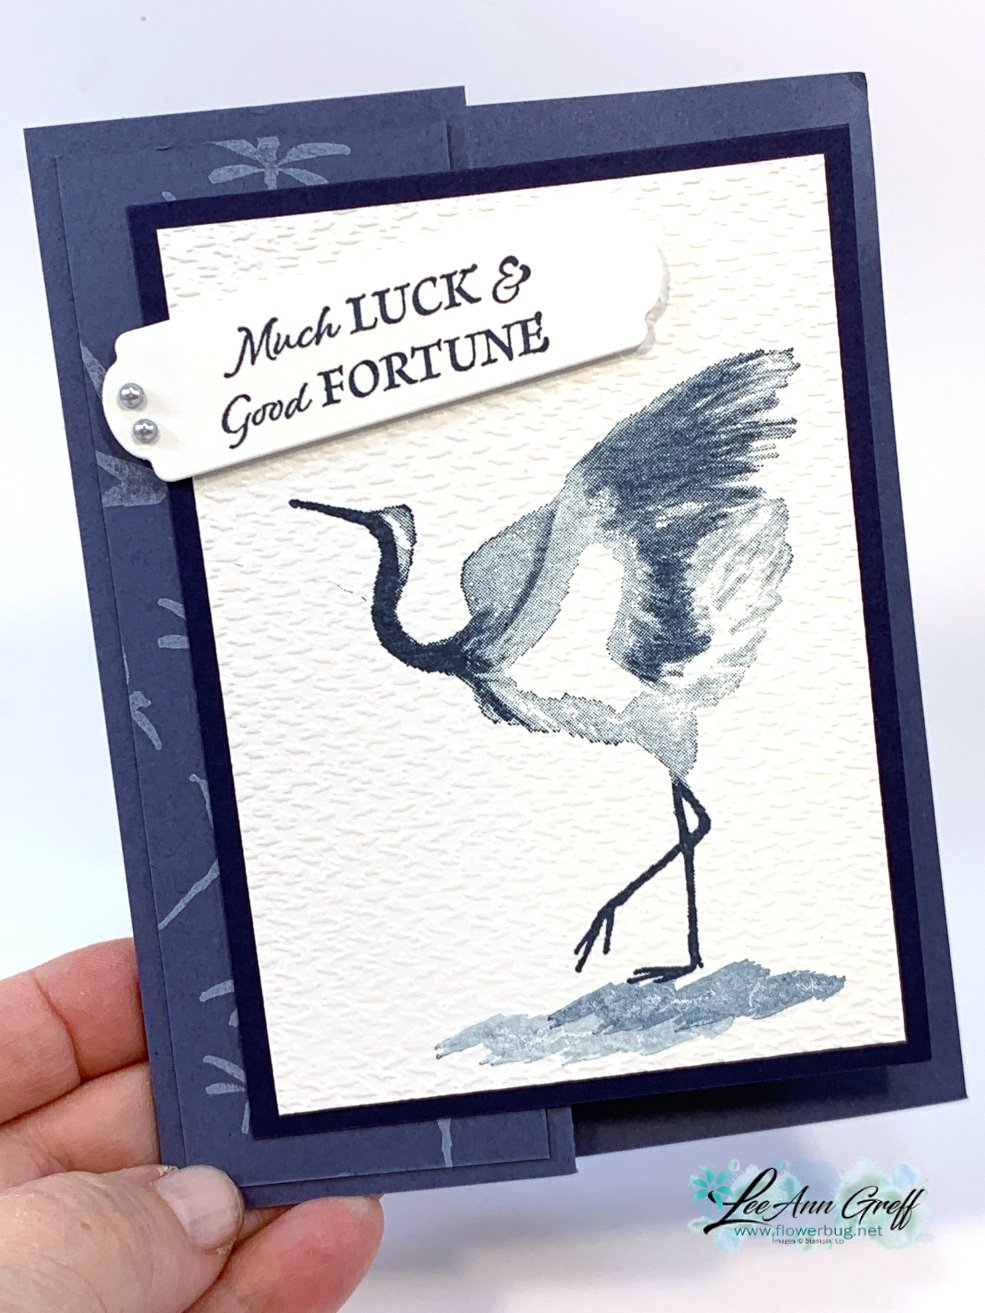
    My first card features a new stamp set called Crane of Fortune.  

    I chose to feature Misty Moonlight with Night of Navy & White.  The Crane of Fortune stamp set is new in our Stampin' Up! January-June catalog.  It's a Distinktive stamp set which means you get multiple hues of color with one inking.  These are my favorite type of stamps.  Look how pretty the images are in one color and so easy too! 

    After I stamped the crane I textured it with the Tasteful Textile 3D embossing folder.  

    This card is a very simple fun fold.  Here are the measurements:

    • Score your 5 1/2" X 8 1/2" card base at 2 1/8" & 4 1/4"
    • Misty Moonlight layer 1 7/8" X 5 1/4"
    • White layers are 3 1/4" X 4 1/2"
    • Navy layer is 3 1/2" X 4 3/4"


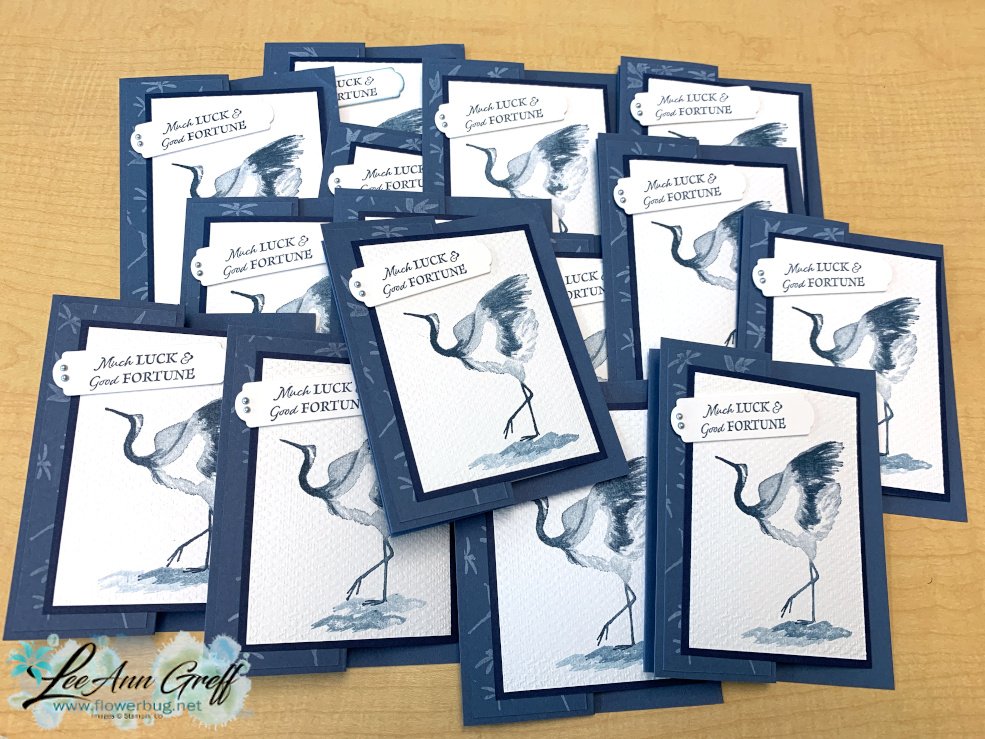
    I stamped some of the dragonflies on the front layer of Misty Moonlight.  I used White Craft ink for a soft, subtle effect.  As you can see I made quite a few of them for our Team swap!  

    Next is a pretty card in Soft Succulent & White.  

    I used the new Artfully Layered stamp set along with the Stitched Rectangle dies.  This technique is called Triple Time Stamping. 

    To achieve this layered effect I stamped all three of the White layers at the same time. Then you adhere each piece to a Soft Succulent layer and put the pieces back together; almost like a puzzle.  It's a great way to create quick, eye catching cards. 

    Measurements:

    • Soft Succulent – 5 1/2" X 8 1/2" card base, 4 1/8" X 2 7/8" & 3" X 1 5/8"
    • White – 5 1/4" X 4", 4" X 2 5/8" & 2 3/4" X 1 3/8" 

    Thanks so much for stopping in today. Click on the icon below to see what Melissa has created for you. You won't want to miss it! 

    Leave a Reply

    Your email address will not be published. Required fields are marked *


Notice: LeeAnn Greff, Independent Stampin’ Up! Demonstrator, Manager. The content of this website is my sole responsibility as an independent Stampin’ Up! demonstrator and the use of, and content of, the classes, services, or products offered on this website is not endorsed by Stampin’ Up! Copyright 2025