/


Latest Post

Pretty Pumpkin projects in out of the box colors with Video too!


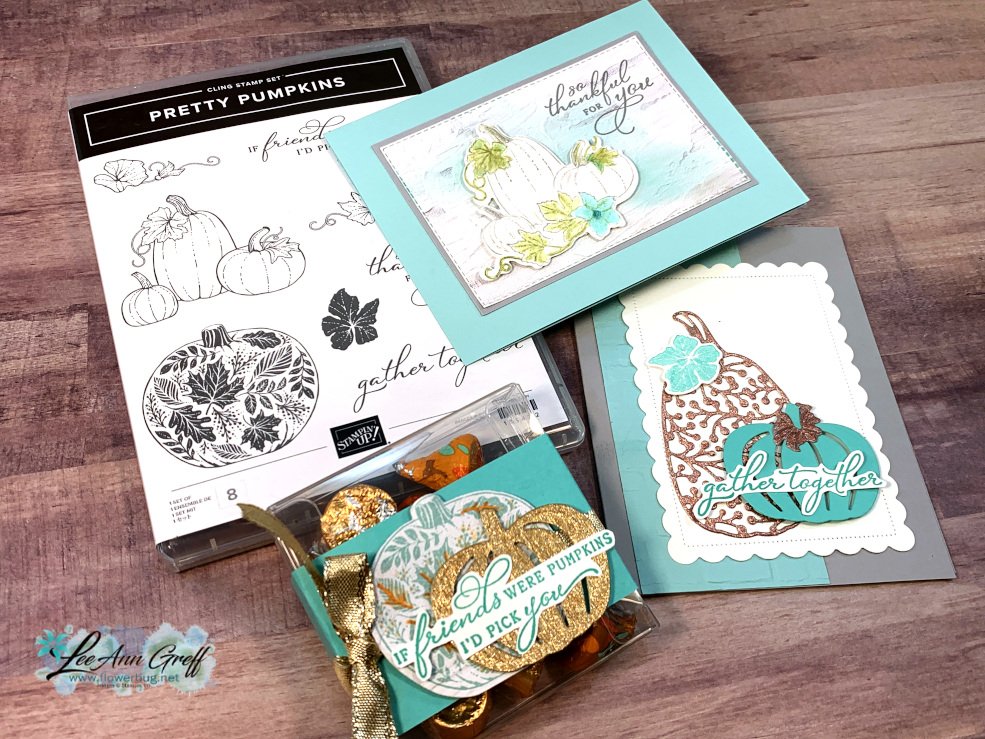
On Tuesday's FB Live I featured the Pretty Pumpkins bundle in out of the box colors.  I was inspired by the white pumpkins that are trendy now and by a card made by Deb Crowley.  
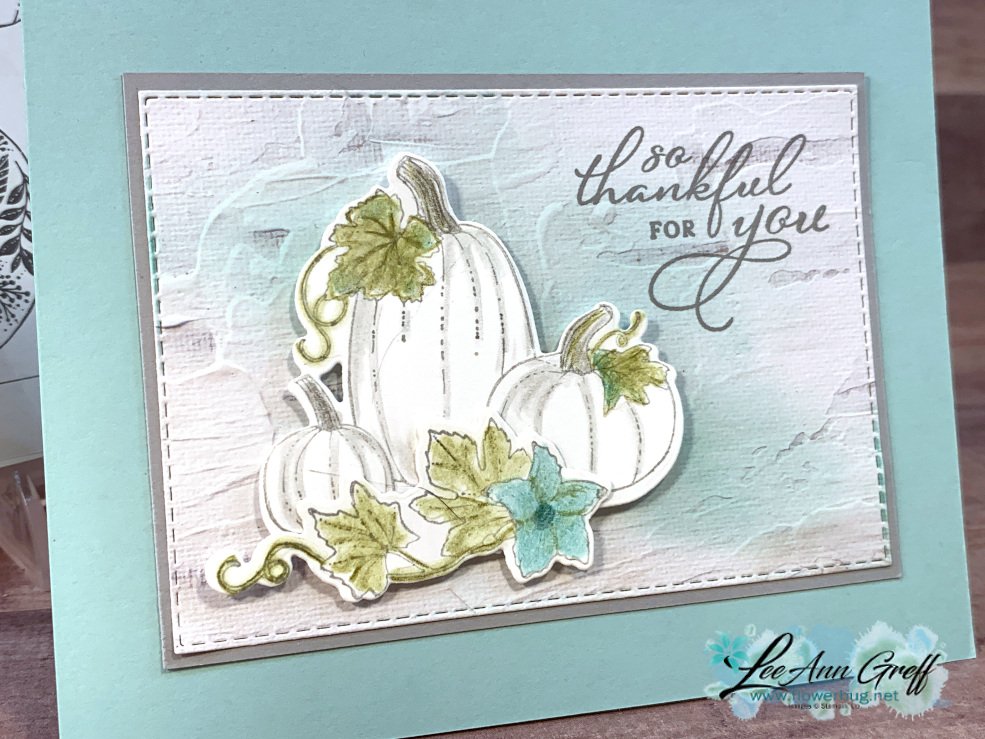
Isn't it gorgeous?  The colors are Pool Party, Olive & Smoky Slate. I stamped the pumpkins in Smoky Slate onto White Basic card stock and colored them in with our Watercolor Pencils seen here.  A Blender pen is the magic tool when using watercolor pencils!  Watch the video below to see how.  
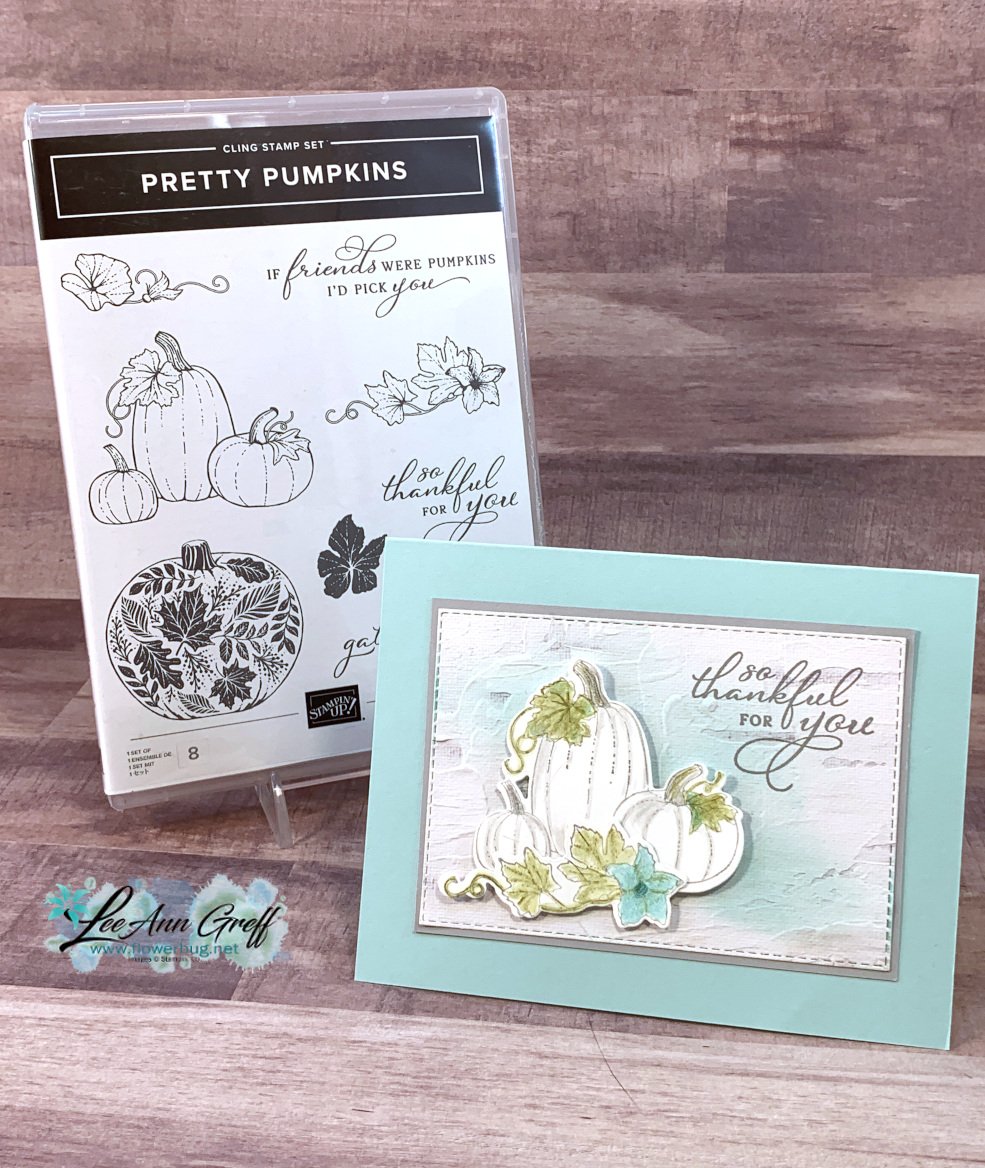
I stamped the greeting directly onto the die-cut stitched rectangle using Smoky Slate ink.  It's cut from In Good Taste designer paper.  I used a blending brush to add a bit of Coastal Cabana ink behind the die-cut pumpkins. 

Next is another pretty card in Smoky Slate, Pool Party, Coastal Cabana and Rose Gold.  This pretty specialty paper is in our Annual Catalog on page 134 seen here.  It's also my free gift for orders in October! *see details below
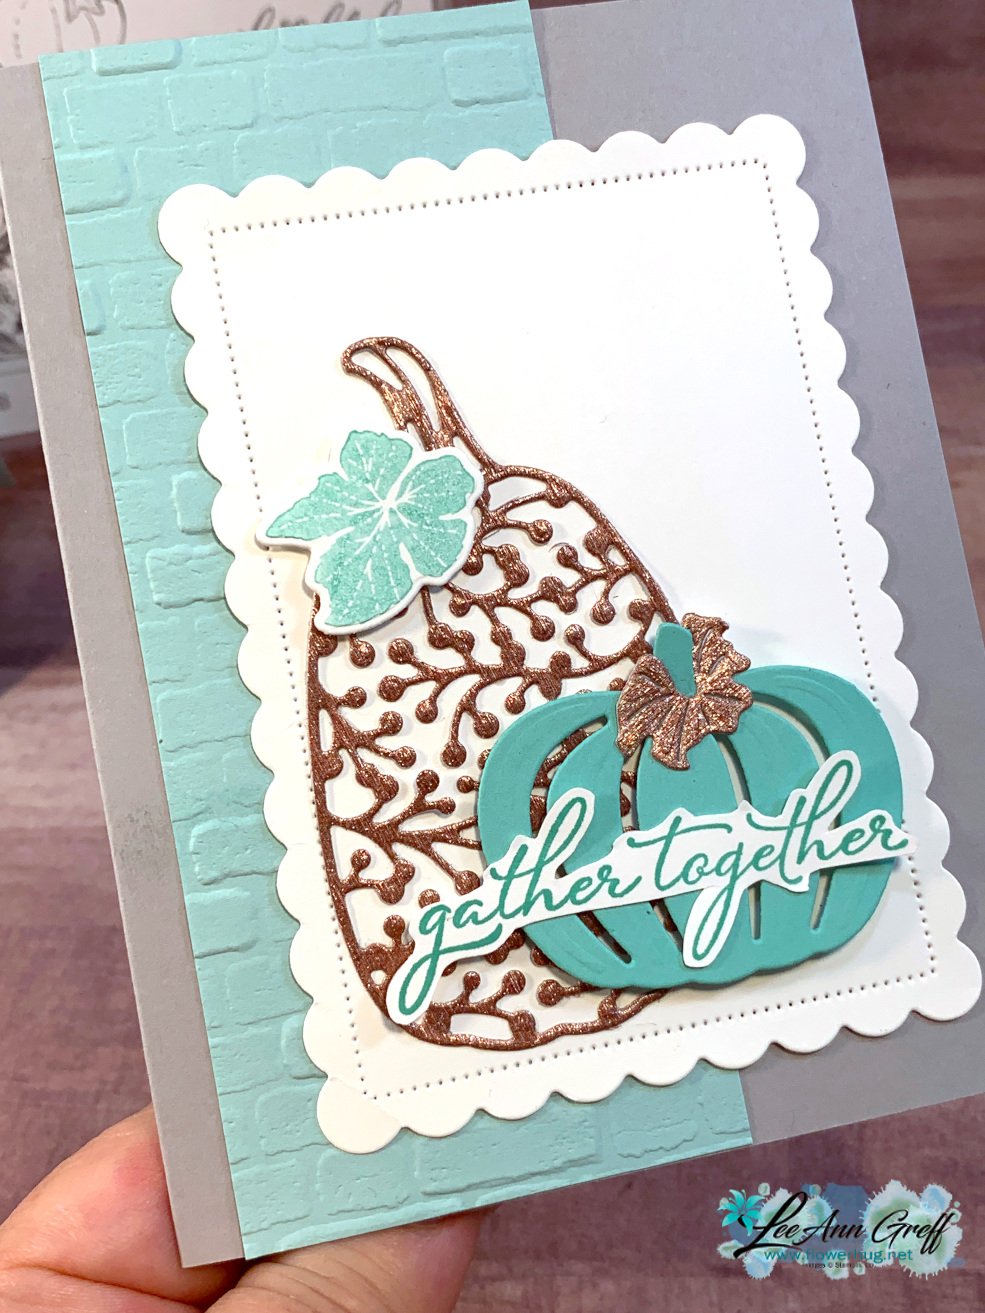
These pumpkin and leaf die-cuts are in the Detailed Pumpkin dies seen here.  *Save 10% when you purchase the bundle – stamp set & dies. I did fussy cut the greeting after stamping it. The embossing folder is called Brick Wall.  

Look at this pretty & quick treats box.  It's one of our 3 1/8" square Acetate boxes seen in the annual catalog here.  You get 10 boxes for $6.  Inside can hold either treats or 3 X 3 cards & envelopes.

I added a 2" X 9" belly band of Coastal Cabana card stock, a few pumpkin die-cuts, a wrap of Gold 3/8" shimmer ribbon and a fussy cut greeting.  
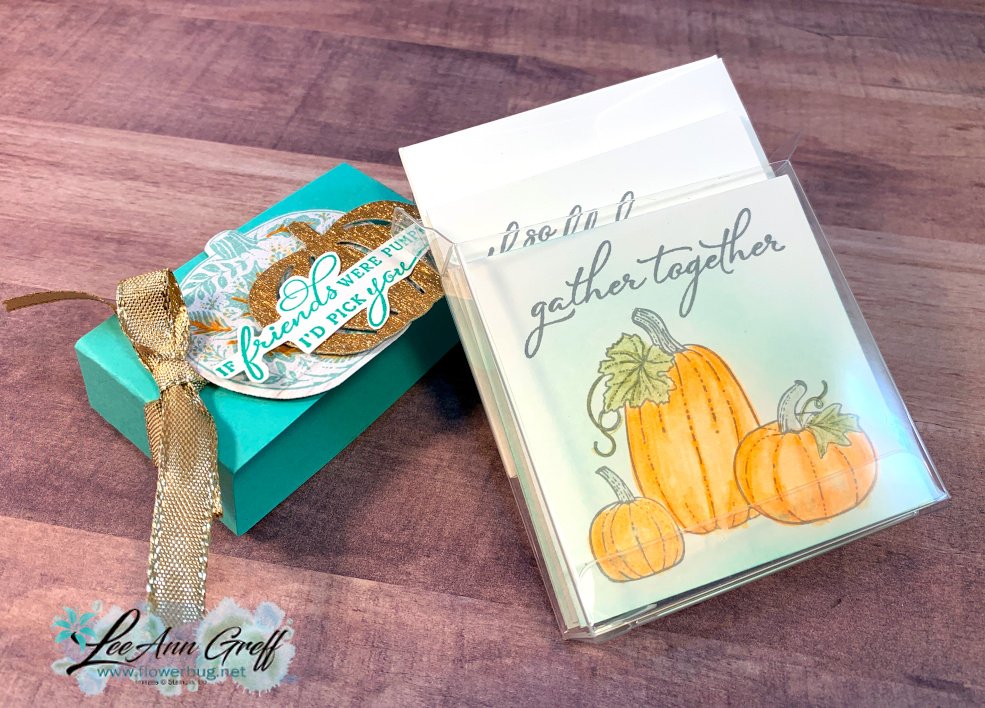
Did you know we carry 3" square envelopes in the Annual Catalog? Check out page 136. They're perfect for little note cards and they fit in this box too!  

You might wonder where you get 3 X 3" cards….   I made them from a piece of 12 X 12" card stock. It's the best size CS to start with. You'll get 8 small cards from one sheet with no waste!  Watch my tip on this in the video below. 

I think these cards would be great at each place setting on the Thanksgiving table!  Think white pumpkins, autumn colored leaves & turquoise ribbon or accents.  Mmm – I think I have a plan! 
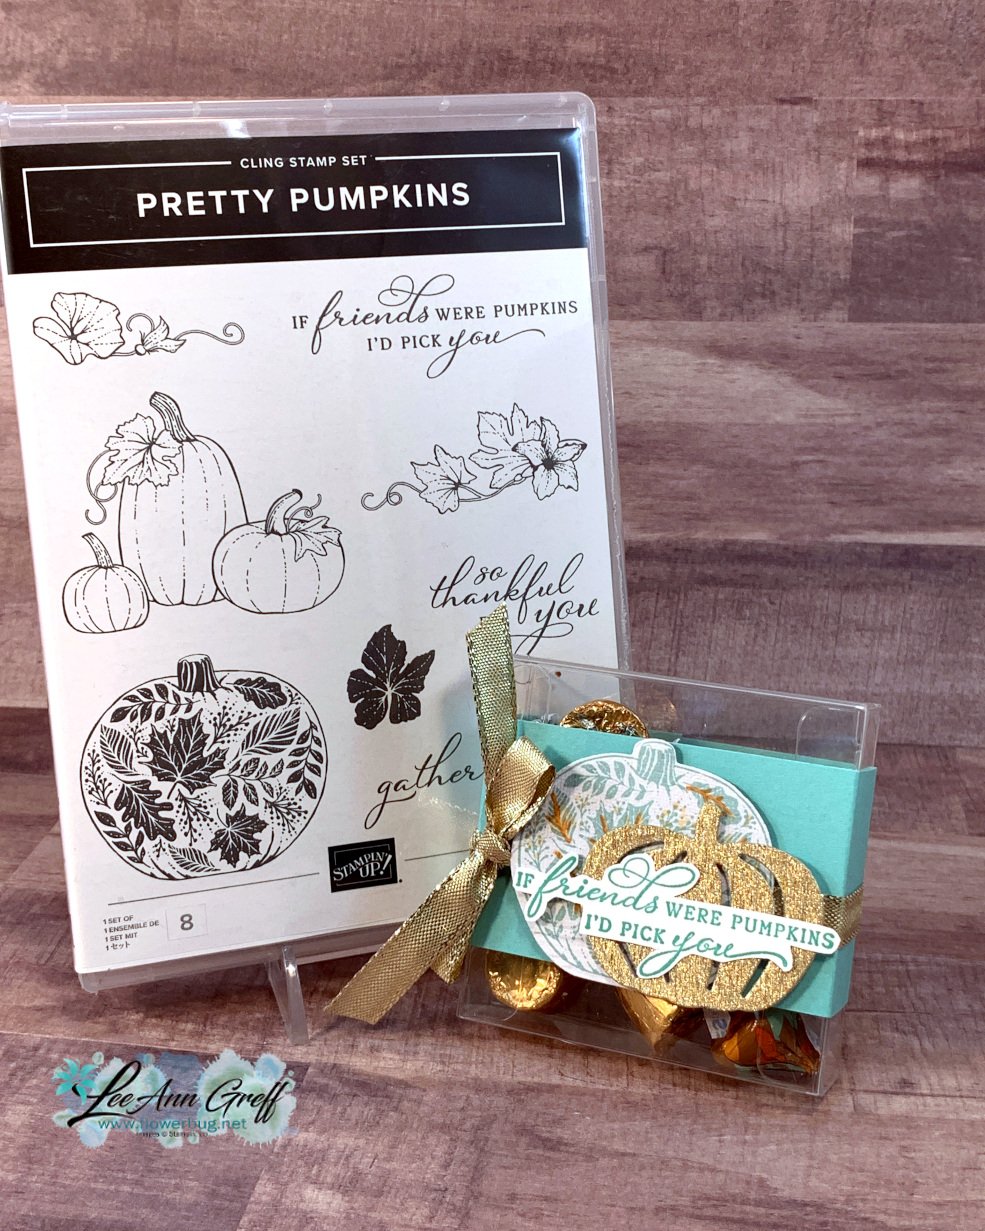
And here is the video; click on the image below to watch it. 

~~~

October Specials

Host code: YYUAWBVA

*click here to order

Clearance Rack has new items!!

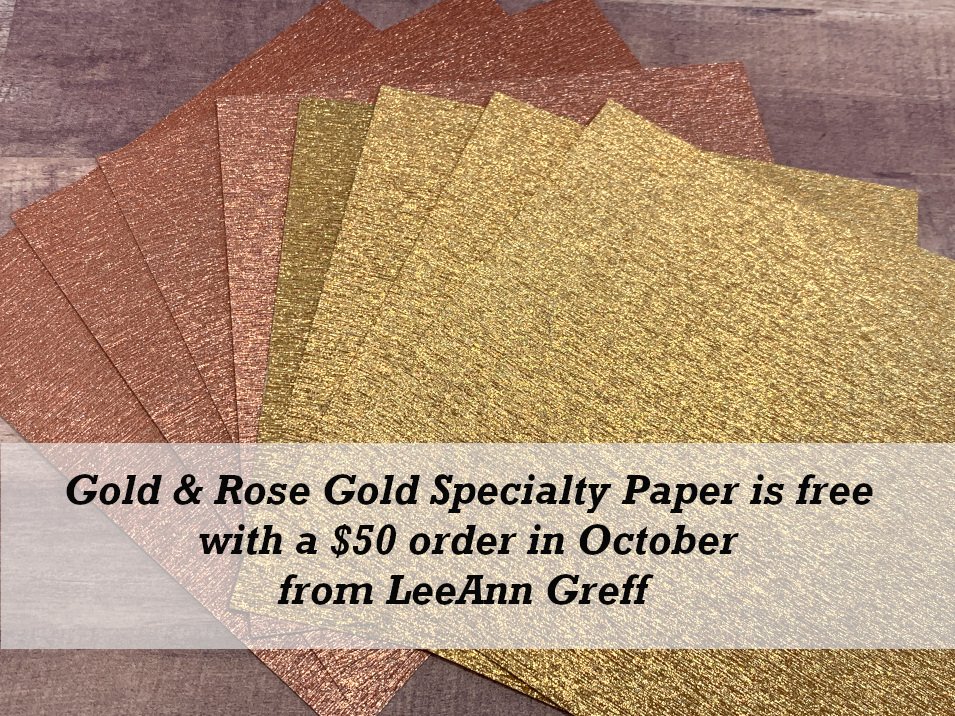
Get a free package of Gold & Rose Gold Metallic specialty paper from me with a $50 online order in October! 
All online orders will receive my October PDF tutorial free! 

This month it features the Gingerbread & Peppermint suite.

All Posts

  • Gorgeously Made with a neat background technique & video tutorial


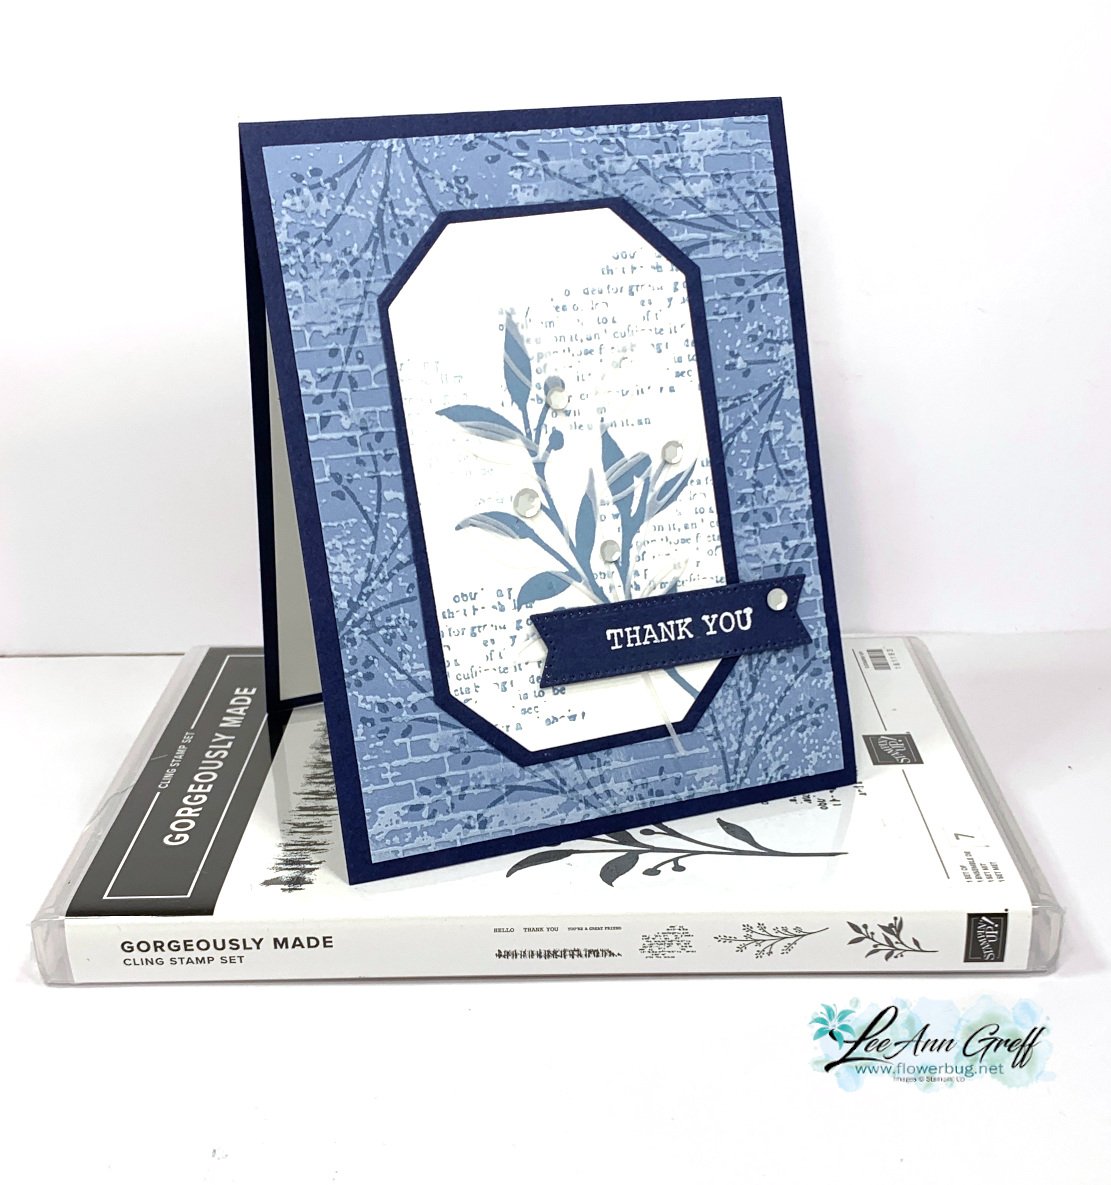
    I shared this card as part of my Tuesday Live video last week.  I was featuring the Gorgeously Made bundle.  Check out the background! 

    I focused on creating a pretty, textured background under the main image. Here are the steps:

    1. I first stamped the foliage image with Boho Blue ink onto Boho Blue card stock.
    2. Next I textured it with the Exposed Brick embossing folder seen here. (It's one of my favorite folders.)
    3. Lastly I dragged my White Craft ink pad over the texture. Tip: use a very light touch or ensure your ink pad is a little bit dry. I LOVE the look of this so much!  

    I used the same foliage image for the inside of the card as I did the pretty background, stamping once in full strength Boho Blue ink and stamping again without reinking.  

    I stamped the other large leafy image from the Gorgeously Made set on the Countryside Corners white die-cut. I added the print image a few times in second generation Boho Blue ink (this means stamped off once). It's layered on a Navy die-cut before adding to the card base.  

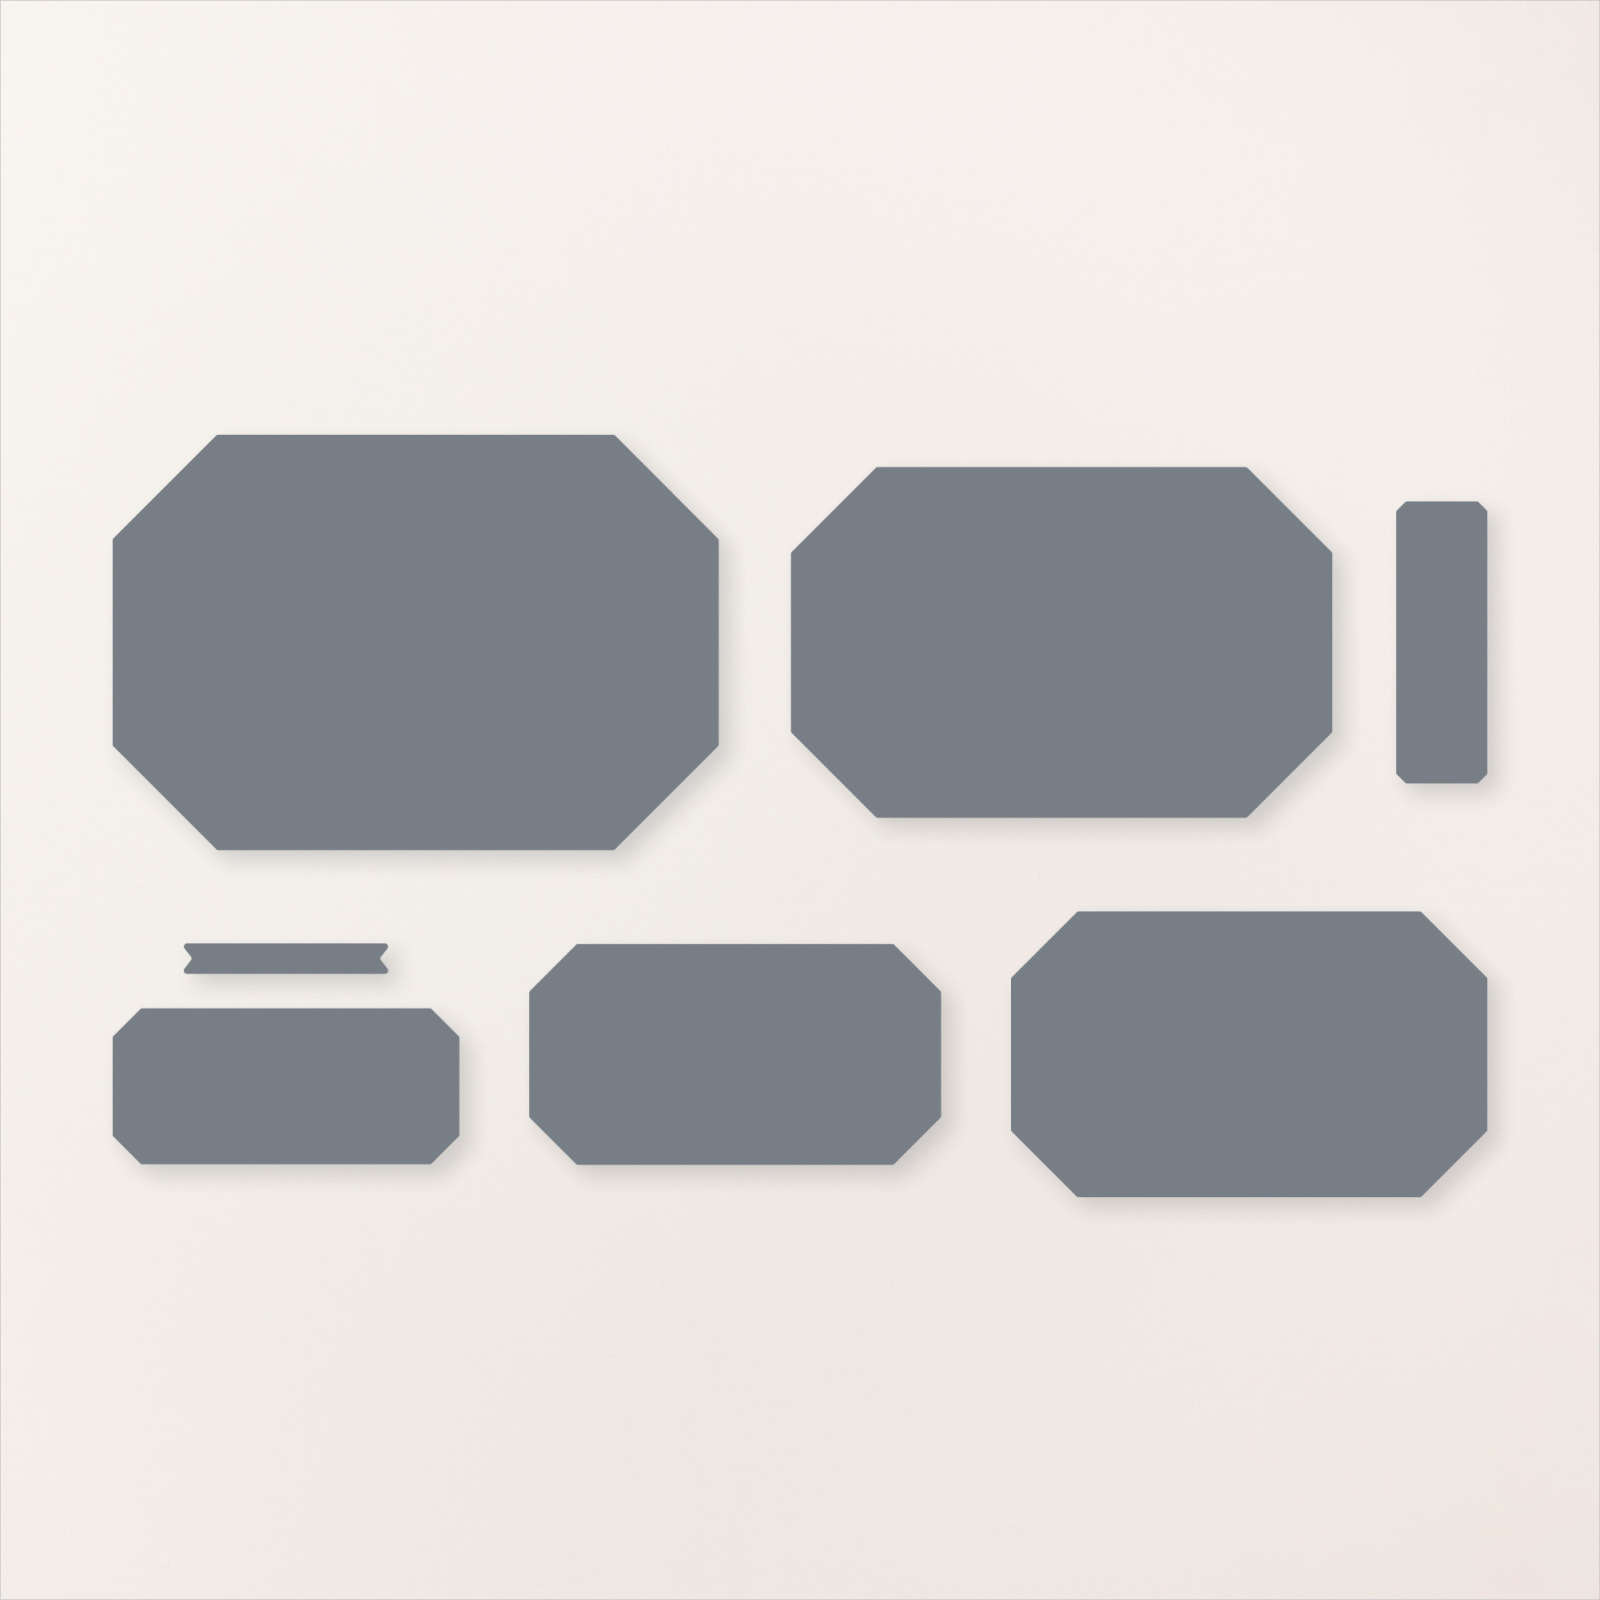
    The greeting is heat embossed on Navy using White embossing powder. The die-cut is from the Stylish Shapes dies – my go-to dies for greetings. 

    There's just something special about a monochromatic card; this time in blues.  If you're going for an elegant or cohesive look try using just one color in varying hues.  Greens, blues and browns are some of my favorite choices.  

    Click here or on the photo below to watch the video.  It's the first project featured; the other is a super fun 'fancy fold' card.  

     ~~~

    July Specials: 

    Bonus Days!

    Get a $5 coupon for each $50 order you place in July.  Redeem in August!


    Clearance Rack update!

    See all items available here

     NEW Online Exclusives will be available

    See them all here

    ~~~

    I have 3 free card kits left!  It includes a new Beautifully Happy stamp set 

    with online orders over $65; must use a host code.

     *current host code: XNYX2DWG

    Leave a Reply

    Your email address will not be published. Required fields are marked *

  • Fast & Fabulous Zoo Crew cards, with a free project sheet


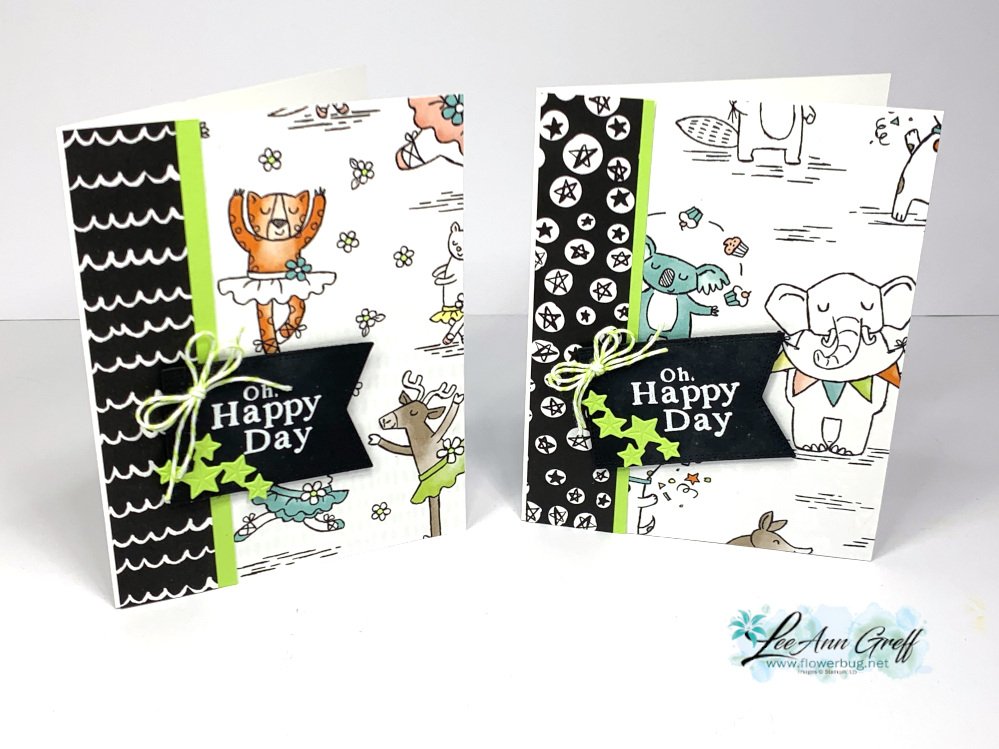
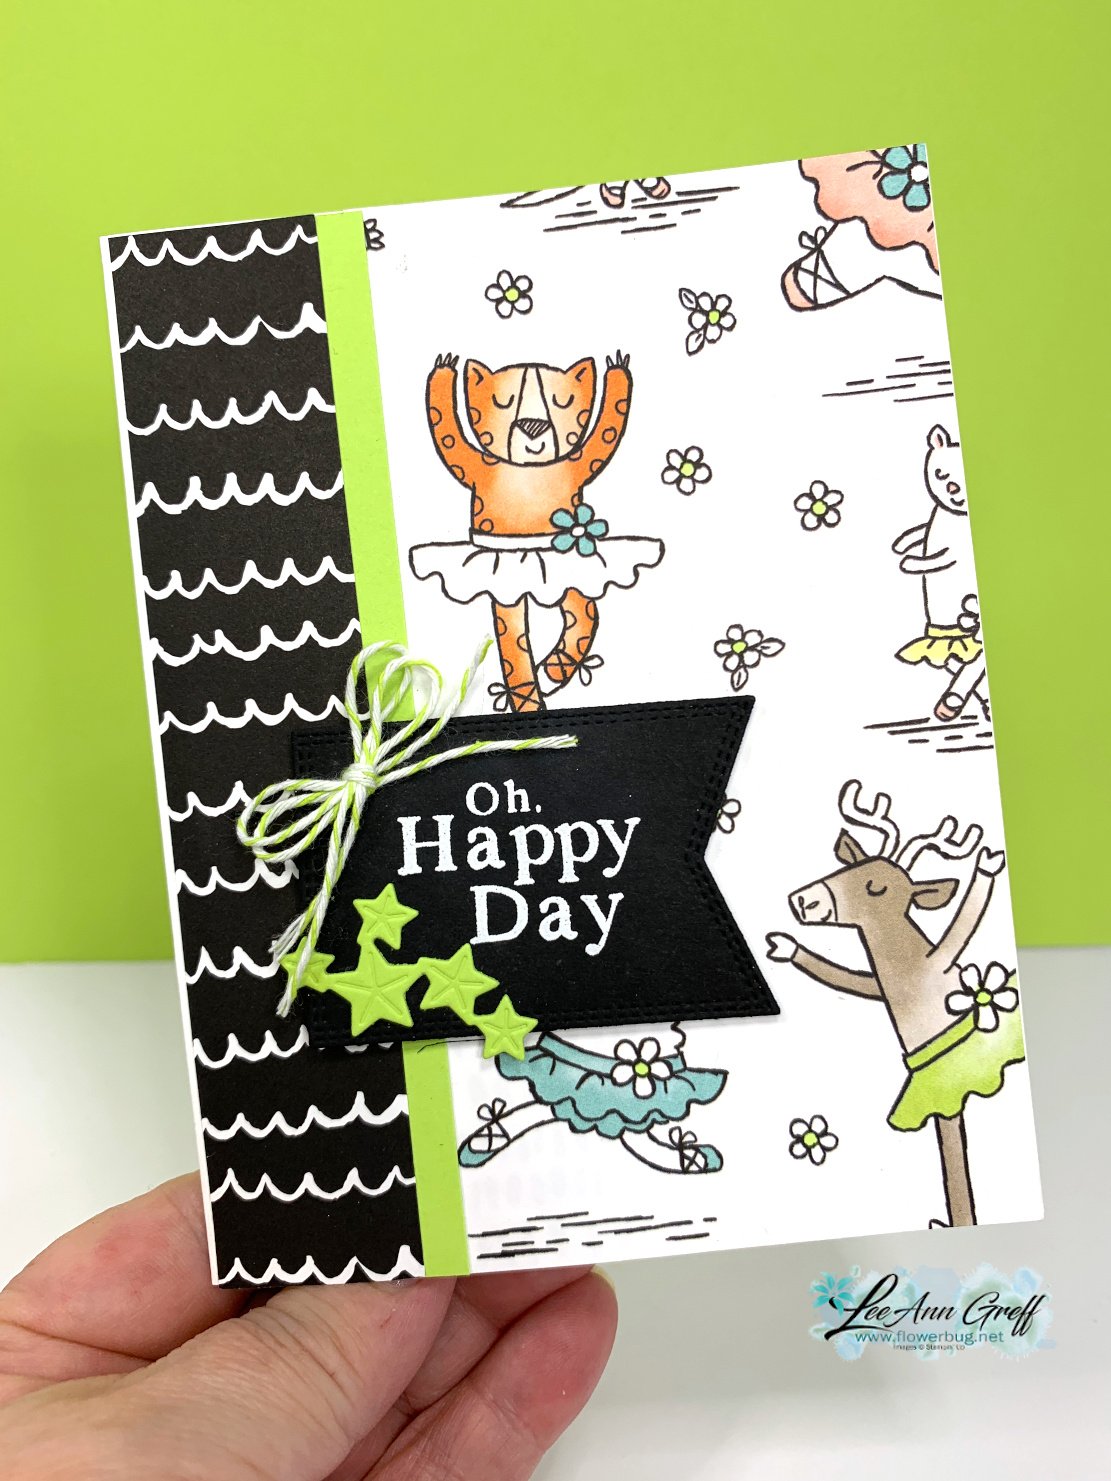
    There's something special about a project in Black and White. I love to add an extra color to really make it pop. These cards were made at my July card club gatherings.  

    I wanted a good size piece of the cute, printed Zoo Crew designer paper seen here on the front of the card.  But I also love the mostly Black sheets too.  So I came up with this card.  I added a thin line of Lemon Lime Twist cardstock between the two pieces of DSP (Designer Series Paper).   

    I recommend adhering the large layer of DSP to the card base first.  Then adhere the Black DSP to the Lemon Lime Twist strip and add it to the card base.  All that's left is to stamp & heat emboss your greeting (from the Playing in the Rain set). 

    Of course there's a cute die-cut stars (Wanted to Say dies) and a Baker's Twine bow to add too. 

    Here's the inside:   

    The stamped images and Balloon die-cut are all from the Zany Zoo bundle.

    Here's a free project sheet if you'd like measurements, directions and a supplies list.  Download July 23 Zoo Crew

    It's a great layout to show off both sides of your Designer Paper.  I hope you try it with your favorite papers! 

     ~~~

    July Specials: 

    Bonus Days!

    Get a $5 coupon for each $50 order you place in July.  Redeem in August!


    Clearance Rack update!

    See all items available here

     NEW Online Exclusives will be available

    See them all here

    ~~~

    Get a free card kit & a new Beautifully Happy stamp set 

    with online orders over $65; must use a host code.

     *current host code: XNYX2DWG

    Leave a Reply

    Your email address will not be published. Required fields are marked *

  • Last set of ‘Create your own Background’ swap cards


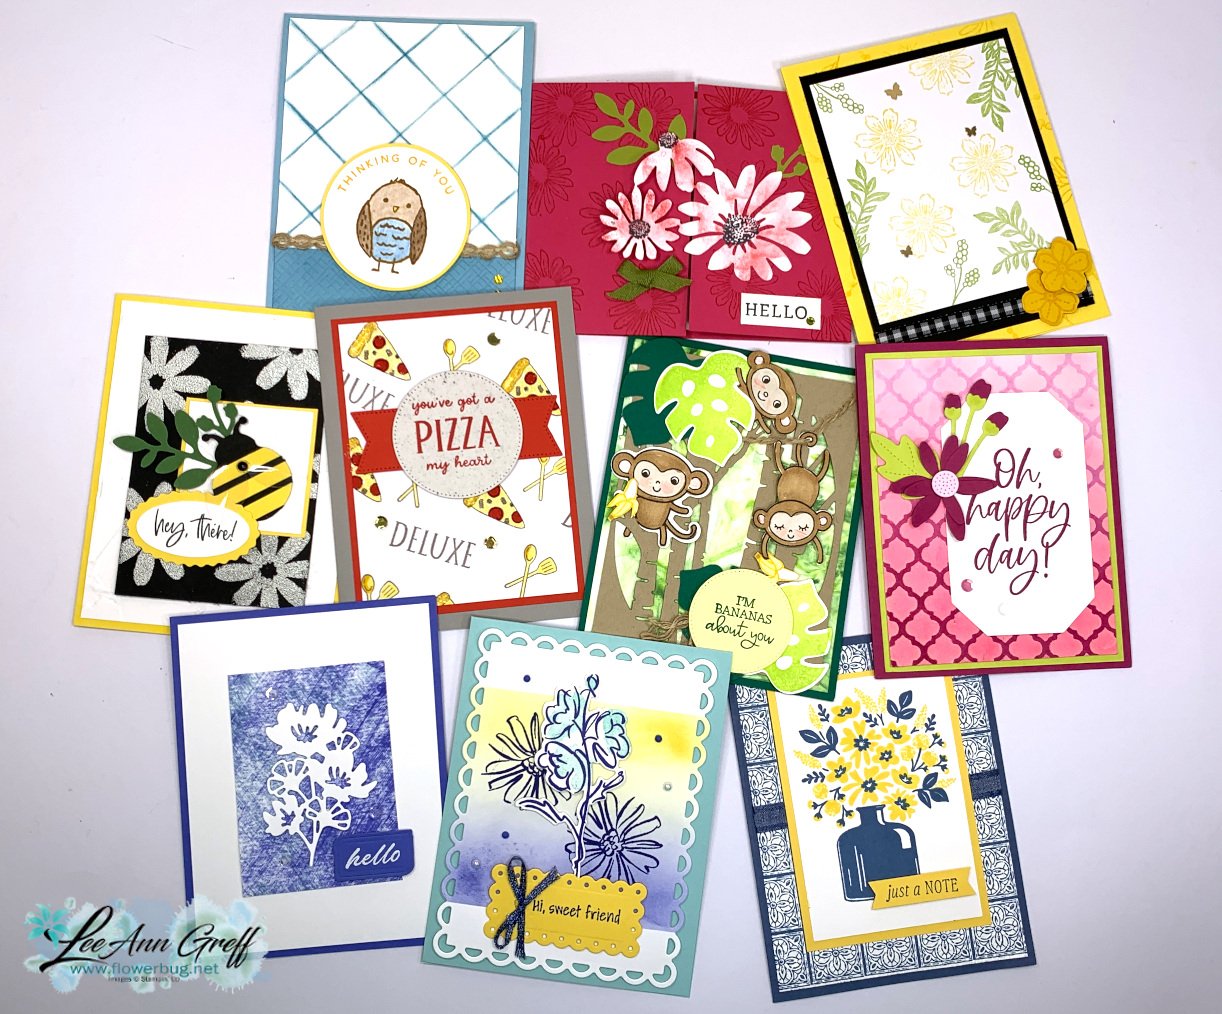
    Today I'm sharing the last three cards in our July Team card swaps.  I shared the others in this post and this one.  Our theme was to create our own backgrounds; not using designer paper.  They were quite creative!  

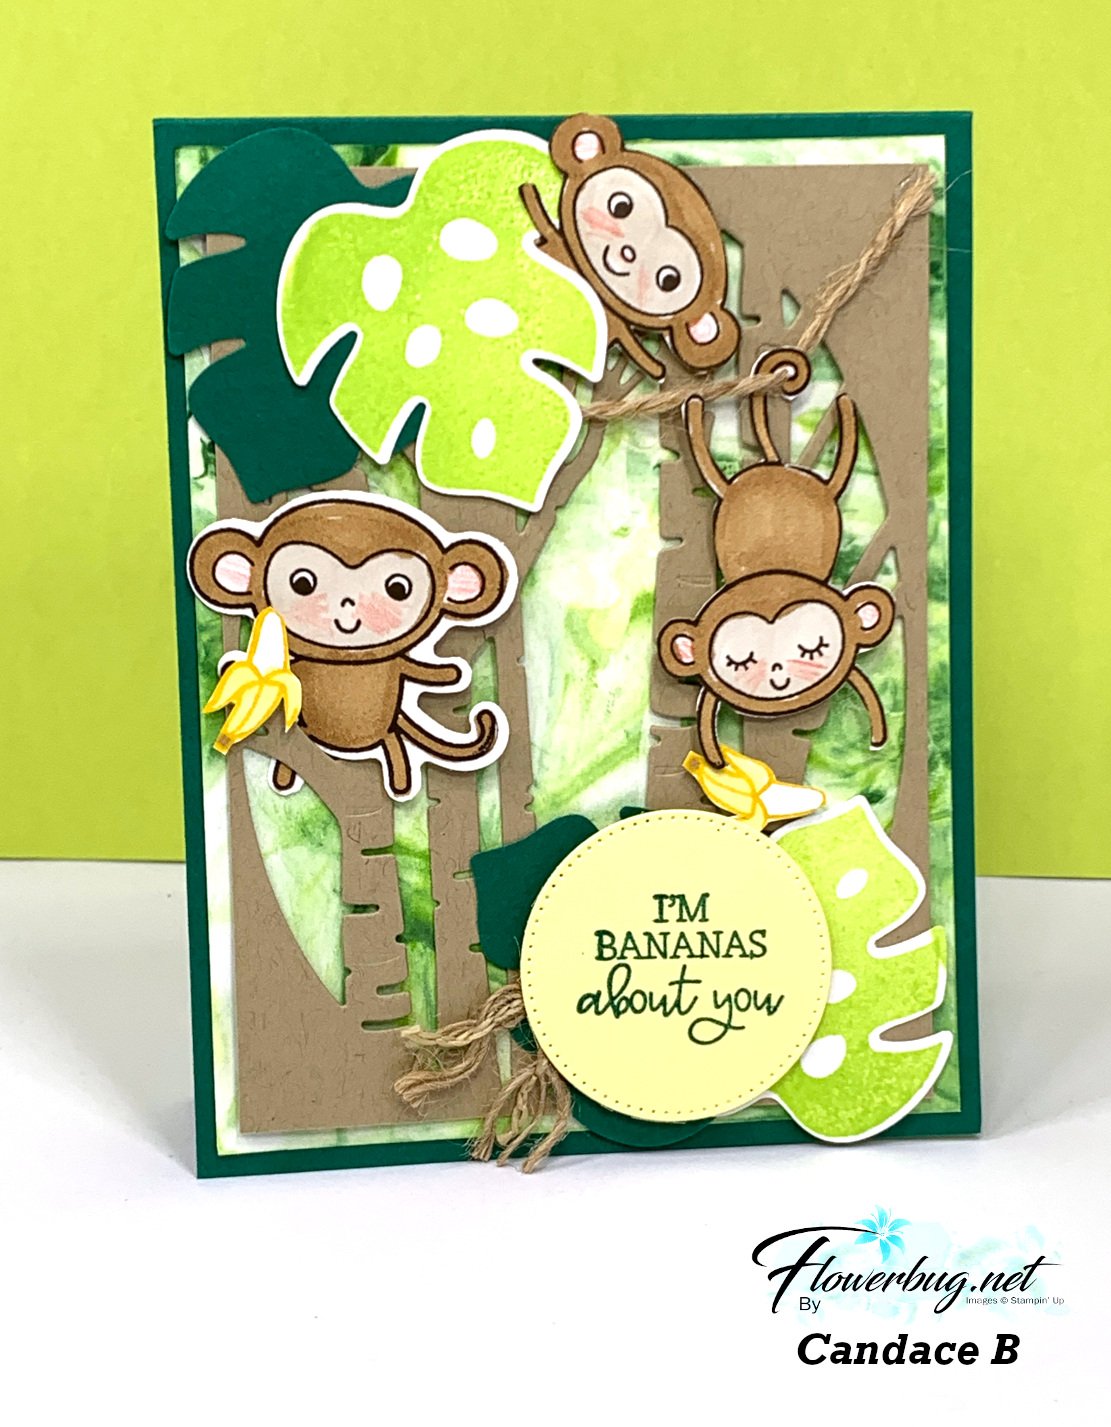
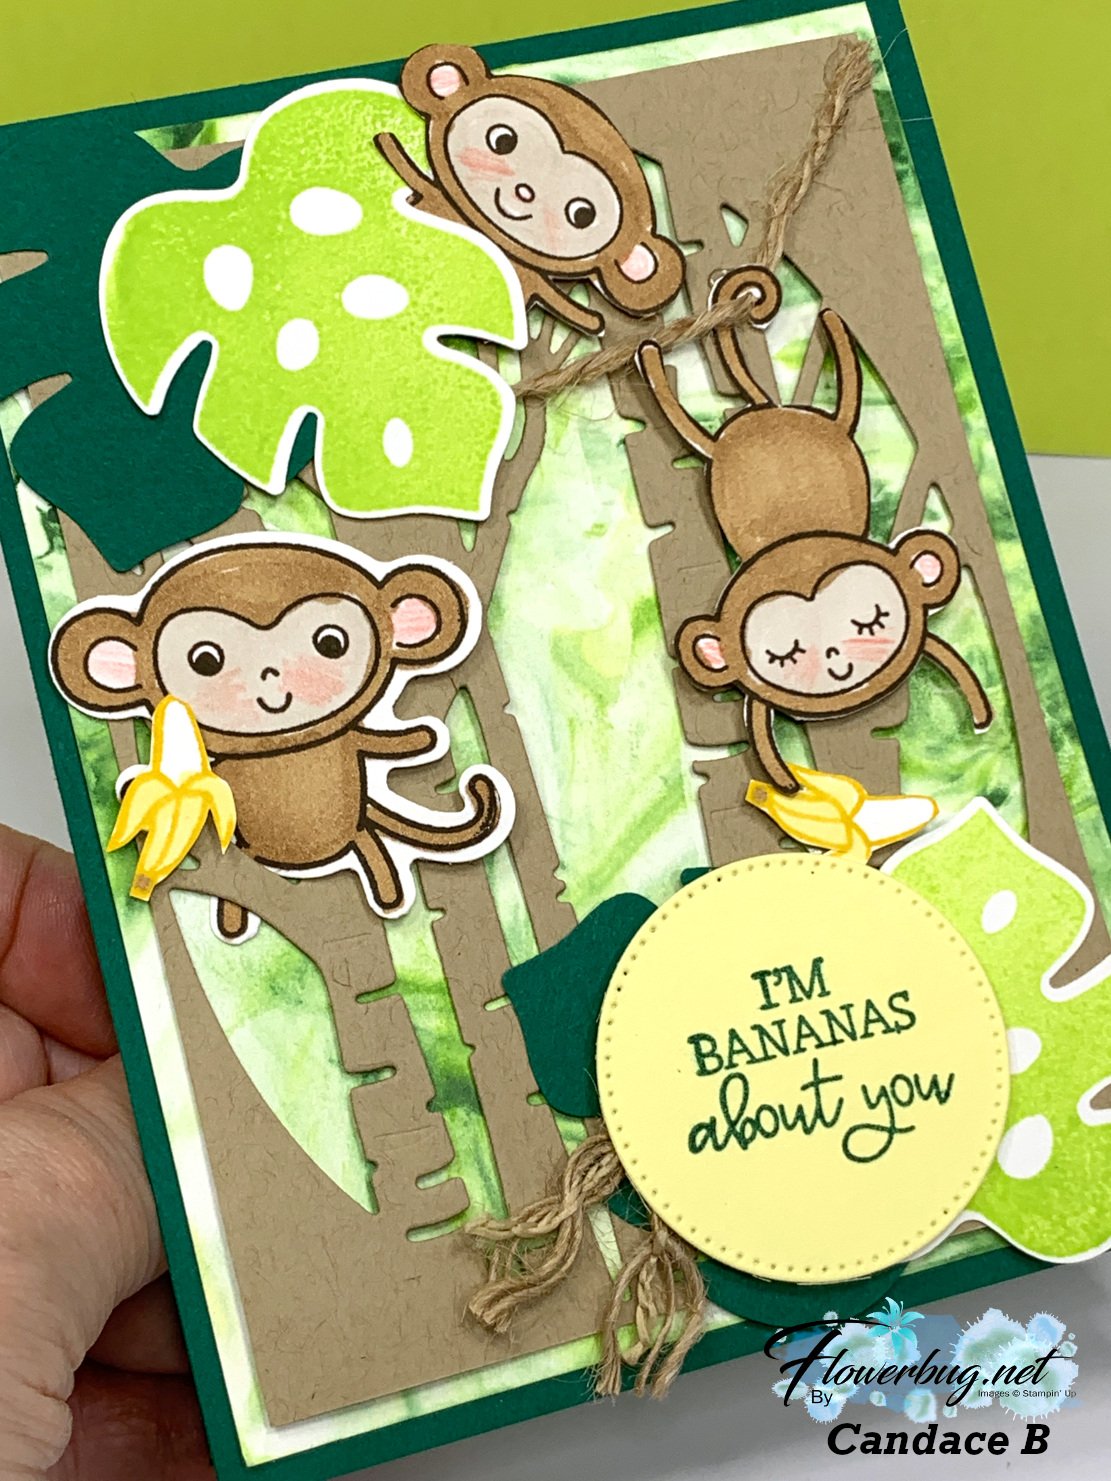
    First up today is a cute card made by Candace.  She chose the Little Monkey bundle.  

    Can you tell what her background die-cut is?  She used the Aspen Tree dies for her Crumb Cake layer. But underneath that is a shaving cream technique!  It's fun to make and different every time. 

    Tip: to make a shaving cream background, spray the cream on a plate or container and spread it out.  Drop a few drops of ink refill onto the cream. Swirl it in with a knife or utensil.  Press your paper onto the cream.  Remove and wipe off the excess cream.  Let dry.

    You can usually get a few pieces done in the same batch of colored cream. The first few will be darker and the last will get lighter in hue.  It's really fun.  

    Next is a CUTE card made by Marla featuring the Supremely Awesome stamp set. She stamped the background and colored the images in with Blends markers. 

    Her colors include Real Red, Pebbled Path and Daffodil Delight.  The pizza slices look quite real!  

    ~~~

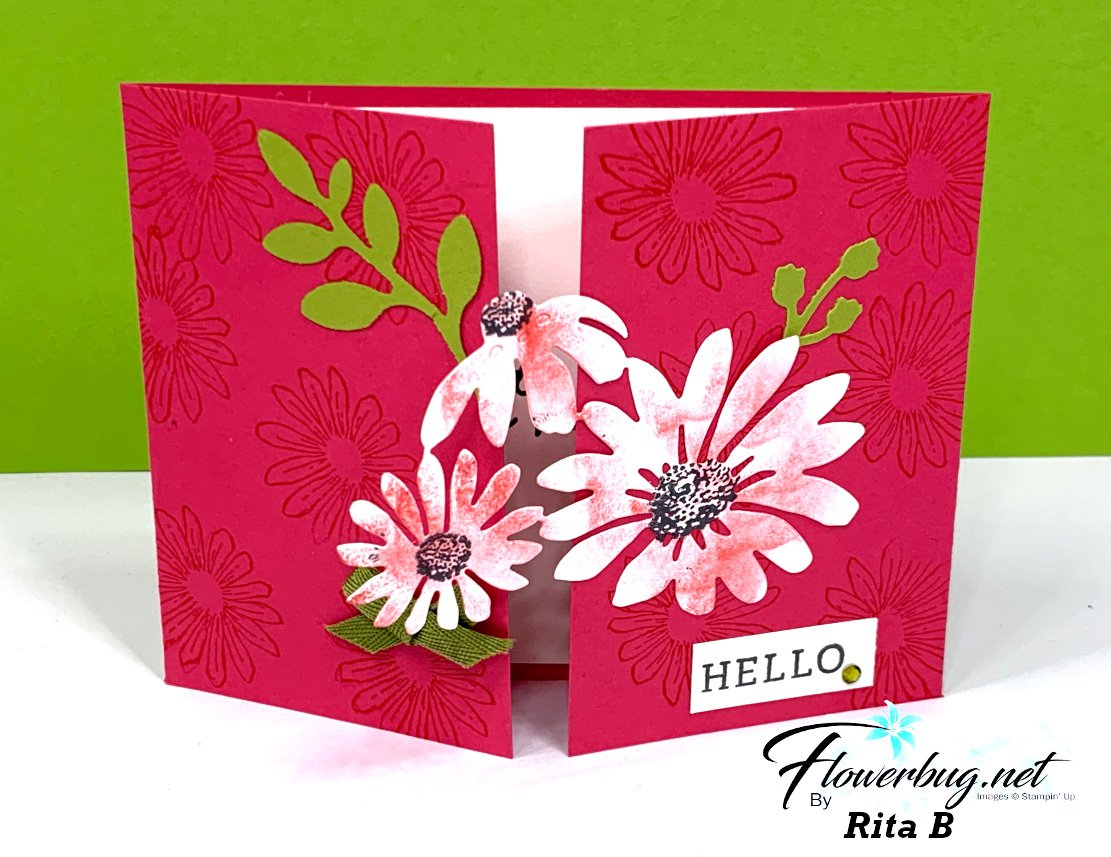
    Next is a pretty card made by Rita. She used the Cheerful Daisies bundle. 

    It's in Berry Burst, Old Olive and White. She stamped her background using the open daisy image; tone on tone. Then added a large daisy die-cut (sponged) and some leaves from the Bough punch. 

    It's a gatefold card. She scored it 2 3/4" from each long end. *card base is 11" X 4 1/4"

    Here are all of the fabulous 'create your own background' swaps from our July swap.  


     ~~~

    July Specials: 

    Bonus Days!

    Get a $5 coupon for each $50 order you place in July.  Redeem in August!


    Clearance Rack update!

    See all items available here

     NEW Online Exclusives will be available

    See them all here

    ~~~

    Get a free card kit & a new Beautifully Happy stamp set 

    with online orders over $65; must use a host code.

     *current host code: XNYX2DWG

    Leave a Reply

    Your email address will not be published. Required fields are marked *


Notice: LeeAnn Greff, Independent Stampin’ Up! Demonstrator, Manager. The content of this website is my sole responsibility as an independent Stampin’ Up! demonstrator and the use of, and content of, the classes, services, or products offered on this website is not endorsed by Stampin’ Up! Copyright 2025