/


Latest Post

Pretty Detailed Dogwood card swaps


Today I'm sharing a few swaps I received featuring the new Detailed Dogwood stamp set – one of the choices in the 2024 Sale-a-Bration catalog. 

Trayce Bauer made this stunning card using Bubble Bath, Granny Apple Green and Mossy Meadow.

She fussy cut the flowers out and added them to the Bubble Bath layer that has been embossed using the Softly Sophisticated embossing folder – also from our Sale-a-Bration selection.

I love how she added the dotted image to create a background on both the white layer and the greeting! The greeting die is from the Thoughtful Expressions dies.  

Below is a photo of the stamp set.  See it here online.

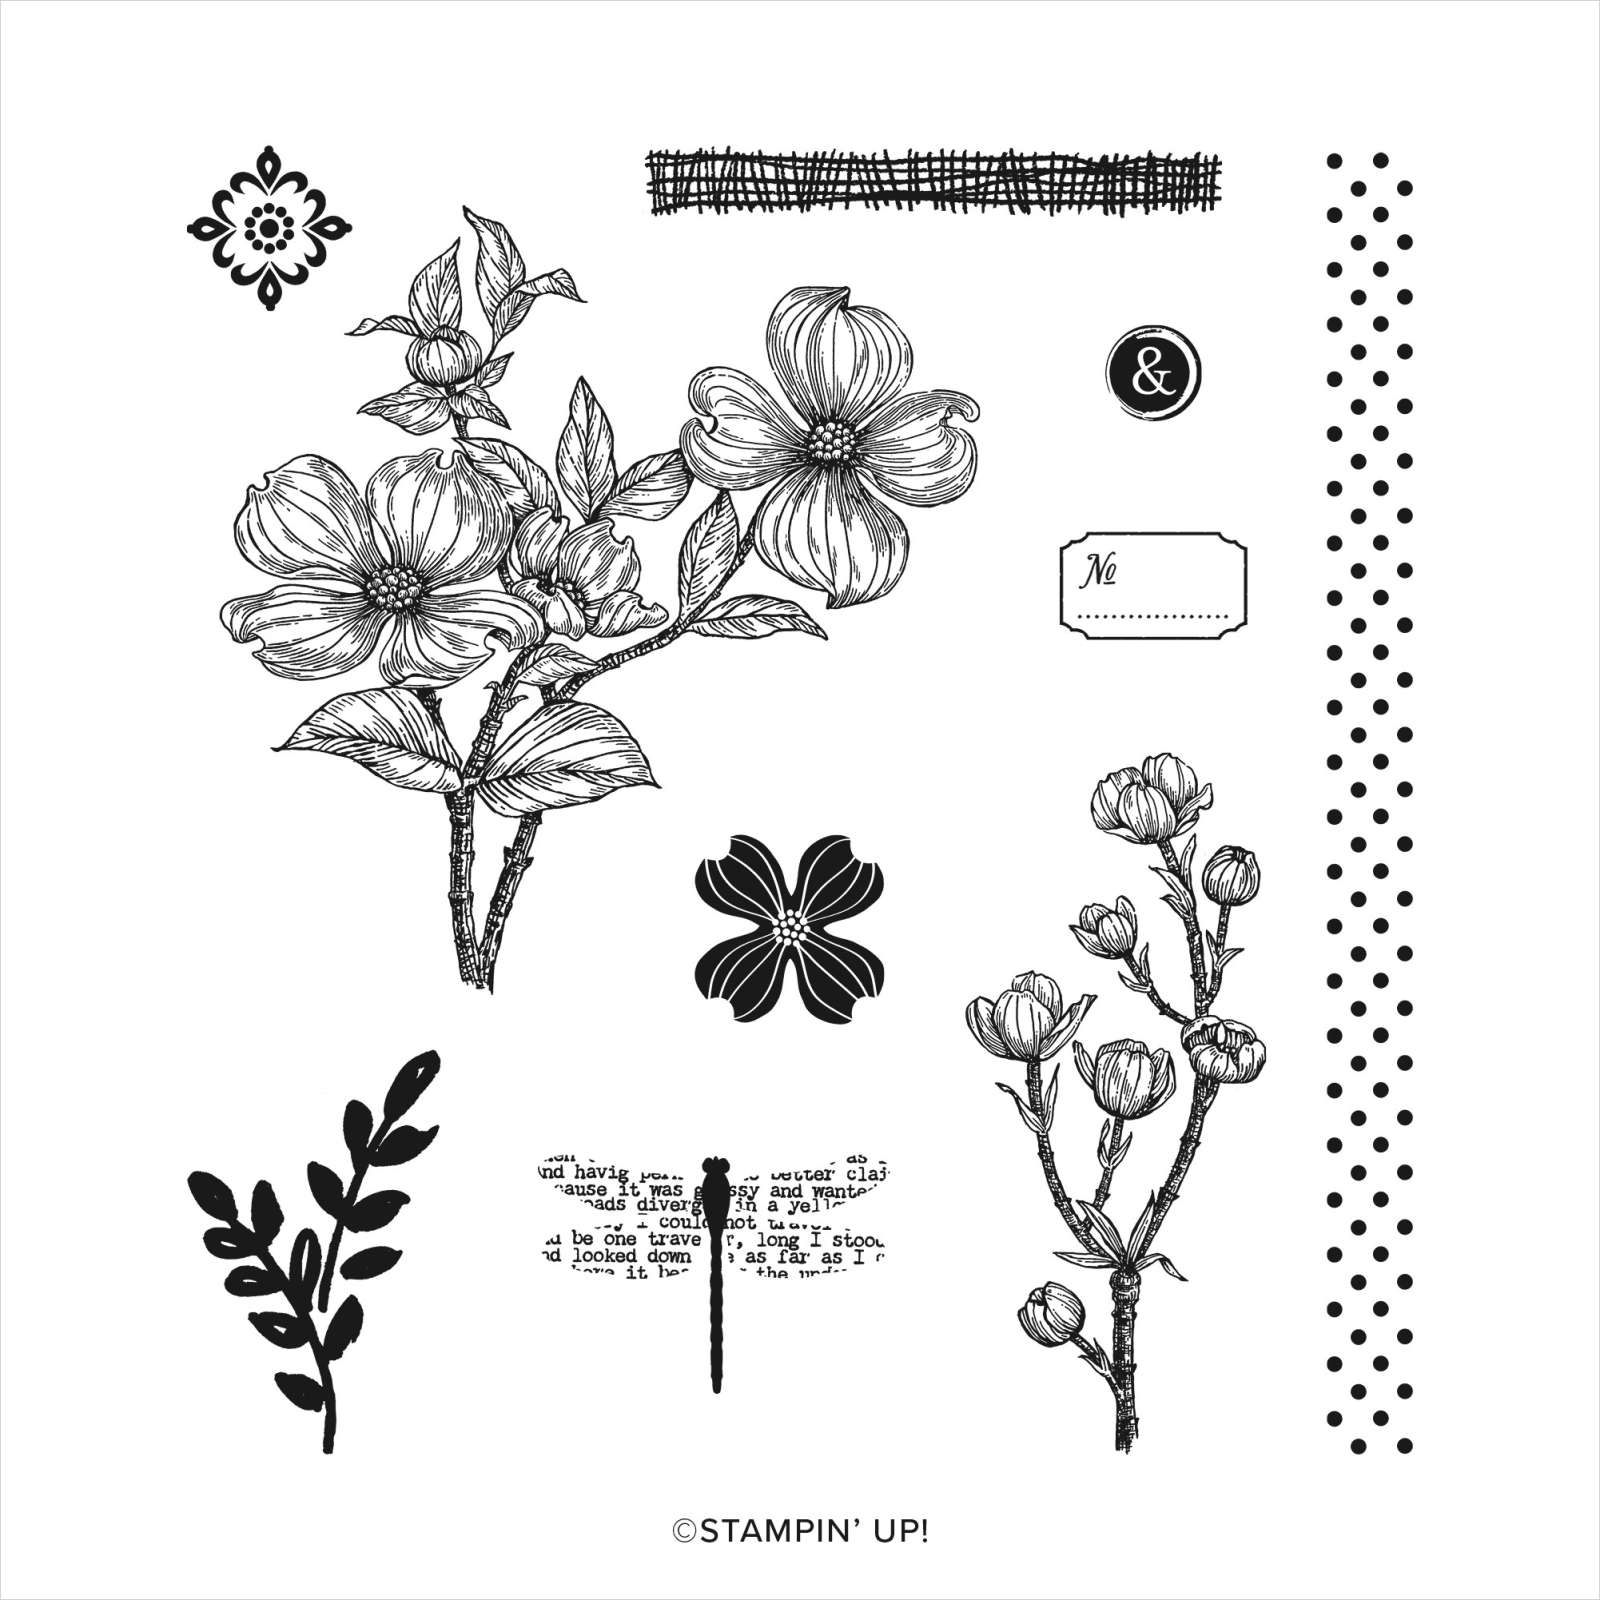
It's free with a $100 purchase from Stampin' Up! through February 29th when Sale-a-Bration ends.  

Next is a gorgeous card made by Angie Leach. 

She used a beautiful set of neutral colors – Pebbled Path, Wild Wheat, Mossy Meadow and Copper Clay. The large white die is from the Postage dies. Wow!

I love the layout. Adding a few strips below your main focal point adds balance and interest and ties the colors together too. 

~~~

This last card is also a swap I received but I cannot give credit to the creator as there wasn't a name on it. 

Her colors of Black, Real Red and White are stunning! Note the simple stamped background on the large White layer, mimicking the main floral image.  That dragonfly is such a neat image. It does not coordinate with our Dragonfly punch unfortunately. 

~~~

January Specials: 

Earn FREE products with your Stampin' Up! purchase during

Sale-a-Bration! *click here

~~~

Get a free embellishment from the 2024 Spring catalog

with an online order over $55


*current host codes: TU26GCPZ or QS26PCUJ

~~~

Reserve your Spring & Sale-a-Bration designer paper share

$18 for 78 sheets! (plus $7 shipping). Email me here

~~~

I have several pre-cut card & scrapbook kits to go; ready to mail out!

Click here to see them all.

All Posts

  • Create this eye-catching scene with ink and blending brushes; video tutorial too!


    Here's another card I created on last week's video. Do you love colorful scenes too? 

    Here I used Cloud Cover cardstock for my base; scored it an extra time to create a flap near the center. This is a great way to add the main element of your card.  In this case it's a stamped and colored tree scene on our new Party Banner dies.  

    I found the Peaceful Pier stamp set seen here to be perfect for my scenes. It's a great line-art set you don't have to color in, as you can see in my example. 

    Here is the free project sheet with measurements and supplies listed: Click on the following link to download it.  Download Peaceful Pier fun fold scene

    I am now adding my project sheets to my Flowerbug's Stamp & Share FB group the same day I share the live video.  Click here to join the group. 

    I used these inks for blending; from bottom to top – Granny Apple Green, Calypso Coral, Daffodil Delight and Cloud Cover. Blending brushes make it easy to add ink smoothly. But there are tricks to it!  

    Below is the video tutorial on how to add ink smoothly with Blending Brushes.  I hope you watch it!

    ~~~

    June Specials:

    The Suite Sale is on! 

    Buy one get 50% the second item – on all available suite products. 

    Shop here or see products below: 

    ~~~

    Last Chance List has been updated!  see it all here. Don't miss out on the deals!

    ~~~

    Earn free card kits in June with online orders! Get 4 kits with a $50 order and orders over $80 receive all 6 cards. All you need are greetings, gems and adhesives to assemble. 

    Order here 

    ~~~

    Get my Celebratory Sips PDF tutorial free with any online order in June!

    Leave a Reply

    Your email address will not be published. Required fields are marked *

  • How to create a beautiful scene with the Peaceful Pier set; a free project sheet & video tutorial


    I shared a video tutorial on how to create this gorgeous scene last week.  

    I used the Peaceful Pier stamp set, inks and blending brushes.  

    I first stamped the dock and tree images using Black Memento ink. Then added a few more 'grass' images at the bottom. Next you add ink with Blending Brushes.  I used Lost Lagoon for the water, Granny Apple Green for the grass, Balmy Blue and Daffodil Delight for the sky. 

    I did color the dock and trees with Blends markers. I did not need to mask anything. As long as you're adding ink lightly with the Blending Brushes you shouldn't need to.  

    After I was finished adding color I used the Textured Notes dies to cut my image into 2 pieces. Ad added the frame to a Black CS layer and added the center with Stampin' Dimensionals.  I love the dimension this gives to the card scene. 

    Here is the free project sheet for this card: Click on the following link to download or print it. Download Peaceful Pier scenic card

    Below is the video tutorial on how to add ink smoothly with Blending Brushes.  I hope you watch it!

    ~~~

    June Specials:

    The Suite Sale is on! 

    Buy one get 50% the second item – on all available suite products. 

    Shop here or see products below: 

    ~~~

    Last Chance List has been updated!  see it all here. Don't miss out on the deals!


    ~~~

    Earn free card kits in June with online orders! Get 4 kits with a $50 order and orders over $80 receive all 6 cards. All you need are greetings, gems and adhesives to assemble. 

    Order here 

    ~~~

    Get my Celebratory Sips PDF tutorial free with any online order in June!

    Leave a Reply

    Your email address will not be published. Required fields are marked *

  • Celebratory Sips card kit to go with PDF tutorial option & exclusive video!


    Here's my newest pre-cut card kit to go – featuring the Celebratory Sips designer series paper.  I love that this paper is so unique; something we haven't had before. 

    There are 10 cards in this kit; most are fun fold layouts too.  This paper was super fun to play with.  I love how the cards turned out!  

    The kit includes 1/2 pkg of the Celebratory Sips DSP (6" X 12), a share of both 1/8" gold trim and Low-profile gems.  Plus you get the pdf tutorial free!  It also includes an exclusive video tutorial. 

    This kit will be ailed out at the end of June;  reserve your Celebratory Sips pre-cut card kit to go here.  

    Or choose the PDF tutorial here for $16. 

    I also added two other new kits to my shop too.  You can save on shipping and get more for your $$ when you purchase more than one kit. See them all here. 

    First is the Painted Petals 12 card kit – created with a former Paper Pumpkin kit but jazzed up with extra cards & product. See it here. 

    Next is the Daisy Daydream 12 card kit – also created with a previous Paper Pumpkin kit – I changed up the cards, added 3 extra cards, gems & ribbon added. See it here. 

    ~~~

    June Specials:

    The Suite Sale is on! 

    Buy one get 50% the second item – on all available suite products. 

    Shop here or see products below: 

    ~~~

    Earn free card kits in June with online orders! Get 4 kits with a $50 order and orders over $80 receive all 6 cards. All you need are greetings, gems and adhesives to assemble. 

    Order here 

    ~~~

    Get my Celebratory Sips PDF tutorial free with any online order in June!

    Leave a Reply

    Your email address will not be published. Required fields are marked *


Notice: LeeAnn Greff, Independent Stampin’ Up! Demonstrator, Manager. The content of this website is my sole responsibility as an independent Stampin’ Up! demonstrator and the use of, and content of, the classes, services, or products offered on this website is not endorsed by Stampin’ Up! Copyright 2025