/


Latest Post

Pretty Bridge fold card with Snowflake Kisses with free project sheet & video tutorial


I shared this pretty card on last week’s Live video. It features the Elegant Pine Snowflake designer paper and the Snowflake Kisses bundle.

My colors include Pretty Peacock, White & Lost Lagoon above. The Elegant Pine Snowflake designer paper is beautiful and can be seen here.
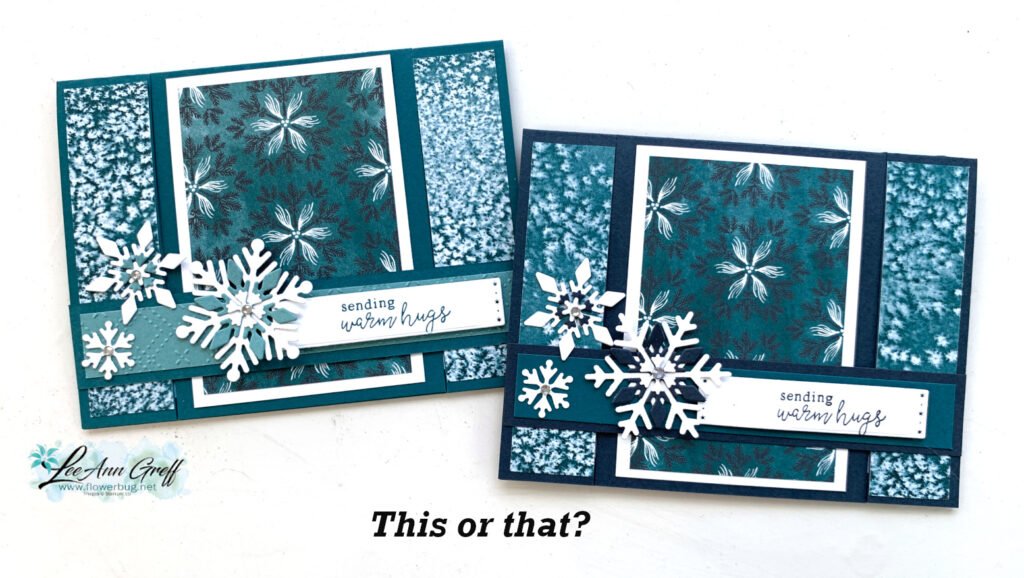
I created a second card with Secret Sea as the card base instead of Pretty Peacock. Which do you prefer?

This card is a bridge fun fold layout. It starts out with a 5 1/2″ X 8 1/2″ card base but requires two extra cuts from the center score line down 1 1/8″ from each edge. It’s easy with our Paper Trimmer. Watch the video below to see how it’s done.
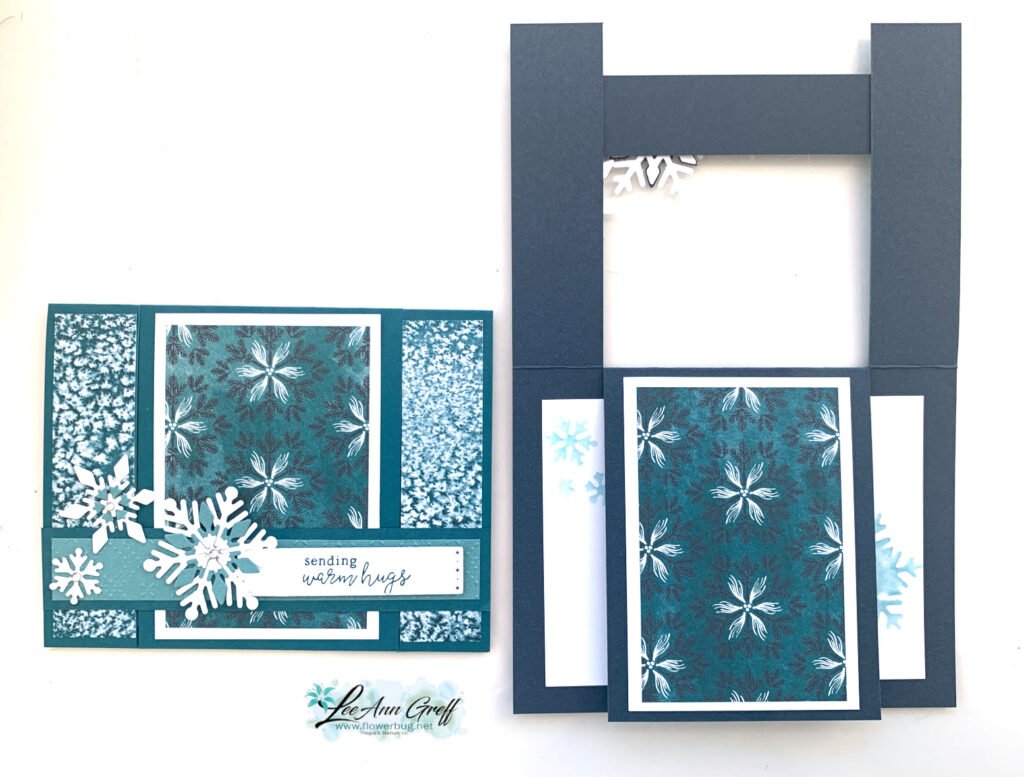
I created a free project sheet for you with photos and measurements. Click here to print or download it.
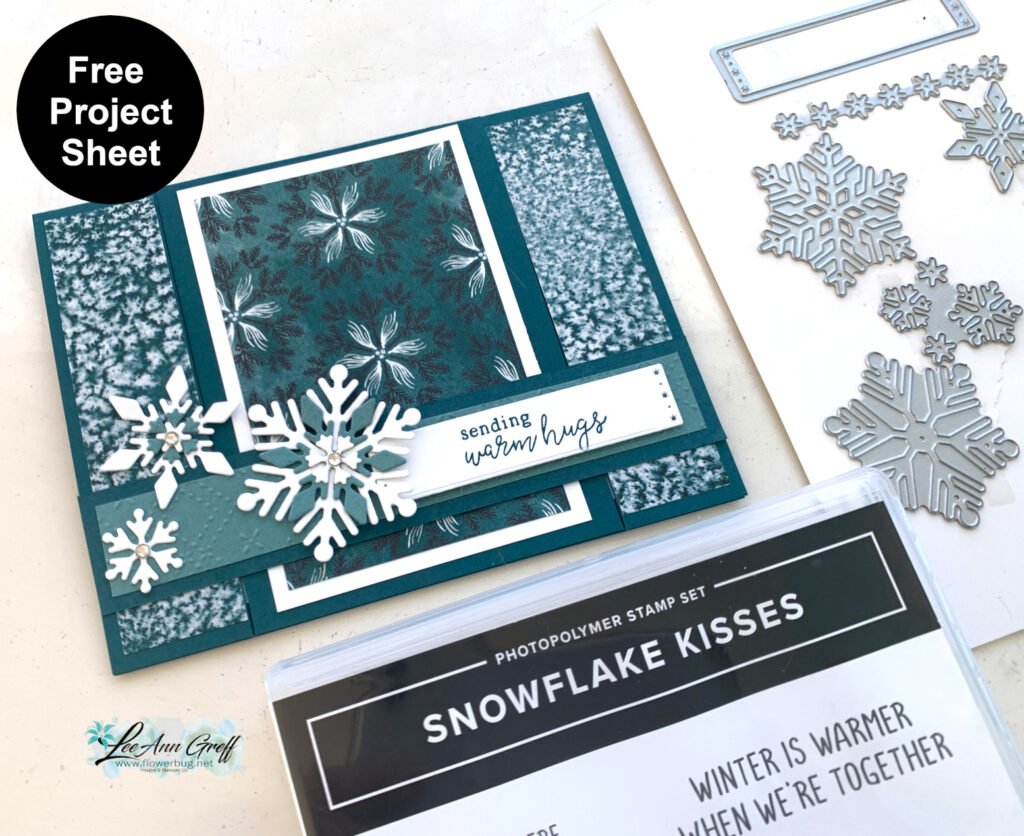
I hope you try one. If you haven’t made one before please watch the video below. They are quite fun to make & open!

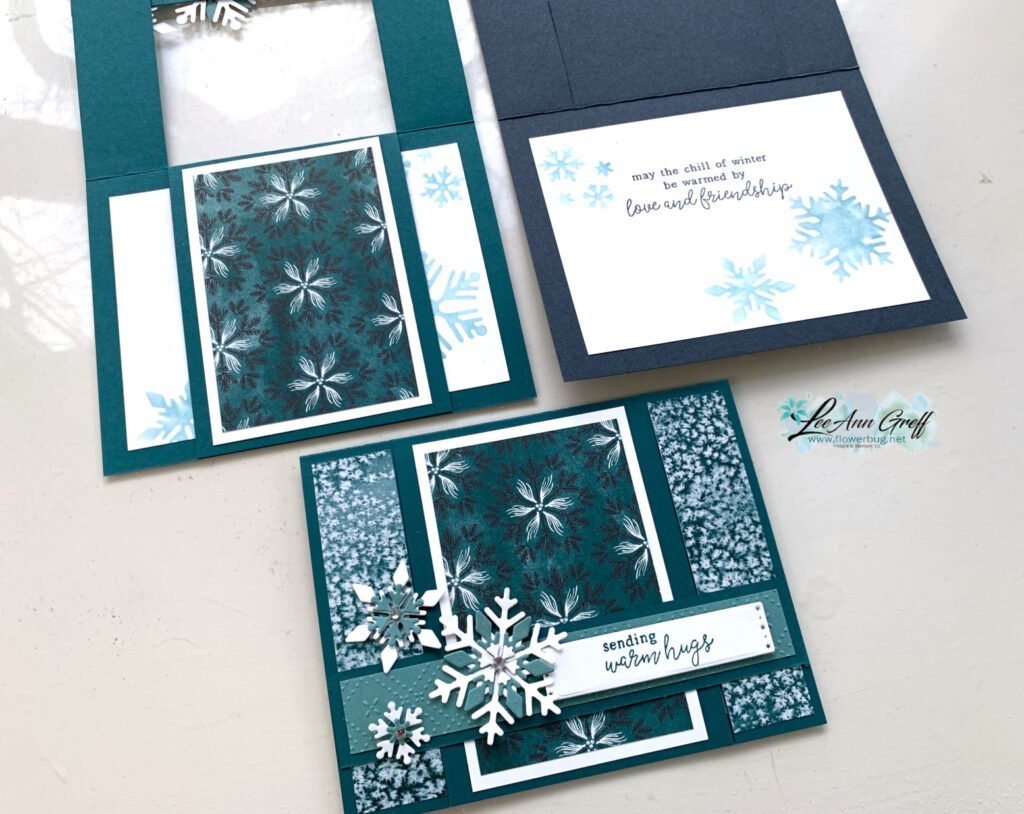
The photo below shows the card closed, the main panel lifted and the inside! Tip: We used a handmade stencil to sponge snowflakes on the inside. *cut snowflakes from a piece of card stock and sponge or blend ink through the windows.
Below is the video tutorial which includes a second card with this bundle. I hope you watch it! Don’t forget to subscribe to my YouTube channel here.

*You’ll receive a PDF with multiple projects featuring this product
after the 20th of the month.
~~~

The Last Chance list has been updated!
Click here to shop.
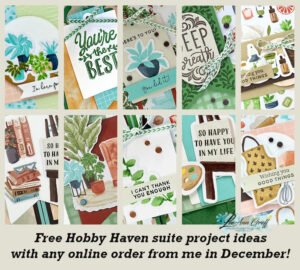
Get a free PDF tutorial with any online order from me in December!
All Posts

  • Corner Bouquet Triple Panel card & a tour of my studio & new catalog launch video


    Tuesday I held my new 2021 New Catalog Launch party and shared a virtual tour of my studio and Sale-a-Bration & Spring project displays.  I did have a little issue with a catch in my throat at the end but most of it's good.  Ha! 

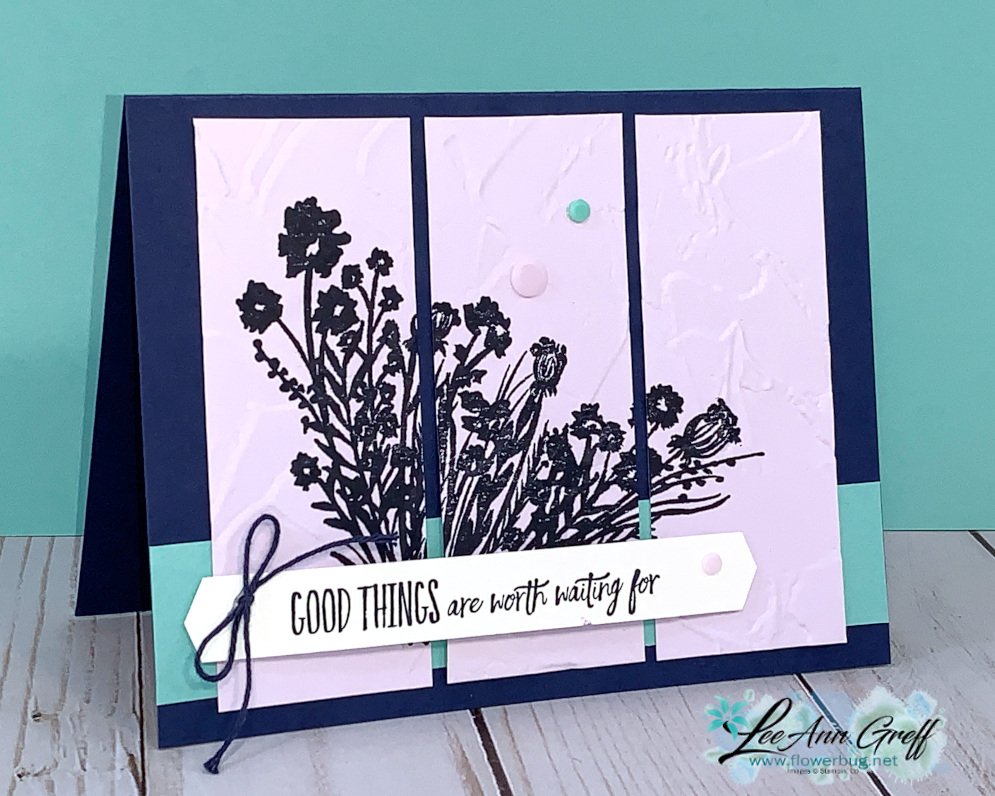
    Below is a fun card showing you a way to use a large stamped image.  You can do it two different ways:

    Stamp first and then cut into three strips.  Or cut into strips, arrange together and stamp all at once.  This is what I did using my Stamparatus so I could re-stamp a few times for a nice dark image.  I've sure been using my Stamparatus a lot lately.  Do you have one?  It's so helpful! 

    After I stamped the main image I let it dry a bit and then ran all three strips through the die-cutting machine to add texture.  I used a brand new 3D embossing folder called Painted Texture. 

    These colors are Purple Posy, Night of Navy & Coastal Cabana.  I was inspired to combine these colors by one of our designer paper packs in the Annual Catalog called Playing with Patterns. 

    The greeting is from the Enjoy the Moment stamp set in the new 2021 Spring Catalog. 

    ~~~

    January Specials: 

    Choose the Starter Kit for $99; pick out $125 in product of your choice!

    During Sale-a-Bration you get 5 packs of NEW 6" Designer Paper FREE! 


    Go here to read about it

    ~~~

    Current Host code is JQAFYSUW

    Order online here

    Get a package of 200 Pastel Pearls from me with an online order over $50 using the host code above.

    *If your order is over $150 do not use the code; you'll still receive a gift! 

    Below are the Multipurpose Glue stands we're making. They're $6 each and available in my Shop here.  

    Leave a Reply

    Your email address will not be published. Required fields are marked *

  • True Love Designer Paper; GORGEOUS!


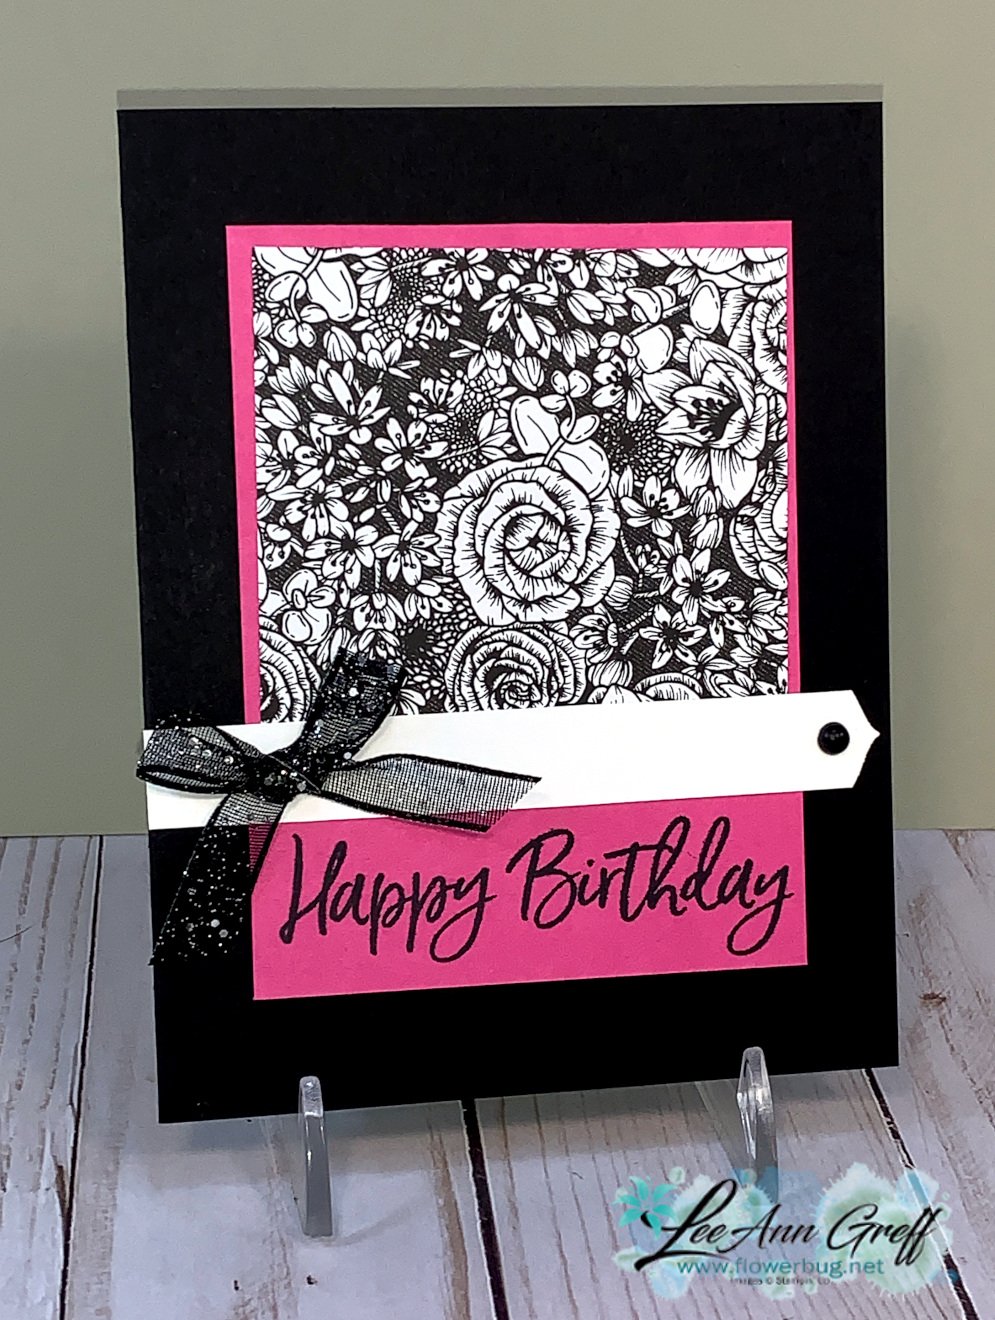
    The True Love Designer paper is my very favorite designer paper in the 2021 Spring Catalog; it has gorgeous Black & White patterns.  I have always found Black & White  paper to be the easiest to work with since I can add almost any color I want to set it off.  Bright or soft colors all work wonderfully! 

    I made this card for another online swap a few weeks ago.  I just love the easy layout and how it makes the best use of both the Designer paper AND your card stock.  

    Products used:

    Black, White & Magenta Madness CS, True Love DSP, Black ink, Black glittered ribbon, Sweet Ice Cream stamp set , Treasured Tags pick a punch for White CS strip, Matte Black dots 

    Since Stampin' Up! had to stop offering their Whisper White card stock (manufacturer went out of business) we now have Basic White products.  And they're all available again!  Yay!  Check out this flyer here.  Download BASIC-WHITE-ANNOUNCEMENT-FLYER_US

    Paper saving tip: 

    With this layout you can get sixteen 3" square pieces from a 12" sheet of DSP; or 4 pieces from a 6 X 6" piece. 

    You can get 5 pieces of the main colored layer from a sheet of 8 1/2" X 11" card stock.  The cutting template for this is below; I love to use it for my inside layer especially.  

    ~~~

    January Specials: 

    Join my Flowerbug's Team during Sale-a-Bration and

    get 5 packs of 6" Designer Paper FREE!  

    Go here to read about it

    ~~~

    Current Host code is JQAFYSUW

    Order online here

    Get a package of 200 Pastel Pearls from me with an online order over $50 using the host code above.

    *If your order is over $150 do not use the code; you'll still receive a gift! 

    Below are the Multipurpose Glue stands we're making. They're $6 each and available in my Shop here.  

    Leave a Reply

    Your email address will not be published. Required fields are marked *

  • Sale-a-Bration starts today!!! Paper Blooms Descending Layers technique


    From today through February 28th you can earn free product with your Stampin' Up! orders!  For every $50 or $00 you spend you can choose a free item.  Check it out here.

    The new Mini Cut & Emboss machine is now available!  And when you purchase it you can choose a free SAB item too!

    It's small, light weight and fits on your work surface so nicely!  It also fits many of our dies and you can see which ones by the special icon in the catalogs. 

    This cute machine has a compact footprint for easy storage and travel. The 3-1/2" (8.9 cm) platform works with many of Stampin' Up!'s smaller dies and embossing folders. Includes 1 Mini Base Plate, 2 Mini Cutting Plates, 1 Mini Embossing Plate, and 1 Mini 3D Embossing Plate

    Are you enjoying these sneak peaks from the new 2021 Stampin' Up! Spring & Sale-a-Bration catalogs?  It's always fun to play with brand new products.  Today I'm playing with new 2021 Sale-a-Bration (or SAB) items.  

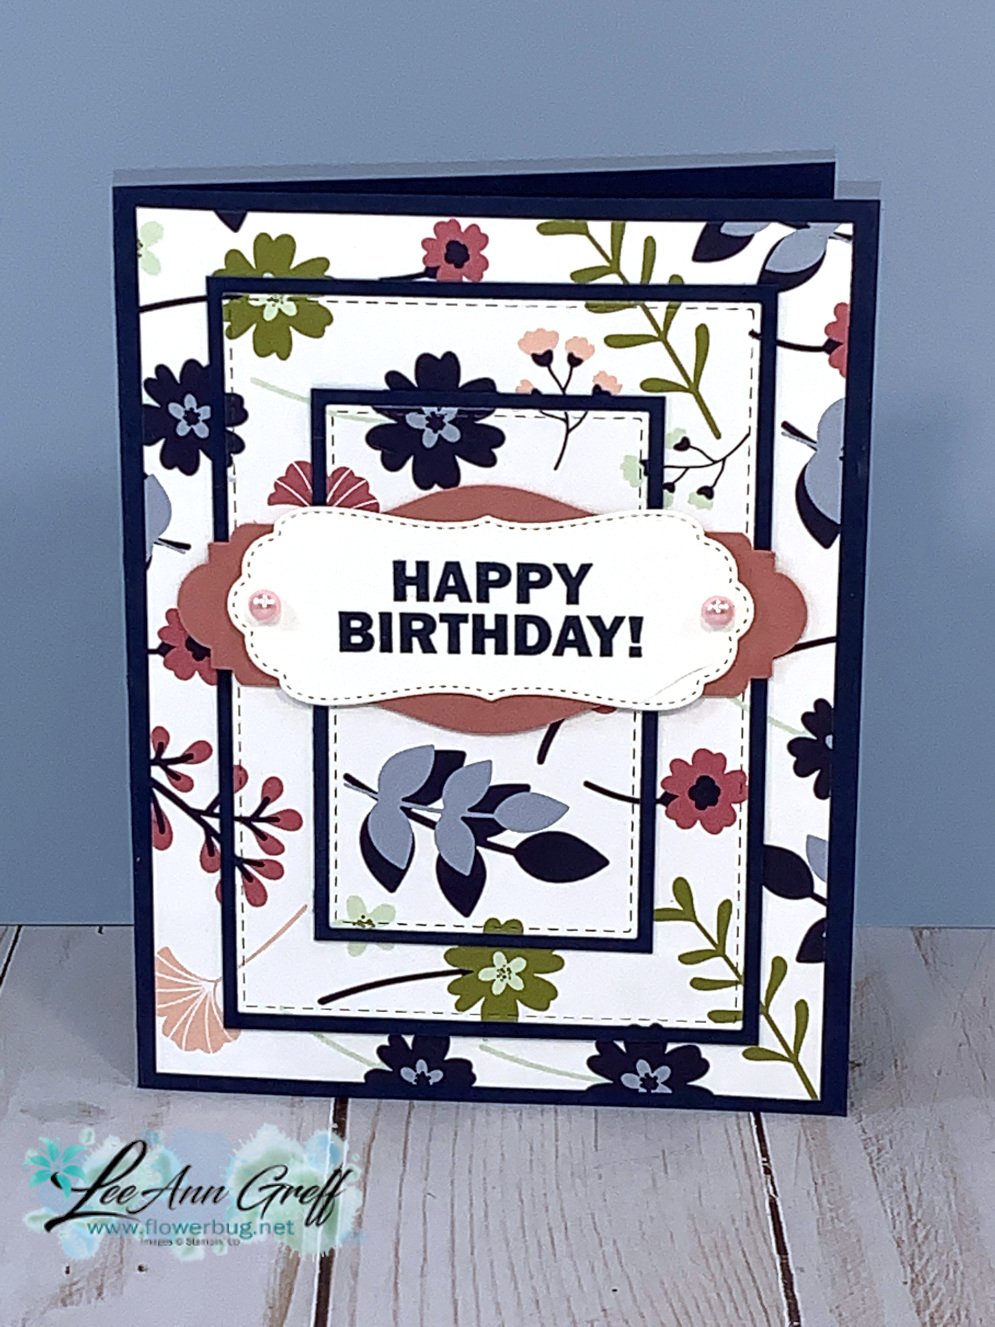
    The Paper Blooms Designer Series Paper is full of flowers and fun color combos!  I decided to use my Stitched Rectangle dies to create this layered effect.  If you want to watch a video on how to do this click here. 

    I used the third smallest and the third largest die in the Stitched Rectangles set.  It looks like I wasted a ton of paper but the entire card is made with one piece of DSP measuring 5 1/4" X 4".  It's so cool!  

    Navy layers are:

    • Main card 5 1/2" X 8 1/2"
    • Smallest rectangle is 3 3/8" X 2", middle is 4 1/2" X 3 1/8" 

    You might wonder what I used for the greeting.  The White piece is a new die from the Potted Succulent dies seen here. The Rococo Rose layers are punched pieces; 2 of them.  I used a 1" X 3 3/4" strip and the Lovely Labels Pick a Punch for the ends.  The center piece is the Story Label punch.  The pearls on the label are the NEW Pastel Pearls on page 19 of the new Spring Catalog seen here. 

    Thanks for stopping in today; stay tuned for more projects tomorrow! 

    ~~~

    January Specials: 

    Join my Flowerbug's Team during Sale-a-Bration and

    get 5 packs of 6" Designer Paper FREE!  

    Go here to read about it

    ~~~

    Current Host code is JQAFYSUW

    Order online here

    Get a package of 200 Pastel Pearls from me with an online order over $50 using the host code above.

    *If your order is over $150 do not use the code; you'll still receive a gift! 

    Below are the Multipurpose Glue stands we're making. They're $6 each and available in my Shop here.  

    Leave a Reply

    Your email address will not be published. Required fields are marked *


Notice: LeeAnn Greff, Independent Stampin’ Up! Demonstrator, Manager. The content of this website is my sole responsibility as an independent Stampin’ Up! demonstrator and the use of, and content of, the classes, services, or products offered on this website is not endorsed by Stampin’ Up! Copyright 2025