Peaceful Poppies cards kit to go; RSVP by March 19th!
The cards kit to go features the Peaceful Poppies designer paper. It's full of hand painted blooms accented by watercolor effects all inspired by fields of poppies.
This kit to go includes $20 in actual product (before tax & shipping). You're getting the 10 cards pre-cut kit for just $5! See those beautiful die-cuts and trim pieces? They are included in my kits! I do the time consuming work for you so you can enjoy the fun of just stamping and assembly.
*If you like pre-cut card kits you will LOVE my monthly kits to go! Here are some comments from my subscribers:
– I made all the cards, and had a great time. I loved all the different folds and color choices. Thanks for making my week!
– Your directions are always so easy to follow and your projects are unique.
– I just received the January card kit and love it!
– I loved these cards; they were so fun to make.
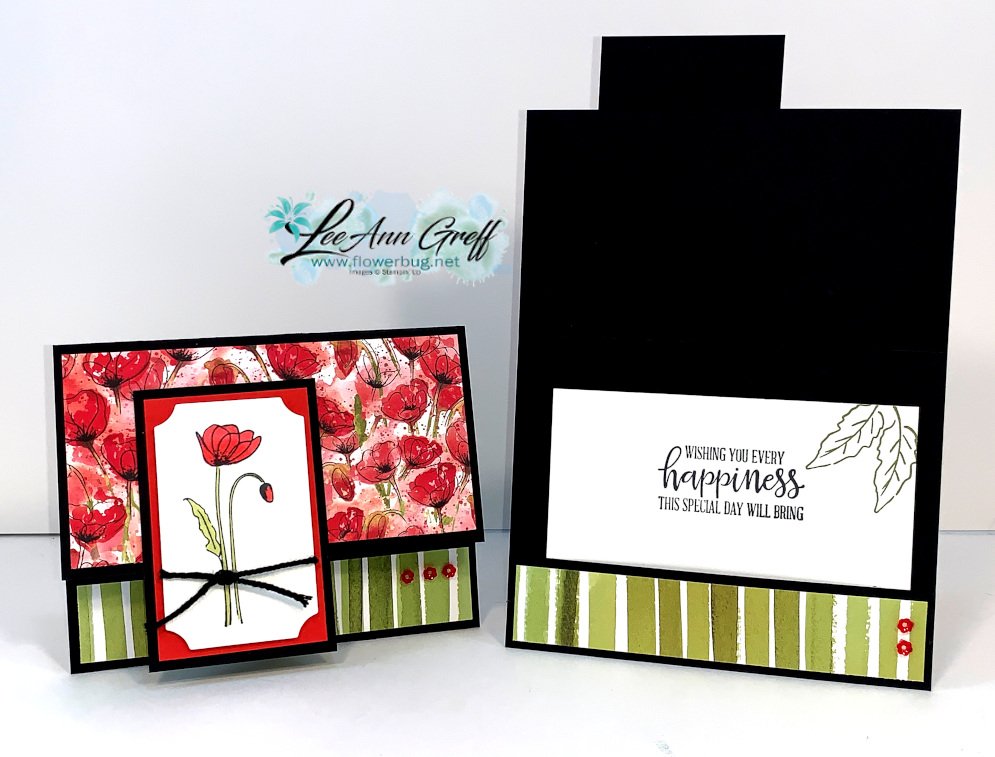
Here's one of the fun-fold cards in this month's kit. It has a pocket for your greeting and/or a gift card if you'd like to add one.
I did use the poppy image from the Painted Poppies set in the card above.
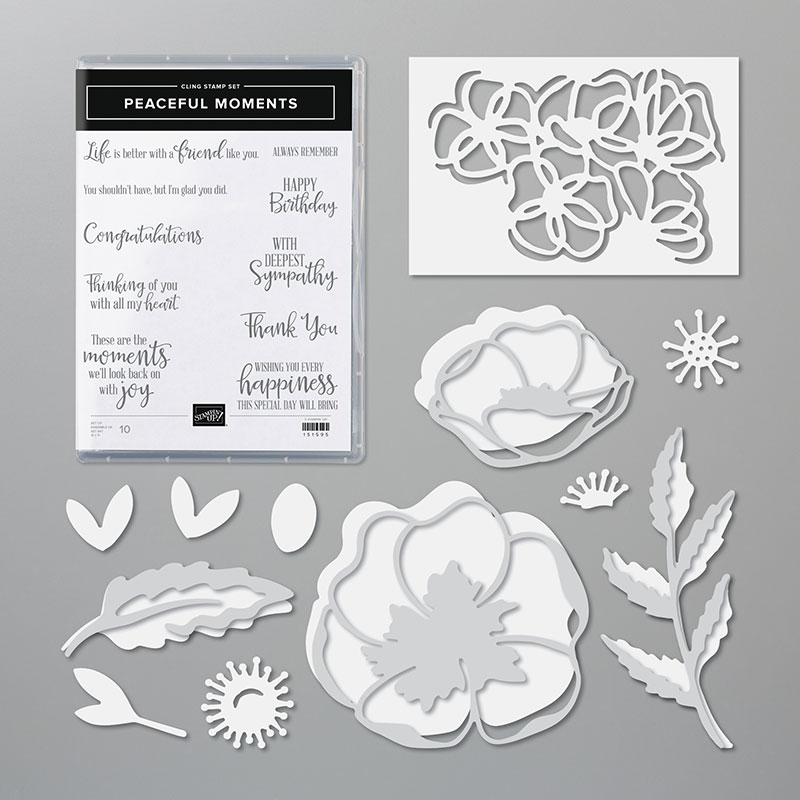
For my greetings I used the Peaceful Moments stamp set seen below. If you add it on you will get a free Sale-a-Bration choice with your kit. Or choose thePeaceful Moments bundle and earn you a free SAB choice. See your free choices here.
The Painted Poppies bundle is not available right now but should be back mid April! Both of these bundles coordinate together beautifully and are part of the Peaceful Poppies suite on pages 24-27 in the mini catalog.
– a pre-cut cards kit for 10 cards; including die-cuts and many punched pieces
– Free pdf instructions with photos, measurements (to make more), step by step instructions and a supplies list
– 1/2 package of the 12 X 12" Peaceful Poppies Designer Series Paper
– 1 full package of the Peaceful Poppies sequins
– 3 spools of colored Baker's twine in Poppy Parade, Black and Garden Green
**You have through March 19th to RSVP for this kit. It's $28 for locals and $36 for long distance and includes Priority Shipping.
If you'd like to add on the Peaceful Moments stamp set or the bundle (seen above) please let me know. If you do add it on, (or anything else of $30 or more) I will combine shipping AND you get a free Sale-a-Bration choice!See the free items here.
***Be sure to RSVP by the 19th to get your kit!
It's just $28 for locals and $36 for long distance people with Priority Shipping. Kits should be mailed out at the end of March and the pdf tutorial is emailed.
*You are subscribing to my monthly card kits but can cancel at any time.
*I can also send you a PayPal invoice for this month's kit. Email me at lagreff60@gmail.com
All Posts
Simple Direct to Paper Technique for quick gorgeous cards! Plus 6 ways to add ribbon! Video & free project sheet too!
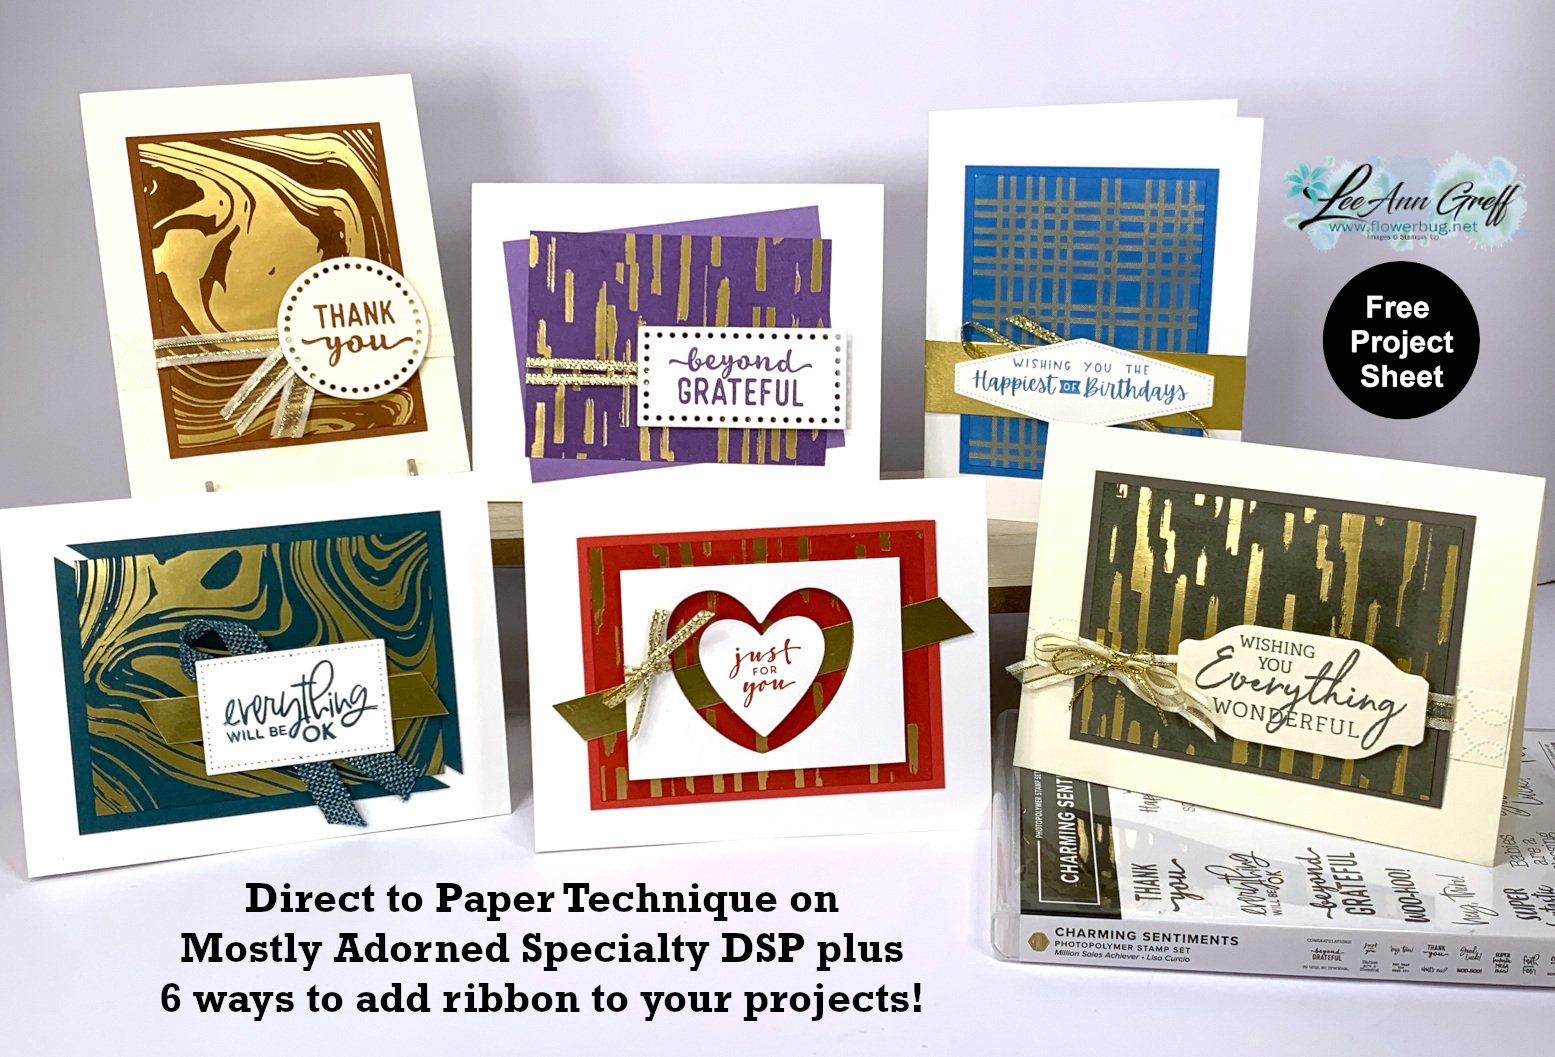
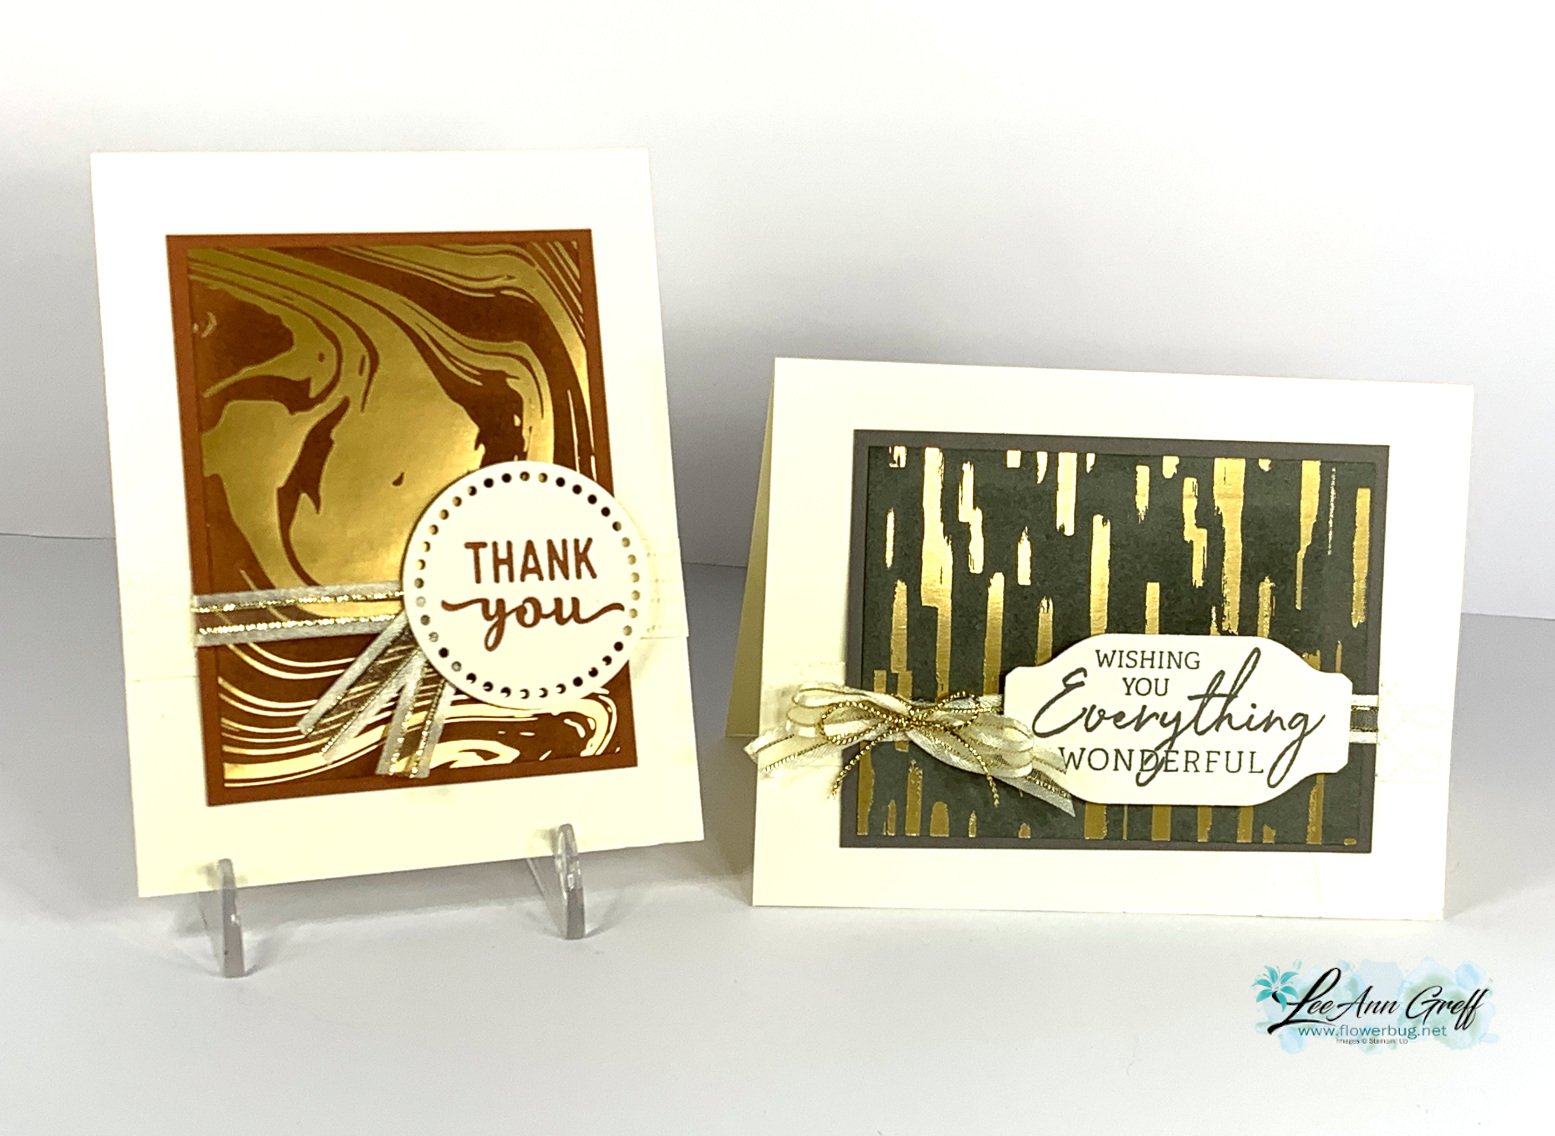
On last week's Live video I focused on the Most Adored specialty designer paper and shared the Direct to Paper technique and these gorgeous cards:
Anytime we have designer papers with foil designs I think of this fun technique! It's basically rubbing or tapping your water based ink pad onto the designer paper. The ink soaks into the background but resists the foil designs. Simply wipe the excess ink off the foil with a tissue – done!
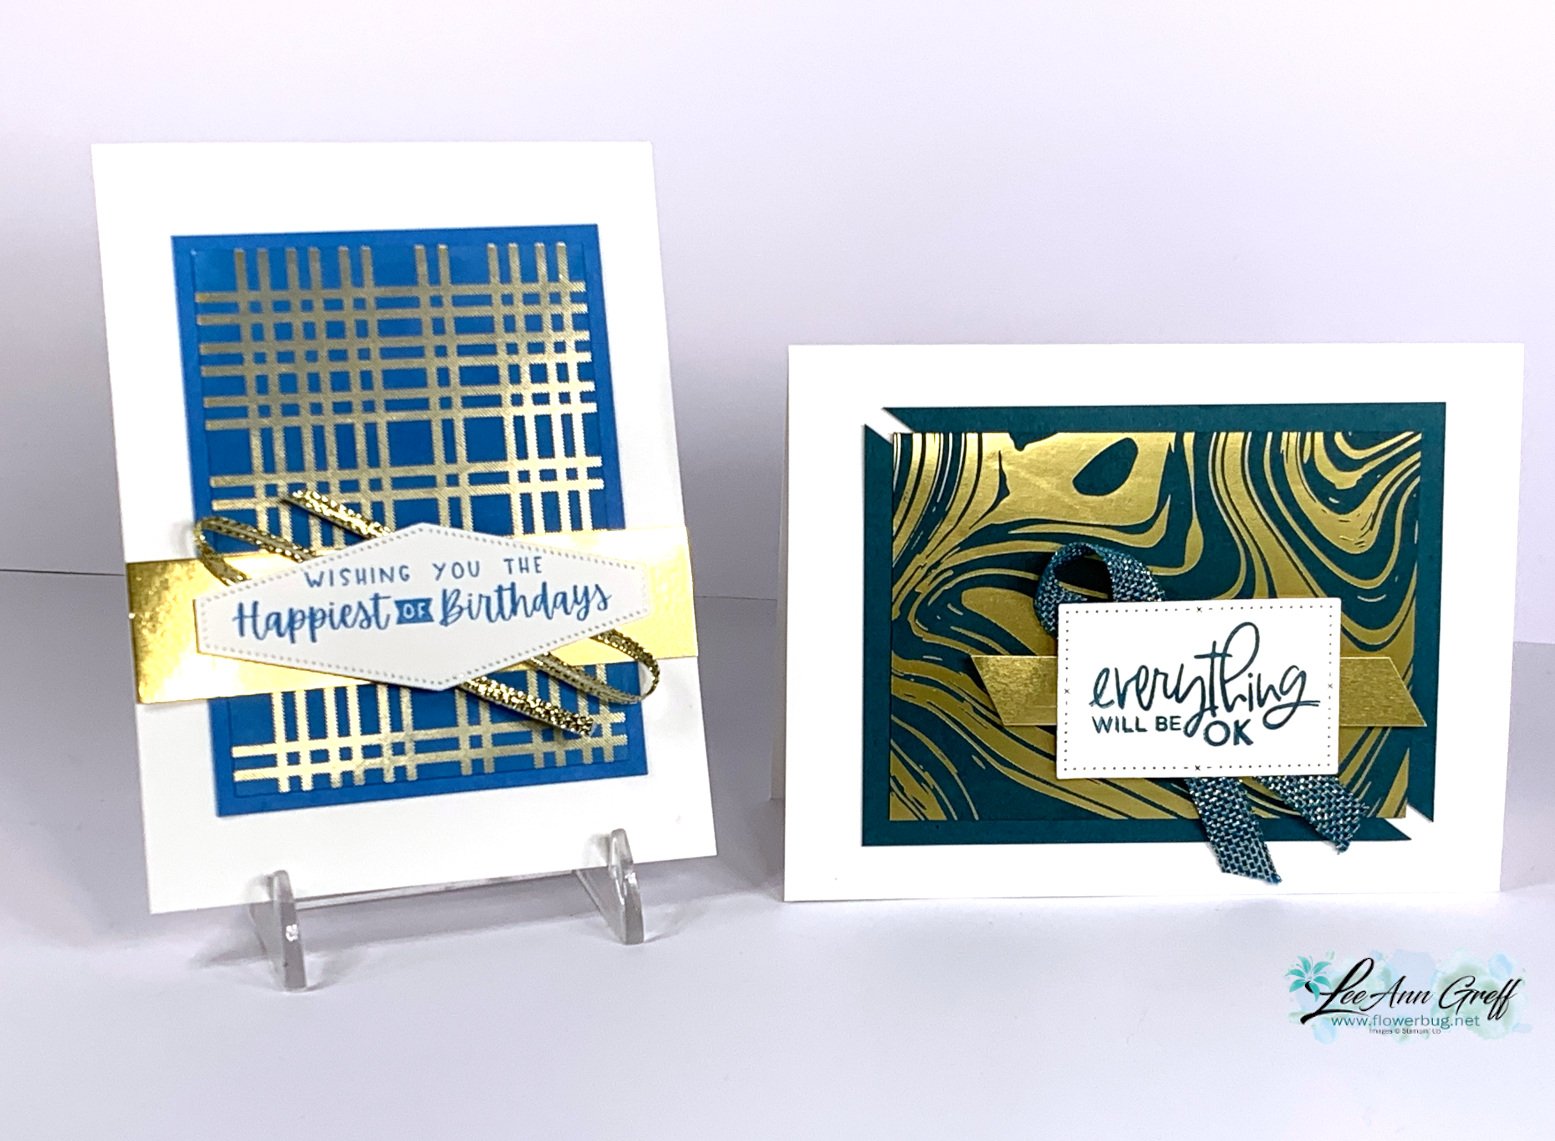
The colors above are Azure Afternoon and Pretty Peacock. Notice the different ribbon techniques and layouts. The left card has loops of ribbon added to the greeting label; the right has a simple fold of ribbon.
Each card has two main pieces – the designer paper is 3" X 4" and the layered, coordinating card stock is 3 1/4" X 4 1/4". Check out the different layouts with these basic pieces.
The left card above is Highland Heather and the right is Sweet Sorbet. A few more examples of ways to add ribbon and change up this simple layout. I added two thin strips of ribbon across the left card and tied a bow around the window frame on the right.
Remember this pretty specialty paper is available through February during Sale-a-Bration. It's free with any $50 Stampin' Up! purchase. See it here.
Keeping to a basic layout like this is a wonderful way to get a bunch of cards done quickly and use up your designer paper at the same time! I chose the Charming Sentiments stamp set for all of my greetings.
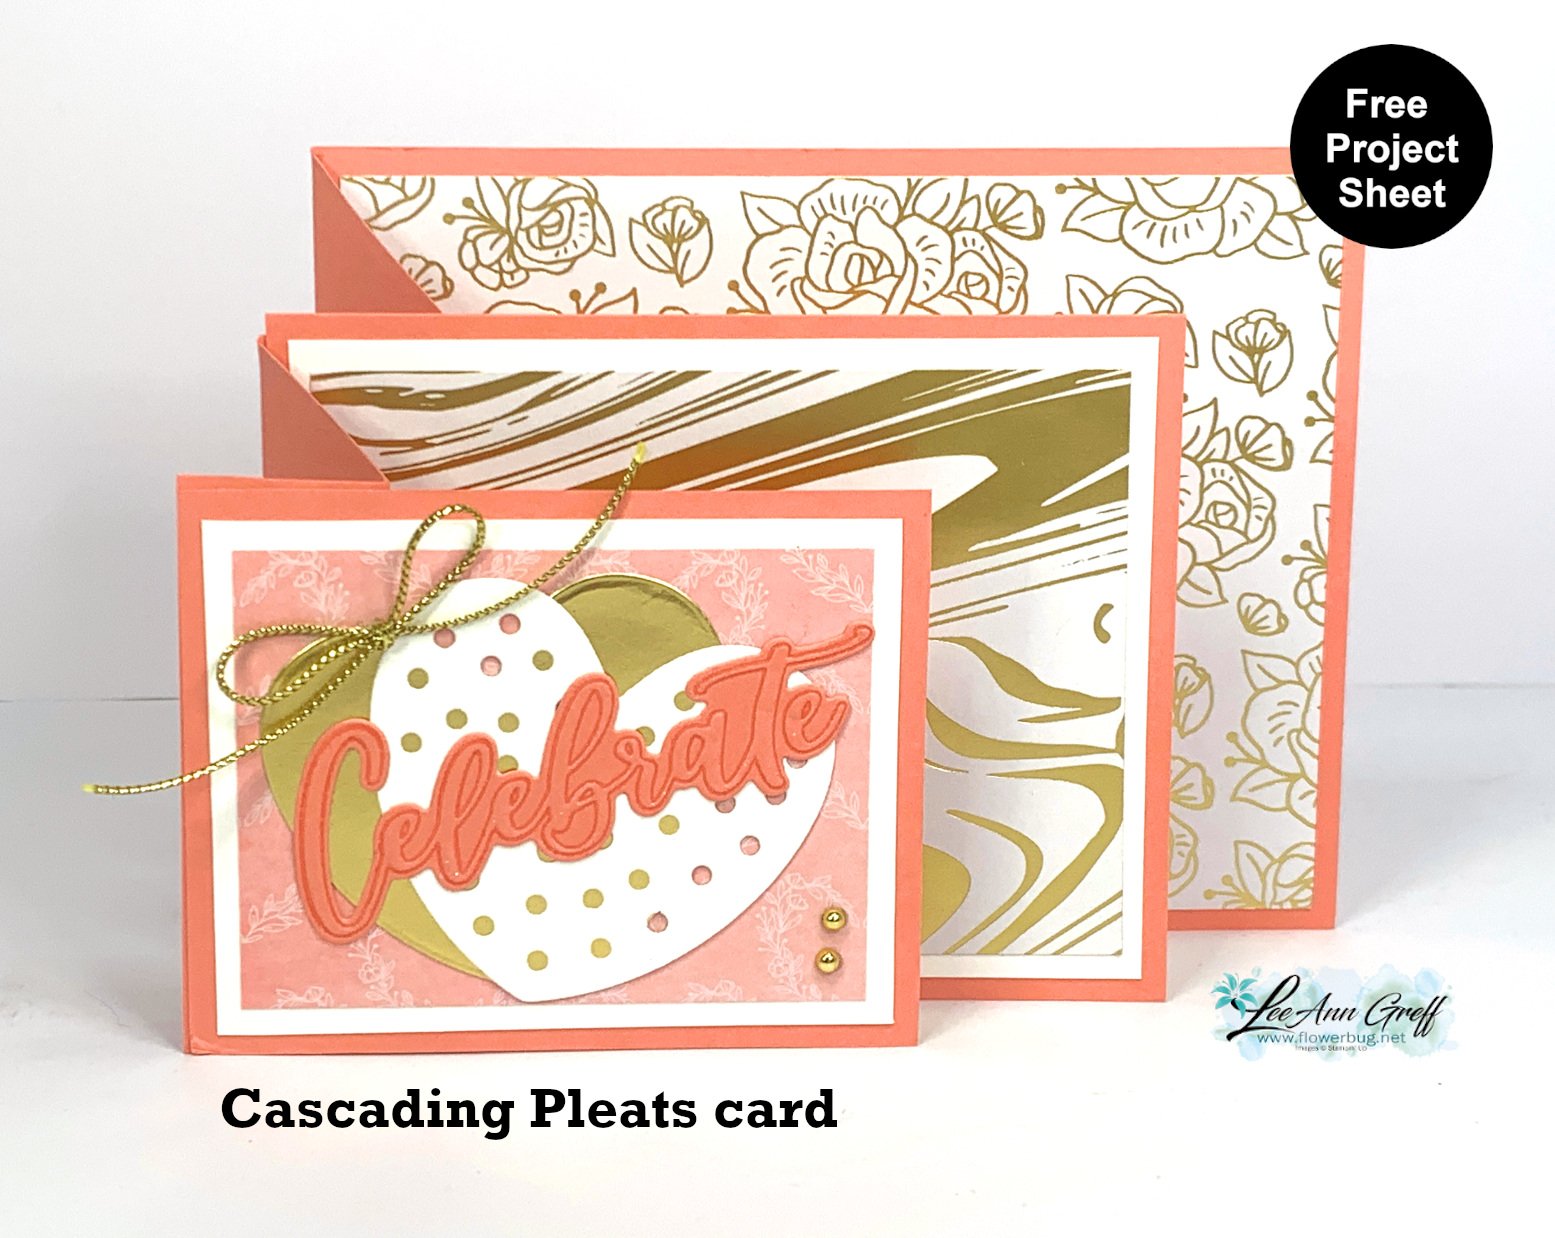
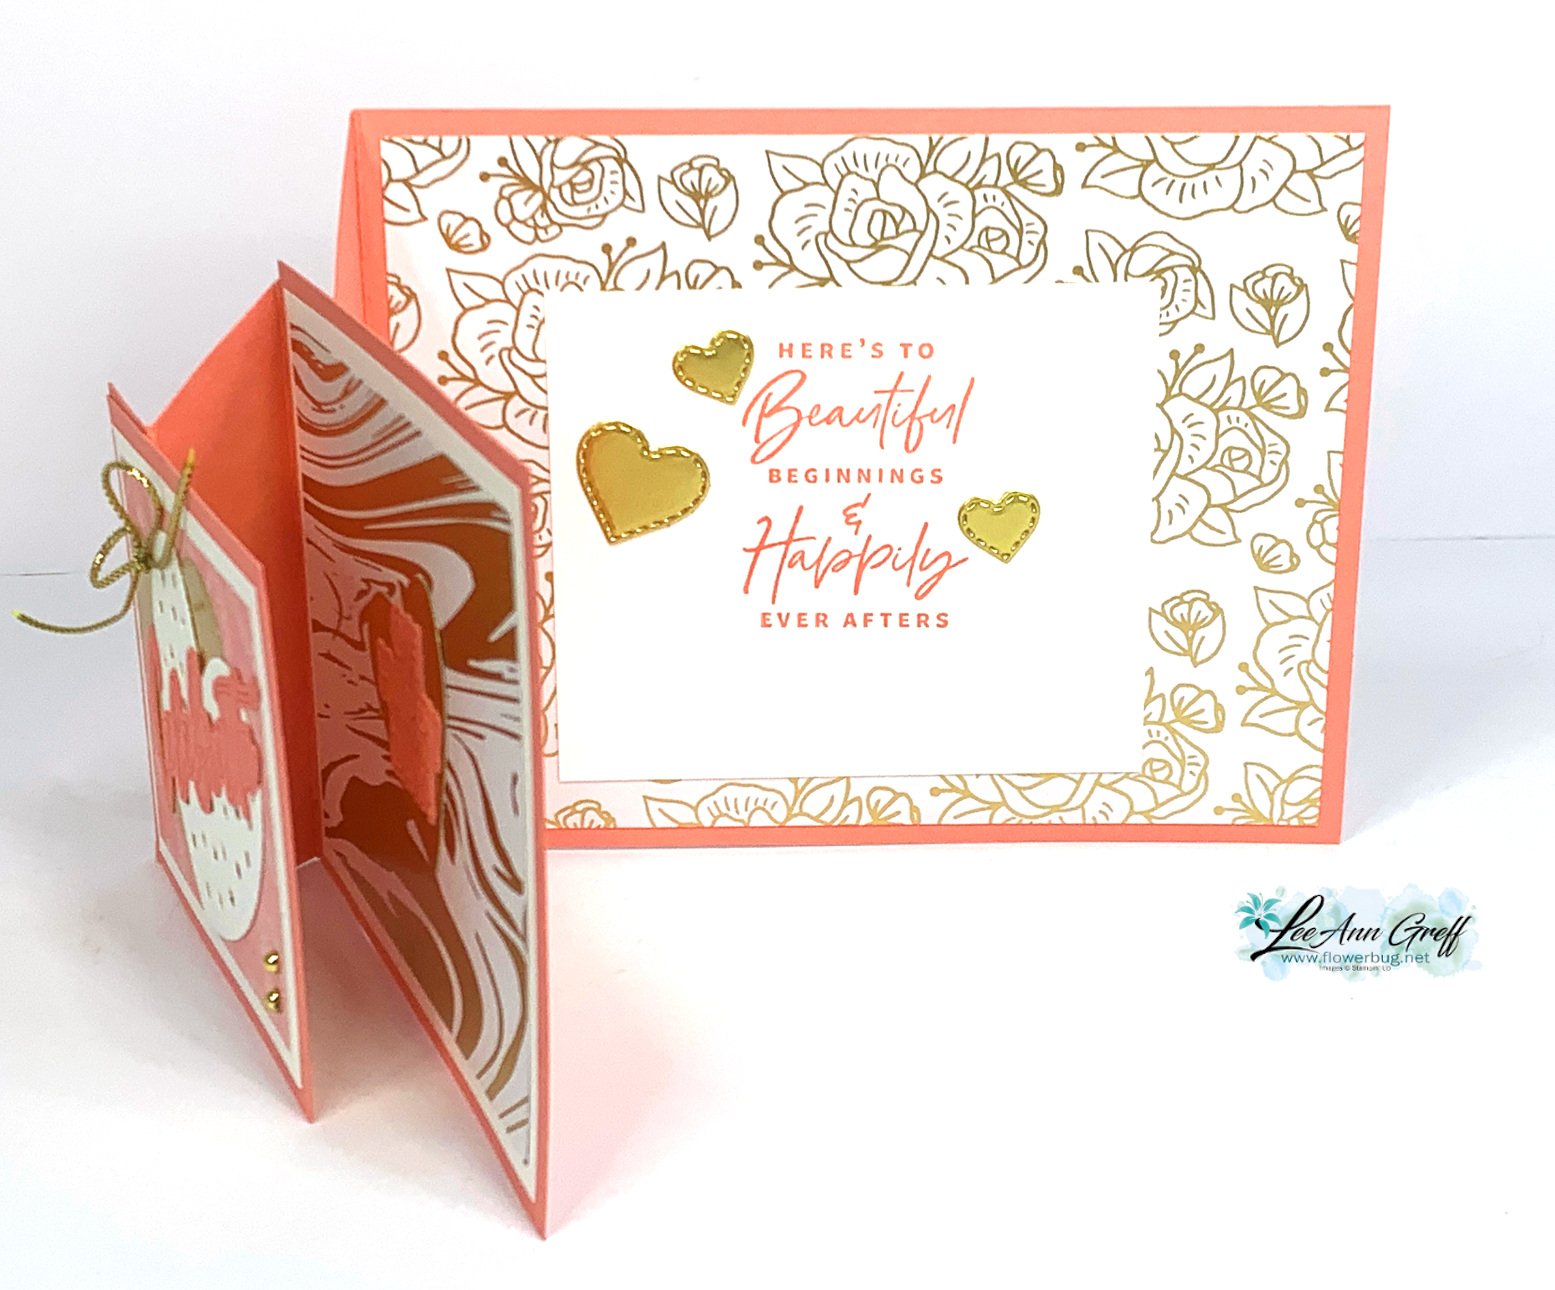
I chose to feature the Most Adored Specialty designer paper for my video projects. On this card I used both the Flirty Flamingo side and the Gold Foiled sides of this pretty paper. See it here. It's free with any $50 order through February during our Sale-a-Bration promotion – or while supplies last.
I have full measurements in my free project tutorial below but it will help you a lot to watch the video.
There are three layers and they 'cascade' in sizes from smallest in the front to largest in the back. Each has 2-3 layers.
Other products used include: Thoughtful Moments Hybrid 3D embossing folder, Hooray for Surprises bundle, Give it a Whirl dies, Something Fancy stamp set, Gold foil paper & Elegant Trim.
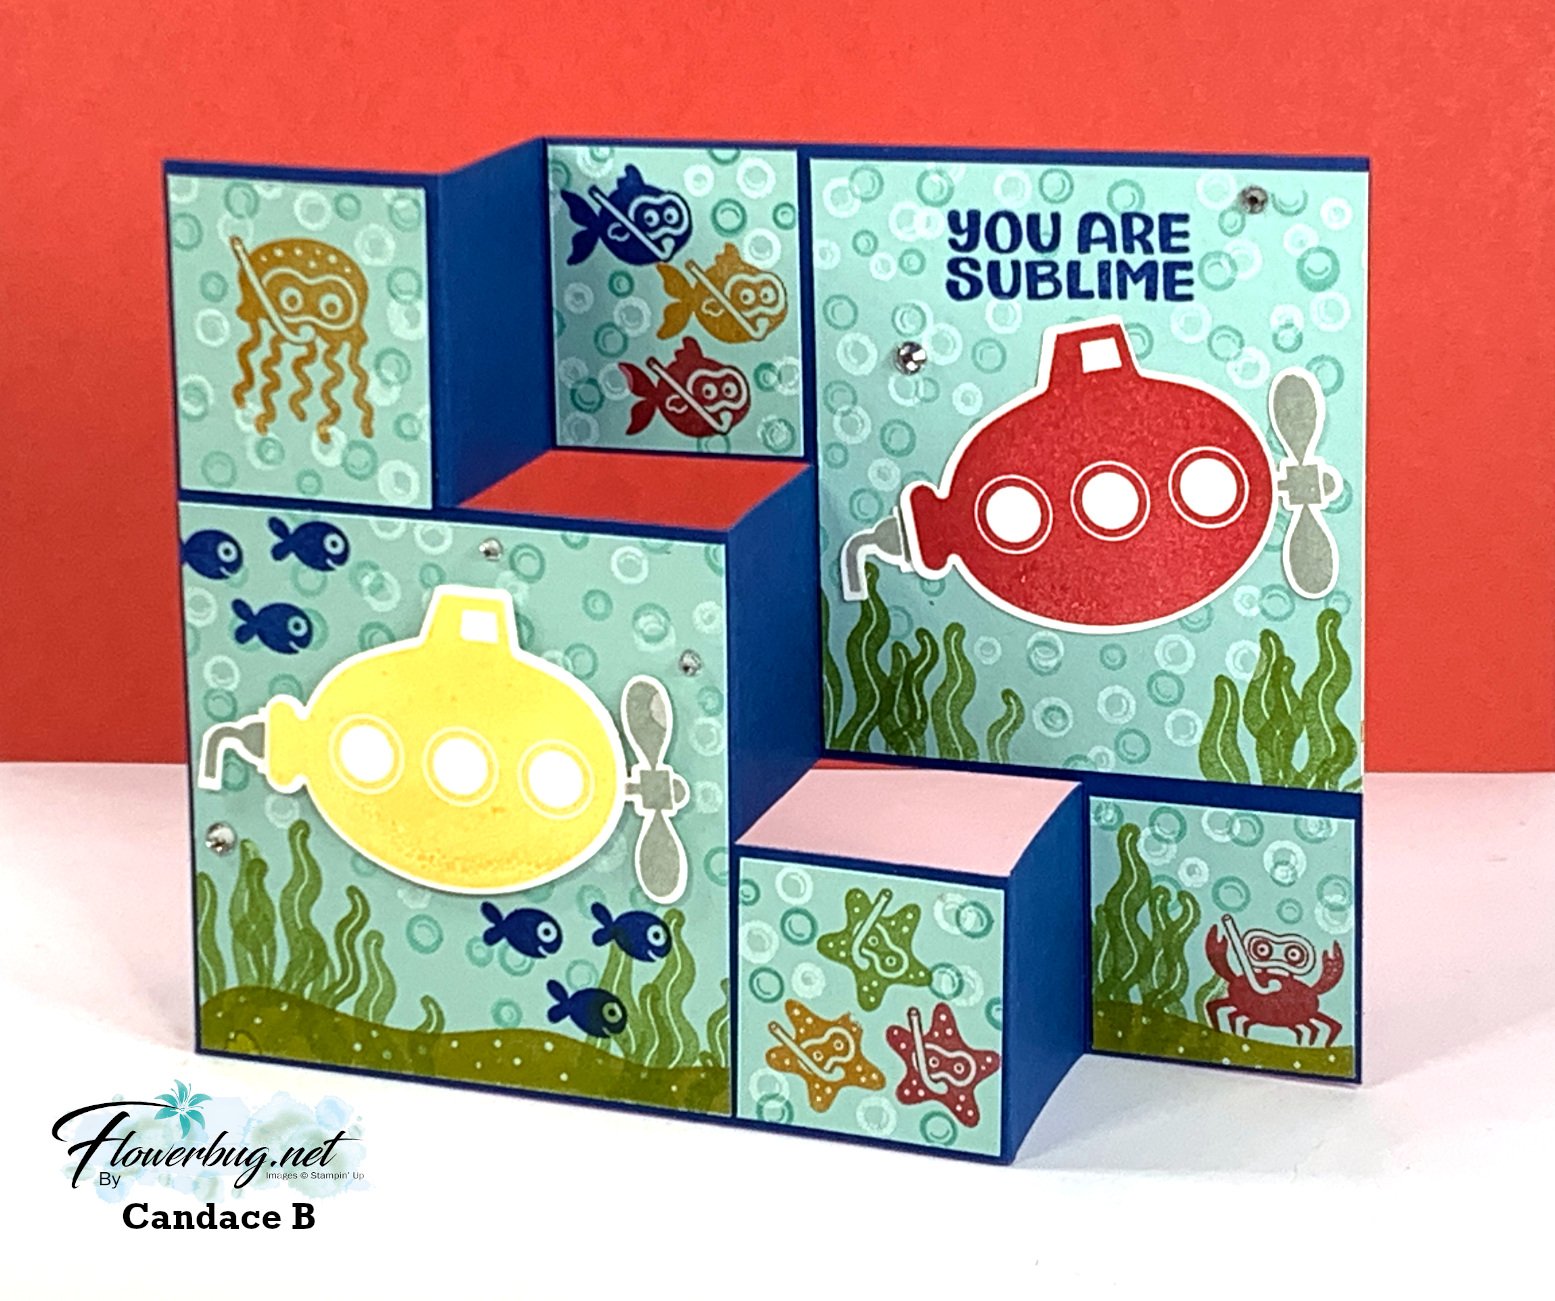
The bubble paper looks like it's printed but she made it! She stamped on her Pool Party card stock with Pool Party & White craft ink with the bubble image. Incredible!
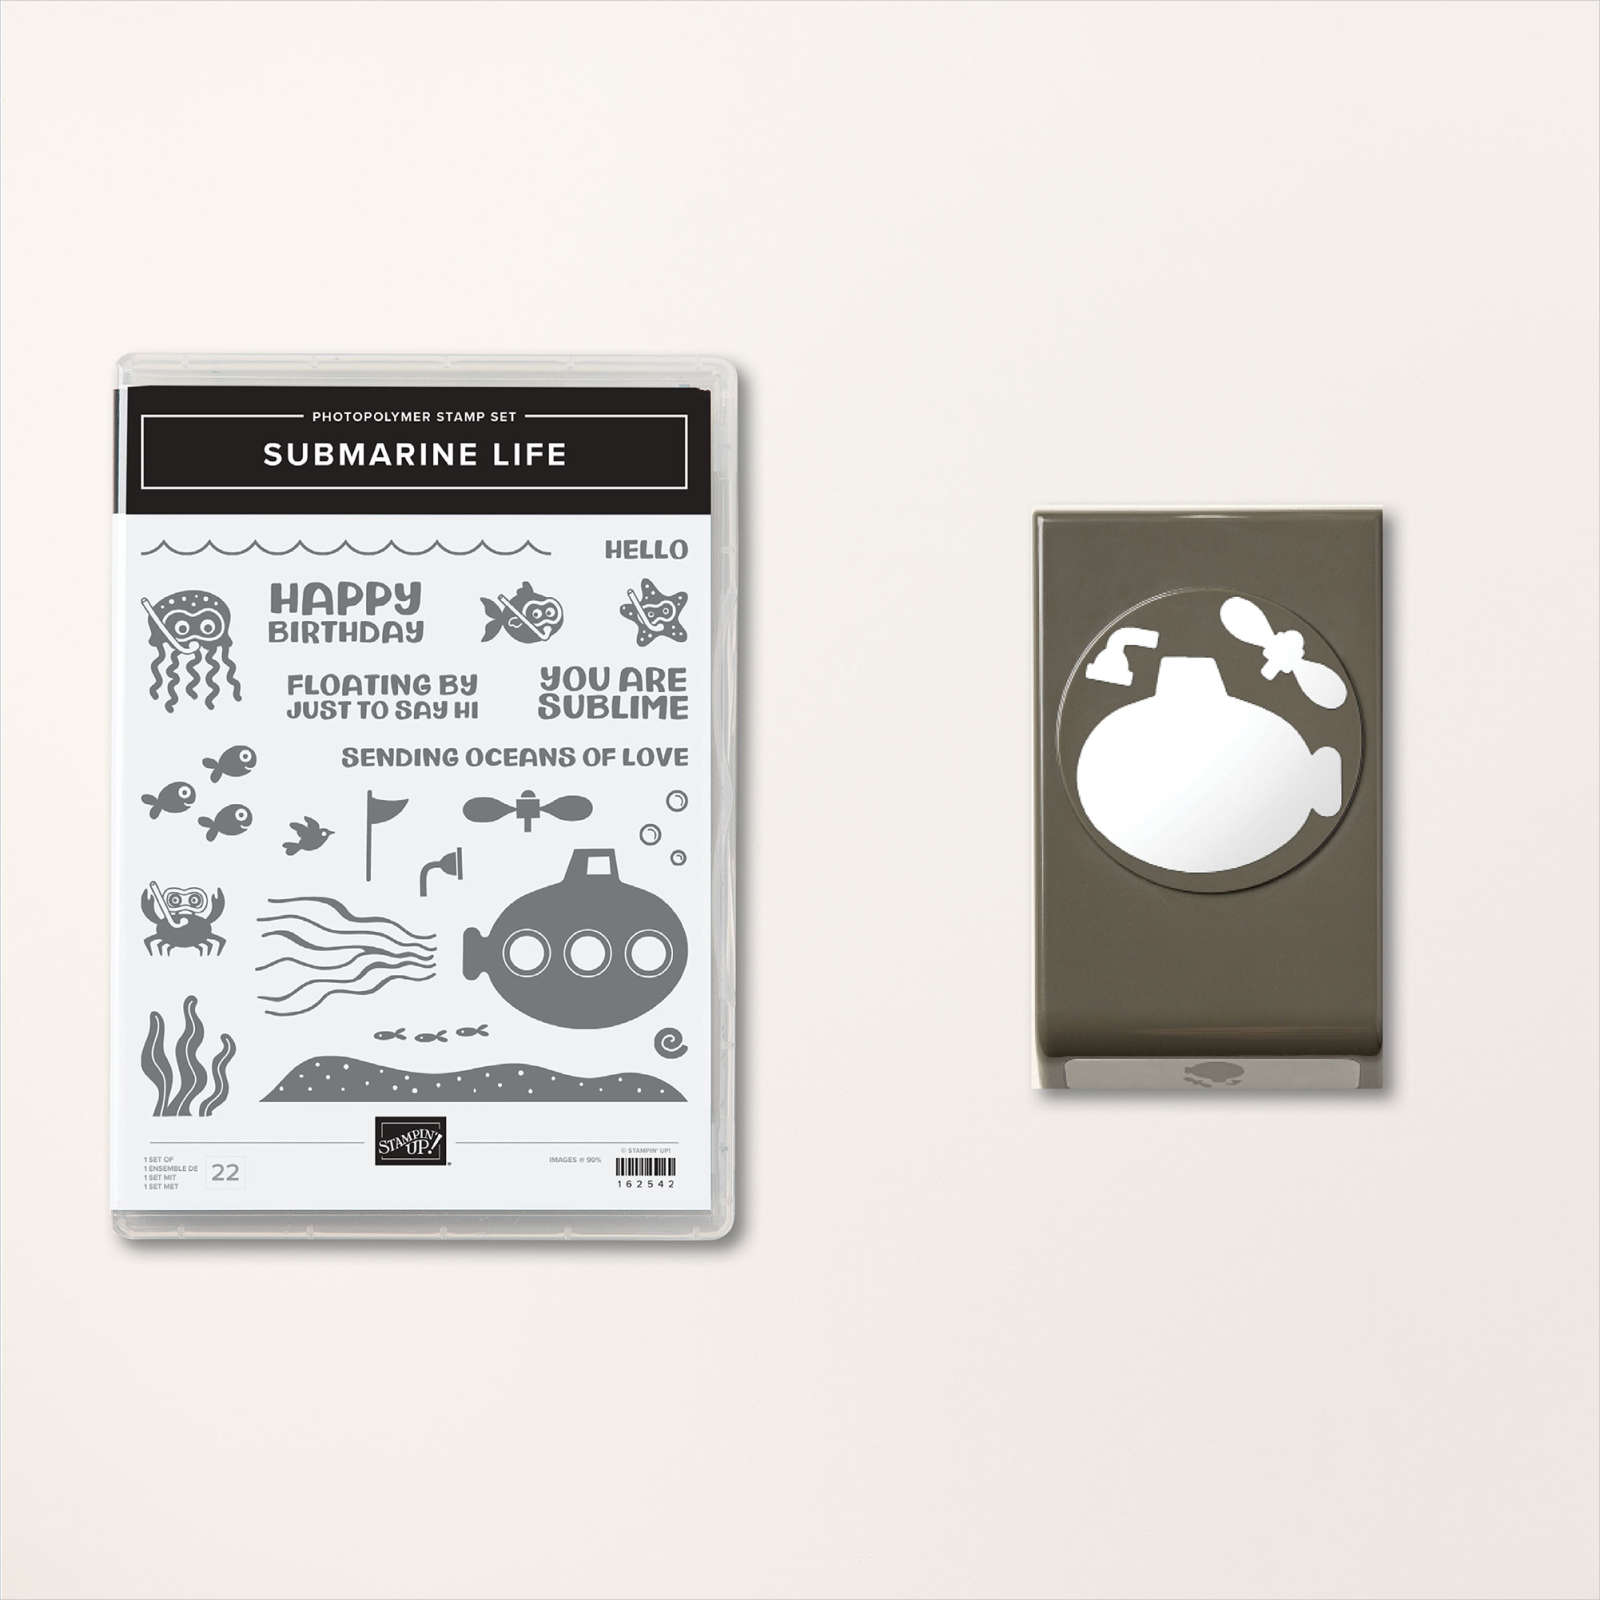
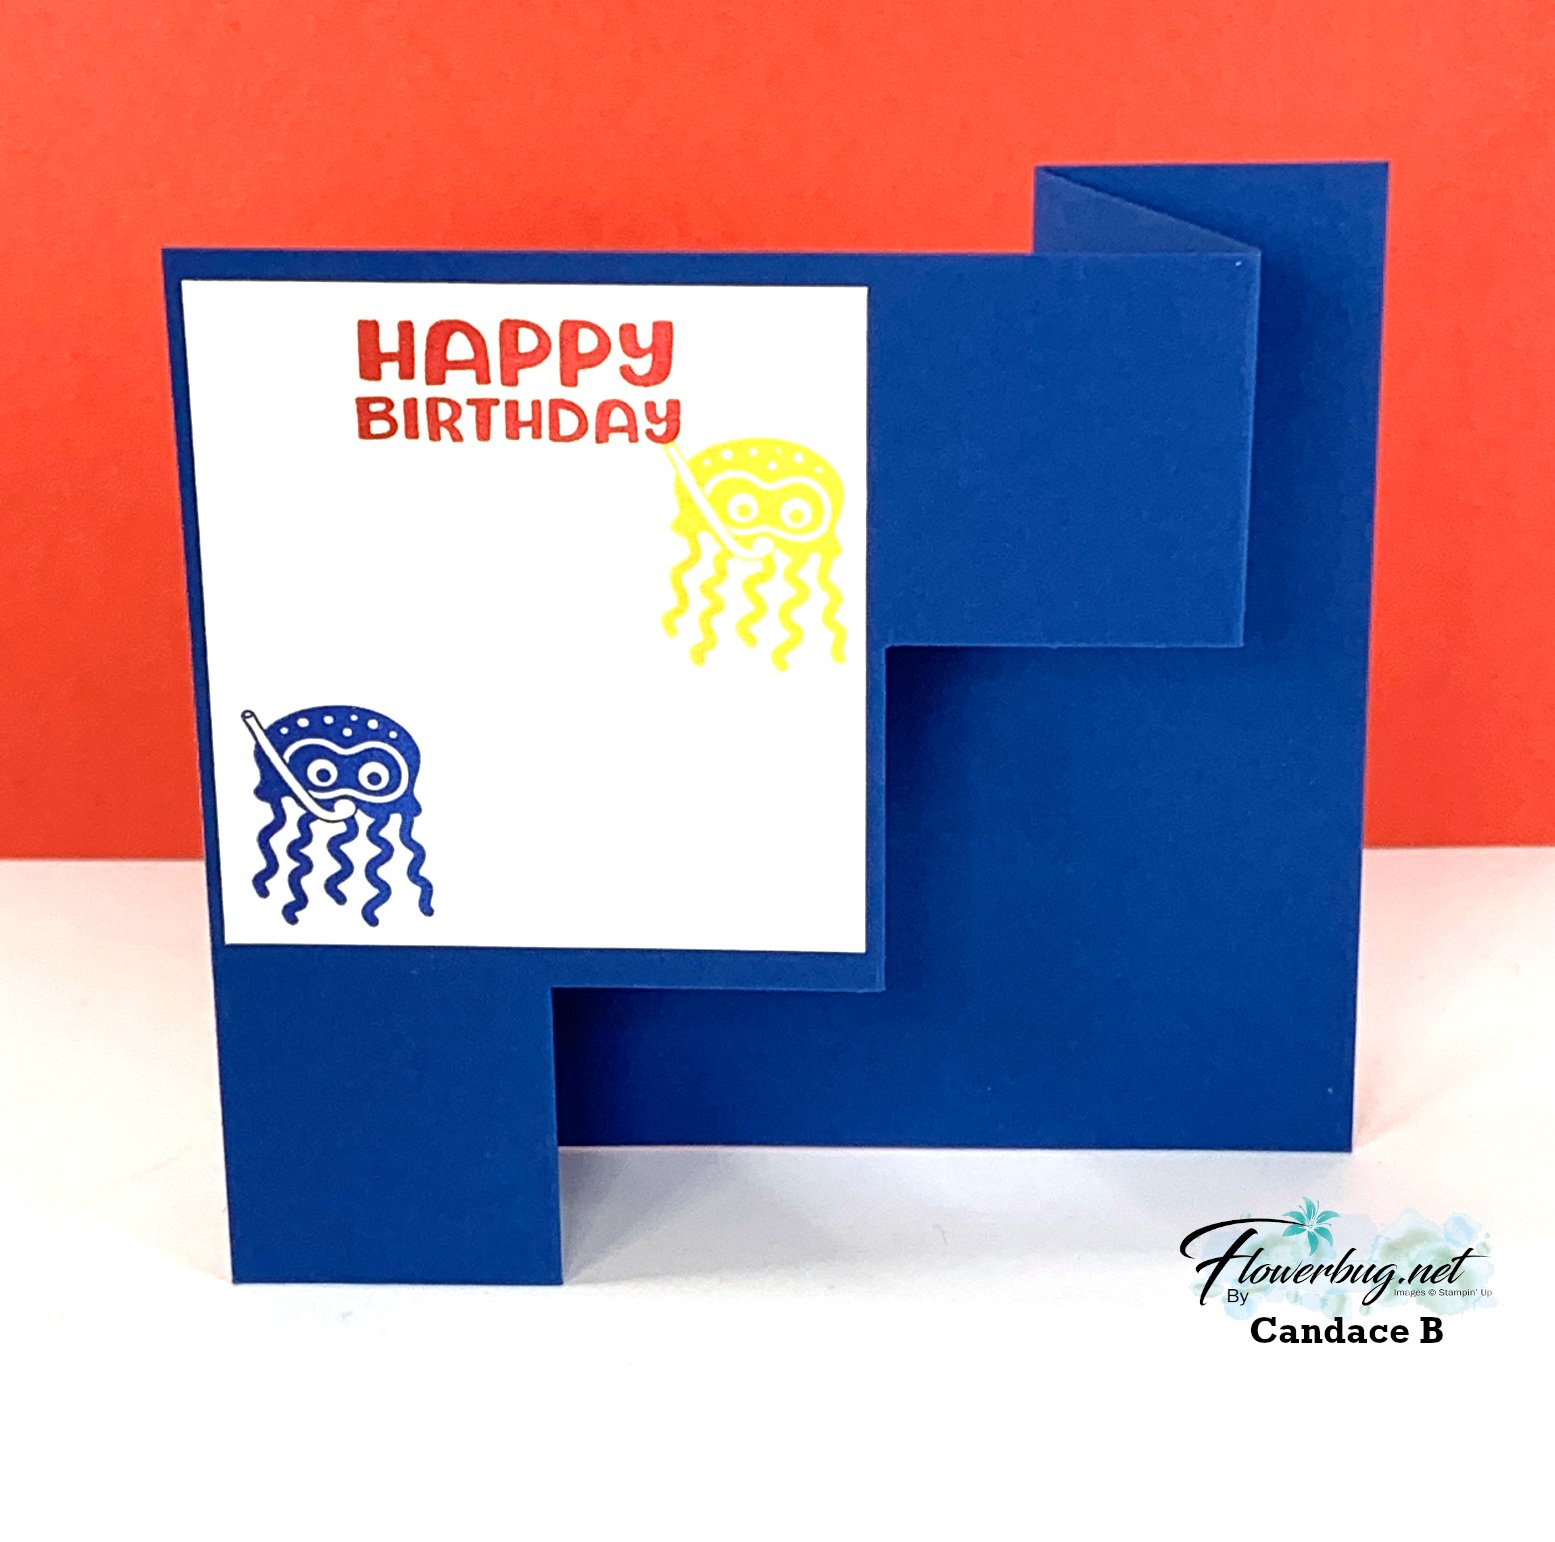
I'm not positive of the many colors she used here but I know a few include Sweet Sorbet, Blueberry Bushel, Daffodil Delight & Old Olive. She's a huge fan of the Beatles 'Yellow Submarine' so she had to get this bundle!
Measurements:
Blueberry Bushel 8 1/8" X 5 1/4". Across the top, score at the 1 5/8" mark down to 1 5/8". Score at 3 3/8" down to 3 5/8". Score at 5" down to the bottom of the card. From the bottom side, score at the 6 1/2" up to 1 5/8". Now you'll make two cuts across the center two areas from the score lines.
Pool Party large squares 3 1/4", small squares 1 1/2" X 2 for the bottom. Top pieces are 1 1/2" X 1 3/4"
Notice: LeeAnn Greff, Independent Stampin’ Up! Demonstrator, Manager. The content of this website is my sole responsibility as an independent Stampin’ Up! demonstrator and the use of, and content of, the classes, services, or products offered on this website is not endorsed by Stampin’ Up! Copyright 2025

























Leave a Reply