/


Latest Post

Paper Pumpkin update & bonus project for The Best There Is kit


Even though I am a seasoned stamper I still enjoy receiving and playing with my Paper Pumpkin kits each month. Sometimes I make the projects as directed and other times I like to change them up. 

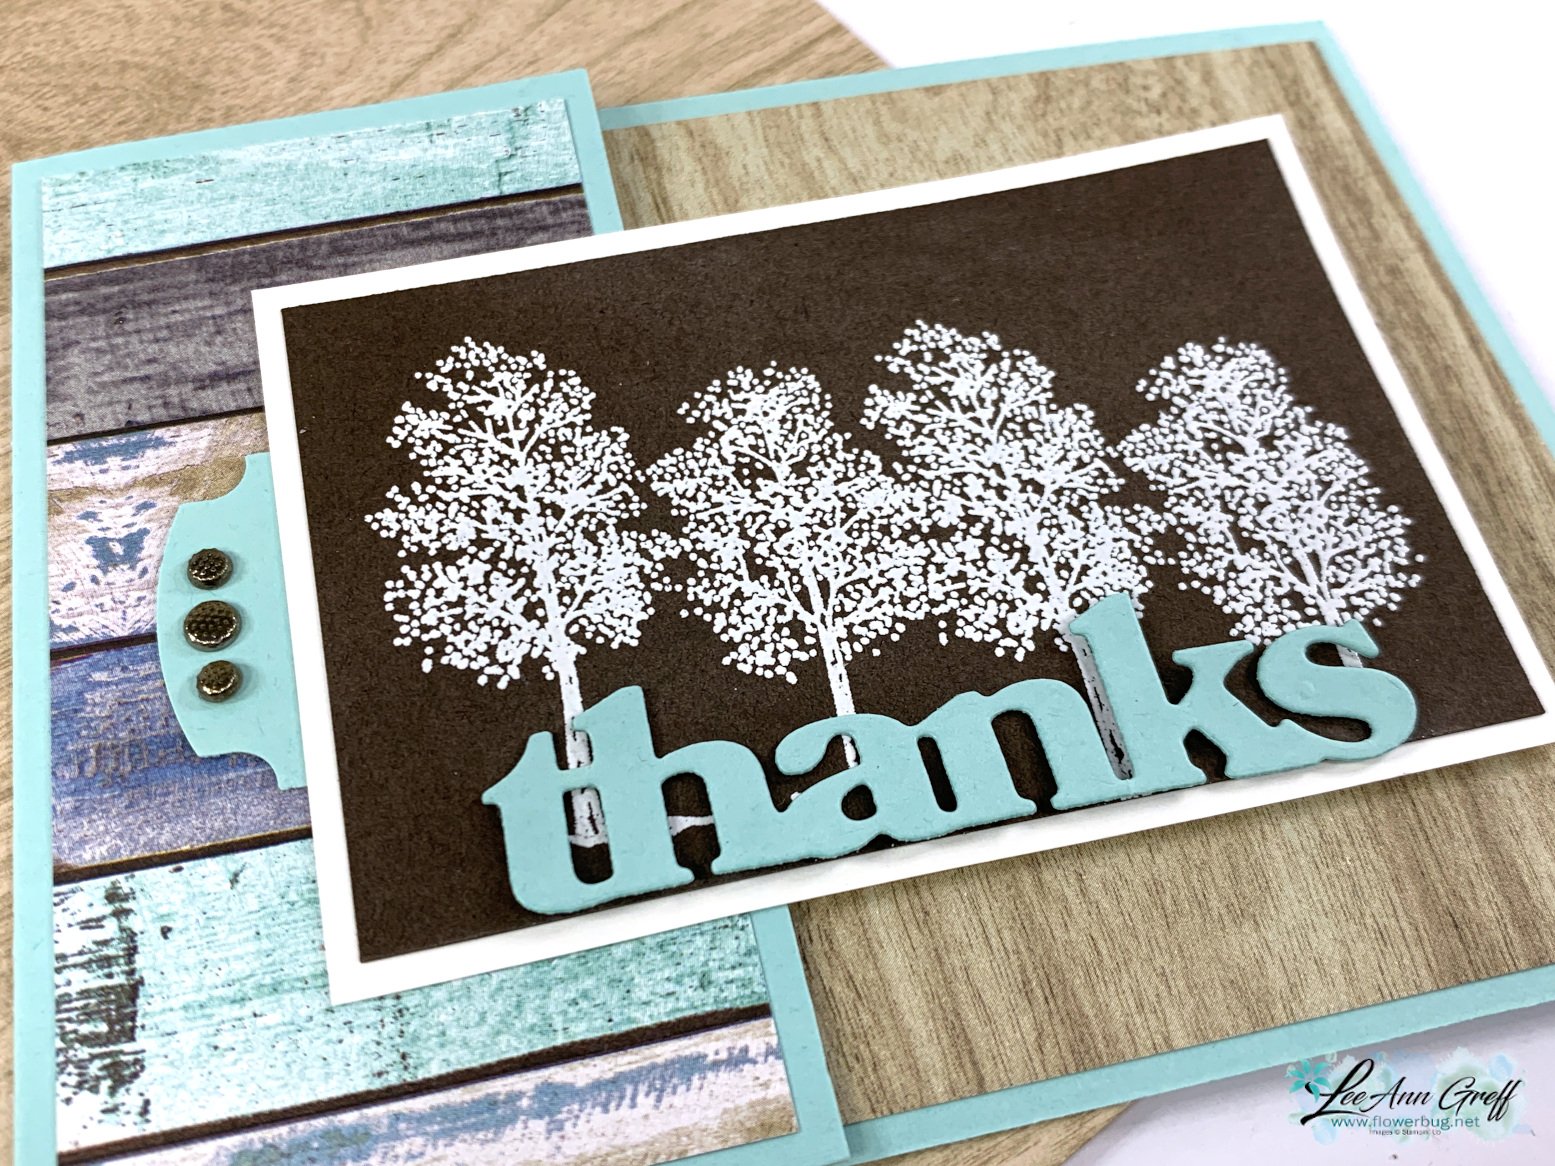
Here's one of my 'change it up' projects from May's The Best There Is' kit. 

I used the add on dies for the 'thanks' – heat embossing it in White on Early Espresso card stock. I added on a few pieces of the Country Woods designer paper to this fun fold card.  This card was one of the Bonus Projects included in my free tutorial my subscribers received in early June.  
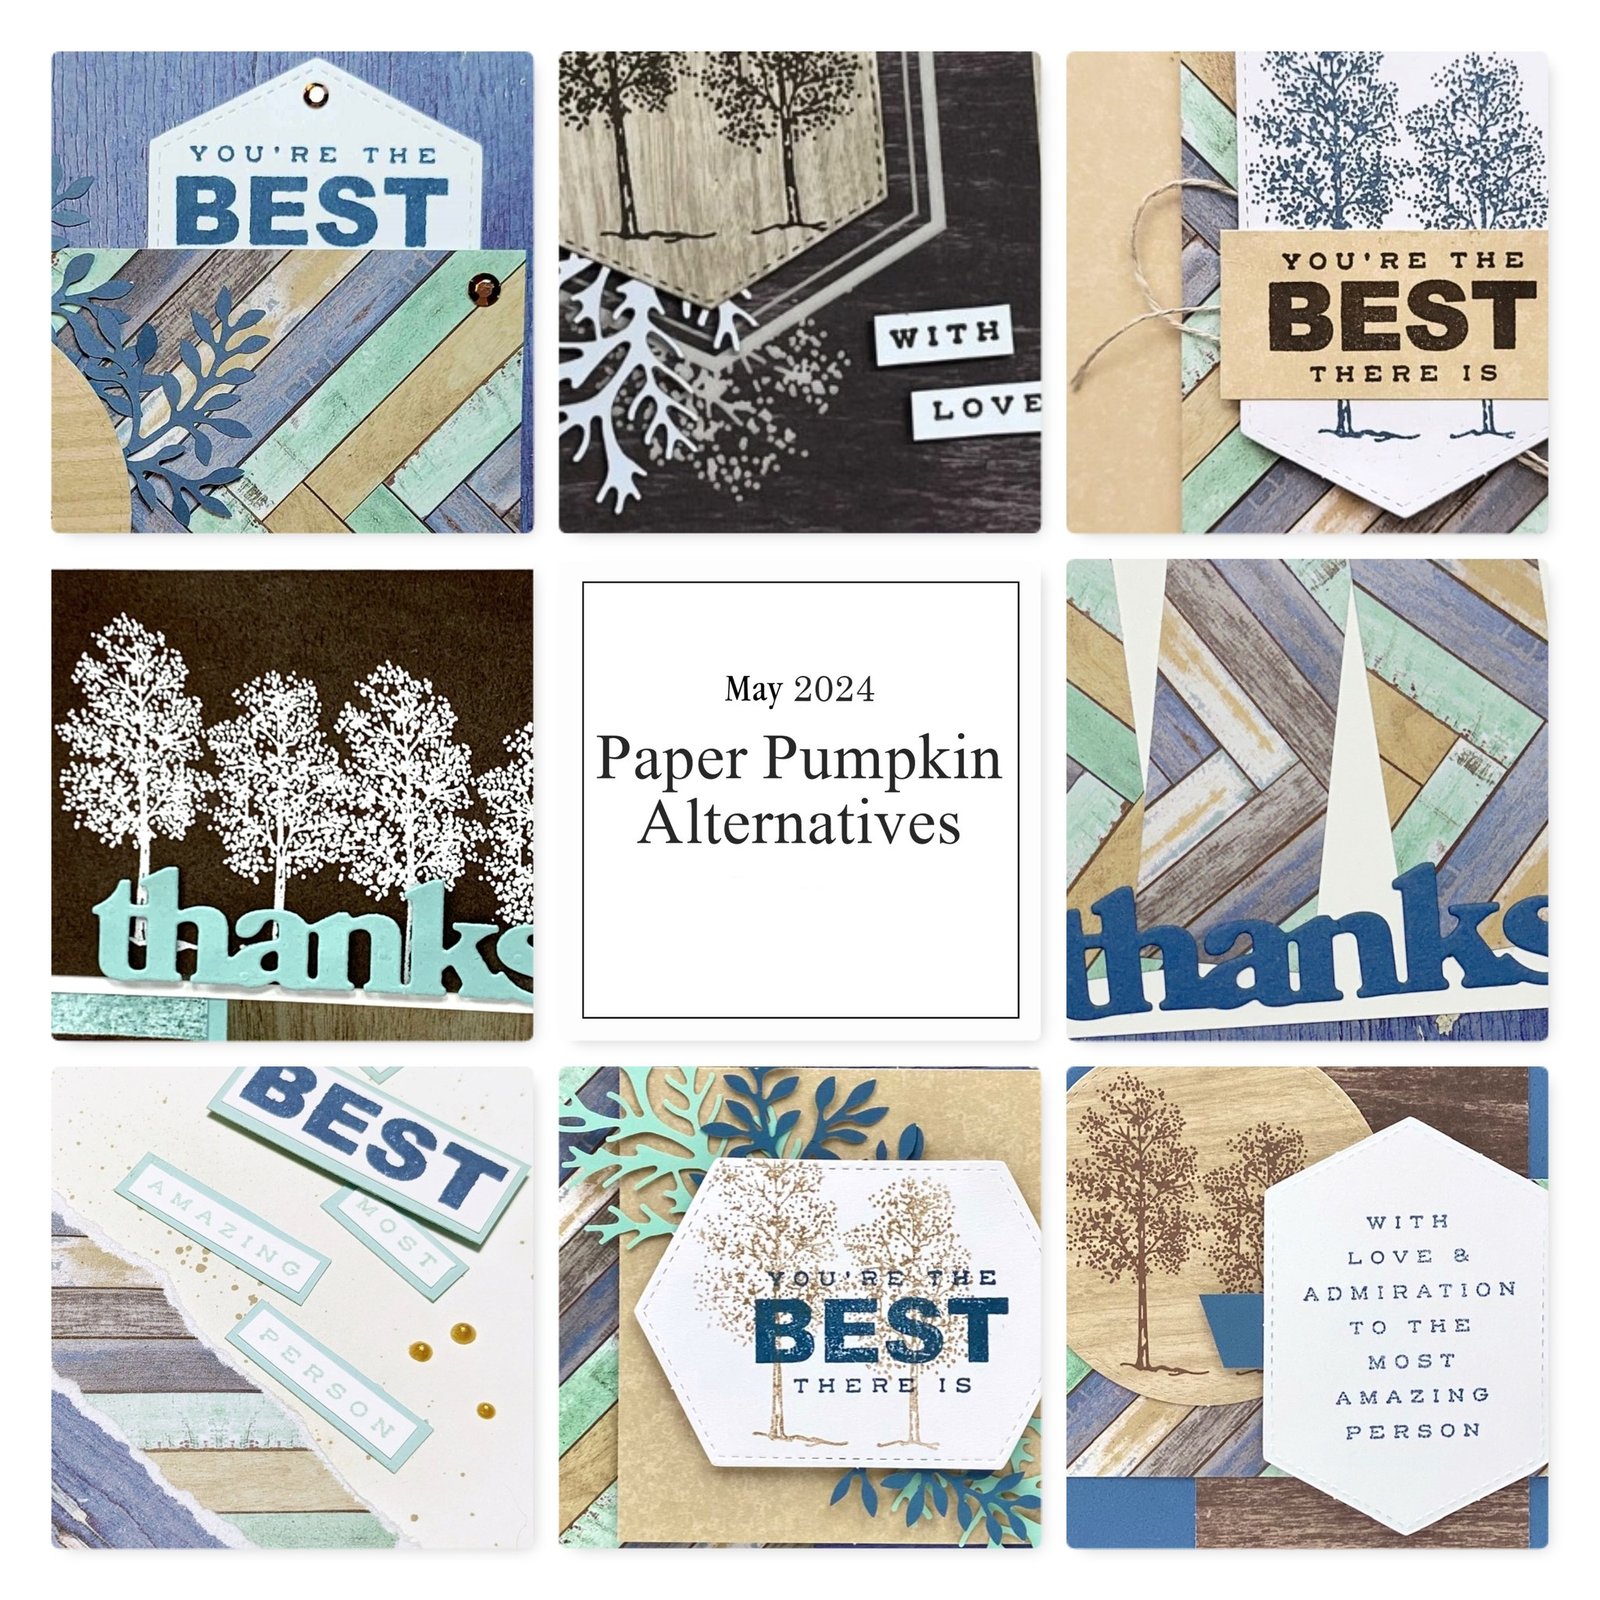
Below is a peak at the bonus projects I send them each month. They receive at least 9 extra project ideas for the kits they received. 
Click here to subscribe to receive a kit each month; read below for more details. 

July's kit should be a pretty one; here's a sneak peak.
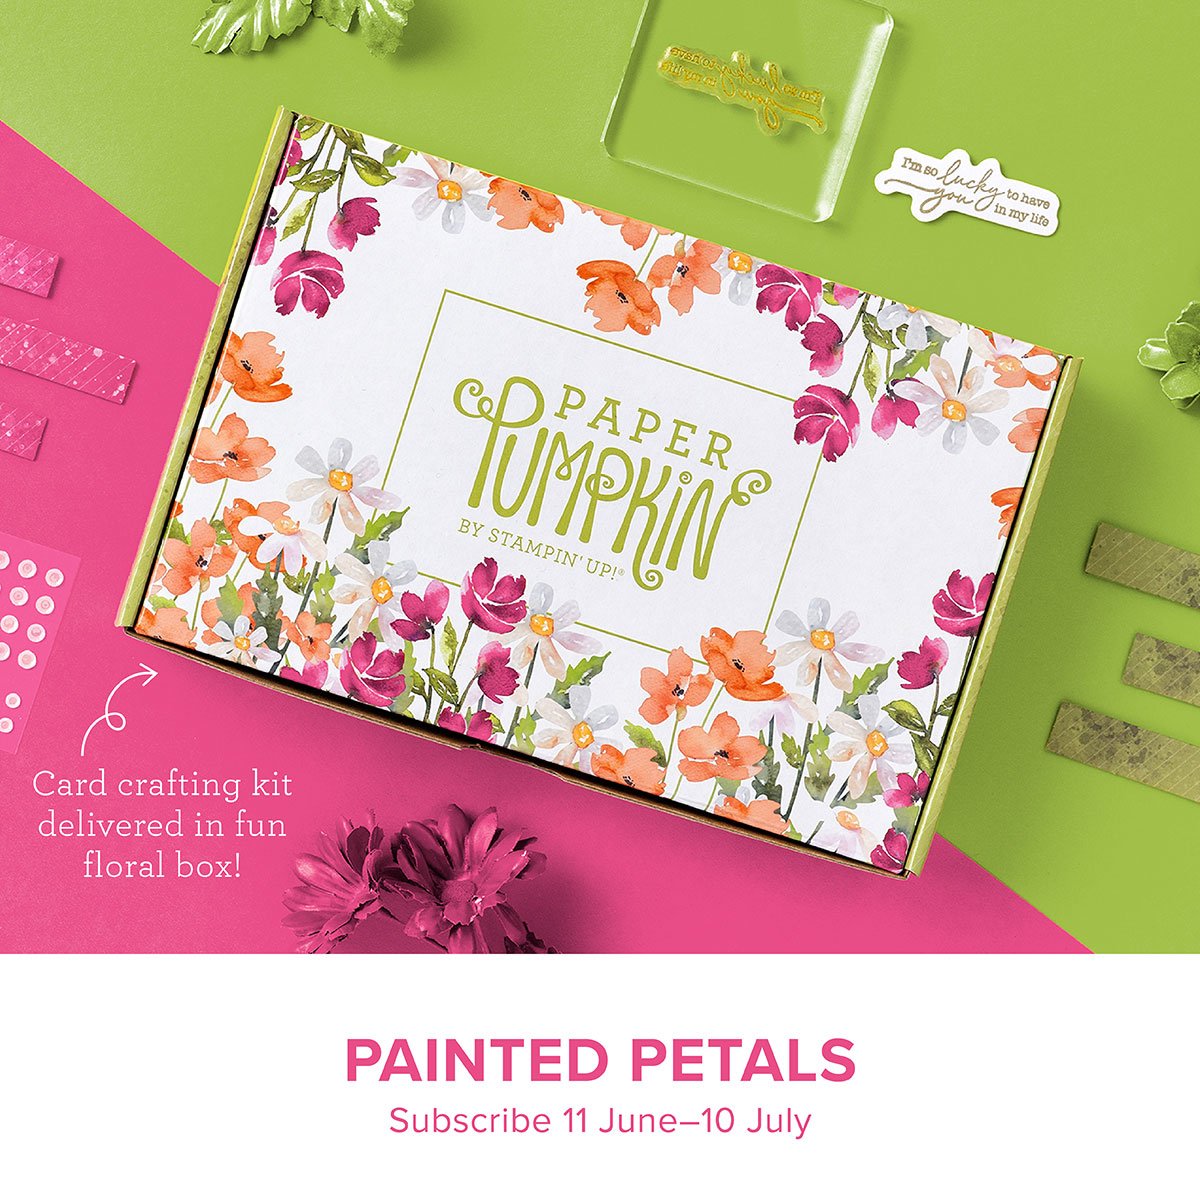
We always get a peak at what's in the next month's kit.  This helps subscribers decide if they want it or if they want to skip that kit.  You always have a choice!  

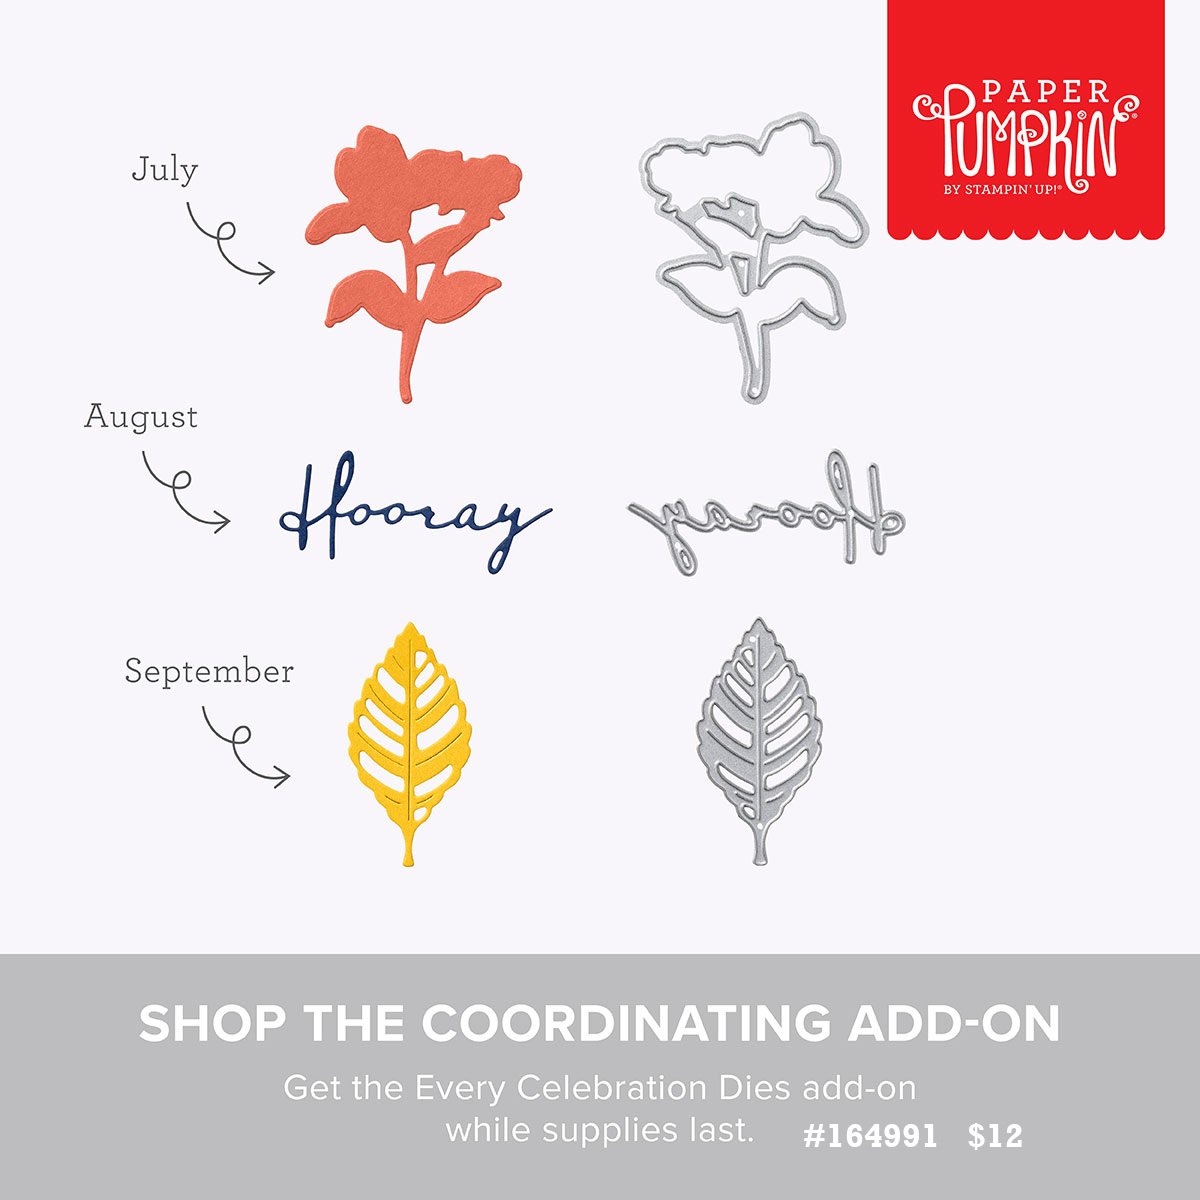
They've released a special add on for the next 3 kits as well! These add-ons are available to current PP subscribers. They also get to choose from any other refill kits or available add on items!  
Here are the benefits & tips for subscribing to Paper Pumpkin kits: 

A MONTHLY CRAFTING SUBSCRIPTION

If you’re looking for a fun and simple creative outlet paper crafting might be your best option! It’s fun, creative, and handmade projects bring joy to you and to others. And nothing makes paper crafting as fun, easy, and creative as Paper Pumpkin!

EVERYTHING YOU NEED IN A CRAFT BOX

One issue crafters often run into is feeling overwhelmed by their project. Lack of inspiration, proper supplies and crafty know-how might discourage you from even starting a project and unlocking your creative potential!

This never happens with a craft subscription box from Paper Pumpkin. That’s because everything you need for your project is included in your monthly art box. All you have to do is open it up and get started. You’ll be able to make cards, treat bags, gift boxes and so much more with your monthly art box subscription.

BUILD YOUR STAMP COLLECTION

Among the items in each Paper Pumpkin monthly craft kit is a reusable rubber stamp set. So after you’re done creating your monthly craft, you’ll have a valuable stamp to add to your collection. You even get a free clear stamping block with your first craft box. Plus, you get a different color ink pad every month as well.

PRINT & VIDEO INSTRUCTION MAKE CRAFTING EASY

Even the craftiest among us worry that we’ll have trouble understanding how to do a project, or that we’ll make a mistake. You never have to worry about that with Paper Pumpkin! That’s because not only does each monthly arts and crafts box come with clear, easy-to-understand printed instructions, but we also upload a video to YouTube so you can watch a professional guide you through the craft.

KIDS CAN HELP WITH MONTHLY CRAFT KITS

Although Paper Pumpkin makes craft boxes for adults, they can be fun for the whole family! Use your monthly craft box subscription to introduce your kids to a fun and creative outlet. It’s truly a gift to instill a love of crafting and creativity in kids. You’ll be thrilled to see how their skills grow over time. One day your kids might have their own monthly craft subscription box!

Subscribe here today and see for yourself! Or choose a pre-paid subscription here. 

~~~

June Specials: 

*current host code links: FERX3EKC or GF24T6XG

~~~

All online orders receive my free tutorial of the month & if your order is over $55 you'll also receive a free gift from me


All Posts

  • Fun Fold card with two versions!


    Saturday was World Card Making Day!  Did you make time to stamp?  First; did you even know about it?  

    We had a few stamping events on my Flowerbug's Team group and Mystery Stamping was one of them.  I sent them measurements so they could prep for the card making event but they didn't have a photo of the card!  Just measurements and supplies.  Use any Designer Paper, etc…..  It was fun to see what they all made.  

    Below are the two fun fold cards I made.  

    The front of the card is cut short to reveal the Designer paper on the left (inside) of the card.  Above I used the Snowflake Splendor designer paper and the Snowflake Wishes stamp set & dies bundle.  This designer paper is on sale right now at 15% off.  See all of the papers on sale here: 

    Next is a card made with the Gilded Autumn specialty designer paper and the Beautiful Autumn stamp & punch bundle.  You can see the measurements for these cards below. 

    Here are the measurements:

    • 2 pieces of Designer Series Paper (3 1/4" x 4" plus a coordinating piece 1 3/4" X 4")
    • Coordinating card base (9" x 4 1/4" scored at 5 1/2")
    • neutral CS like White or Vanilla (2 1/2" X 3 1/2" and 3 3/4" X 3 1/4" for inside)
    • a coordinating layer of CS (2 5/8" X 3 5/8")

    ~~~

    October Specials!

    Current Host code is MJK7R2CU

    Designer Paper Sale; click here!

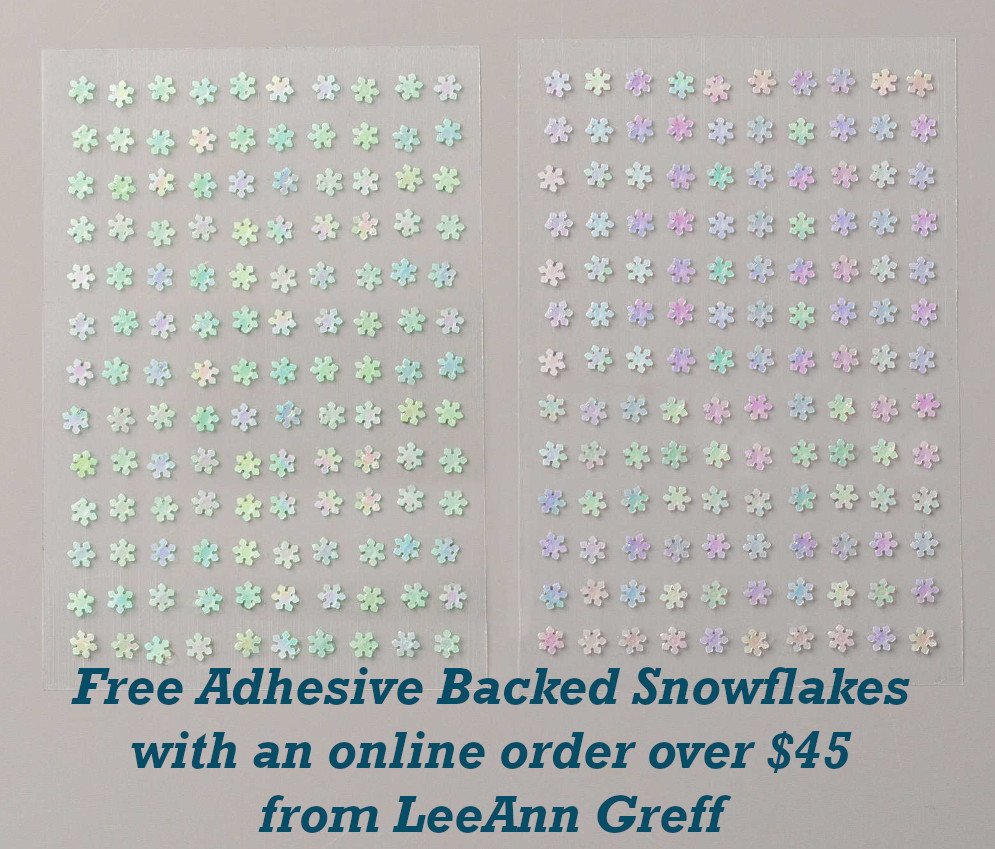
    Get a free package of Adhesive Backed Snowflakes in October with an

    online order over $45. 


    All online orders will receive my Tutorial of the Month featuring the Poinsettia Petals suite!

    Leave a Reply

    Your email address will not be published. Required fields are marked *

  • Don’t miss this fun technique; use those Designer Paper scraps!


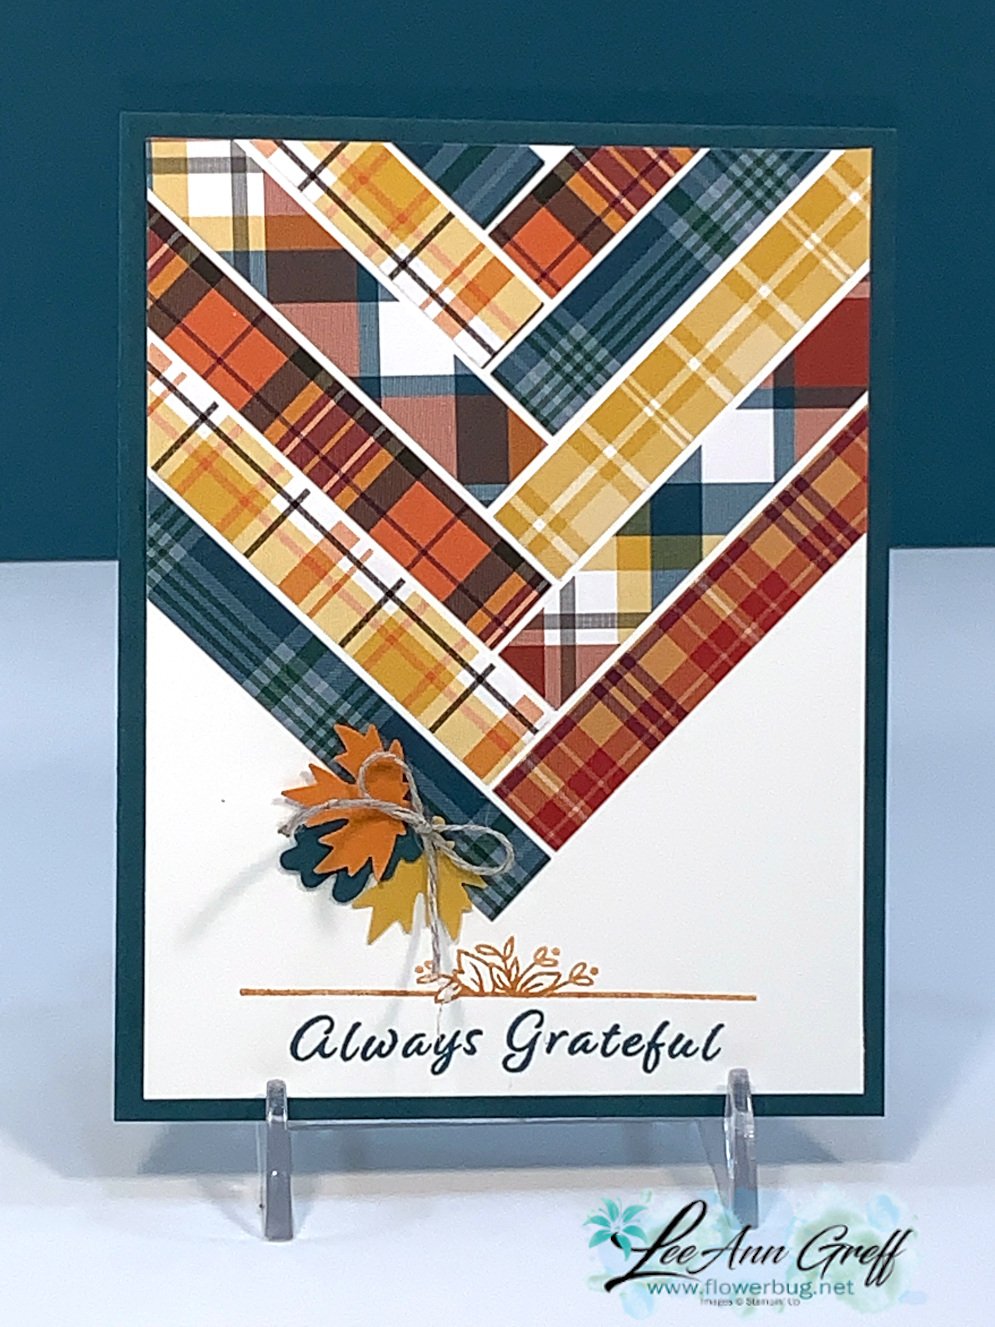
    Do you have trouble tossing those small pieces of Designer Paper left from a project?  I sure do!  There has to be a way to use them, right?  Well you can use them easily with this technique! 

    See?  It's quite eye-catching isn't it?  I kept the cards very simple to highlight the paper.  Each one features the Celebration Tidings stamp set. The card above features the Plaid Tidings designer paper; it's on sale right now too!  

    Watch the video below to get the tips on how to create these.  You just need some 1/2" strips and a ruler. 

    The card above features the Magic in This Night Designer paper.  The card below is the Tis the Season Designer paper; both on sale in October here!  

    Watch the quick video below to get the tricks on this fun technique. 


    ~~~

    October Specials!

    Current Host code is MJK7R2CU

    Designer Paper Sale; click here!

    Get a free package of Adhesive Backed Snowflakes in October with an

    online order over $45. 


    All online orders will receive my Tutorial of the Month featuring the Poinsettia Petals suite!

    Leave a Reply

    Your email address will not be published. Required fields are marked *

  • Trio of Celebrate Sunflowers cards with video & an easy highlighting technique!


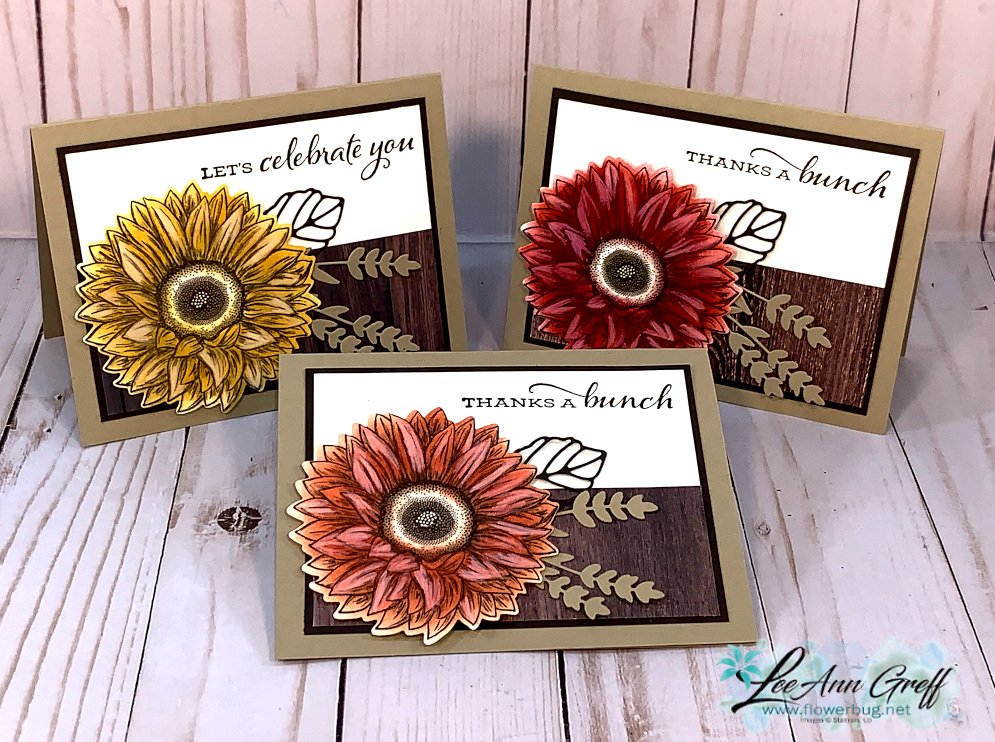
    Look at these gorgeous sunflower cards!  They were a big hit at my Card Clubs this month.  They could chose between Daffodil Delight, Poppy Parade and Calypso Coral ink for their sunflower. 

    We sponged each sunflower leaving the center without color except for a bit of Crumb Cake Blends marker.  I know it might not be realistic but I like the pop of White in the center for brightness. 

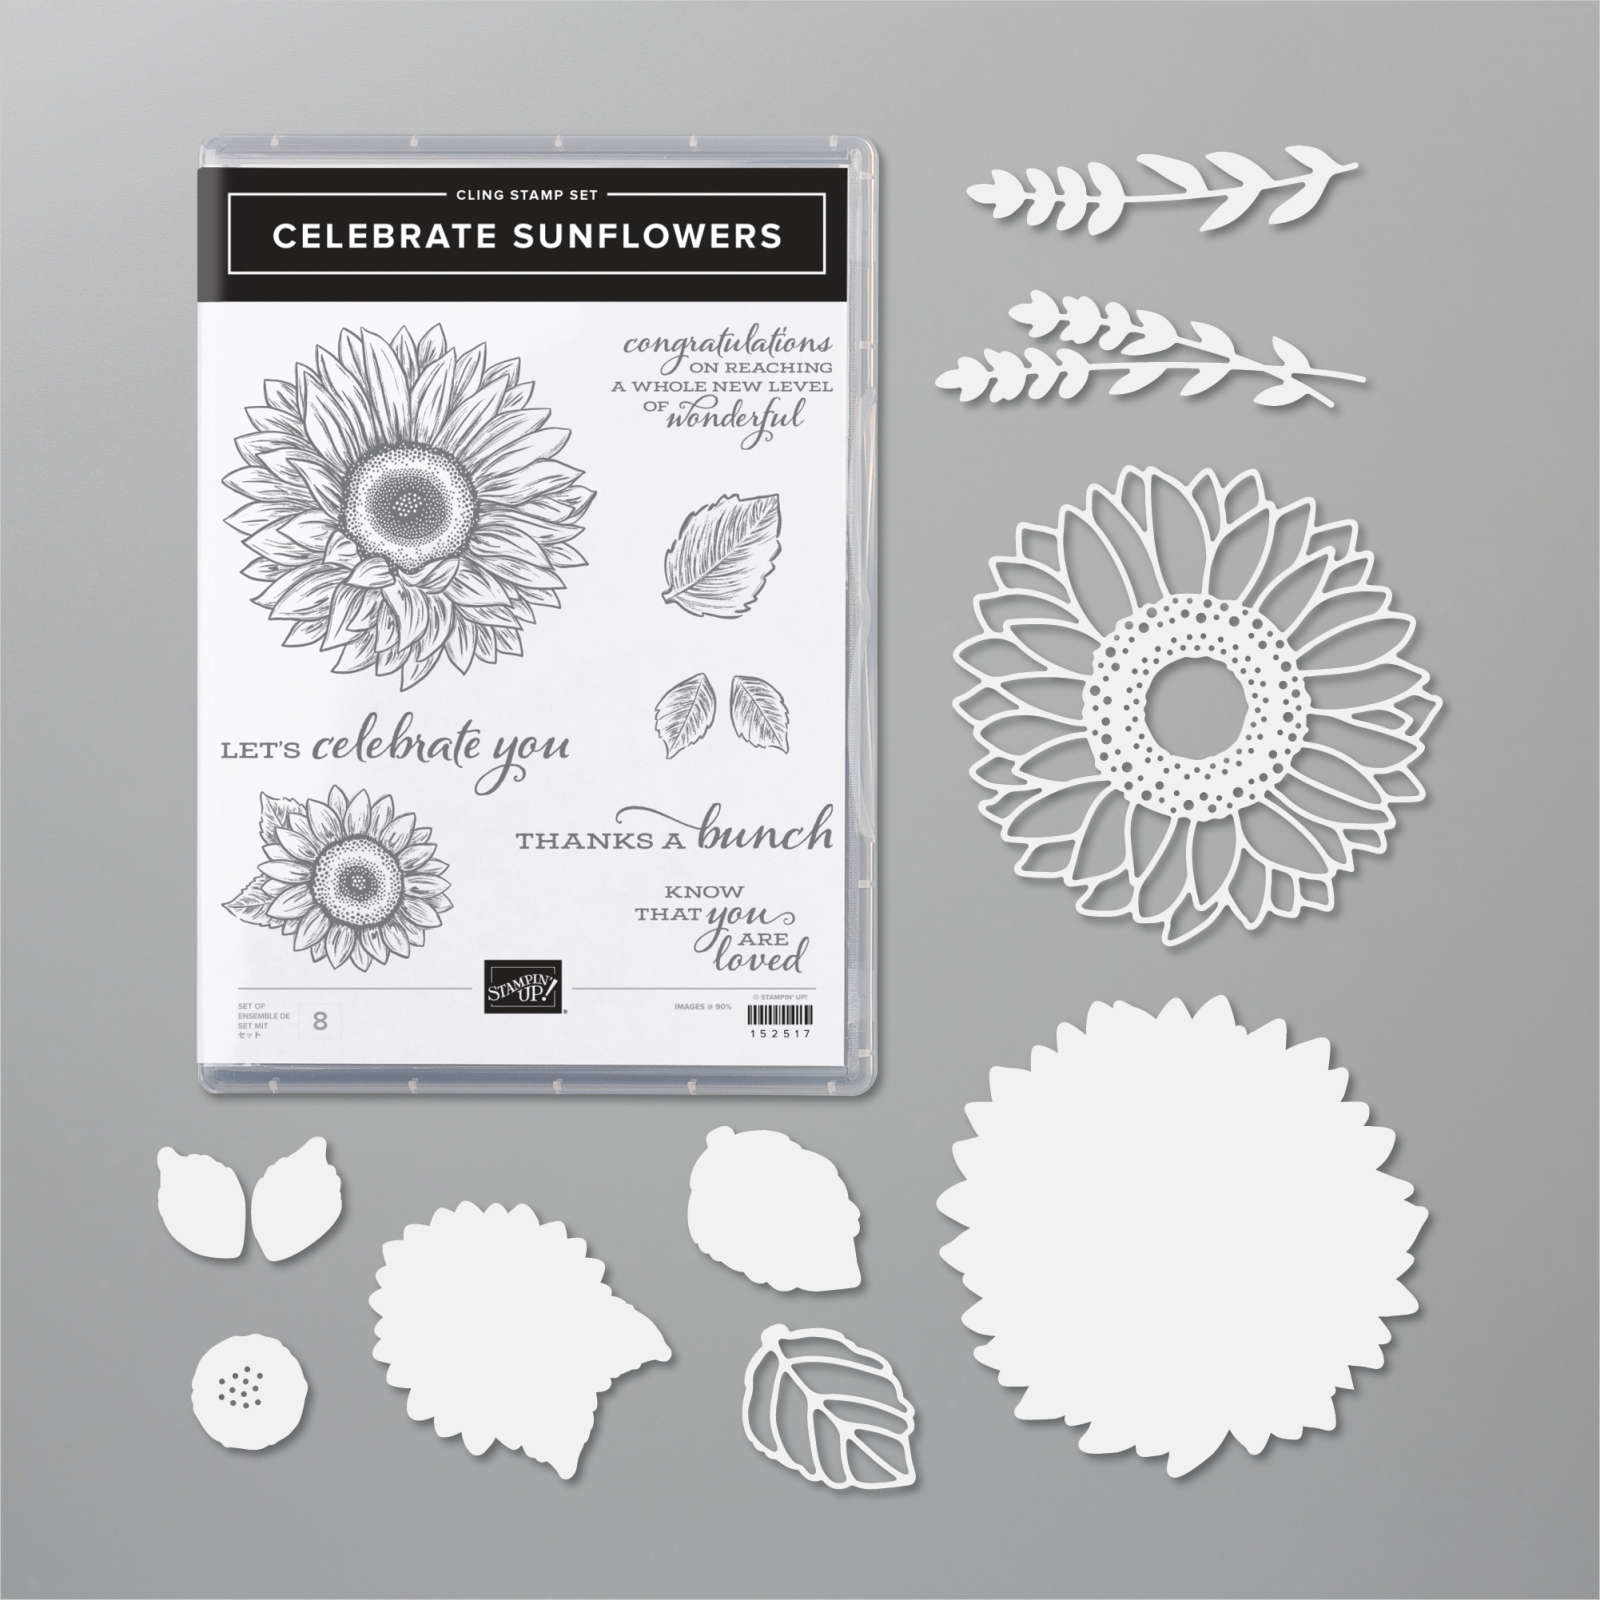
    Check out the Celebrate Sunflowers bundle here. 

    Then we used White Craft ink and Blender pens to highlight a few petals here and there on the sunflowers.  It's super easy! I created a video below so you can see how it's done. 

    Measurements:

    • Crumb Cake card 5 1/2" X 8 1/2", scraps for die-cuts
      Whisper White 3 1/2" X 4 3/4", plus a 3 1/2" piece for sunflower
      Early Espresso 3 5/8" X 4 7/8"
      In Good Taste DSP 1 3/4" X 4 3/4"


    ~~~

    October Specials!

    Current Host code is MJK7R2CU

    Designer Paper Sale; click here!

    Get a free package of Adhesive Backed Snowflakes in October with an

    online order over $45. 


    All online orders will receive my Tutorial of the Month featuring the Poinsettia Petals suite!

    Leave a Reply

    Your email address will not be published. Required fields are marked *


Notice: LeeAnn Greff, Independent Stampin’ Up! Demonstrator, Manager. The content of this website is my sole responsibility as an independent Stampin’ Up! demonstrator and the use of, and content of, the classes, services, or products offered on this website is not endorsed by Stampin’ Up! Copyright 2025