/


Latest Post

Christmas themed fun-fold swaps


Last Friday I started sharing last month's fun fold cards made by my talented Flowerbug's Team members. Here are a few more 

Jacki created this one using the Brightly Gleaming Specialty Designer paper and the Beautiful Autumn stamp set. It's a latch card!

Once you add the layers to the card front you'll use the Classic Label punch to create the window for the latch to catch into.  

Measurements:

  • Night of Navy card base 4 1/4" X 9" scored at 5 1/2"
  • DSP 3 3/4" square on the front; 1 1/4" X 4" on the inside right edge
  • Pretty Peacock 4" square ont he front and a thin strip on the right inside edge
  • Latch – Navy 2" X 3 1/2" scored at 1/2"
  • Vanilla latch 1 3/4" X 2 3/4", inside is 4" X 5 1/4"

Here's another card made by Paula featuring the Little Treat Box dies and the Wrapped in Christmas stamp set.  
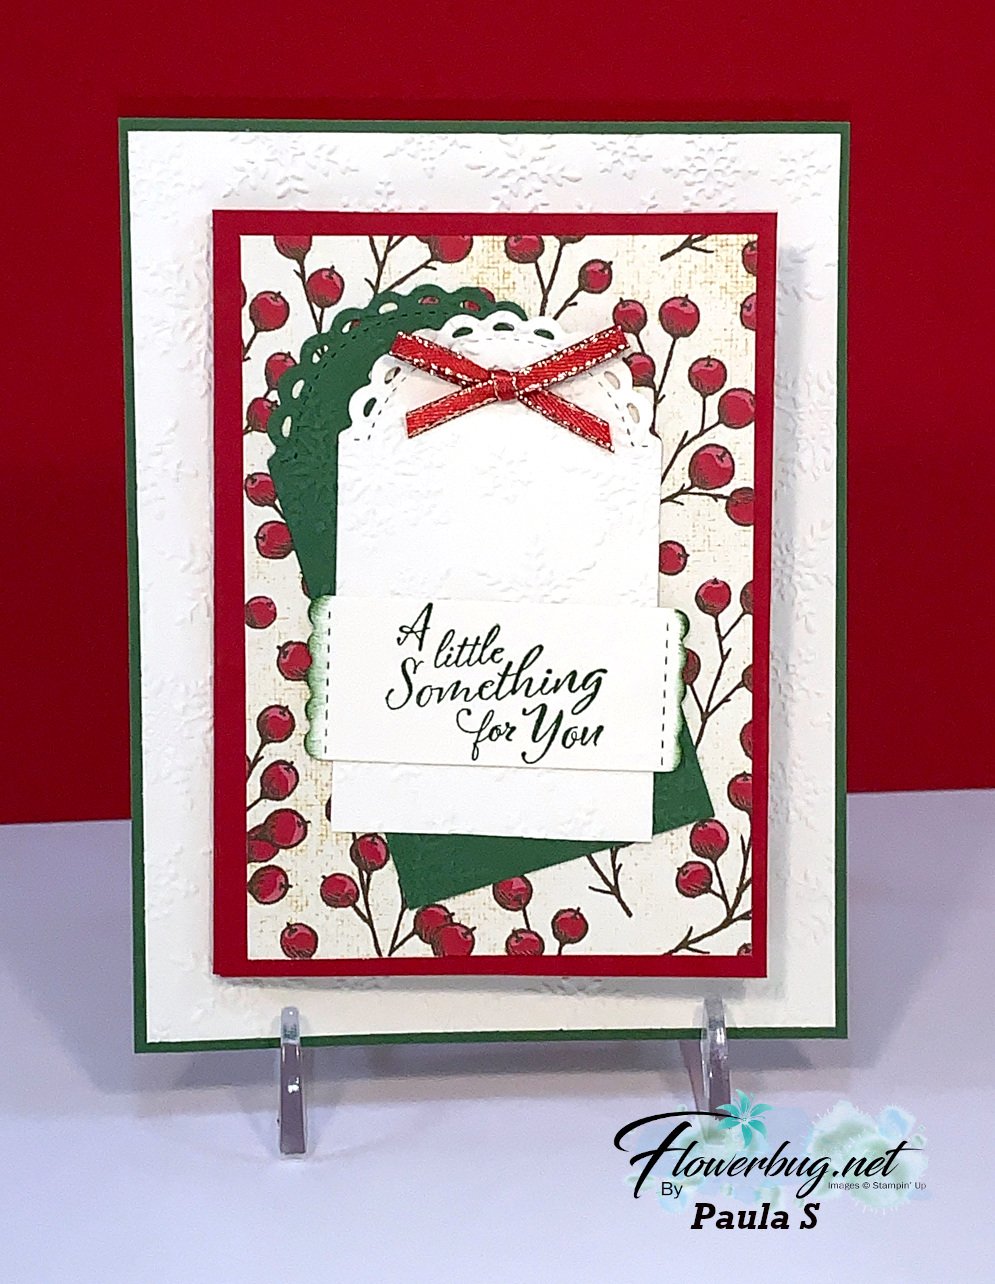
She cut the treat box dies into separate pieces (Garden Green & Vanilla) for her card front.  It also opens up to reveal a gift card holder inside. Lots of texture with the Winter Snow embossing folder too!  
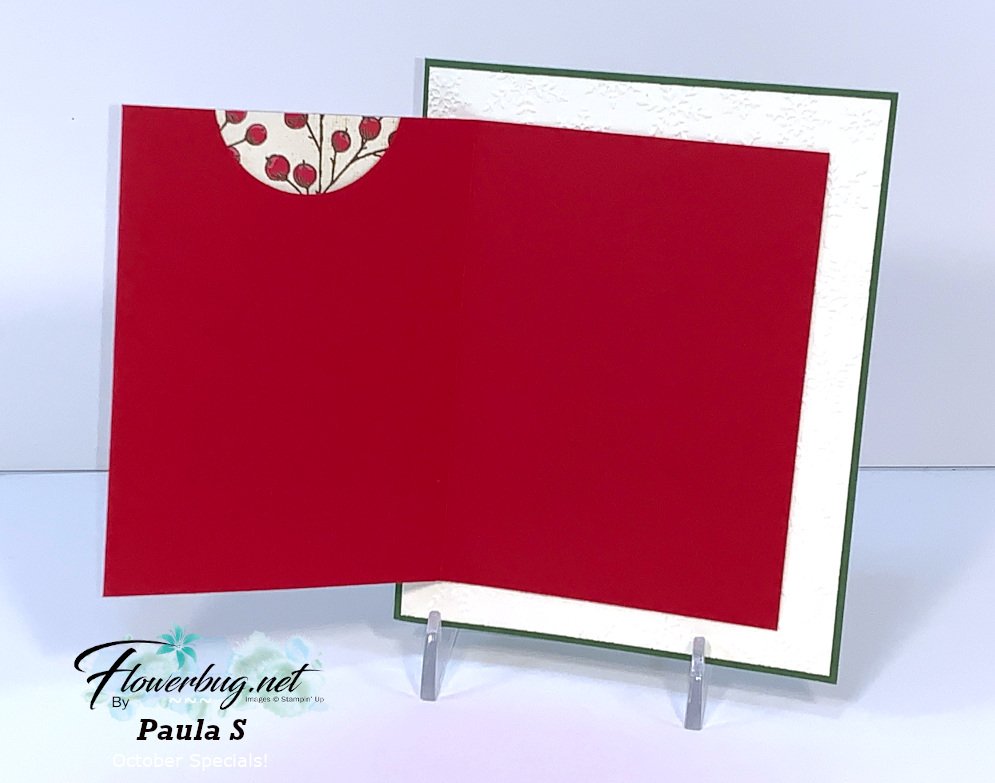
Measurements:

  • Garden Green card base 5 1/2" X 4 1/4"
  • Very Vanilla 5 3/8" X 4 1/8" 
  • Real Red 4 1/2" X 10 3/4" scored at 3/4", 4" and 7 1/4" 
  • Poinsettia Place DSP 4 1/4" X 3" 

Stop back again for more Fun Fold cards!  I have lots more to share! 

~~~

October Specials!

Current Host code is MJK7R2CU

Designer Paper Sale; click here!

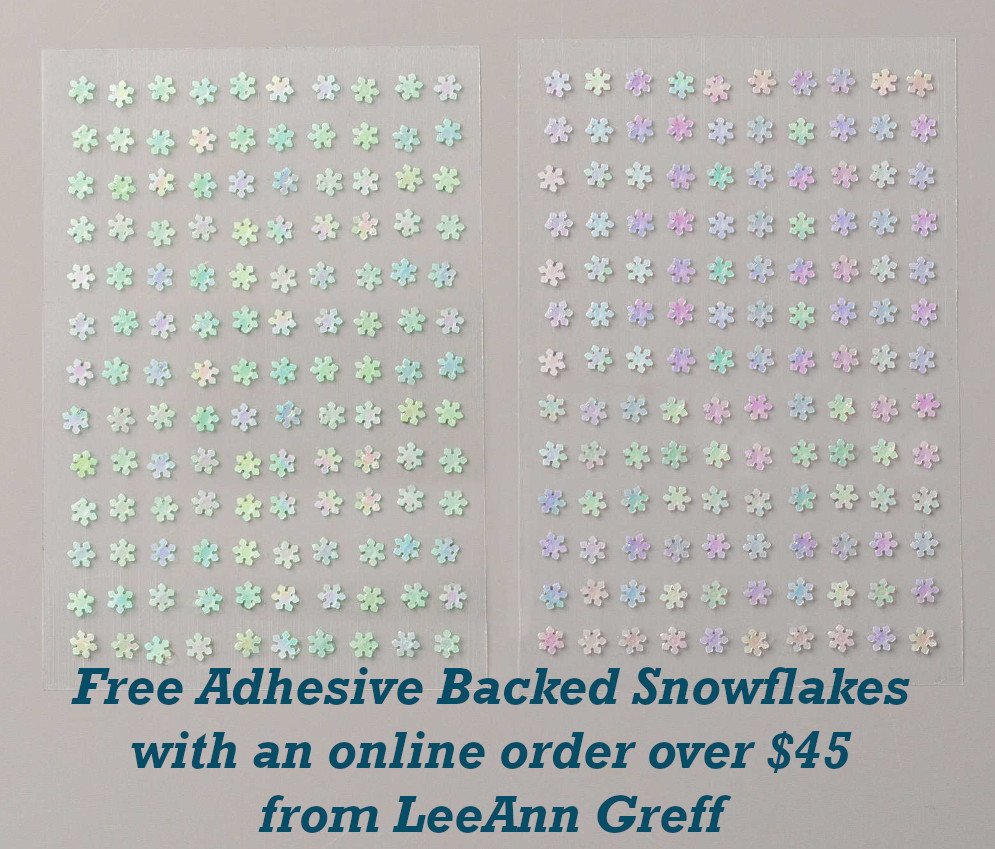
Get a free package of Adhesive Backed Snowflakes in October with an

online order over $45. 


All online orders will receive my Tutorial of the Month featuring the Poinsettia Petals suite!

All Posts

  • Beautiful Autumn paired with Plaid Tidings


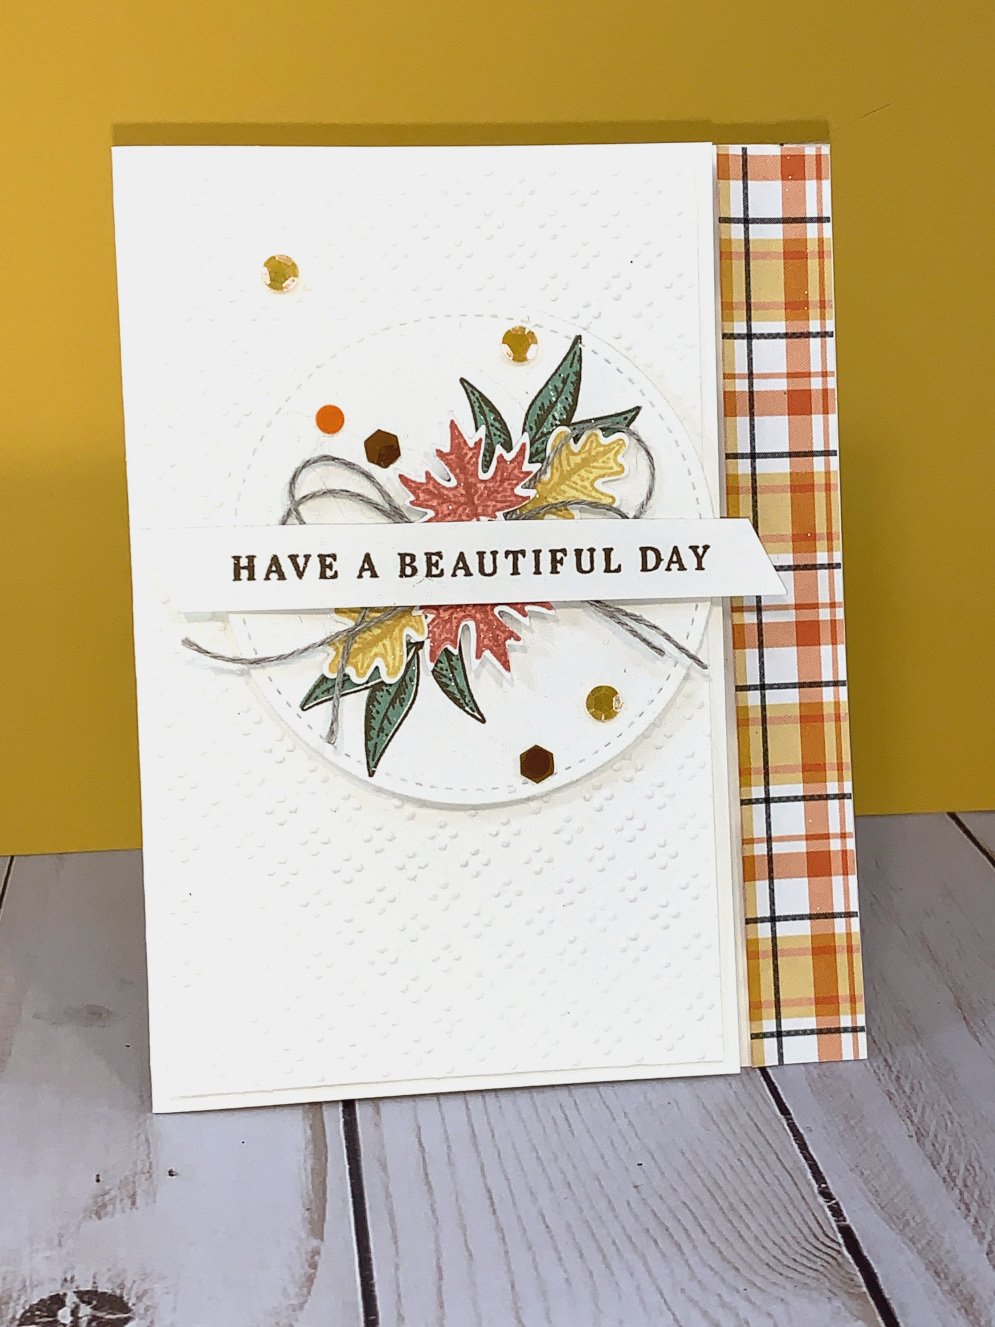
    There are lots of gorgeous Fall products in the 2020 Holiday catalog.  I paired a few of my favorites to create this card; the Beautiful Autumn punch bundle and Plaid Tidings 6 X 6" designer paper pack. 

    I trimmed off 3/4" from the front flap to reveal the strip of pretty Plaid Tidings designer paper.  I chose to use Bumblebee, Mint Macaron, Early Espresso and Terracotta Tile inks here.  

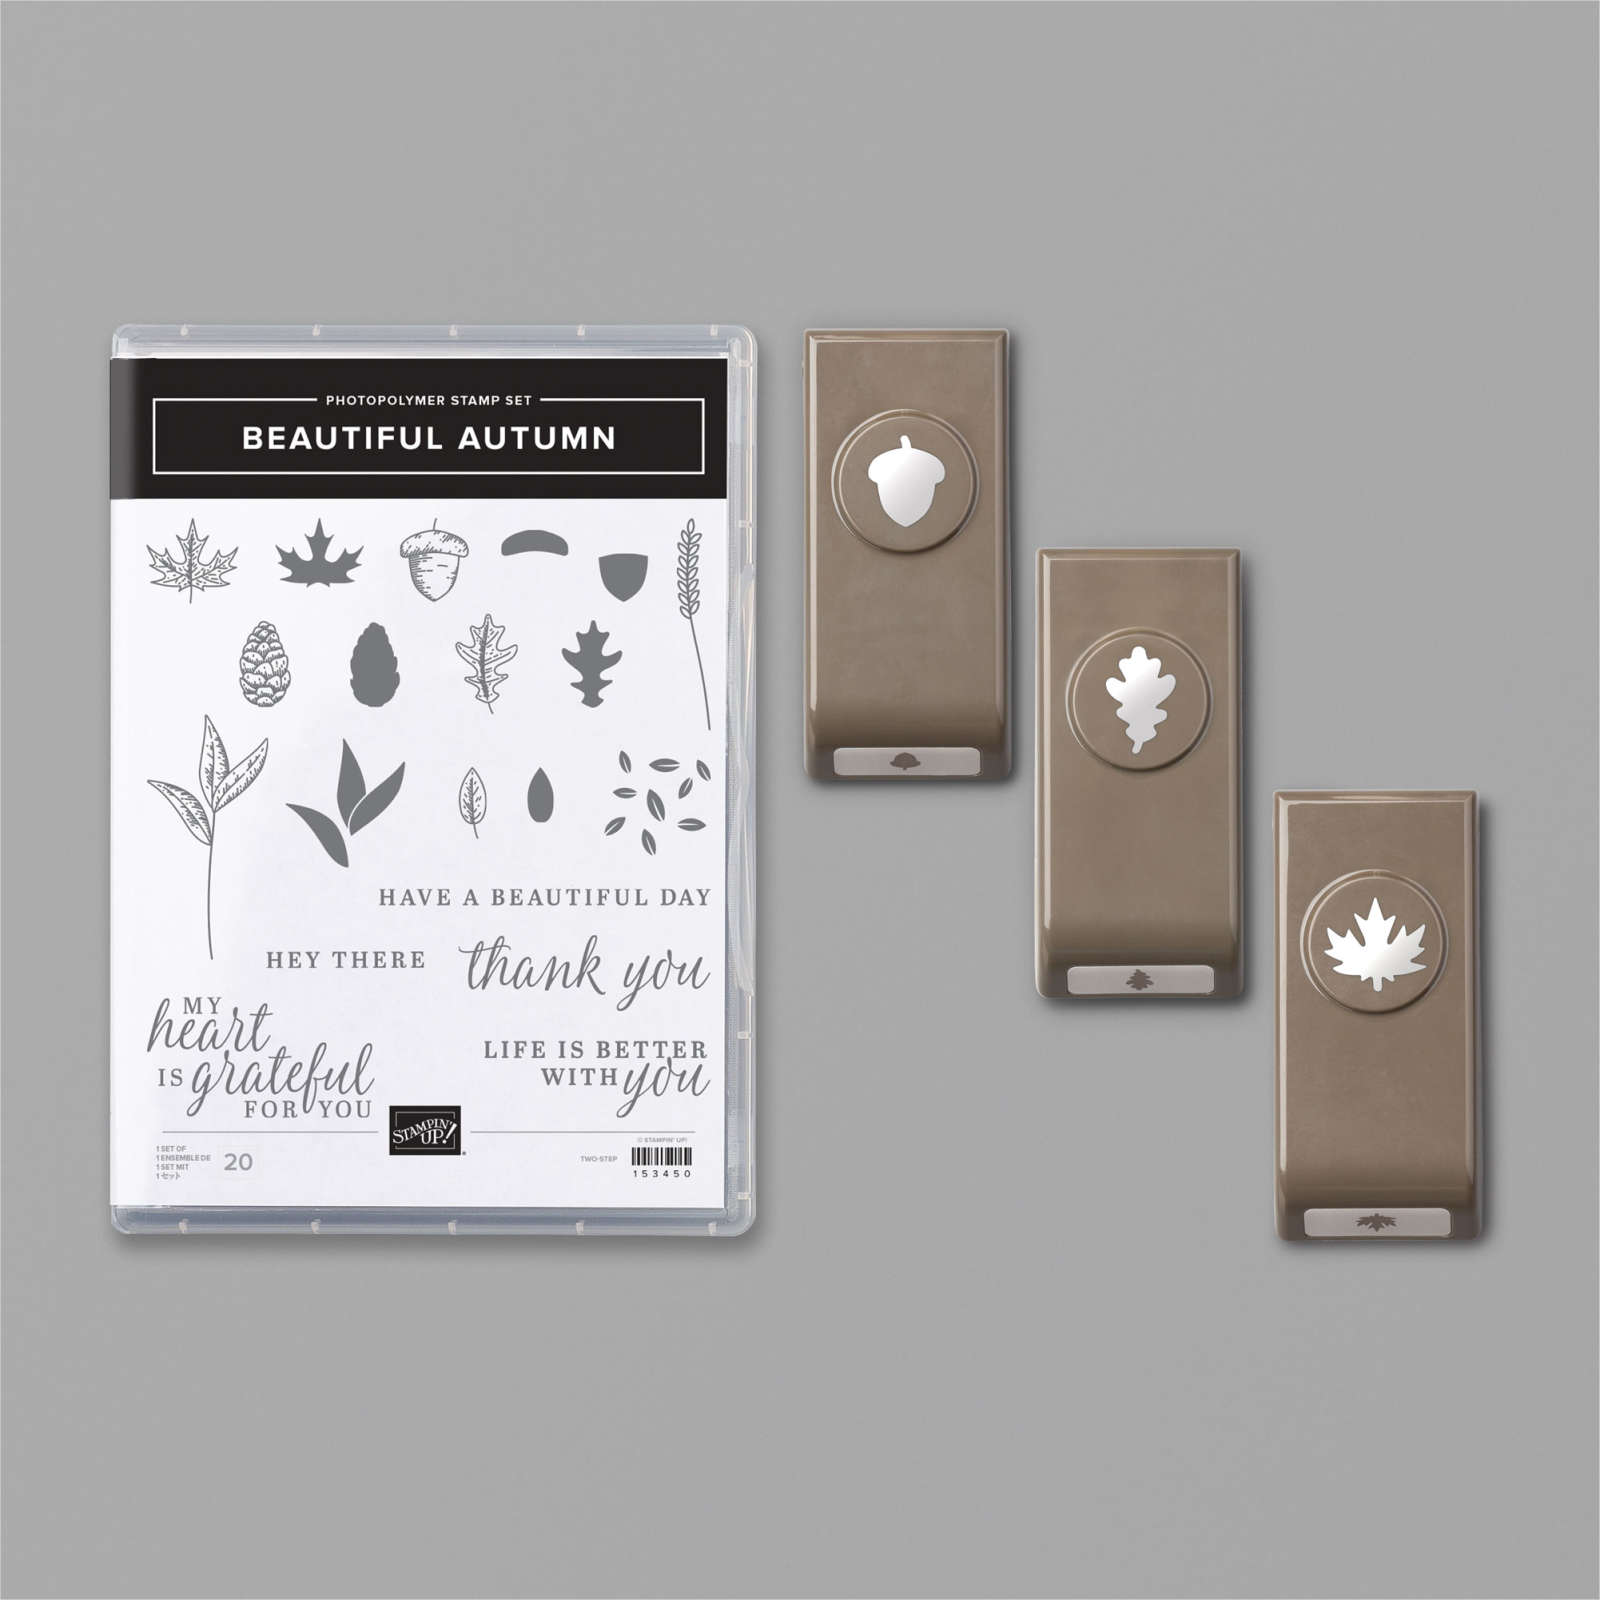
    The Beautiful Autumn bundle includes the stamp set and the three leaf punches; all for 10% off.  Click here to see it online. 

    I also used the Wrapped in Texture embossing folder for the front layer, which is 5 1/4" X 3". See them here. 

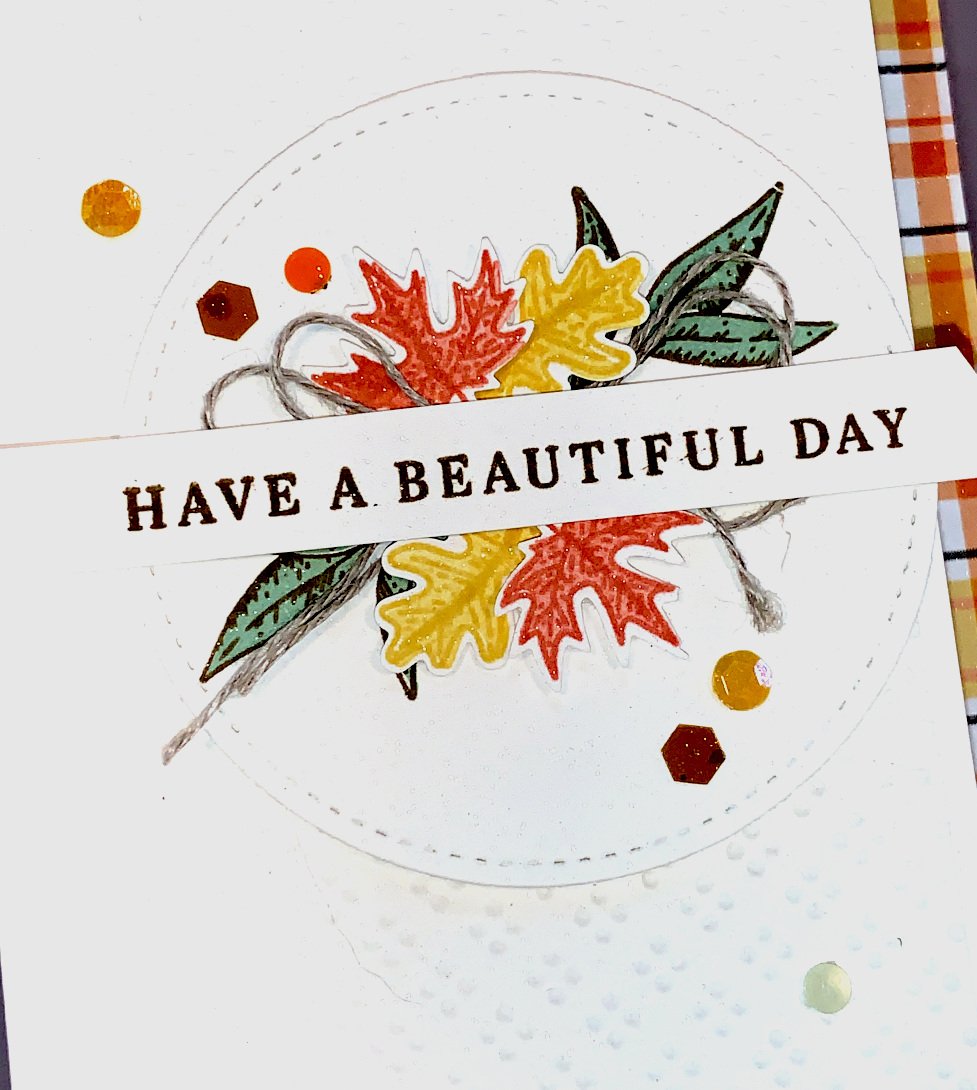
    Look at the detailed punched images here!   You might also notice the Sequins for Everything.  Love the variety of shapes and colors in these.  

    Here's a Facebook Live video where I shared three pretty fall cards using the Beautiful Autumn bundle.  Join me each Tuesday at 11 am  CT for my weekly Live videos here: https://bit.ly/FlowerbugFB

    ~~~

    Current Host code is QW7SUYVX

    Get a free package of new Iridescent Pearls in August with an online order over $55. 

    Order online here

     Get my Flowers for Every Season pdf tutorial free with all online order in August!


    It includes directions, photos and measurements for 12 cards!

    Redeem your $5 coupons now!  

    Leave a Reply

    Your email address will not be published. Required fields are marked *

  • Gather Together card with a cool punch trick!!


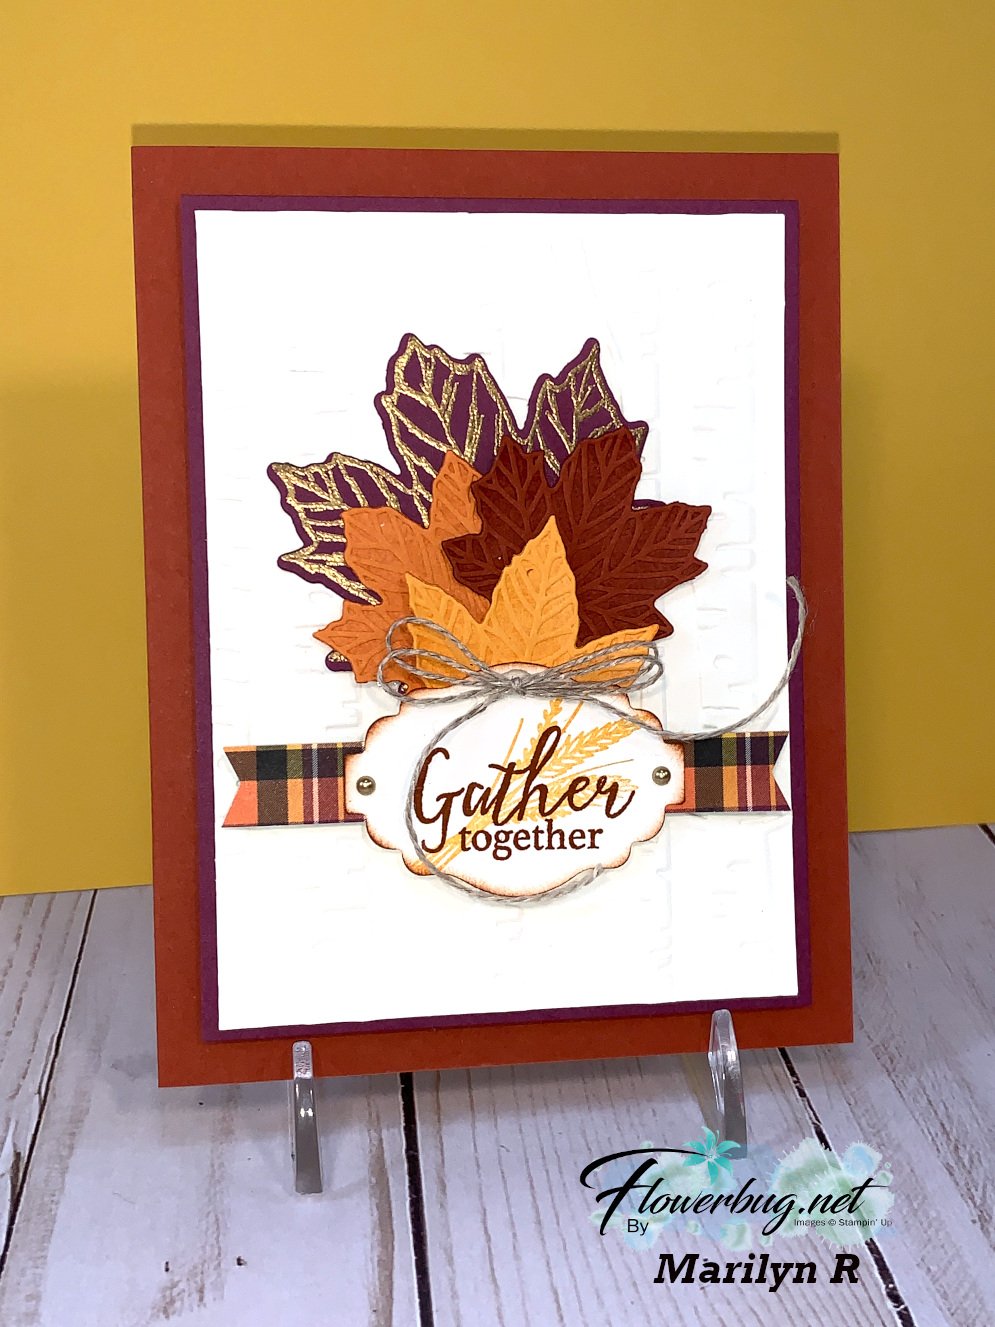
    Marilyn made this pretty card for our Team swap.  She used the Gather Together bundle in the 2020 Stampin' Up! Holiday catalog.  There are two really neat tricks you might not notice at first glance.  

    Can you spy the two special techniques here?  Keep reading and I'll share them below.

    Measurements:

    • Cajun Craze 5 1/2" X 8 1/2"
    • Very Vanilla 4 3/4" X 3 1/2"
    • Rich Razzleberry 5" X 3 3/4"
    • Plaid Tidings 1/2" X 3 3/4"

    Products Used:

    Okay, now I'll reveal her two tricks!  

    1. Can you see the changes in colors on the textured leaves?  The bottom three leaves were die-cut & embossed (done all at once!) and then spritzed with water.  The water changes the color on the leaves!  I cannot believe it's just water and no ink to get this effect.  Super cool!!
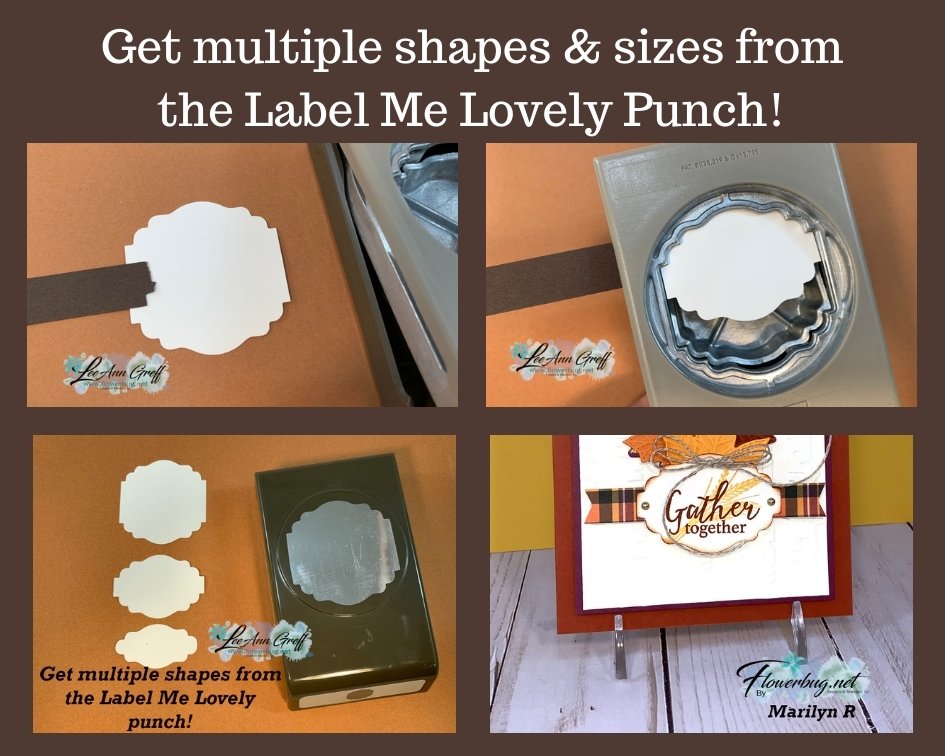
    2. Next is the greeting shape.  It's made with the Label me Lovely punch.  You can get multiple shapes from this punch.  Here's how:
    • Punch one piece out.  
    • Add a bit of adhesive to the end of a thin piece of card stock and adhere it to the punched piece. 
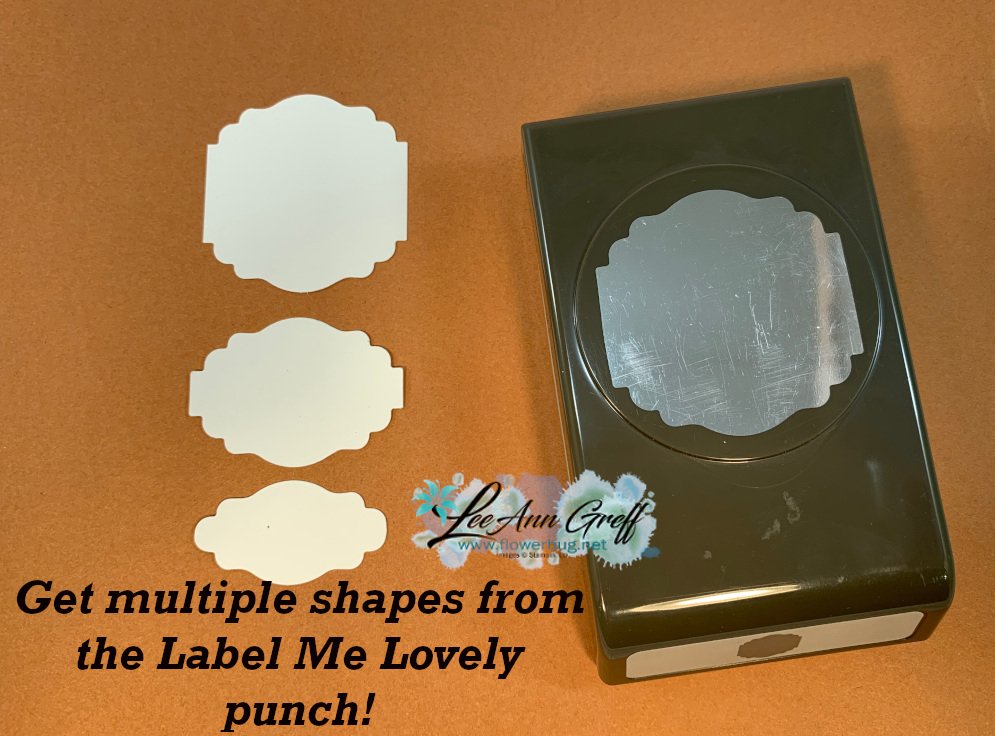
    • Insert the piece back into your punch and adjust it to get whatever size shape you want!  

    Here are three shapes I made with this punch.  Super neat and so versatile!  See the punch here. 

    ~~~

    Current Host code is QW7SUYVX

    Get a free package of new Iridescent Pearls in August with an online order over $55. 

    Order online here

     Get my Flowers for Every Season pdf tutorial free with all online order in August!


    It includes directions, photos and measurements for 12 cards!

    Redeem your $5 coupons now!  

    Leave a Reply

    Your email address will not be published. Required fields are marked *

  • So Much Happy card with video


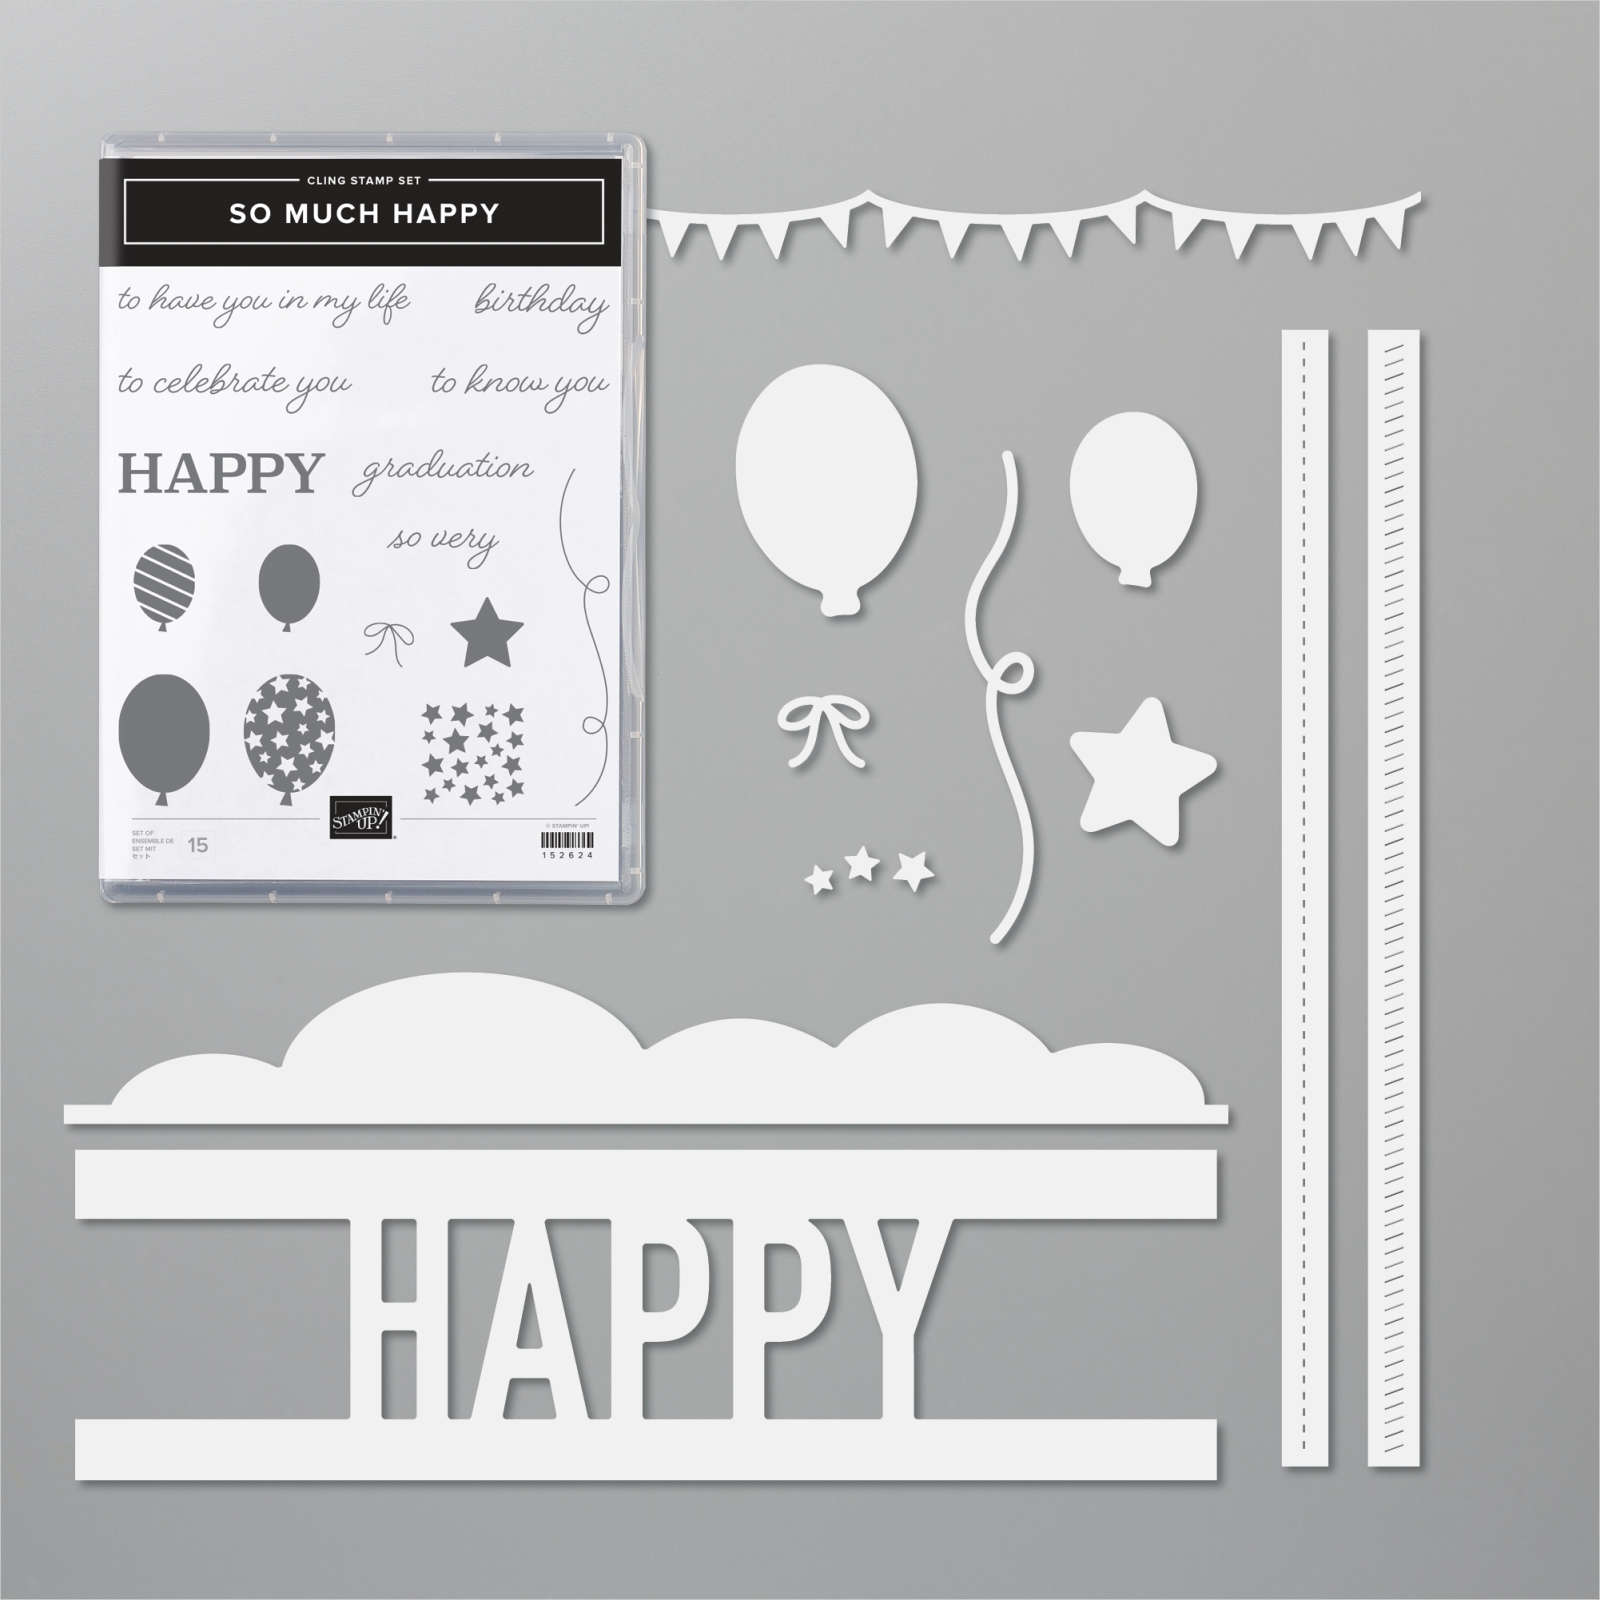
    We made this eye-catching, birthday card at my July card clubs last month.  It features the fun So Much Happy bundle.  

    I also used the Brights & In Color designer paper for the balloons and the Rainbow Glimmer paper for the pennant die-cut & bitty stars.  They had a choice of Magenta Madness, Granny Apple Green or Coastal Cabana for their card.  That cute White greeting die is from the Hippo & Friends dies. 

    The dies in this bundle especially caught my eye; I think they're super versatile! I just love the window the 'Happy' die creates!  Click here to see it. 

    Check out the video below to see how this card is made. 

    Measurements:
    Black CS 5 1/2" X 8 1/2"
    Inside layer CS 4" X 5 1/4"
    Scraps of Rainbow glimmer paper, White, Designer paper for punches and die-cuts

    ~~~

    Current Host code is QW7SUYVX

    Get a free package of new Iridescent Pearls in August with an online order over $55. 

    Order online here

     Get my Flowers for Every Season pdf tutorial free with all online order in August!


    It includes directions, photos and measurements for 12 cards!

    Redeem your $5 coupons now!  

    Leave a Reply

    Your email address will not be published. Required fields are marked *


Notice: LeeAnn Greff, Independent Stampin’ Up! Demonstrator, Manager. The content of this website is my sole responsibility as an independent Stampin’ Up! demonstrator and the use of, and content of, the classes, services, or products offered on this website is not endorsed by Stampin’ Up! Copyright 2025