/


Latest Post

October comes with TWO Stampin’ Up! specials!


Stampin' Up! has two new October specials 

First is our Kit Collection sale:

Save up to 30% on kits!  I honestly love our kits. They're a nice change of pace for us seasoned stampers – no thinking!  See them all here. 

Other reasons to consider getting a kit:

  1. No thinking, planning or other product needed. They're all inclusive for quick creating!
  2. They're perfect for gift ideas. Some are super easy with no stamping and others are more involved.  You choose!
  3. Have one or two on hand for friends or kids to make. No prep for you!
  4. If you're wanting to get a friend or two to start stamping with you, kits are the way to go. 

I'll highlight a few of my favorites tomorrow. 

~~~

2nd October special is a deal on the Stampin' Up! Starter Kit:

Whether you have a big wish list or need to stock up on card stock, inks or a few other essentials I hope you consider purchasing the Starter Kit.  It's the best deal we offer!  It is basically an order.  You choose if you want to purchase more later – or not.  You're in full control!

The deal is this: For $99 you can choose up to $155 in products of your choice.  Shipping is free too! You only pay tax.  

After you receive your starter kit you'll get at least 20% off further purchases. There are more perks as well: 

The top 10 reasons to purchase the Starter Kit right now are….

  1. The 20% discount on all future purchases is most people's favorite reason. 
  2. The 2nd favorite perk is pre-ordering NEW product a month before everyone else!
  3. Direct access to demonstrator only websites & FB groups with TONS of project sharing you won't see anywhere else. 
  4. Get $56 in free product of your choice with the $99 kit purchase!  
  5. As a member of my Team you have access to some exclusive benefits including:
  6. An exclusive Team Facebook group where we share inspiration and ideas.
  7. Access to each and every project tutorial I create (at least 4 per month – 40 ideas minimum) including all previous tutorials! 
  8. The option of monthly card swaps with my Flowerbug's Team.
  9. Monthly creative & business challenges with Prize Patrol. 
  10. Monthly Team meetings & Facebook Lives just for my Team!
  11. Optional business training if you want to sell or hold classes. *Oops; that's 11! 

October Specials:

*current host code link:  EDFYB333 or 3U6NZJFZ

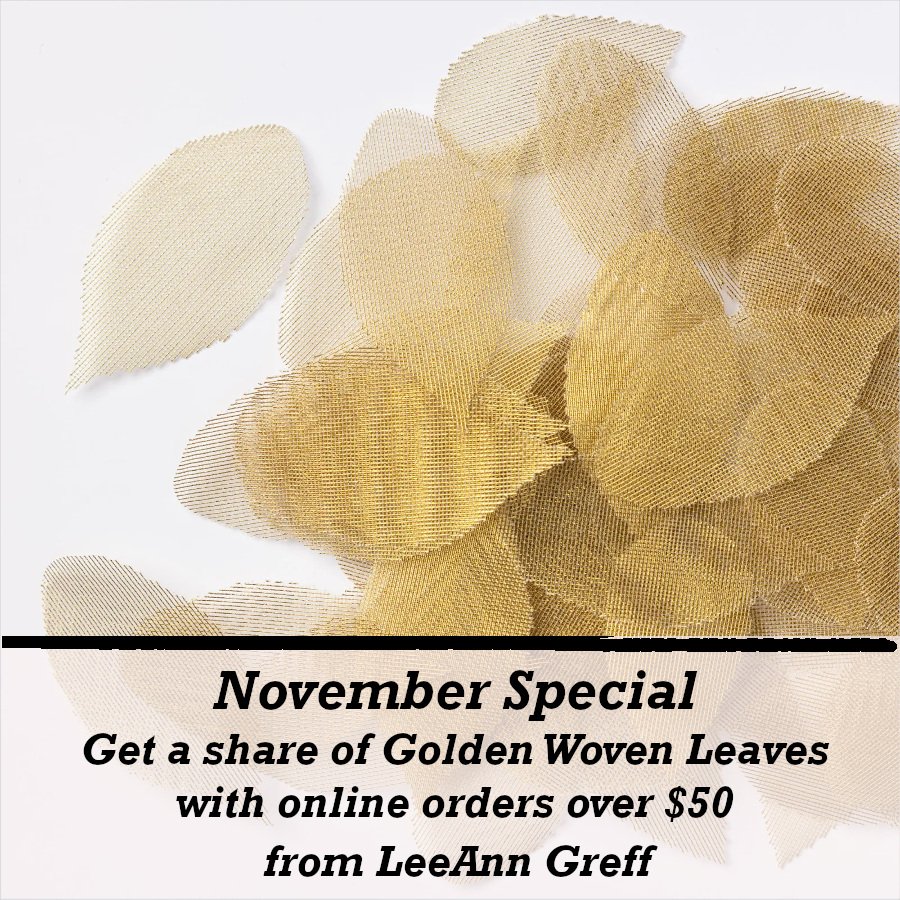
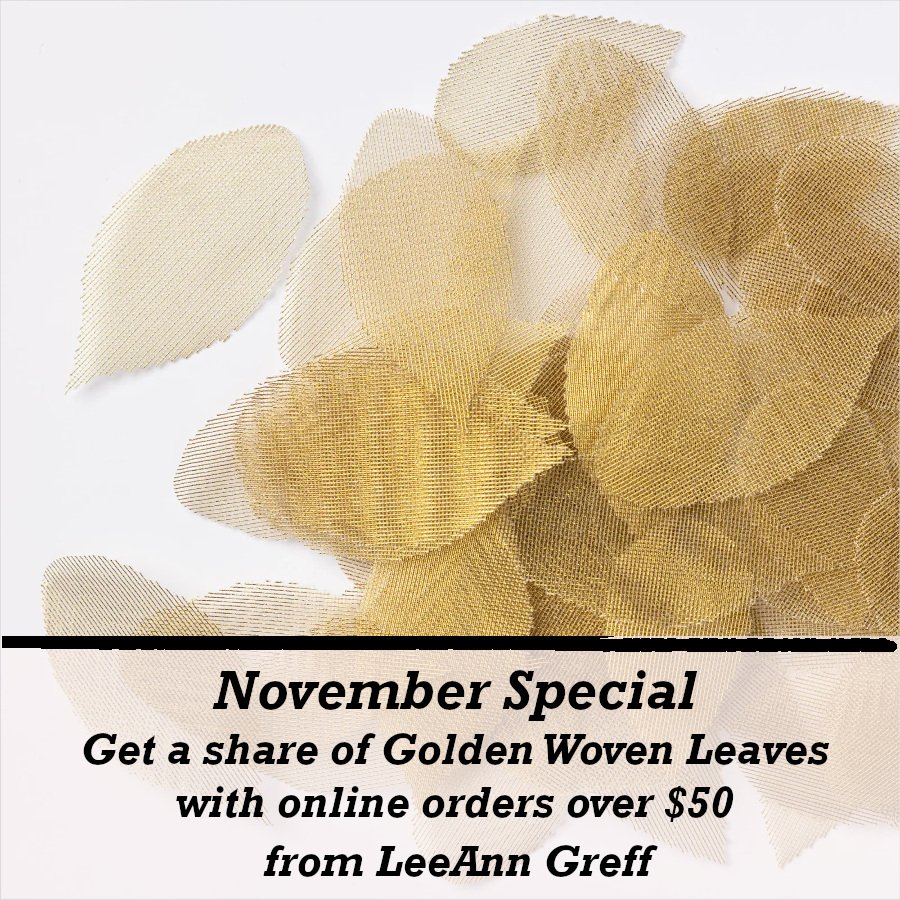
Get a share of Woven Golden Leaves  

~~~

Get an extra $30 in your Starter kit in October!  Click here to read more

~~~

The Kits Collection is on sale!  Check it out here.

~~~

       All online orders in October will receive a free PDF tutorial featuring the Season of Elegance suite

All Posts

  • Gorgeous Prairie Grass Joy Fold card with video & free project sheet


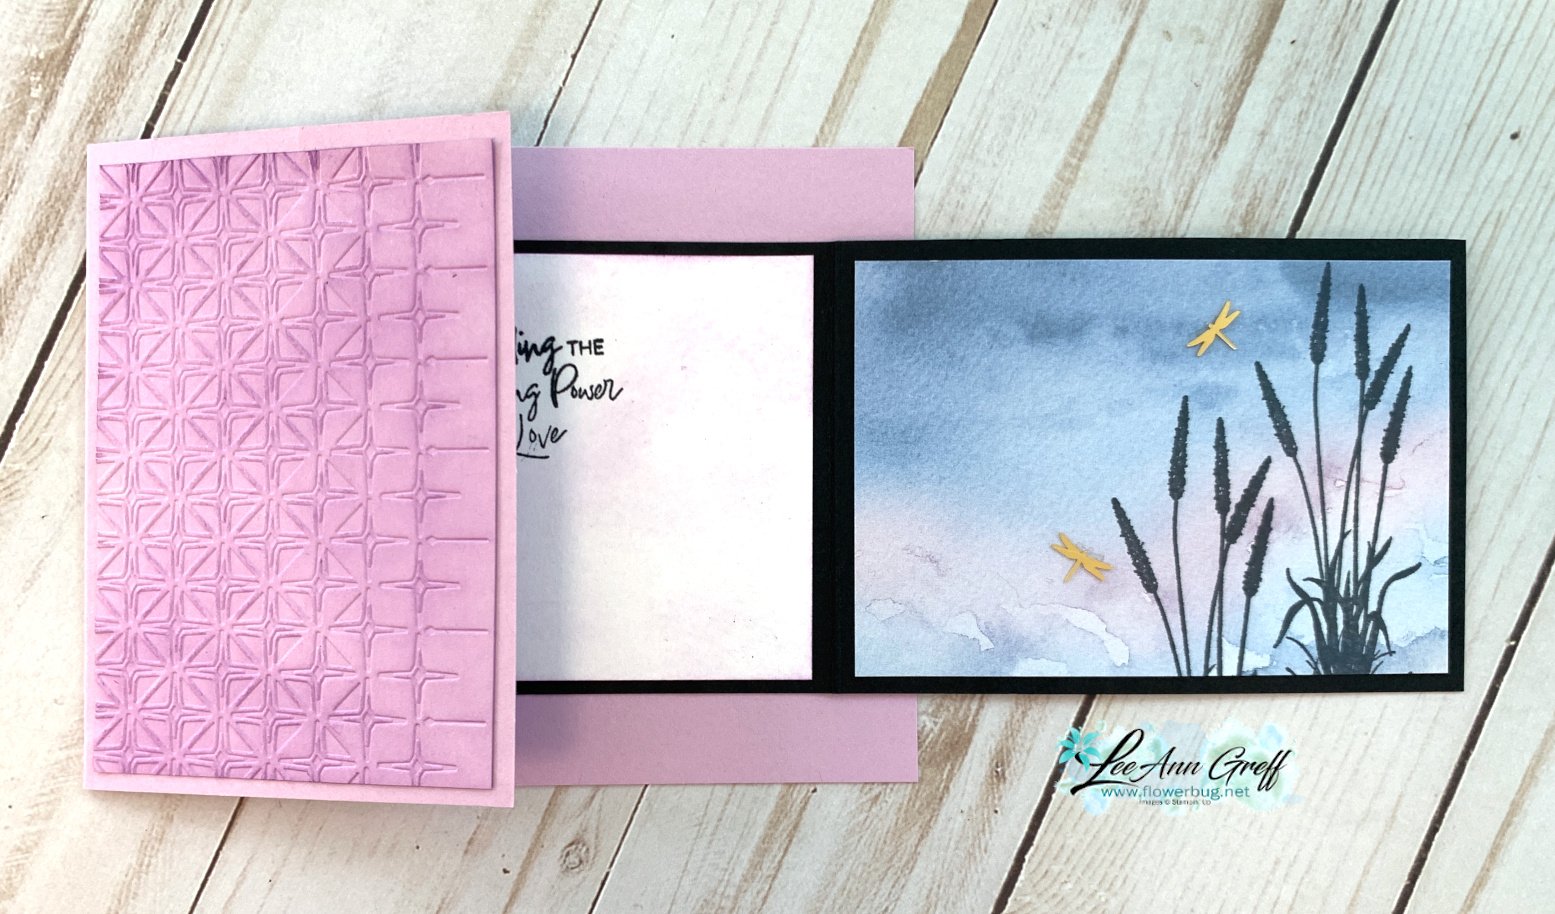
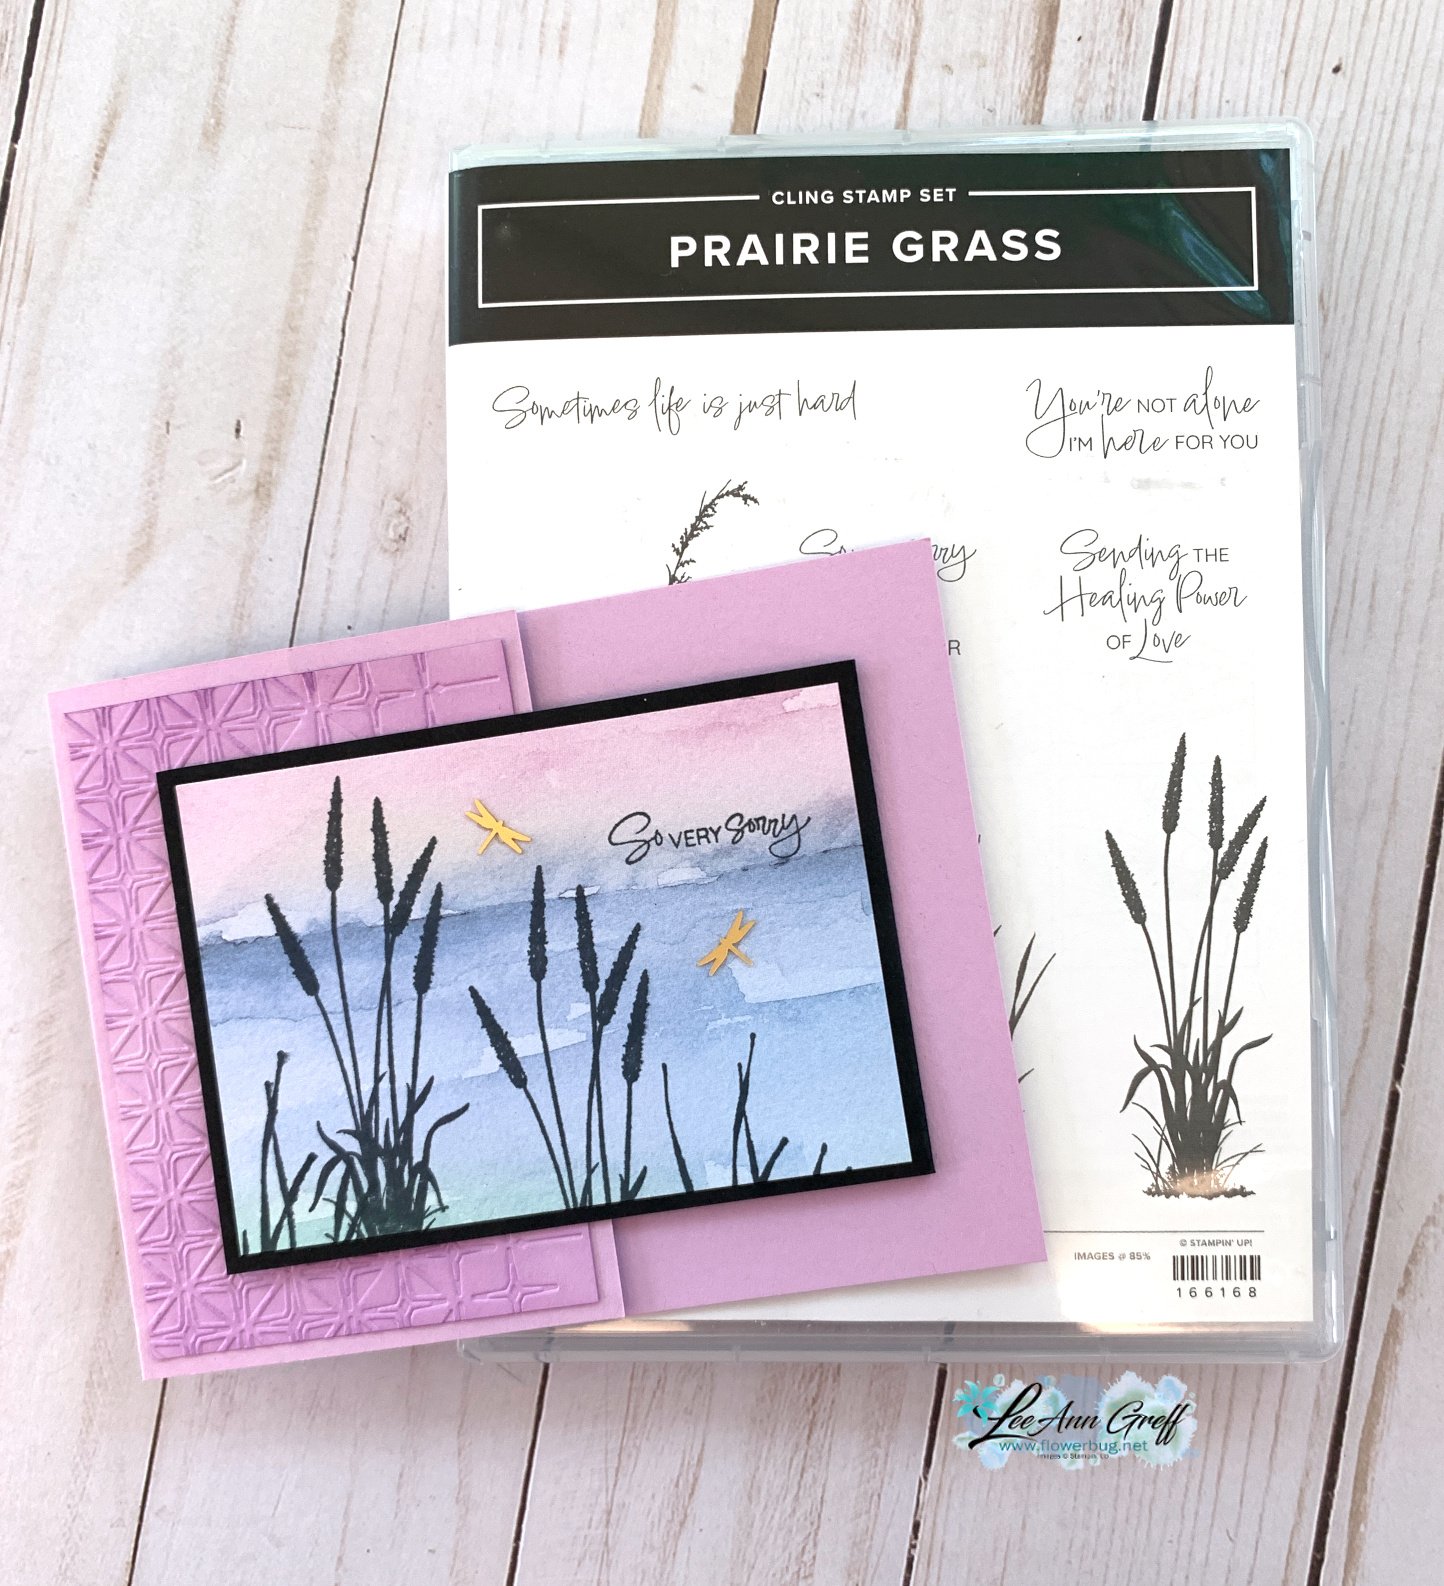
    I shared this pretty card on last week's Live video.  

    Isn't it pretty?  The colors include Fresh Freesia with Black accents. All of my projects featured the brand new Prairie Grass stamp set seen here.  

    I also used the amazing Thoughtful Journey DSP seen here.  It's absolutely perfect for scene builder stamps like this one and has some of the best and easiest backgrounds to start with.  

    This card is called a 'Joy Fold' – who knows why but it's actually one fold name I haven't forgotten. Basically it has two flaps that overlap each other. It gives you multiple opportunities to use your Designer Papers or textured layers.  

    The embossing folder here is called Glass & Gardens seen here.  It's unavailable right now but you can add yourself to the list to be notified when it's back in stock.  

    Here's the free project sheet for this card with measurements, directions and supplies.  Click on the following link to print or download it.  Download Prairie Grass JoyFold card

    And here's the video below where I share two other cards featuring this amazing Prairie Grass stamp set. 

    ~~~

    July Specials:


    New Online Exclusives are here!  Click here

    ~~~

    Get my Turtle-y Cute PDF tutorial free with any online order in July!

    Leave a Reply

    Your email address will not be published. Required fields are marked *

  • WOW! Check out this Beautiful Butterflies stained glass technique


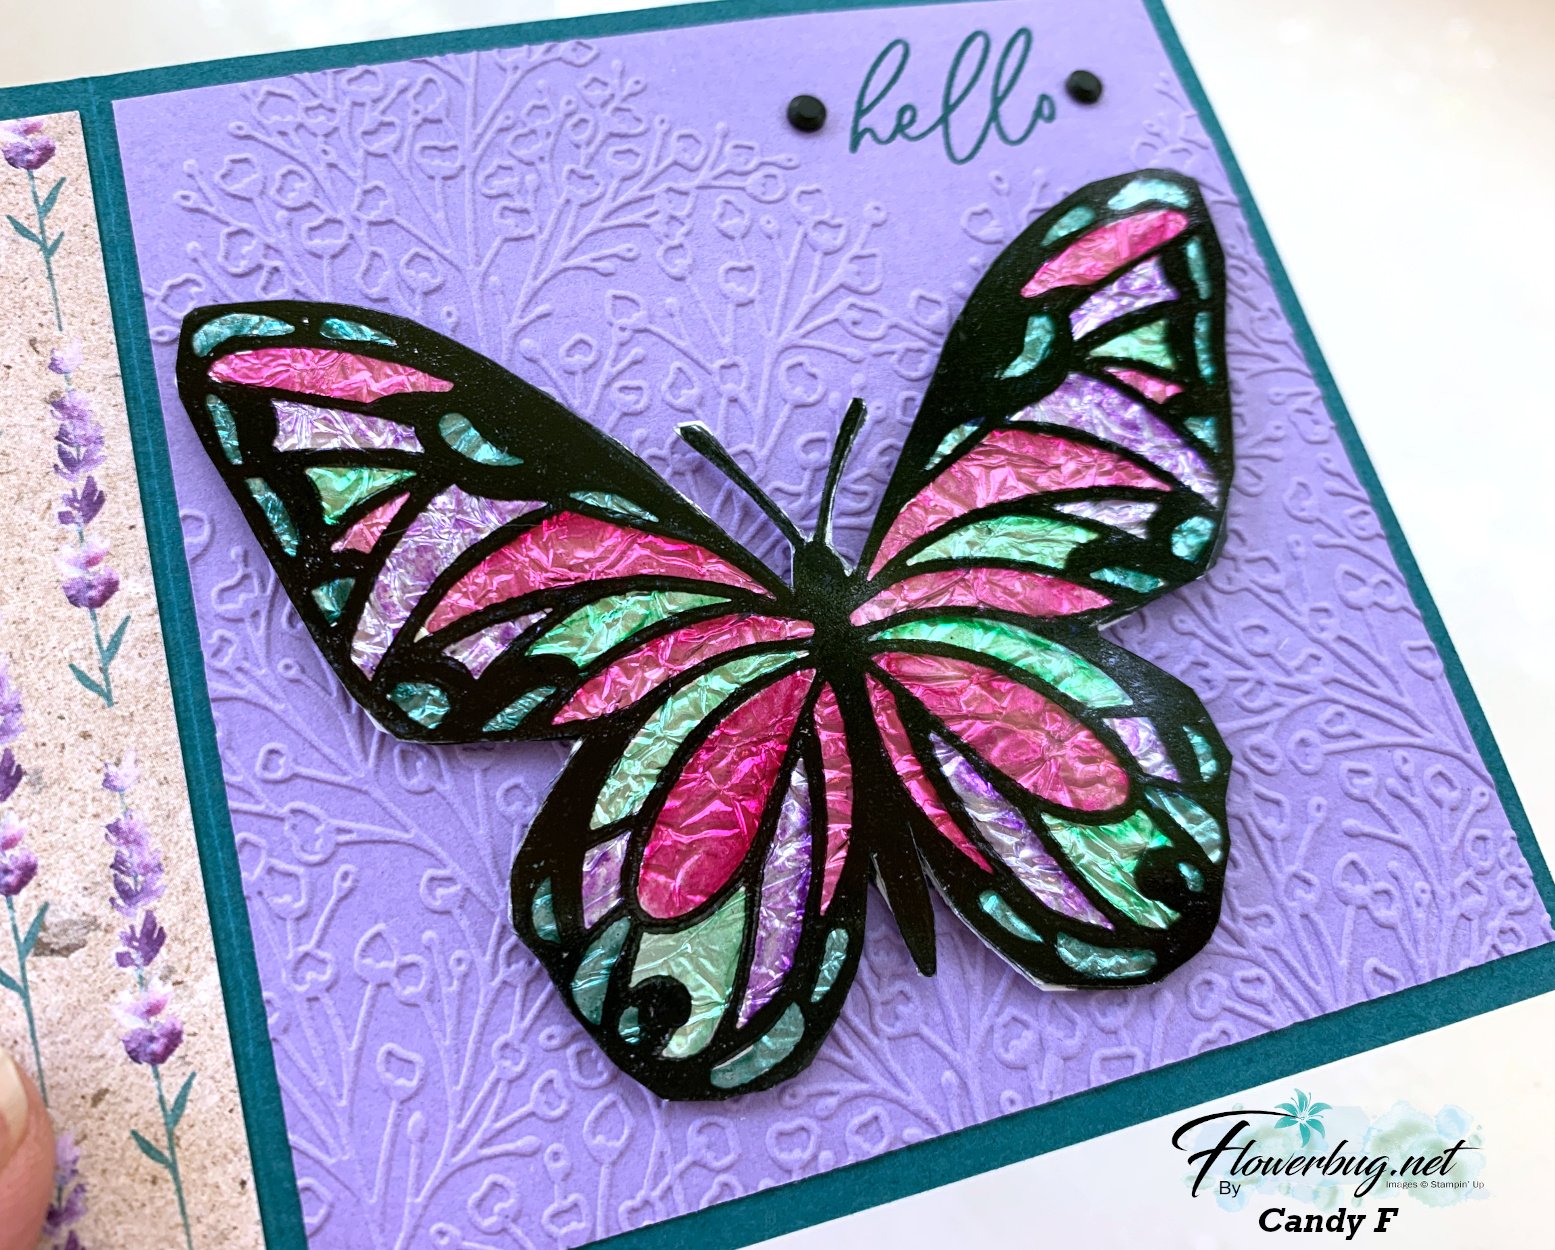
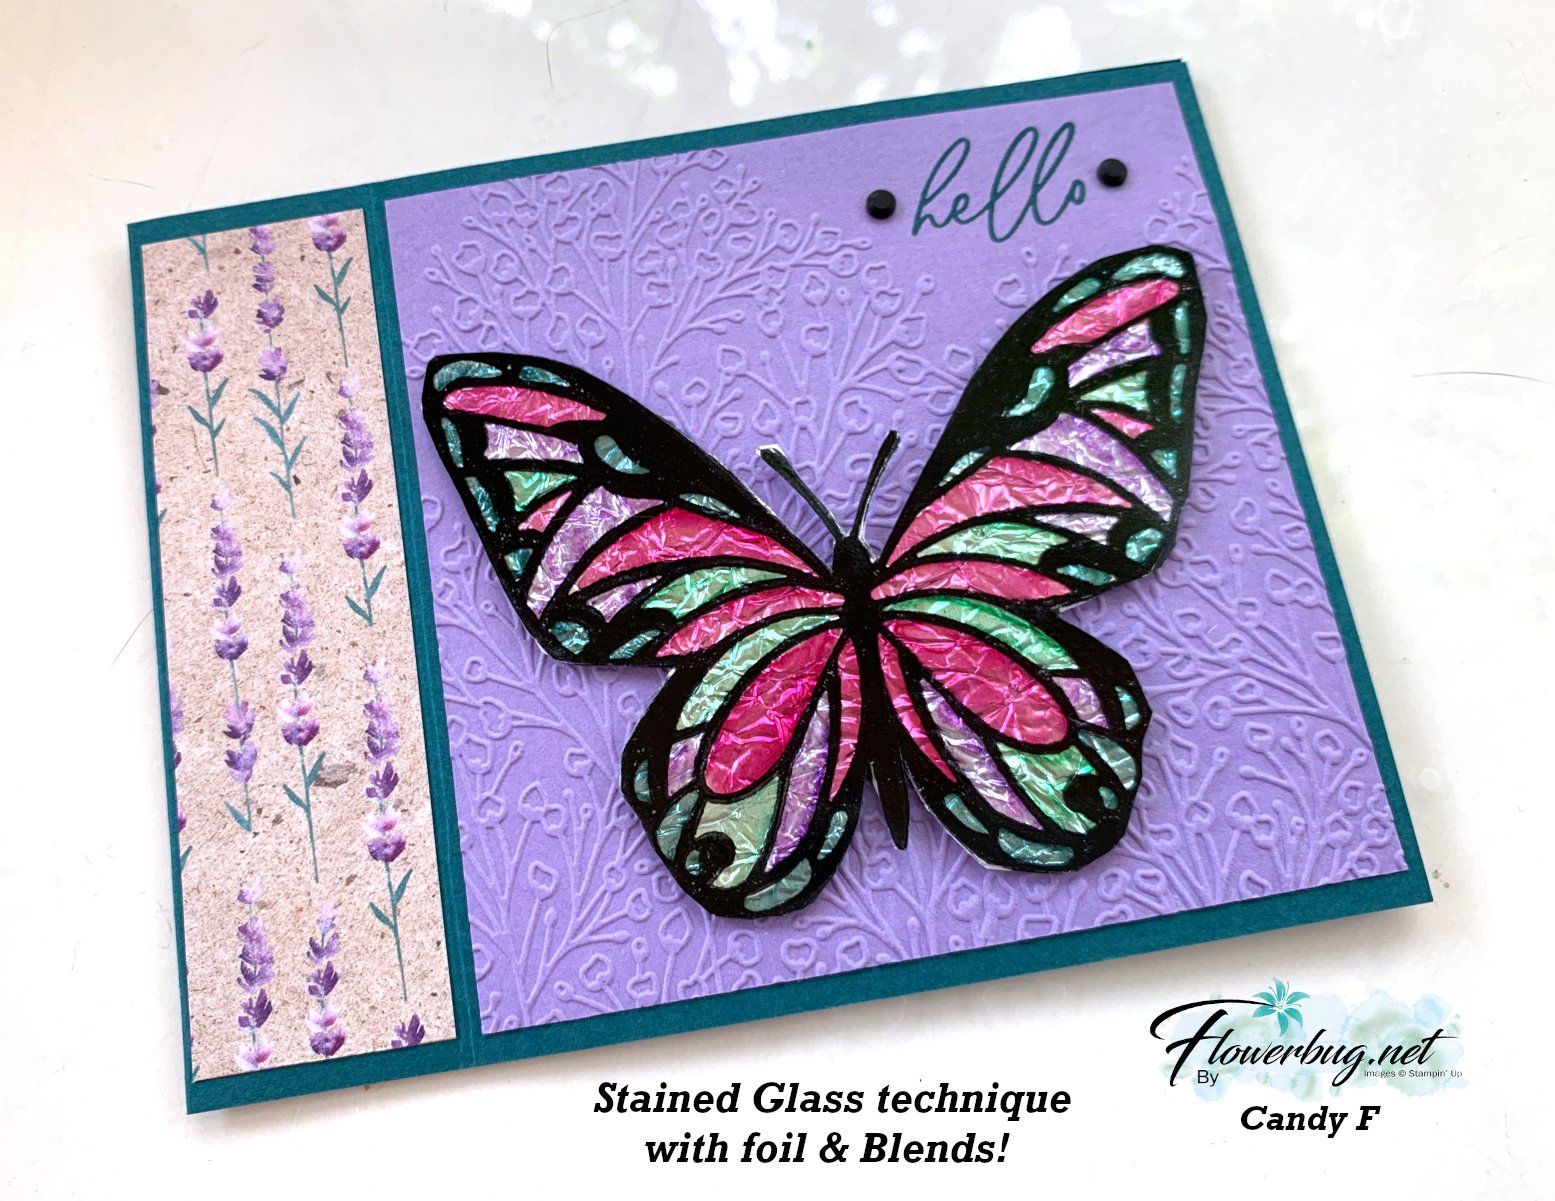
    I was amazed by Candy's card swap this month!  Look at this beauty!!


    It's called the Stained Glass technique and she made it for our July Team swap featuring Window Sheets.  

    Her colors include Pretty Peacock with Highland Heather. The bundle is called Beautiful Butterflies and can be seen here. 

    Steps:

    • She stamped the butterfly image on a window sheet using Black Stazon ink. 
    • Turn it over and color with Blends markers. 
    • Add adhesive sheet to the Blends side. Press onto slightly crinkled aluminum foil. 
    • Adhere to a second butterfly stamped on White CS for support and to cover the foil. 
    • Fussy cut; add to card. 

    Other products used here:

    Measurements:

    • Card base 11" X 4 1/4" score at 4 1/4" & 5 1/2"
    • Highland Heather 4" square
    • DSP strip 1 1/8" X 4"
    • inside 4" square

    Thank you for creating your incredible swap card Candy!  Great job!!

    ~~~

    July Specials:


    New Online Exclusives are here!  Click here

    ~~~

    Get my Turtle-y Cute PDF tutorial free with any online order in July!

    Leave a Reply

    Your email address will not be published. Required fields are marked *

  • Wow; Mixed Florals Reverse Image Technique with window sheets!


    I'm continuing to share our July team swaps featuring window sheets. 

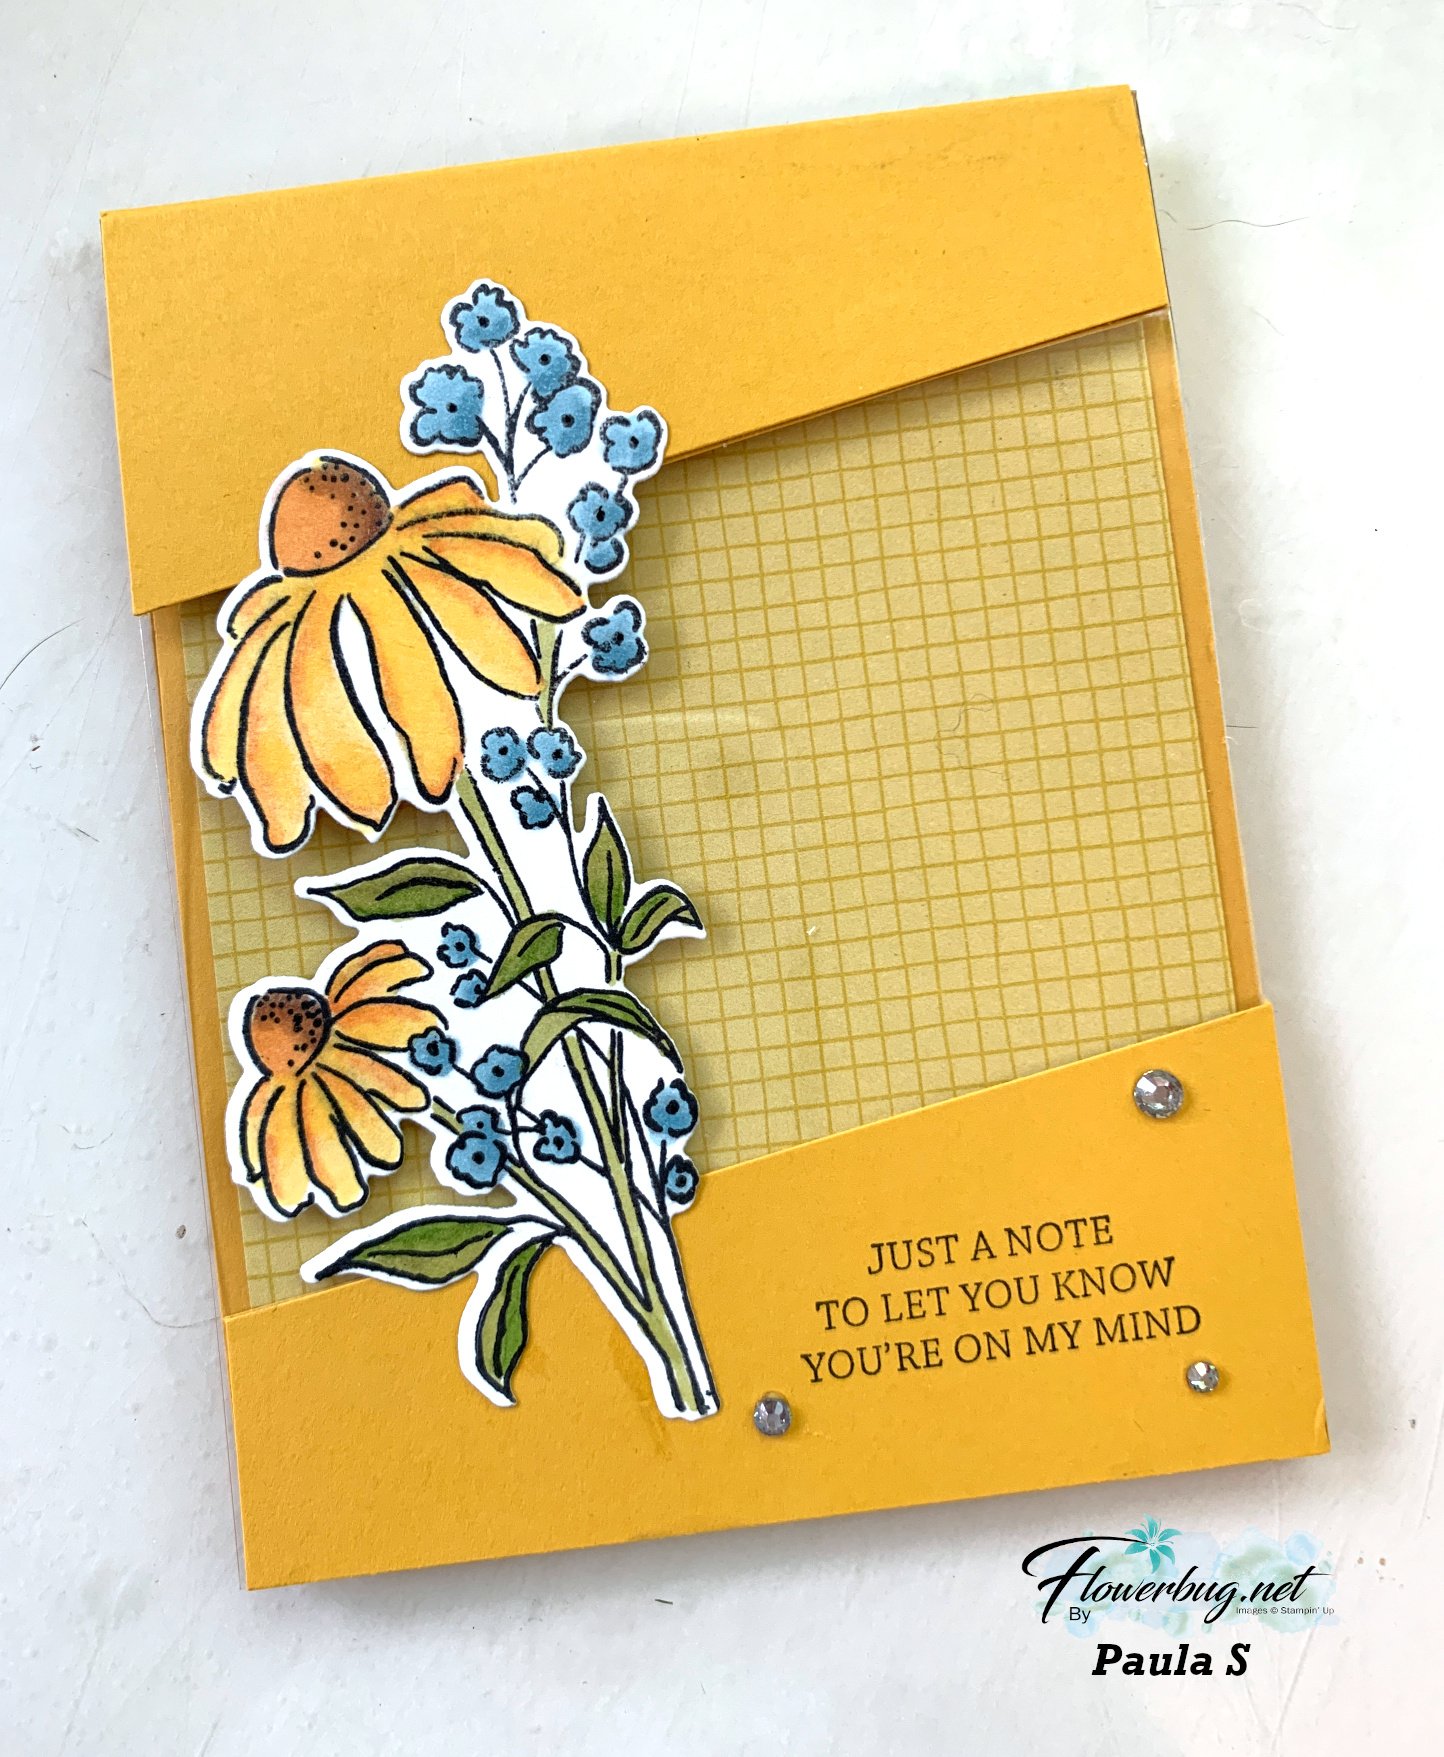
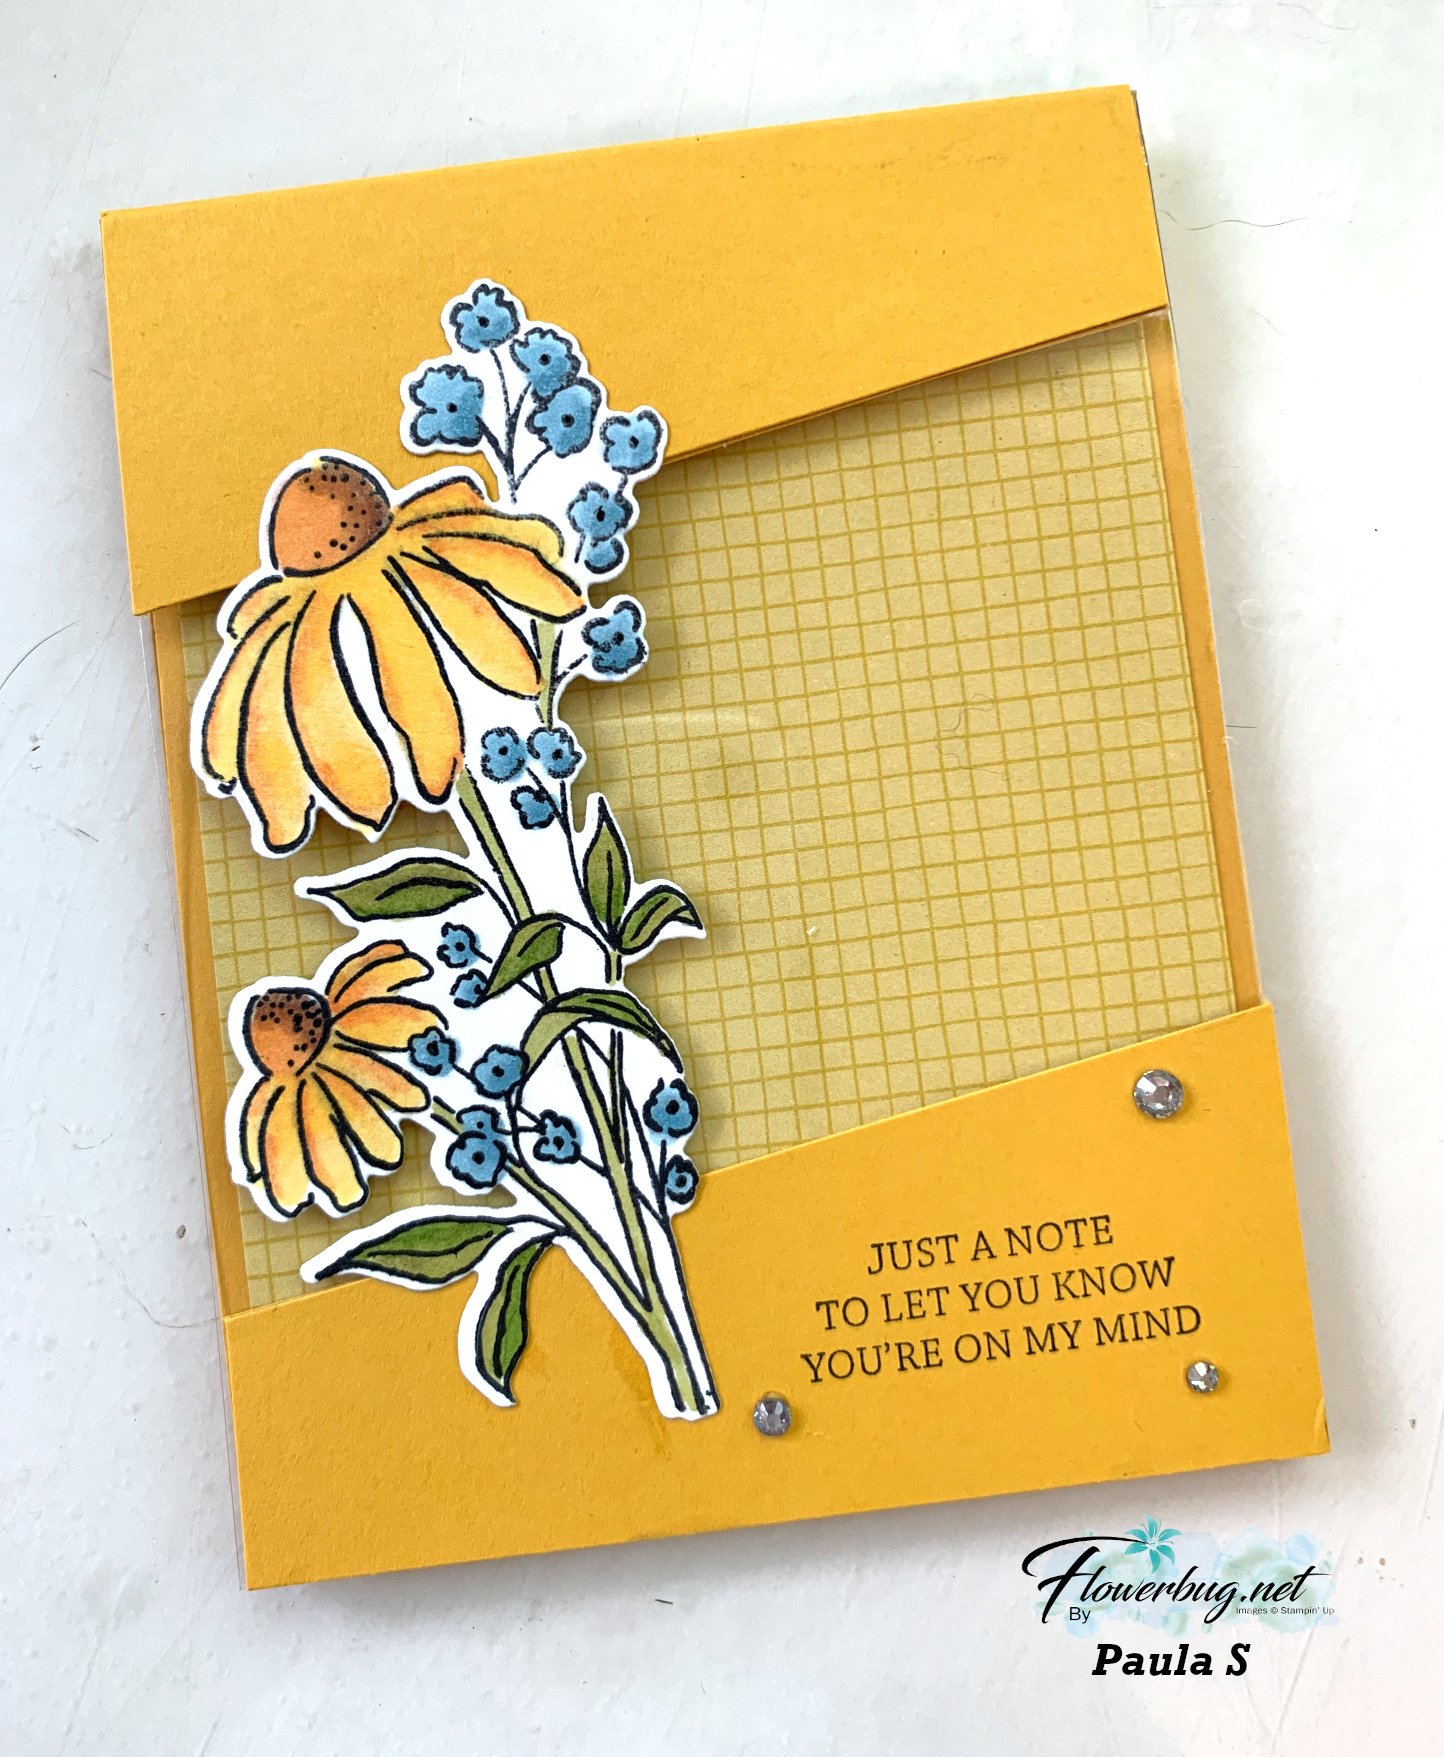
    Look at the stunning card made by Paula. For her card swap she made a Reverse Image technique cased from Kylie Bertucci.  

    The stamp & die bundle is called Mixed Florals and can be seen here.

    She used Crushed Curry for her card base and Floral Impressions designer paper.  I'm so impressed by her gorgeous coloring with the Blends markers!  What pretty shading she achieved! 

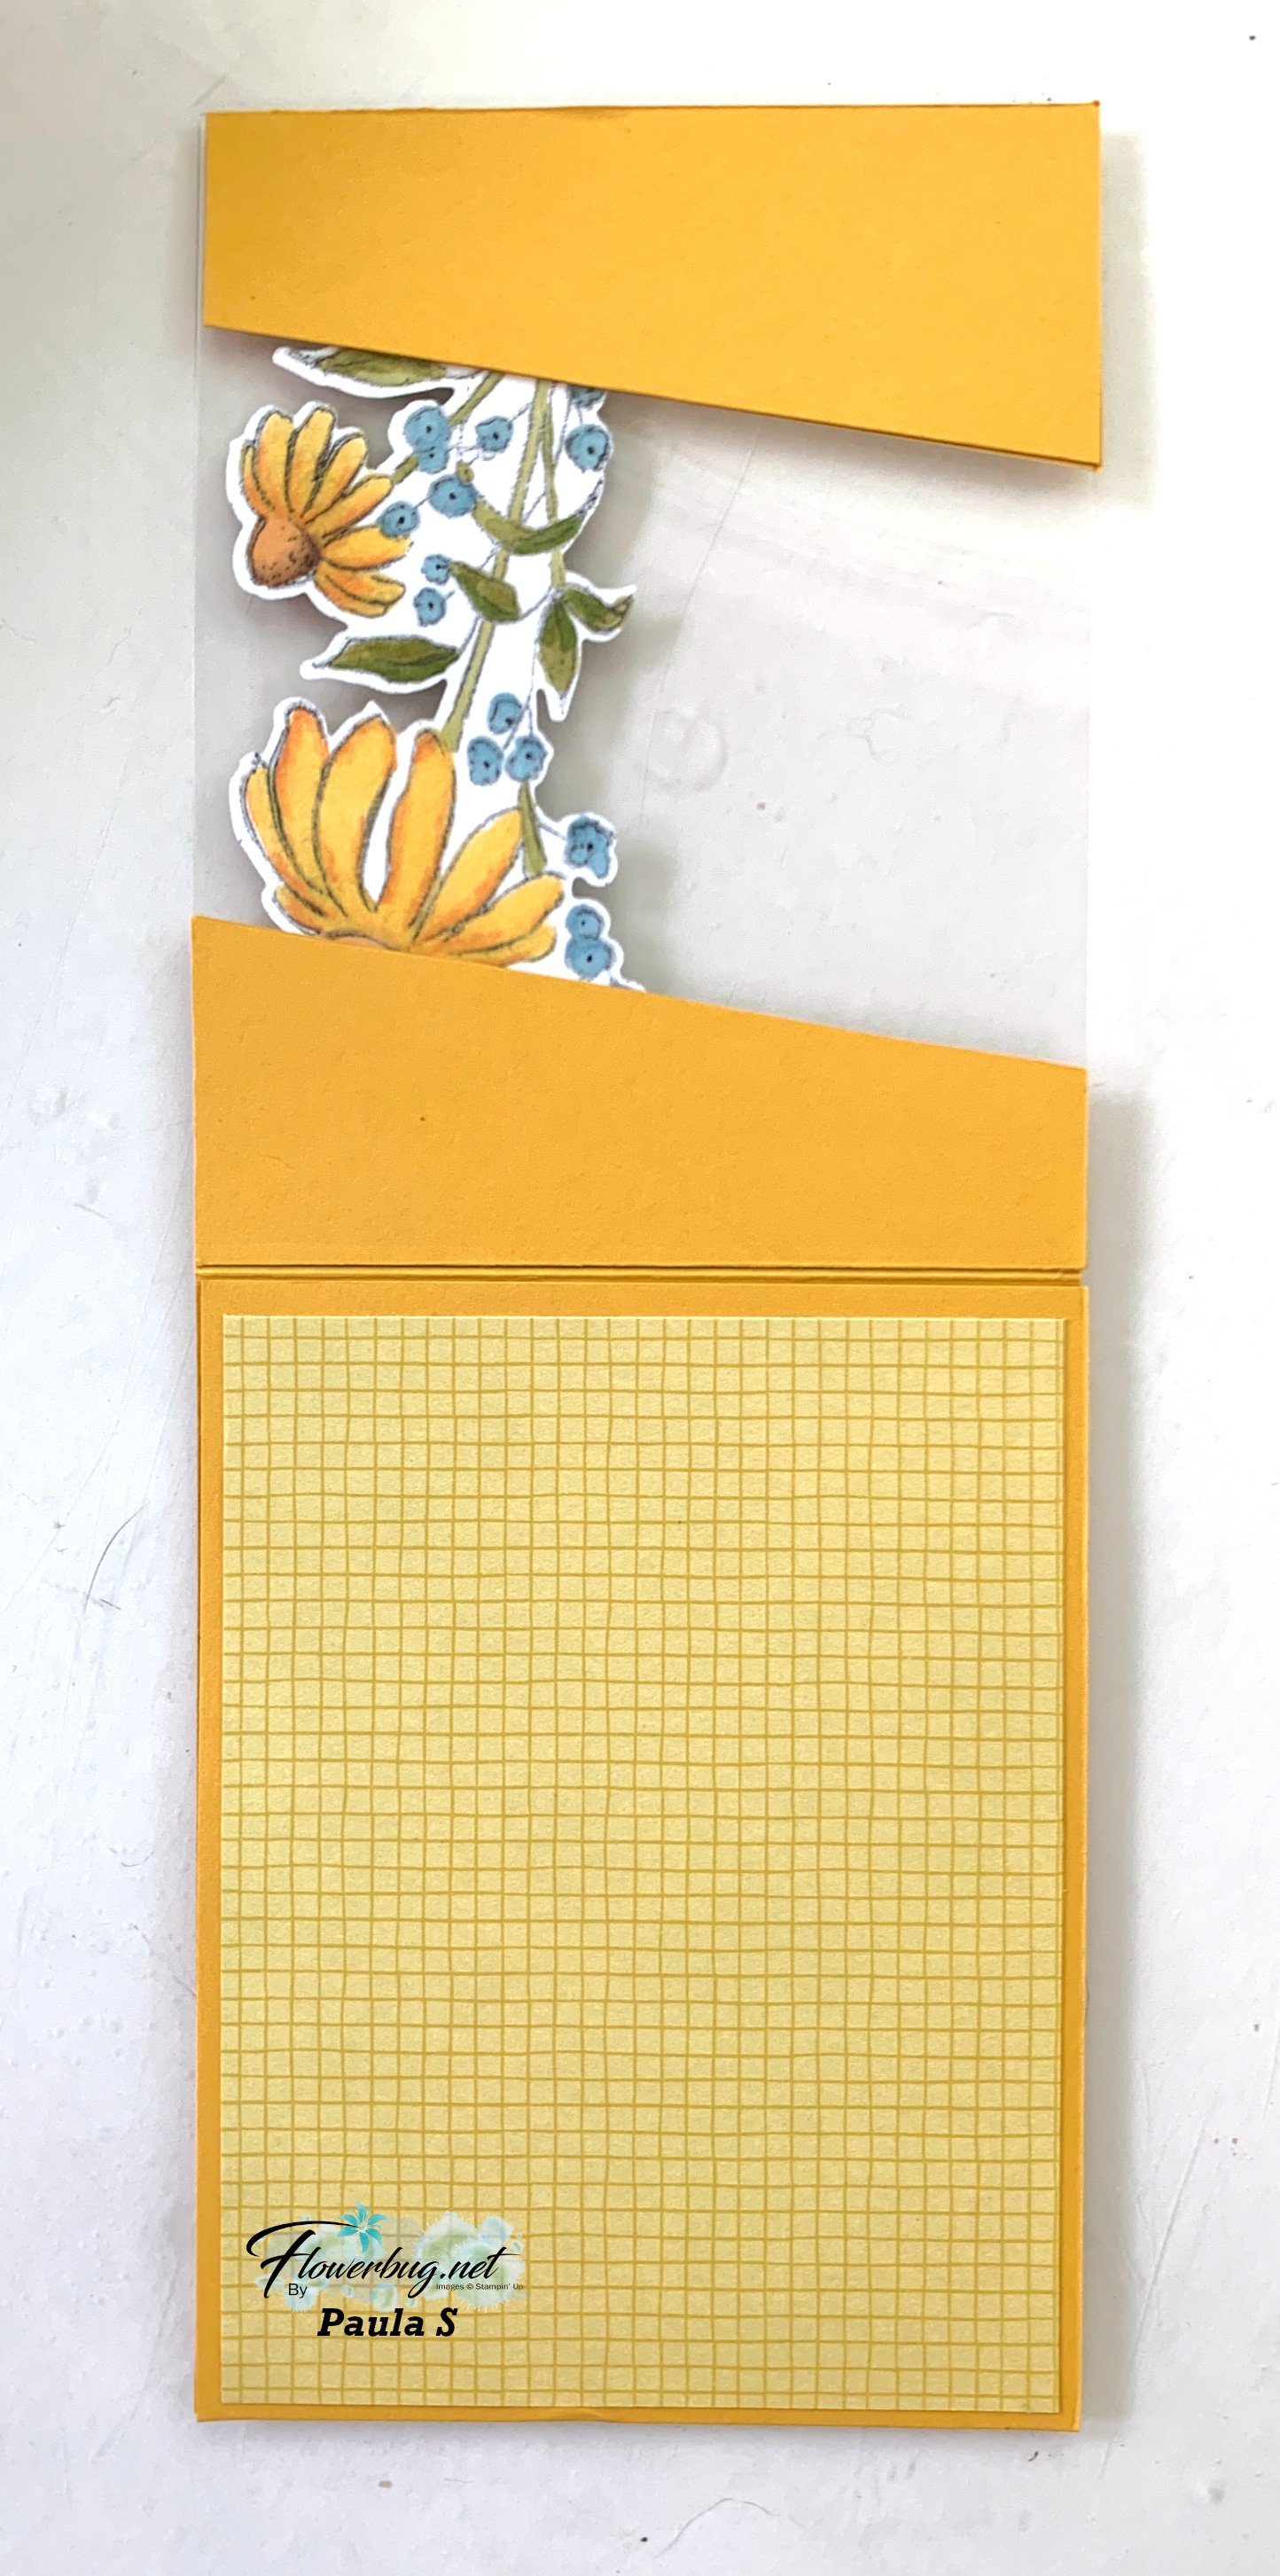
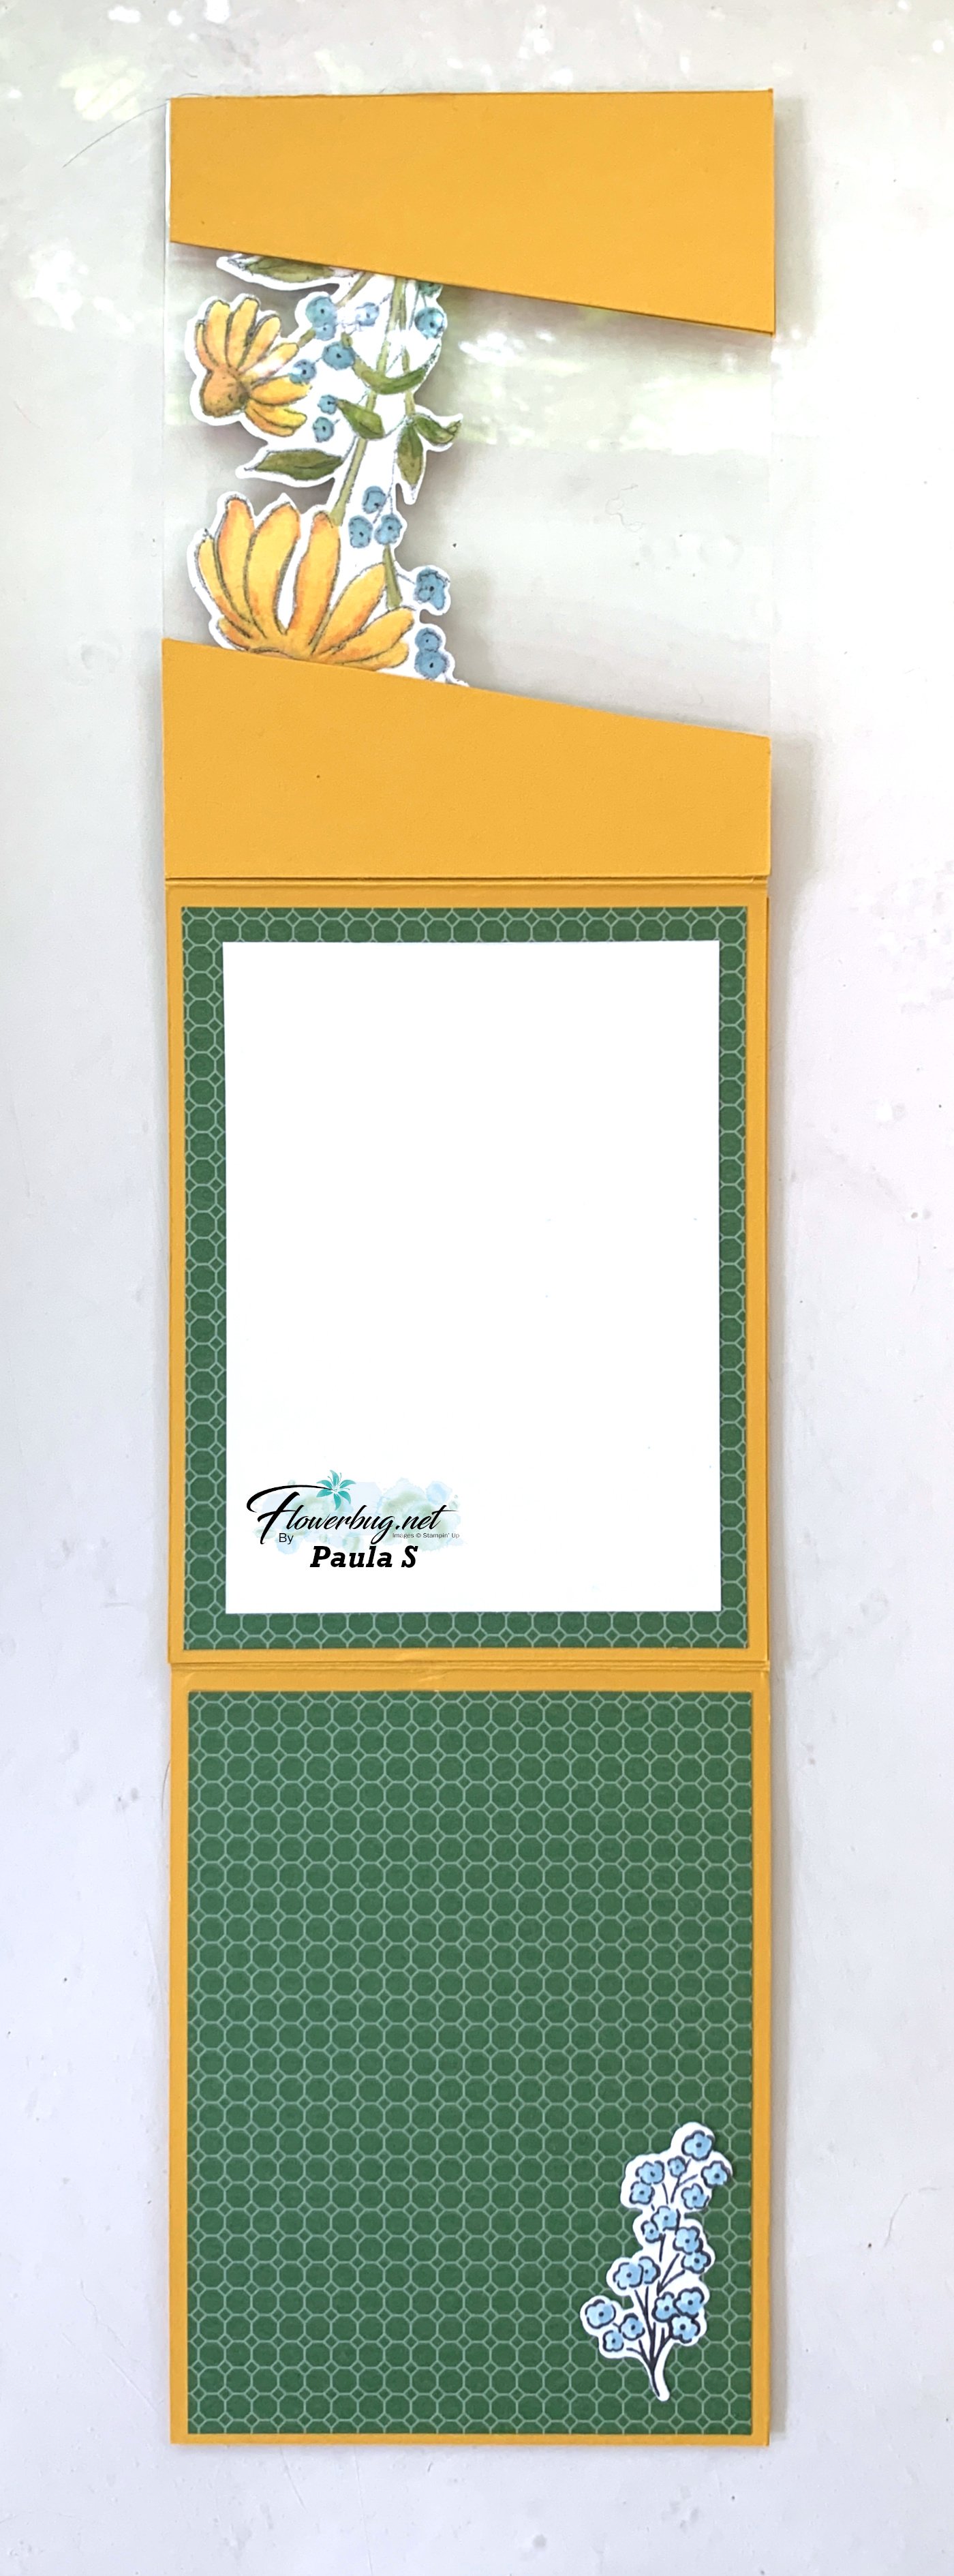
    Below you can see how she also colored the reverse side so when you flipped up the card front it's just as pretty on the inside!  So neat.  I also love the diagonal slant on the front. 

    The card opens to reveal 3 layers!  

    Measurements:

    • Crushed Curry card base- 1 at 4 1/4" X 11" scored at 5 1/2", another at 7 1/4" X 4 1/4" scored at 5 1/2" (cut on the diagonal) and two extra slat pieces to cover both front & inside of the card. 
    • DSP – 4" X 5 1/4" X 3 pieces
    • White inside 3 1/2" X 4 3/4"; plus die-cuts 


    Thanks so much for your creative & beautiful card Paula! 

    ~~~

    July Specials:


    New Online Exclusives are here!  Click here

    ~~~

    Get my Turtle-y Cute PDF tutorial free with any online order in July!

    Leave a Reply

    Your email address will not be published. Required fields are marked *


Notice: LeeAnn Greff, Independent Stampin’ Up! Demonstrator, Manager. The content of this website is my sole responsibility as an independent Stampin’ Up! demonstrator and the use of, and content of, the classes, services, or products offered on this website is not endorsed by Stampin’ Up! Copyright 2025