/


Latest Post

Noel Tidings fun fold Christmas card with video & free project sheet


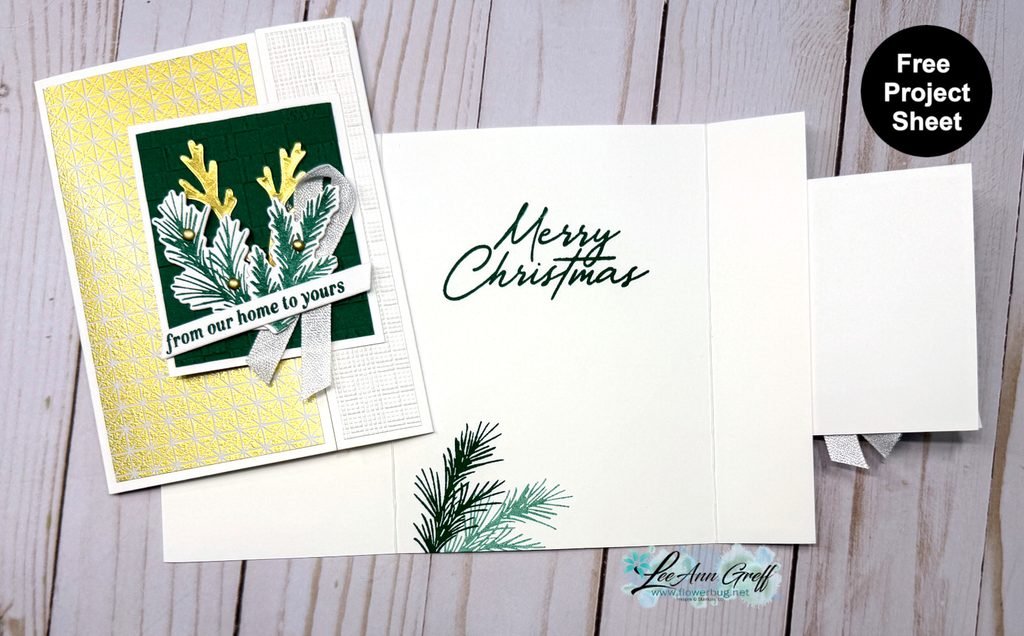
Here’s the card I shared on last week’s video; it’s one I made for a long distance card swap I joined.
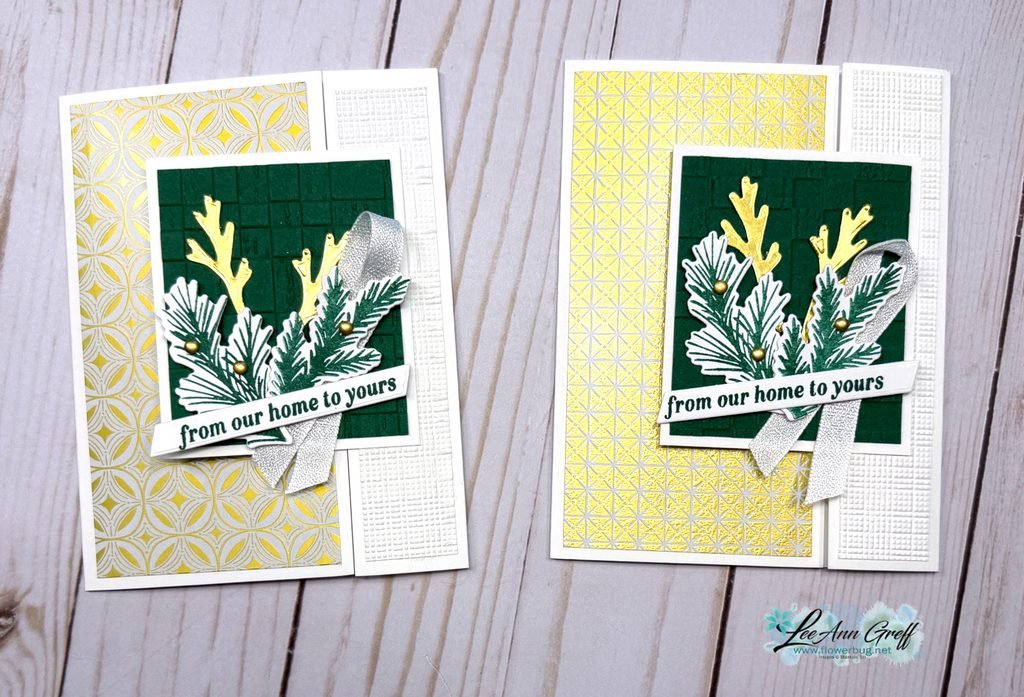
It features the Neutral Noel suite seen here. I used the Noel Tidings bundle along with the Neutral Noel specialty designer paper seen here. My colors include Shaded Spruce, White and Gold.

Notice the textures on the Shaded Spruce and White layers. These are new embossing folders from the 2026 Holiday catalog; however both are unavailable right now. They’re out of stock but returning later this month.

*Remember that when you want to know when something is back in stock you can opt in to be notified; this is right on the product item page online. See the Rustic Check folder here and the Softly Woven folder here.

This card opens in a unique way; the center panel is attached to the right side instead of the usual left side. It’s fun to switch things up now & then.
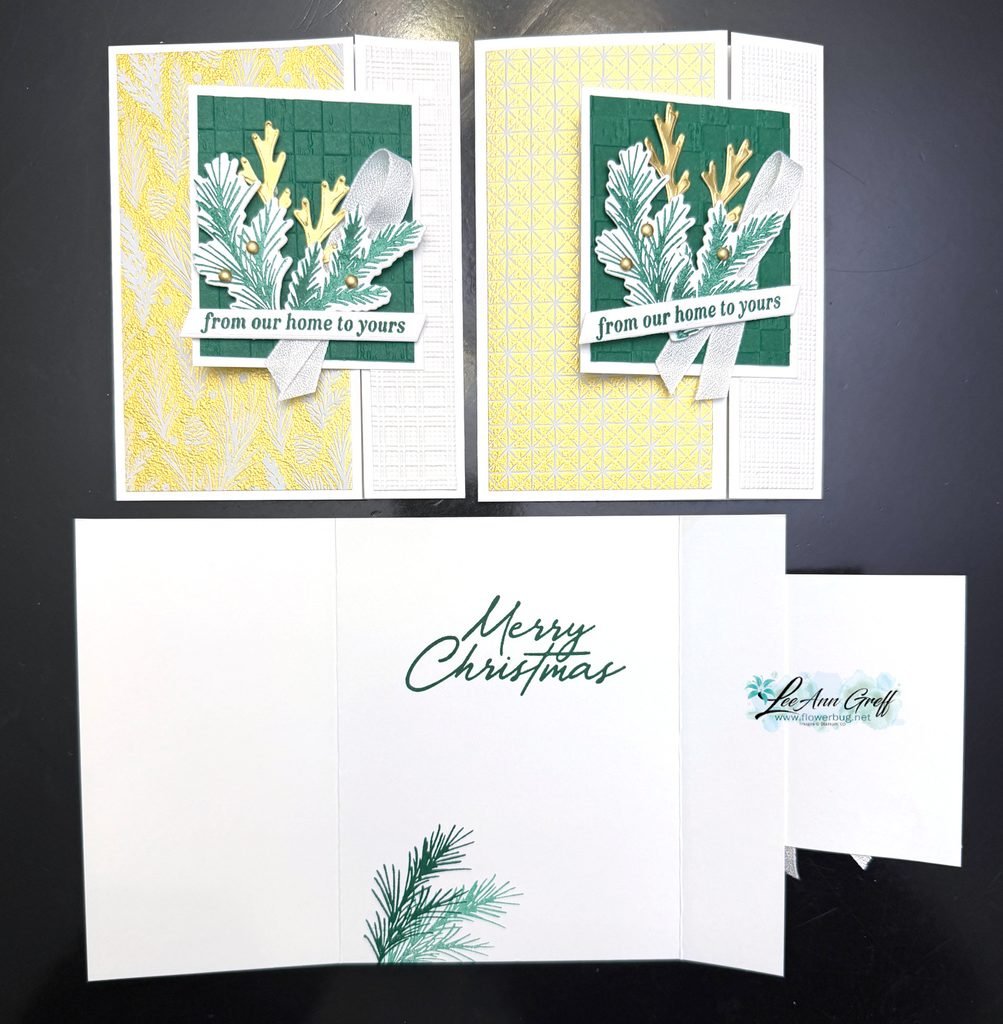
I stamped the pine boughs and the greetings using the Noel Tidings stamp set; the dies coordinate with many of the images. See the bundle here.
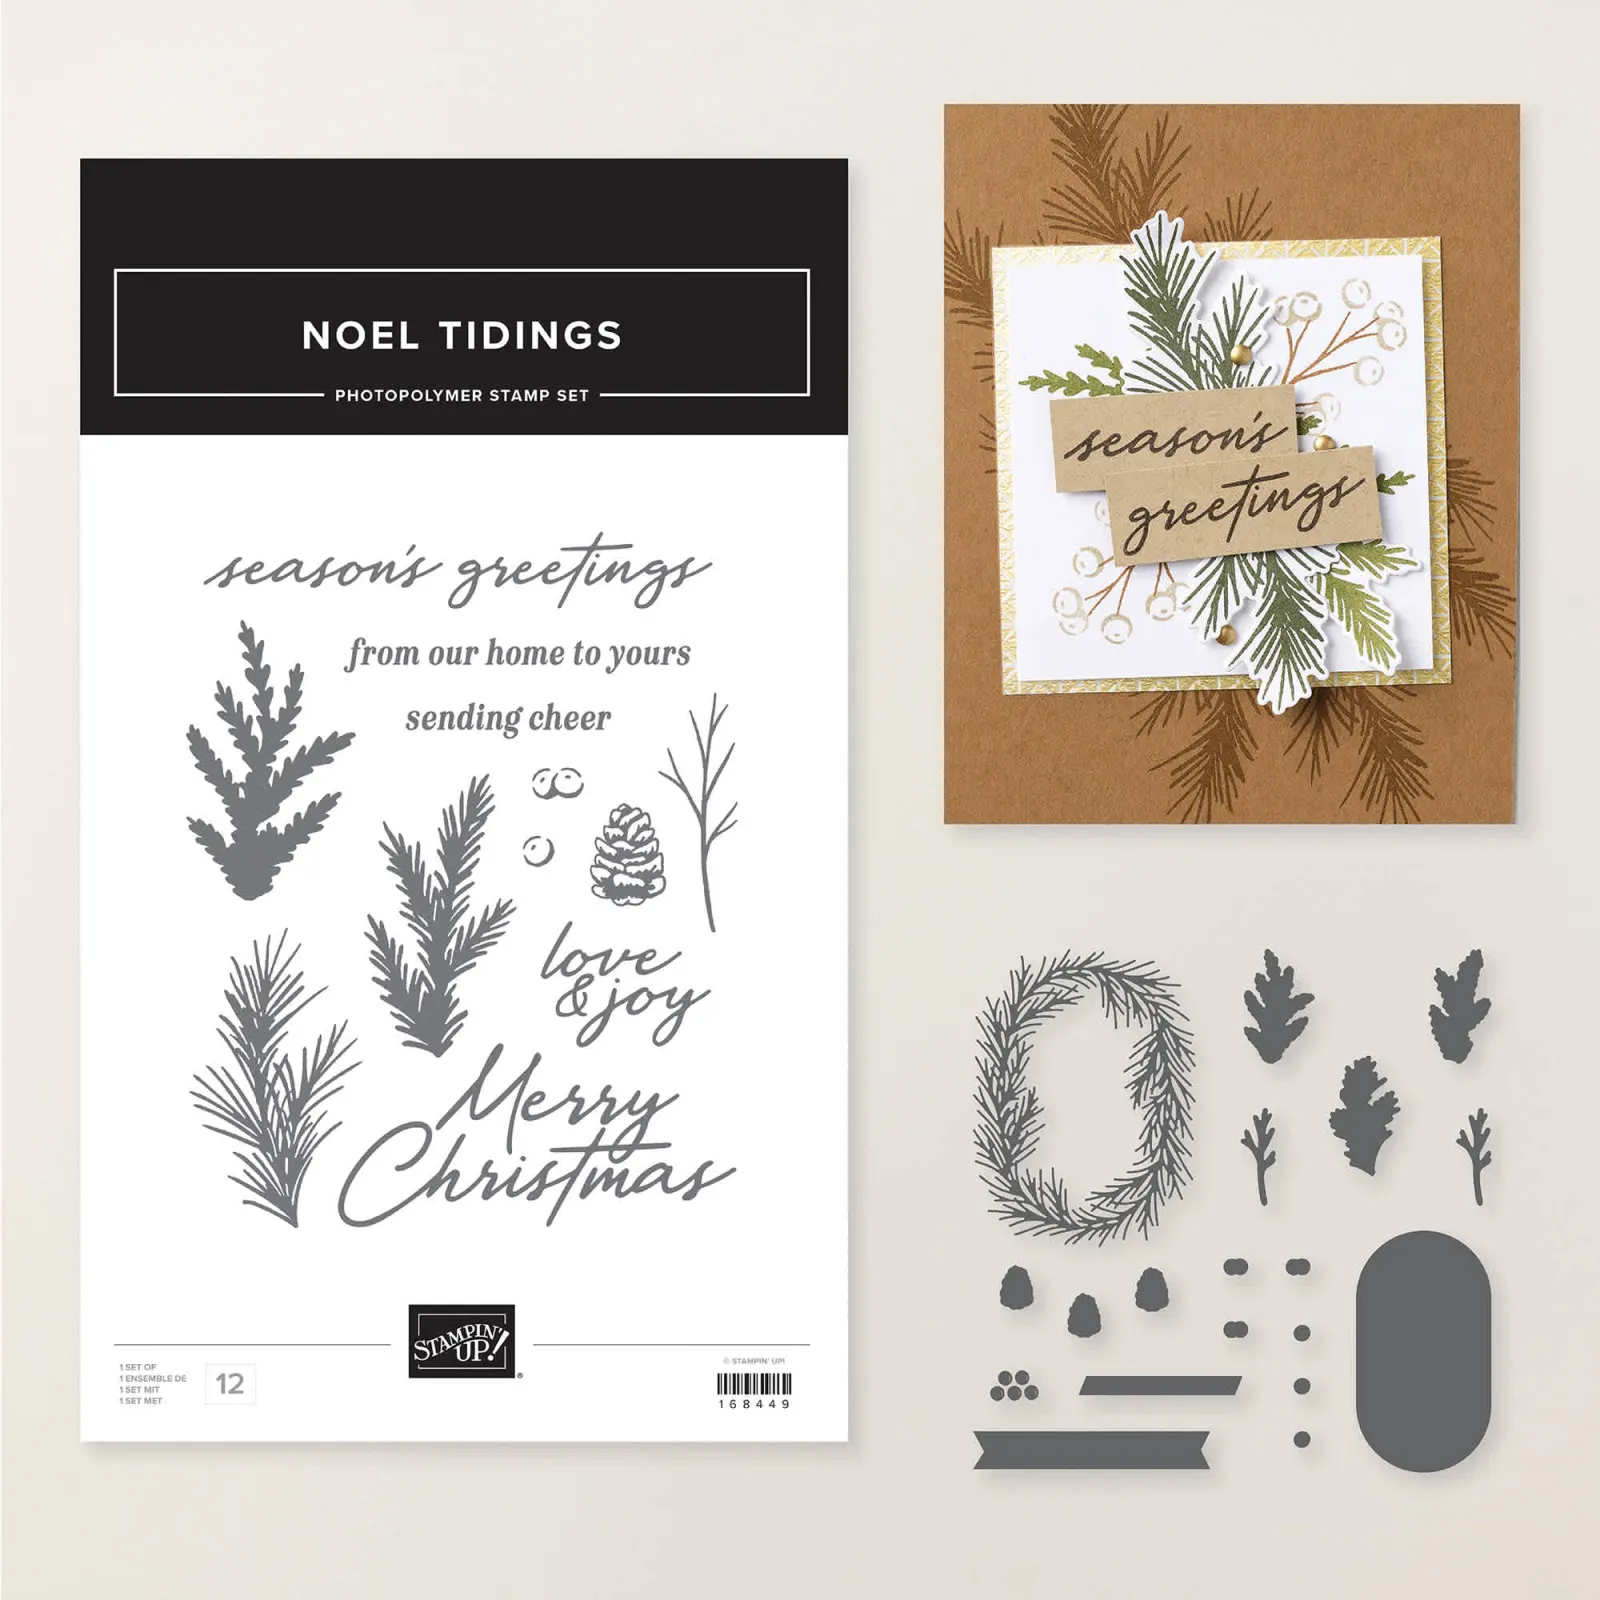
I shared how to make this card on last week’s video. You can see it here or click on the link below.

I also created a free project sheet with measurements. Click here to download or print it. *Remember that I have a bunch of these free project sheets stored on my blog here.
Below is the video tutorial for this card. You’ll get a few stamping tips from me as usual.

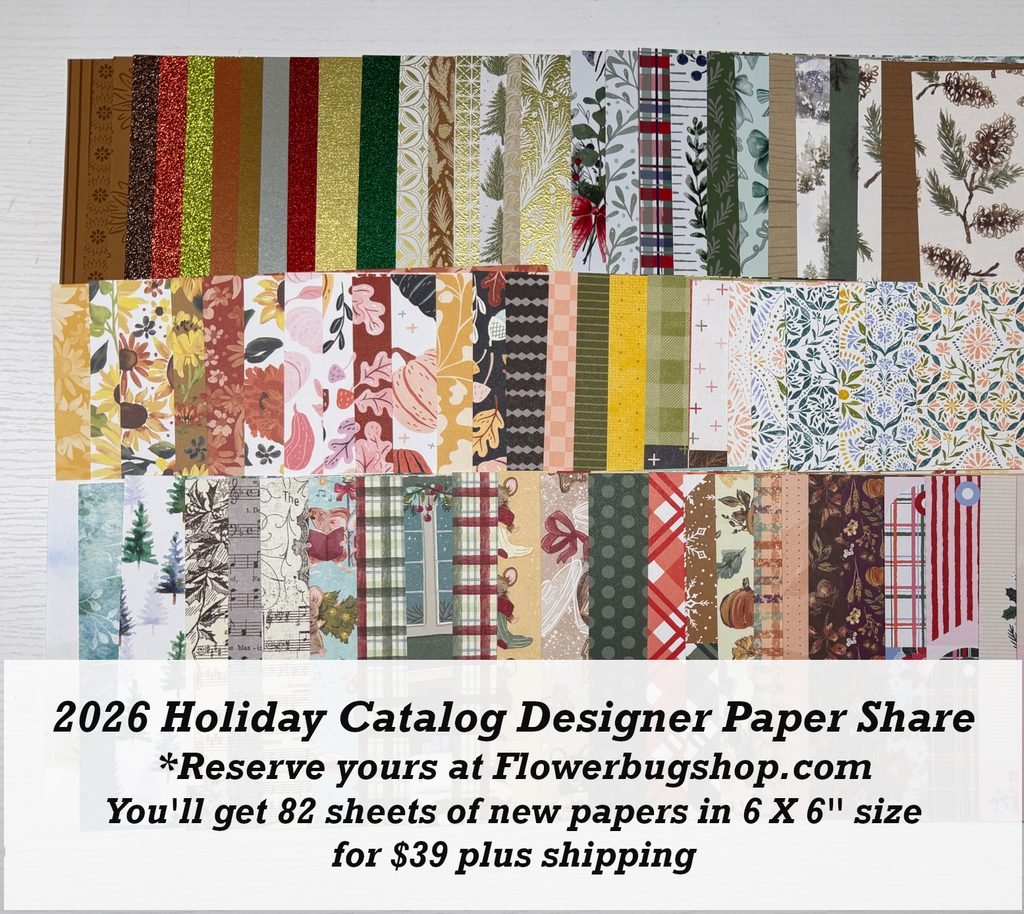
I still have spots left in my Holiday designer paper share. Opt in for it here; it’s the last share I’ll offer this year.
All Posts

  • Last of our Team swaps include a neat technique and a fun fold


    Today I'm sharing the last three card swaps from my Team in October.  Our theme was winter or Christmas. 
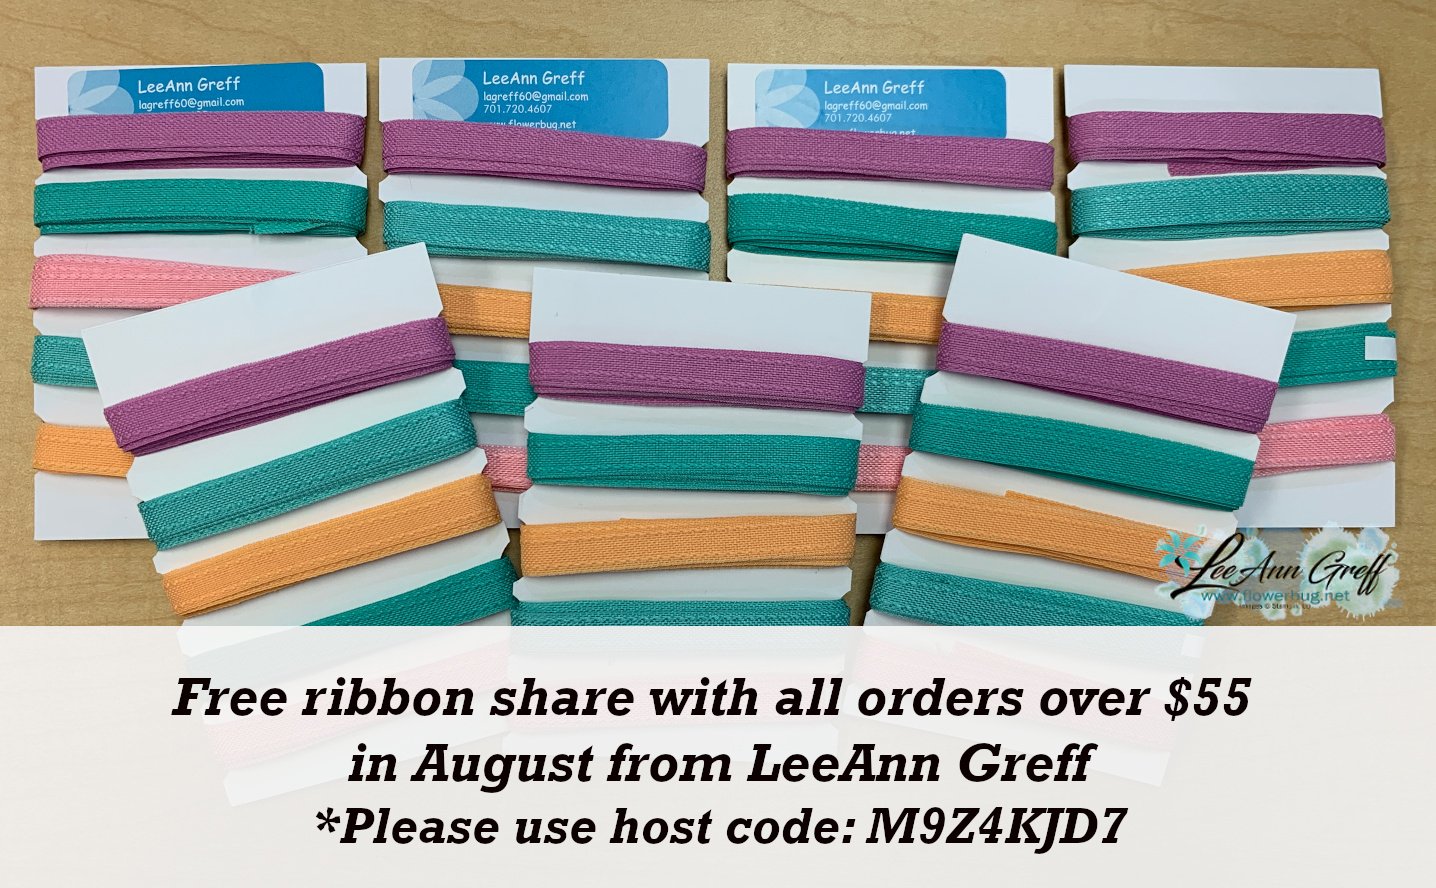
    First is Roxann's card. It's a Christmas village scene! 

    She used the Yuletide Village stamp set seen here.  She also used the Falling Snow background stamp; which she heat embossed with White powder. 

    She fussy cut all of these homes, church and trees!  It's so pretty and real looking!  

    ~~~

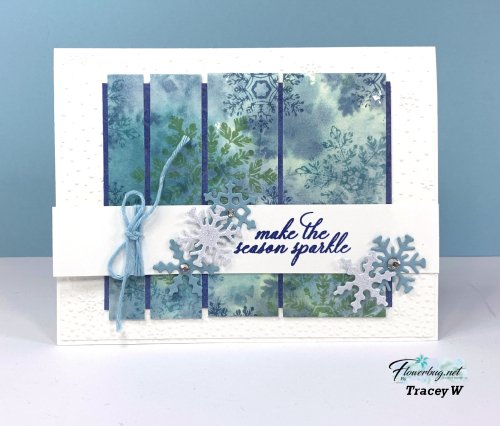
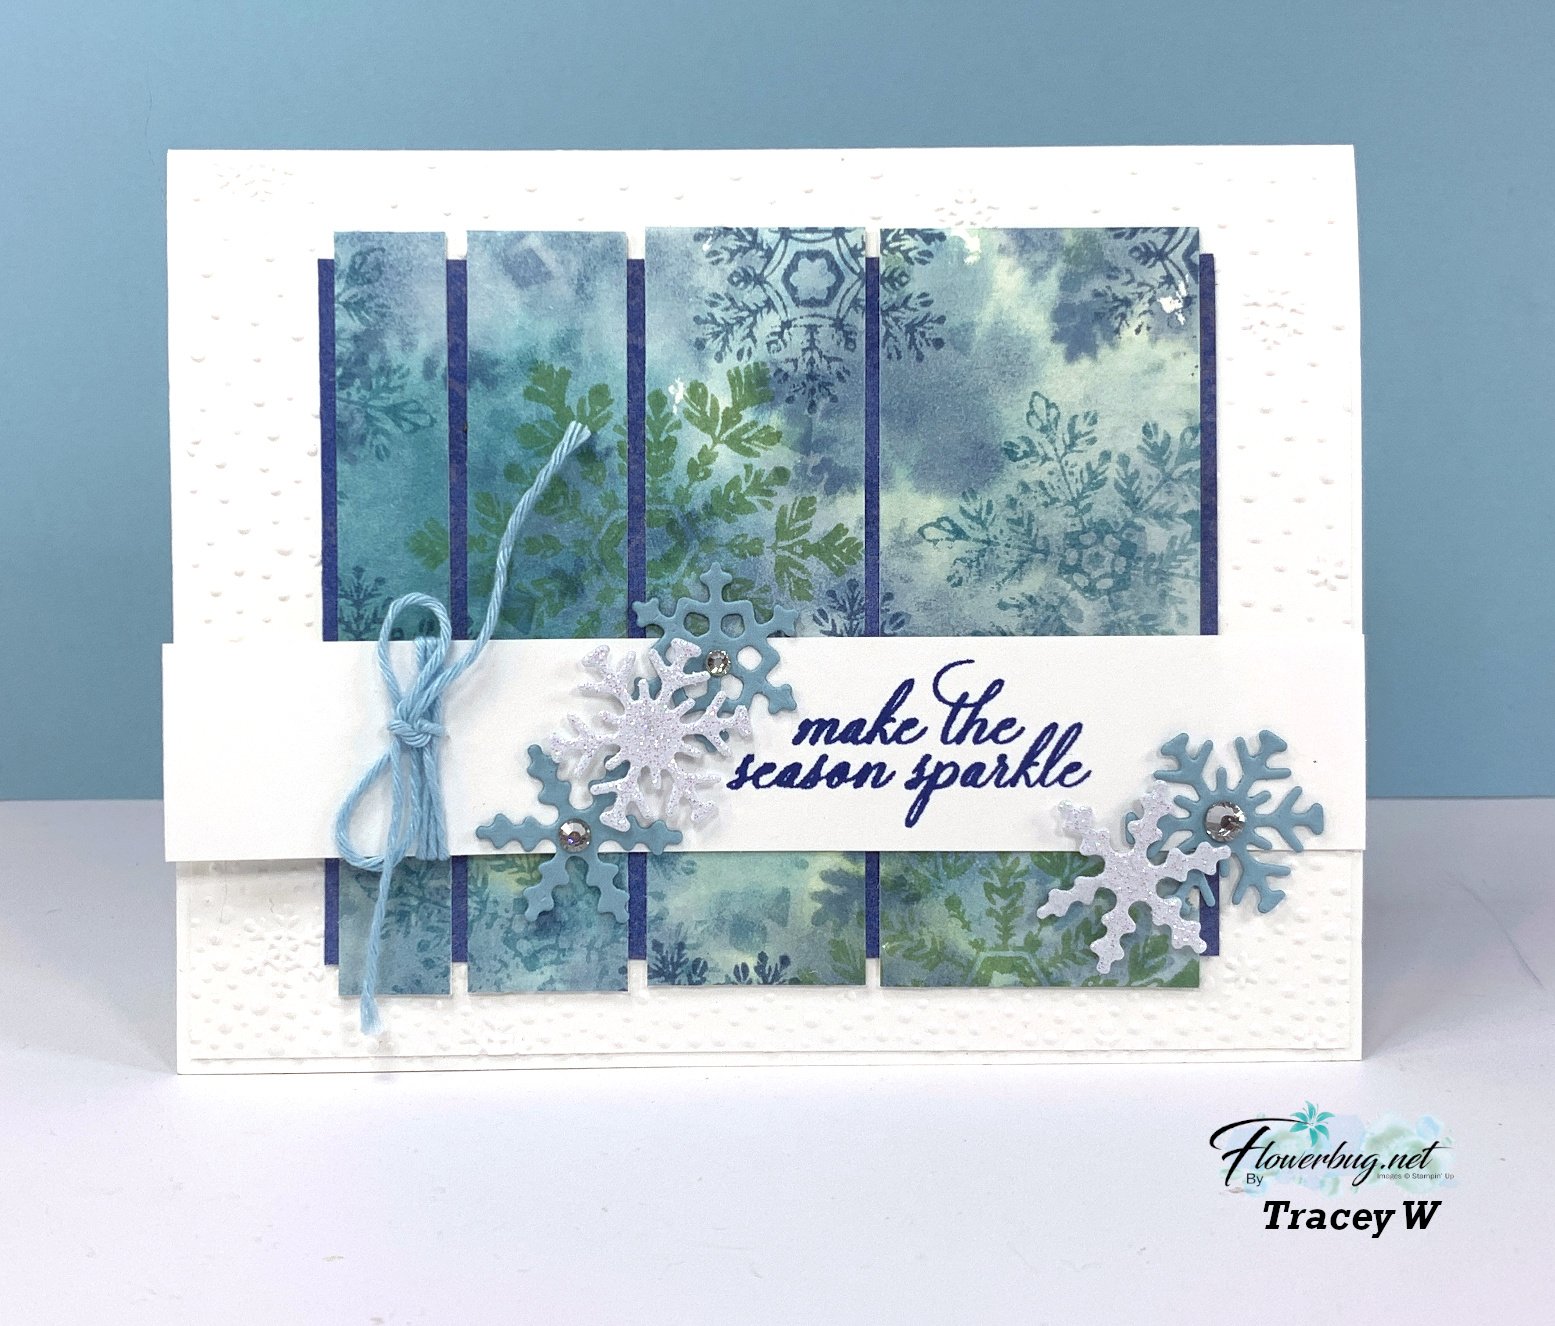
    Next is a fantastic technique made by Tracey.  You might think she used designer paper here….. 

    It's not! She made her own stamped background using watercolor paper and three colors of ink. Here's how she did it:

    She thoroughly wet the watercolor paper before stamping the snowflake images in the following inks: Pool Party (looks like green here), Balmy Blue & Boho Blue. When you stamp on the wet paper the ink travels and blends together but leaves a faint impression of the snowflake images sometimes.  Simply gorgeous!

    The snowflake die-cuts are from the Frozen Edges dies seen here. The greeting and snowflake images are from the Sparkling Snowflakes stamp set seen here. 

    Measurements of the layers are as follows:

    • Card base 5 1/2" X 8 1/2" score at 4 1/4", Textured white layer 5 3/8" X 4 1/8", greeting strip 5 1/2" X 1"
    • Blue background is 4 1/8" X 3 1/4"
    • Watercolor paper strips – left to right – 1/2" X 3 1/2", 3/4" X 3 1/2", 1" X 3 1/2" and 1 1/2" X 3 1/2" 

    ~~~

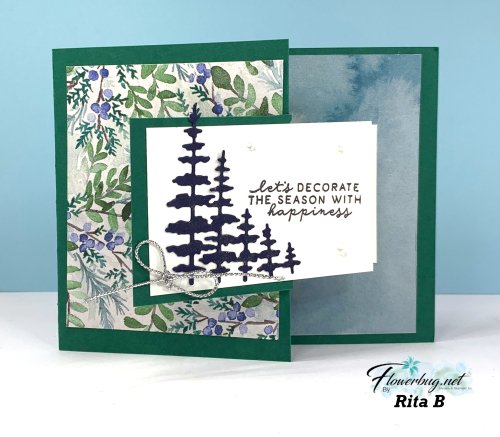
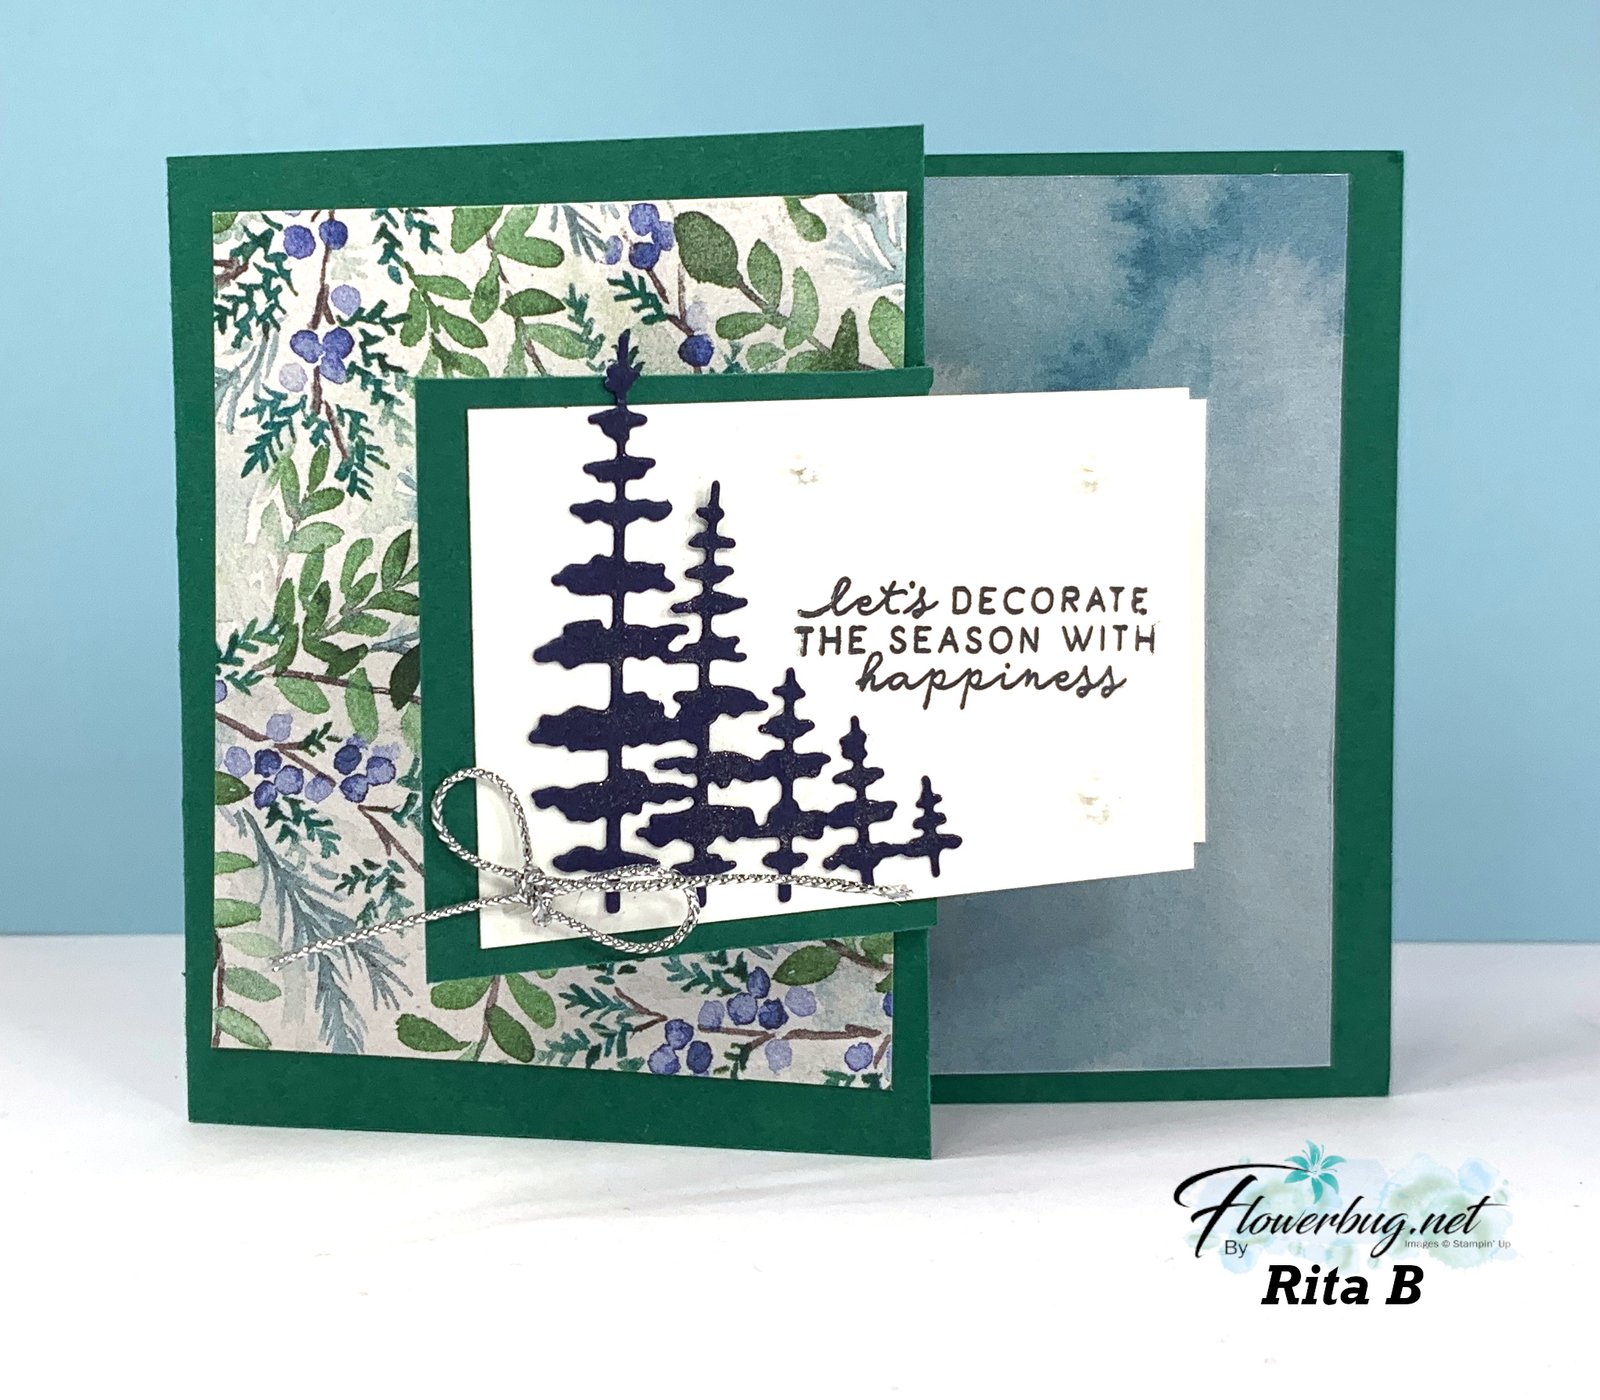
    Next is a pretty fun fold made by Rita. 

    She used the Winter Meadow designer paper and the Encircled in Nature dies (seen here) for her trees.  The front panel (White) is adhered to a flap that is part of the card base.  It's a neat fold! 

    Her card base measures 11" X 4 1/4", score at 2 1/4" & 5 1/2". Then make a mark at 1" from the top and 1" from the bottom on the 2 1/4" score line. You'll trim off the outer portion and that creates a flap for the White layer which measures 3 1/4" X 2". 

    Thank you to all of my Flowerbug's for creating incredible cards for our October card swap.  My gals are super talented!!

    ~~~

    October Specials:

    *current host code link:  VGUD6UA7

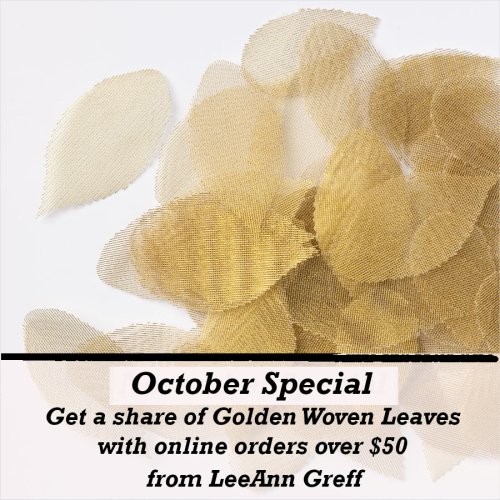
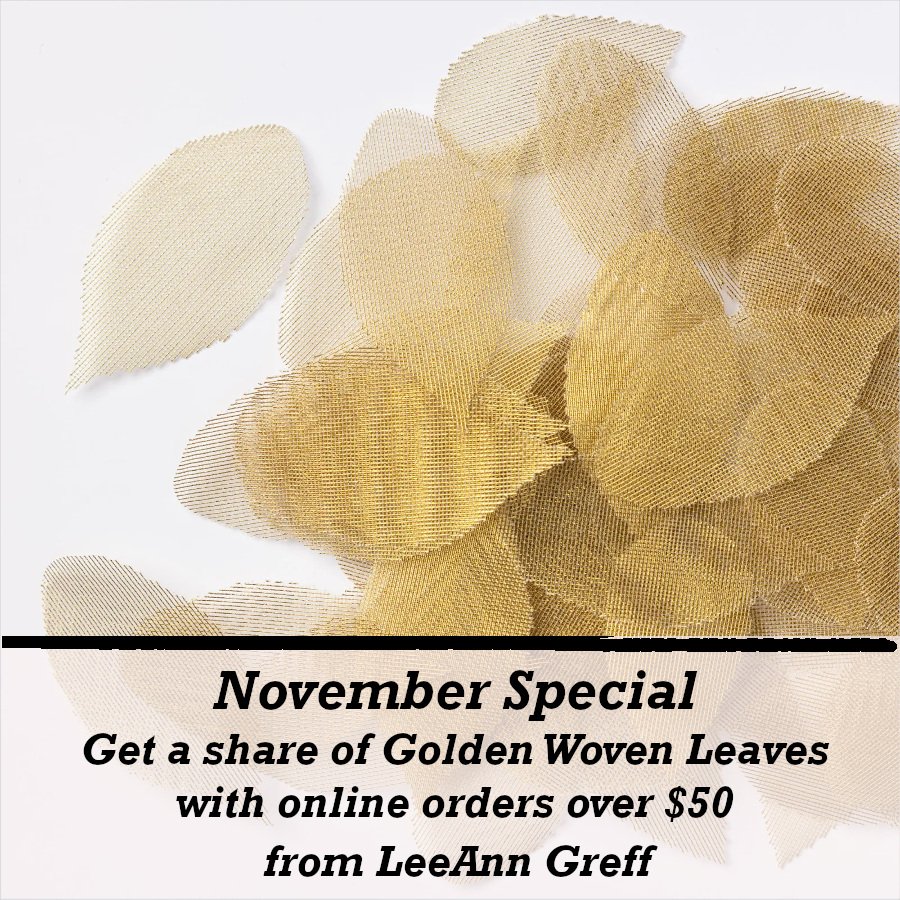
    Get a share of Woven Golden Leaves  


    ~~~

    Get an extra $30 in your Starter kit in October!  Click here to read more

    ~~~

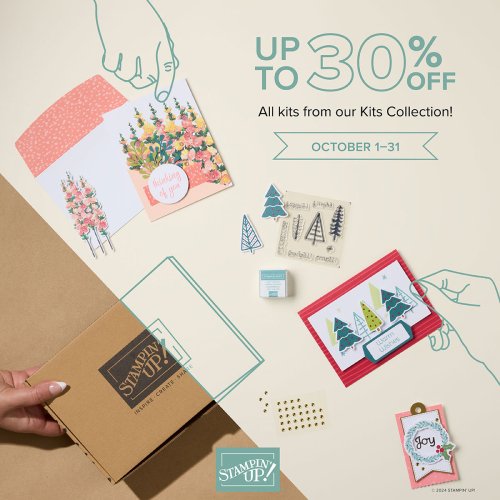
    The Kits Collection is on sale!  Check it out here.

    ~~~

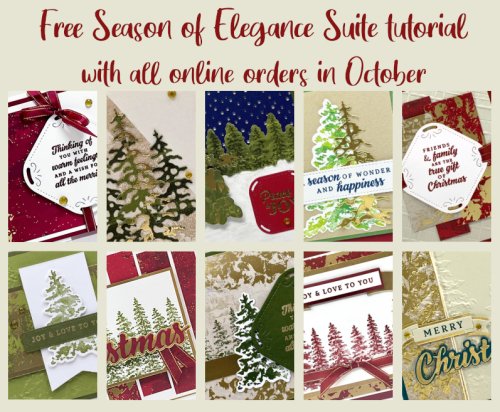
           All online orders in October will receive a free PDF tutorial featuring the Season of Elegance suite

    Leave a Reply

    Your email address will not be published. Required fields are marked *

  • The October promotions end Thursday! Take advantage today


    There are just two days left of the multiple, fabulous October promotions.  I wanted to remind you in case you missed any. 

    October Specials:

    ~~~

    Get an extra $30 in your Starter kit in October! It's a $99 order but you get up to $155 in product of your choice!  Click here to read more.

    Keep in mind that all future orders will be 20-25% off so you can grab those items on your wish list at a discount. I'd love to add you to my Team for as long as YOU want; you're in charge of how much you want to do. 

    • If you're ordering around $100 in product it just makes sense to get the deal and get another $55 in free product!
    • If you enjoy my tutorials you'll get all of them free when you're part of my Team. 
    • Love a good deal?  This is the best one we offer! 
    • Do you like being a part of something special? Our Flowerbug's Team community is friendly and filled with many opportunities you can take advantage of – swaps, challenges, sharing & fun! 

    ~~~

    The Kits Collection is on sale! There are so many incredible kits available; be sure to Check them all out here.

    ~~~

           All online orders in October will receive a free PDF tutorial featuring the Season of Elegance suite

    *current host code link:  VGUD6UA7

    Get a share of Woven Golden Leaves  

    Leave a Reply

    Your email address will not be published. Required fields are marked *

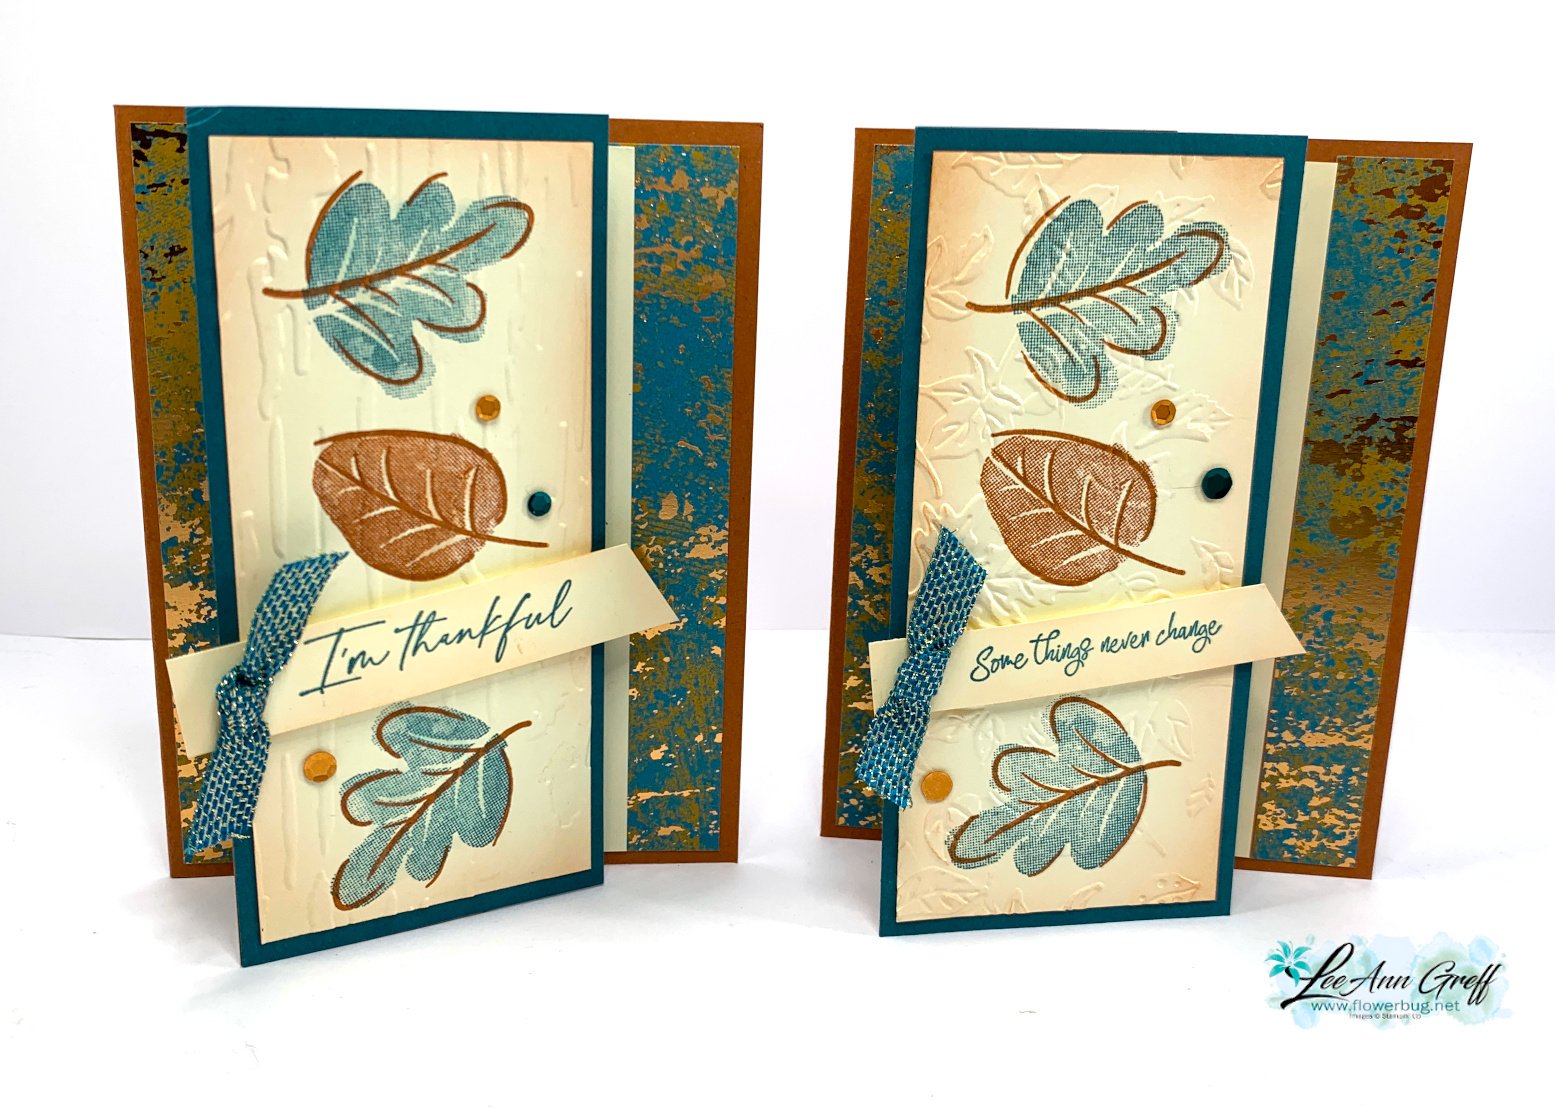
  • A special fun-fold card with Caring Leaves with video & free project sheet


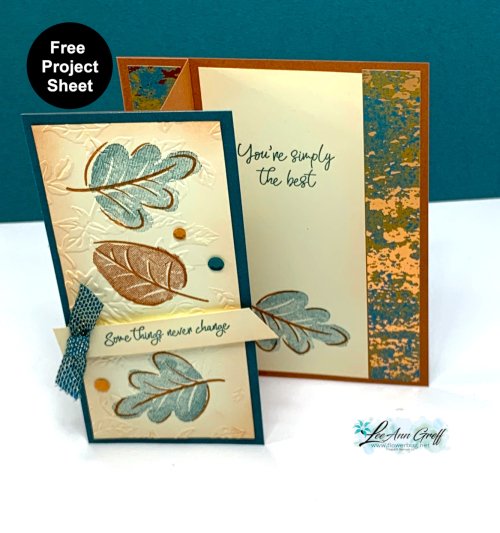
    I shared this unique fun fold card on last week's FB Live video.  It's also uploaded to my YouTube channel too.  

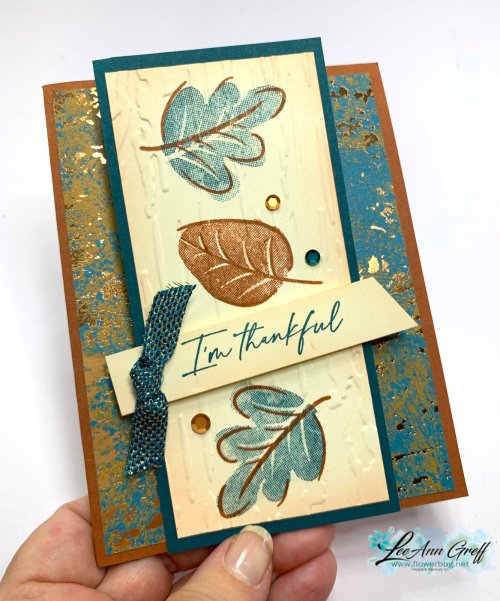
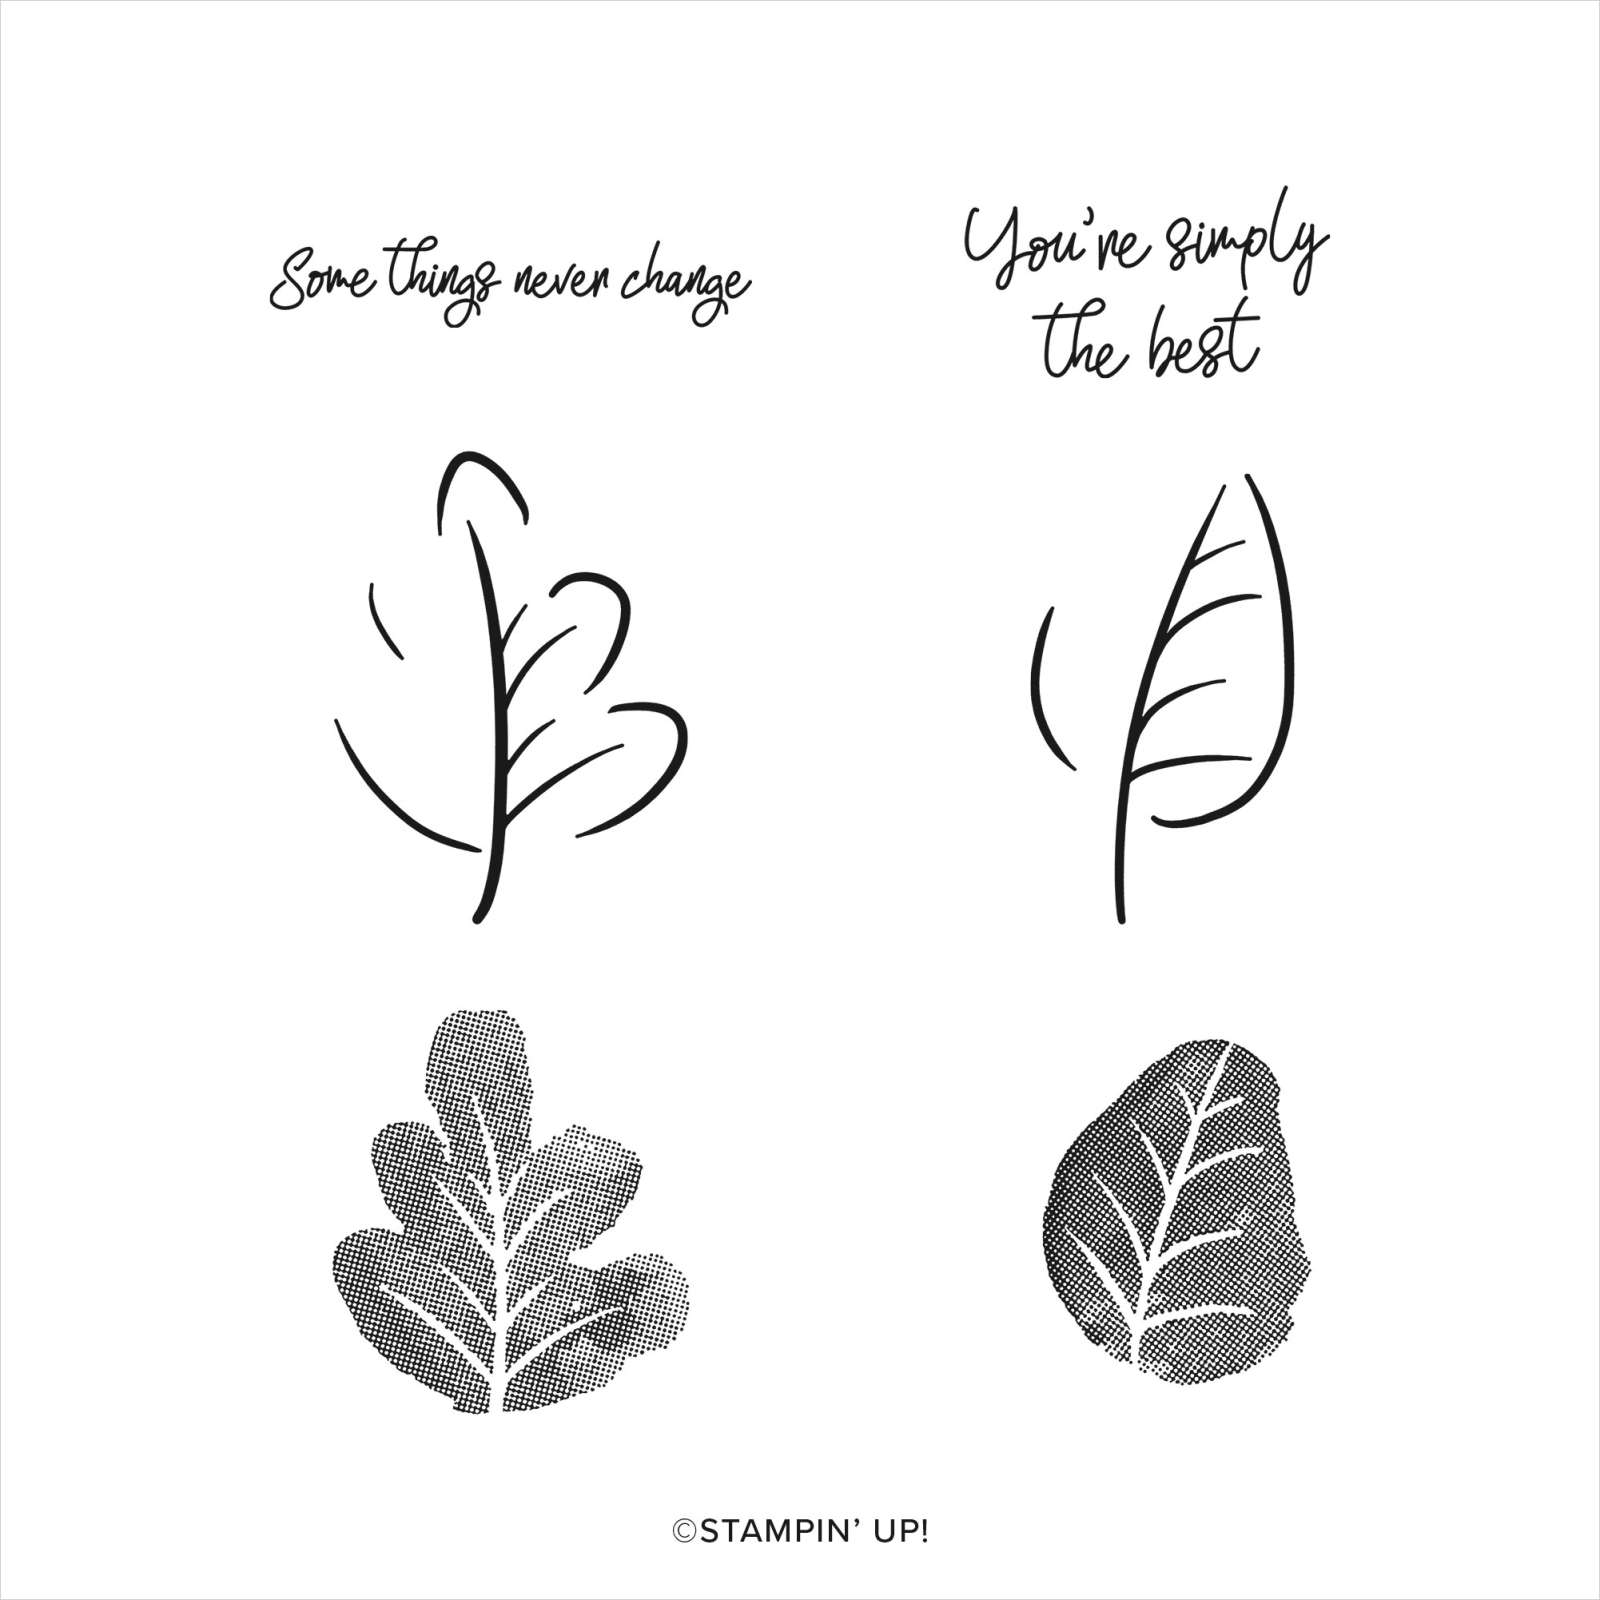
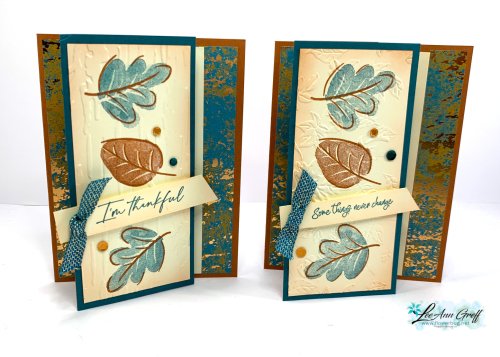
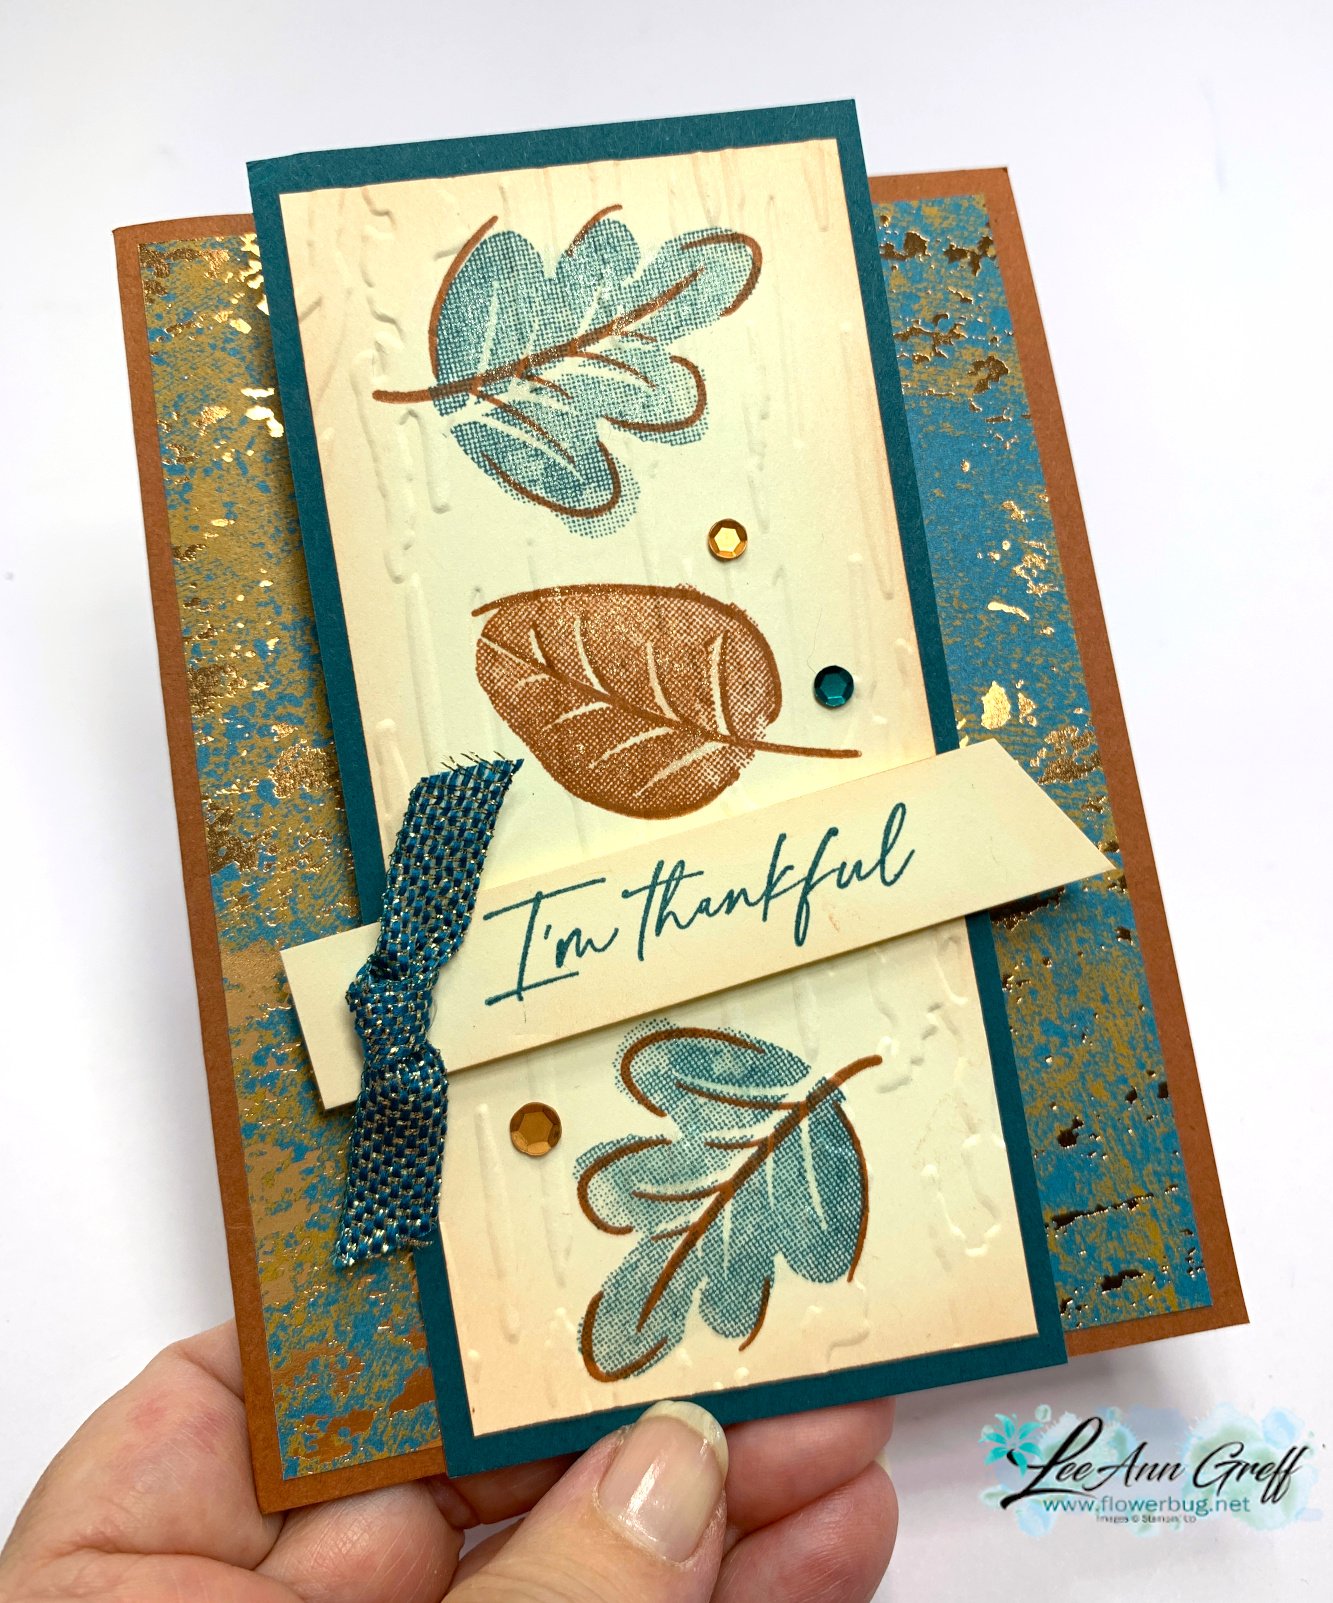
    It was one of the projects we made at my October card clubs this month.  The Caring Leaves stamp set is in our current Holiday catalog. See it here.  It's a sweet & simple set that is both Distinktive and a 2-step set. 

    You can see the fun fold below. The card base is scored 3 times. The measurements can be found in the free project sheet here. Click on the following link to print it or to download it.  Download Caring Leaves Oct 2024

    My colors include Very Vanilla, Copper Clay and Pretty Peacock.  After stamping the front panel we added texture with an embossing folder. I offered the Birch 3D or the Leaf Fall 3D folders. 

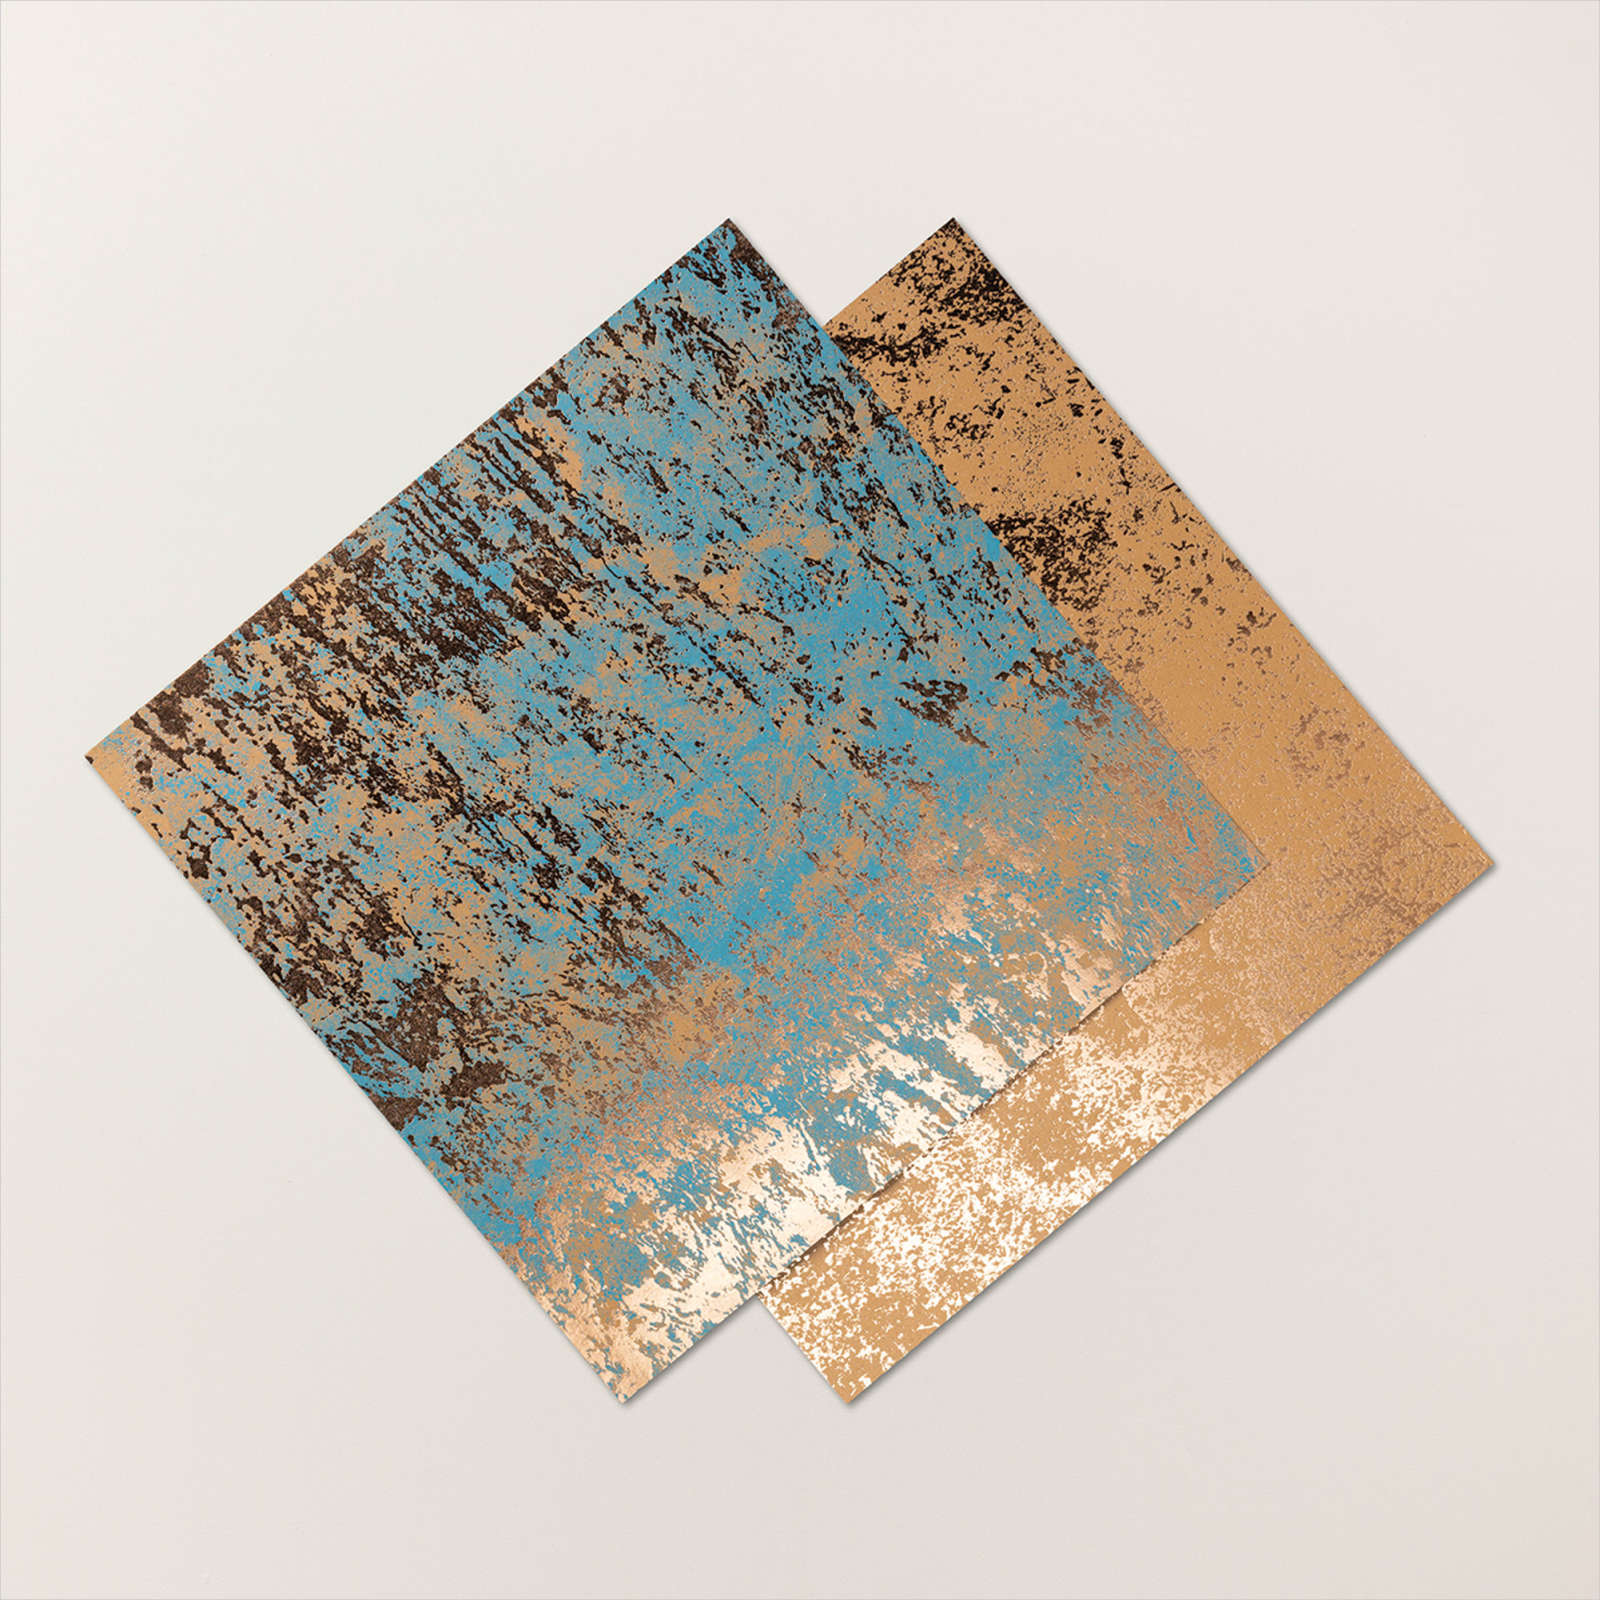
    That stunning Pretty Peacock & Copper foil specialty DSP is called Oxidized Copper and can be found here.  It's currently in low inventory though.  

    We blended a bit of Copper Clay ink to the front panel and greeting strip after embossing. A blending brush provides a beautiful & smooth color. 

    Below you'll find the video; please be sure to follow me on my YouTube Channel here too.  I share one every week on Tuesdays at 11 am CT on my Facebook page.

    ~~~

    October Specials:

    *current host code link:  VGUD6UA7

    Get a share of Woven Golden Leaves  


    ~~~

    Get an extra $30 in your Starter kit in October!  Click here to read more

    ~~~

    The Kits Collection is on sale!  Check it out here.

    ~~~

           All online orders in October will receive a free PDF tutorial featuring the Season of Elegance suite

    Leave a Reply

    Your email address will not be published. Required fields are marked *


Notice: LeeAnn Greff, Independent Stampin’ Up! Demonstrator, Manager. The content of this website is my sole responsibility as an independent Stampin’ Up! demonstrator and the use of, and content of, the classes, services, or products offered on this website is not endorsed by Stampin’ Up! Copyright 2025