/


Latest Post

New Horizons Side-step Easel cards with video tutorial


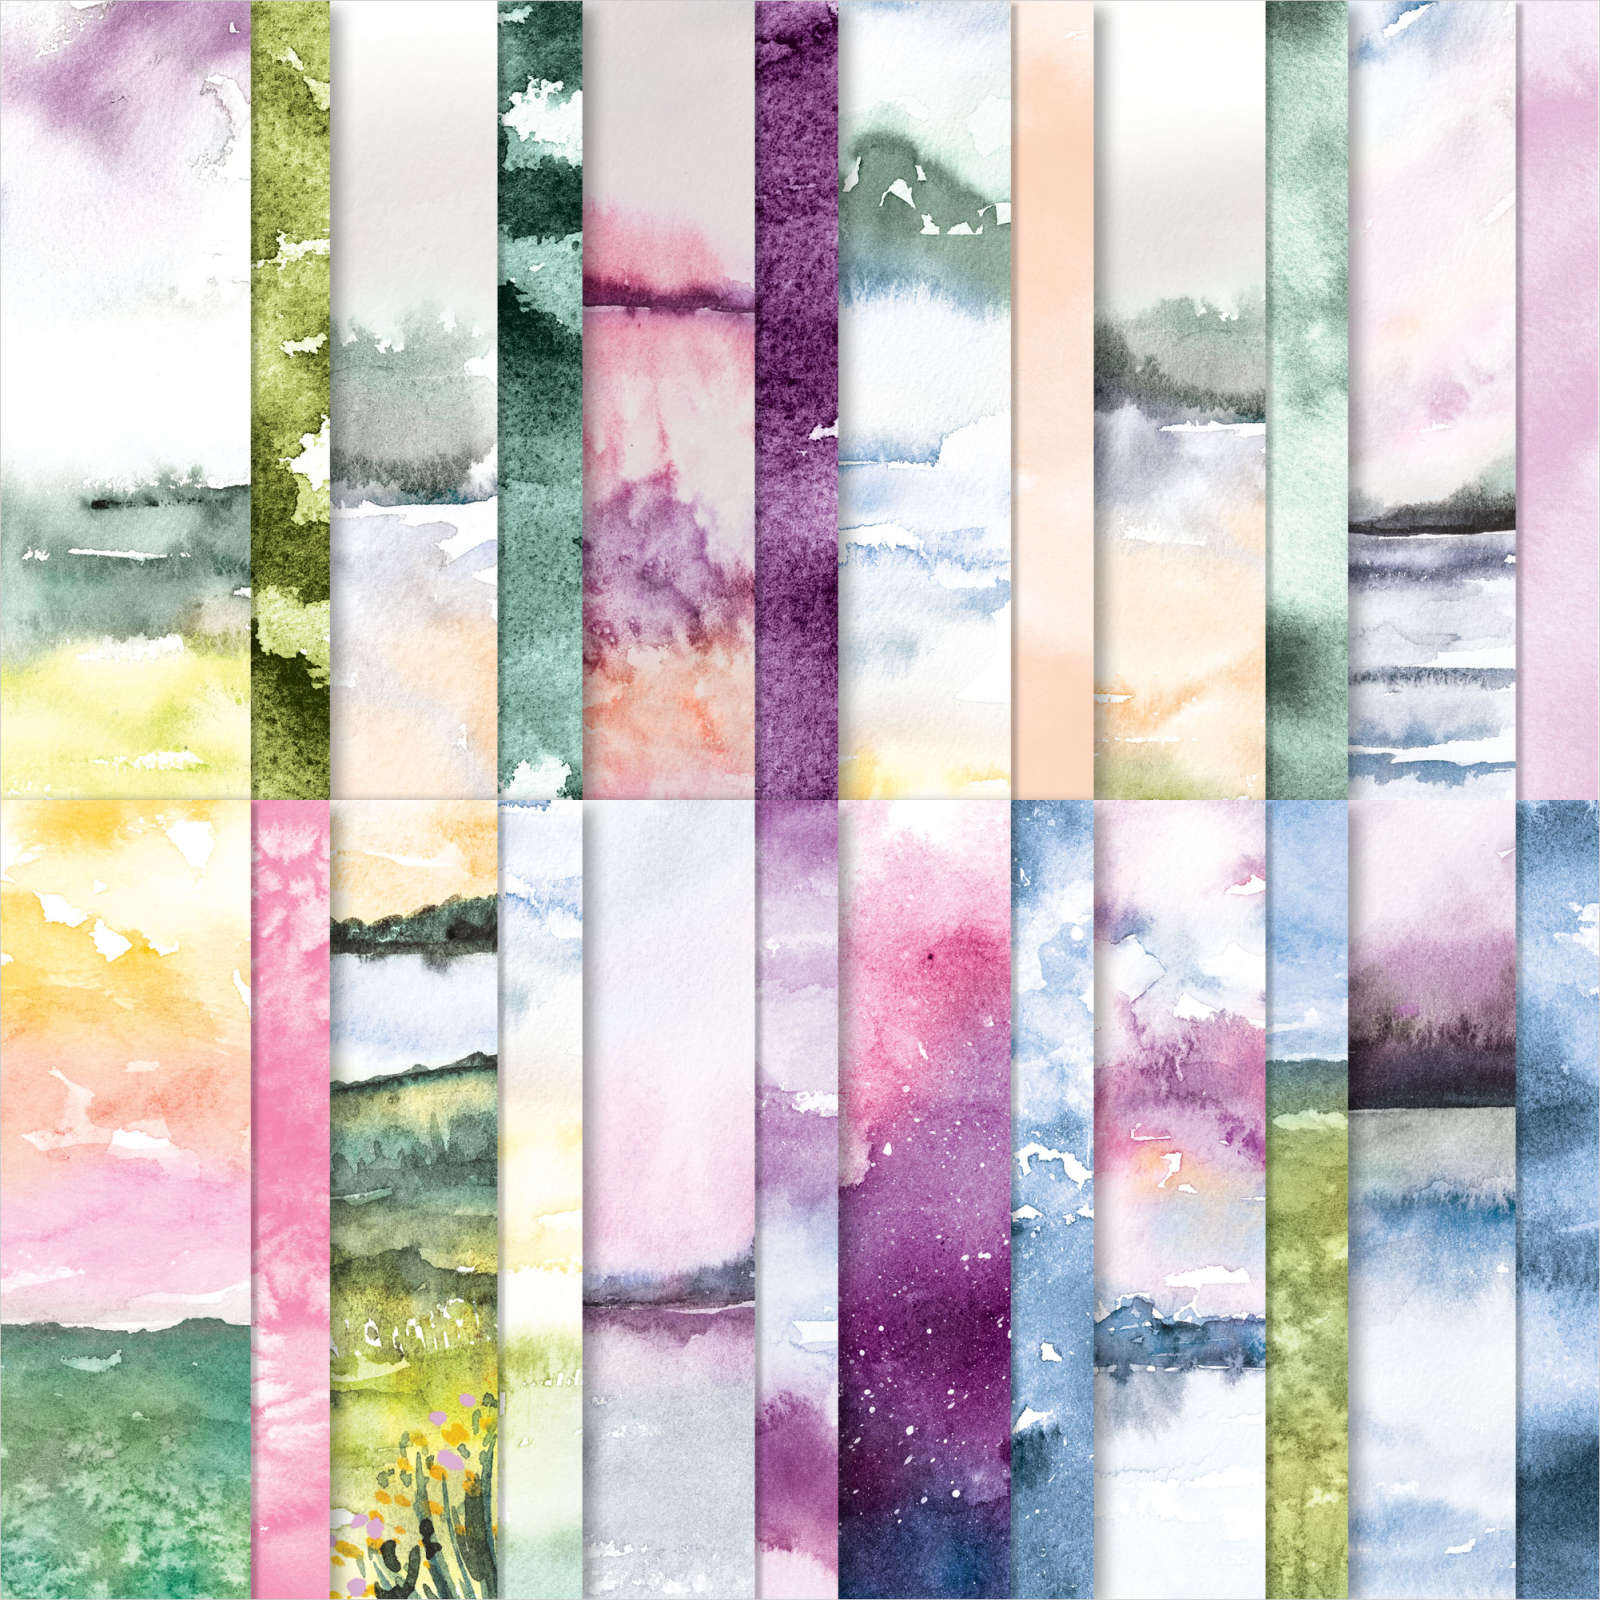
I shared these fancy fold cards on a recent FB live and thought you'd like to see them too. I used the gorgeous New Horizons designer paper seen here.   

Each Tuesday at 11 am CT I host a FB live. Follow me on FB here so you don't miss anything. 

It's a unique side-step card.  This one is a vertical layout.  See the horizontal layout below. My stamps include the On the Horizon bundle and Let's Sail bundle.  See those neat 'pebbles' I added to the bottom?  Those are in the 2022 January-June catalog but are currently out of stock.  They'll be back at the end of March.  

The global supply issues are affecting our product quite a bit.  Stampin' Up! is doing everything they can to keep us updated and getting our products as quickly as possible.  

Measurements:

  • Blackberry Bliss 4 1/4" X 9" scored at 1 1/4", 2 1/2" & 5 3/4"
  • Vertical CS is 2 1/2" X 8 1/4" scored at 5 1/2"
  • DSP pieces are front 2 1/4" X 5 1/4", strip on front 1" X 4", back is 3" X 4" 

Next are the horizontal versions I shared on the video.  Click here to see it or scroll down. 

I think any card you make with this beautiful designer paper will be stunning.  It's simply amazing!  

Measurements:

  • 5 1/2" X 8" Misty Moonlight CS scored at 3", 6" and 7"
  • Vertical easel piece is 3" X 6" scored at 4 1/4" 
  • DSP 2 3/4" X 4" and 3/4" X 5 1/4" strip, back DSP is 2 3/4" X 5 1/4" 

Click on the photo below to watch this video tutorial.  

~~~

March Specials: 

Host codes: EU76H4H7

 *click here to order 

If your order is over $50 you'll receive a free embellishment

from the Jan-June catalog in your thank you card.

Email me to opt in for my Waves card kit to go here; it includes the Waves bundle!

Or the Flowering Fields kit seen here. 


Don't forget about my loyalty rewards! 

Click here to download yours and earn a $50 shopping spree!  

All Posts

  • Two days left and they’ll be gone!


    The retiring list is coming out this week Wednesday and these bright and vibrant In Colors will be gone within hours!  They're the 2018-20 In Colors seen on page 164 of the Annual Catalog. Click here to see everything available in these colors; there's a lot! 

    Be sure to order by Wednesday before they're gone!  

    I created 5 cute cards; one in each color using the Daisy Lane & Sweetly Swirled stamp sets.  These cards are going out to my family this week.  

    I used Black ink for the greetings and swirls and the In Color inks for the daisy. The Medium Daisy punch is part of a bundle with the Daisy Lane stamp set seen here. Remember that it will not be available as a bundle after May, 2020. Even if both items return in the next catalog, bundles always retire from one catalog to the next. 

    Here's the Lovely Lipstick version: 

    Details:
    Main cards 5 1/2" X 8 1/2"
    Black 3 1/2" X 4 1/2"
    White 3 1/4" square plus 3/4" strips for greetings
    In Color DSP 1" X 3 1/4"


    Products used:

    Sweetly Swirled & Daisy Lane stamp sets, Retiring 2018-20 In colors plus Black ink, Daisy punch, Faceted gems, In Color ribbons & In Color enamel dots

    See the Retiring In Color items here while supplies last! 

    ~~~~

    April ordering specials:

    All online orders in April will receive my tutorial of the month; with 16 cards

    featuring the Ornate Garden products seen here.

    **Order either Ornate bundle from me and get a free 3 cards pre-cut kit! Order both and get a 6 cards kit with pdf tutorial! 

    Orders over $55 will receive a free Simple Shammy!

    Use this host code for April if your order is under $150.  If it's over you'll get host benefits!

     MMM4SXSB  

    Leave a Reply

    Your email address will not be published. Required fields are marked *

  • Best Dressed FB Live cards


    I made these 3 pretty cards during my weekly 'Stamp with Me' Facebook Live last night.  

    Each Thursday at 8 pm CT we'll finish 3 cards together in about 30 minutes.   Prep your pieces ahead of time using the measurements I provide and you'll be surprised how quickly you can make your cards!  Join me here: 

    I used the Best Dressed Designer paper seen here but you can substitute other paper, colors, stamps and punches. The stamped greetings are from the Peaceful Moments set here. I use this stamp set so much; the sentiments are wonderful.

    After the video many people share their finished cards. It's so fun to see what products everyone uses and how similar (or not) they are to mine. 

    Here are the details and close up views of these three cards: 

    Old Olive 5 1/2" X 8 1/2", Best Dressed DSP is 4" X 3", Lovely Lipstick is 4 1/4" X 3 1/4", White strip is 3/4" X 4 1/4".  A fast, easy card. 

    Purple Posy 4 1/4" X 8 1/2" scored at 5 1/2", Mint Macaron 3 1/4" X 8 1/2" scored at 4 1/4", yellow DSP is 4" X 2 3/4", floral DSP is 3" X 4", Stitched So Sweetly die-cut in White, 2 1/4" Mint circle, punched butterflies , Mint 1/8" ribbon

    • Purple Posy 4 1/4" X 9 3/4" scored at 5 1/2", DSP is 4" square, Detailed Band die-cut (see it here) in Purple Posy (Or use a border and any punch or die-cut)

    ~~~~

    April ordering specials:

    ~~~

    All online orders in April will receive my tutorial of the month; with 16 cards

    featuring the Ornate Garden products seen here.

    **Order either Ornate bundle from me and get a free 3 cards pre-cut kit! Order both and get a 6 cards kit with pdf tutorial! 


    Leave a Reply

    Your email address will not be published. Required fields are marked *

  • Color Challenge with Seriously the Best with Ornate Frames


    My Flowerbug's Team had a color challenge this past month – to use Black and White with a 'Pop' of color.  Here's the card I made: 

    This card literally took me 5 minutes to make.  Here's the steps:

    1. Cut a White card base 5 1/2" X 8 1/2"
    2. Cut the See a Silhouette DSP to 4" X 5 1/4".  Adhere to the card
    3. Die-cut two pieces a White 2 1/2" X 4"  stitched rectangle and a Black Ornate Frame.
    4. Stamp the greeting and leaves in Black Memento ink.  Add the flowers in Poppy Parade ink. Adhere to the card.
    5. Stamp the 'I miss you a lot' greeting on a scrap of White. Punch out with the Classic Label punch. Add with mini dimensionals.
    6. Add a few rhinestones. Done! 

    You can see the See a Silhouette stamp set here and the Ornate Frames dies here.  Remember that if you order any Ornate bundle from me in April you get a free 3 cards pre-cut kit!  Details below: 

    ~~~~

    April ordering specials:

    ~~~

    All online orders in April will receive my tutorial of the month; with 16 cards

    featuring the Ornate Garden products seen here.

    **Order either Ornate bundle from me and get a free 3 cards pre-cut kit! Order both and get a 6 cards kit with pdf tutorial! 

    Orders between $55 and $149 will receive a free Simple Shammy! (over that and receive your own host benefits plus a Shammy!)

    Use this host code for April: MMM4SXSB  

    Leave a Reply

    Your email address will not be published. Required fields are marked *


Notice: LeeAnn Greff, Independent Stampin’ Up! Demonstrator, Manager. The content of this website is my sole responsibility as an independent Stampin’ Up! demonstrator and the use of, and content of, the classes, services, or products offered on this website is not endorsed by Stampin’ Up! Copyright 2025