/


Latest Post

New Catalog Open House & BOGO is Saturday! NEW product shares are up!


I hold an Open House event with each new catalog release by Stampin’ Up! It’s a wonderful time to gather my friends and customers together and to get the new catalog in their hands. They’re always excited about these because I make a BIG DEAL over the event.

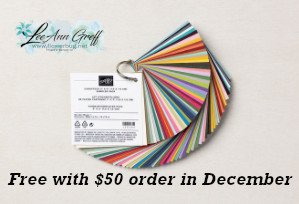
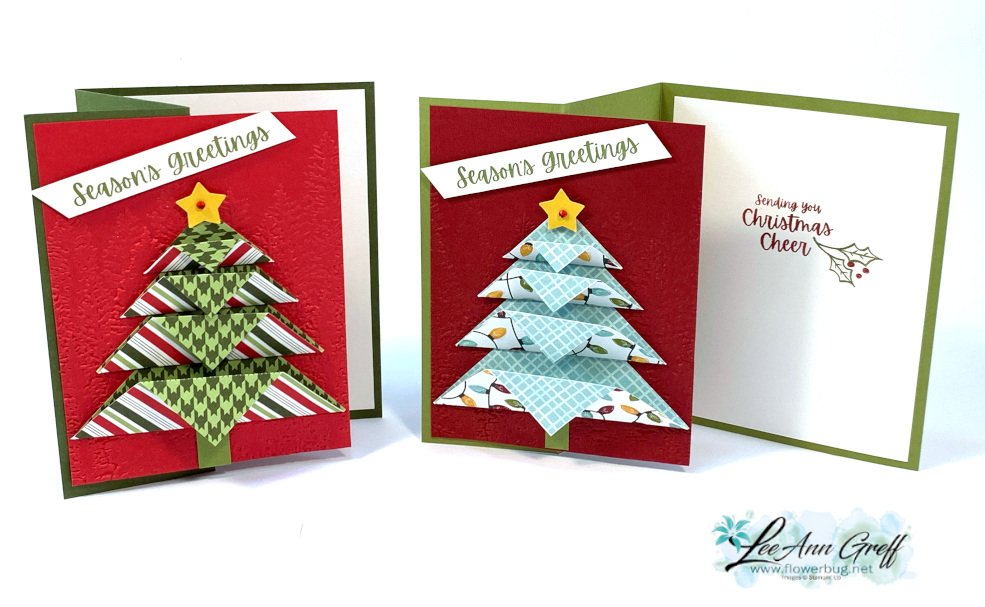
I love to show off our new products with displays and samples. I gather door prizes, free cards to give with orders, door prizes and an array of yummy food.

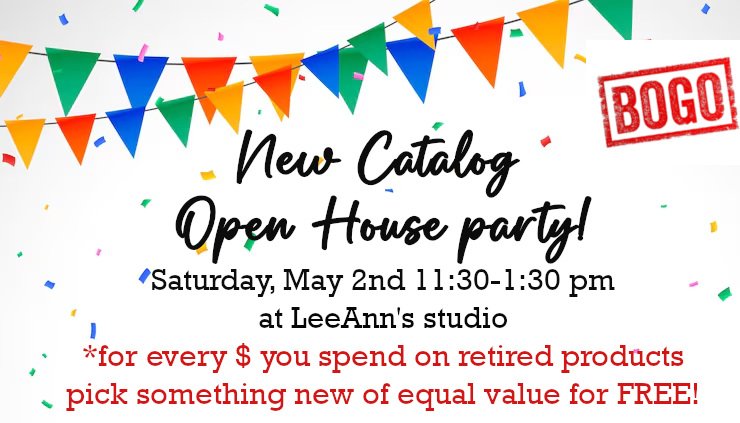
It’s Saturday at my home studio from 11:30 – 1:30 pm and will include a BOGO this time.

It shocks most people when they hear this, but I do not keep any of my Stampin’ Up! products from year to year. I just don’t have time to use it. So I price my retired products and put them in my garage for the sale. For each dollar you spend on my retired products you can pick out NEW items for free! Basically they are getting either one for FREE. It’s a wonderful deal for them and I can clear out my stash to make room for more. Win, win!!

If you’re near me in Minot, ND I hope you’ll come to the event. Even though I hold multiple card clubs each month I have lots of customers I only see a few times a year. It’s so neat to watch my gals gather together & catch up. I love it!

I’m also offering my Designer Paper and Embellishment shares to locals and long distance customers!

I know many who like to get a sampling of everything so they know what they want to order more of. It’s a great way to go. There’s nothing like seeing the new products in person!

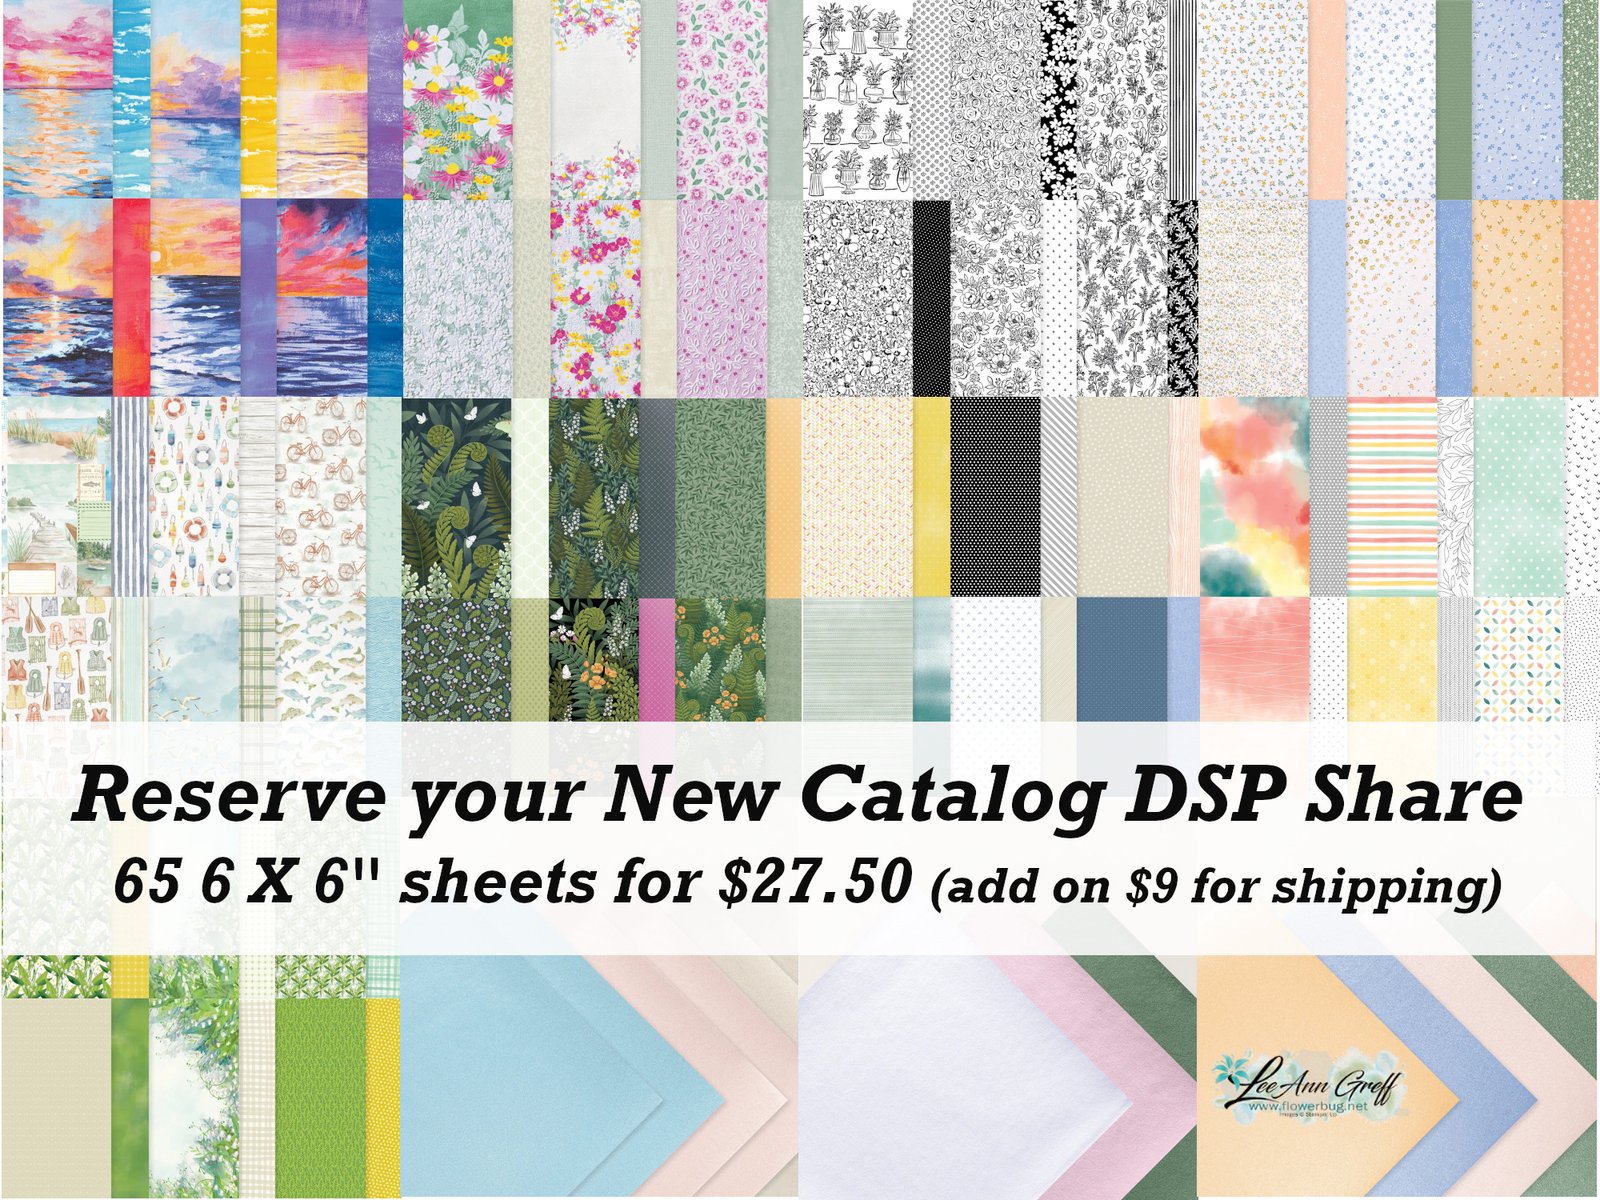
Reserve your DSP share here. It includes 65 sheets of 12 different papers from the 2026 May-August catalog; all in 6 X 6″ size. You can double your share and get all but one in 6″ X 12″ size. Click here to reserve a double share.

Details:

– This share includes all NEW papers in the summer catalog; not any Online Exclusives.
– The shares will be ordered and filled in order of purchase. It may take up to 2 or more weeks to receive them.
– if products become unavailable I may wait to ship the share until all are available.
– This share includes a printed list of card stock/paper colors in each designer paper.
– it does include 6 specialty papers. It does not include the Luxe White or Everyday Essentials Mix & Match DSP.

Here are the details on my new Embellishment share:

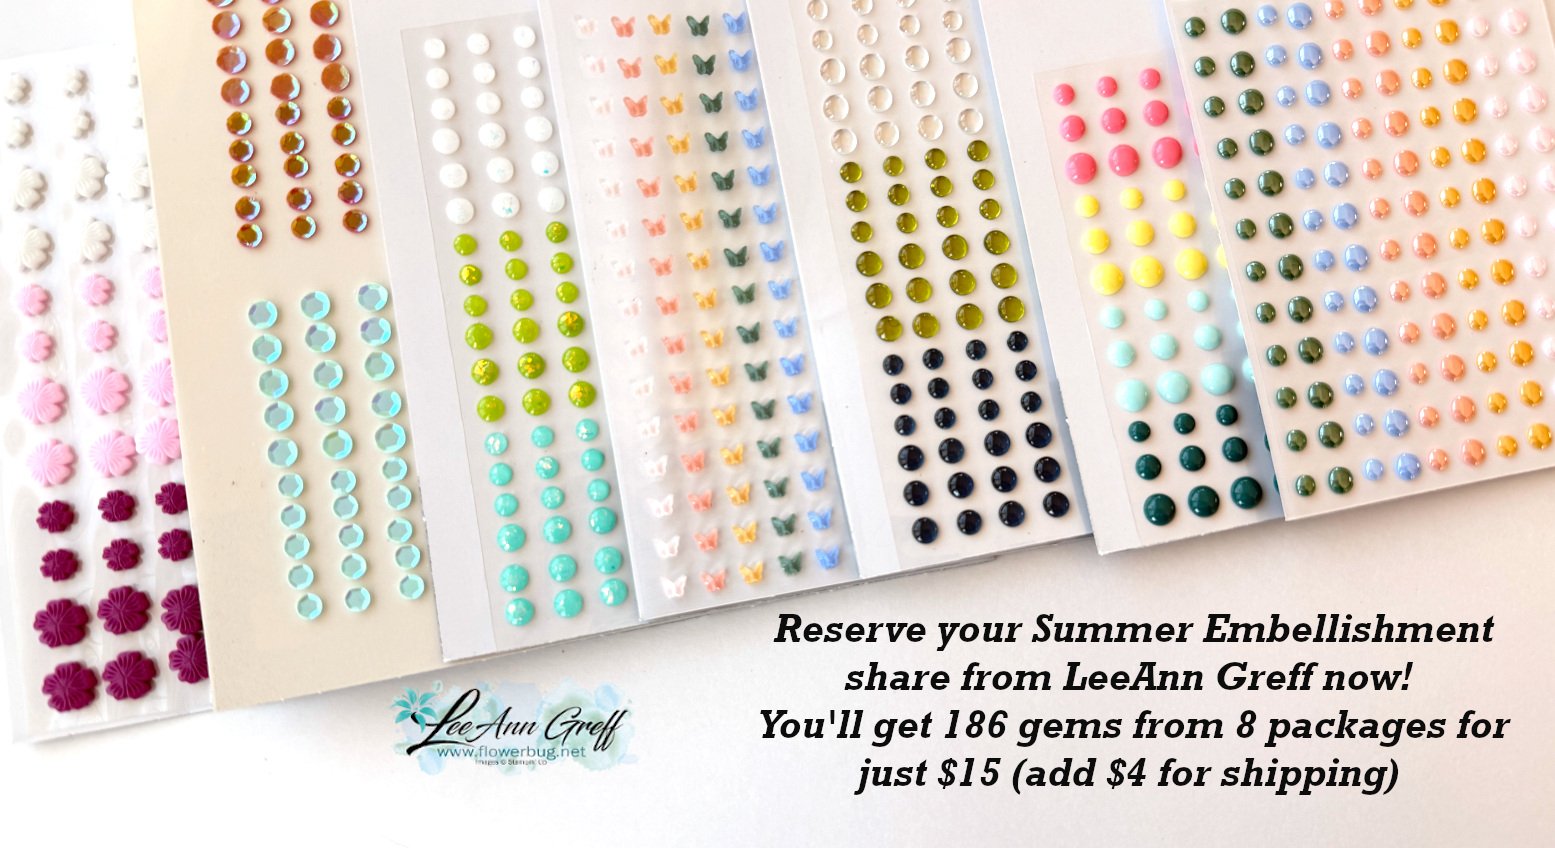
There are 8 different gems included in this share. You’ll receive a portion of each with a total of 186 different embellishments! All are shown above except the Loose Anchor trinkets. There will be 3 of those included in the share.
*You can double this share if you’d like.

The cost is $15 for locals (add $4 for shipping). No additional shipping is needed if you add this on to your DSP share above; I’ll combine shipping.

Reserve your embellishment share here.

Get both! You can opt in and get both shares here.

All Posts

  • Star & Snowflake Ornaments; so pretty!


    I had to give these gorgeous star projects a try!  Sara from Stampin' Up! made them for a tree topper but they were one sided.  I decided to turn her idea into ornaments by making them 2-sided.  

    They're made with our Stitched Stars dies seen here.  I used the largest and third smallest to make these. I used the Gingerbread & Peppermint DSP but unfortunately it was on the retired list and is sold out now. 

    You probably wonder where the snowflakes come from.  They are called 'Wonderful Snowflakes' and they also just sold out! The retiring list can be so hard; items you want can be gone in an instant! 

    You need a good stack of Dimensionals between each layer like this: 

    You can see why you need a smaller star inside; to support the stacks of Dimensionals. *There's a second stack under that smaller star.  You'll add a second large star on top of the dimensional stack seen above. 

    Tips:

    • I found a stack of 4 to work best.
    • I added a rolled up mini glue dot to the tip of each star point to secure them together.  It's not necessary but does finish if off so they stay closed. 
    • Add the cord with a glue dot to one of the star points. 

    They were so fun to make I couldn't stop! I plan to add these to my cookie trays or to Christmas presents instead of a traditional bow. 

    I thought this last one would look sort of ho hum in this pattern.  But once I added our Red Rhinestones to the snowflake it sure came to life!  

    Below is the video to see exactly how to make these pretty ornaments.  They're the third project I share. 

    ~~~

    December Specials:

    Host code:  6YCWV7QN

     *click here to order 

    Use the host code above & get a free card stock sampler ring with a $50 order in December! 

    See the last chance list here

    See the July-December catalog carry over list here

    Leave a Reply

    Your email address will not be published. Required fields are marked *

  • Origami Christmas Tree card; soooo easy!


    I make one of these trees almost every year.  Why? Because they are easy & fun and we always have new Designer Paper for me to play with. 

    All you need are four squares of DSP. No scoring or other measurements.  Watch the video here or below to see how it's done. 

    Here are the supplies:

    • Card stock – Old Olive & Mossy Meadow card bases, Real Red & Cherry Cobbler layers, White greeting strip & inside
    • Designer Paper – Heartwarming Hugs (out of stock now) and Sweet Stockings
    • Greeting image from the Christmas Cheer stamp set
    • Star topper from the Starlit punch
    • Embossing folder – Evergreen Forest (out of stock temporarily) 

    Measurements: 

    • Card base 5 ½” X 8 ½”
    • DSP – 4 square pieces at 1 ¼”, 1 ¾”, 2 ¼” & 2 ¾”
    • Textured front & White inside are 4” X 5 ¼”

    Below is the video for you. I share another special card project and some pretty star/snowflake ornaments as well.  

    ~~~

    December Specials:

    Host code:  6YCWV7QN

     *click here to order 

    Use the host code above & get a free card stock sampler ring with a $50 order in December! 

    See the last chance list here

    See the July-December catalog carry over list here

    Leave a Reply

    Your email address will not be published. Required fields are marked *

  • Easy Christmas Ornament card


    I think this is pretty clever & unique; it's a 'faux' Christmas ornament on a card. And it's quick & easy too!  

    It looks so real; like you could lift it off!  And you actually could if you use temporary adhesive; or add it to a pocket.  

    I shared this project on a FB Live last week.  It's the second project I made in this video.  

    Products used:

    • Merry Melody embossing folder on the White CS
    • The ornament is made with the largest smooth circle in our Circles dies. 
    • The DSP is called Painted Christmas and is in low inventory right now.  
    • Elegant Trim for the 'hanger'. 
    • Brushed Metallic specialty CS for the 'hanger'. 
    • Heat embossing for the greeting – from the Words of Cheer stamp set. 
    • CS is Real Red, White & Evening Evergreen 

    Here's a close-up of it. 

    I give a few hints in the video on achieving this.  Basically you want to stamp your greeting first and add it to your DSP.  THEN cut both pieces out at the same time with your circle die. 

    Below is the video for you. I share another special card project and some pretty star/snowflake ornaments as well.  

    ~~~

    December Specials:

    Host code:  6YCWV7QN

     *click here to order 

    Use the host code above & get a free card stock sampler ring with a $50 order in December! 

    See the last chance list here

    See the July-December catalog carry over list here

    Leave a Reply

    Your email address will not be published. Required fields are marked *


Notice: LeeAnn Greff, Independent Stampin’ Up! Demonstrator, Manager. The content of this website is my sole responsibility as an independent Stampin’ Up! demonstrator and the use of, and content of, the classes, services, or products offered on this website is not endorsed by Stampin’ Up! Copyright 2025