/


Latest Post

Last day for both the Last Chance sale and my In Color special offer!


Before I share photos of my New Catalog Launch I want to remind you that today is the last day you can order from either the Annual catalog or the Spring catalog. 


Make sure you have what you need BEFORE it's gone and retired.  Click here to see what's left!

~~~

Saturday I held my new catalog launch party and I thought you'd like to see my displays too.  Unfortunately I did not receive many of my card swaps in time, but I had some and I had made quite a few samples myself. I worried my boards would be empty but I think they turned out quite well.  

This first photo shows off two displays; from left to right – the Circle Sayings bundle, the Countryside Inn Suite, the Bright & Beautiful suite and the Little Monkey bundle.  

Here are a few close-ups of these two:

this was a clear favorite of many.  I'll be featuring this beautiful Countryside Inn DSP for one of my May kits to go.  Many people asked about the cute baskets; I'll feature them on an upcoming video.  

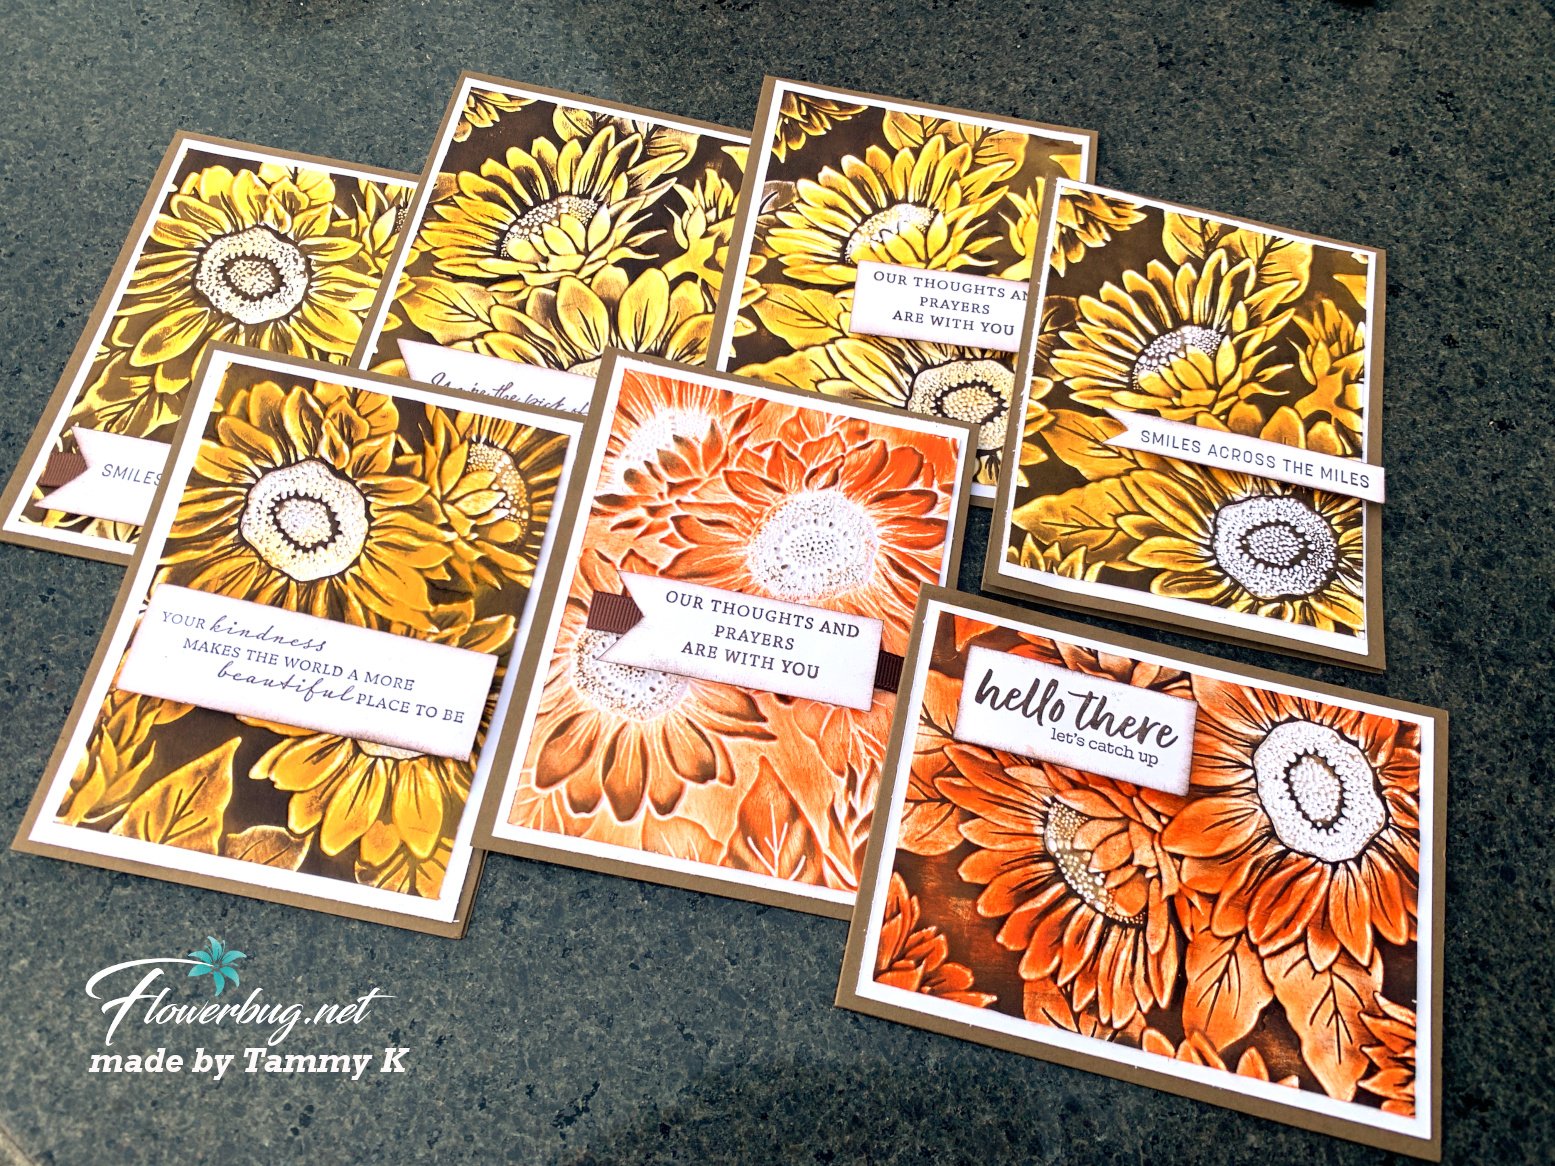
And here's the incredible Bright & Beautiful 6 X 6" designer paper.  Amazing color combos and patterns!  This is another contender for my May card kits….

I use inexpensive foam boards from the dollar store and attach my projects with either poster putty or clips.  

And here are my kits to go boards; I prepped extra kits for my April offerings. You can see and purchase them on my Shop here.  Remember you can save $$ on shipping when you purchase more than one.  

I'll share more tomorrow; the new catalog goes live May 2nd!!

Today is the last day to get in on my new 2023-25 In Color special bundle offer. 


I put together a big bunch of products and then give something free with the purchase. This year it's free gems AND a new ribbon share! Plus I have extra spiral bound catalogs left too!  I can add this to your bundle for free! 


This bundle is available through Monday, May 1st. Choose from the following options and I'll send you an invoice. 

Option 1: Get the 5 ink pads, 5 ink refills, 20 sheets 8 1/2" X 11" cardstock, 10 sheets new 6" In Color DSP and get the free ribbon share, in Color gems AND a free spiral bound catalog! $93 (*Long distance customers add $8.50 for Priority shipping for options 1 or 2) 

Option 2: Get all of the In Color items above PLUS 5 new In Color Blends markers – pay for 4 and get 1 FREE. Cost $142 total

Option 3: Add on the new Designer Paper share to either option 1 or 2 – 80 sheets of 6 X 6" DSP. Cost is $28.50. *see photo below.  *click here to order it separately. 


~~~

May Specials:

See the 2023 Last Chance list here 

*current host code: DAZNHPH2 

Get a free cardstock color sampler with online orders over $55 using a host code.

Offer good through May 17th  

Earn free products with my loyalty rewards! 

Click here to download yours and earn a $50 shopping spree!

All Posts

  • Beautiful Peaceful View card the easy way with video & free project sheet


    For my June card clubs I knew I wanted to feature the Peaceful View stamp set.  This gorgeous stamp makes it easy to create a stunning card with.  I've asked for this type of stamp for years and finally got one! 


    Could you ask for a more perfect background for this image?  Where did it come from?  It's a piece of designer series paper – from the Thoughtful Journey 6" X 6" DSP seen here.   It's absolutely the perfect choice and much easier than creating a coloreful background with ink. 

    The majority of the papers work well for this stamp so my club members could pick their favorite. 

    We inked the tree scene with Secret Sea ink and stamped on the designer paper.  It's then adhered to a full 4 1/4" X 5 1/2" piece of Balmy Blue CS before it's added to the front flap of the card base (front is folded back once).  

    For the greetings I stamped the More Messages stamp a few times and used the coordinating die to cut them all out.  I had tons of greetings for them to choose from.  They then layered them onto another Balmy Blue strip or die-cut. 

    What I love about this latest messages bundle is that the greetings and die-cuts are larger than ever before. See the bundle here. 

    Here's the free project sheet with measurements and supplies for you: Download Peaceful View June Club

    Below is the video for this card and another where I show you how to add color to the stamp. I'll share details on that project tomorrow.  

    ~~~

    July Specials:

    New Online Exclusives are here!  

    ~~~

    Last Chance List has been updated!  see it all here. Don't miss out on the deals!

    ~~~

    Get my Turtle-y Cute PDF tutorial free with any online order in July!

    Leave a Reply

    Your email address will not be published. Required fields are marked *

  • A gorgeous scene made with Wooded Acres; on the Last Chance List


    I was playing around with the Wooded Acres stamp set and made a pretty scene by adding a blended background. 

    You may know I love creating pretty scenes with my stamps, ink and blending brushes. 

    Here are the steps:

    1. I stamped this image on a long post-it note and fussy cut the area above the ground off.  I stamped it on my White CS and then added the post-it note to mask the sky. 
    2. Now I added Garden Green ink with a Blending Brush for grass. 
    3. I removed the post it and replaced it with the other half to sponge the sky. I used Timid Tiger, Calypso Coral and Balmy Blue. 
    4. I layered it with Black and White card stock. 
    5. I then stamped the same image on the Balmy Blue card base to extend the trees.  

    What do you think?  

    This stamp set is now on sale on the Last Chance List. You can see the stamp set here. 

    If you'd like to get tips on blending a smooth sky please watch this video. 

    ~~~

    July Specials:

    New Online Exclusives are here!  

    ~~~

    Last Chance List has been updated!  see it all here. Don't miss out on the deals!

    ~~~

    Get my Turtle-y Cute PDF tutorial free with any online order in July!

    Leave a Reply

    Your email address will not be published. Required fields are marked *

  • Double Flap fun fold with free project sheet & video tutorial


    Today I'm sharing the second card I made on last week's video.  It's a double flap fold card featuring the Sunrise Sailing bundle.

    The colors include Cloud Cover, Secret Sea, Strawberry Slush and Daffodil Delight.  

    I created a mask for the sun with a 1 7/8" circle punched from a post-it note. I used blending brushes & Strawberry Slush and Daffodil Delight inks. I also added just a hint of Strawberry Slush ink on the bottom of the cloud die-cuts. 

    The Designer Paper is our new 6 X 6" In Color designer paper seen here.  

    I showcased the Sunrise Sailing bundle seen here.  I love the stamp images AND the dies in this bundle.  They're wonderful and really spark creativity. There are THREE different size sailboats in the dies!  

    As you can see in the sample in the photo below you can make a card with just the embossing folder! 

    You can see in the photo below how the front square flap lifts to the right to reveal a peek at the inside. I added the cloud to the back of this square and placed it so it could 'latch' on the larger cloud to hold the card closed.   

    I create a free project sheet for this card. I also share it on the same day as my video on my Flowerbug's Stamp & Share FB group here .       Download Sunrise Sailing Latch card

    You can see the card fully opened below.  I love this easy but fun card fold.


    You'll find the video tutorial for this card and another Sailing card below. Don't forget to subscribe to my YouTube channel while you're watching!  

    I'll share another card with this bundle on Wednesday. 

    ~~~

    July Specials:

    New Online Exclusives are here!  

    ~~~

    Last Chance List has been updated!  see it all here. Don't miss out on the deals!

    ~~~

    Get my Turtle-y Cute PDF tutorial free with any online order in July!


    Leave a Reply

    Your email address will not be published. Required fields are marked *


Notice: LeeAnn Greff, Independent Stampin’ Up! Demonstrator, Manager. The content of this website is my sole responsibility as an independent Stampin’ Up! demonstrator and the use of, and content of, the classes, services, or products offered on this website is not endorsed by Stampin’ Up! Copyright 2025