/


Latest Post

Neat Fun Fold swaps by my Flowerbug’s Team


Our Team gathering and swap was this past weekend and our theme was to use designer paper.  

This first card was made by Marla and features the Countryside Inn DSP.  

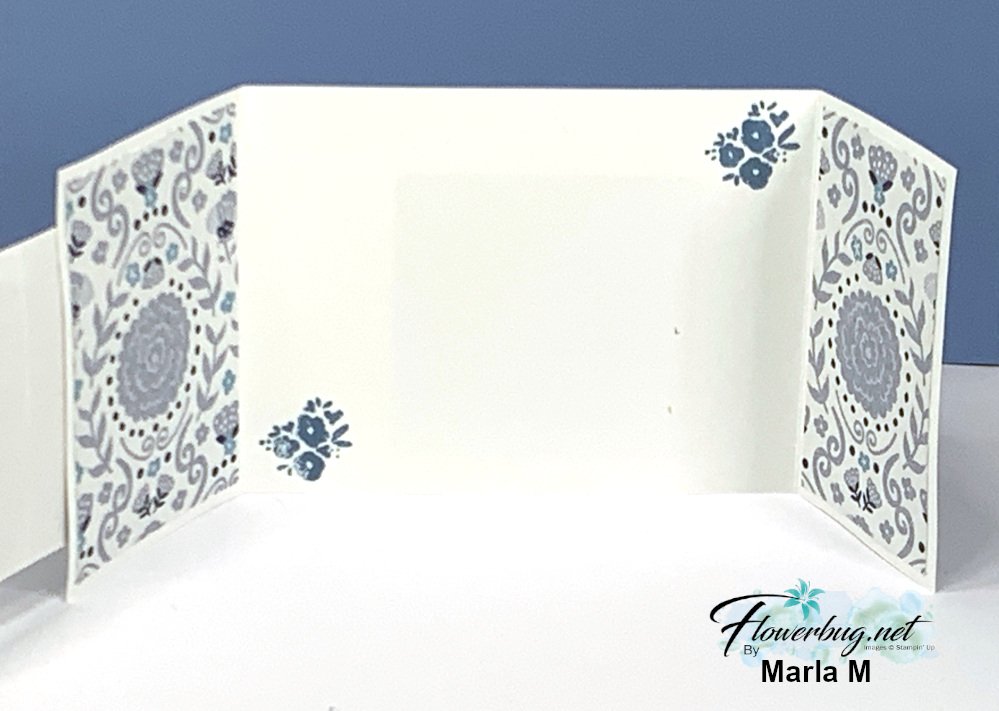
It looks like an ordinary gatefold card, but it's not!  It latches closed with the heart & leaf punches on the right side! 

Measurements are as follows:

  • Card base 4 1/4" X 11" scored at 3" and 8 1/2"
  • Designer paper is 2 3/4" X 4" on the left and 2 1/4" X 4" on the right.  *same on the inside

It's hard to tell in the photo but the top right corner of the large, layered die-cut catches under the punched pieces on the upper right of the card base.  So cool and smart!  I love it when a fun fold card stays closed easily.  

She featured the Countryside Inn designer paper seen here.  If you love blues, you need this pretty paper! And it's on sale in June – down from $12.50 to $10.62 now.   

She also added more of the pretty paper inside her card.  
Next is a sweet card by Candy – (see what I did there?)  She featured the Zoo Crew designer paper and Zany Zoo bundle. She colored each of those flowers with a Blends marker! 
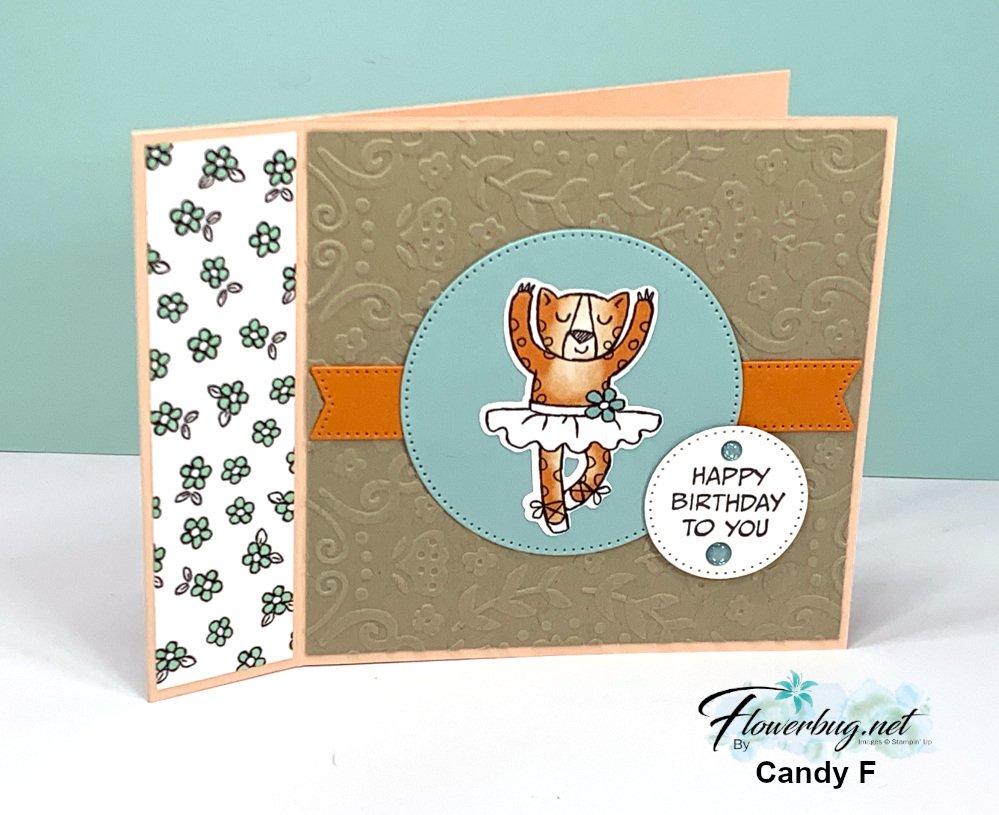
It's a 'book-binding' card fold.  Start out with a 4 1/4" X 11" card base; score at 4 1/4" & 5 1/2". You'll adhere the 'binding' area down so the card opens at the 4 1/4" score line.  

Her coloring is beautiful; I believe she used Blends markers.  

The embossing folder is the Countryside Blossoms and the stitched circles and banner are from the Stylish Shapes dies. 

I'll share more team swaps tomorrow! 

~~~

June Specials:

Designer Paper is 15% off in June!
WOW – get $155 in product for $99 with free shipping! click here!

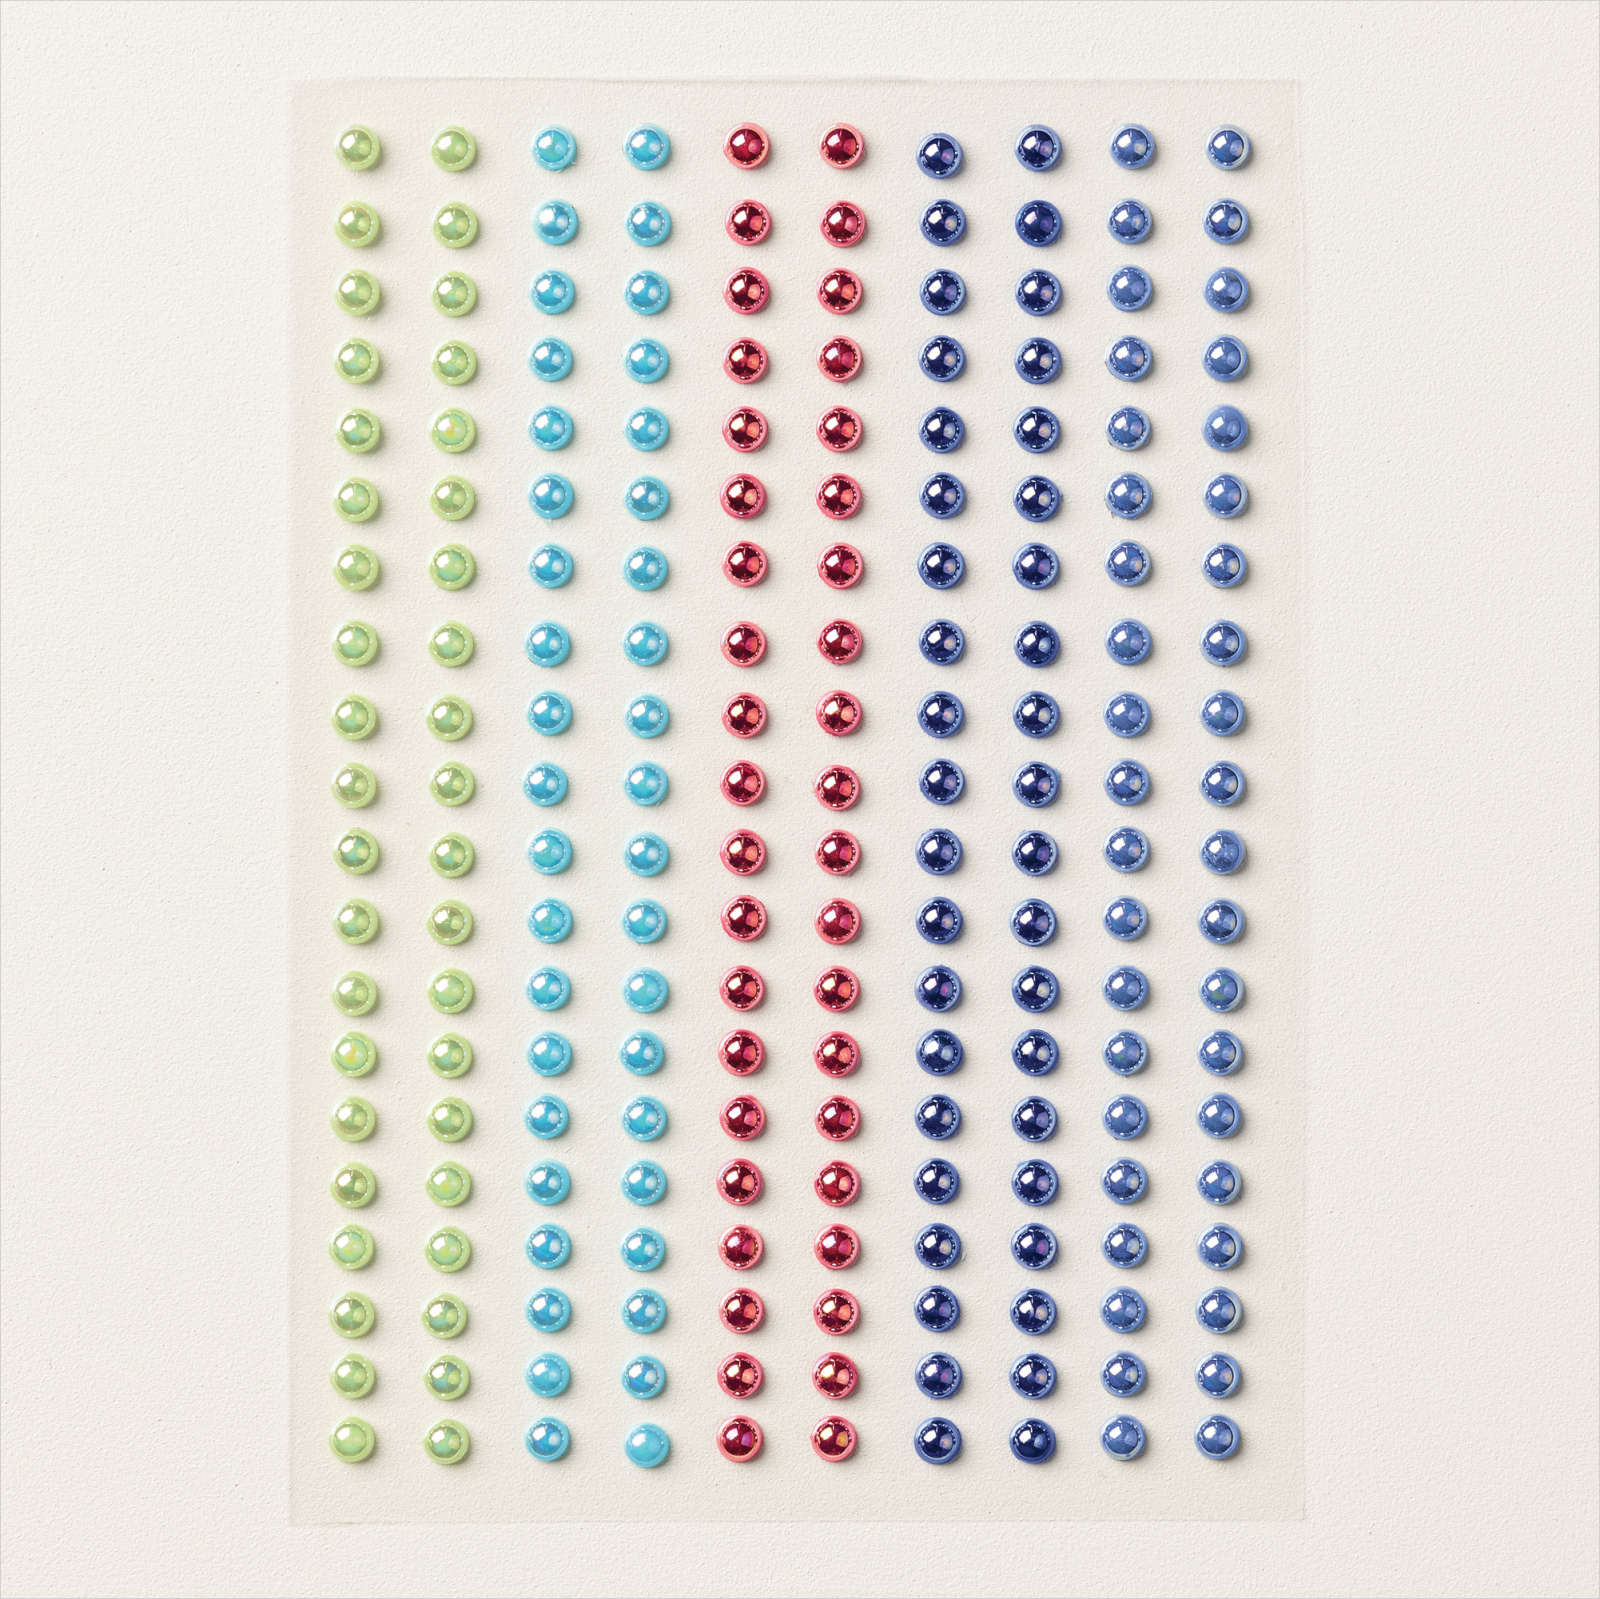
Get a package of In Color pearls with online orders over $55 using a host code.

*current host code: M7SCQSVS
 Earn free products with my loyalty rewards! 

Click here to download yours and earn a $50 shopping spree!

All Posts

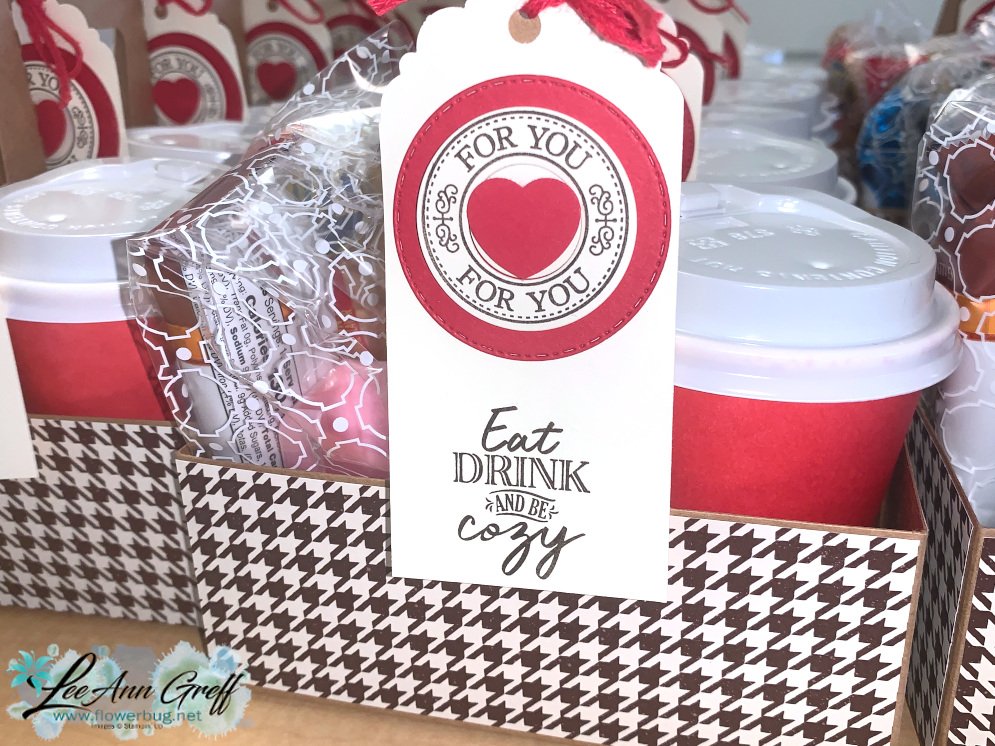
  • Mini Coffee Carriers; a special gift with treats & glue stands!


    Have you noticed the mini coffee carriers on page 9 of the Holiday catalog? They're actually quite large and should not be called mini!  You can see the entire suite here. 

    My friend Marilyn made this one for me; casing the catalog project on page 10.  It's so cool! 

    She used the Heartwarming Hugs and Wrapped in Christmas stamp set.  She wrapped her coffee cups with Real Red CS. Tip; use strong adhesive like Tear & Tape for this. 

    Here's another version. I made these for my Flowerbug's Team that attended OnStage@Home a few weeks ago.  It was filled with treats, apple cider packet and a liquid glue stand that we make *see photo below

    I actually sprayed my coffee cups with a mixture of rubbing alcohol and Real Red ink refill.  

    Here are the Multipurpose Glue stands included in the gift above. We have them available in my Shop here.  They are $6 each. 


    We can fit three in a box for almost the same shipping cost.  They make great gifts for your stamping friends!  

    ~~~

    November Specials!

    Current Host code is A2MTFYEB


    All online orders receive my FREE Curvy Celebrations 22 project PDF Tutorial! 

    Leave a Reply

    Your email address will not be published. Required fields are marked *

  • Three easy cards with Curvy Christmas set


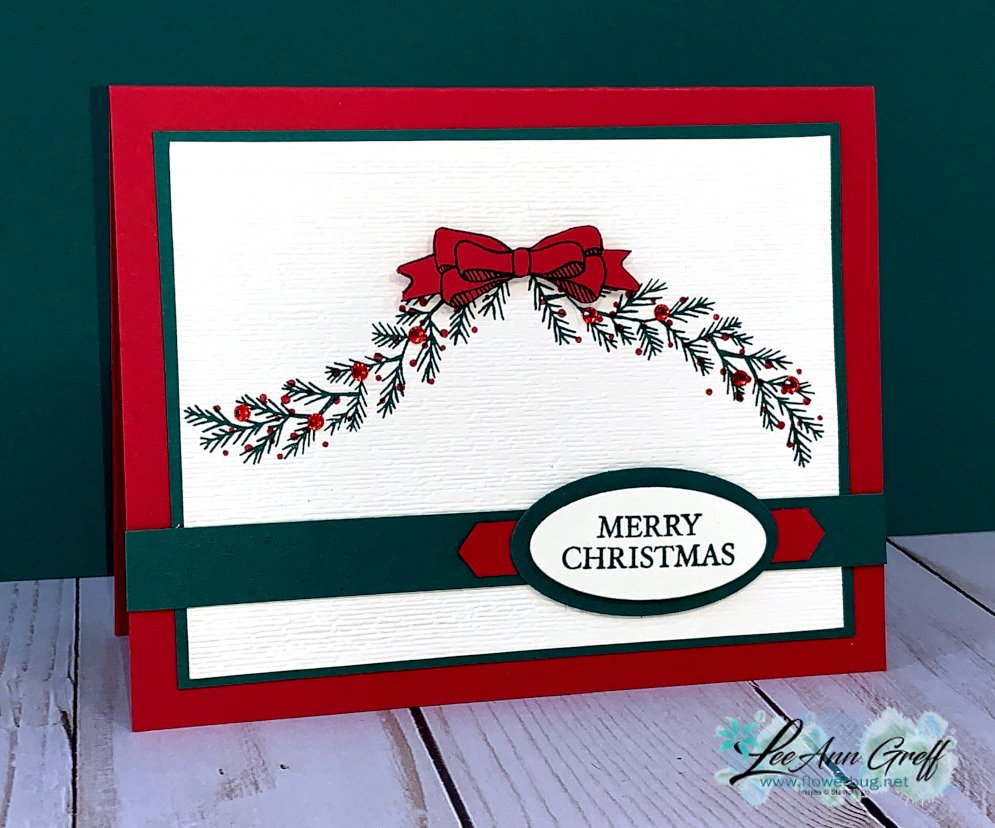
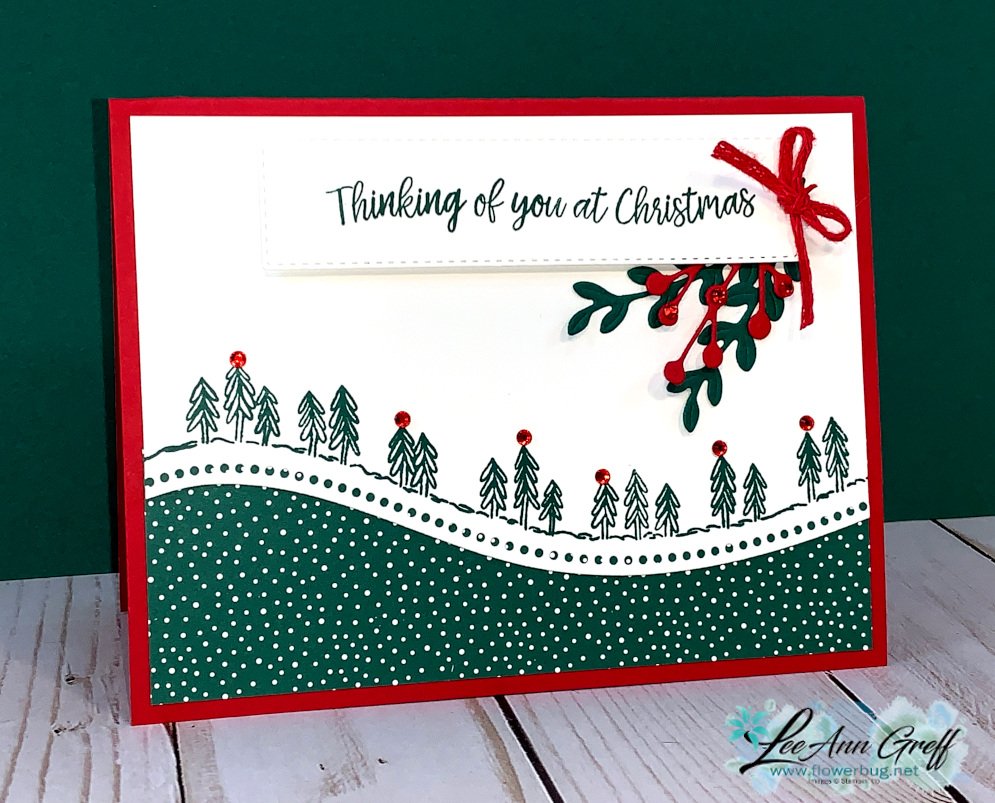
    I mentioned I'd made quite a few cards with the Curvy Christmas stamp set.  I wanted to share a few of them.  

    To clarify these products, the Curvy Christmas & Classic Christmas 6" Designer Paper will be available through January 4th or while supplies last.  You can see it all here: 

    I used the pine bow to create a garland and added a fussy cut bow. Super quick card! 

    Here I used the Pine Tree punch and Perfectly Plaid stamp set with the Classic Christmas DSP.  The White card base measures 5 1/2" X 7", scored at 4 1/4".  Add a 1" strip of DSP on the inside right edge.  

    Above I used the Curvy Dies on my White layer.  Look how perfectly the dies match the stamp!  I added a few greenery die-cuts and one from the Poinsettia dies on the top. I may have gotten a little carried away with my Red rhinestones!  

    Remember that all online orders in November get my 22 project PDF for the Curvy Celebrations bundle.  Order online here. 

    FREE 22 project PDF Tutorials for Curvy Celebrations! 

    ~~~

    November Specials!

    Current Host code is A2MTFYEB


    All online orders receive my FREE Curvy Celebrations 22 project PDF Tutorial! 

    Leave a Reply

    Your email address will not be published. Required fields are marked *

  • 3 Unique Snowflake Splendor Fun Fold cards with video!


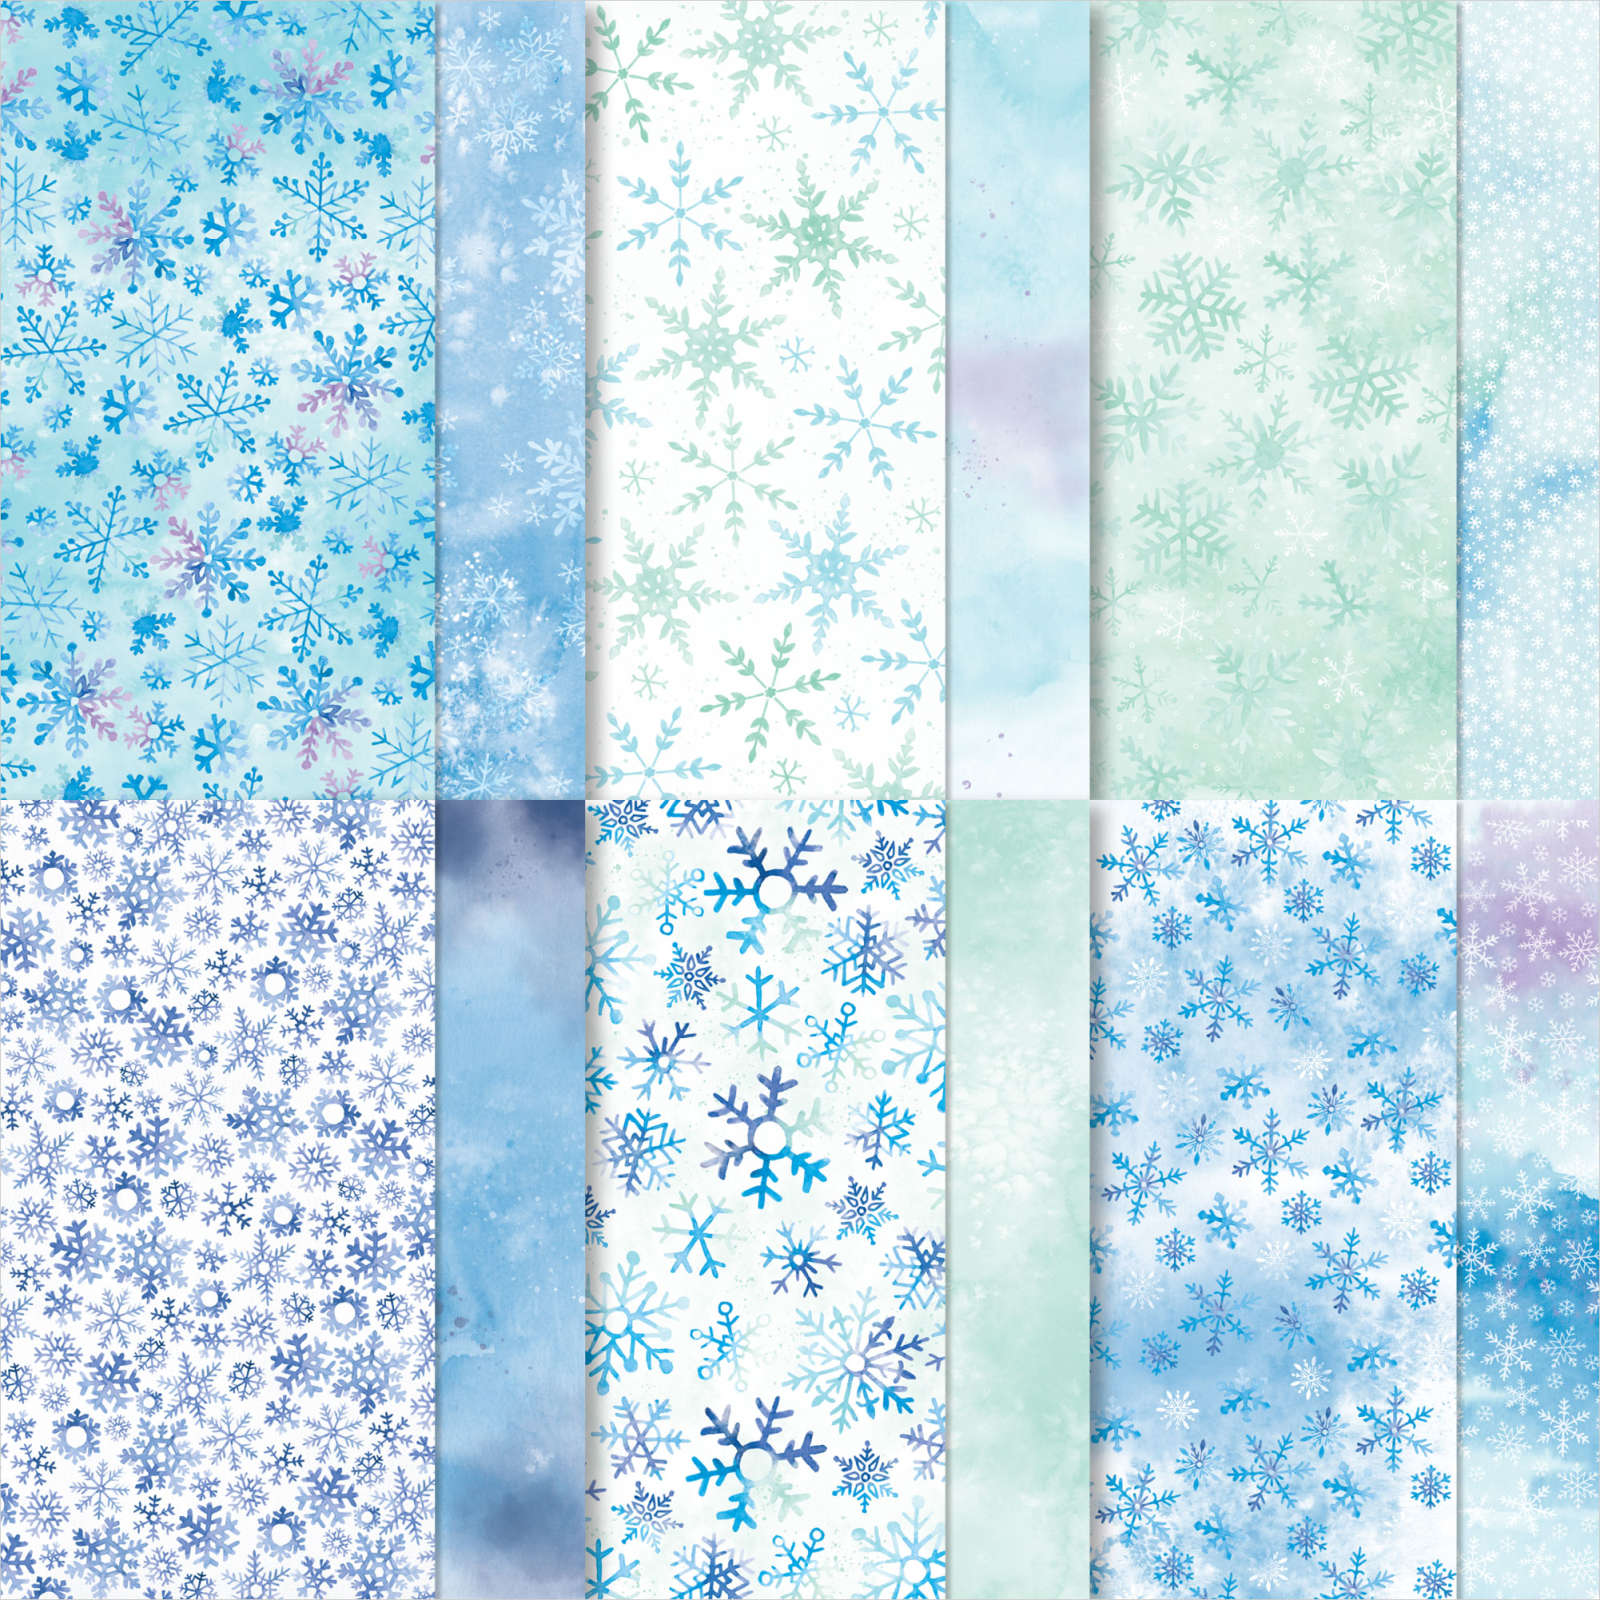
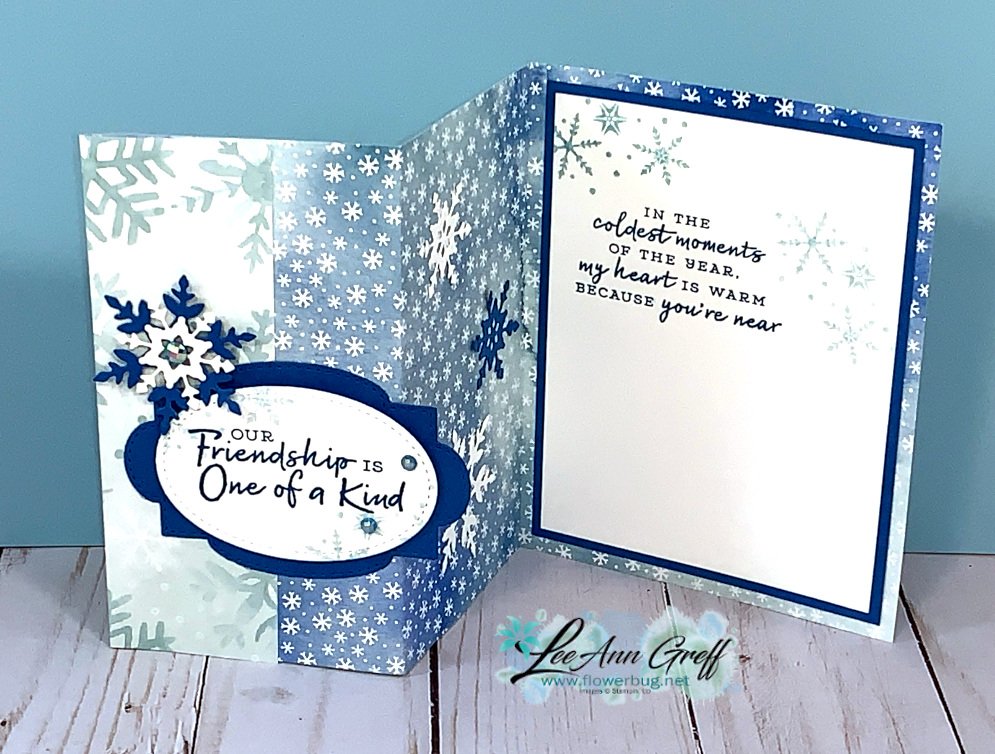
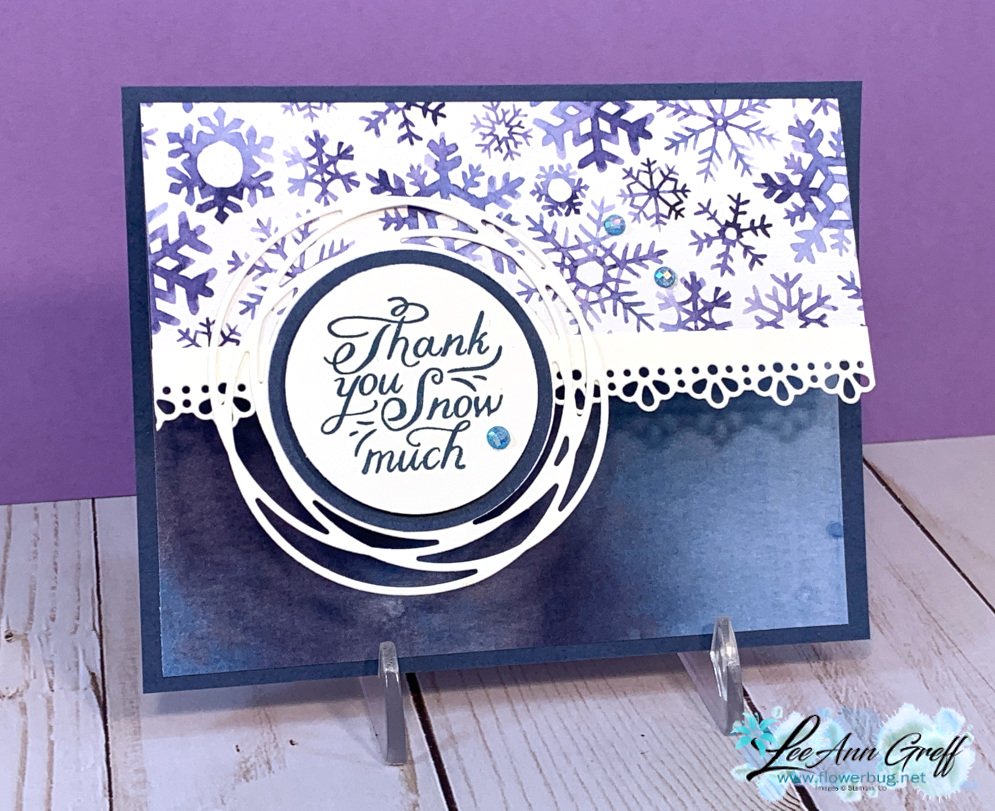
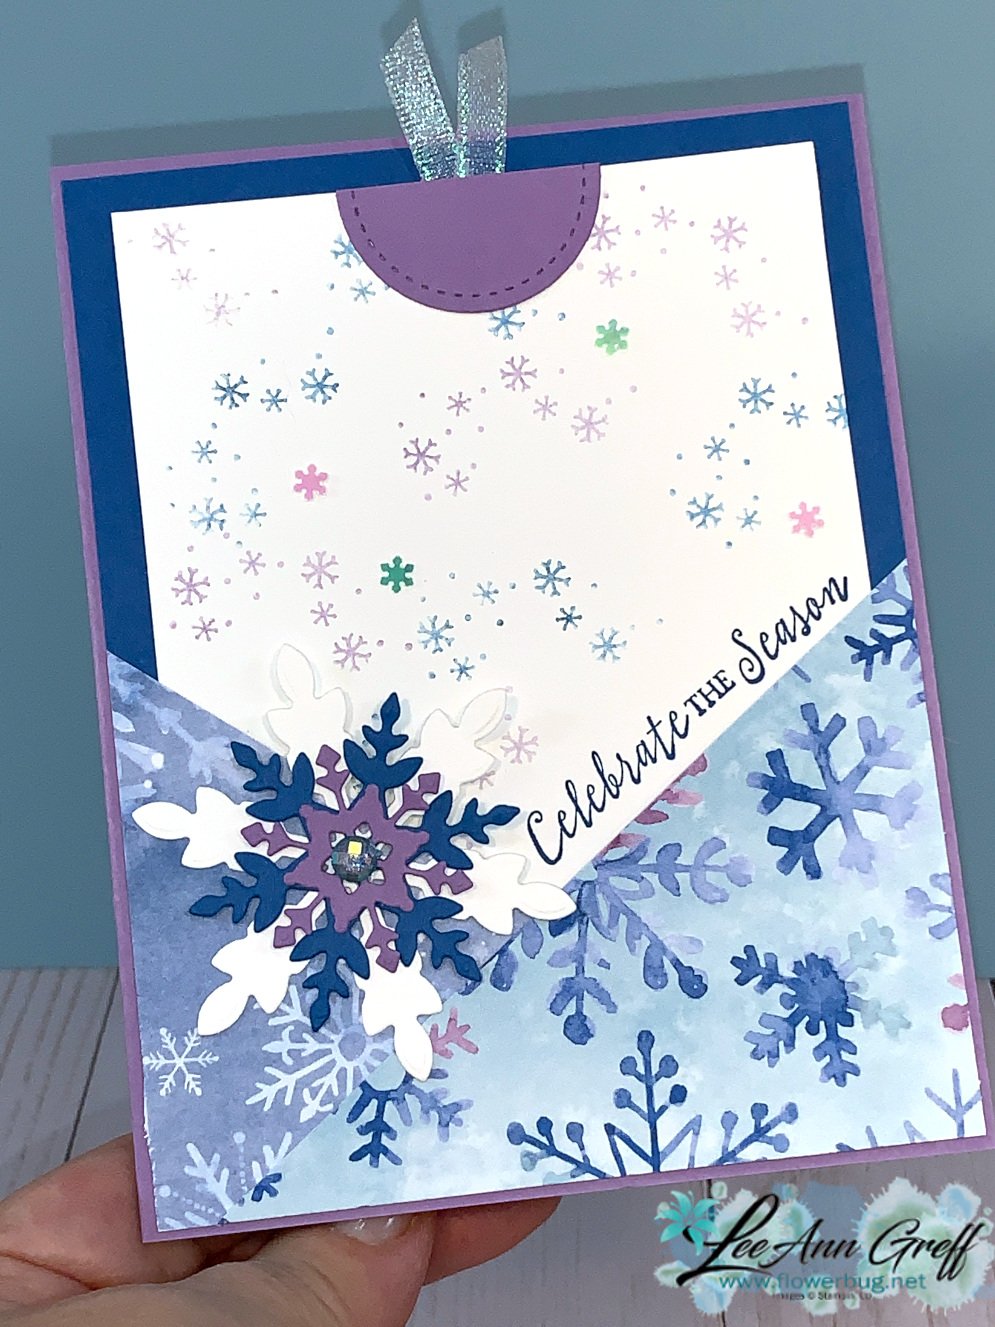
    Look at these awesome fancy fold cards featuring the Snowflake Splendor designer paper!  They're so pretty but also very easy too. 

    I made them on a recent Facebook Live video and think you might like to see how they're made.  Here's a link to this gorgeous Snowflake Splendor designer paper; it will be retiring soon so get it now! 

    The greetings and images and dies are all from the Snowflake Wishes bundle seen here; I just love this one!

    The two dies I used are the Painted Poppy and Ornate Border dies. 

    I used the Itty Bitty Christmas and Snowflake Wishes stamp sets and So Many Snowflake dies on the card above. 

    Below is the video so you can catch the tips on make them.  

    ~~~

    November Specials!

    Current Host code is JRZFR4QU


    All online orders receive my FREE Curvy Celebrations 22 project PDF Tutorial! 

    Leave a Reply

    Your email address will not be published. Required fields are marked *


Notice: LeeAnn Greff, Independent Stampin’ Up! Demonstrator, Manager. The content of this website is my sole responsibility as an independent Stampin’ Up! demonstrator and the use of, and content of, the classes, services, or products offered on this website is not endorsed by Stampin’ Up! Copyright 2025