/


Latest Post

Neat Fun Fold – Diagonal ‘Faux’ Pocket card!


I made this unique fun-fold card on Monday night's FB Live.  It was Stamp with Me night; the 2nd & 4th Monday's of each month here on my FB page.  You can see all of my videos here on my YouTube channel. 
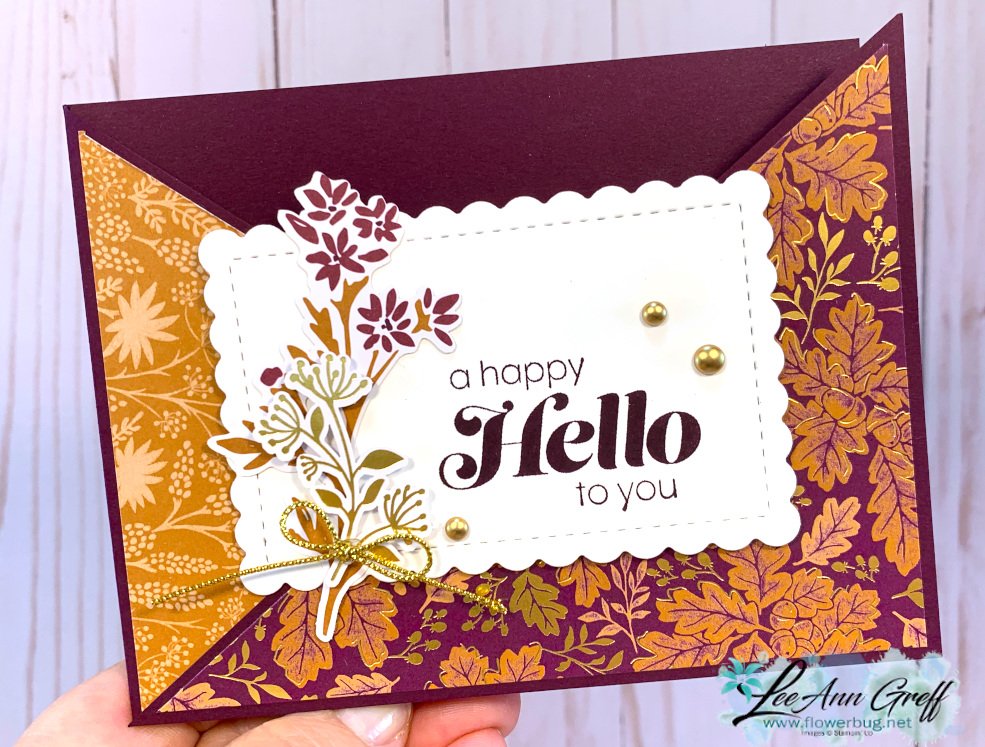
Isn't it pretty?!  This paper is called Blackberry Beauty and it's filled with Gold accents on each sheet.  You can see it here.  It's also featured in my August card kit to go here and PDF tutorial here.  

The greetings are from the Sunny Sentiments stamp set in the Annual catalog; one of my favorites for greetings.  See it here. The printed die-cuts are from the Blackberry Beauty Ephemera pack seen here. 
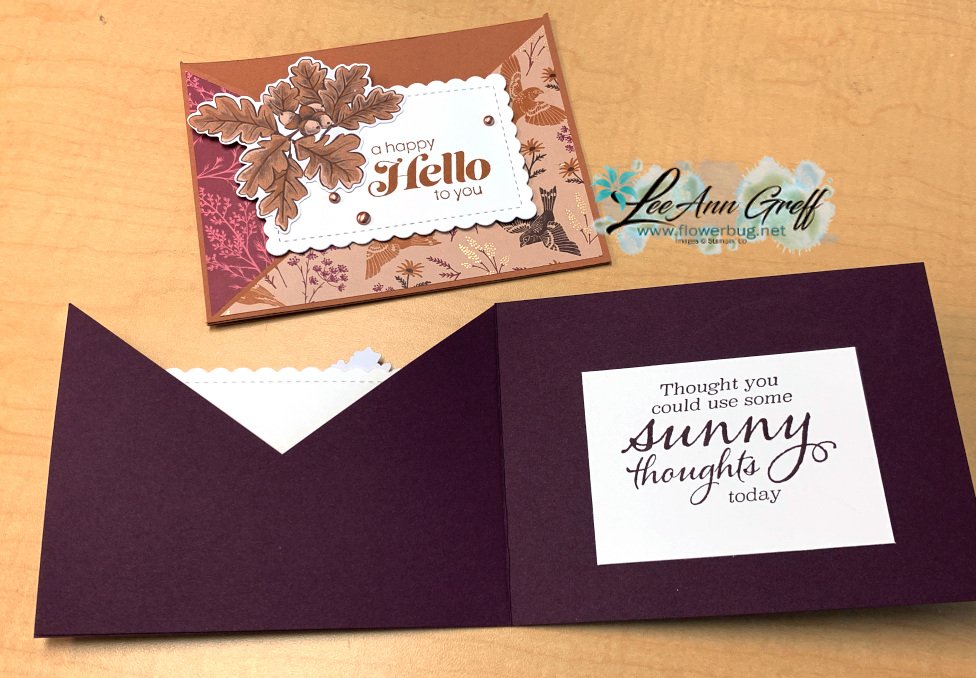
The card below is the same fold; but made with the gorgeous Expressions in Ink Specialty Designer Paper.  These colors are Pale Papaya, Polished Pink, White and gold accents.

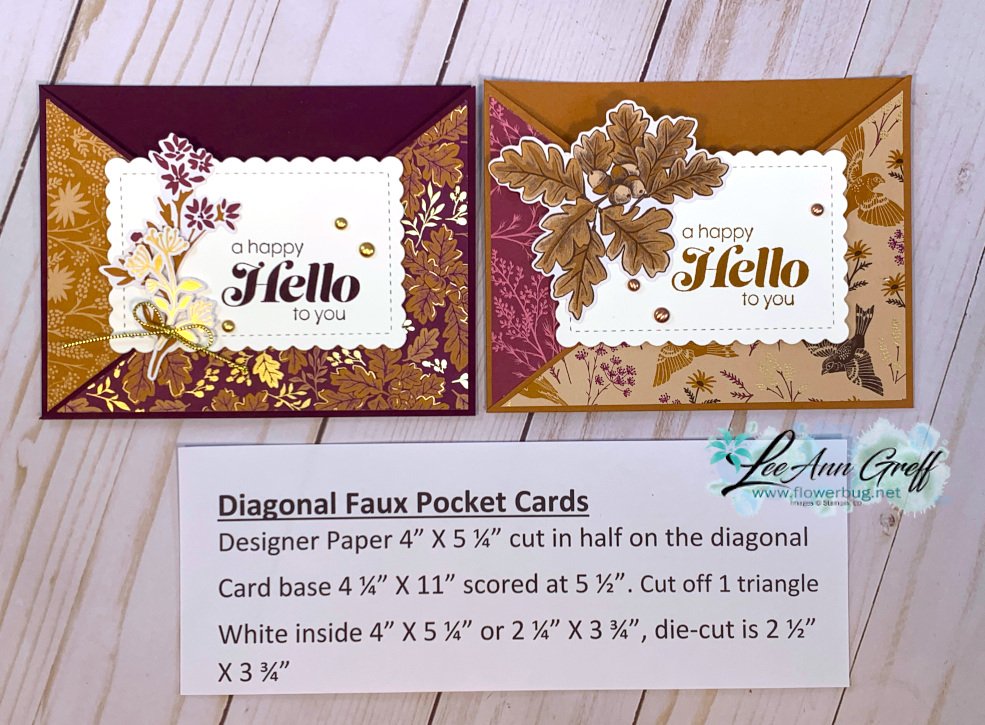
Below are the measurements for you.  I highly recommend you watch the video below; it will make it much easier to make. 
And here is the video; I hope you watch it.  You will love making these unique cards!

~~~

I shared my retired BOGO items for sale on FB Live last week.  There are over 100 items left; mostly stamps, dies, bundles and embossing folders.  You can see the video here on YouTube.   However the most updated list is in the album here on my FB page. *I update & delete items as they are sold.

This event ends August 14th.  If you have a list of current Stampin' Up! items you want to buy why not double dip and get lots more free with this BOGO?!  


~~~

August Specials

Host code: UTDM9JQG

*click here to order

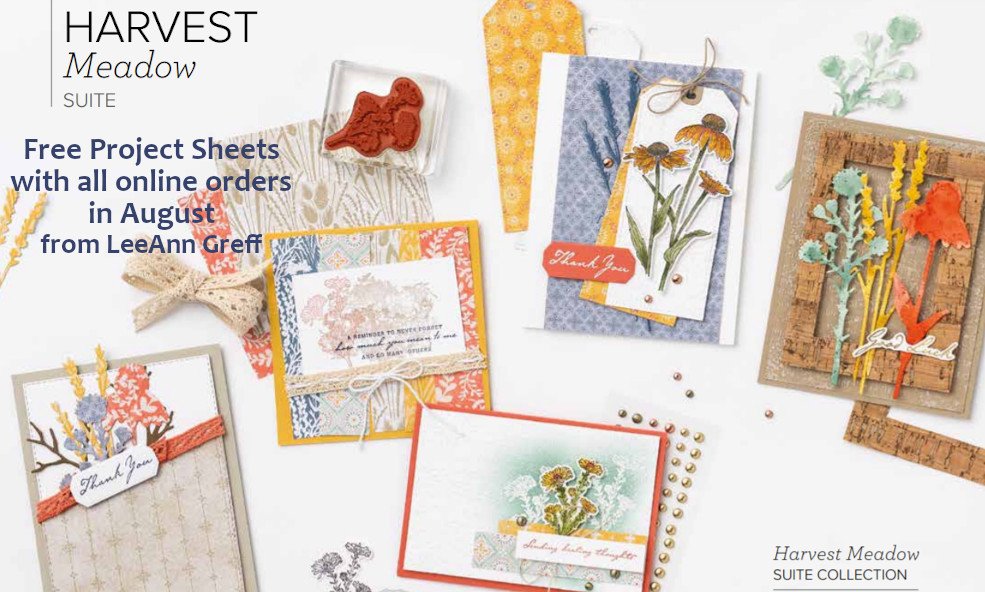
All online orders will receive a free PDF tutorial filled with projects featuring

the Harvest Meadow Suite!
Get the Cute Star Adhesive-Backed Sequins with a $50 online order from me in August! Use this host code: 7JB43RUH

Order here

All Posts

  • Encircled in Nature in Autumn colors – free project sheet & video tutorial


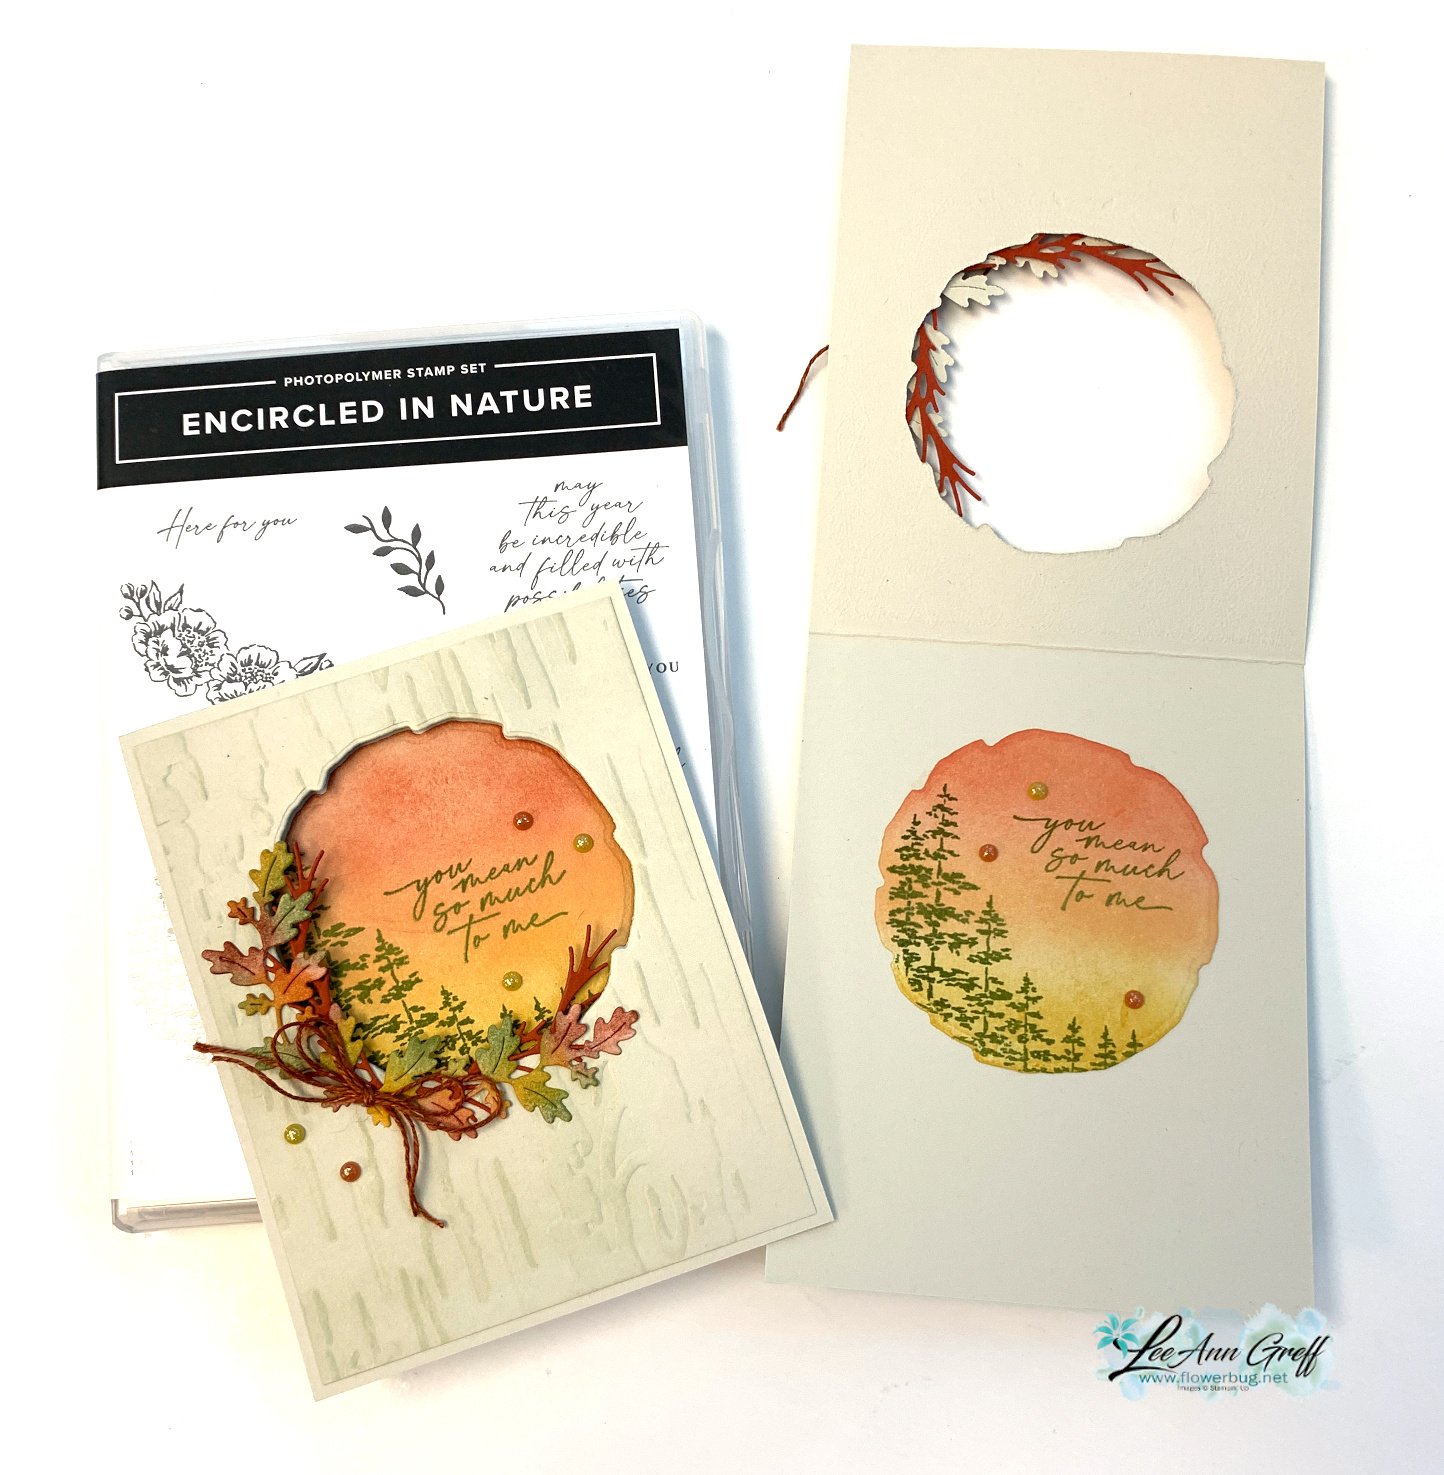
    I shared this pretty card on last week's Live video. I featured the Encircled in Nature bundle.

    My colors include Basic Beige, Cajun Craze and Old Olive.  I used Daffodil Delight, Peach Pie and Calypso Coral for the sunset, adding each color softly with Blending Brushes.

    I textured the extra layer (4" X 5 1/4") of Basic Beige with the Birch Wood 3D embossing folder seen here. Then I lightly sponged Basic Beige ink over it with a Blending Brush. I added Cajun Craze & Old Olive ink to the die-cut leaves with. 

    This pretty bundle is one of our Online Exclusives; available while supplies last.  It's already been out for awhile so I'm wondering how much longer it will be available. *if you want it act fast! 

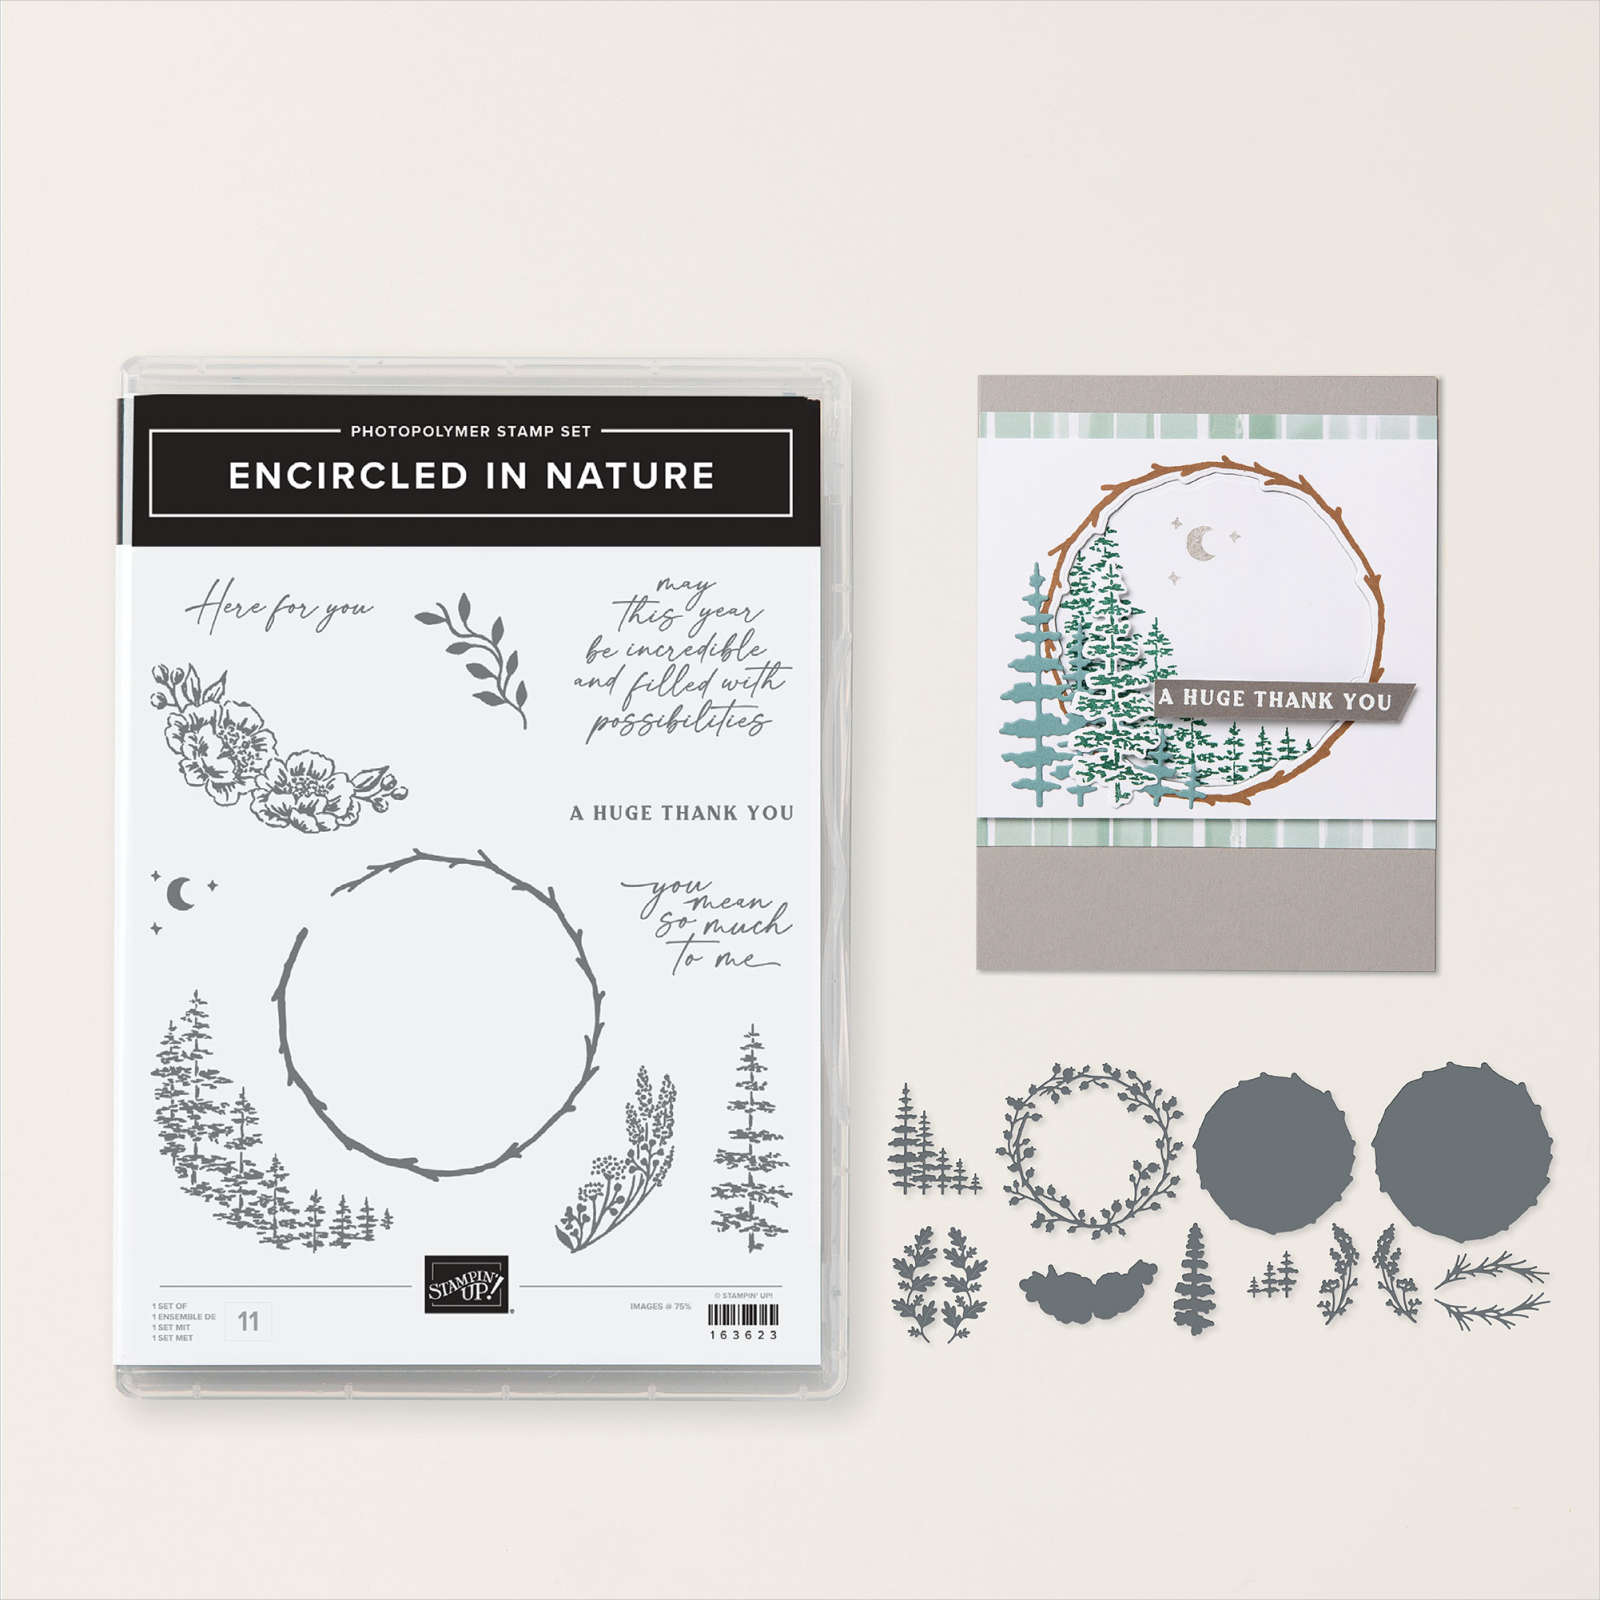
    Here's a photo of the bundle; click here to see it online. 

    Besides the video tutorial below here's the free project sheet for it. Click on the following link to download or print it. Download Encircled in Nature Fall wreath

    I cut the wreath circle from both layers at the same time, saving one for the sunset layer adhered inside the card. 

    I finished it off with some 2023-25 In Color sparkle gems. Catch the video tutorial below to get the tips on creating this card. 

    Below is the video tutorial for this pretty card and another one in a winter version. Follow me on YouTube here or my Facebook channel here. 

    ~~~

    Lots of November Specials:

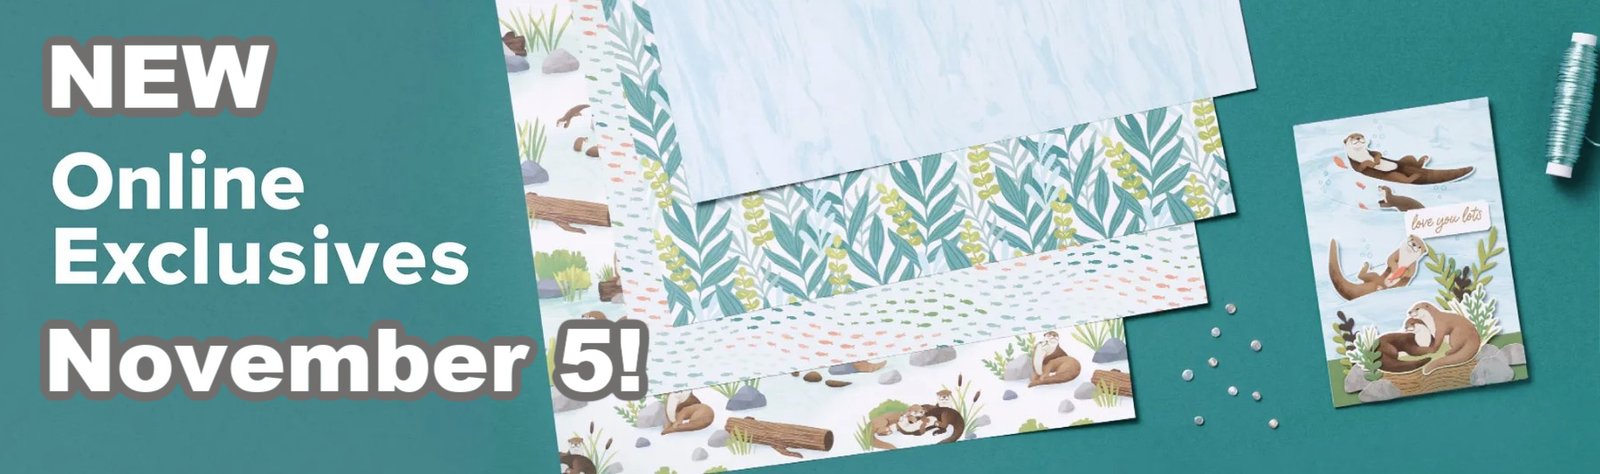
    See the new Online Exclusives here

    *current host code link:  

     M7S96HPT

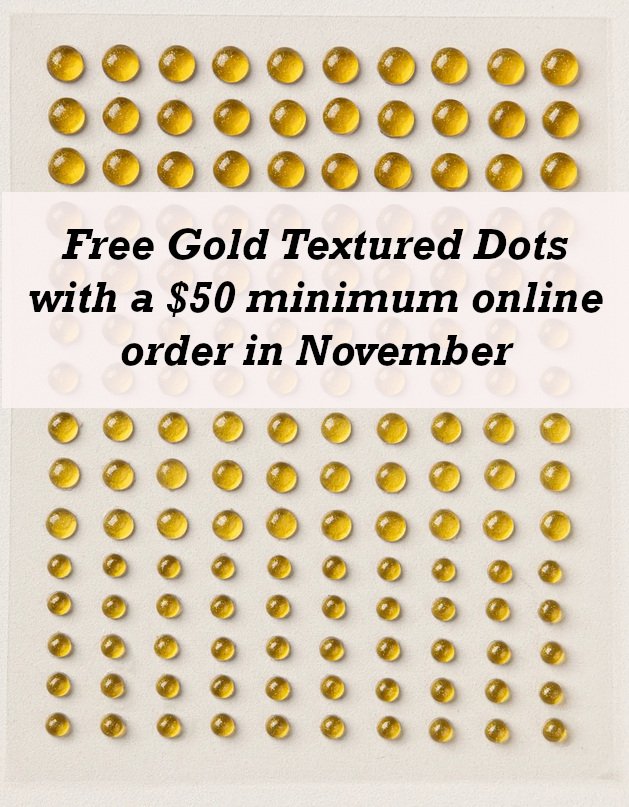
    Get a package of Gold Textured dots with your online order 

    Online orders over $75 get an extra special gift; I still have a few left!

    (I still have a few left)  *must use a host code 


    ~~~

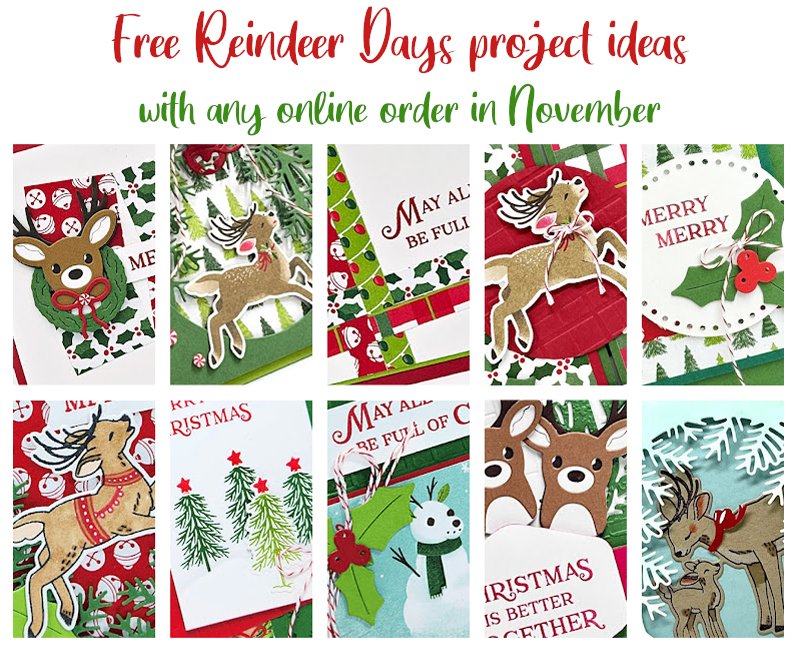
           All online orders in November will receive a free PDF tutorial featuring the Reindeer Days suite

    Leave a Reply

    Your email address will not be published. Required fields are marked *

  • 2 new special kits in November – they’re perfect for gifting!


    Today I'm sharing our two newest kits in our Kit Collection. There are tons to choose from and they're all inclusive which makes them perfect for quick crafting or gifts. We have everything from card kits to journals to home to decor to gifts & tags! 

    First is the Nature's Painting kit – it's great for those who love to color! 

    Here's a video with tutorial & more details:

    It's $25 and includes the following: Item # 164982 See it here

    • Step-by-step instructions
      * 24 watercolor paper pages, 2 each of 12 designs
      * 8 Watercolor Pencils
      * 1 Water Painter
      * Coloring Book: 4-1/2" x 6" x 1/2"

    ~~~

    Next is the Layered Landscapes kit; a beautiful home decor project that anyone can make!

    The kit is $25 and the item number is 164981.  See it here:

    Step-by-step instructions
    * Precut pieces (No prep work! Get right to crafting)
    * 4 white frames
    * Frame size: 7-1/8" x 7-1/8" x 3/4" (18.1 x 18.1 x 1.9 cm)
    * Enough adhesive to complete projects

    Below is the video for this beautiful kit:

    See all of our kits here. 

    ~~~

    Lots of November Specials:

    See the new Online Exclusives here

    *current host code link:  

     M7S96HPT

    Get a package of Gold Textured dots with your online order 

    Online orders over $75 get an extra special gift; while supplies last!

    (I still have a few left)  *must use a host code 


    ~~~

           All online orders in November will receive a free PDF tutorial featuring the Reindeer Days suite

    Leave a Reply

    Your email address will not be published. Required fields are marked *

  • Wow Team swaps for a fun Coaster Calendar!


    This month my Flowerbug's Team decided to do a Coaster Calendar swap.  This was super fun and quite easy when you could make multiples of the month you chose.  I do love swapping! 

    We could use retired or current products on these swaps which opened up a lot of possibilities for creativity! 

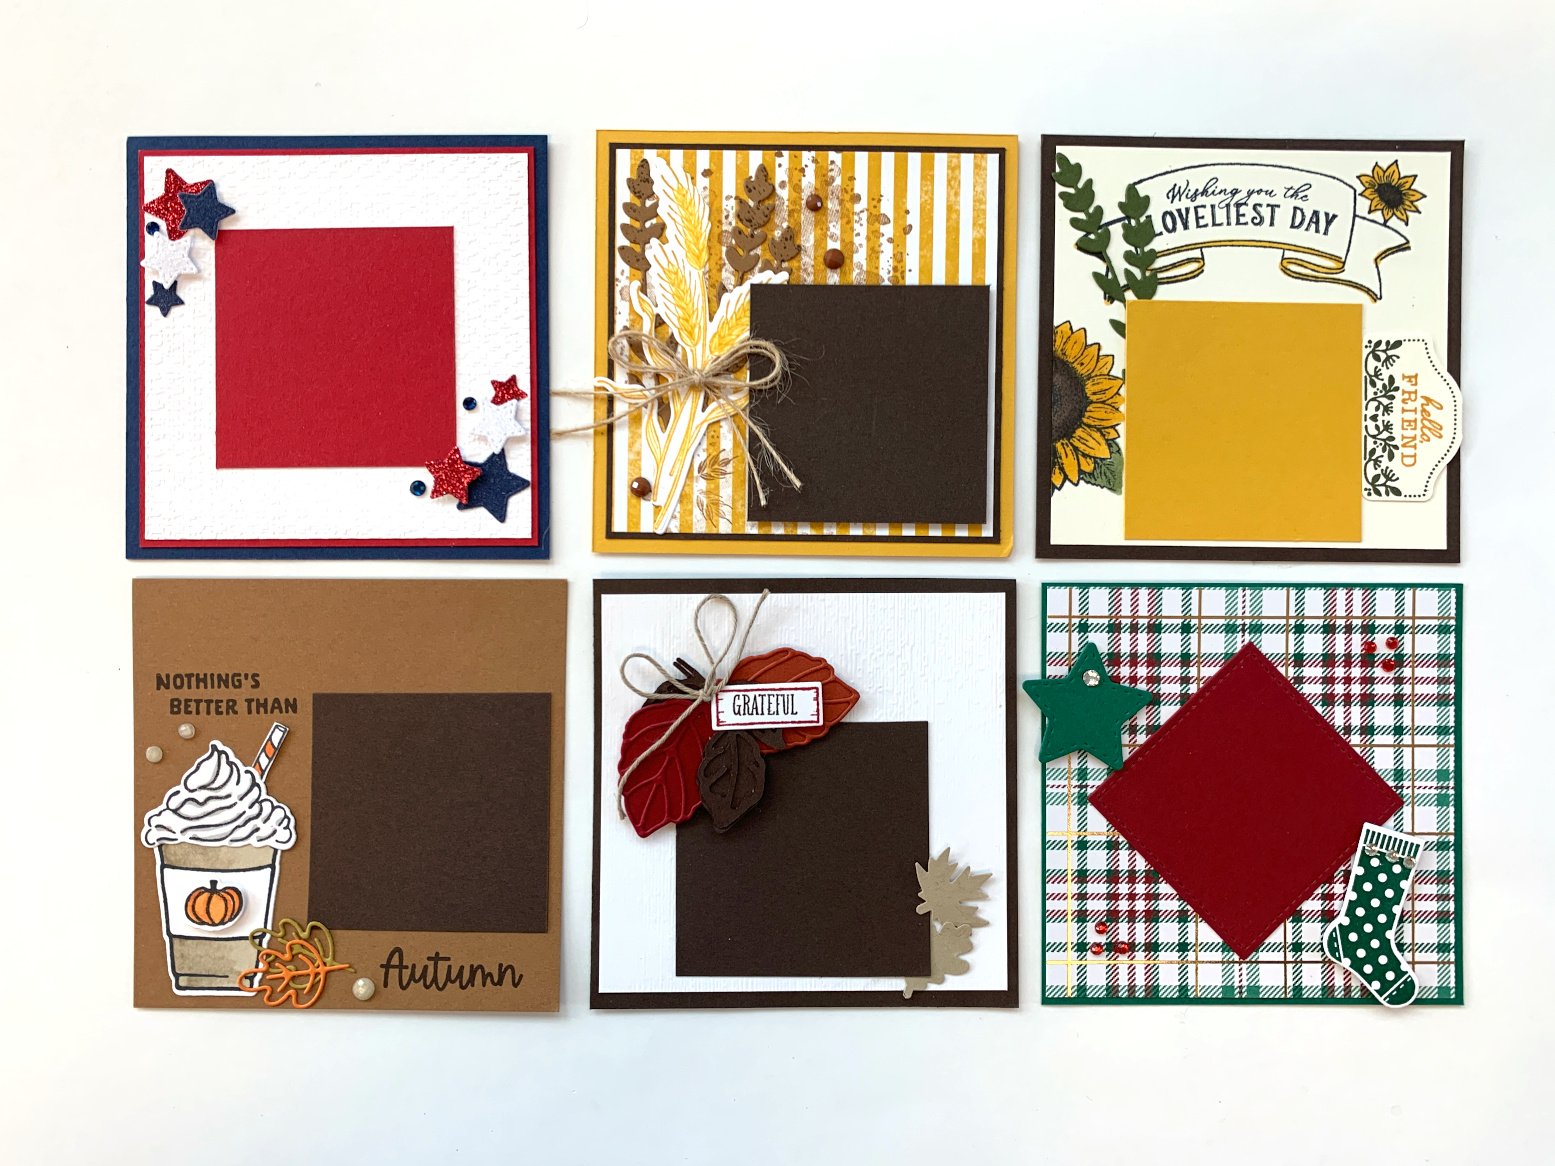
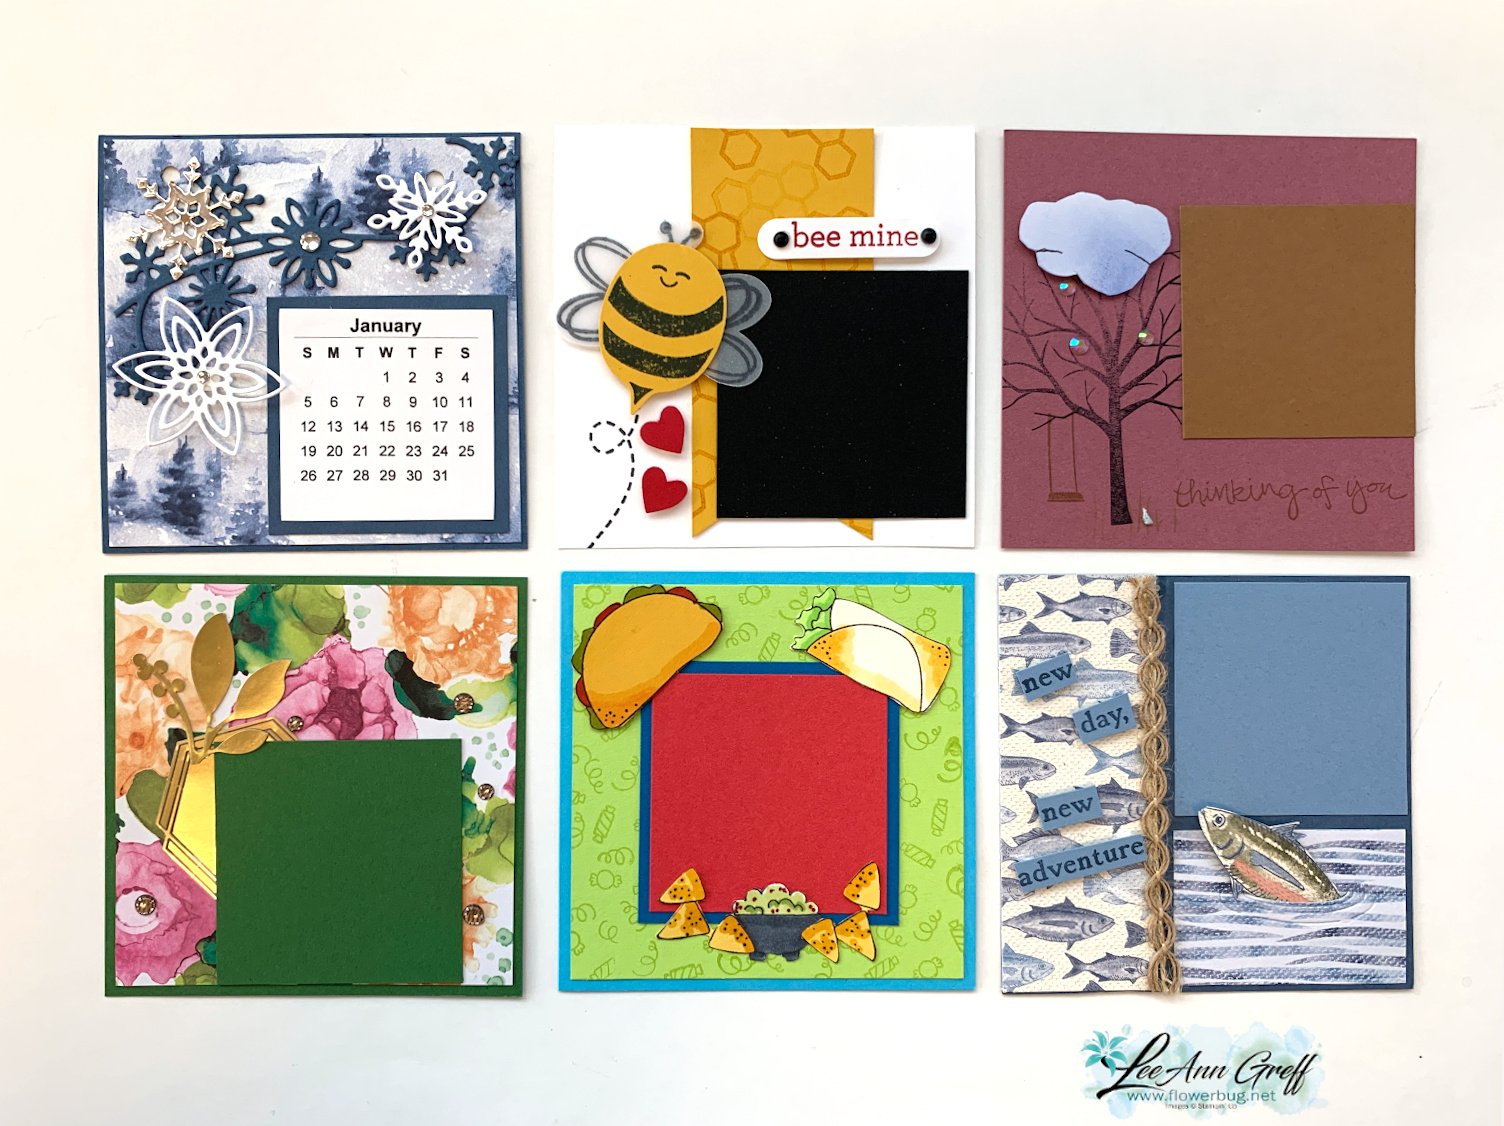
    The first group are January through June:

    This next group is July through December:

    They're all 4" square and the layer for the printed calendars (which haven't been added yet here) are 2 1/4" square. We punch holes in the top of each and add two 4" card board coasters to the front and the back for stability. *these were purchased online years ago. The printed calendar was created by my husband and I cut it up into 2" squares. 

    Here's how I decorated the front of mine:  I kept it quite simple; a 4" square piece of Winter Meadow DSP along with a die-cut and the year cut out with number dies.  I trimmed the corners to match the coaster. 

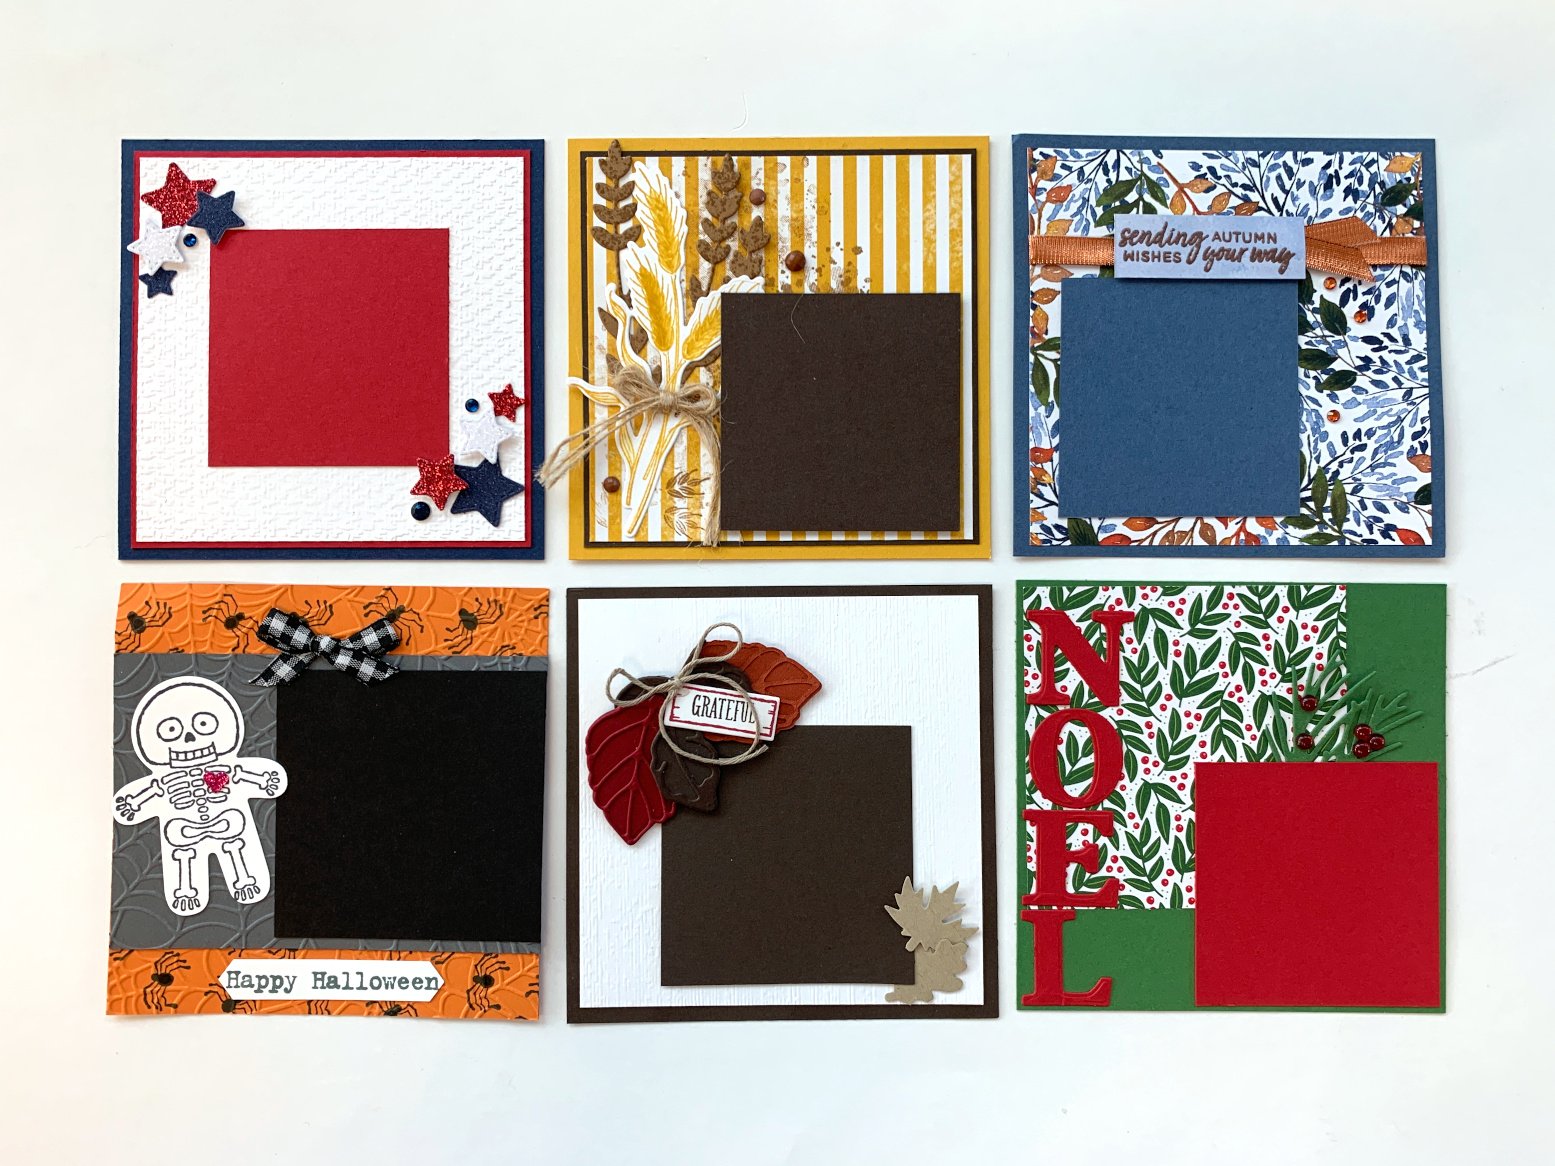
    Here's the next group of swaps; some are the same as those above since a few people did multiple groups of the same month. 

    These are January through June: 

    And these are July through December:

    Each one is fabulous!  I love seeing everyone's personal style. 

    ~~~

    Lots of November Specials:

    See the new Online Exclusives here

    *current host code link:  

    JVXWJ4U6 or M7S96HPT

    Get a package of Gold Textured dots with your online order 

    Online orders over $75 get an extra special gift; while supplies last!

    *must use a host code 


    ~~~

           All online orders in November will receive a free PDF tutorial featuring the Reindeer Days suite

    Leave a Reply

    Your email address will not be published. Required fields are marked *


Notice: LeeAnn Greff, Independent Stampin’ Up! Demonstrator, Manager. The content of this website is my sole responsibility as an independent Stampin’ Up! demonstrator and the use of, and content of, the classes, services, or products offered on this website is not endorsed by Stampin’ Up! Copyright 2025