/


Latest Post

Neat card fold that shows off your double-sided designer paper! Free project sheet & video too


Happy Halloween!  

Today is the last day of the October Starter kit special of 35 % off or 35 % more! 
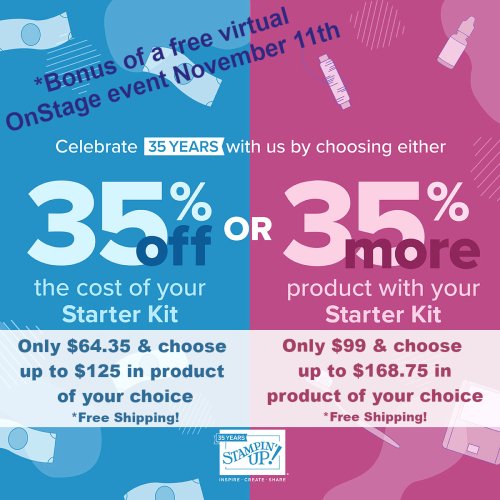
If you have a wish list more than $65 I hope you consider it!  For the next 6 months all of your Stampin' Up! orders will be at a 20% discount!  I'd love to see you save some money and get the starter kit.  

~~~

I shared these neat cards on last week's video.  This layout truly shows off both sides of your double-sided designer paper!
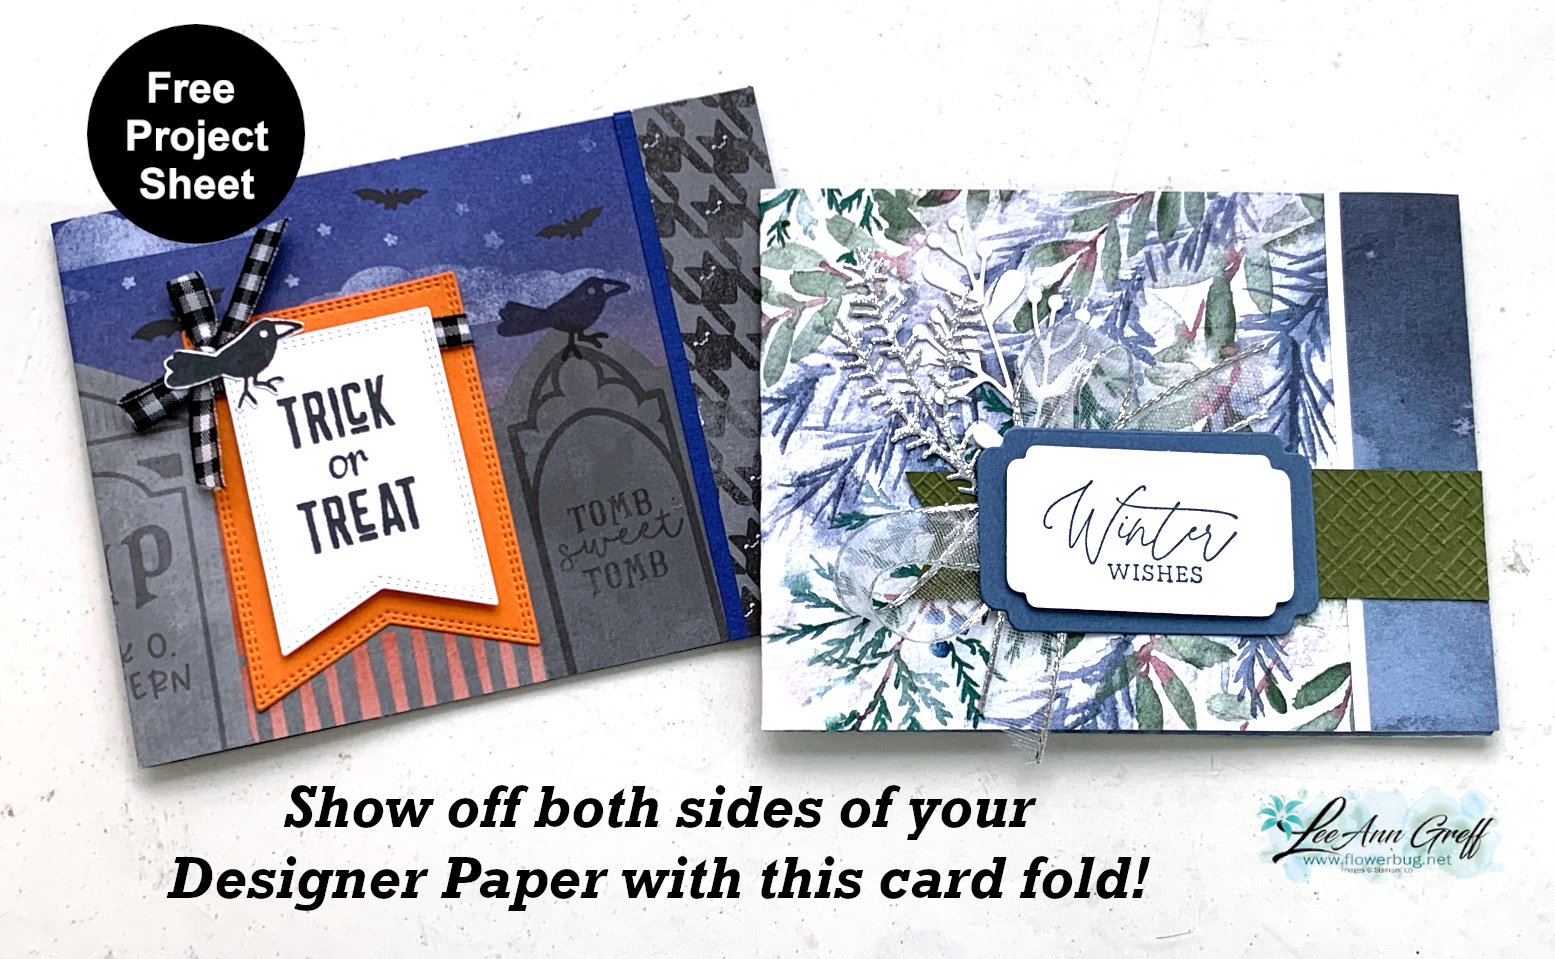
I made the Trick or Treat card before the video and the Winter Wishes card during the video that you can watch here.

Trick or Treat card details:

  • Them bones designer paper seen here
  • Greeting is from Throughout the Year set (2023 Holiday catalog)
  • Greeting die-cuts are from the Nested Essential dies
  • Black & White Gingham ribbon

Here's the inside view.  I chose the Pick of the Patch stamp set here. I love the look of the designer paper in the inside of the card!
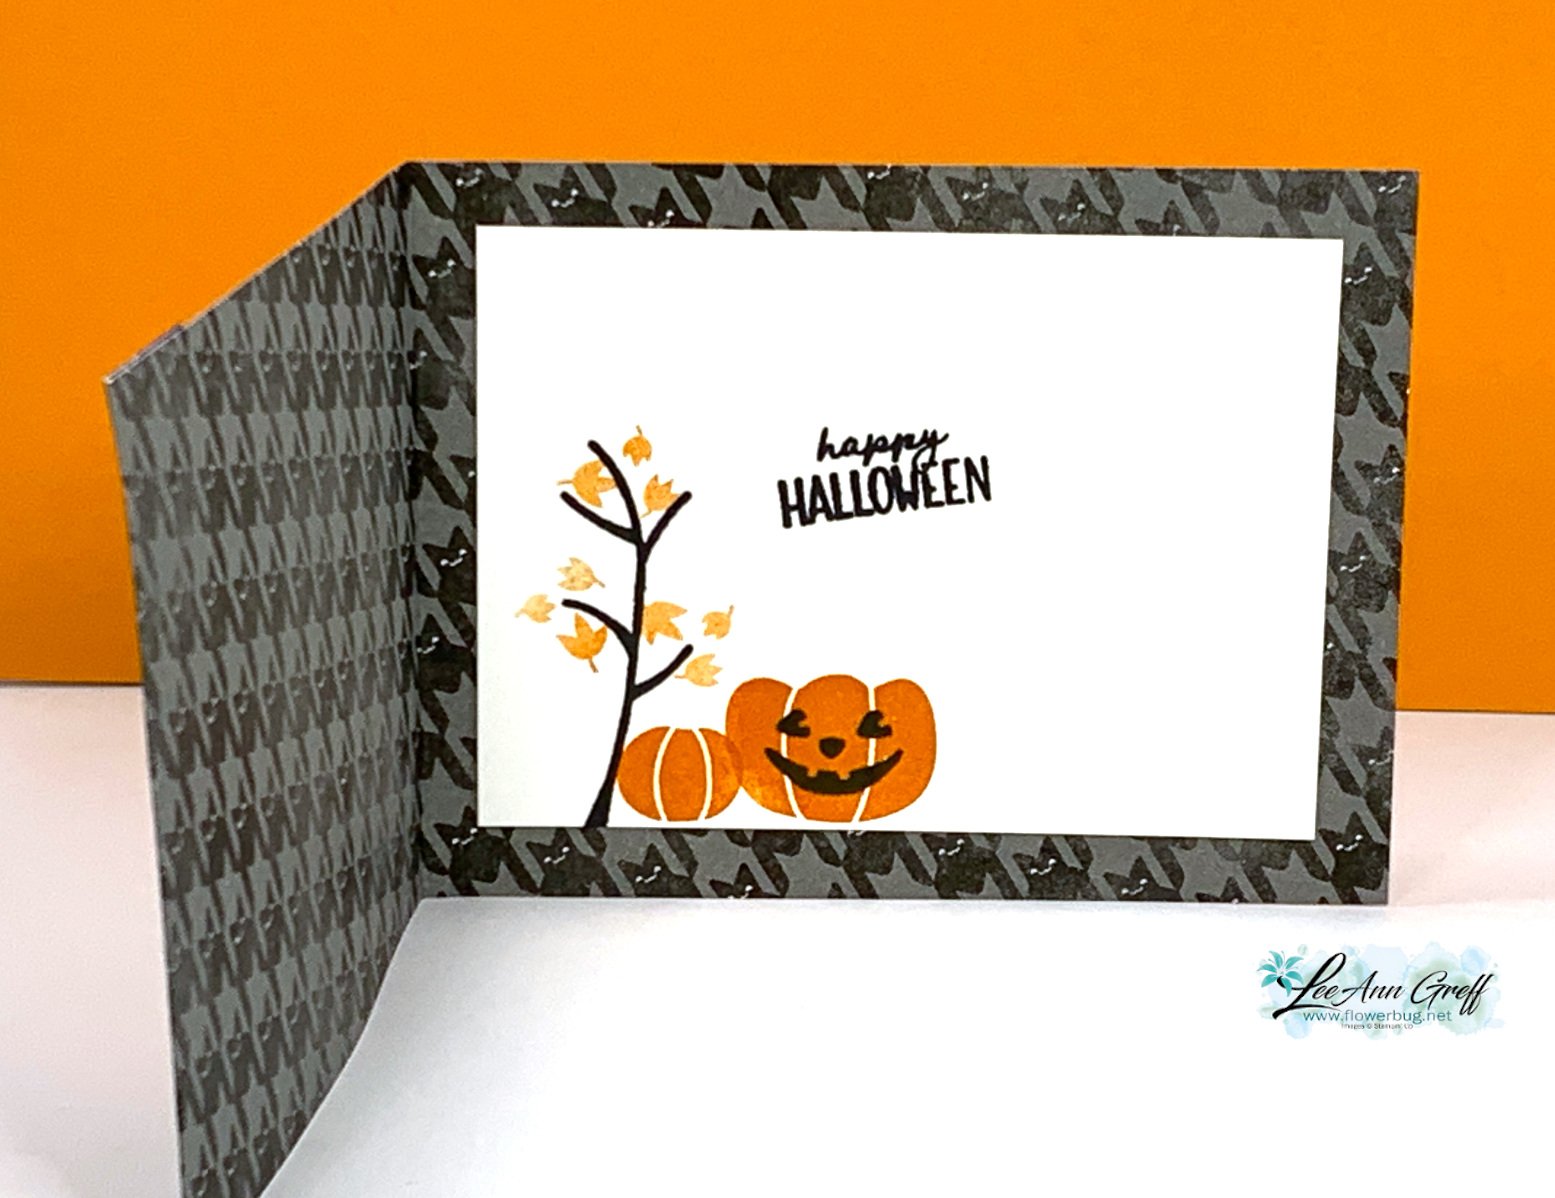
*Download or print the free project sheet here: Download Designer Paper card base; shows both sides!

Here is the other card I shared:

This card shows off the Magical Meadow bundle in the greeting and pretty die-cuts. 

Details:

  • Winter Meadow designer paper seen here – 11" X 4 1/4" scored at 1" and 6 1/2"
  • Mossy Meadow, Basic White & Misty Moonlight card stock plus Adhesive-backed silver glimmer paper for the pretty foliage die-cut

Here's the inside view; stamped with the Magical Meadow stamp set. 

The Magical Meadow bundle has been one of my favorites this season.  I seem to reach for it often. See it here. 
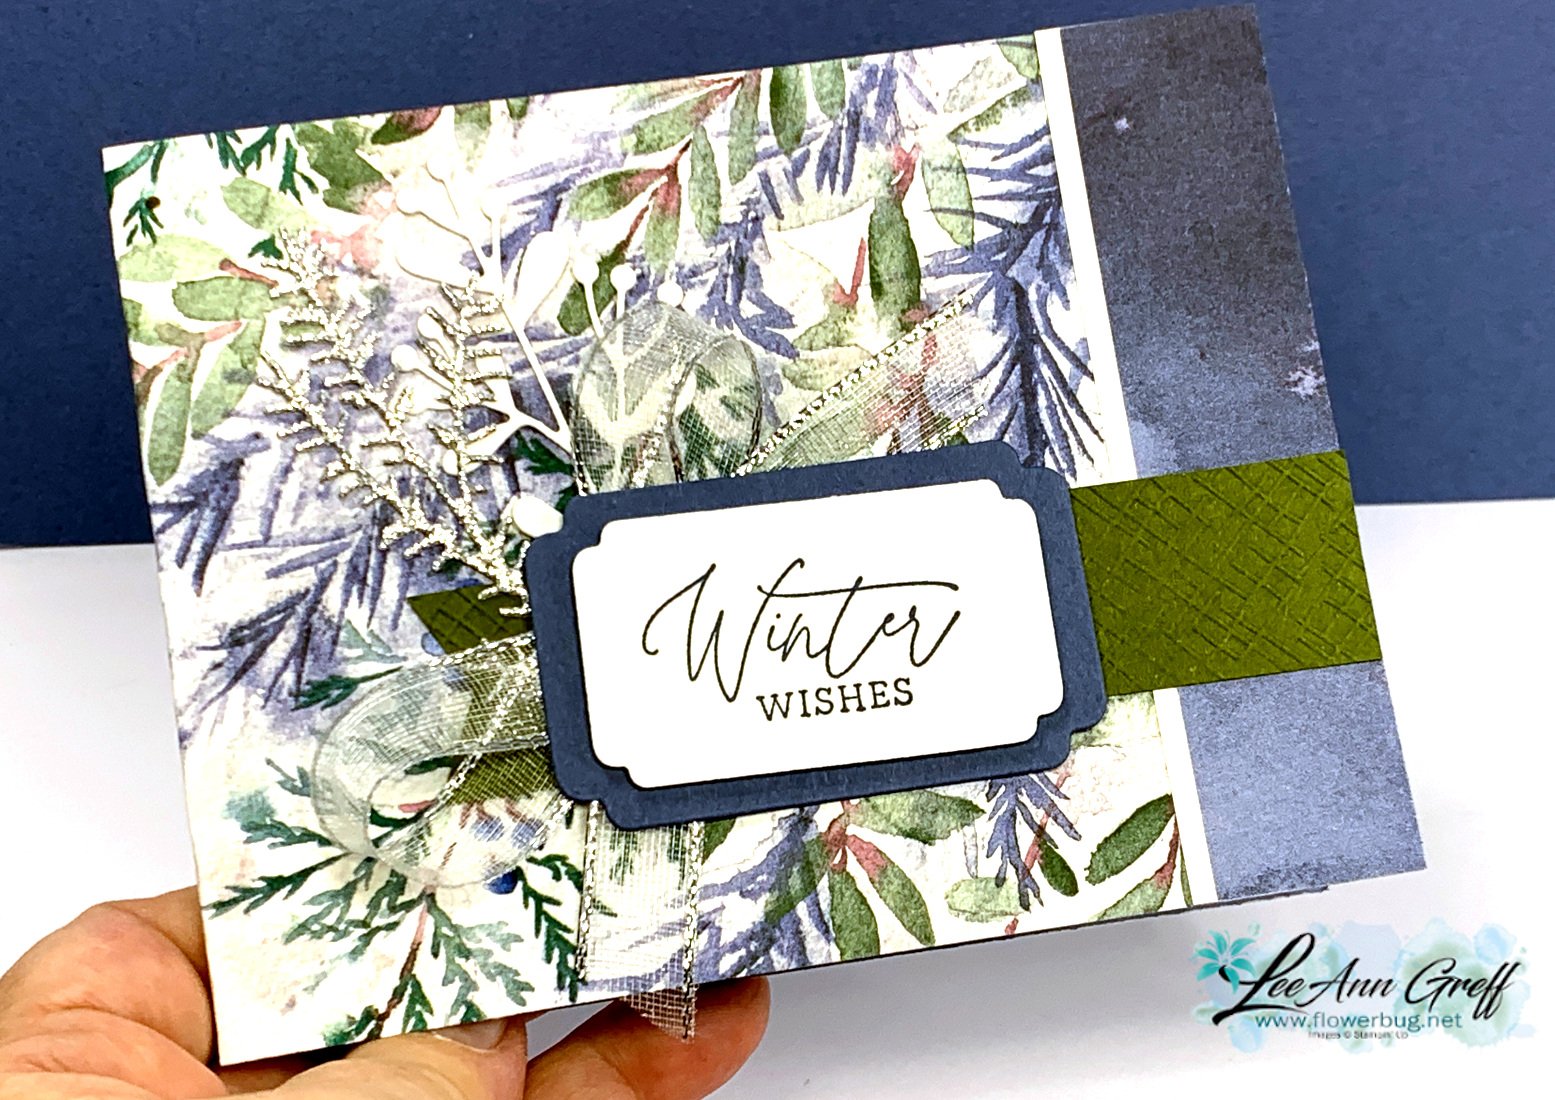
Here is the video for these neat cards.  You'll also find another fun fold card and a quick treat bag too! 

*For some reason I'm not able to add a photo of the video but click on the link above to watch it. 

~~~

October Specials: 

Amazing Starter Kit choices! 

Choose one and enjoy the 20% discount on all future orders! Click here

*current host code: HTHK4TQU or 4GHXYSDQ

*Get free glitter gems with online orders over $55 (Please use a host code)

All Posts

  • Clear Block Stamping; a fun & easy background for quick cards!


    Have you ever tried Block Stamping?  If you have a clear block and ink pads you can do this!  

    I shared these cards on Facebook Live last week Tuesday.  You can watch the replay below.  Remember every Tuesday morning at 11 am CT I'm Live on FB here. 

    I chose a few different stamp sets and inks for the cards I made.  I also have a few tips for you when doing this technique. 

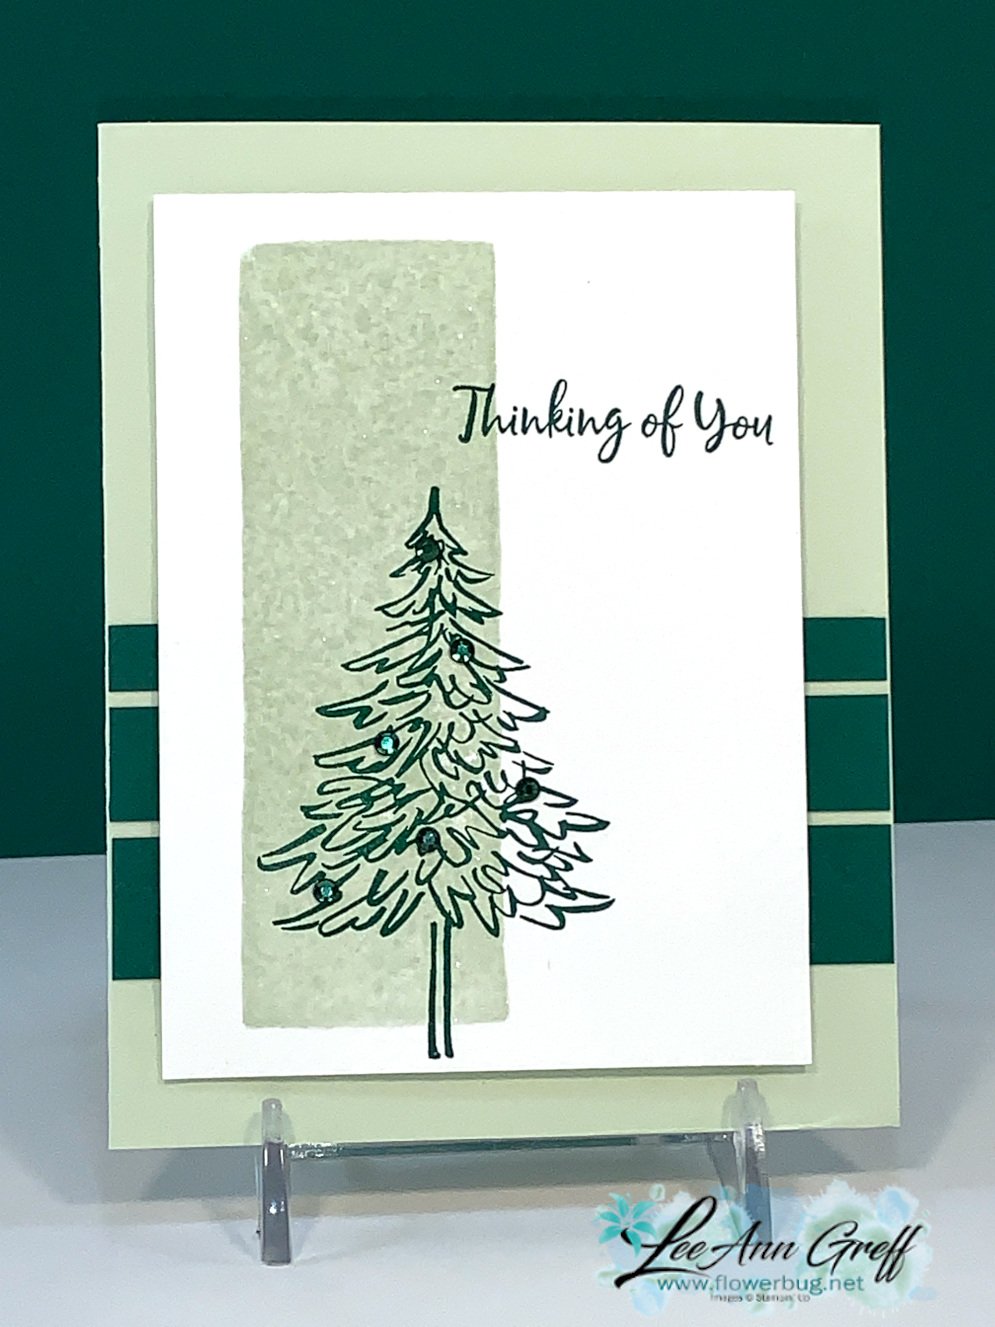
    The above card features Soft Seafoam and In The Pines stamp set.  The White layer is 4 3/4" X 3 1/2".  I inked the 'H' block in Soft Seafoam ink and spritzed it with a mixture of rubbing alcohol and Champagne Shimmer Paint. 

    You can use water but that takes longer to dry and I wanted a bit of shimmer. Shimmer Paint mixes well with rubbing alcohol. I added random strips of Shaded Spruce CS across the card.  Quick & easy! 

    This card features Calypso Coral (2" X 5 1/2"), Petal Pink and the Queen Anne's Lace stamp set. The textured layer is from the set of Wrapped in Texture embossing folders.

    Can you see the marbling effect here? I inked the block in Seaside Spray ink and then added a few swirls of Misty Moonlight with a Stampin' Write marker. *Watch the video below. 

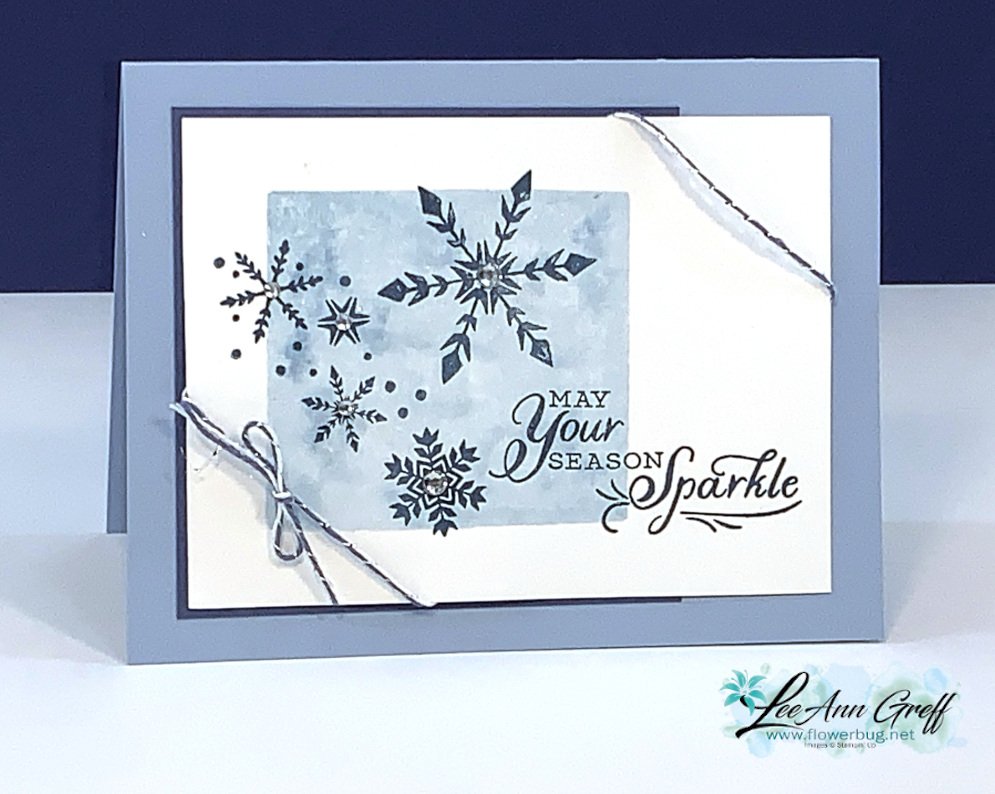
    I used the Snowflake Wishes set on this card and the Flowers for Every Season ribbon/twine combo pack.  The colors are Seaside Spray & Misty Moonlight.  The White layer is 3 1/2" X 4 3/4" and the Misty Moonlight is 3 3/4" square – a scrap I had. 

    Tips on the Clear Block Technique:

    • Use a light color of ink
    • Choose a block that fits on your card stock
    • Ink it and spritz with either water or rubbing alcohol until it almost starts to puddle.
    • Add a swirl of darker color with a marker after inking the block and before spritzing. 
    • Alcohol dries faster than water 
    • Add a bit of Shimmer Paint to your alcohol for additionals glitz! 
    • Whisper White card stock works just fine; no need for thicker papers


    ~~~

    October Specials!

    Current Host code is MJK7R2CU

    Designer Paper Sale; click here!

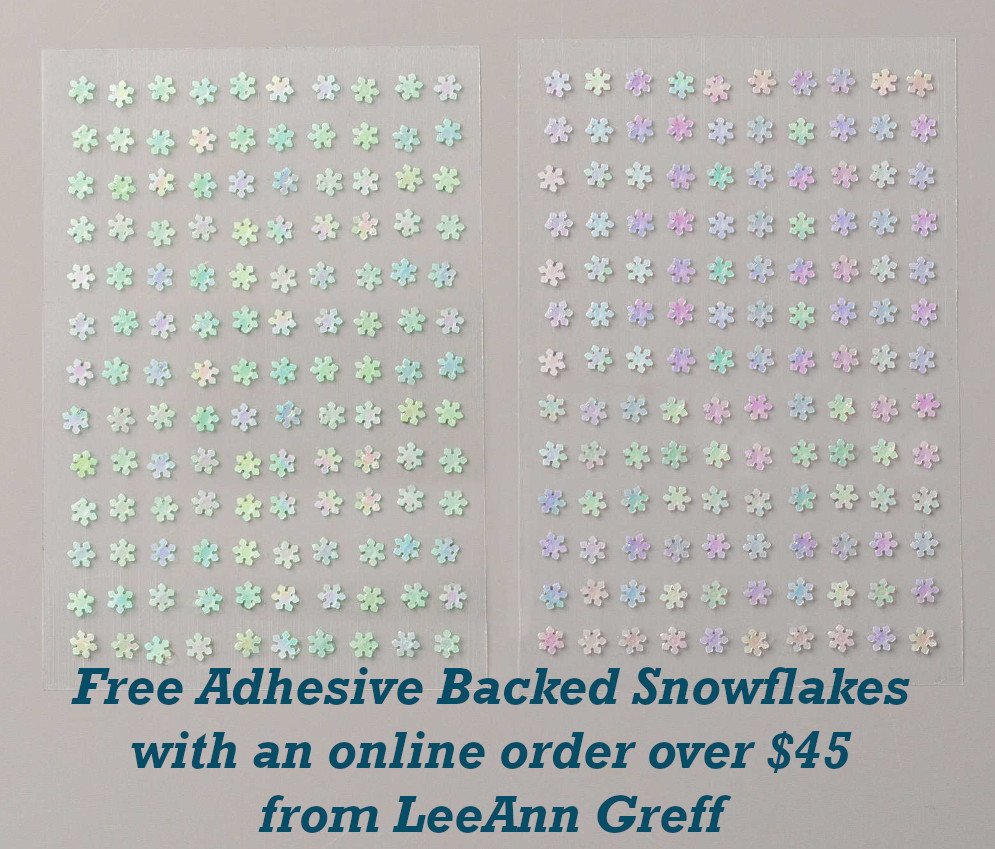
    Get a free package of Adhesive Backed Snowflakes in October with an

    online order over $45. 


    All online orders will receive my Tutorial of the Month featuring the Poinsettia Petals suite!

    Leave a Reply

    Your email address will not be published. Required fields are marked *

  • Christmas themed fun-fold swaps


    Last Friday I started sharing last month's fun fold cards made by my talented Flowerbug's Team members. Here are a few more 

    Jacki created this one using the Brightly Gleaming Specialty Designer paper and the Beautiful Autumn stamp set. It's a latch card!

    Once you add the layers to the card front you'll use the Classic Label punch to create the window for the latch to catch into.  

    Measurements:

    • Night of Navy card base 4 1/4" X 9" scored at 5 1/2"
    • DSP 3 3/4" square on the front; 1 1/4" X 4" on the inside right edge
    • Pretty Peacock 4" square ont he front and a thin strip on the right inside edge
    • Latch – Navy 2" X 3 1/2" scored at 1/2"
    • Vanilla latch 1 3/4" X 2 3/4", inside is 4" X 5 1/4"

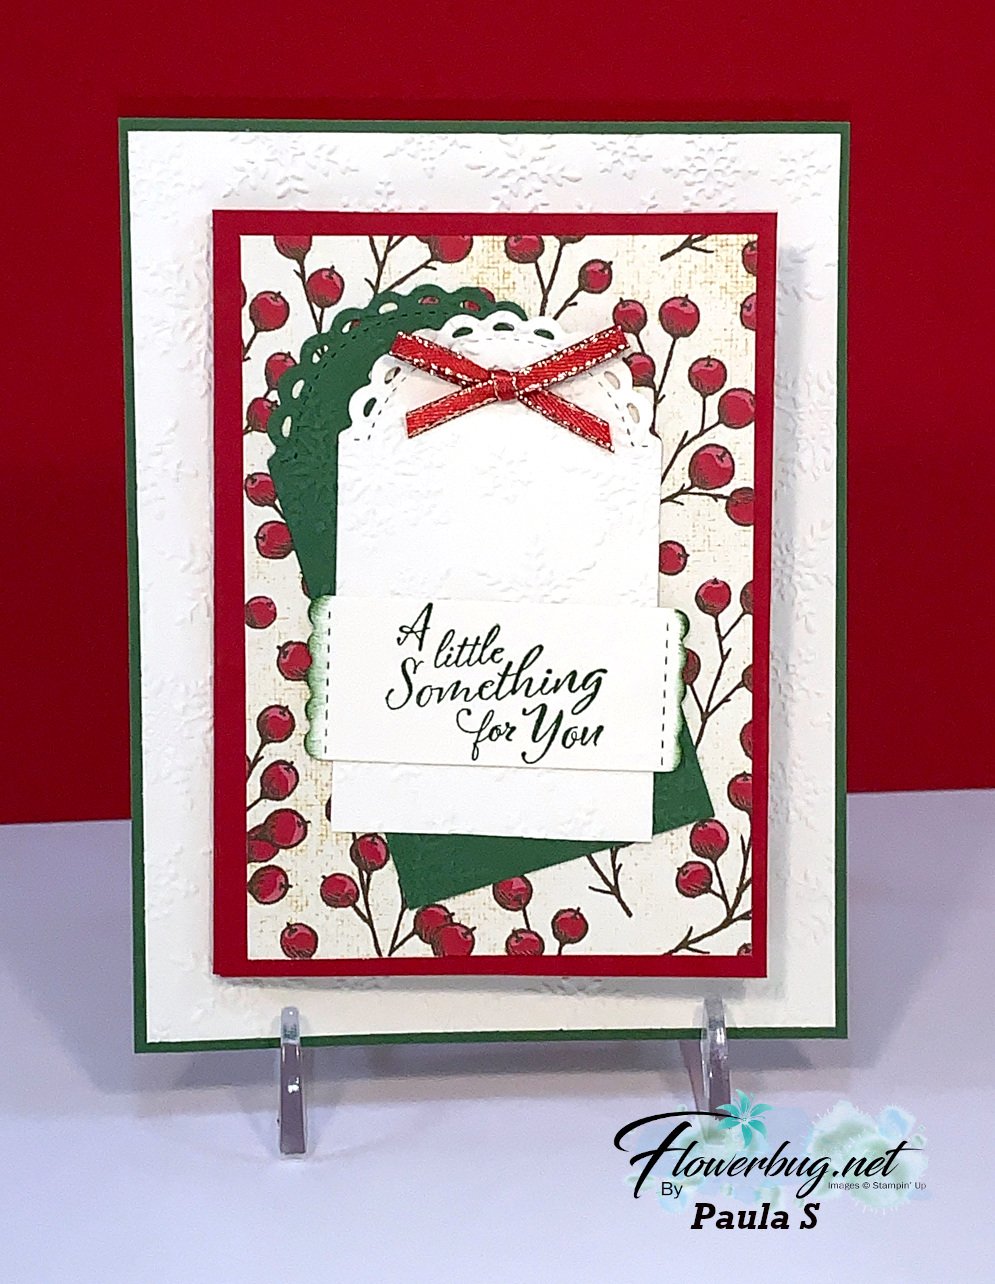
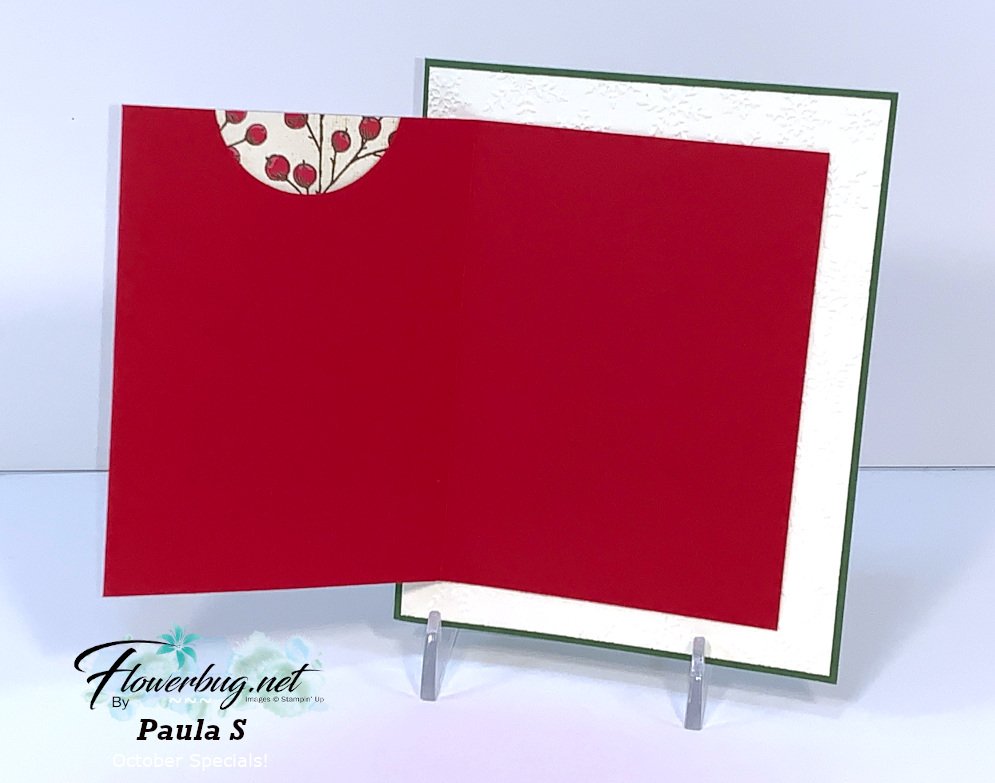
    Here's another card made by Paula featuring the Little Treat Box dies and the Wrapped in Christmas stamp set.  

    She cut the treat box dies into separate pieces (Garden Green & Vanilla) for her card front.  It also opens up to reveal a gift card holder inside. Lots of texture with the Winter Snow embossing folder too!  

    Measurements:

    • Garden Green card base 5 1/2" X 4 1/4"
    • Very Vanilla 5 3/8" X 4 1/8" 
    • Real Red 4 1/2" X 10 3/4" scored at 3/4", 4" and 7 1/4" 
    • Poinsettia Place DSP 4 1/4" X 3" 

    Stop back again for more Fun Fold cards!  I have lots more to share! 

    ~~~

    October Specials!

    Current Host code is MJK7R2CU

    Designer Paper Sale; click here!

    Get a free package of Adhesive Backed Snowflakes in October with an

    online order over $45. 


    All online orders will receive my Tutorial of the Month featuring the Poinsettia Petals suite!

    Leave a Reply

    Your email address will not be published. Required fields are marked *

  • Feels Like Frost Fun Fold card


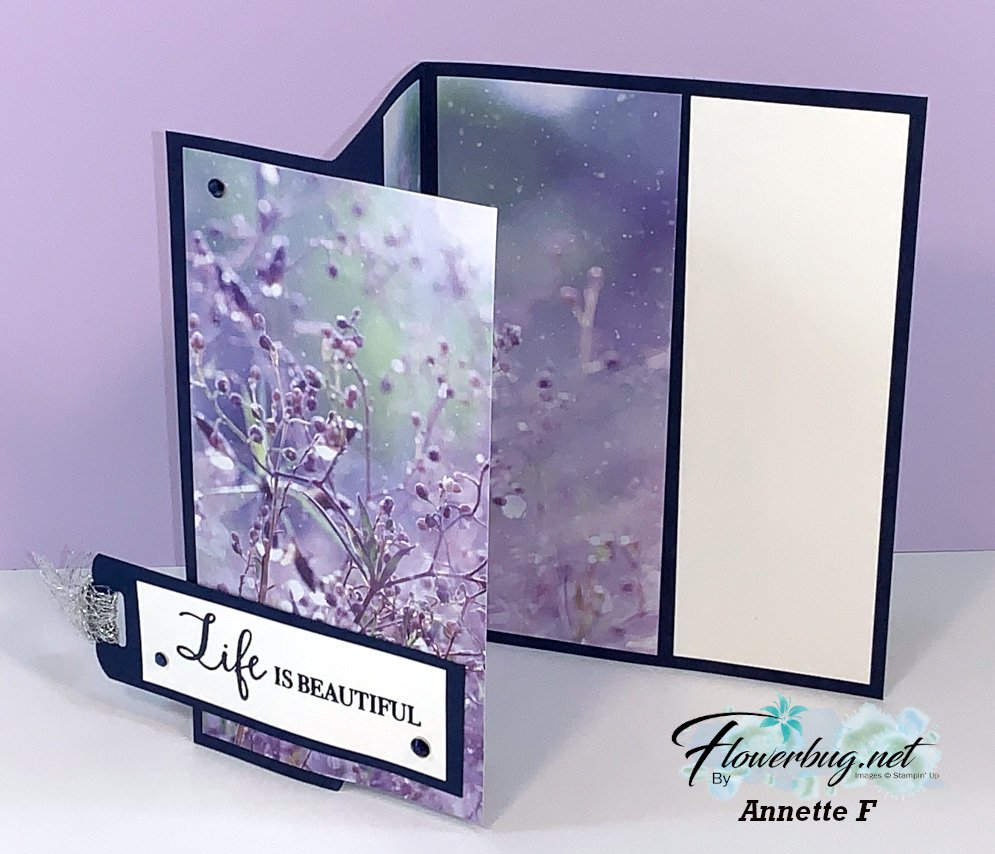
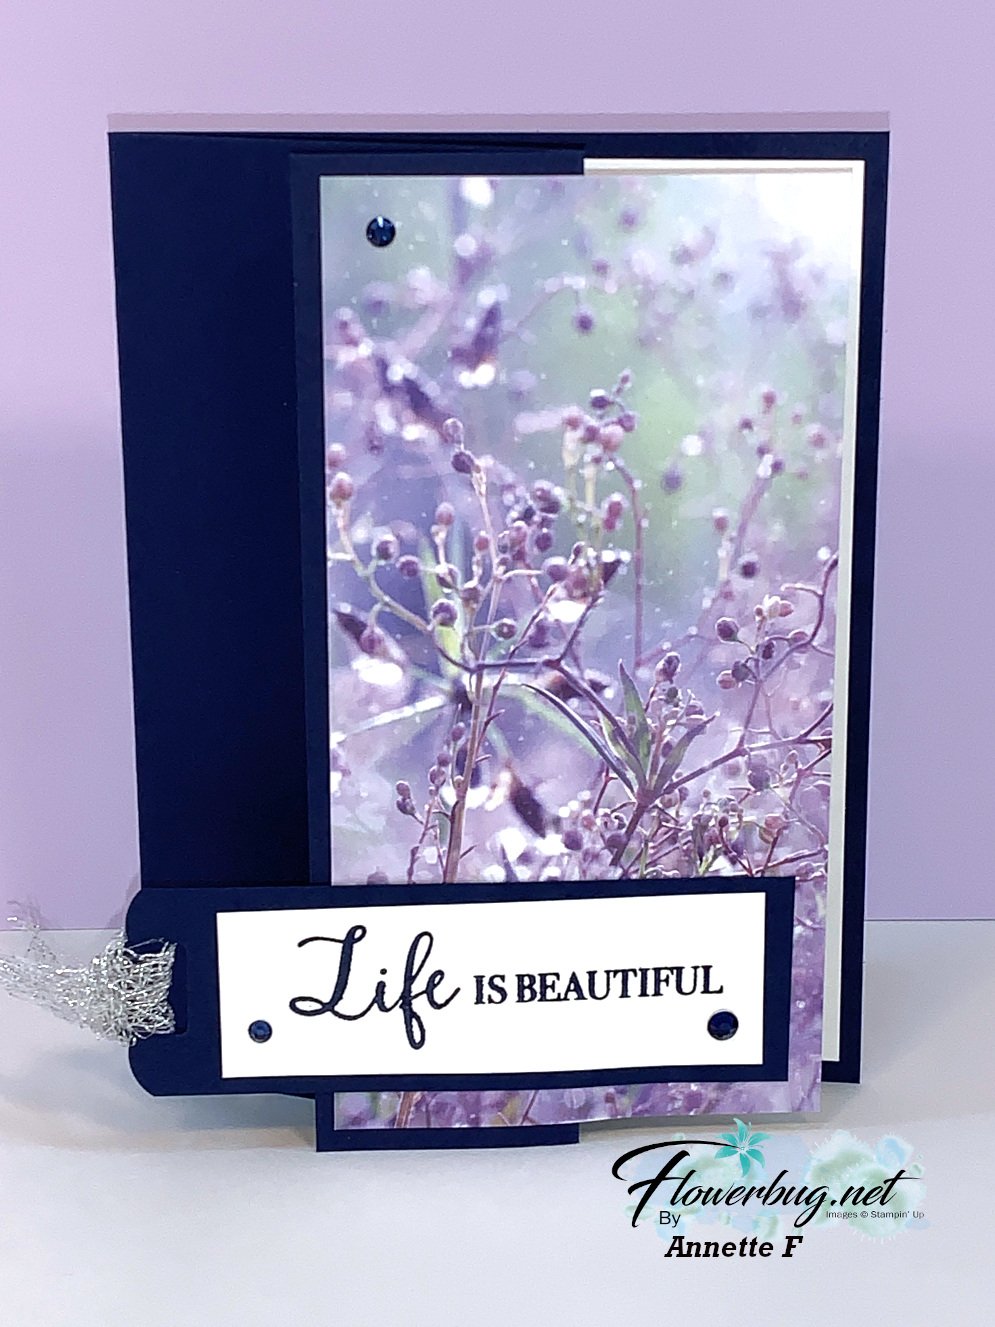
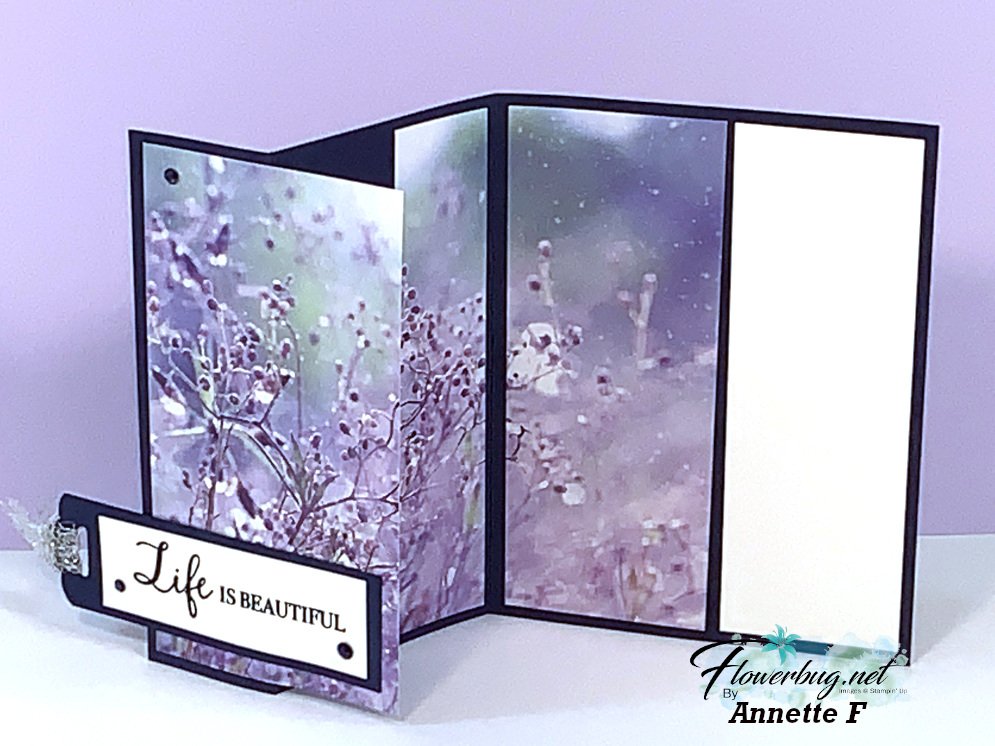
    Check out this beautiful fun fold card made by Annette for our Team swap in September!  Our theme was fun fold cards featuring products in the 2020 Holiday catalog.  

    She featured the Feels Like Frost Specialty Designer Series Paper and the Life is Beautiful stamp set.  This design is perfect for designer paper with a scene or large pattern.  

    I like the tag with the pretty Metallic Mesh ribbon.  That ribbon is so soft and it's in 1 1/2" wide but can easily be cut in sections without fraying!  

    Measurements:

    • Navy card – 5 1/2" X 8 1/2" scored at 1 1/2" & 4 1/4", tag is 1 1/4" X 3 3/4" 
    • Designer paper from left to right – 5 1/4" X 2 3/4", 5 1/4" X 1 1/8" and lastly on the right is 5 1/4" X 2"
    • Whisper White 5 1/5" X 1 3/4", tag is 1" X 3" 

    More Flowerbug Team swaps next week!  

    ~~~

    October Specials!

    Current Host code is MJK7R2CU

    Designer Paper Sale; click here!

    Get a free package of Adhesive Backed Snowflakes in October with an

    online order over $45. 


    All online orders will receive my Tutorial of the Month featuring the Poinsettia Petals suite!

    Leave a Reply

    Your email address will not be published. Required fields are marked *


Notice: LeeAnn Greff, Independent Stampin’ Up! Demonstrator, Manager. The content of this website is my sole responsibility as an independent Stampin’ Up! demonstrator and the use of, and content of, the classes, services, or products offered on this website is not endorsed by Stampin’ Up! Copyright 2025