/


Latest Post

More Magical Meadow fun fold cards by Judith


Yesterday I shared the cards Judith made as our Team Artist of the Month and today I'm sharing more. She did a wonderful job highlighting the Magical Meadow bundle and the Winter Meadow designer paper. 

All of her cards have been fun folds; she does like to make fancy fold cards. 

This card features a center greeting layer that enfolds both front layers of her gatefold card.  She left it removeable so the recipient can add it or leave it off.  You can adhere it if you'd like; I usually add it to the left side.  

The gorgeous leaves & berries image was done with markers; it coordinates with the Magical Meadow dies perfectly! She used the Deckled Circle dies seen here. 

Below is the inside view with the center layer separate. 

Next is another fun fold card I call a double-flap card. She used the same sheet of Winter Meadow as the card above. 

She scored the right side of her double layered circles and adhered the scored flap under the inside layers. Clever!  

The greeting layers are from the Autumn Leaves dies and of course she used the beautiful White & Silver mesh ribbon – all from the 2023 Holiday catalog.  

Thank you for sharing these beautiful projects with us Judith!  

~~~

November Specials: 

*current host codes:  4D2ZDS6Q or 77277NNH

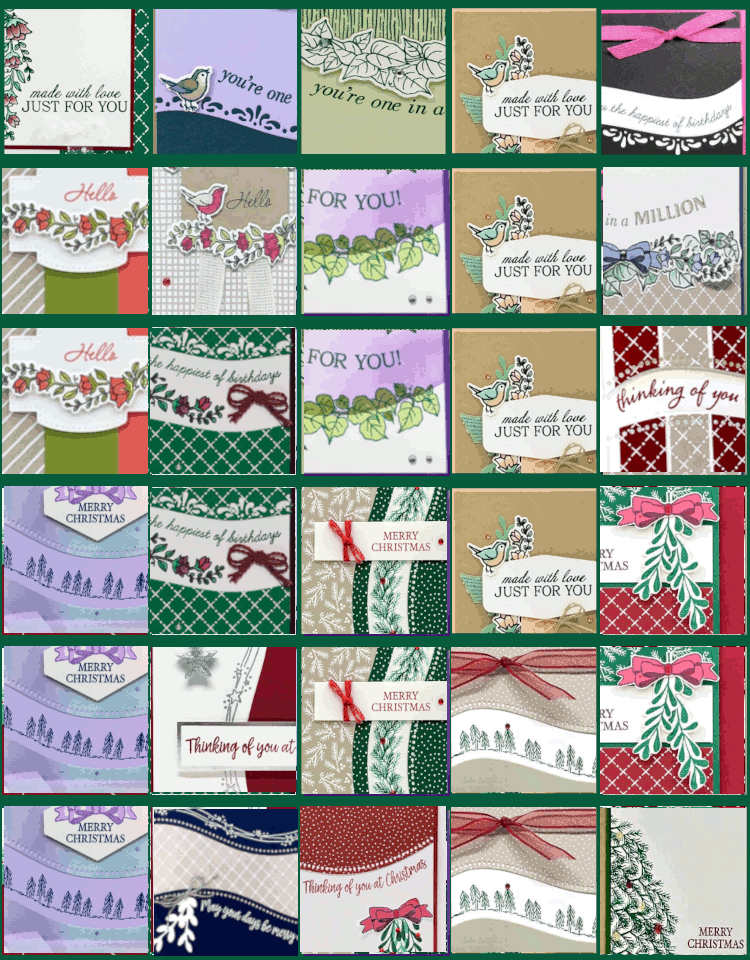
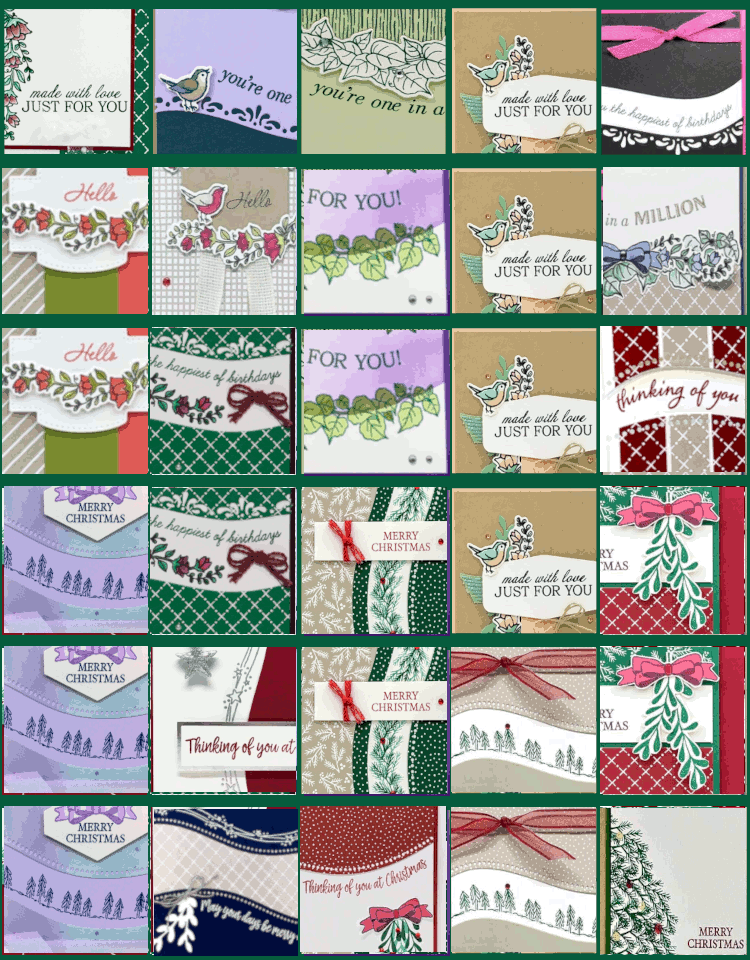
Click on the image below to see the Holiday Last Chance items 

 

All Posts

  • Gift Wrapped Box Fold Card with video


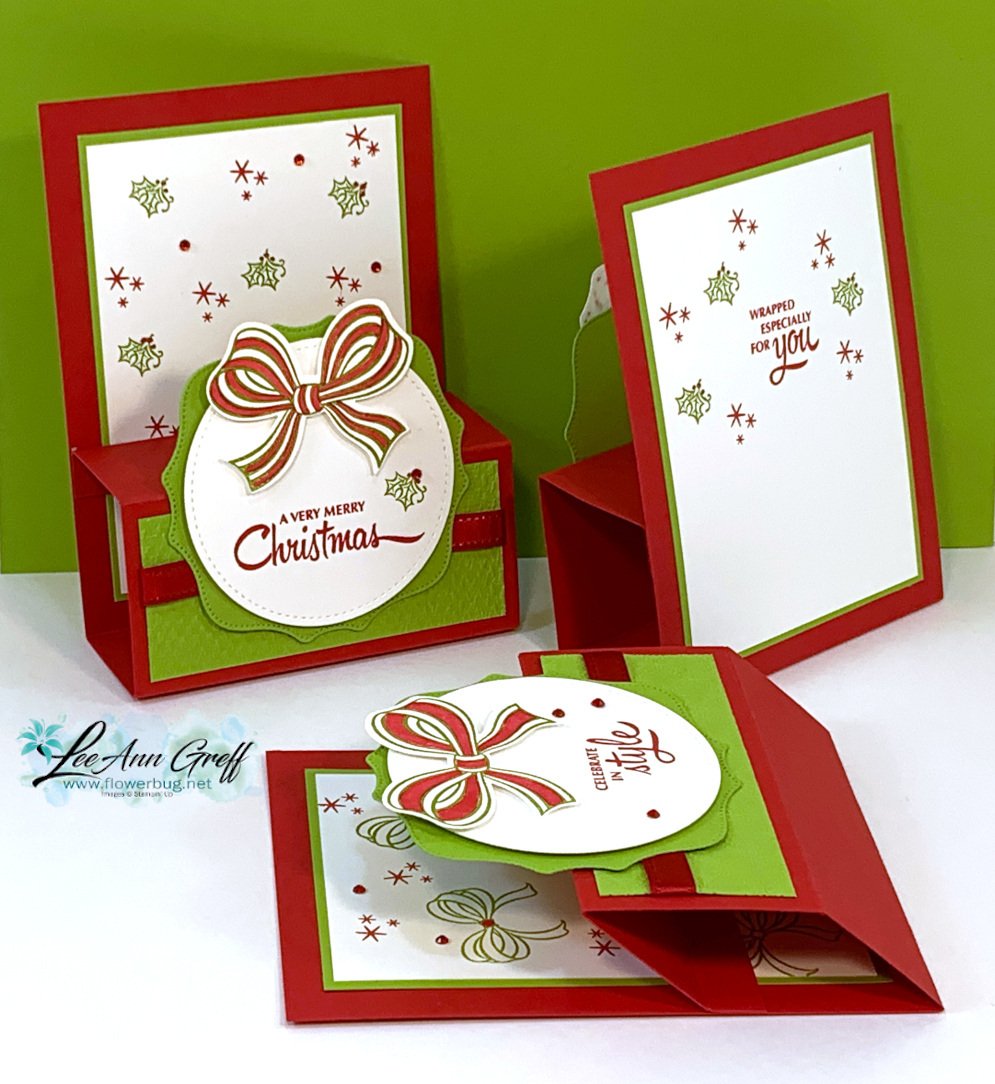
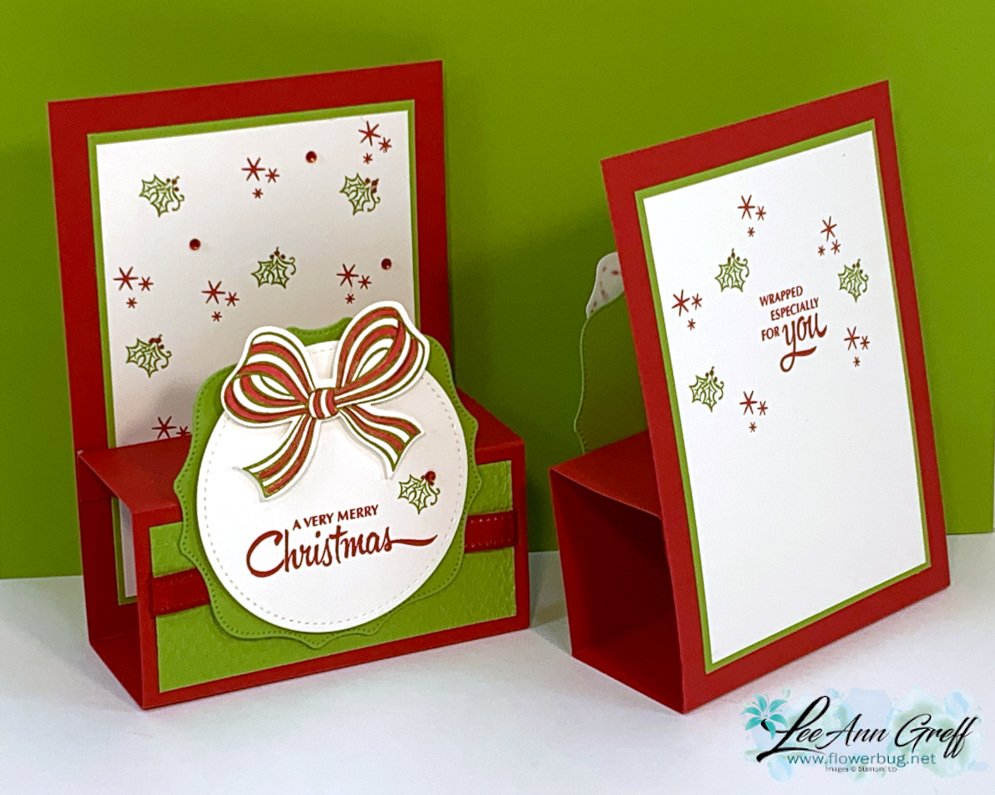
    Check out this cute Christmas card we made at my October Card Clubs!  It's a box fold card; a super cute but easy fun fold. 

    The colors are Real Red with Granny Apple Green & White. The dies on the front are the Stitched Shapes and Hippos & Friends.

    It even folds flat for mailing!  As you can see the back is similar to the front; leaving some space to write or sign the card.  

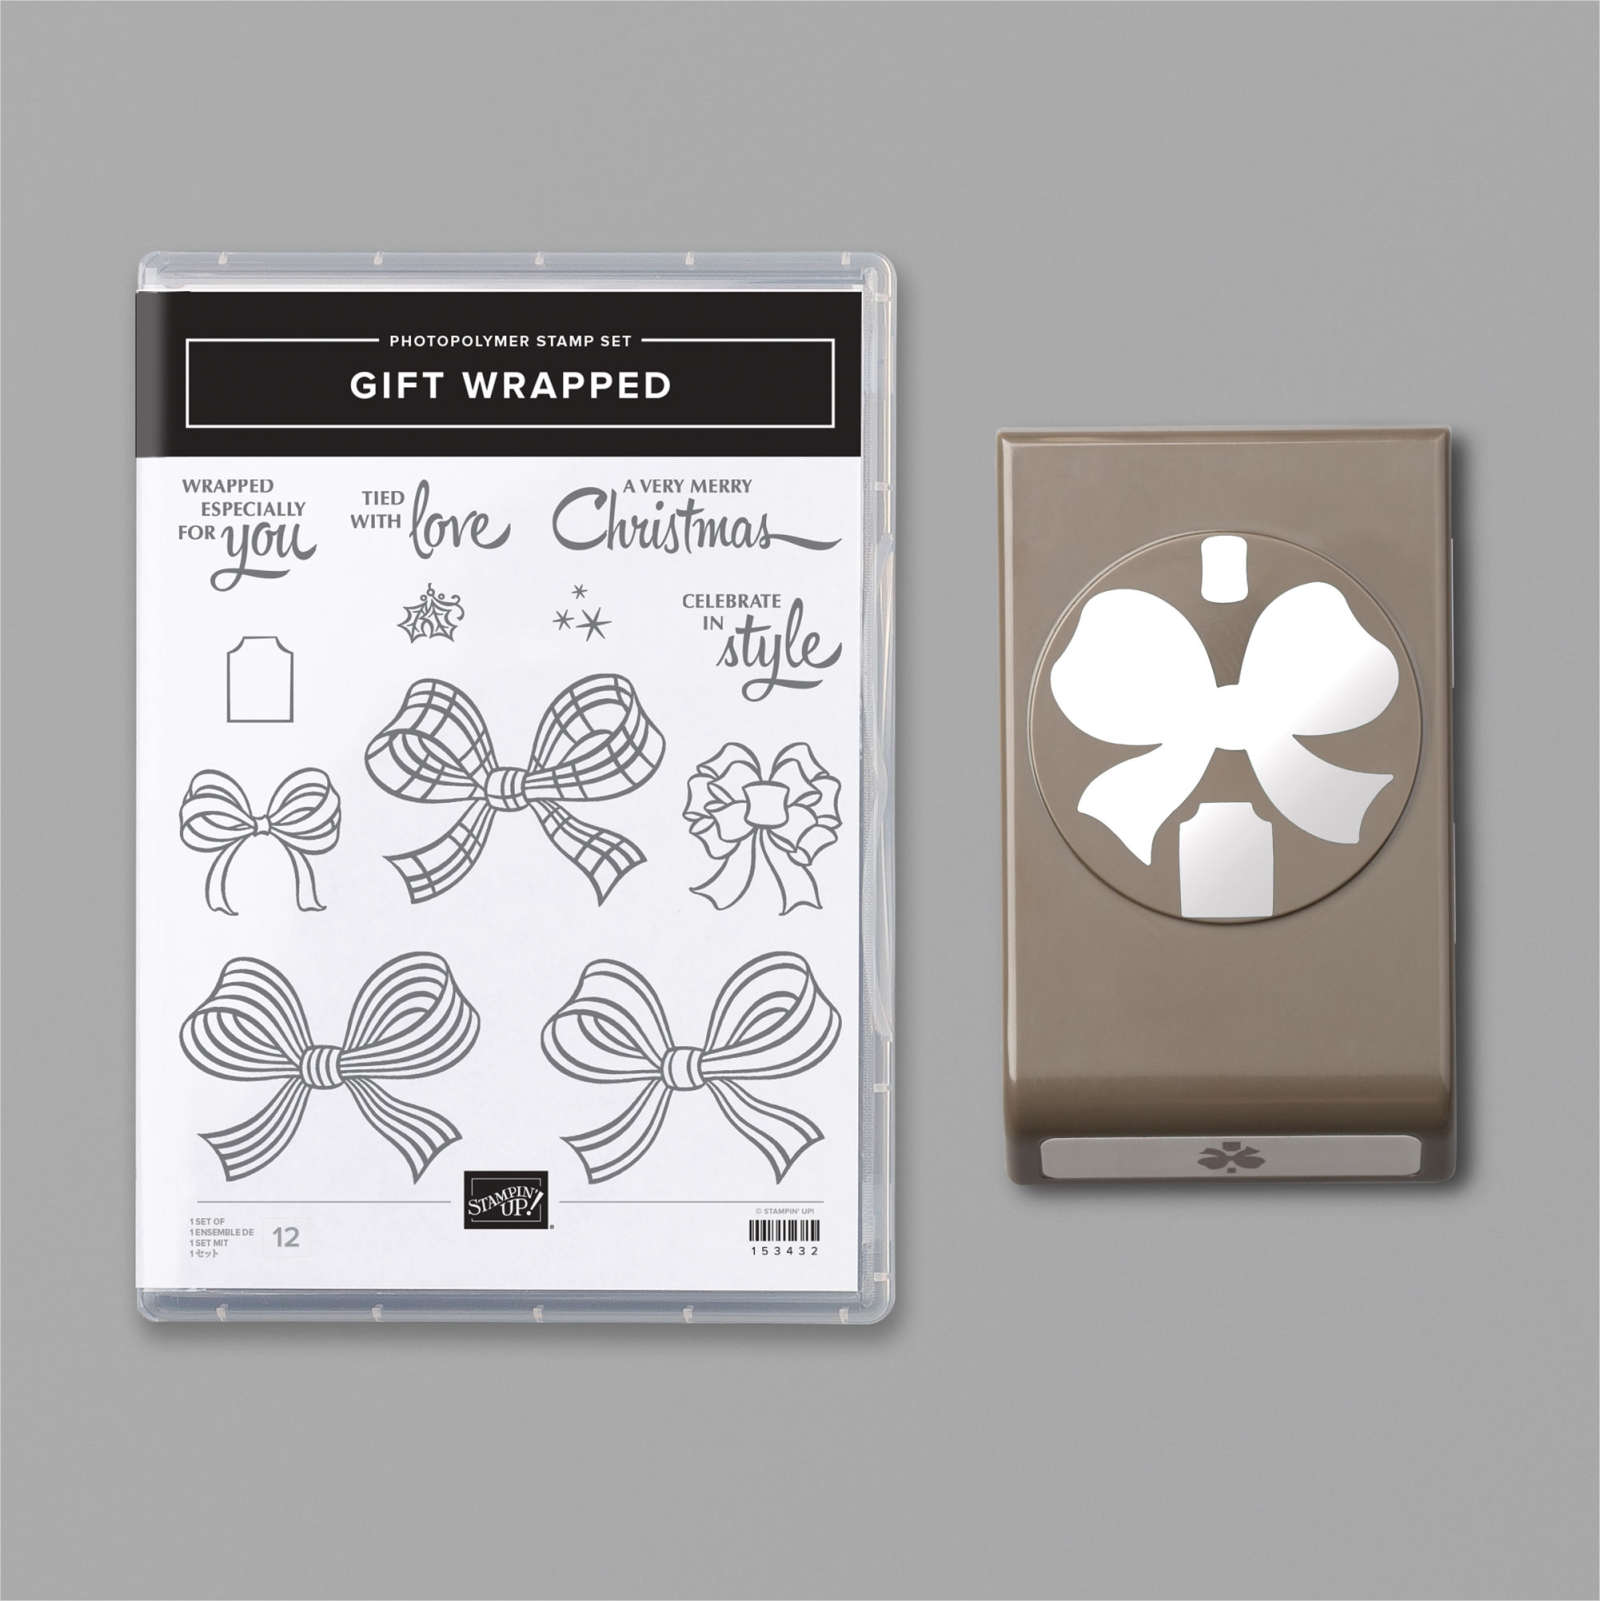
    I used the Gift Wrapped punch bundle from the Holiday catalog.  You can see it here. 

    Check out the video and measurements below. 

    Here's the video: 


    Measurements:

    Real Red 4 1/4" X 11" scored at 5 1/2", 7", 9" and 10 1/2"
    Granny Apple Green 3 5/8" X 4 7/8" (2 pieces) plus scrap for die-cut
    Whisper White 3 1/2" X 4 3/4" (2 pieces) plus scrap for circle die-cut and bow

    ~~~

    November Specials!

    Current Host code is GRC9VVUU


    All online orders receive my FREE Curvy Celebrations 22 project PDF Tutorial! 

    Leave a Reply

    Your email address will not be published. Required fields are marked *

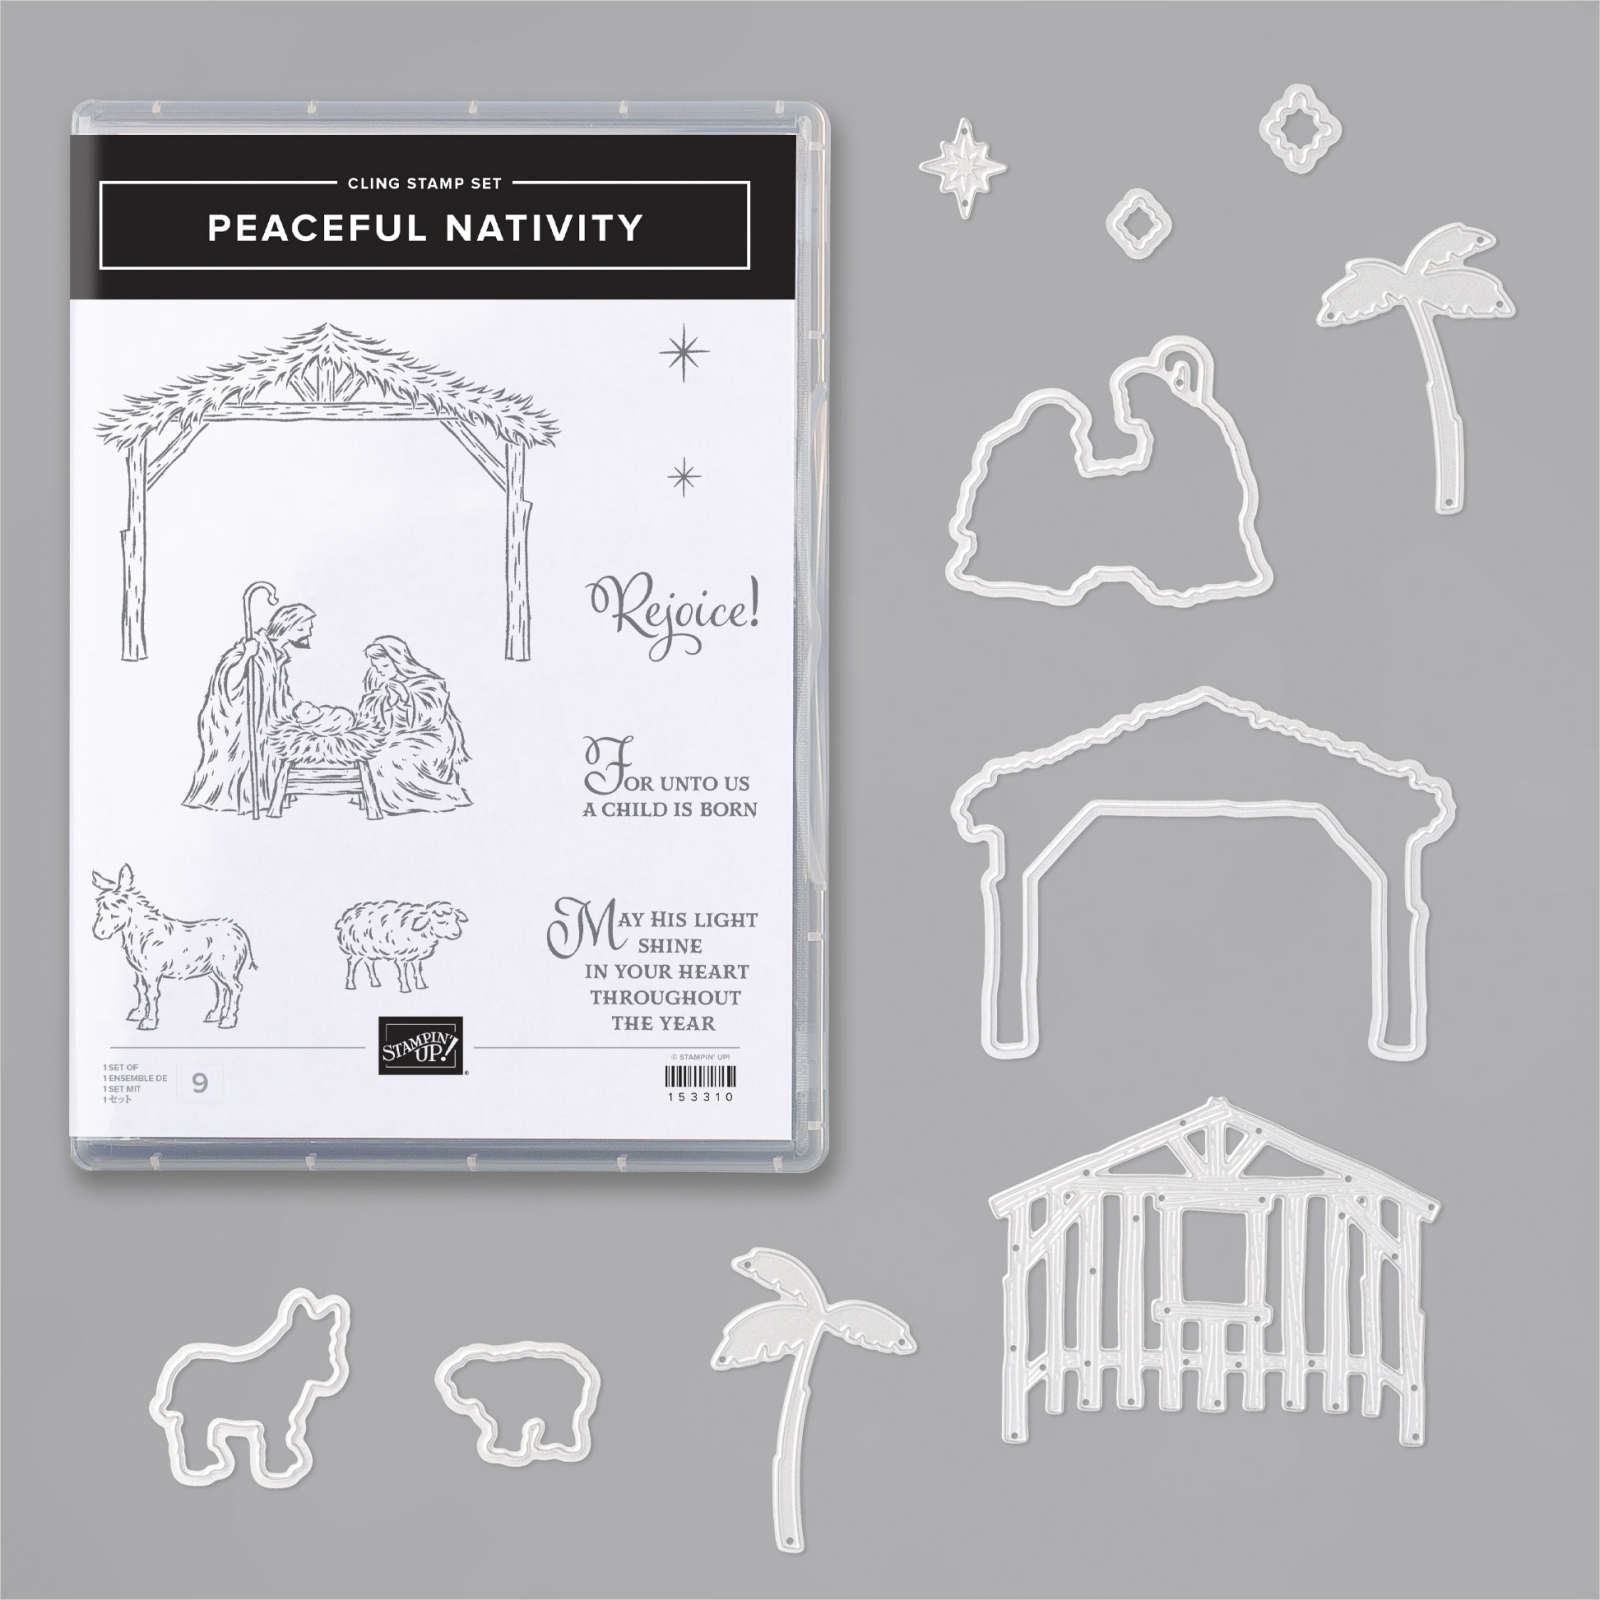
  • Peaceful Nativity WOW card


    Look what happens when you combine a beautiful background with the Nativity Dies?!  

    Candace created this gorgeous card for our October Christmas cards swap with my Flowerbug's Team.  She is a master at sponging backgrounds.  I believe she used Pacific Point here.  She simply added a greeting (from For Unto Us set) embossed in Silver and the pretty scenic die-cuts in Black.  

    Click here to see the For Unto Us stamp set and here for the Peaceful Nativity bundle. 

    More Team swaps tomorrow! 

    ~~~

    November Specials!

    Current Host code is GRC9VVUU


    All online orders receive my FREE Curvy Celebrations 22 project PDF Tutorial! 


    Leave a Reply

    Your email address will not be published. Required fields are marked *

  • Curvy Celebrations!! Woo hoo; it’s available today!


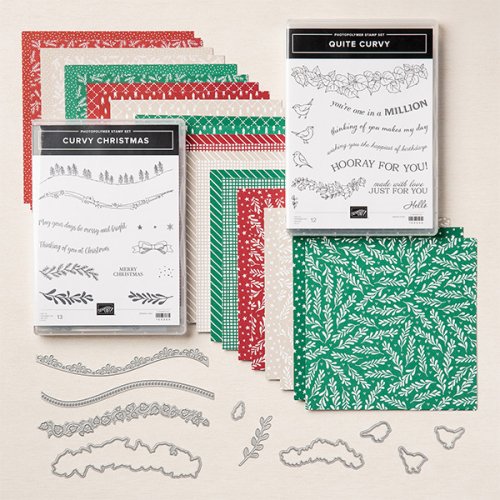
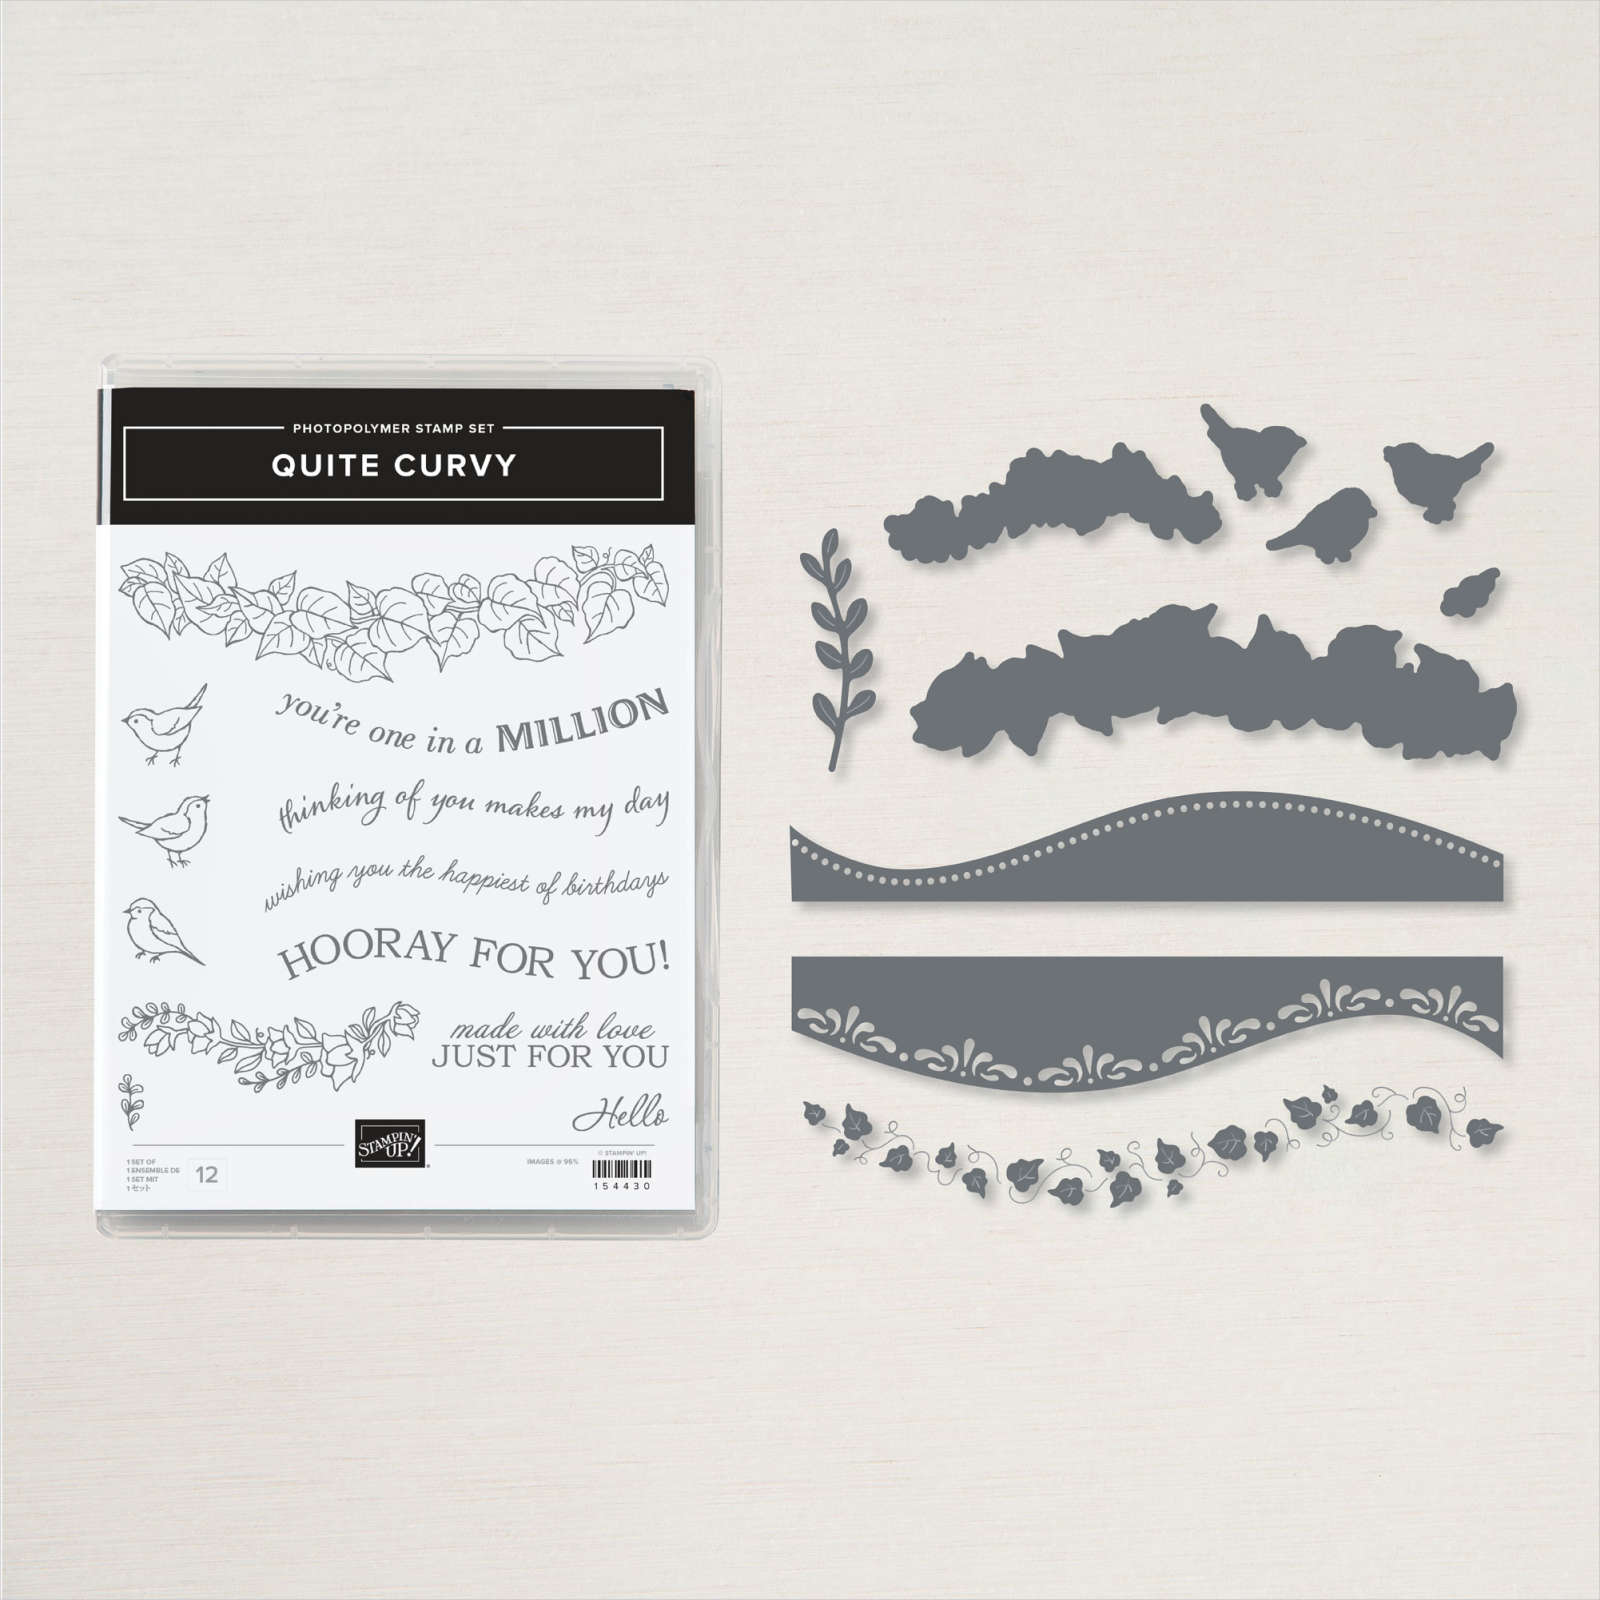
    Stampin' Up! is releasing brand new product today!!  Most of these Curvy Celebration items are from the upcoming spring catalog!  Demonstrators could pre-order these items early but now you can get them too.

    In fact you can get all of this for $70.50!   

    See them all here.

    I love these products so much I'm giving away a huge 22 project PDF tutorial to everyone who either purchases any of these items from me or places an online order in my store. 


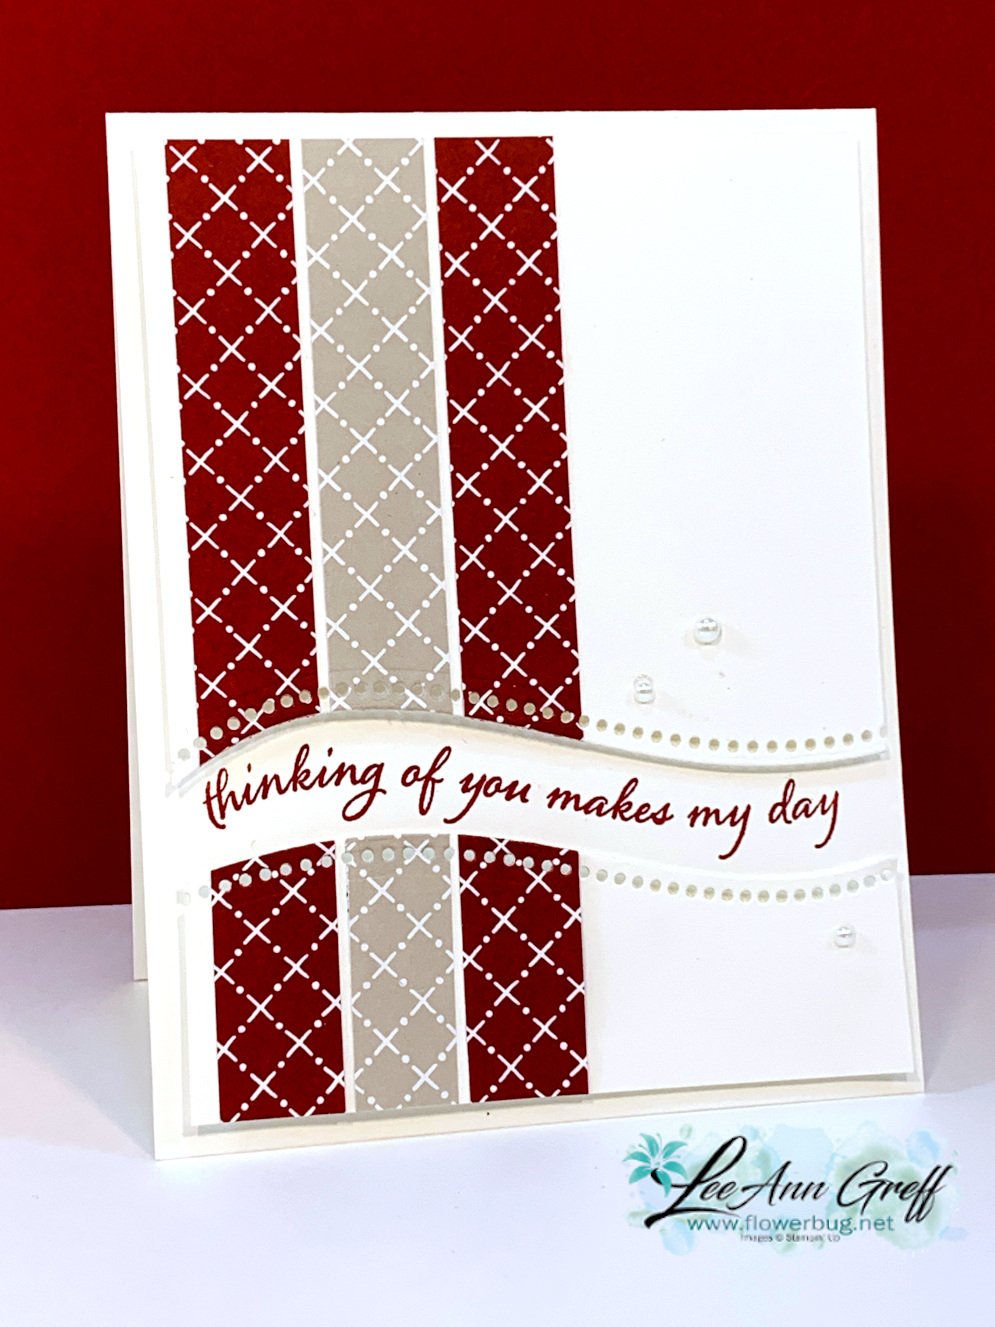
    I also joined a few online swaps with these products; here's one of my favorites!


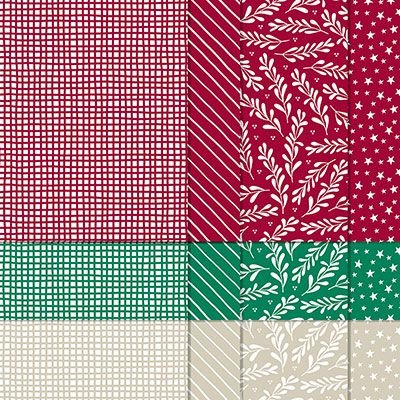
    I chose to use two of the colors in the Classic Christmas 6" designer paper pack; Cherry Cobbler & Sahara Sand.  I cut 3/4" long strips and adhered them to a 5 1/4" X 4" piece of White CS.  Then I used the dotted, curvy die to cut about 4" down from the top.  Then I turned the die over to cut the other end and trimmed it to fit the card. 

    The greeting is from the Quite Curvy stamp set which is available in the bundle at 10% off.   


    Get it whole bundle and I'll send you a free Winter Snow embossing folder

    and the 22 project PDF tutorial too!  

    ~~~

    November Specials!

    Current Host code is GRC9VVUU


    All online orders receive my FREE Curvy Celebrations 22 project PDF Tutorial! 

    Leave a Reply

    Your email address will not be published. Required fields are marked *


Notice: LeeAnn Greff, Independent Stampin’ Up! Demonstrator, Manager. The content of this website is my sole responsibility as an independent Stampin’ Up! demonstrator and the use of, and content of, the classes, services, or products offered on this website is not endorsed by Stampin’ Up! Copyright 2025