/


Latest Post

More fun fold cards!


Each day this week I'm sharing many of the Fun Fold card swaps made by my talented Flowerbug's Team.  They are amazing! 

First is Candace's pretty Double Triangle card:
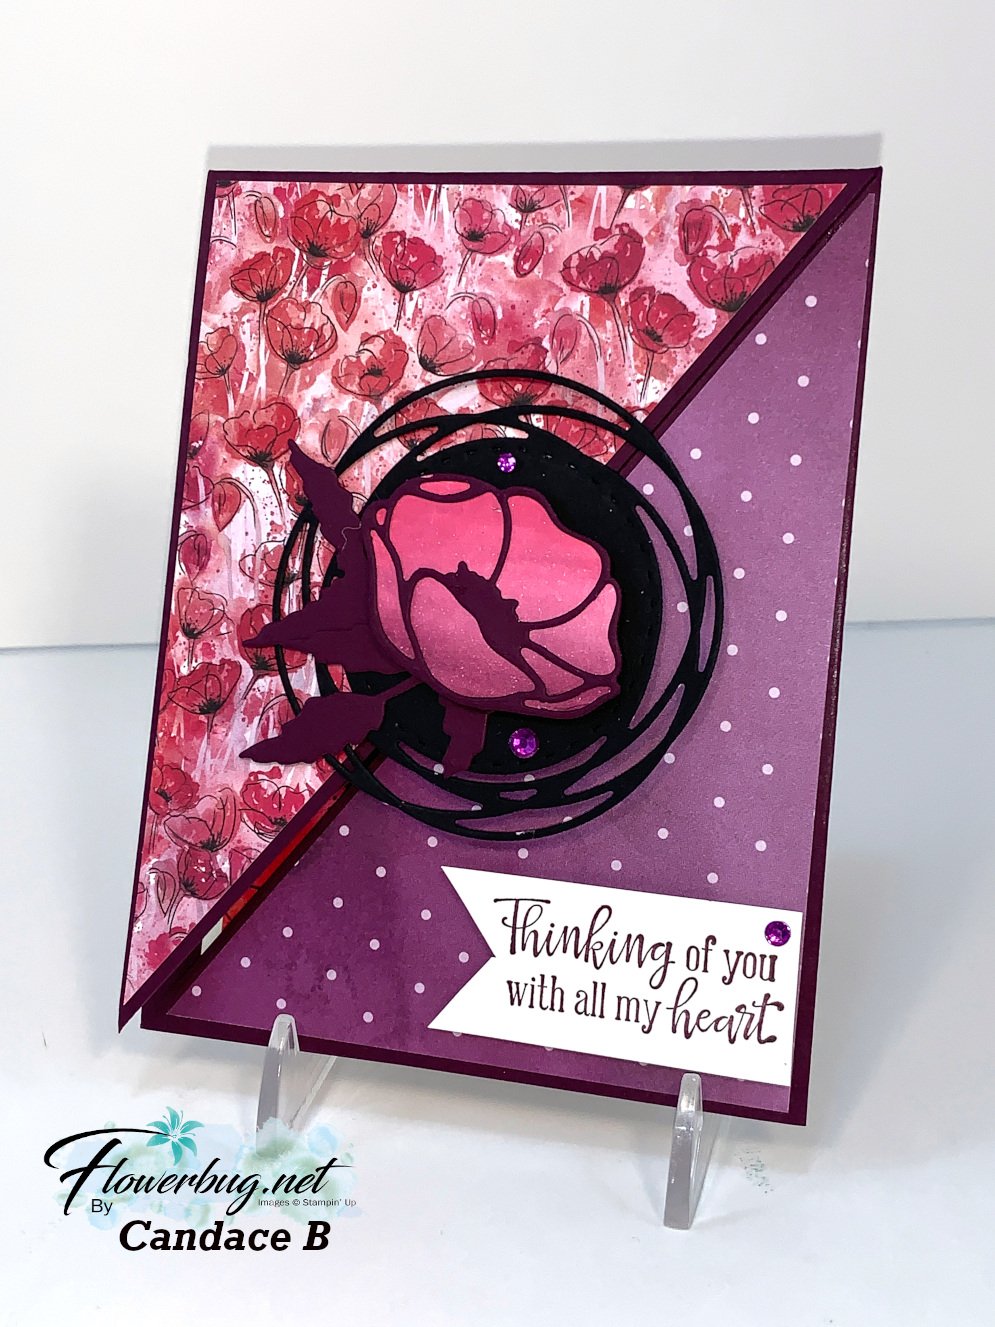
This card is so fun to make and to receive! You can find all kinds of tutorials for this fold.  Here's a video I made for it: 

The best thing about this card fold is how perfectly it uses both your card stock and designer paper without waste!  And it makes 2 cards at the same time!

Start out with a full 8 1/2" X 11" piece of card stock.  Score it down the center both ways; at 5 1/2" and 4 1/4".  Then cut in half on the diagonal like this:
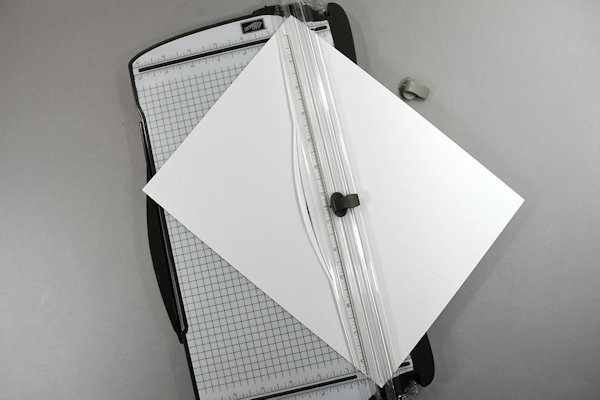
Now cut two pieces of designer paper measuring 4" X 5 1/4" in half.  Use double sided paper for the best use; two for each card.
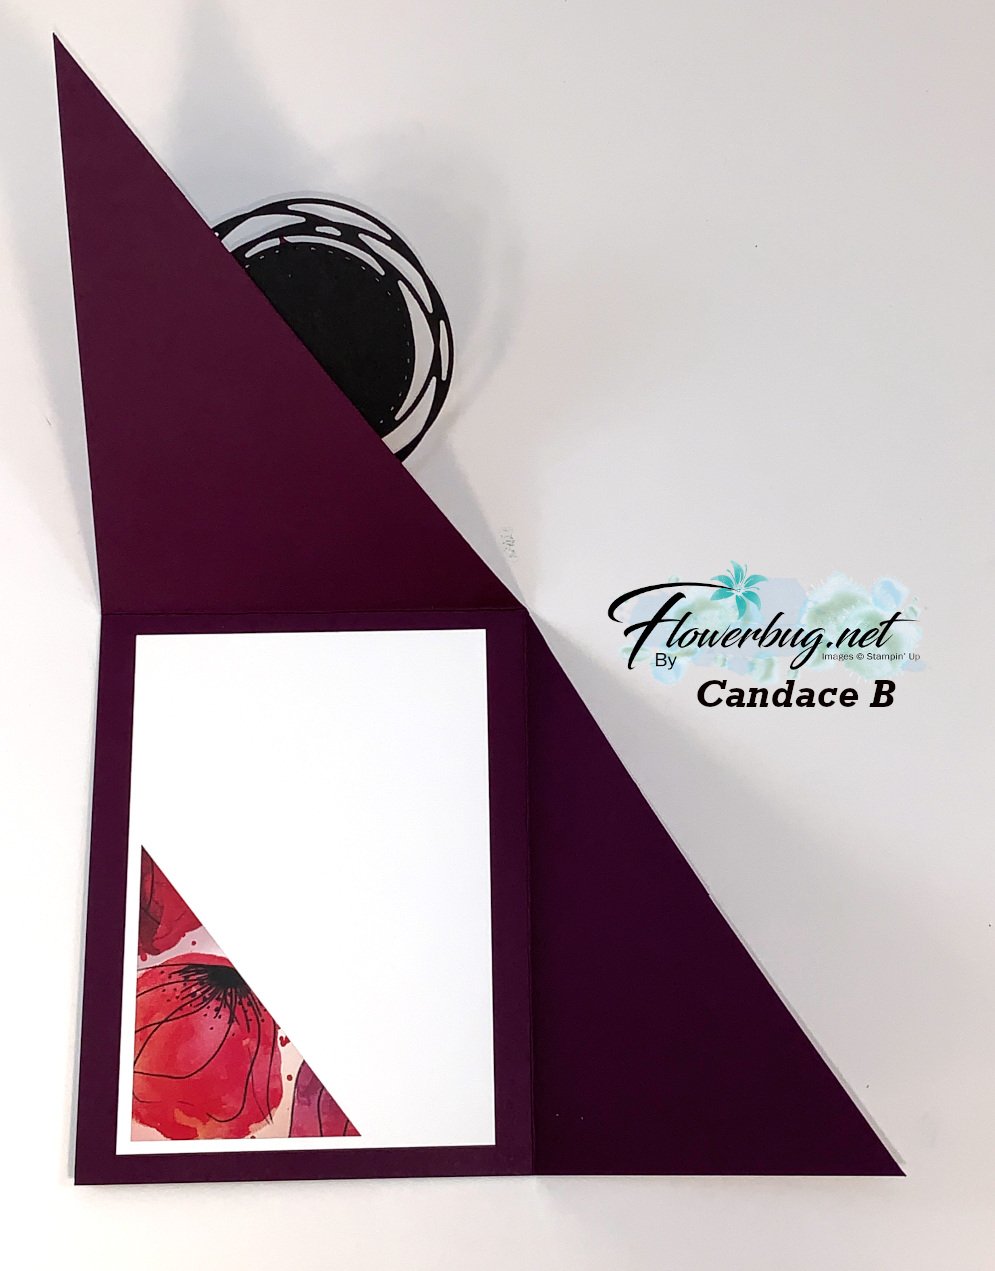
Candace used the retiring Peaceful Poppies designer paper seen here, the Painted Label dies and the Peaceful Moments bundle.  I love that splash of designer paper inside the card!

Marilyn made this beautiful card with the Ornate Garden suite of products seen here; an early release from the upcoming Annual Catalog.  

  • The Olive card base is 4 1/4" X 8 3/4" scored at 5 1/2"
  • The Terracotta Tile layer is 4" X 3"
  • Designer paper is 3 7/8" X 2 7/8"
  • The Olive stitched rectangle is 3 1/2" X 2 1/4" 
  • The Terracotta Tile die-cut is from the Ornate Frames dies
  • The White daisy layer is 1 1/8" X 2 1/2", the White inside is 4" X 5 1/5"
  • Stamps are from the Ornate Style & Ornate Thanks stamp sets 

Paula made this striking fun fold card using the Peaceful Poppies designer paper and the Painted Poppies bundle.

This Peaceful Poppies designer paper is retiring and is on the Last Chance list now while supplies last here.  I'm so glad the Painted Poppies bundle will be returning in the new Annual catalog! 

Measurements:

  • Poppy Parade main card 5 1/2" X 8 1/2" scored at 2 1/8" and 6 3/8"
  • Striped DSP is 1 7/8" X 5 1/4"
  • Poppies DSP is 1 3/4 X 3 3/4"
  • White strips are 2" X 4" 

I hope you're enjoying these fun fold cards made by my talented Flowerbug's Team!  More tomorrow! 

~~~

May Specials


Get my 'ALL Fun Fold cards tutorial' free with any online order.

It includes directions, photos and measurements for 18 fancy card folds!


May Host code is EYDJ4MQN

Get a free pkg. of Noble Peacock rhinestones from me if your order is over $55. 

Order online here

All Posts

  • Changing up this fancy fold from a men’s card to glitzy!


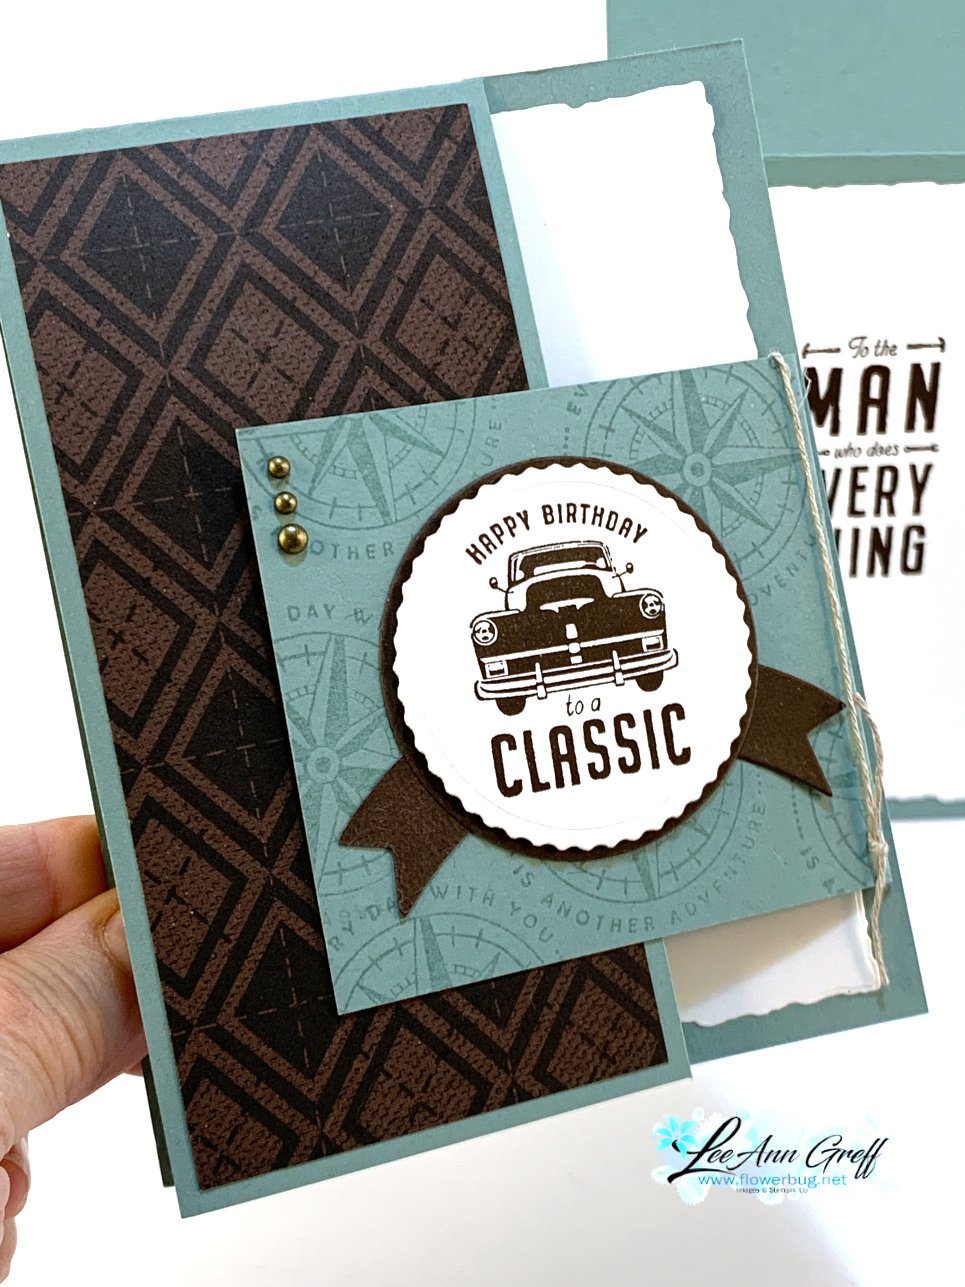
    I created this neat double-flap fancy fold card for last month's Card Clubs.  It features the He's the Man suite seen here or on pages 78-79 of the 2022-23 Annual Catalog by Stampin' Up!   

    The colors include Soft Succulent, Early Espresso & White. 

    Details:

    • The White & banner die-cuts are from the All That dies; but get the stamp set & dies in a bundle at an extra 10% off here.  
    • The DSP is from the He's the Man paper
    • All greetings are from the He's All That stamp set. 
    • The background is stamped using Versamark ink on the Soft Succulent panel. 
    • The inside white is a die-cut using the Deckled Rectangle dies seen here. 

    I created a video showing you how to make it; click here to watch.  Or scroll down to the bottom of this post.  It looks hard but is sooo easy!  

    Measurements

    • Card base 4 1/4" X 11" scored at 5 1/2"; cut off 1 1/2" of the card front.
    • side flap is 3" X 3 3/4" scored at 1/2" on the long side
    • He's the Man DSP 2 1/2" X 5 1/4"
    • White inside 4" X 5 1/4"

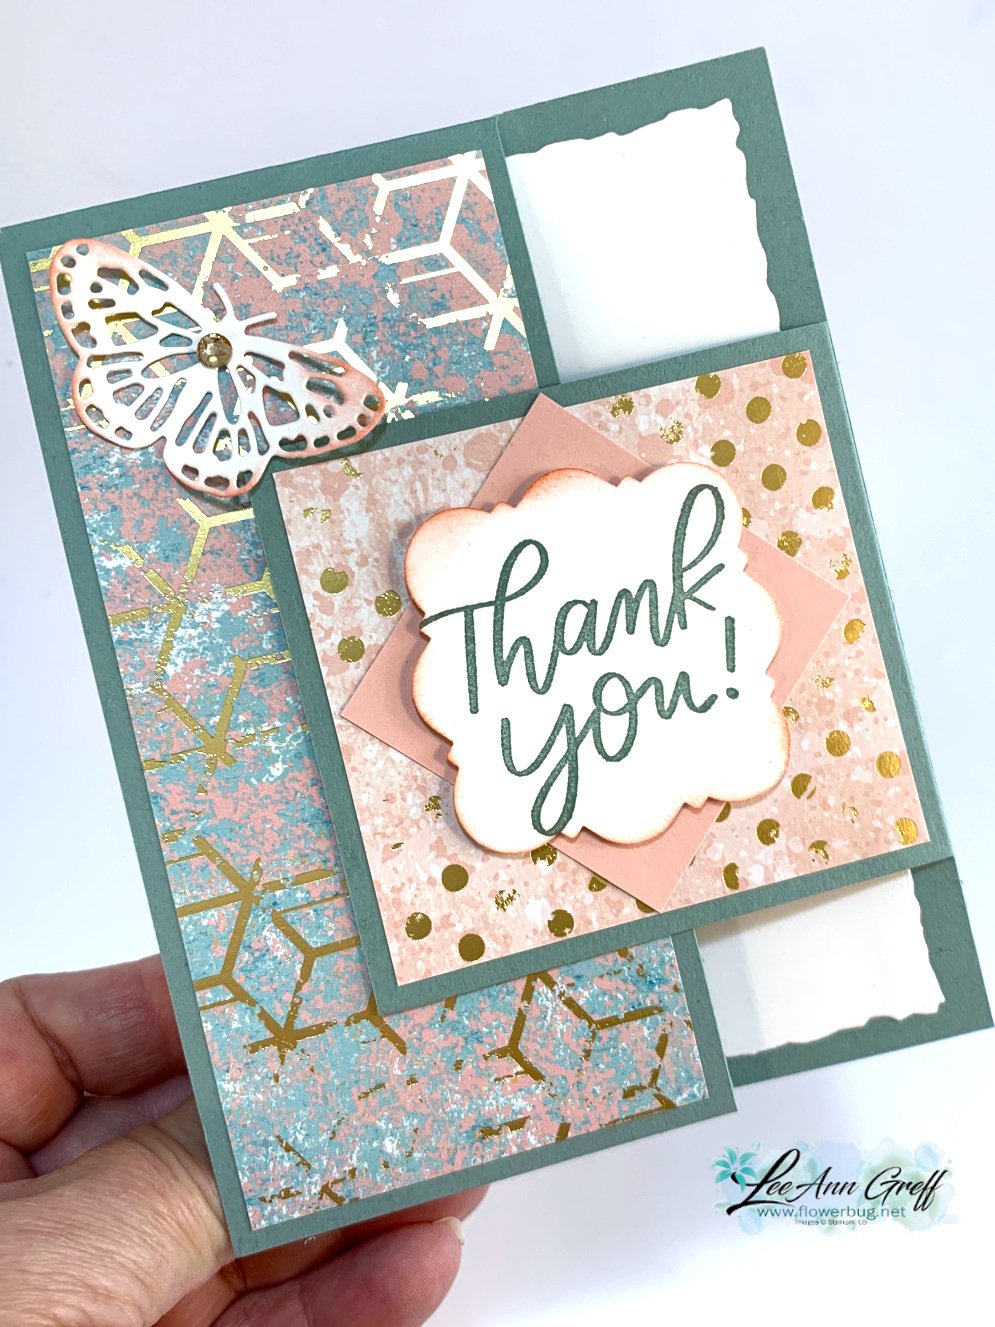
    I had left-over packets of this card we made for club last month and decided to change it up for a totally new look!  

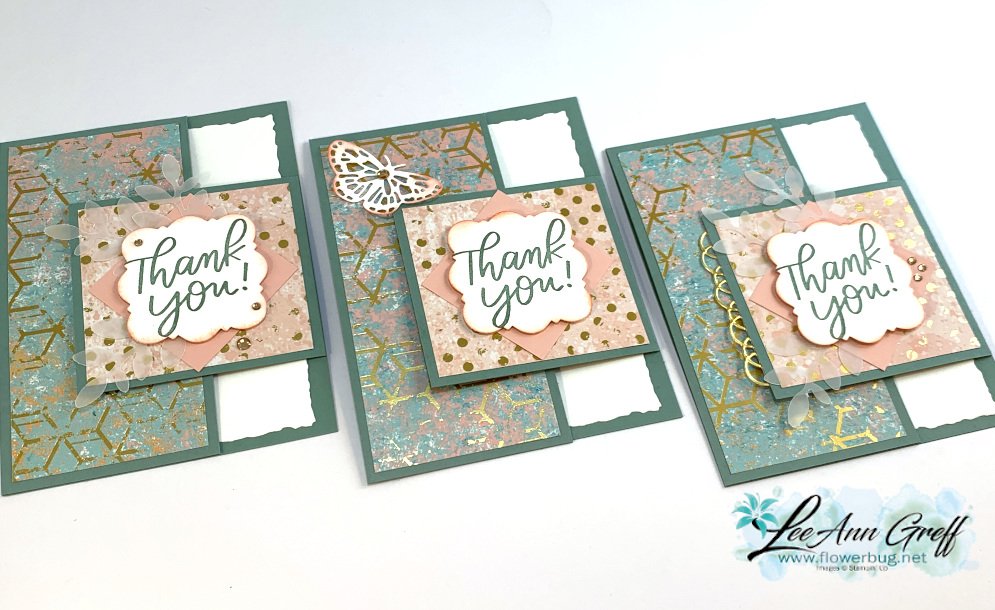
    I switched out the He's the Man designer paper to the Texture Chic Specialty paper.  I also added a few vellum leaves from the Bough punch and a Gold die-cut accent from the Painted Label dies. 

    The greeting is from the Good Feelings stamp set; the label is the new Handmade Tag punch in the Holiday catalog. 

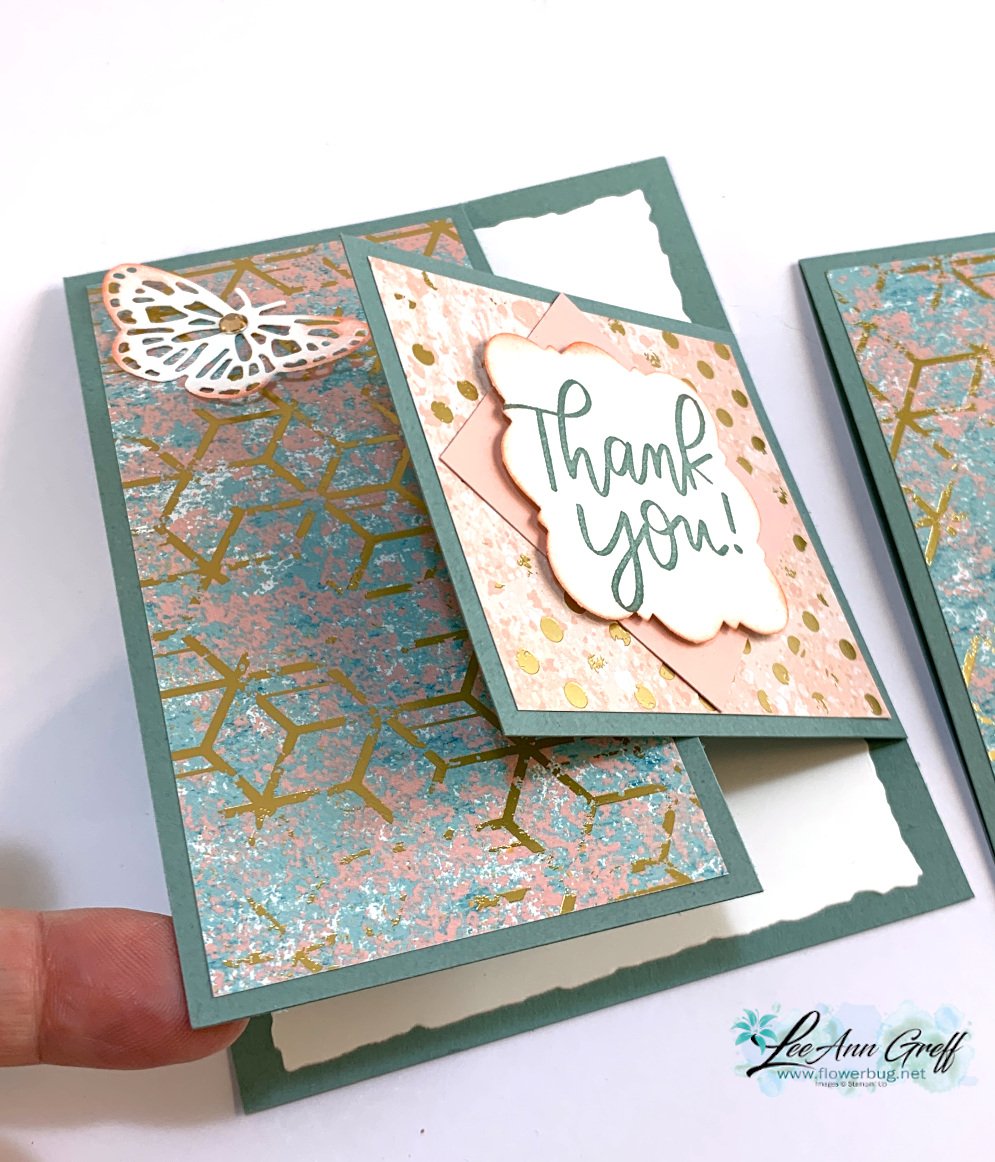
    This card features a die-cut butterfly from the Brilliant Wings dies.  The butterfly wing actually holds the left flap closed.  

    I love the double flap of this fancy fold!   Here are all three versions of my 'make-over' cards.  I love switching it up to create something totally different and the Texture Chic specialty paper doesn't disappoint!  

    And here's the video to see how it's made.  Click on the photo below to watch it.  

    ~~~

    August Specials

    Get free items here in August during Sale-a-Bration! 


    Host code: YFR367QW

     *click here to order 

    Earn free products with my loyalty rewards! 

    Click here to download yours and earn a $50 shopping spree!

    ~~~

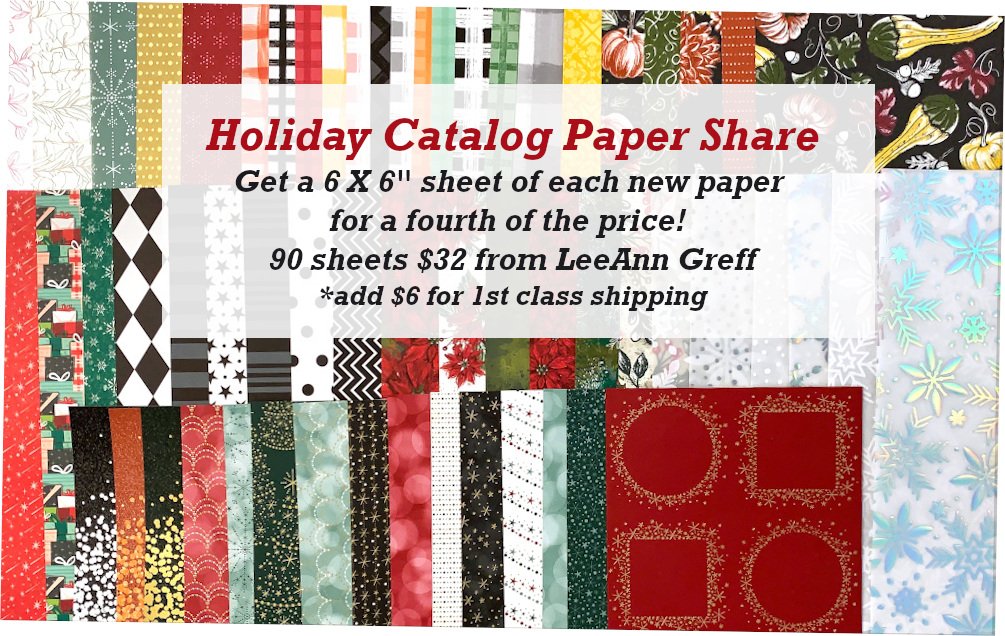
    Get my Holiday Designer Paper share; contact me here  

    Leave a Reply

    Your email address will not be published. Required fields are marked *

  • Unique Silver & Gold Designer Paper technique ideas with video!


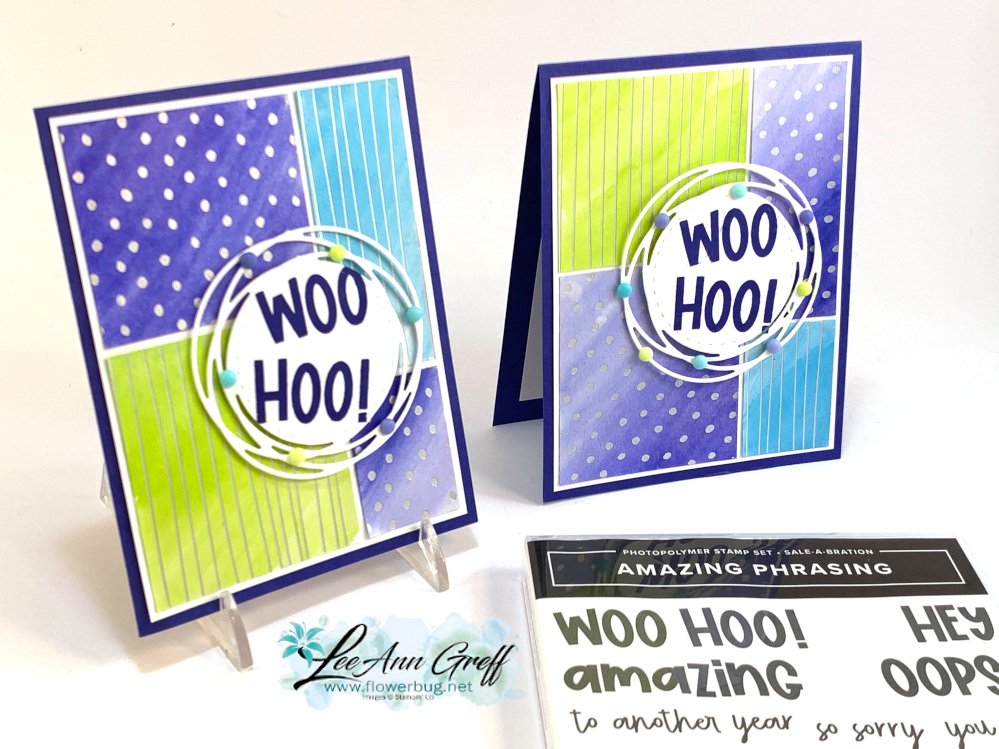
    I played with the Silver & Gold Designer Series Paper on this week's FB Live and this is one of my favorite projects: 

    My goal was to share different ways to add color to this pretty metallic themed paper.  for this card I used our Water Brushes and our 2022-24 In Color ink.  I filled the water brush with water, using the largest brush, added a wash of four of the five colors.  

    This card layout is one referred to as the Stack & Cut technique.  You start out with at least 2 pieces of Designer Paper measuring 3 3/4" X 5" and cut using the template below.  It's so easy and is a fabulous way to showcase your designer paper.  

    The sentiment is from the Amazing Phrasing stamp set – a free choice from our Sale-a-Bration catalog.  This stamp set is free with any $100 Stampin' Up! order.  See all of the Sale-a-Bration free choices here.  

    If you want either of these products why not take advantage of my BOGO sale and get free products from me with our purchase.  You'll still get New products from Stampin' Up! but also get to choose from my big bunch of retired Stampin' Up! products.  See details below, or view them all in my two albums here on my FB page.  

    Here's the video to see how it's done.  Click on the photo below.  

    ~~~

    August Specials

    My BOGO sale started Sunday but I have LOTS left to choose from. 

    See everything available here – click on the 2 BOGO photo albums

    Or watch the video here.  Basically for every $ you spend online you get my retired items FREE!

    Please use a host code when ordering: YFR367QW

    Get free items here in August during Sale-a-Bration! 

    Get my Holiday Designer Paper share; contact me here  

    Leave a Reply

    Your email address will not be published. Required fields are marked *

  • CUTE Butterfly Kisses Card Kit to go or Tutorial


    I chose to feature the Butterfly Kisses designer paper for one of my August card kits to go.  It's so colorful & bright!  

    I created 2 each of 5 different cards; a few are special fun fold designs.  I find it quite enjoyable to create when I gather products that 'work' together so easily.  I let the colors in the DSP guide me and added Starry Sky ribbon & Fun Flowers resin shapes for accents.  

    If you like these cards you have a few options; get the pre-cut kit to go with the PDF tutorial or just the PDF tutorial only.  

    The pre-cut kit includes the following: 

    • All pre-cut pieces including punched or die-cuts
    • 1/2 pkg of 6 X 6" Butterfly Kisses DSP (you'll cut using the directions)
    • a share of Starry Sky Metallic Woven ribbon
    • a share of Fun Flowers Resin Shapes
    • The free PDF tutorial – photos, step by step directions, measurements & a supplies list

    Choose the pre-cut kit here or the PDF tutorial here. 

    See all of my kits, tutorials & more here. 


    My BOGO sale started Sunday but I have LOTS left to choose from. 

    See everything available here – click on the 2 BOGO photo albums

    Or watch the video here.  Basically for every $ you spend online you get my retired items FREE!

    Please use a host code when ordering: 976YDX6B or RMFKDE3G

    ~~~

    August Specials

    Get free items here in August during Sale-a-Bration! 

    Get my Holiday Designer Paper share; contact me here  

    Leave a Reply

    Your email address will not be published. Required fields are marked *


Notice: LeeAnn Greff, Independent Stampin’ Up! Demonstrator, Manager. The content of this website is my sole responsibility as an independent Stampin’ Up! demonstrator and the use of, and content of, the classes, services, or products offered on this website is not endorsed by Stampin’ Up! Copyright 2025