/


Latest Post

Luxe Foliage Window Z-fold with free project sheet & video tutorial


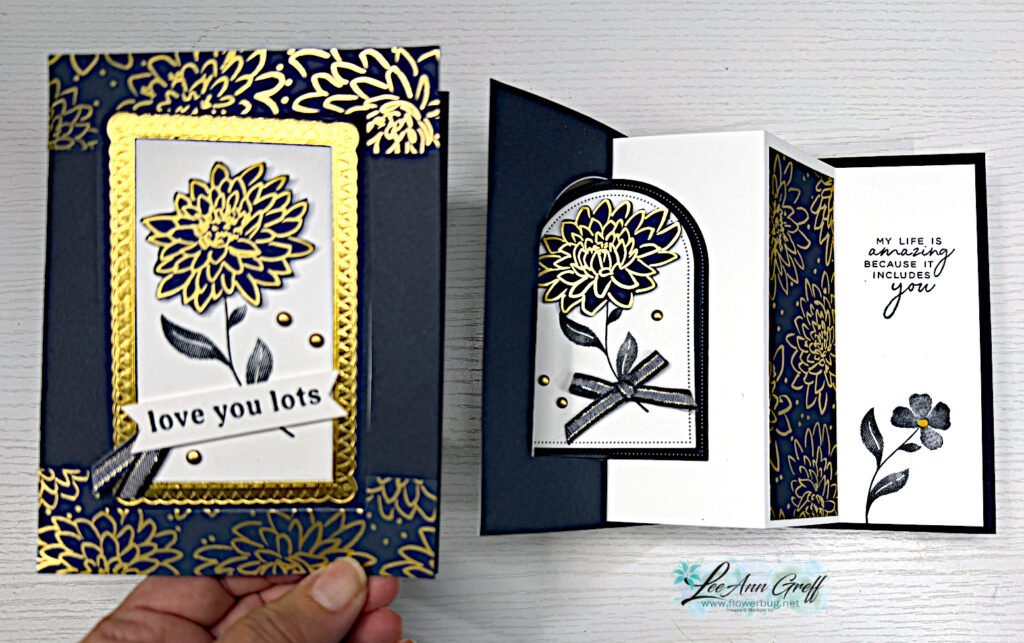
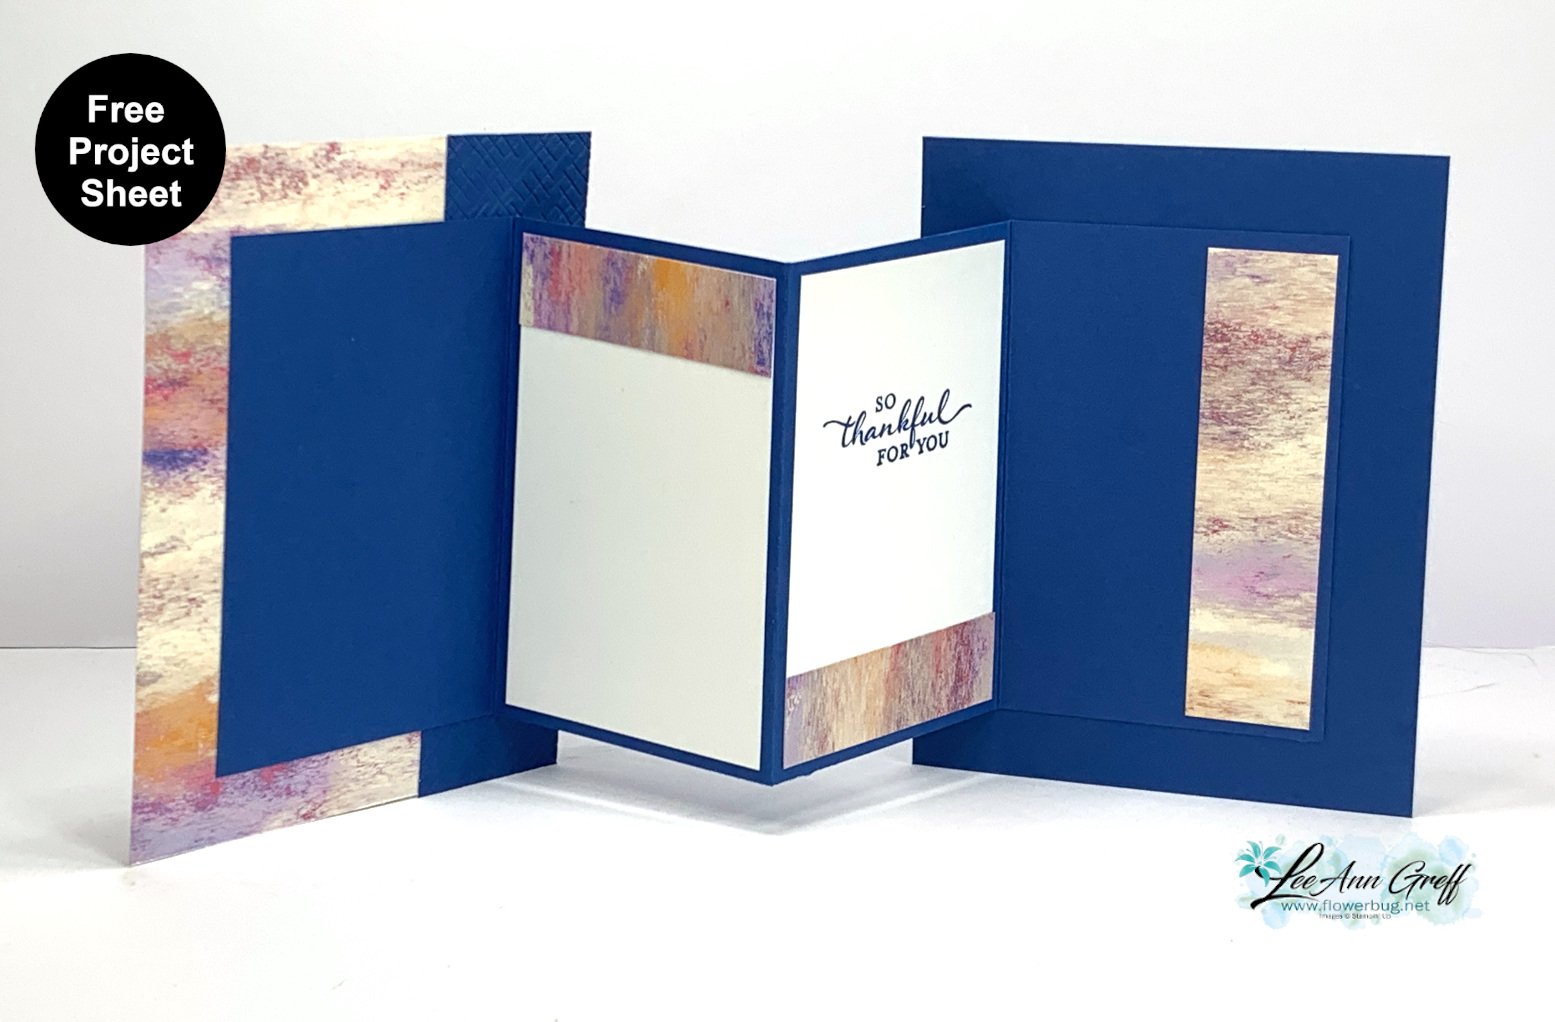
I just love this card I made for last week’s video! It features the exclusive Luxe Foliage specialty designer series paper.
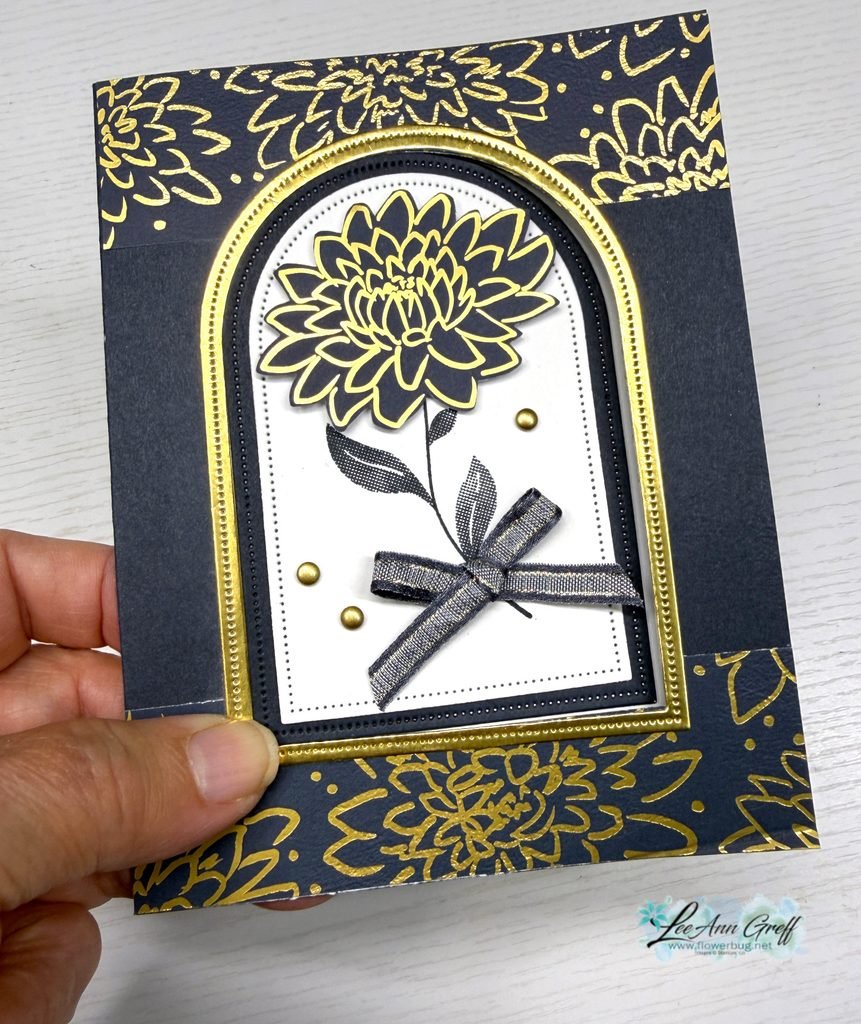
Gorgeous, right? I cased this fold from my friend Susie Wood. I get so many fun fold ideas from her. Check out her blog here.

This stunning Luxe Foliage DSP is a Product of the Month and available while supplies last. See it here. You can redeem it for just $5 once your order reaches the $75 mark. There are 4 sheets of each pattern in this pack!
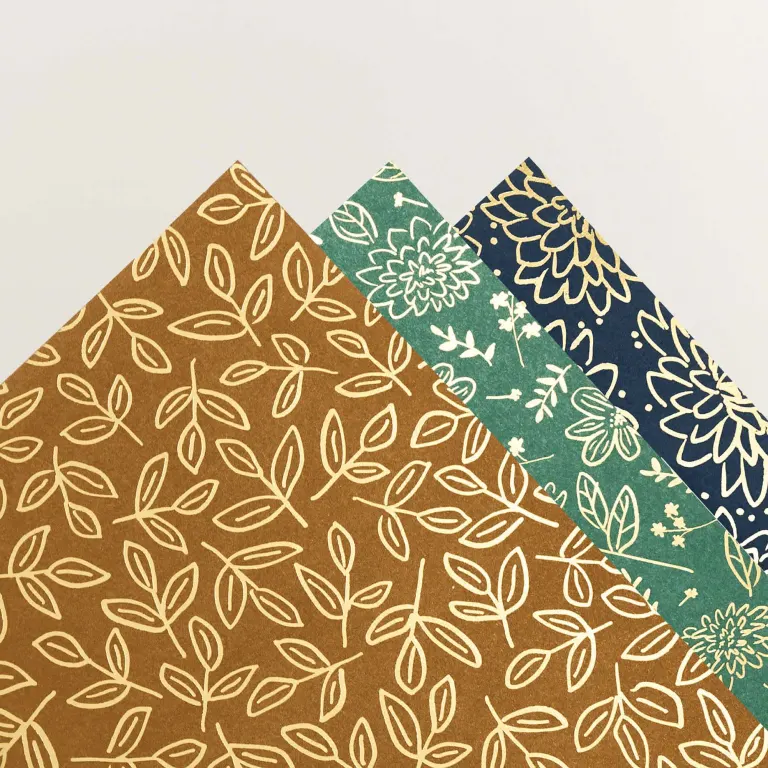
I paired it with Secret Sea, Gold foil and White here. On this card I used the Everyday Arches dies for the window and the Tile Garden stamp set for the leaves/stem.
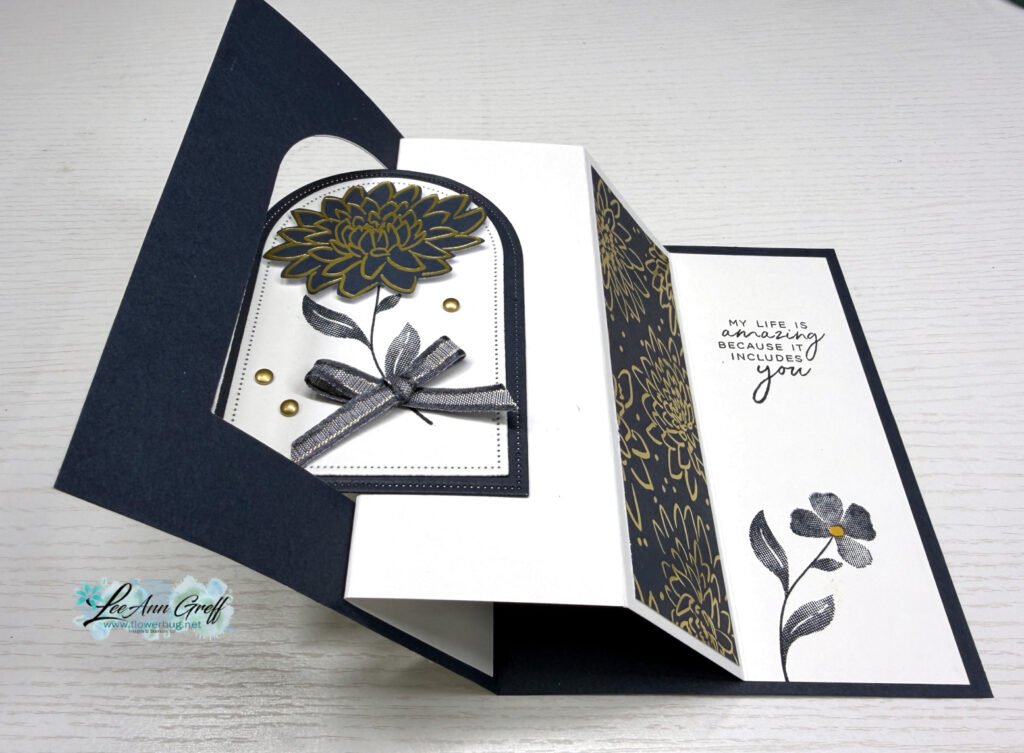
This card involves die-cutting a window in the front layer of your card and reusing it on the inside scored White layer. You can catch on to how it opens in the above photo but it may help a lot if you watch the video here.

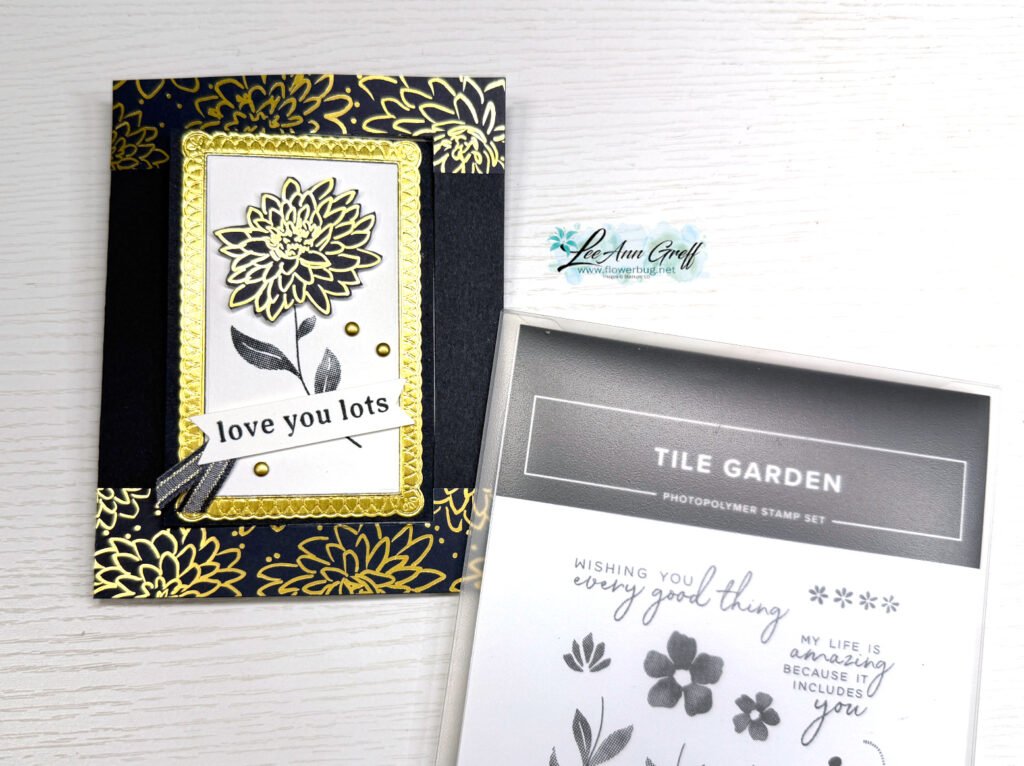
On the left card below I used a different set of dies for my window. First the Tile Garden dies to create a rectangle window. Yes; these dies are square…. so I cut a second time to create the rectangle window. The Gold textured frame is made with the Phrases & Frames dies seen here.
I fussy cut the gold/Secret Sea flower for the front layer. I love the images in the Tile Garden bundle; they have a texture to them.
I created a free project sheet for this card. Click here to download or print it.

Below is the video tutorial; I hope it helps you in understanding how this is done. It is much easier than it looks!

There’s a new Product of the Month for September.
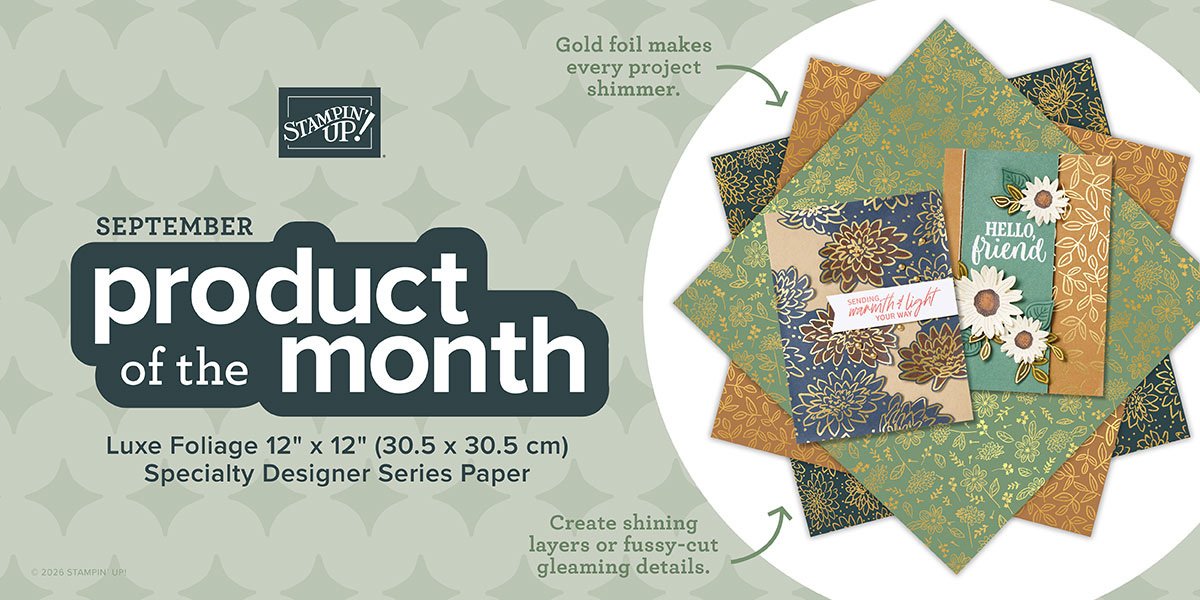
It’s called Luxe Foliage Specialty Designer paper and can be seen here. It’s yours for just $5 once your order reaches the $75 point.

There is also a few new kits in our Kit Collection too. You can see it all here!
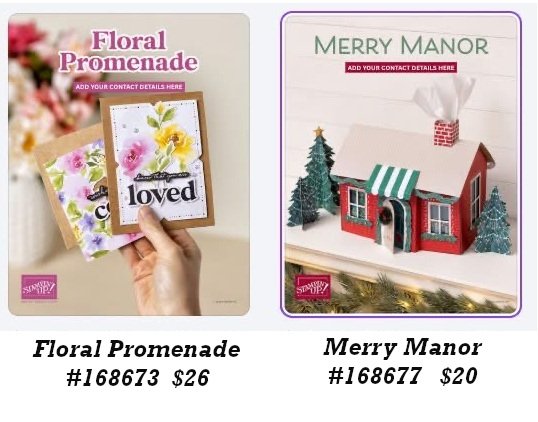
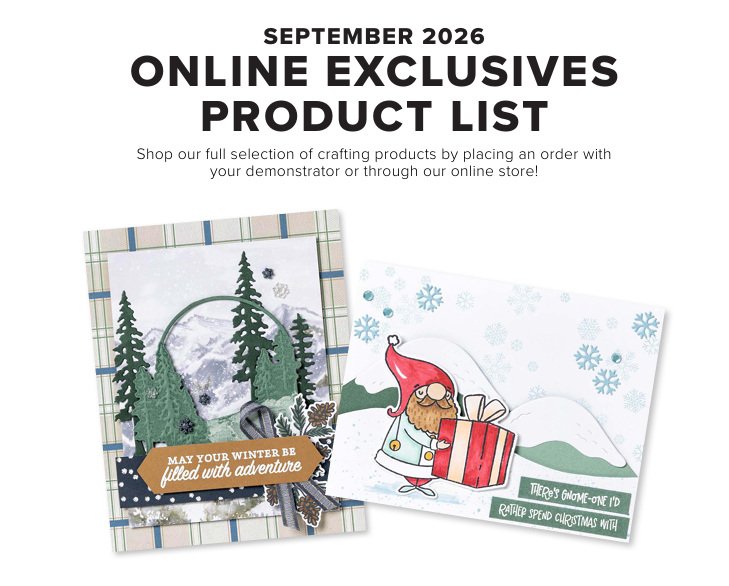
There are new Online Exclusives! Click here to see them.
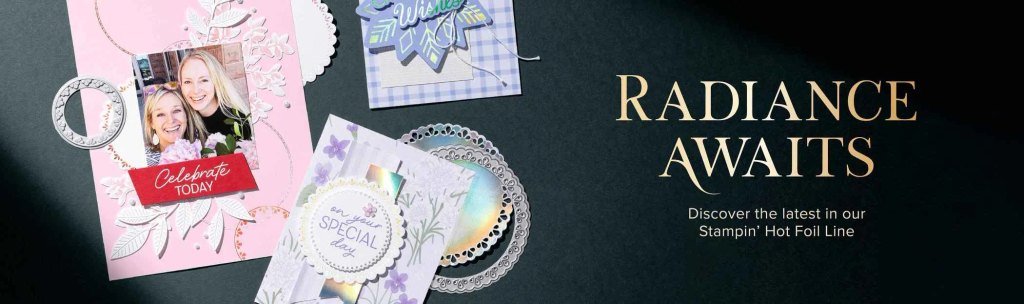
New Hot Foil products are here! Check them out here.
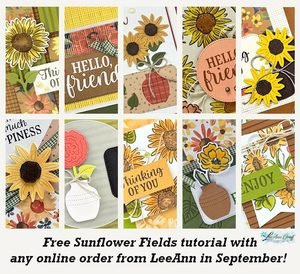
Get this free Sunflower PDF tutorial with ANY online purchase from me in September! Gorgeous cards in this one!
All Posts

  • Christmas card swaps – fun layouts and fancy-fold cards


    I have lots of beautiful cards to share with you this week; all from my Flowerbug's Team swaps. You'll love the theme – 'to use glitz, shine or shimmer'. 

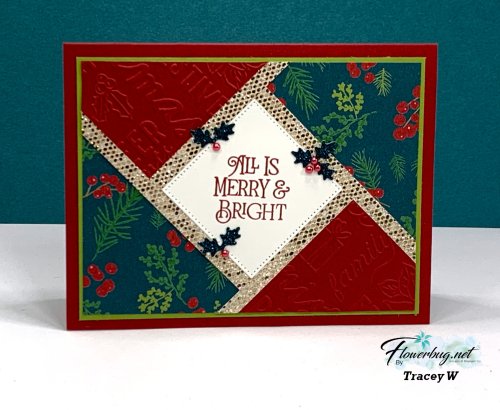
    This first card was made by Tracey.  I think we all love the fractured card layout! 

    If you want to learn how to make a fractured card here's a link to a video I did.

    Products used:

    • Walk in the Forest designer paper (2023 Holiday catalog) 
    • More Dazzle specialty paper (2023-24 Annual catalog) – 1/4" strips
    • Brightest Glow stamp set (2023-24 Annual catalog)
    • Holly leaf die-cuts are from the St. Nicolas dies (Holiday catalog)
    • Christmas Tidings embossing folder (Holiday catalog)
    • Stylish Shapes dies – for 1 7/8" Vanilla square

    ~~~

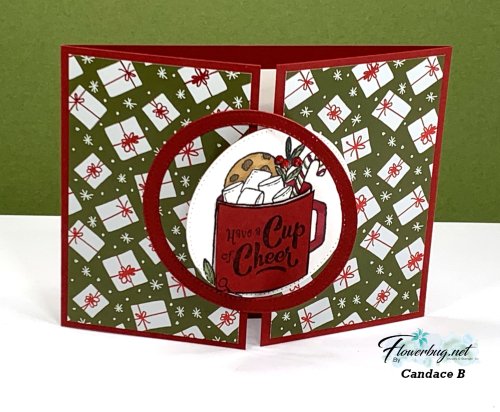
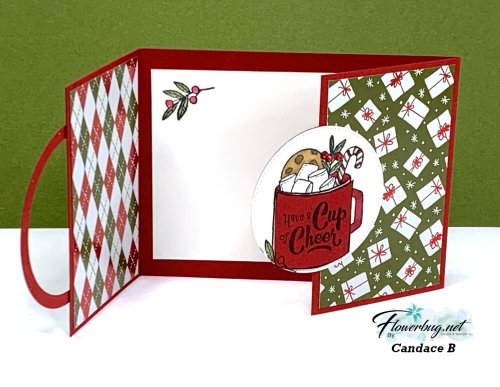
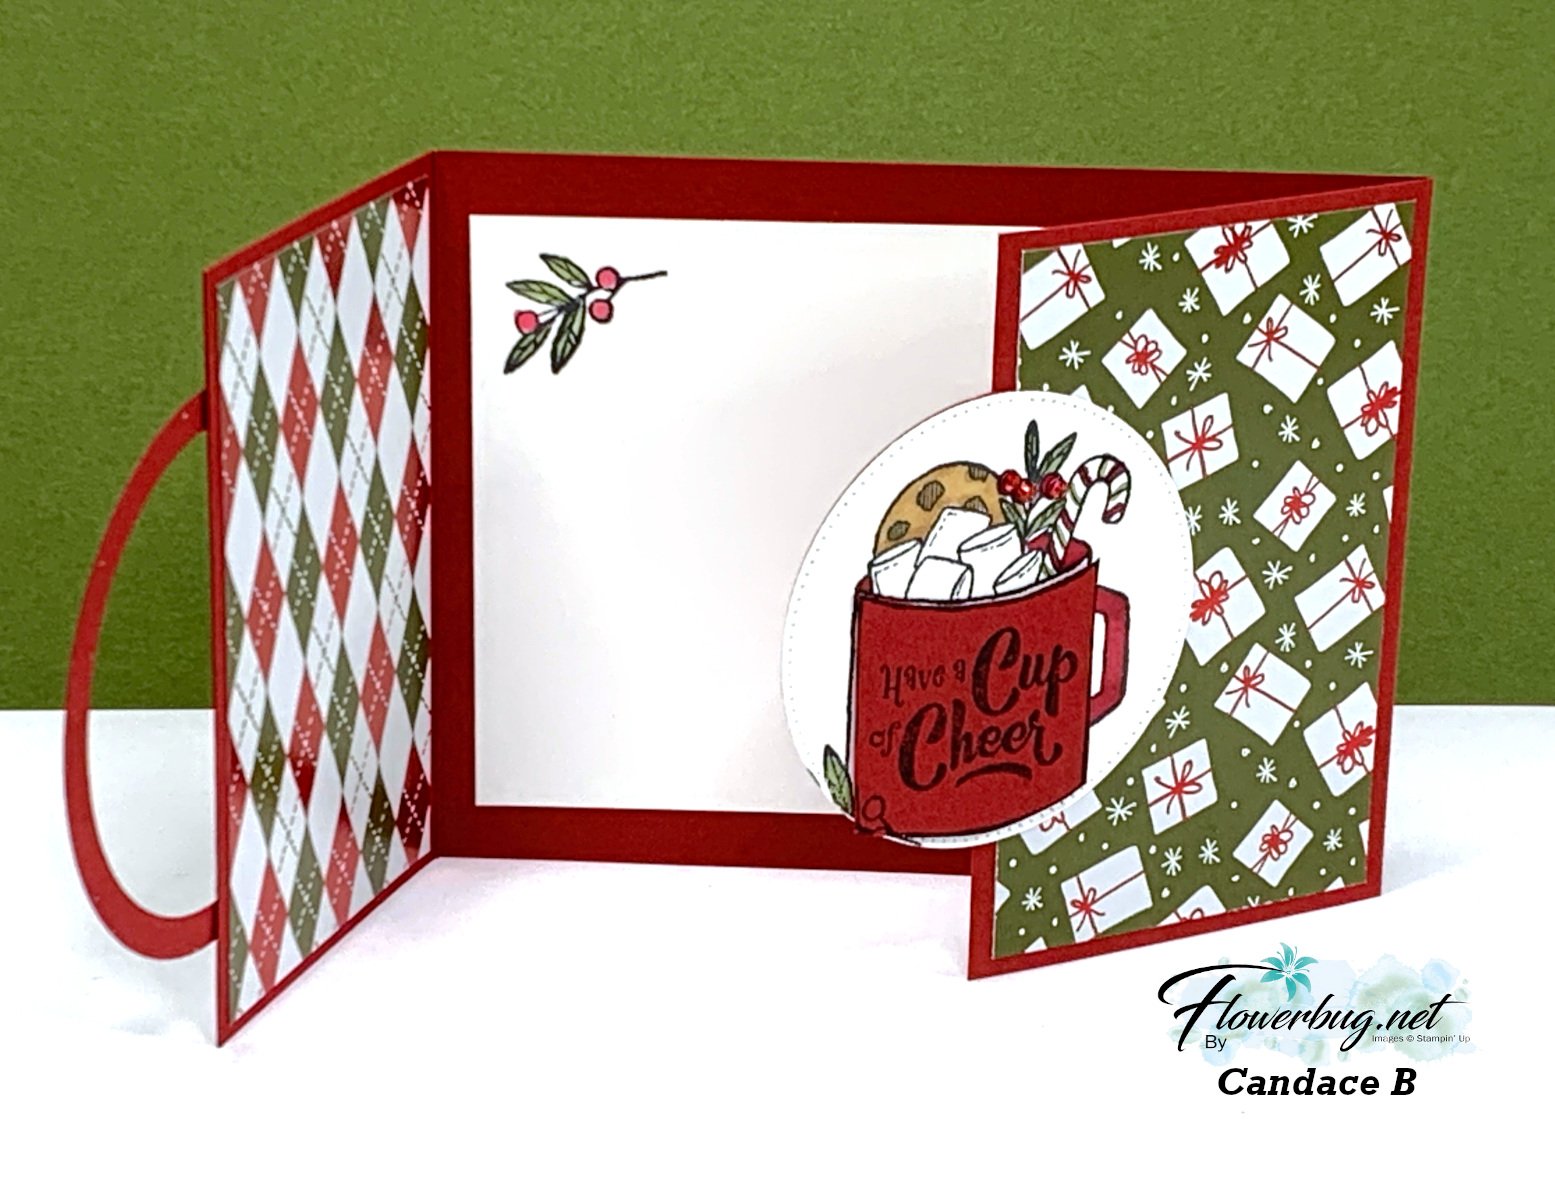
    Next is a neat interlocking gatefold card made by Candace. I'm not sure of the name of this fun fold but see how the circle die-cuts are entwined? One is adhered to each side of the front folds.  

    Products used:

    • Gift of Giving stamp set (2023 Holiday catalog)
    • Shining Christmas specialty designer paper ( was in the online exclusives; now sold out)
    • Stylish Shapes dies for circles (2023-24 Annual catalog)

    She added designer paper to the inside too! 

    Measurements:

    • Cherry Cobbler card base 11" X 4 1/4" score at 2 3/4" from each side.
    • Designer paper is 2 1/2" X 4" – 4 pieces; 2 for the front and 2 for the back
    • Largest circle die-cut is 3", White inside is 2 1/2" 

    Stop back in for more gorgeous card swaps tomorrow!

    ~~~

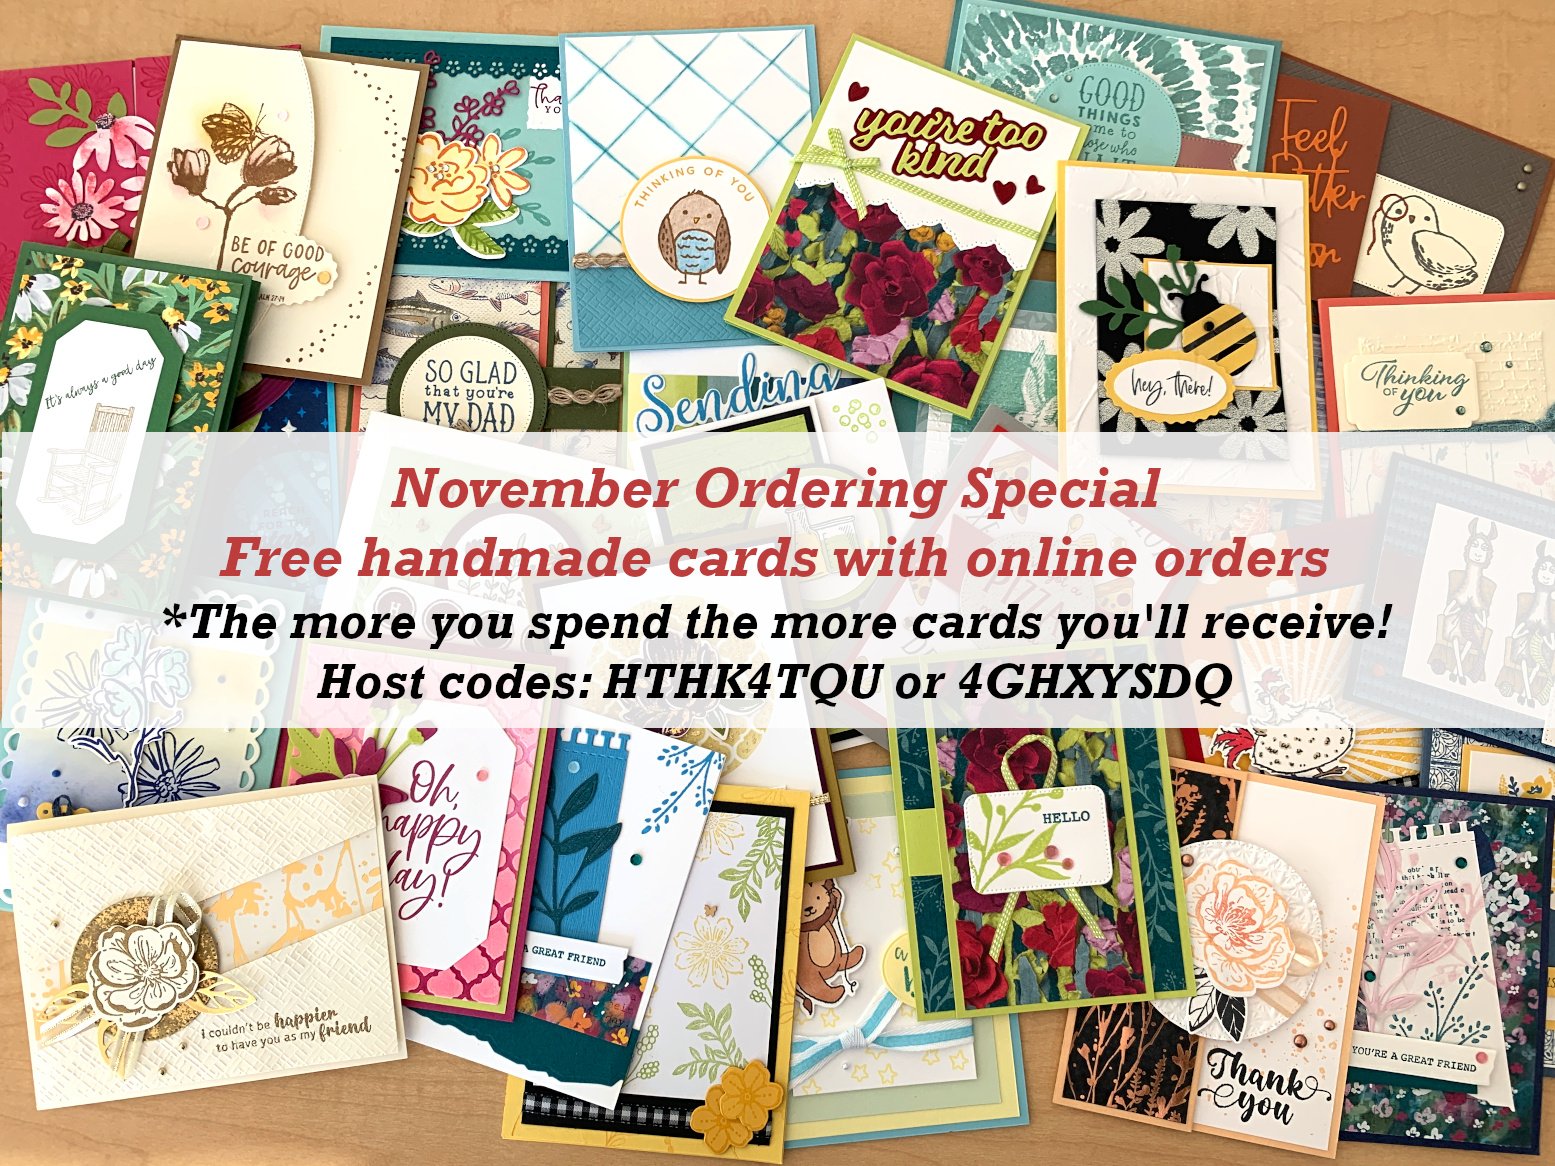
    November Specials: 

    *current host code:  4D2ZDS6Q

    Click on the photo below to see all of the new online products


    Leave a Reply

    Your email address will not be published. Required fields are marked *

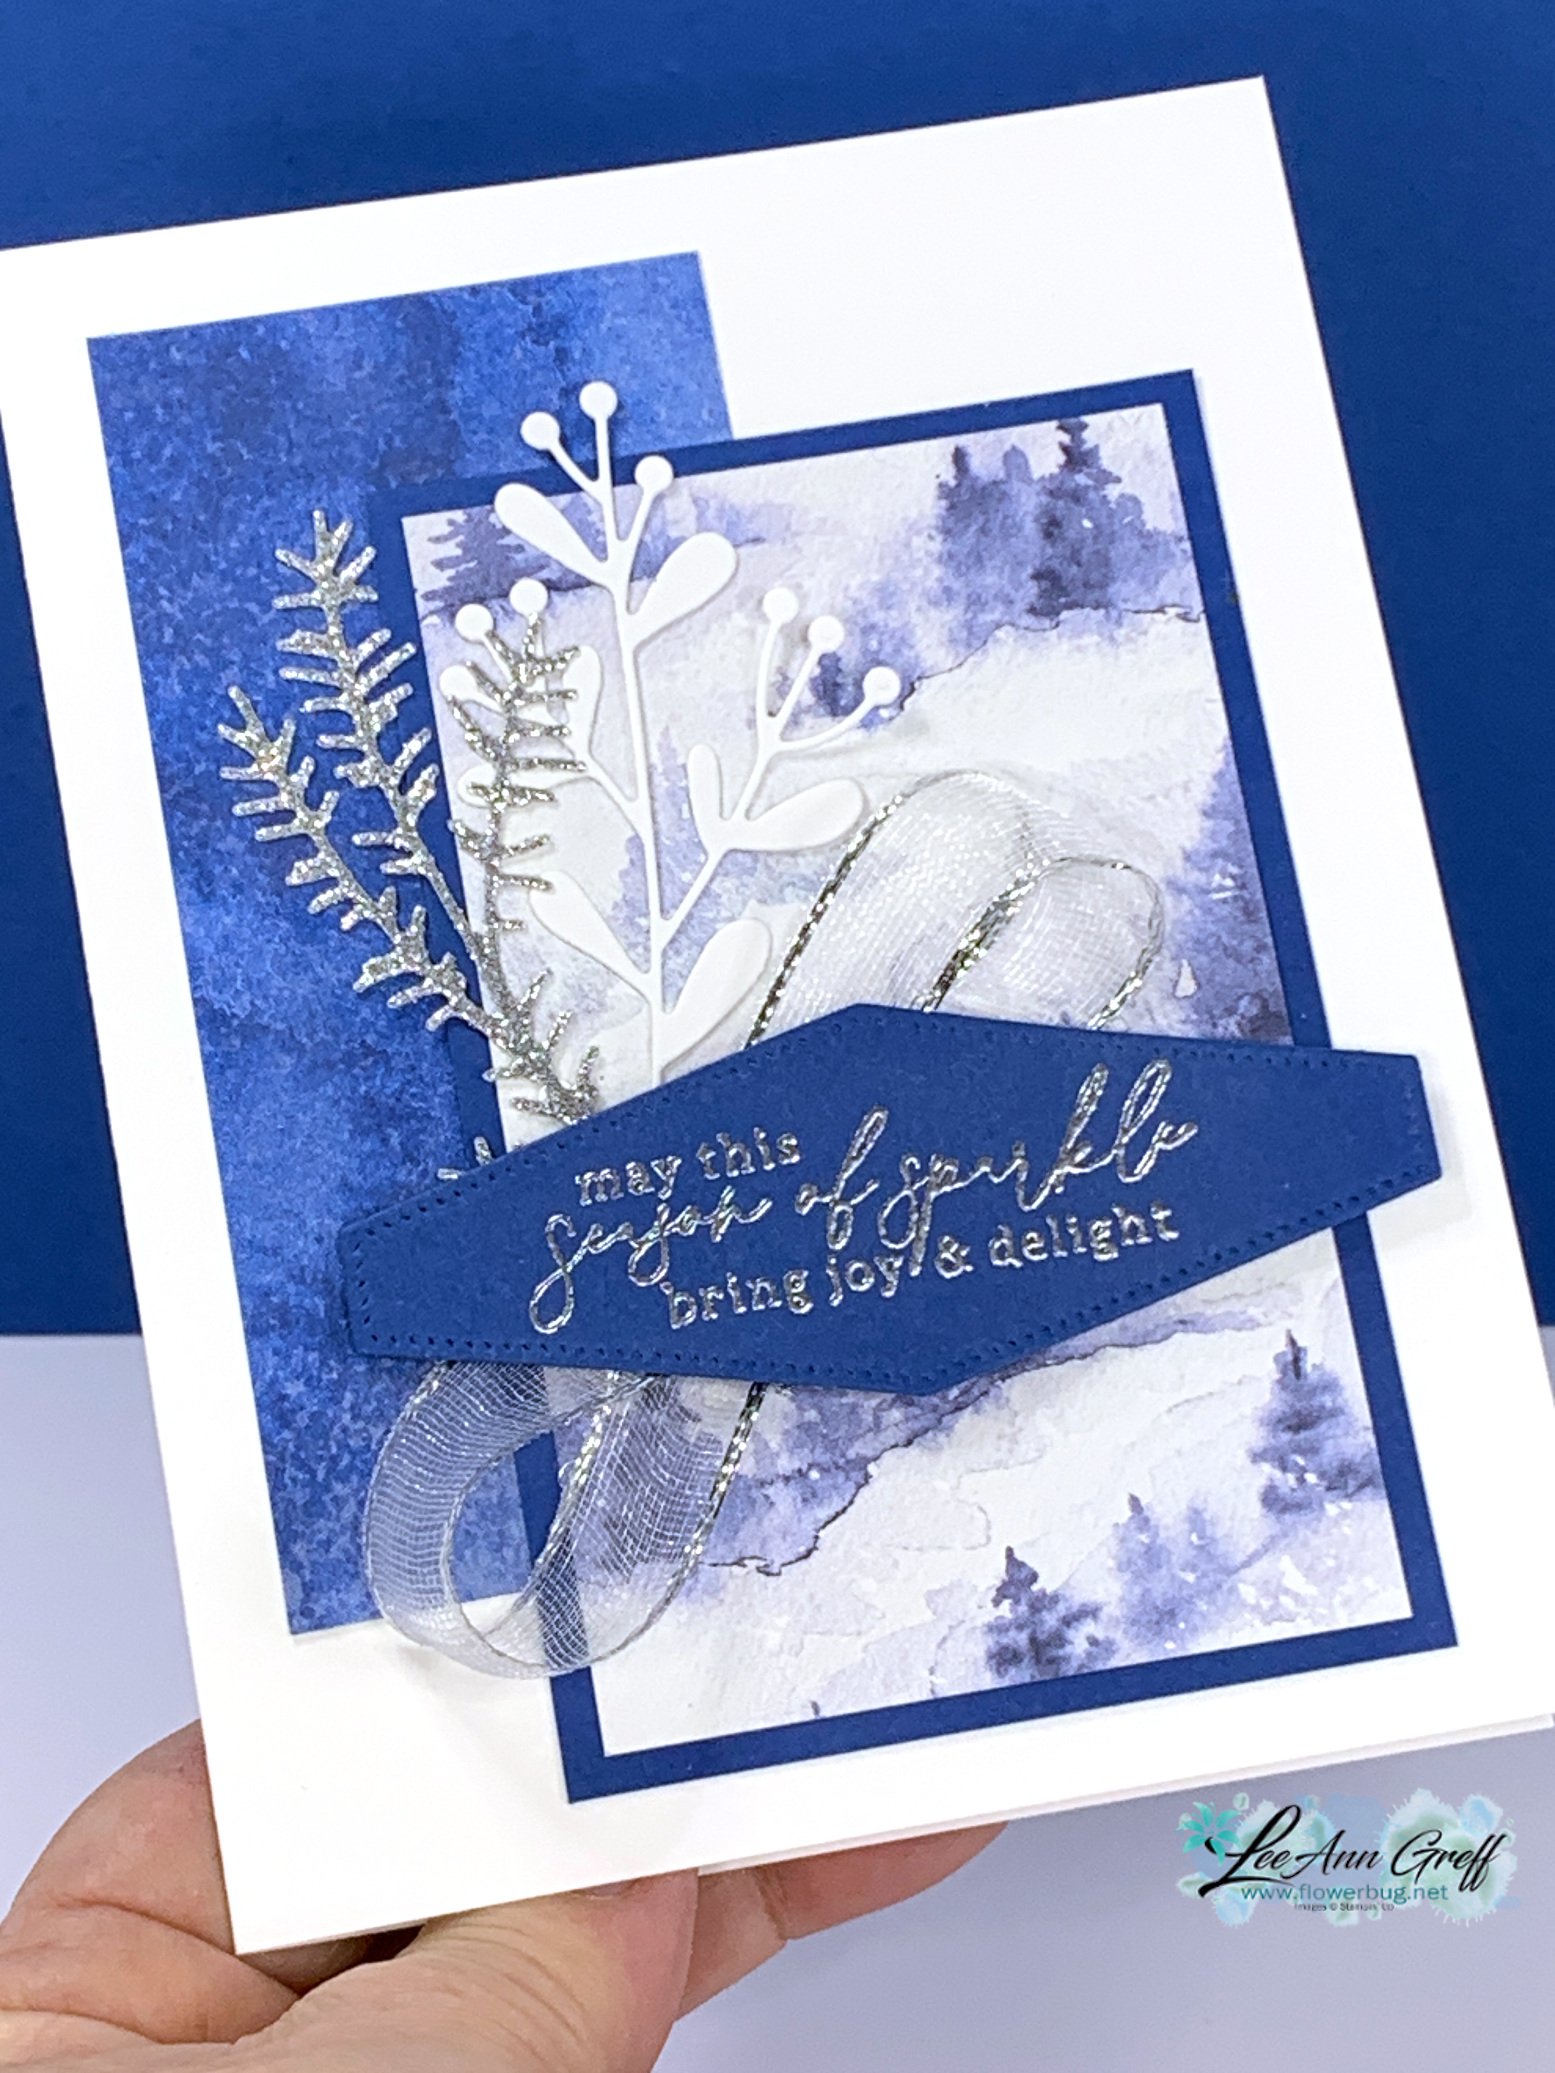
  • Beautiful Winter Meadow card; a great layout to use those extra pieces


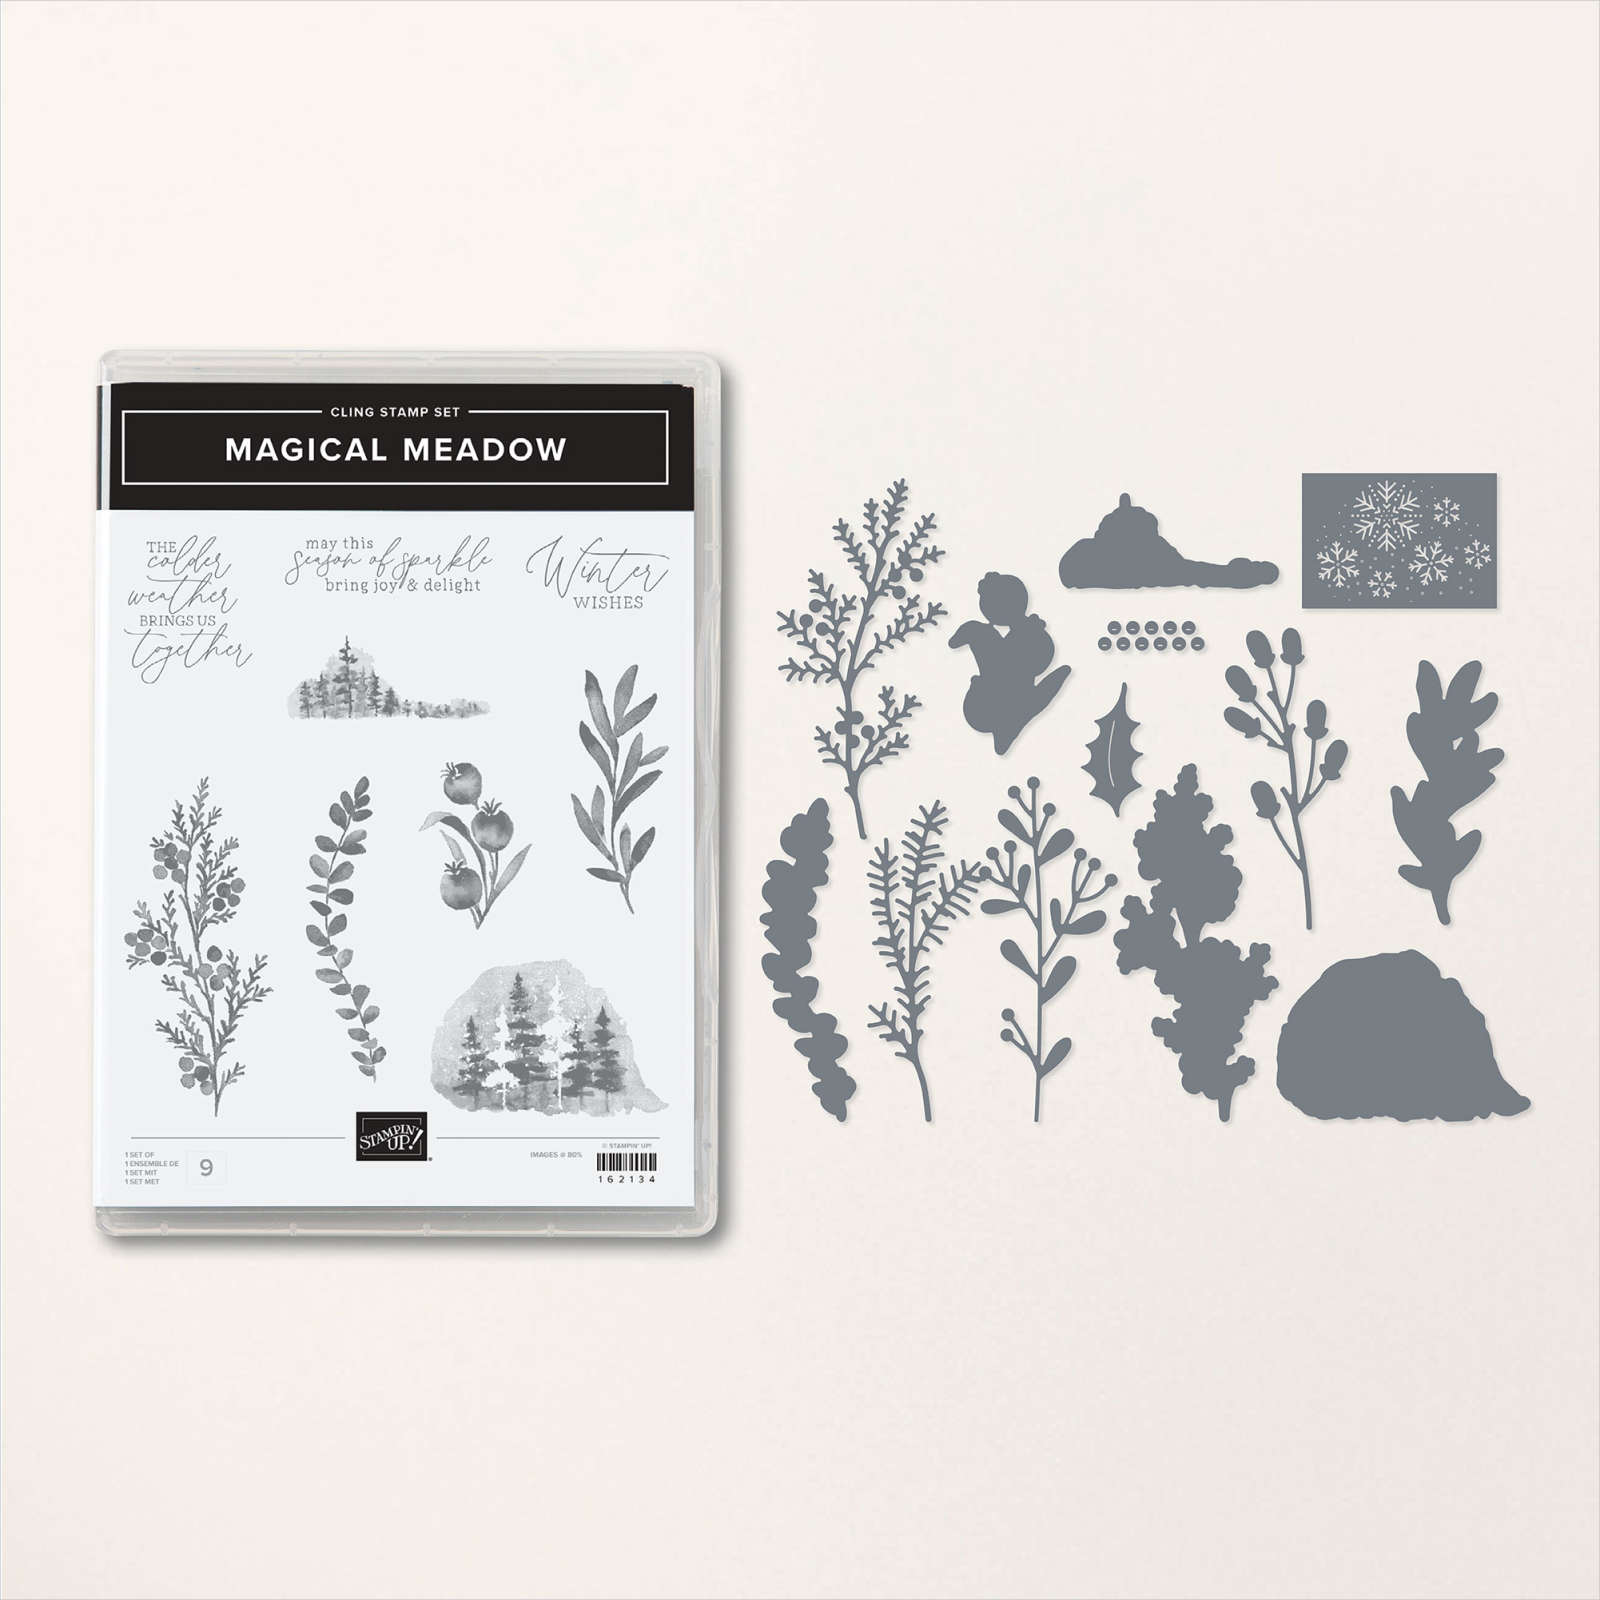
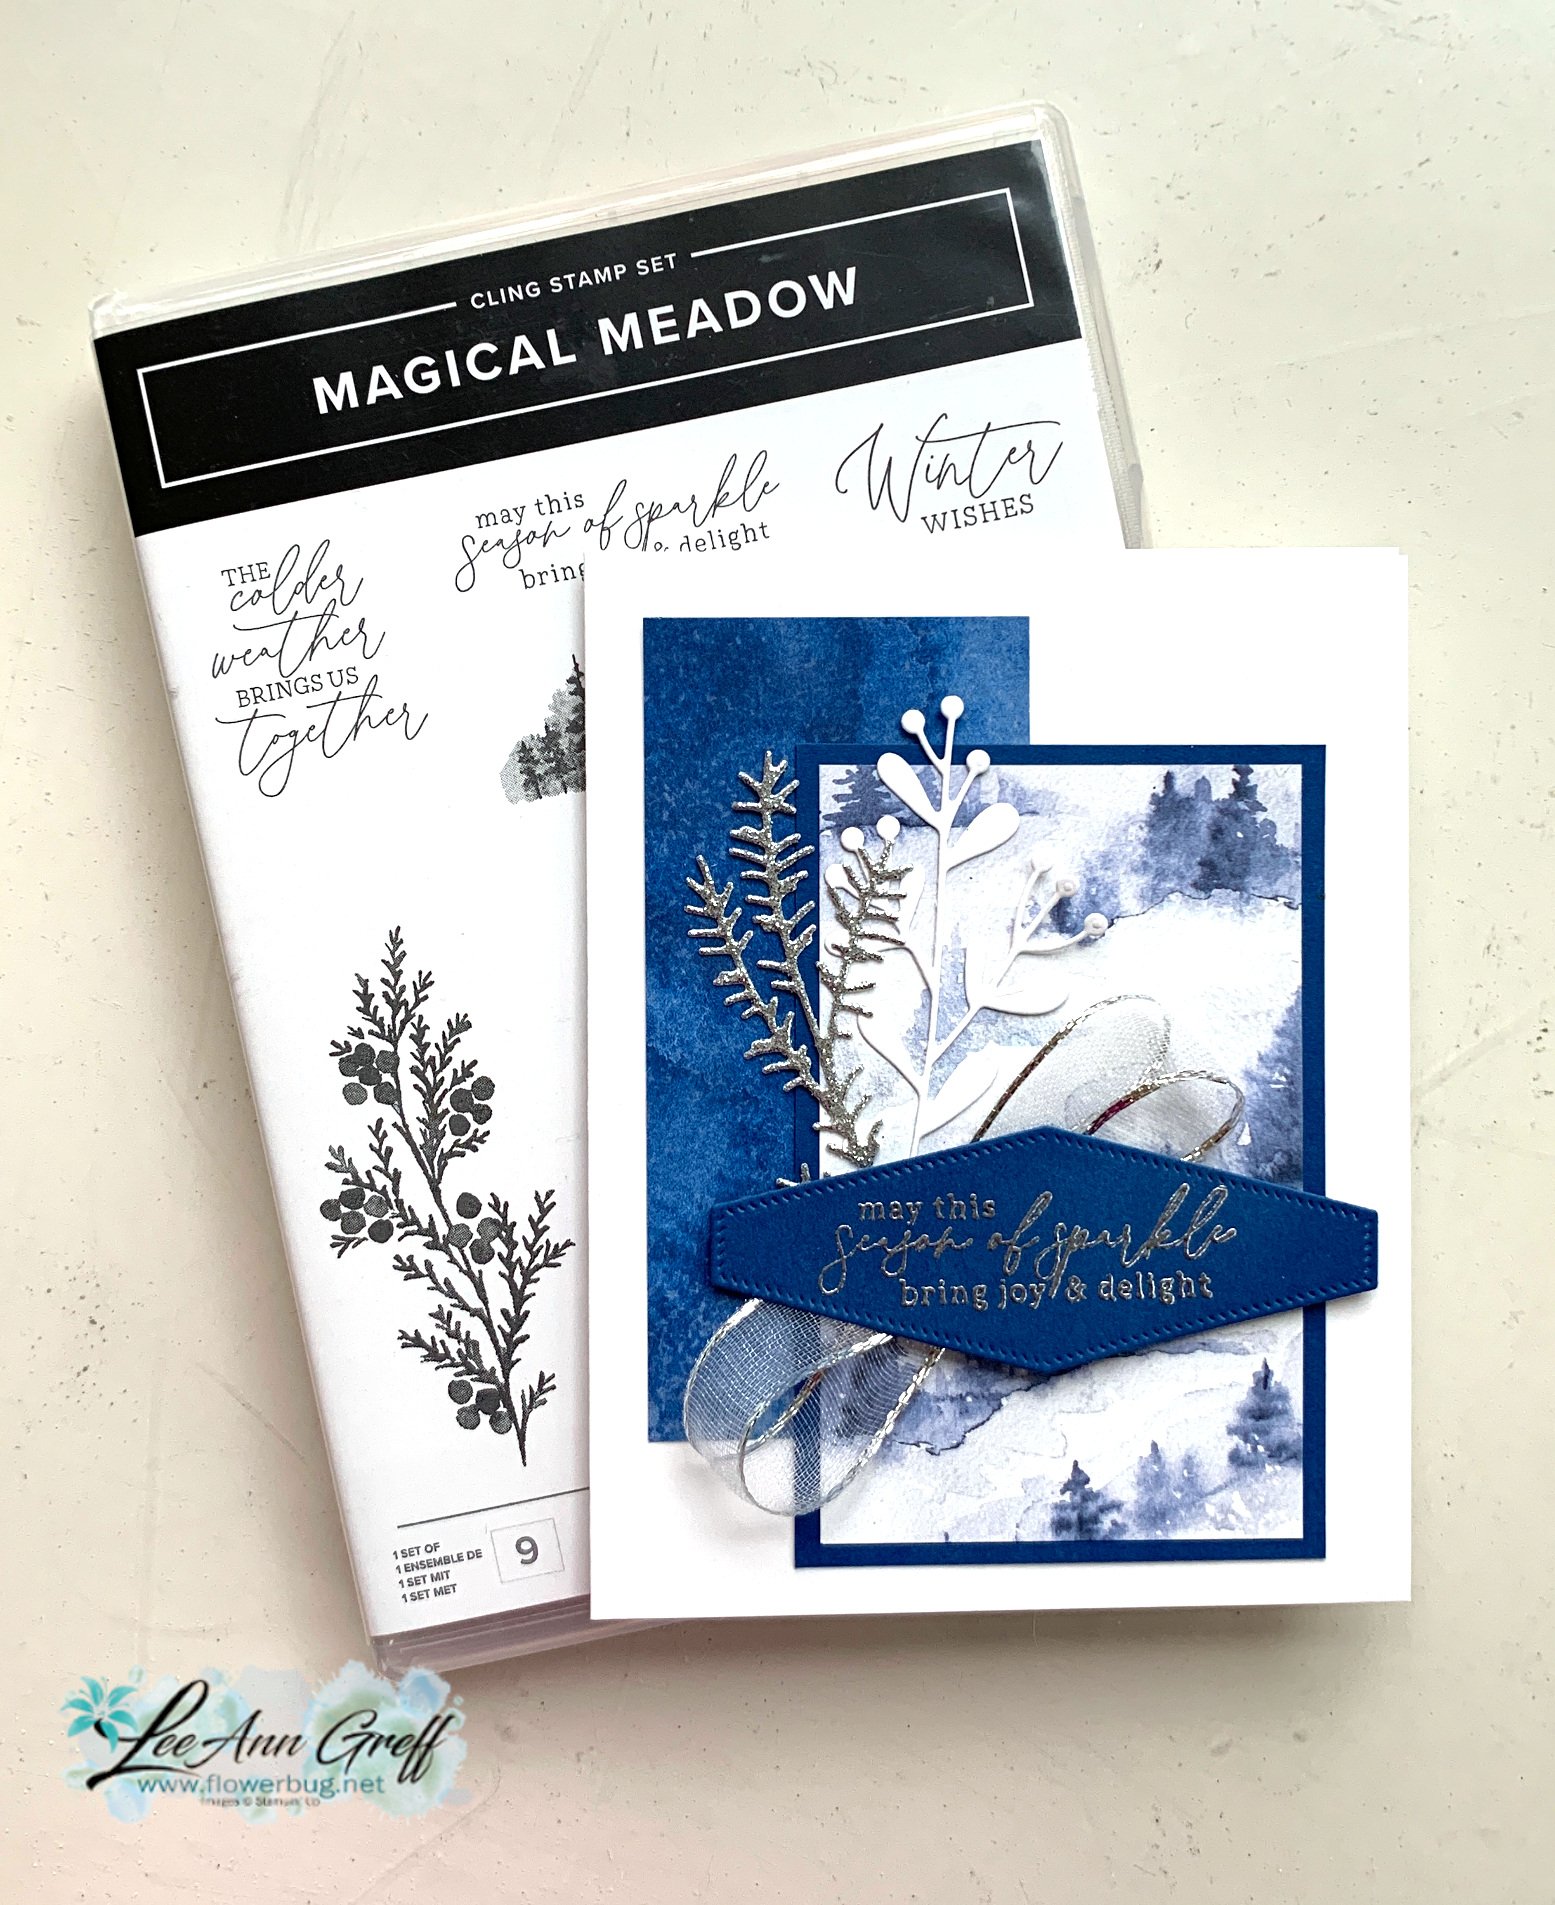
    The Winter Meadow designer paper & the Magical Meadow stamp & dies bundle are among my favorites from the 2023 Holiday catalog. Pretty products produce pretty projects!  Say that three times! Ha! 

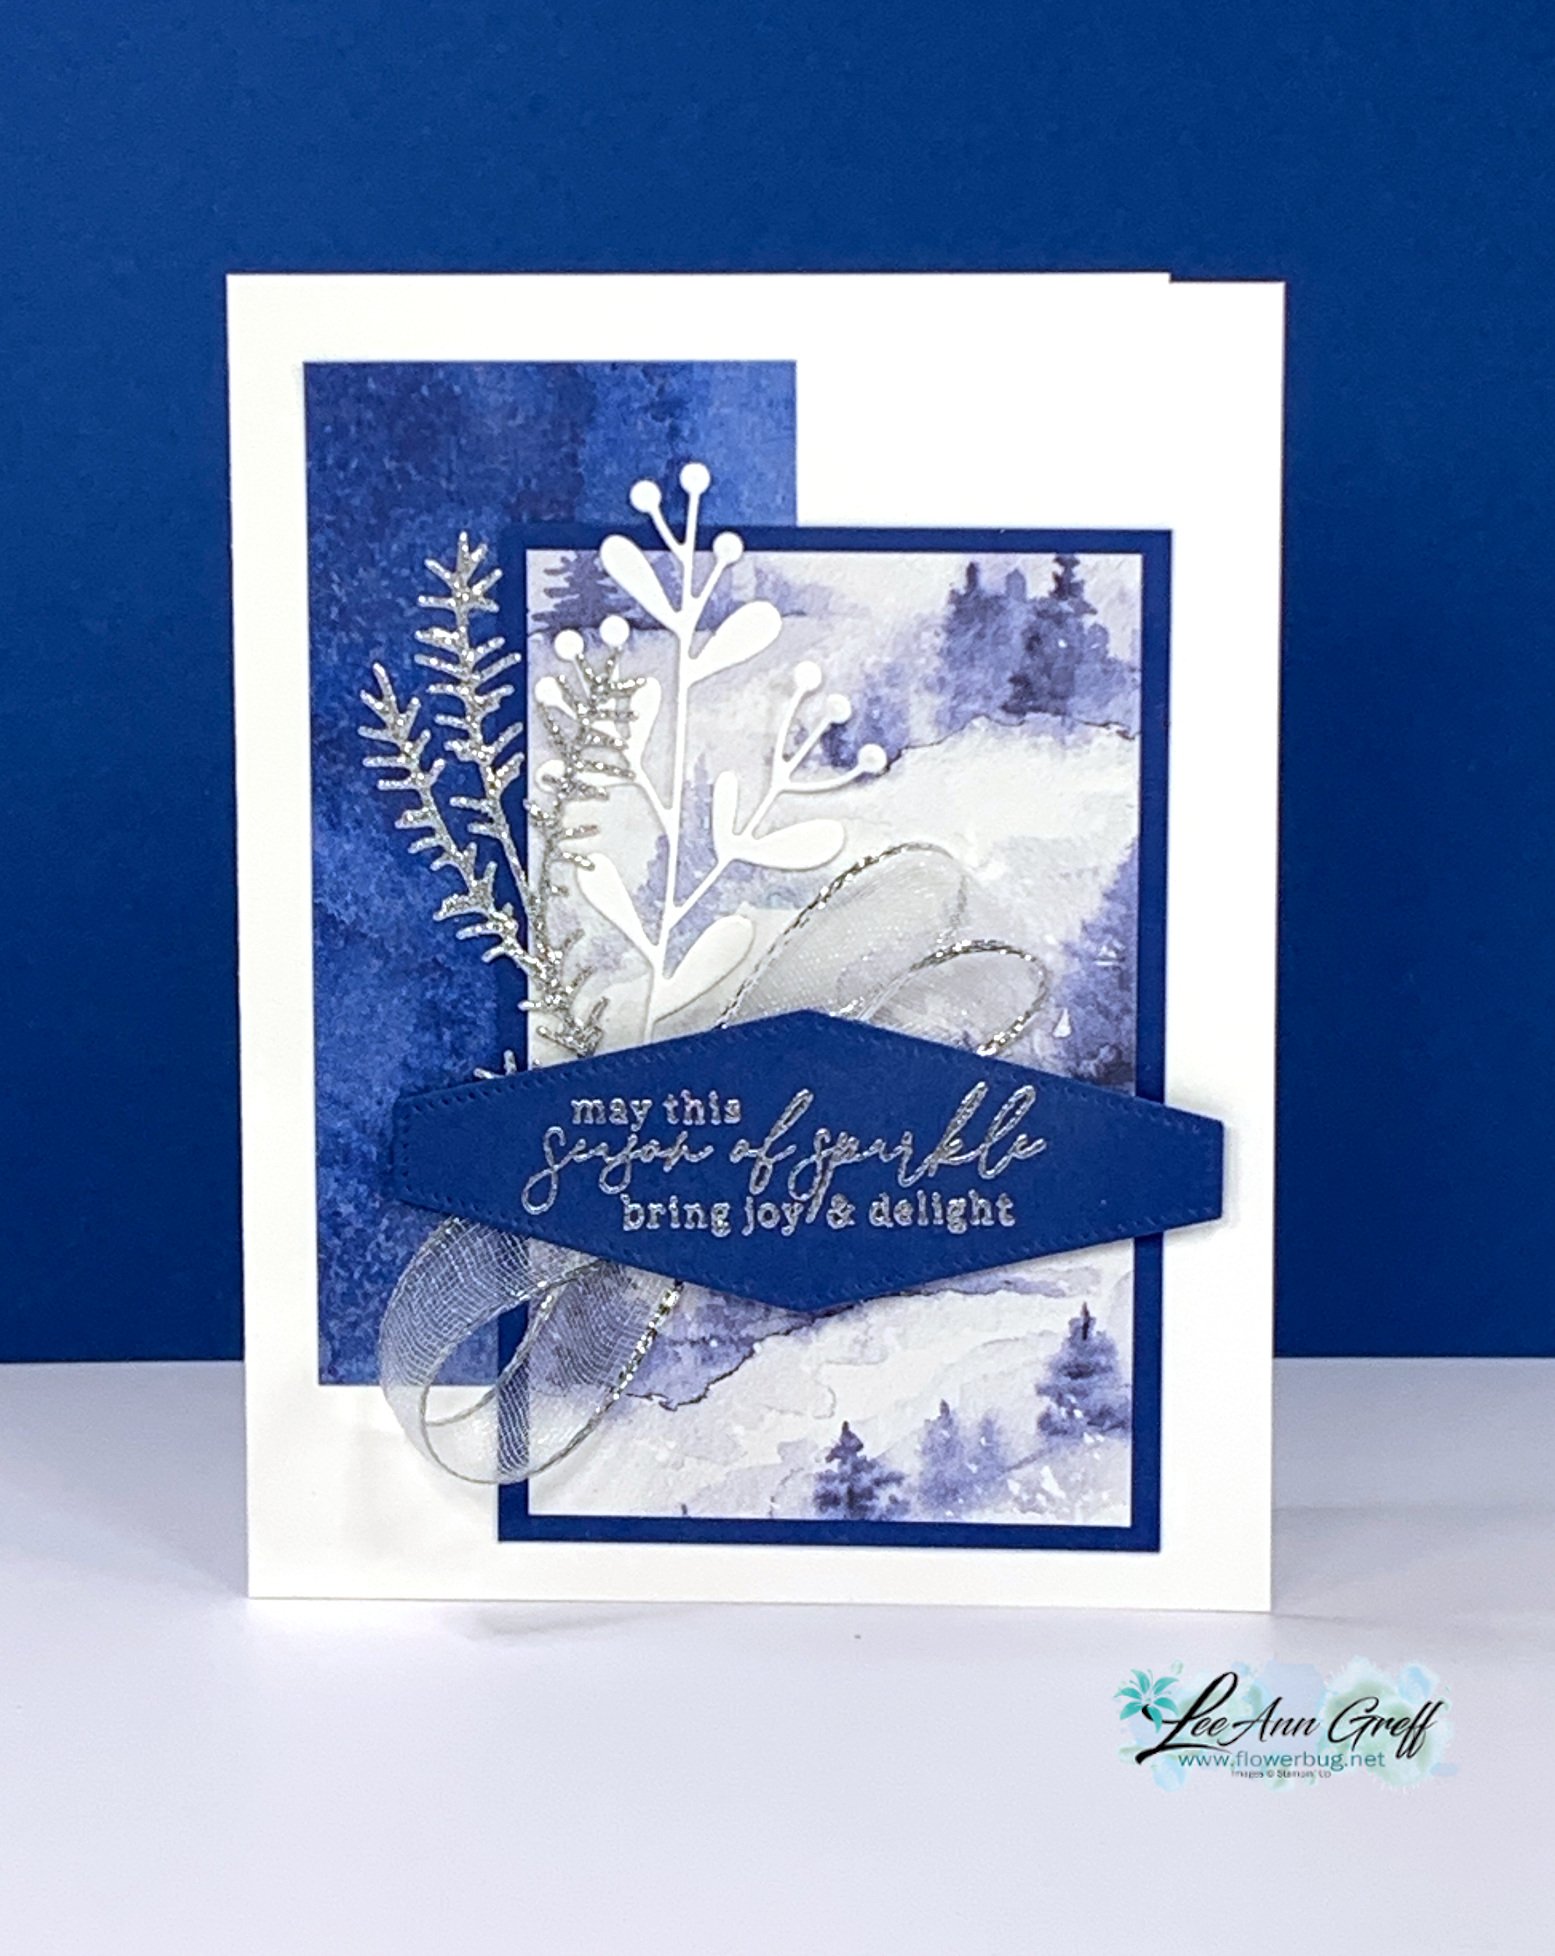
    I was playing with the designer paper and had these two pieces among the scraps in my paper pack. I simply added a layer of Blueberry Bushel card stock to one piece and added them to the White card base offset from each other for balance.  Easy peasy! 

    Measurements:

    • Card base 8 1/2" X 5 1/2" score at 4 1/4"
    • DSP 1 piece at 2 1/2" X 4" and 1 at 2" X 4 1/4"
    • Blueberry Bushel 2 3/4" X 4 1/4" 

    Of course the pretty dies help a lot too. The greeting label is from the Nested Essential dies seen here and the leaves are both from the Magical Meadow bundle seen here.  

    Next I added a greeting layer – heat embossed with Silver embossing powder & my Heat Tool.  Adding the White & Silver mesh ribbon in loops under it sure gives a great finishing touch! To add the loops of ribbon I created them and pressed them to the back of my greeting, after I added some Seal tape runner of course.  

    I saw that this beautiful Winter Meadow designer paper is in low inventory; grab it while you can here. 

    ~~~

    November Specials: 

    *current host code: 4D2ZDS6Q

    Click on the photo below to see all of the new online products


    Leave a Reply

    Your email address will not be published. Required fields are marked *

  • Last day of the Seasonal Stock up Sale! Meandering Meadows surprise Accordion card with free project sheet & video


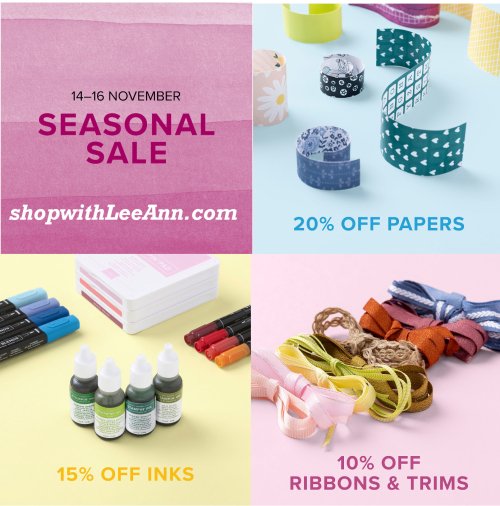
    Today is the last day of the Seasonal 'Stock up' Sale. I sure appreciate getting a discount on consumable items like card stock, ink refills and markers!  
    ~~~

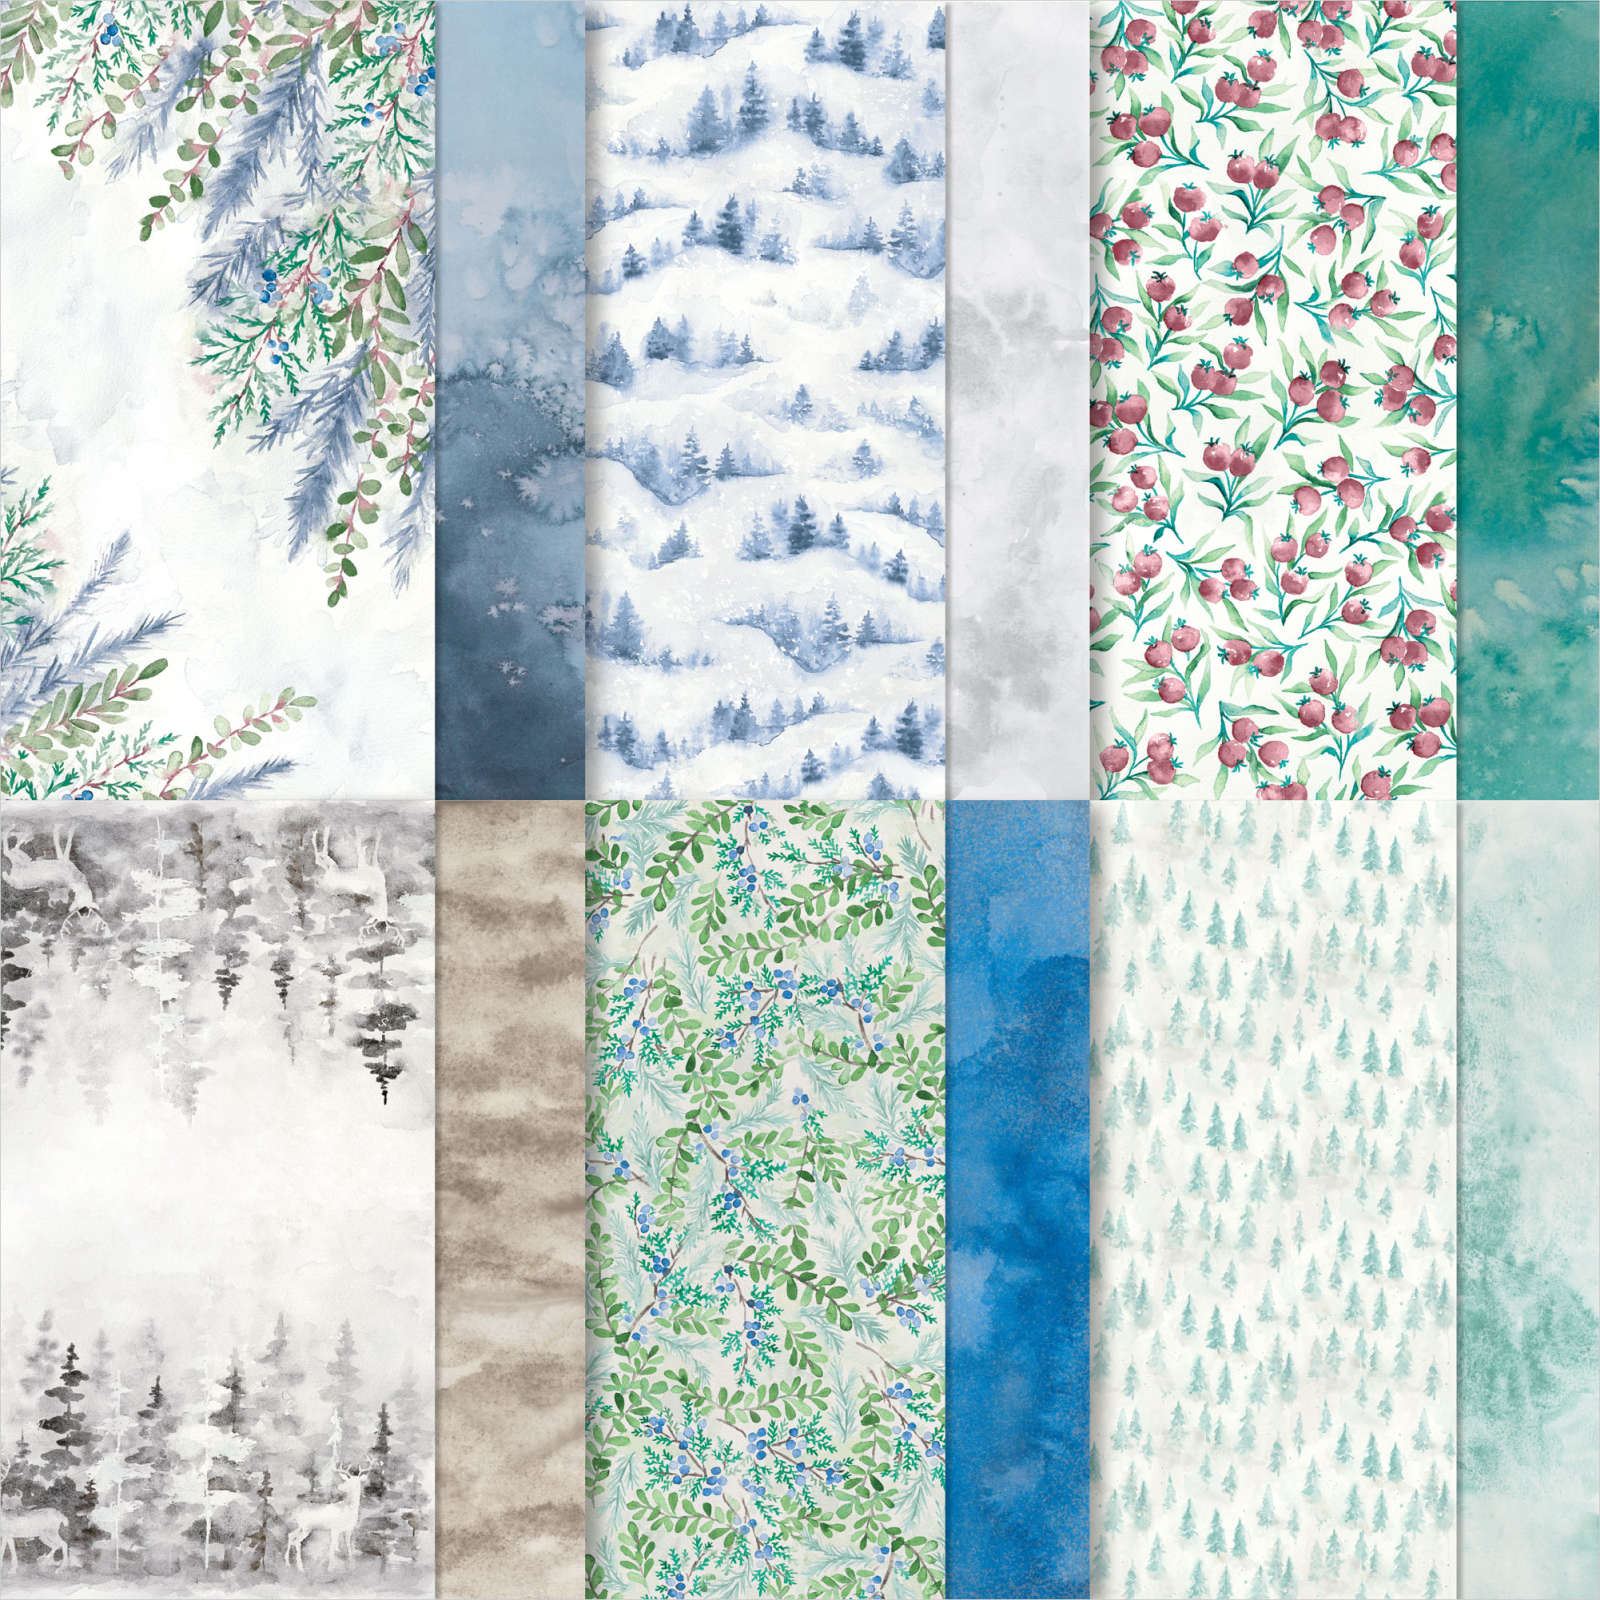
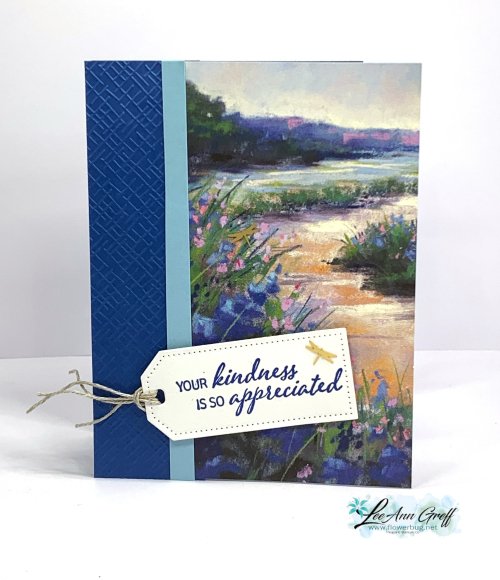
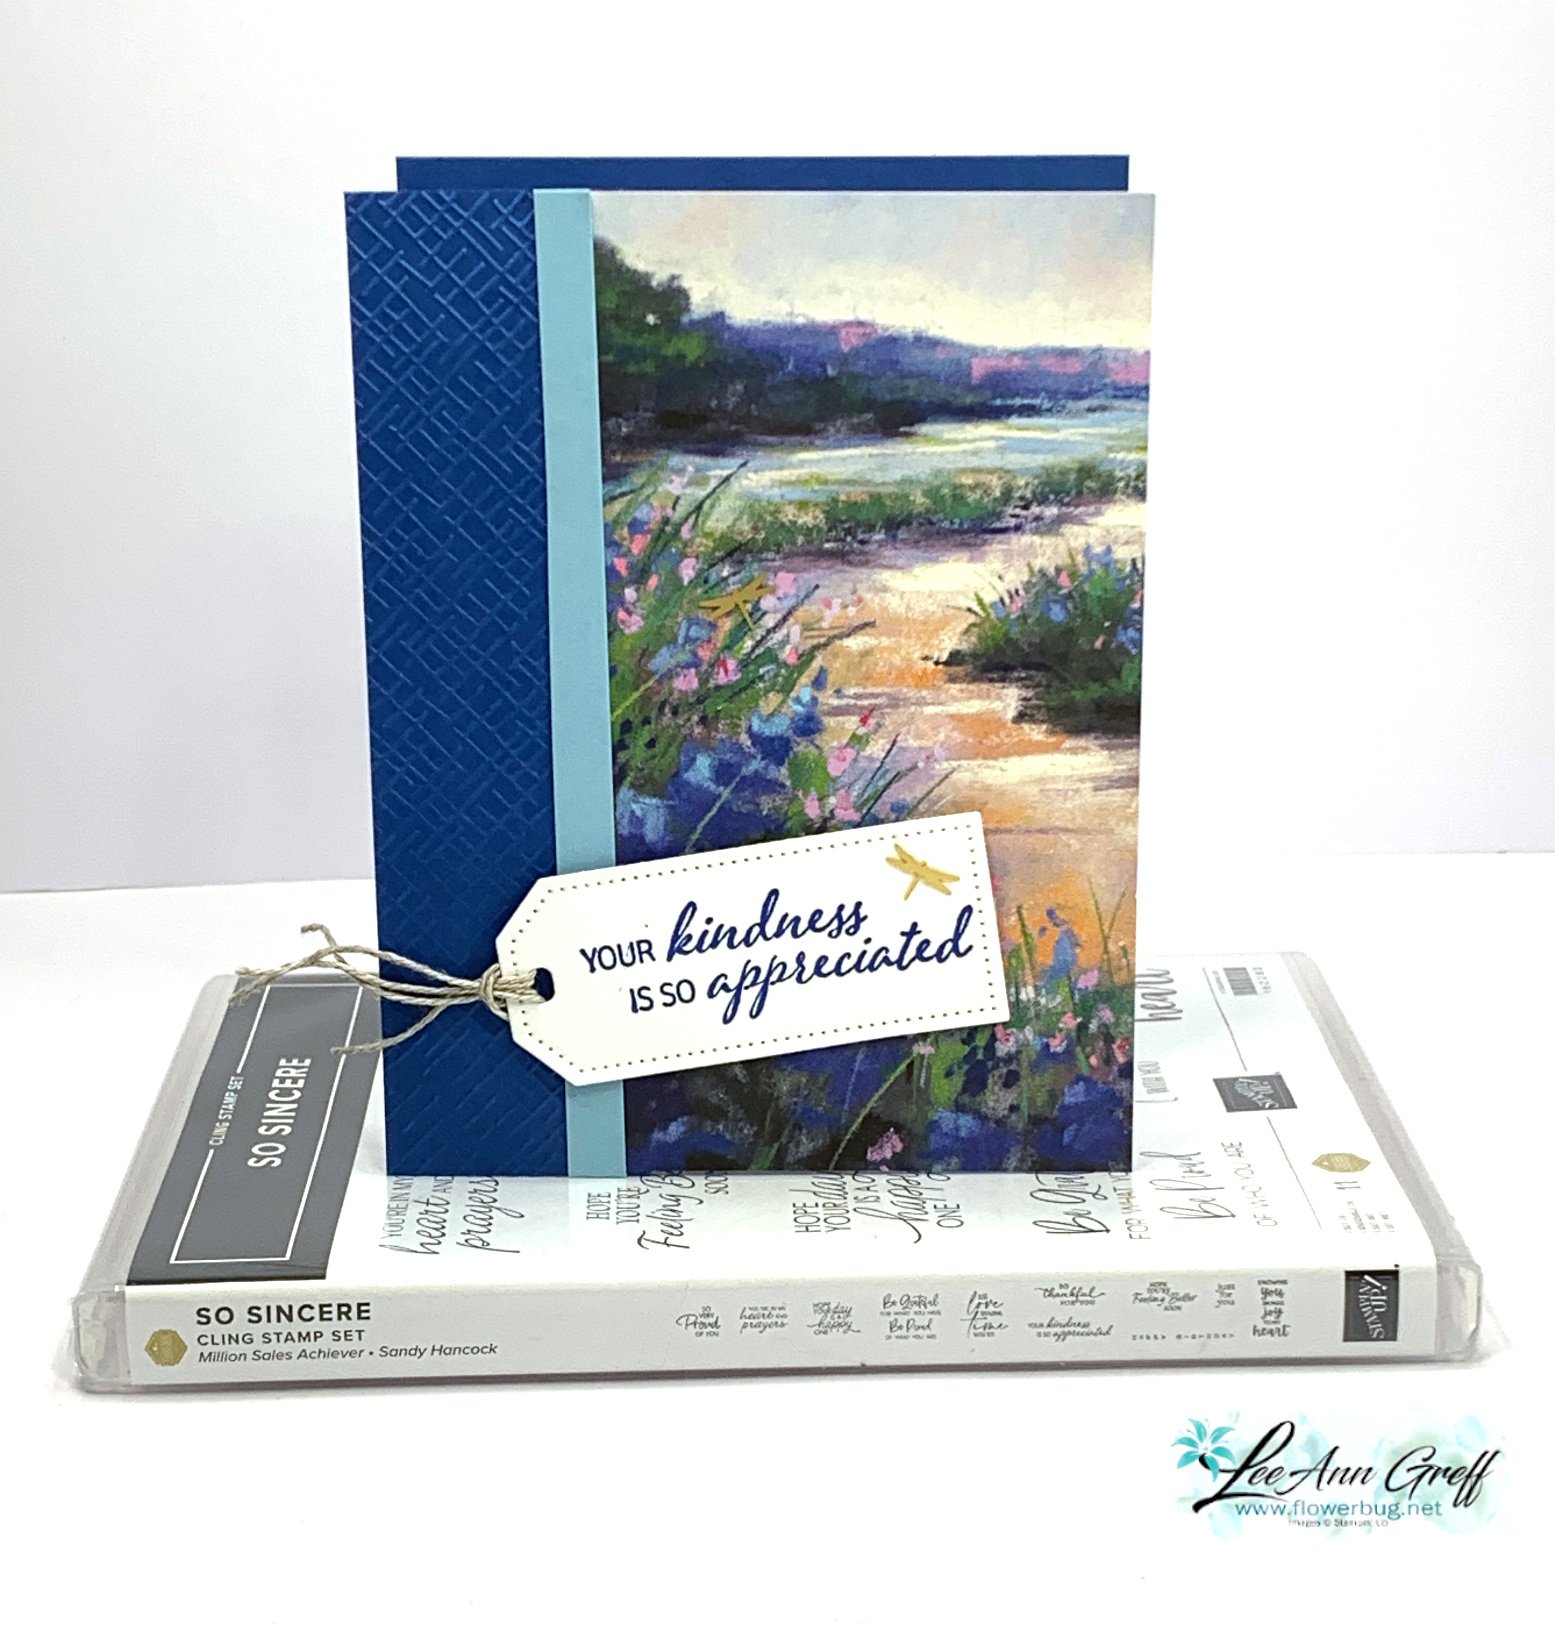
    The Meandering Meadows designer paper is gorgeous with it's water-colored scenes.  I shared three card ideas on last week's live video.  

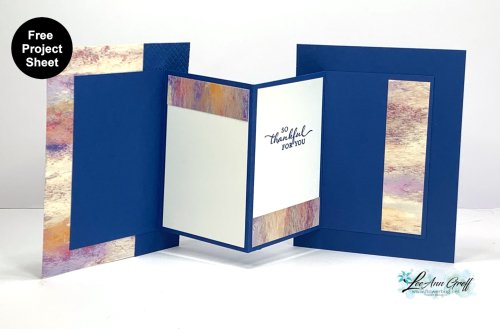
    This one is actually a fun fold card.  It sure doesn't look like it though!

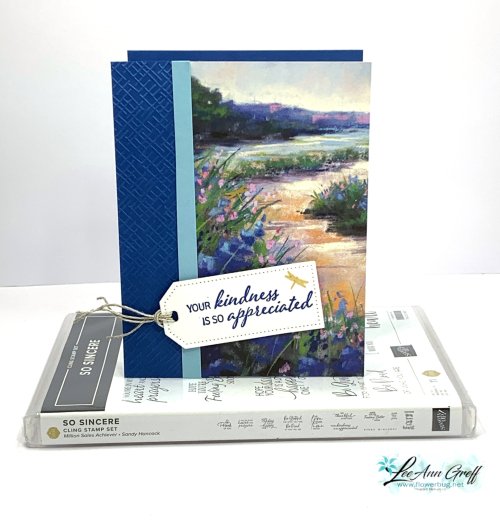
    I used a wide strip of Blueberry Bushel and a narrow strip of Balmy Blue on the front. The designer paper is actually most of the front of this card. Here's the inside view: 

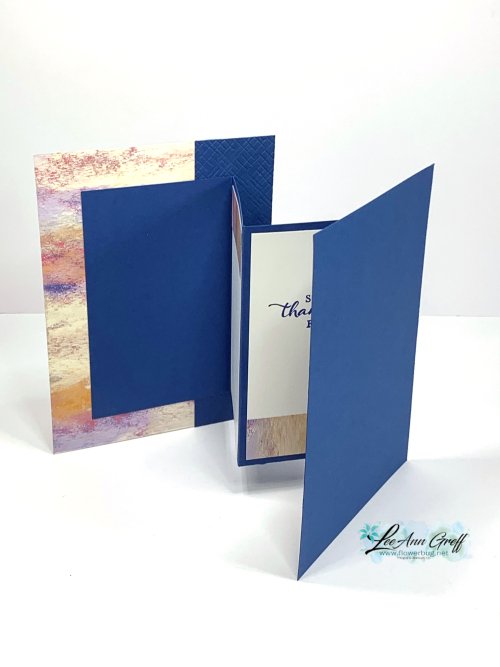
    See how the back of the front layer of designer paper is revealed here?  There is a full 11" X 4 1/4" piece of accordion folded card stock between the front and back layers.  It's a very cool design that's also easy to make.  

    *Download or print the free project sheet here: Download Meandering Meadows surprise accordion card

    I really like how it shows both sides of our double-sided designer series paper.  It also gives you lots of layers to stamp or decorate.  I kept mine quite simple. 

    I used my favorite greeting set in the 2023 Holiday catalog; So Sincere.  See it here. It's a gem! The tag die-cut is from the Tailor Made Tags seen here. 

    You can see a glimpse of each sheet in the photo below.  It's 6 X 6" in size and filled with watercolor scenes. This type of designer paper allows you to let the pretty scenes do the work for you. Click here to see it. 


    You can see the video tutorial for this card and two more below and if you click here. 

    ~~~

    November Specials: 

    *current host code:  4D2ZDS6Q

    Click on the photo below to see all of the new online products


    Leave a Reply

    Your email address will not be published. Required fields are marked *


Notice: LeeAnn Greff, Independent Stampin’ Up! Demonstrator, Manager. The content of this website is my sole responsibility as an independent Stampin’ Up! demonstrator and the use of, and content of, the classes, services, or products offered on this website is not endorsed by Stampin’ Up! Copyright 2025