/


Latest Post

Luxe Foliage Window Z-fold with free project sheet & video tutorial


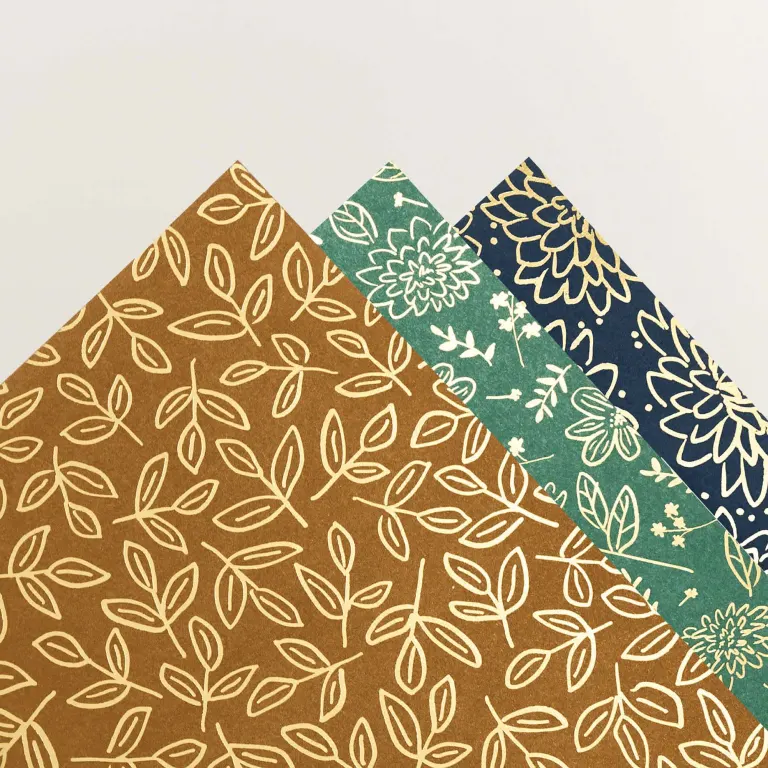
I just love this card I made for last week’s video! It features the exclusive Luxe Foliage specialty designer series paper.
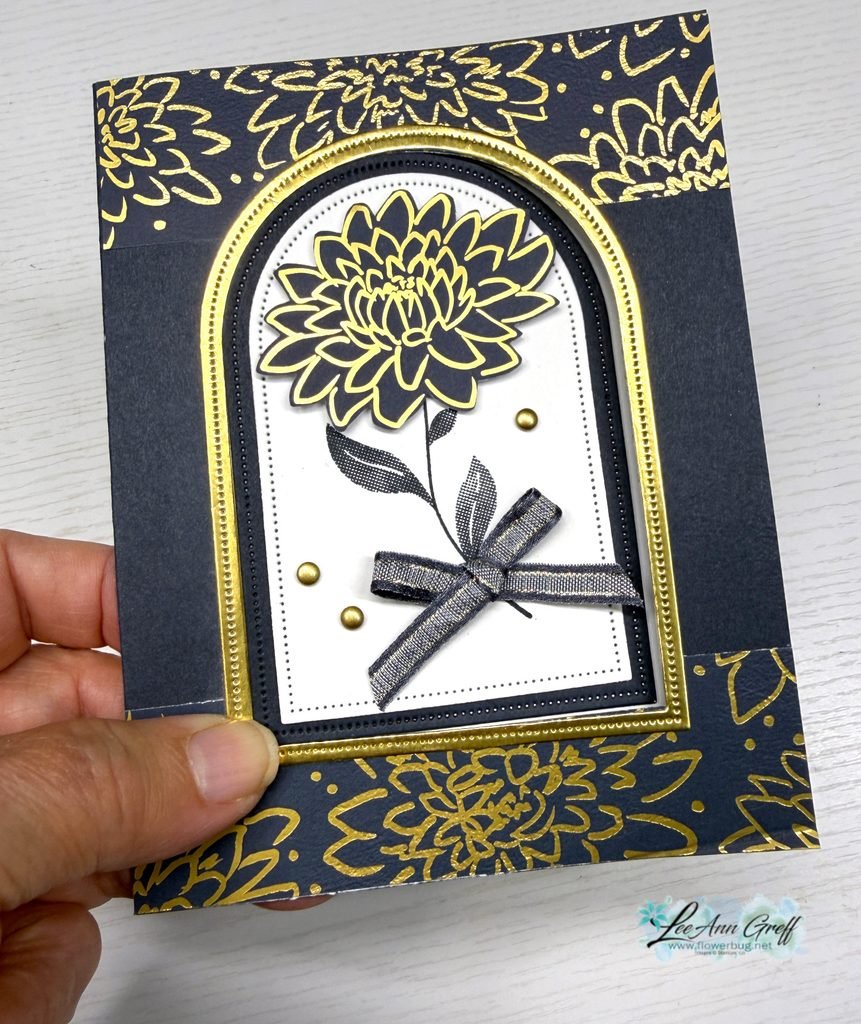
Gorgeous, right? I cased this fold from my friend Susie Wood. I get so many fun fold ideas from her. Check out her blog here.

This stunning Luxe Foliage DSP is a Product of the Month and available while supplies last. See it here. You can redeem it for just $5 once your order reaches the $75 mark. There are 4 sheets of each pattern in this pack!
I paired it with Secret Sea, Gold foil and White here. On this card I used the Everyday Arches dies for the window and the Tile Garden stamp set for the leaves/stem.
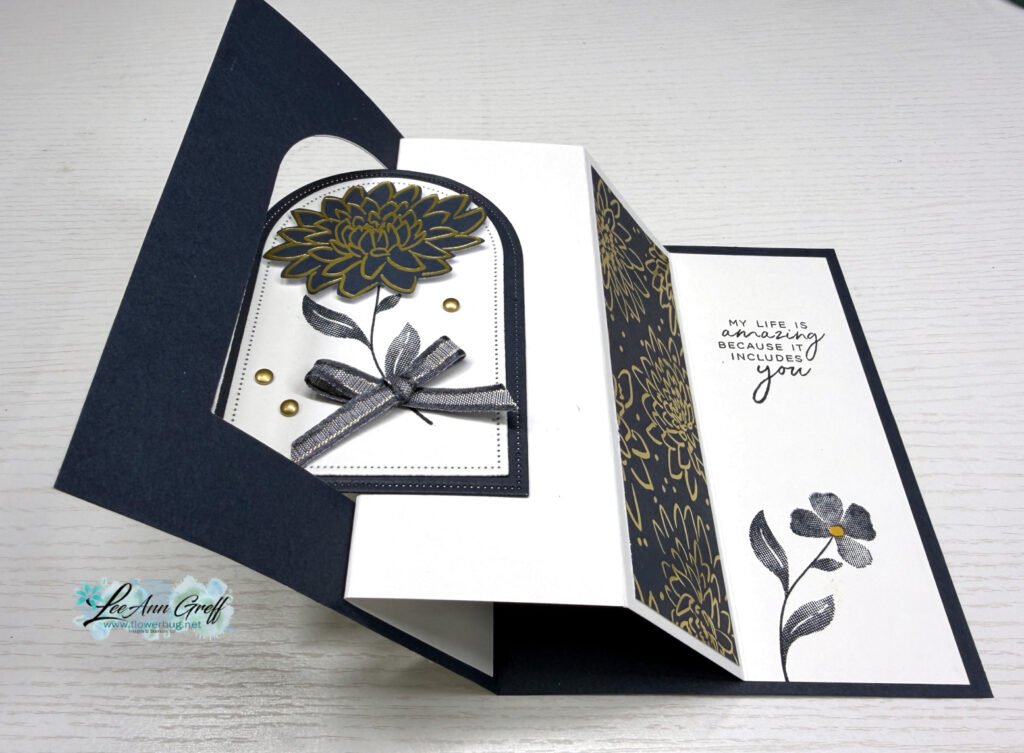
This card involves die-cutting a window in the front layer of your card and reusing it on the inside scored White layer. You can catch on to how it opens in the above photo but it may help a lot if you watch the video here.

On the left card below I used a different set of dies for my window. First the Tile Garden dies to create a rectangle window. Yes; these dies are square…. so I cut a second time to create the rectangle window. The Gold textured frame is made with the Phrases & Frames dies seen here.
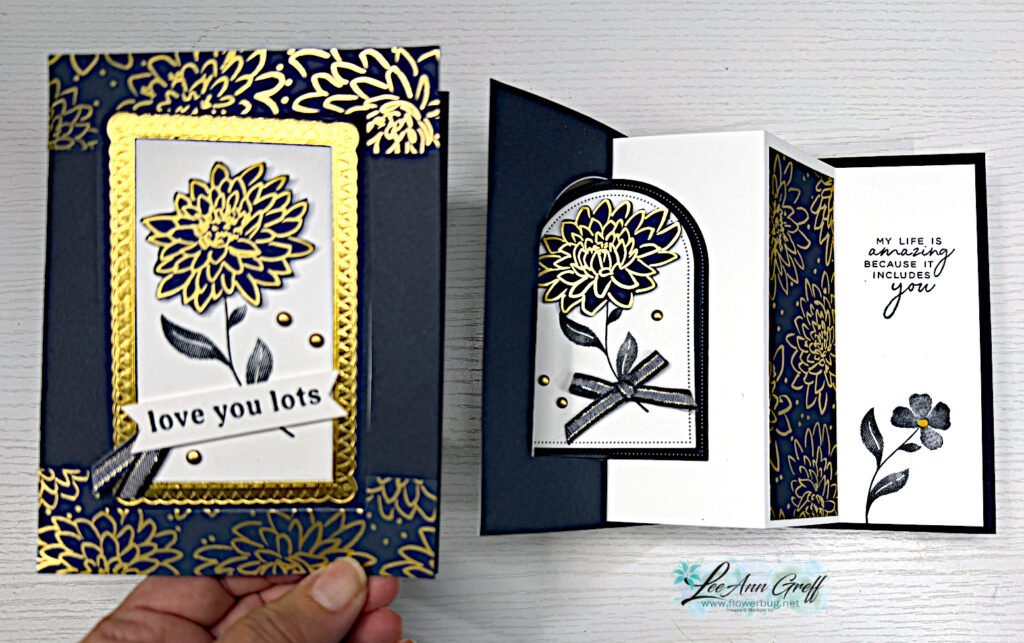
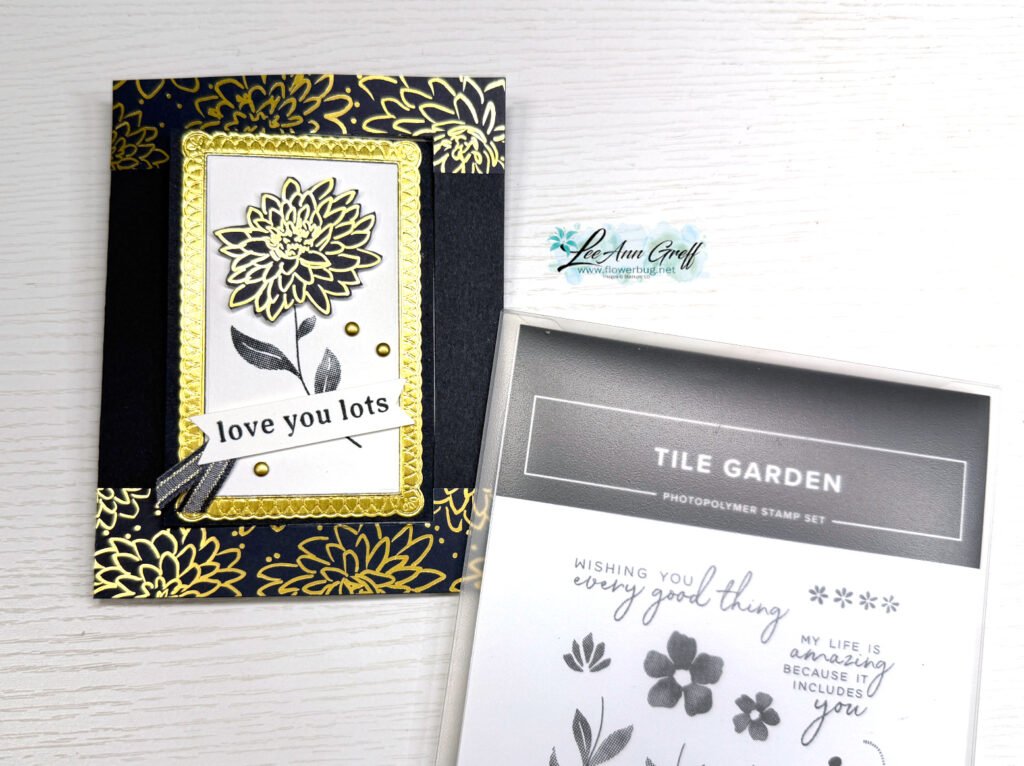
I fussy cut the gold/Secret Sea flower for the front layer. I love the images in the Tile Garden bundle; they have a texture to them.
I created a free project sheet for this card. Click here to download or print it.

Below is the video tutorial; I hope it helps you in understanding how this is done. It is much easier than it looks!

There’s a new Product of the Month for September.
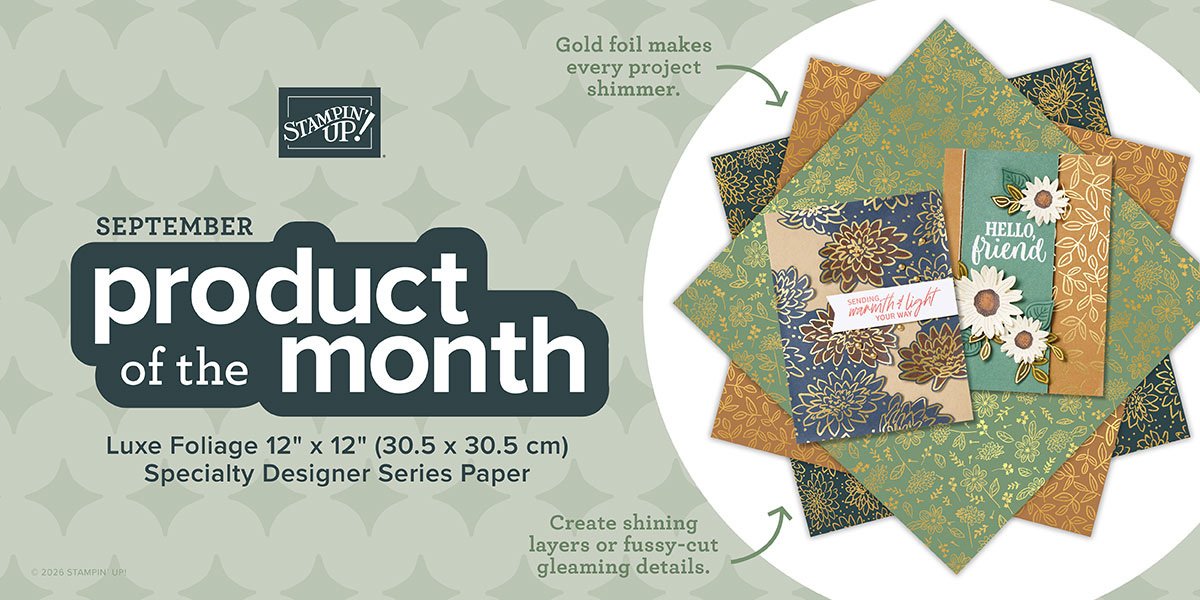
It’s called Luxe Foliage Specialty Designer paper and can be seen here. It’s yours for just $5 once your order reaches the $75 point.

There is also a few new kits in our Kit Collection too. You can see it all here!
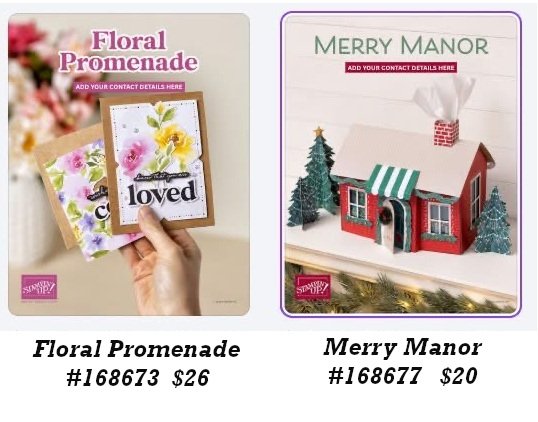
There are new Online Exclusives! Click here to see them.
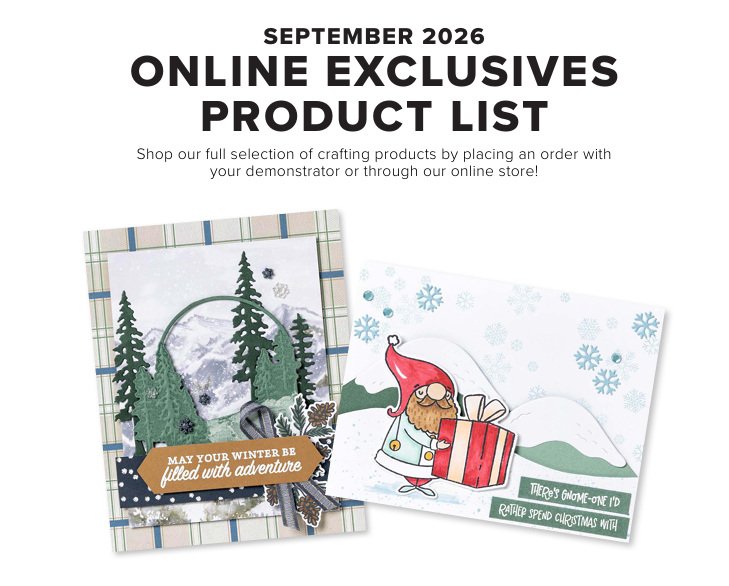
New Hot Foil products are here! Check them out here.
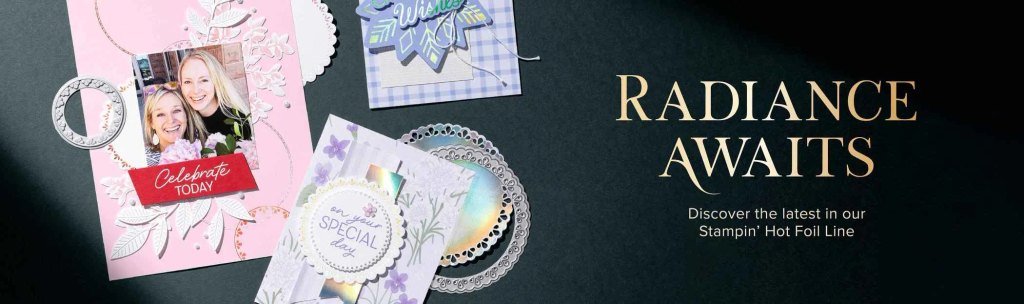
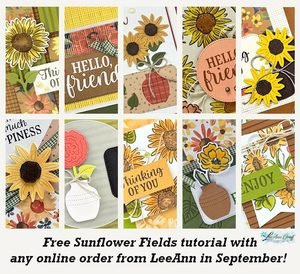
Get this free Sunflower PDF tutorial with ANY online purchase from me in September! Gorgeous cards in this one!
All Posts

  • January Hearts for You alternative card idea


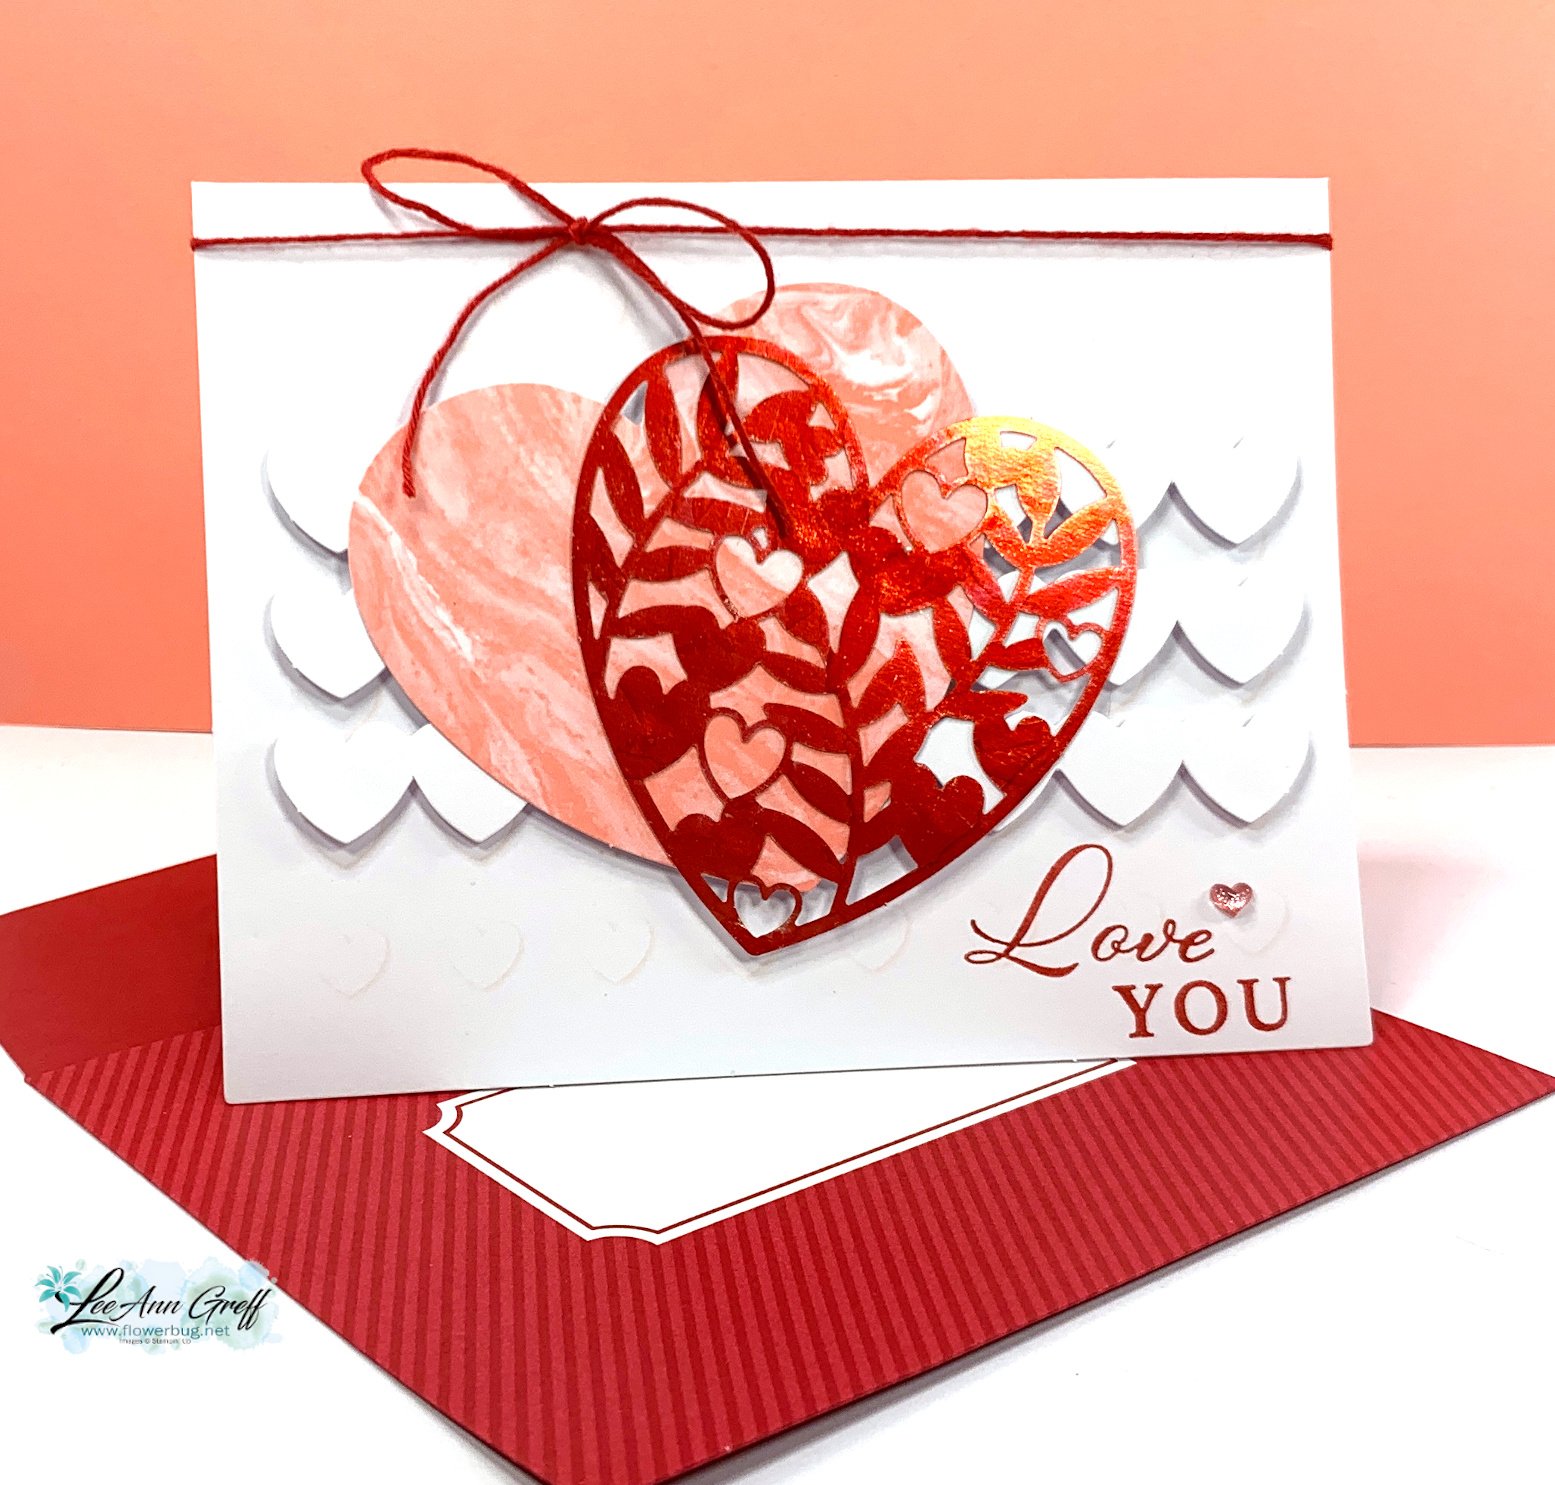
    Today I'm sharing an alternative project I made with the January Hearts for You Paper Pumpkin kit. 

    Everything you see here is in the kit. The only thing I added was a Real Red Blends marker that I used to change the color of the champagne foil heart to Red.  It's fun to experiment a bit!

    Below you'll see the 9 projects recommended in the kit.  They're gorgeous as is but I like to show alternative ideas just in case you want to get creative with the products.  It is really fun to change things up at times. 

    Once you're a Paper Pumpkin customer you can choose to get any of the extra refills or add on items. The refills do not include the stamps or ink spot but everything else!  And they're usually only $12. Wow!  See this one here
    Subscribe to Paper Pumpkin here.  Or purchase a pre-paid subscription here. 

    Sale-a-Bration is a fabulous time to get a pre-paid subscription since you can earn free SAB choices!  I do this every year at this time!

    The February 'Hello Spring' kit details:
     
    · Plant the seeds of happiness with these lovely garden-inspired cards.
    · Makes 9 cards: 3 each of 3 designs
    · Precut pieces with bronze foil
    · Unique spring-themed envelopes

    ~~~

    January Specials:

    *current host code link:  

     6ZYNKJ6E

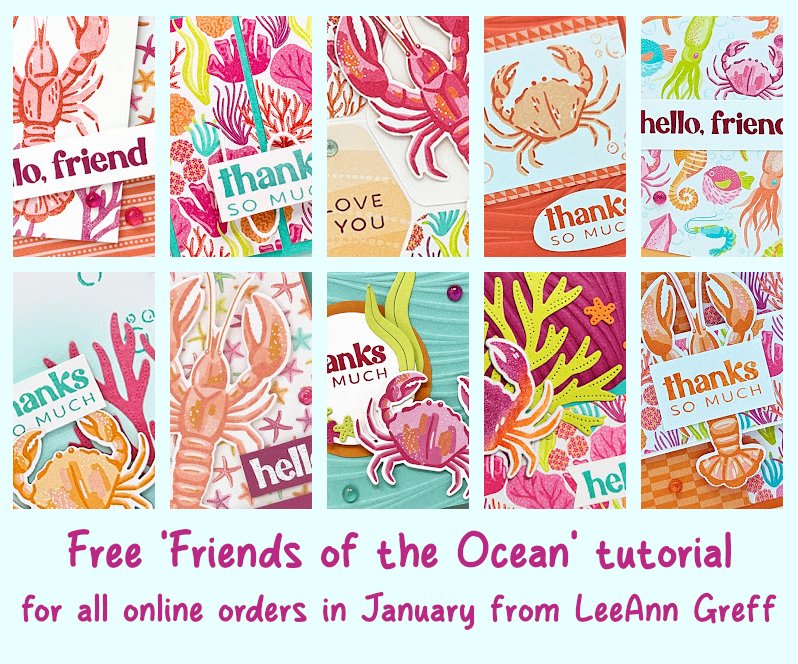
    Get this free tutorial with any online order in January!

     Sale-a-Bration is Live! For every $60 (or $120) you spend you can choose a free item from the SAB catalog!  

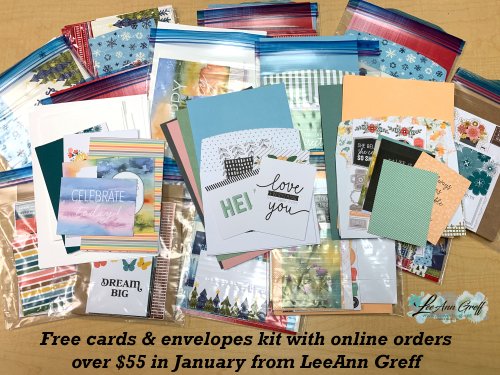
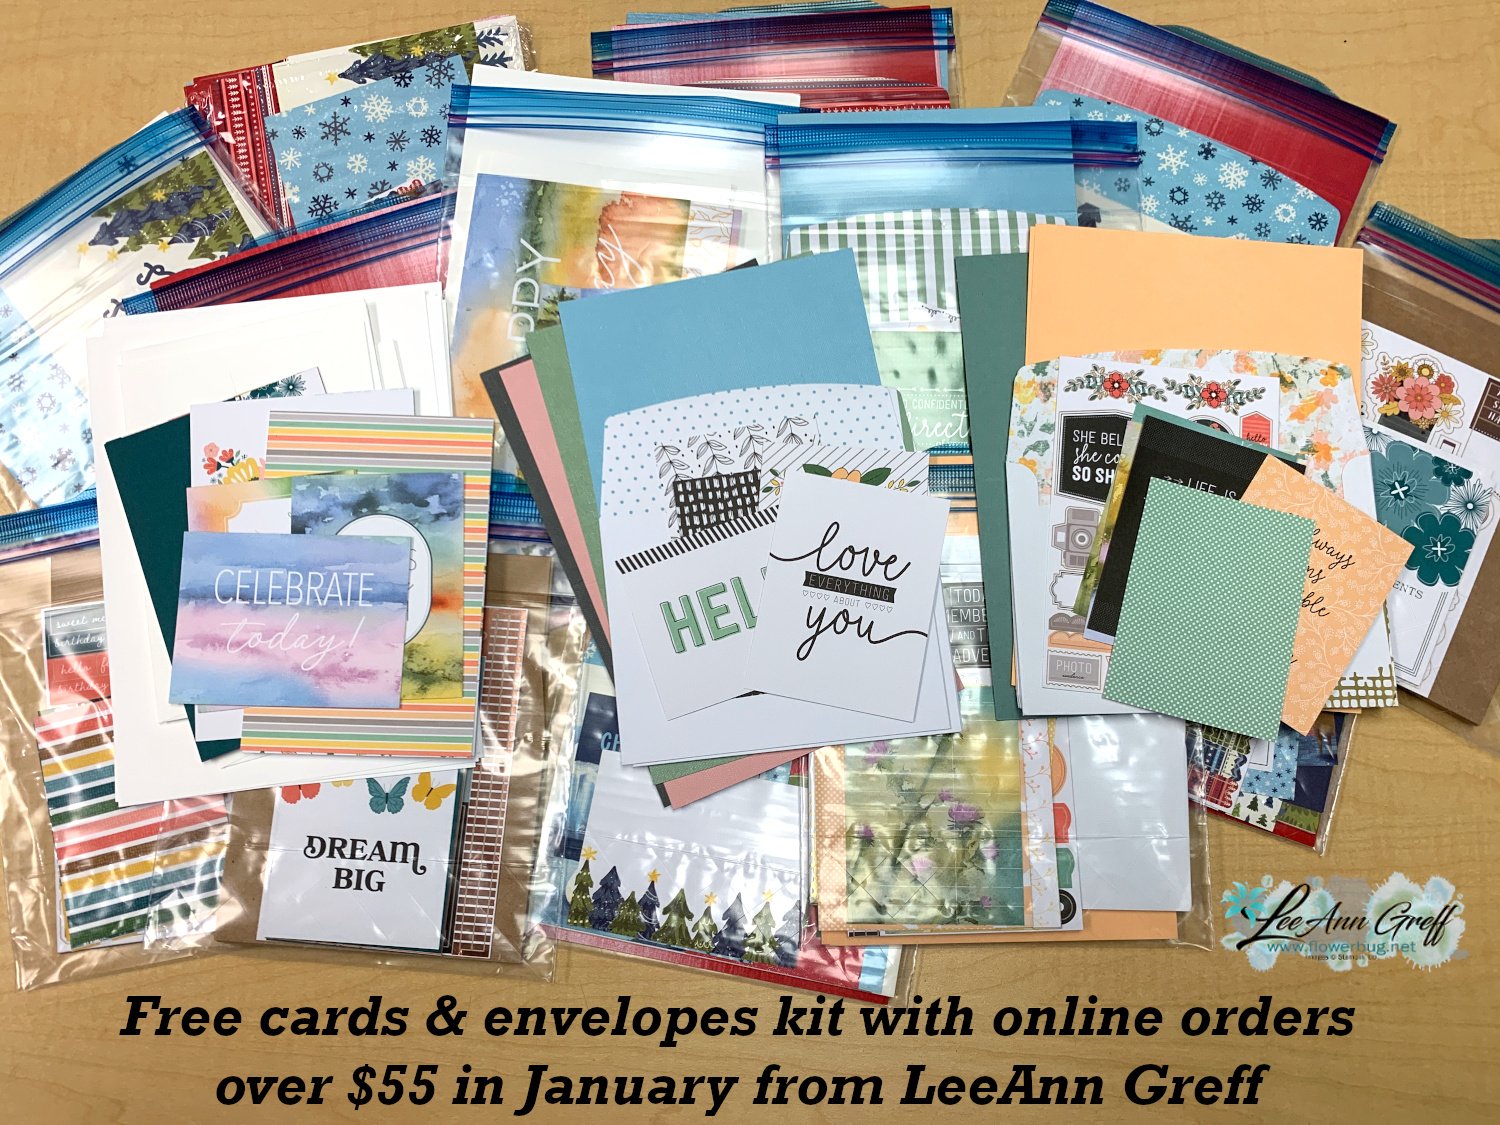
    Get a free card kit with any online order over $55 in January!


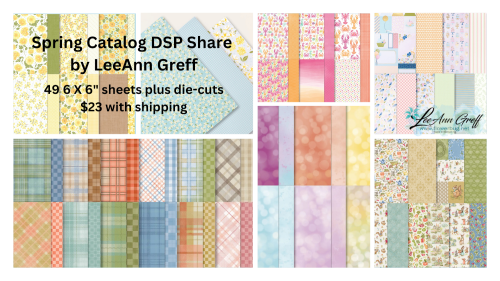
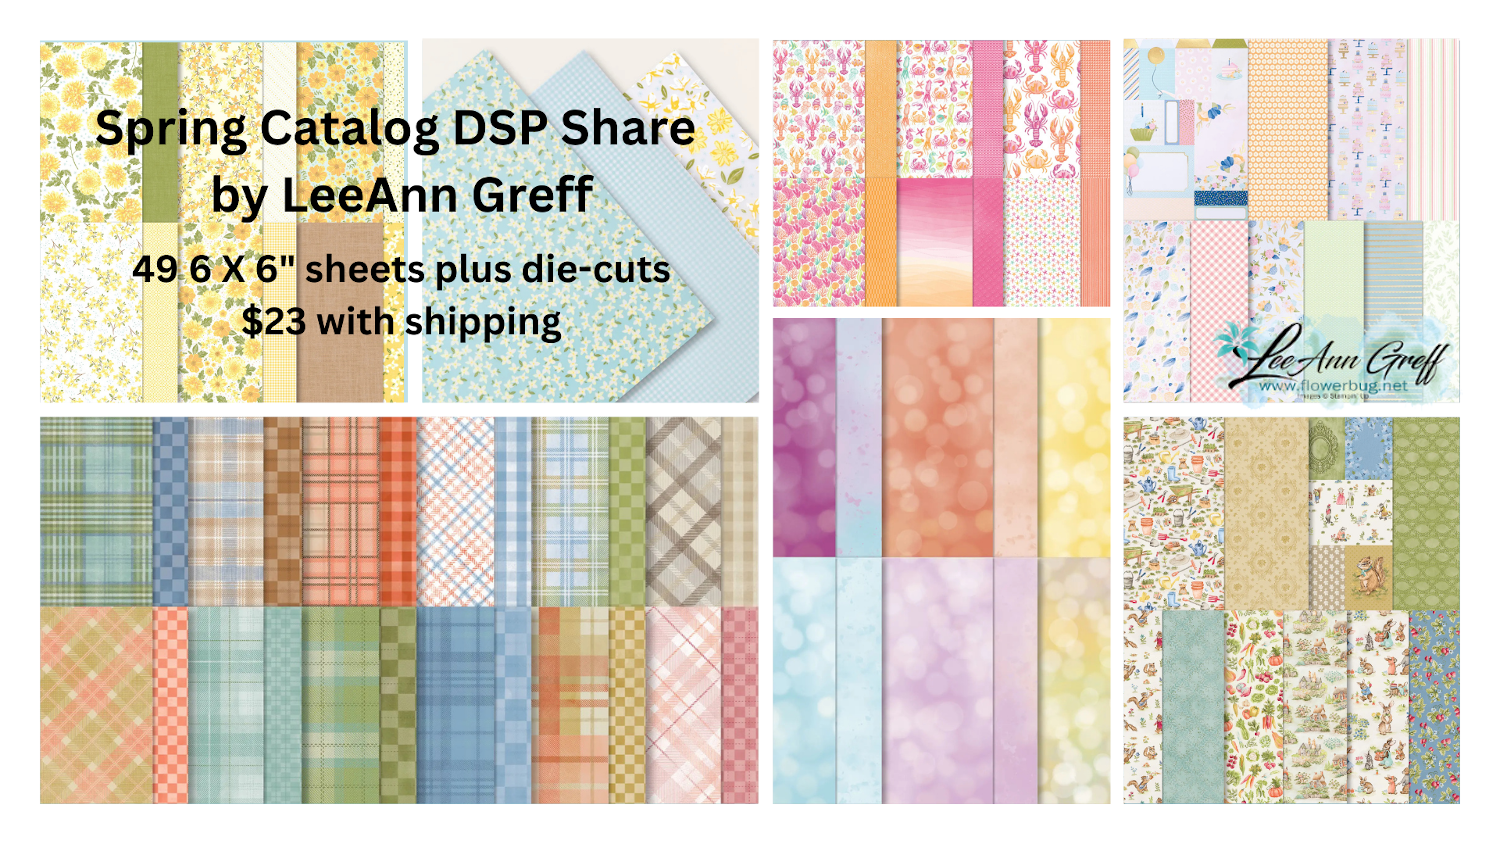
    Opt in for my Spring catalog Designer Paper share and/or the Spring catalog embellishment share seen below. 

    See the details here. 

    Contact me here

    Leave a Reply

    Your email address will not be published. Required fields are marked *

  • A unique fun fold card swap with Hugs for Love with Bloom Impressions


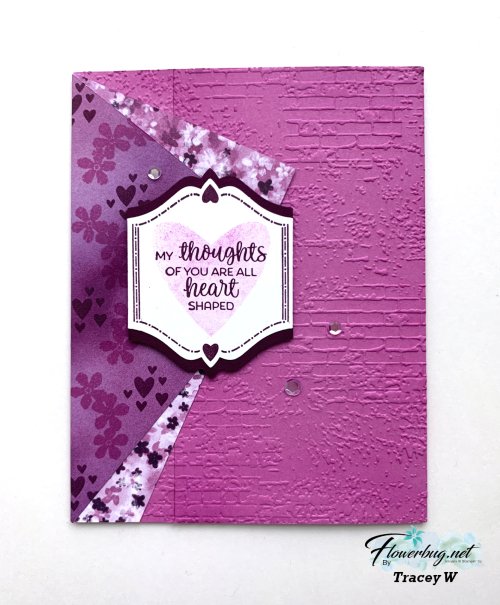
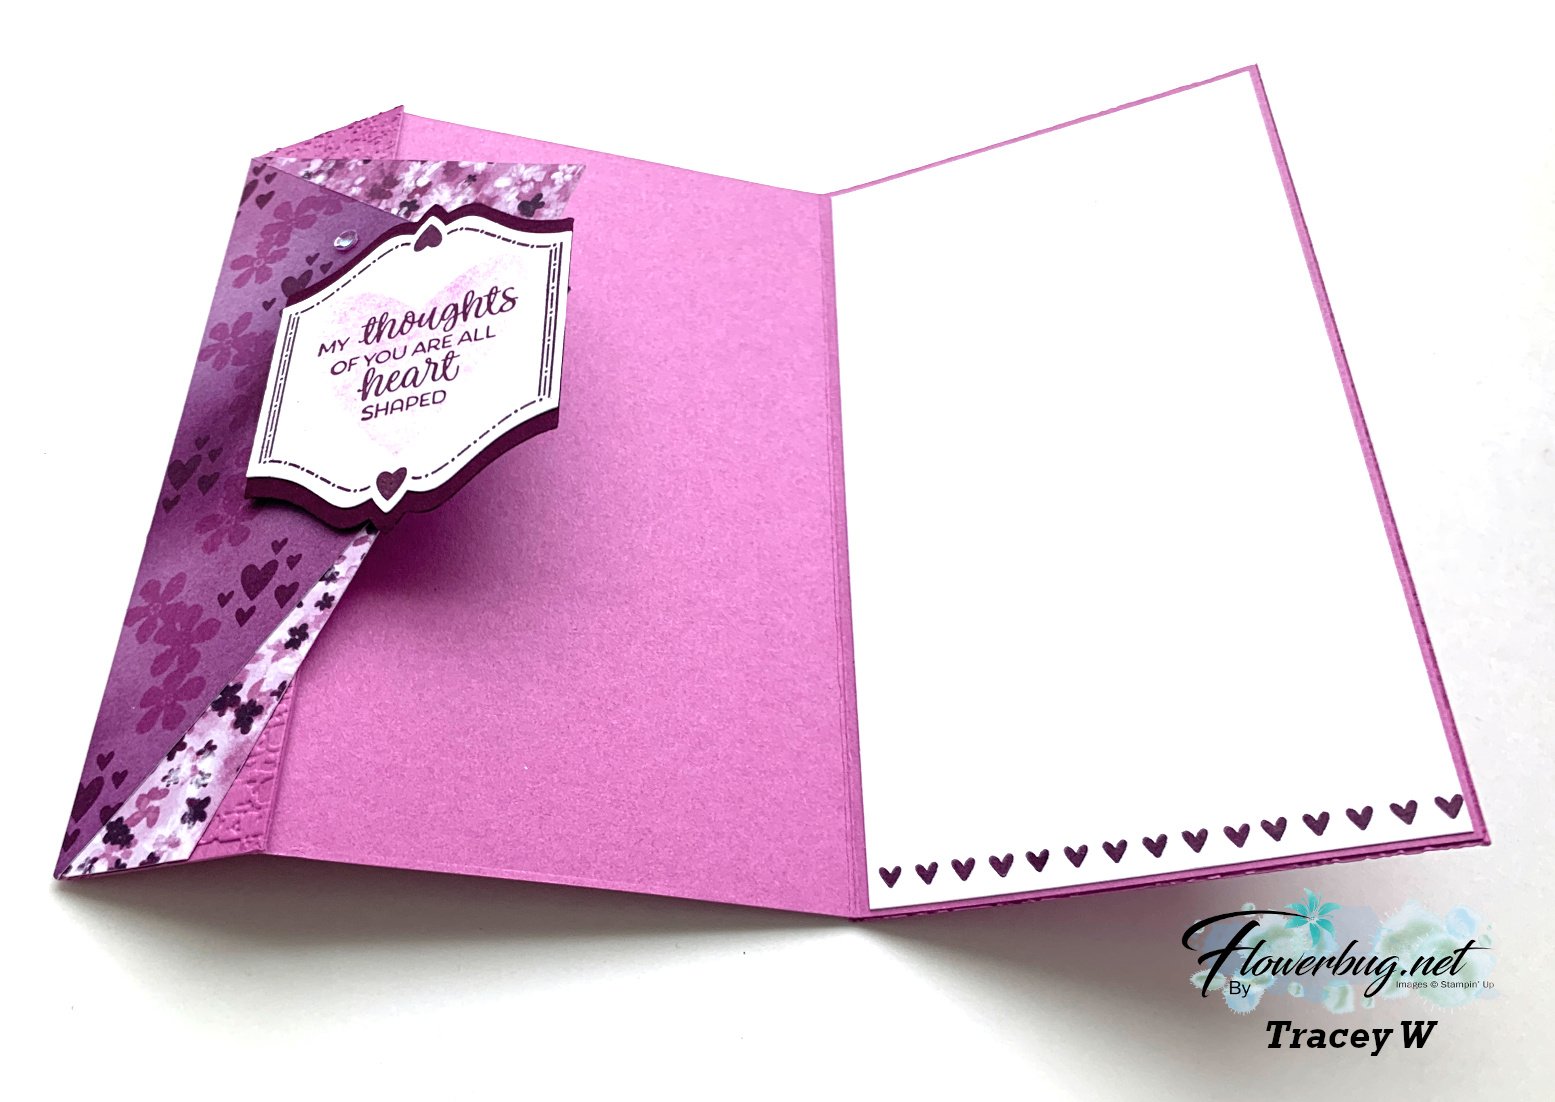
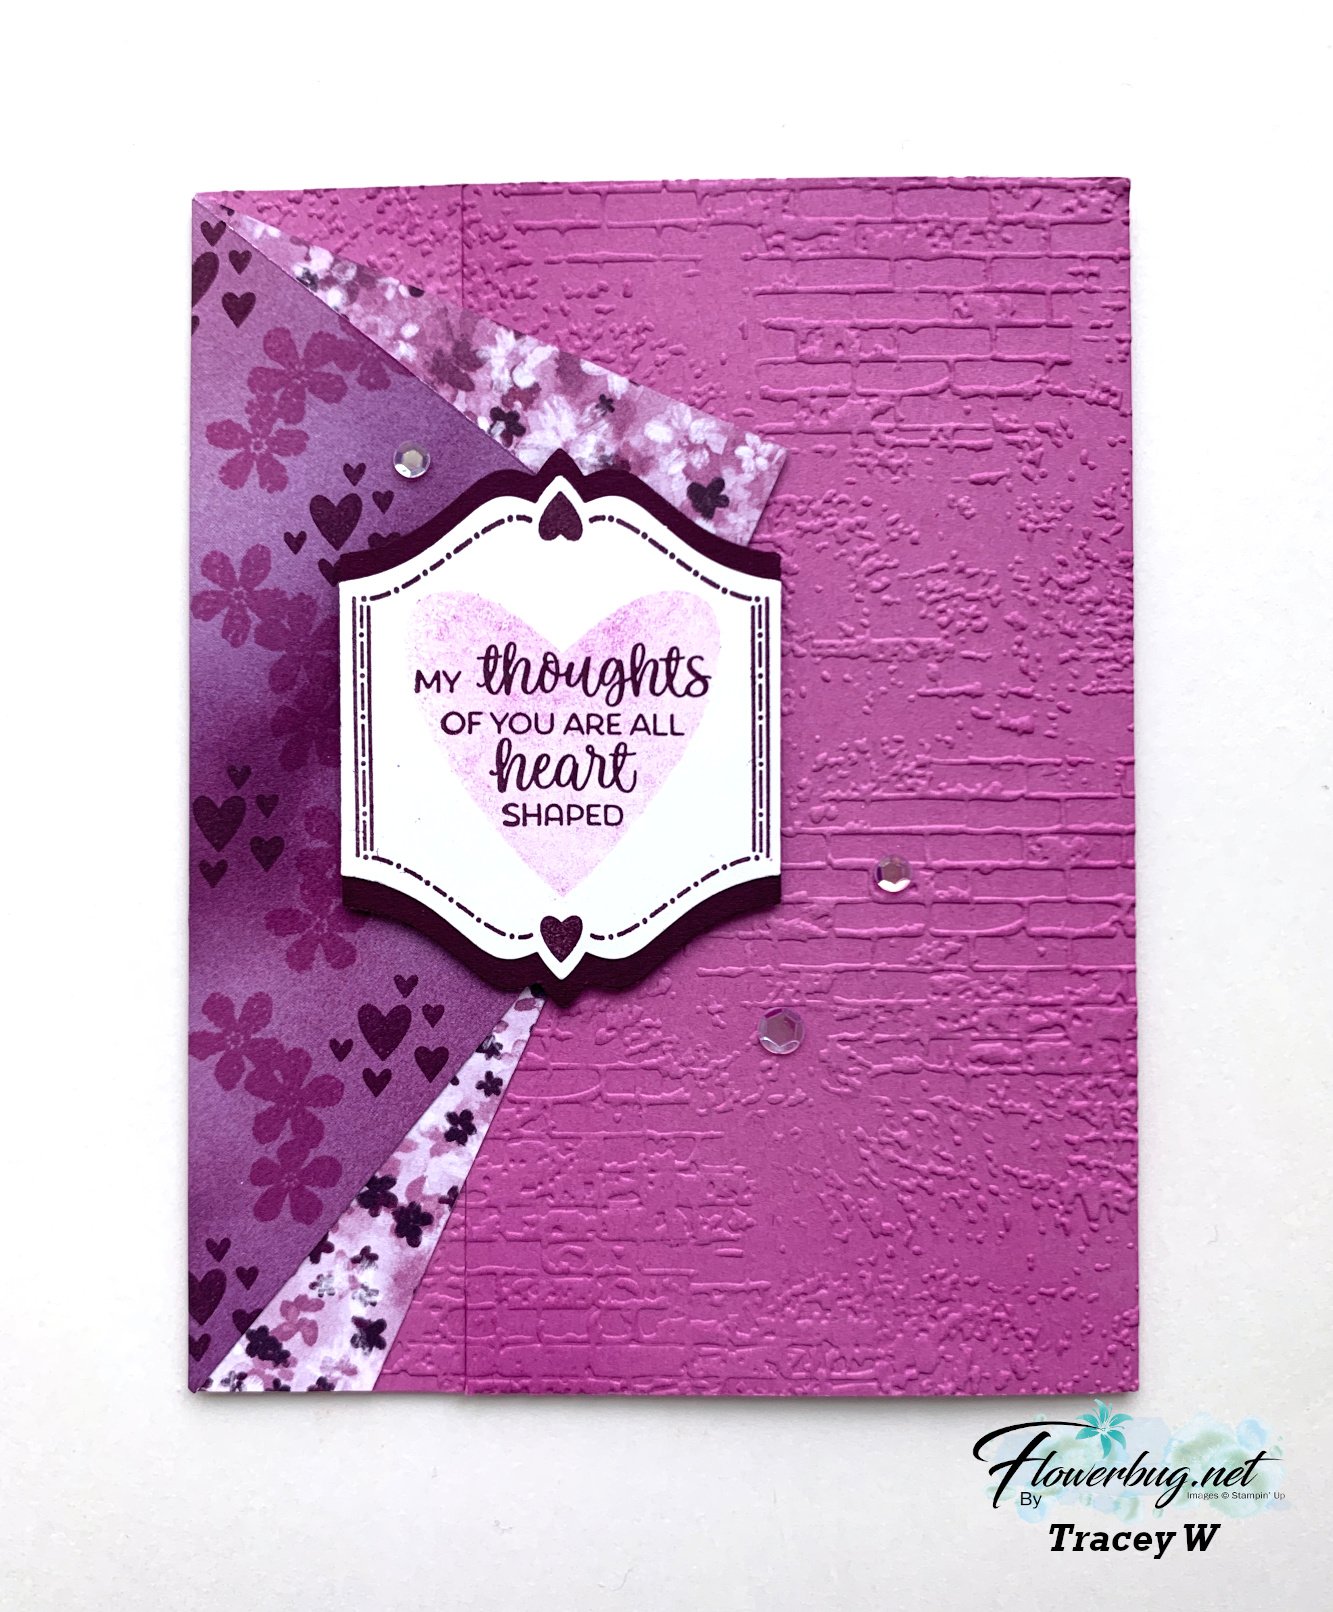
    Tracey made this stunning card for our January Team card swap.  I love her colors and layout so much! 

    Her card layout was inspired by Rachel Tessman and chose to use a Petunia Pop with Blackberry Bliss color combination. 

    She featured the Hugs for Love bundle and the Bloom Impressions designer series paper (free during Sale-a-Bration with a qualifying purchase from Stampin' Up!  See this gorgeous paper here. 

    It's hard to tell in the photo above that it's a fancy fold card isn't it?  

    The right flap tucks under the diagonal Designer Paper and To the Point greeting punches.  

    The measurements for the card base is 8 1/2" X 5 1/2" score at 1 1/4" (fold back) and 5 1/2".  Both front flaps are textured.  

    Below is the Hugs for Love bundle that includes the To the Point punch.  I love, love this punch so much!  *heads up; this punch is now in low inventory; grab it while you can! 

    There's another stamp set that coordinates with this fabulous punch too.  It's called Bright Borders. 

    ~~~

    January Specials:

    *current host code link:  

     6ZYNKJ6E

    Get this free tutorial with any online order in January!

     Sale-a-Bration is Live! For every $60 (or $120) you spend you can choose a free item from the SAB catalog!  

    Get a free card kit with any online order over $55 in January!


    Opt in for my Spring catalog Designer Paper share and/or the Spring catalog embellishment share seen below. 

    See the details here. 

    Contact me here

    Leave a Reply

    Your email address will not be published. Required fields are marked *

  • Make the most of your card stock & DSP with this Timeless Plaid fun fold card


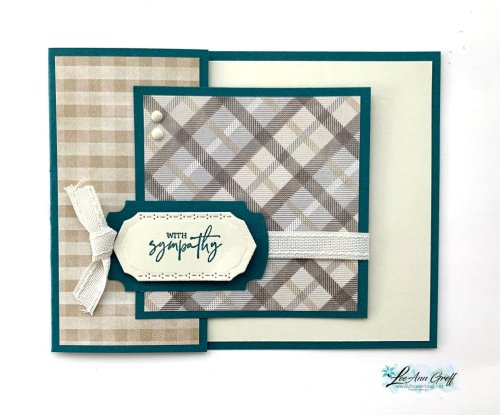
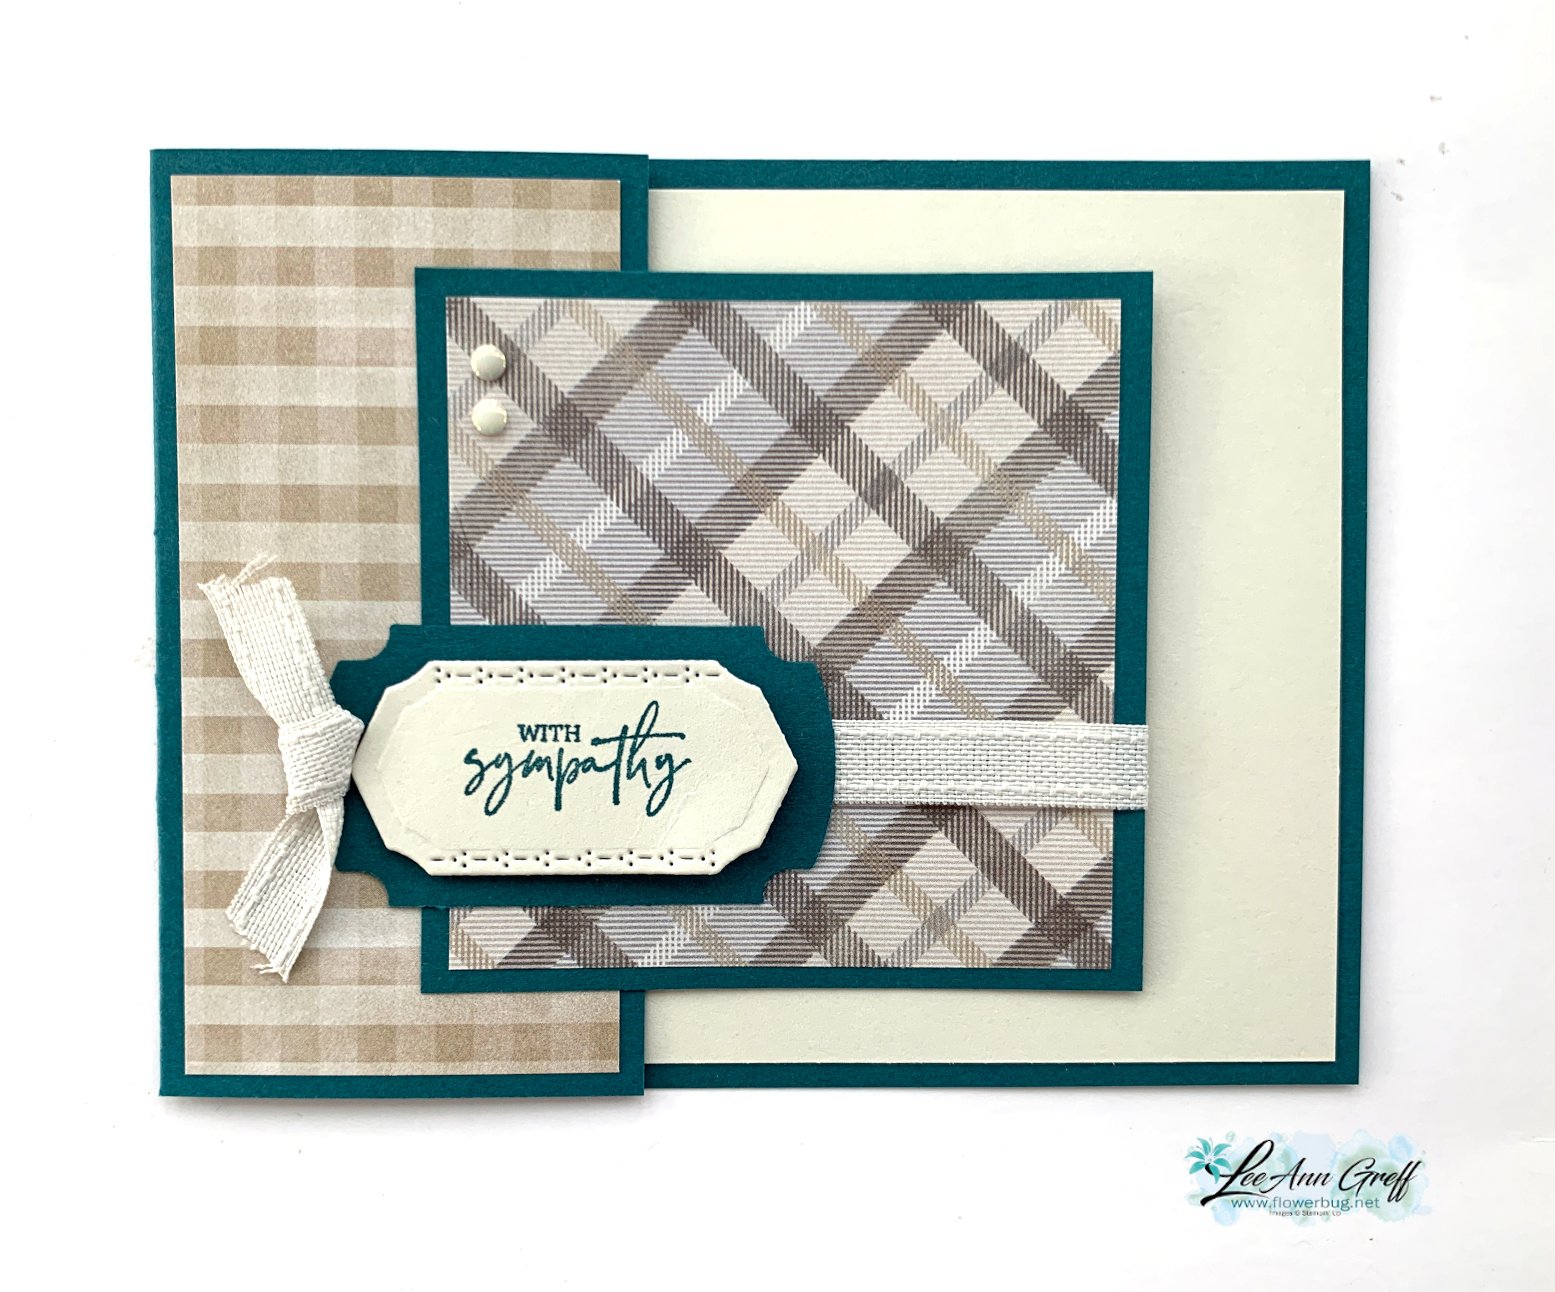
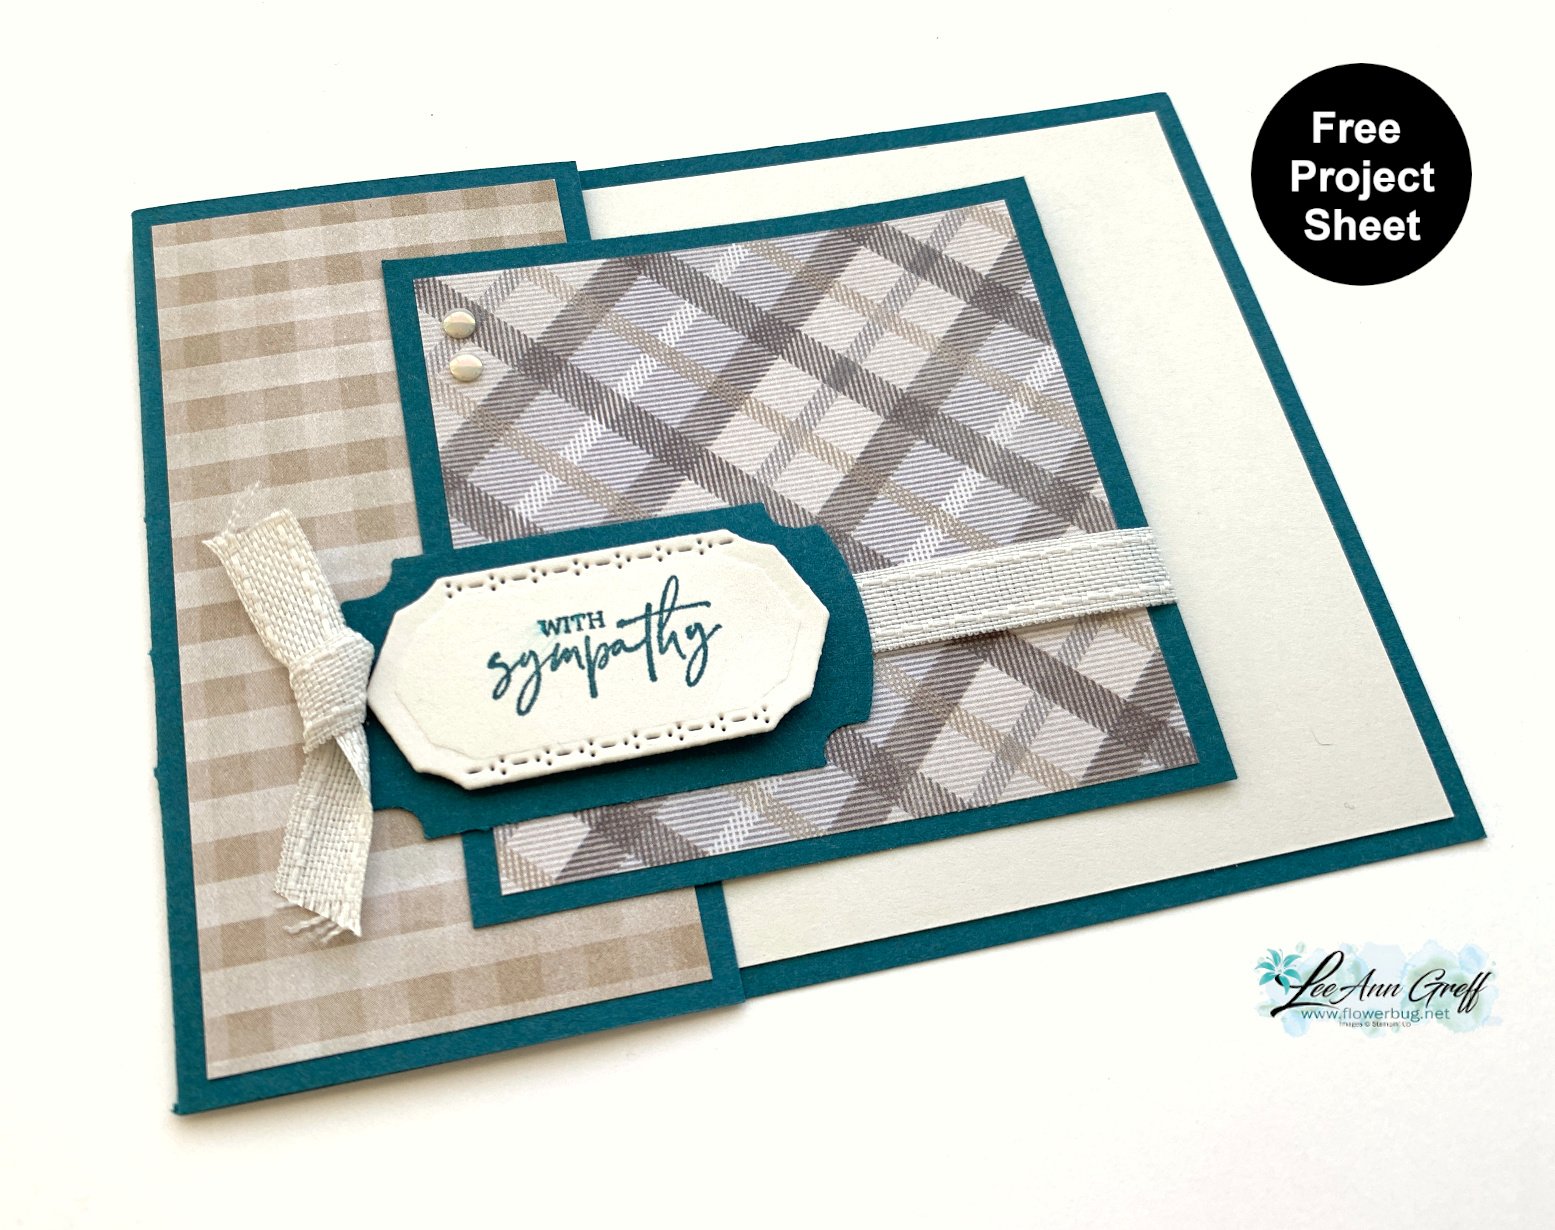
    Today I'm sharing one more easy fun fold card featuring the Timeless Plaid 6" Designer Series Paper.  

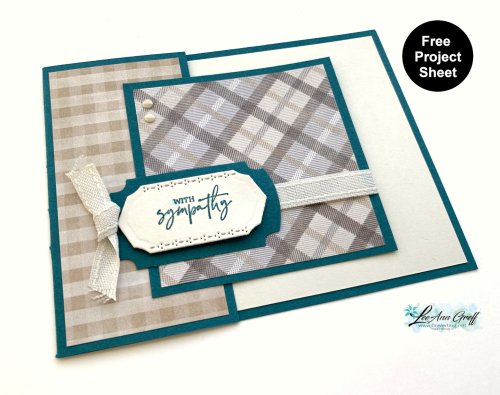
    I love this card layout because it makes great use of both your card stock and designer paper.  My colors include Basic Beige with Pretty Peacock.  The greeting and stitched edge die-cut are from the Mixed Labels bundle seen here. 

    The card base is 11" X 4 1/4"; scored at 5 1/2". Trim off one end at 3 1/4" and cut it into a square.  Next add a 3" square of DSP to that. You'll add that as the layer over the left side of the card (after adding a 2" X 4" piece of DSP).  So simple! 

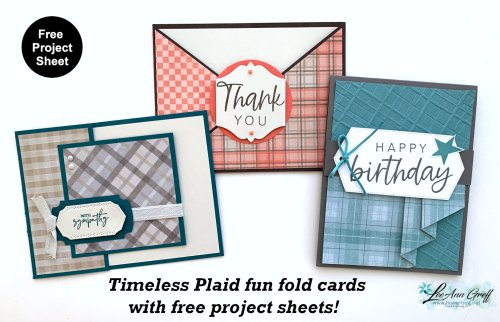
    I shared 3 fun fold cards on last week's video.  If you like fun fold cards I hope you'll access the free project sheets for them all here.  

    Click on the following link to get the free project sheet for this card.  Download Timeless Plaid Sympathy

    Below is the video for multiple fun fold cards.  And subscribe to my YouTube Channel too! 

    ~~~

    January Specials:

    *current host code link:  

     6ZYNKJ6E

    Get this free tutorial with any online order in January!

     Sale-a-Bration is Live! For every $60 (or $120) you spend you can choose a free item from the SAB catalog!  

    Get a free card kit with any online order over $55 in January!


    Opt in for my Spring catalog Designer Paper share and/or the Spring catalog embellishment share seen below. 

    See the details here. 

    Contact me here

    Leave a Reply

    Your email address will not be published. Required fields are marked *


Notice: LeeAnn Greff, Independent Stampin’ Up! Demonstrator, Manager. The content of this website is my sole responsibility as an independent Stampin’ Up! demonstrator and the use of, and content of, the classes, services, or products offered on this website is not endorsed by Stampin’ Up! Copyright 2025