The class includes the Perfect Pomegranate stamp set and 6 pre-cut cards kit with the PDF tutorial too. This stamp set was a Sale-a-Bration bonus last year and I accumulated a few extra. This offer is while supplies last so don't wait too long to order.
Remember that you earn points towards free product with each order from me over $50. *See details below.
This gift will be mailed to those who place a $55 minimum online order using a current host code. TMJXFR2T or BFE4C2KM
To complete the cards as shown you'll need a few ink colors, adhesives and greeting images.
Two of the three designs are fun folds; one is a recent favorite called a Floating Panel card. I think the color combos are so pretty:
Click hereto download yours andearn a $50 shopping spree!

All Posts
August specials include a free class with online orders!
Happy August!
This month I’m offering a free class with online orders over $55. It will include a 3 card kit featuring the FloralImpressions DSP seen here. All you’ll need are greetings, inks and adhesives.
Everything is pre-cut and punched for you. Ribbon is included but embellishments are not.
I’ll mail you the pre-cut kit including the printed project sheets! All you need to do is place an order with me over $55 before tax and shipping.
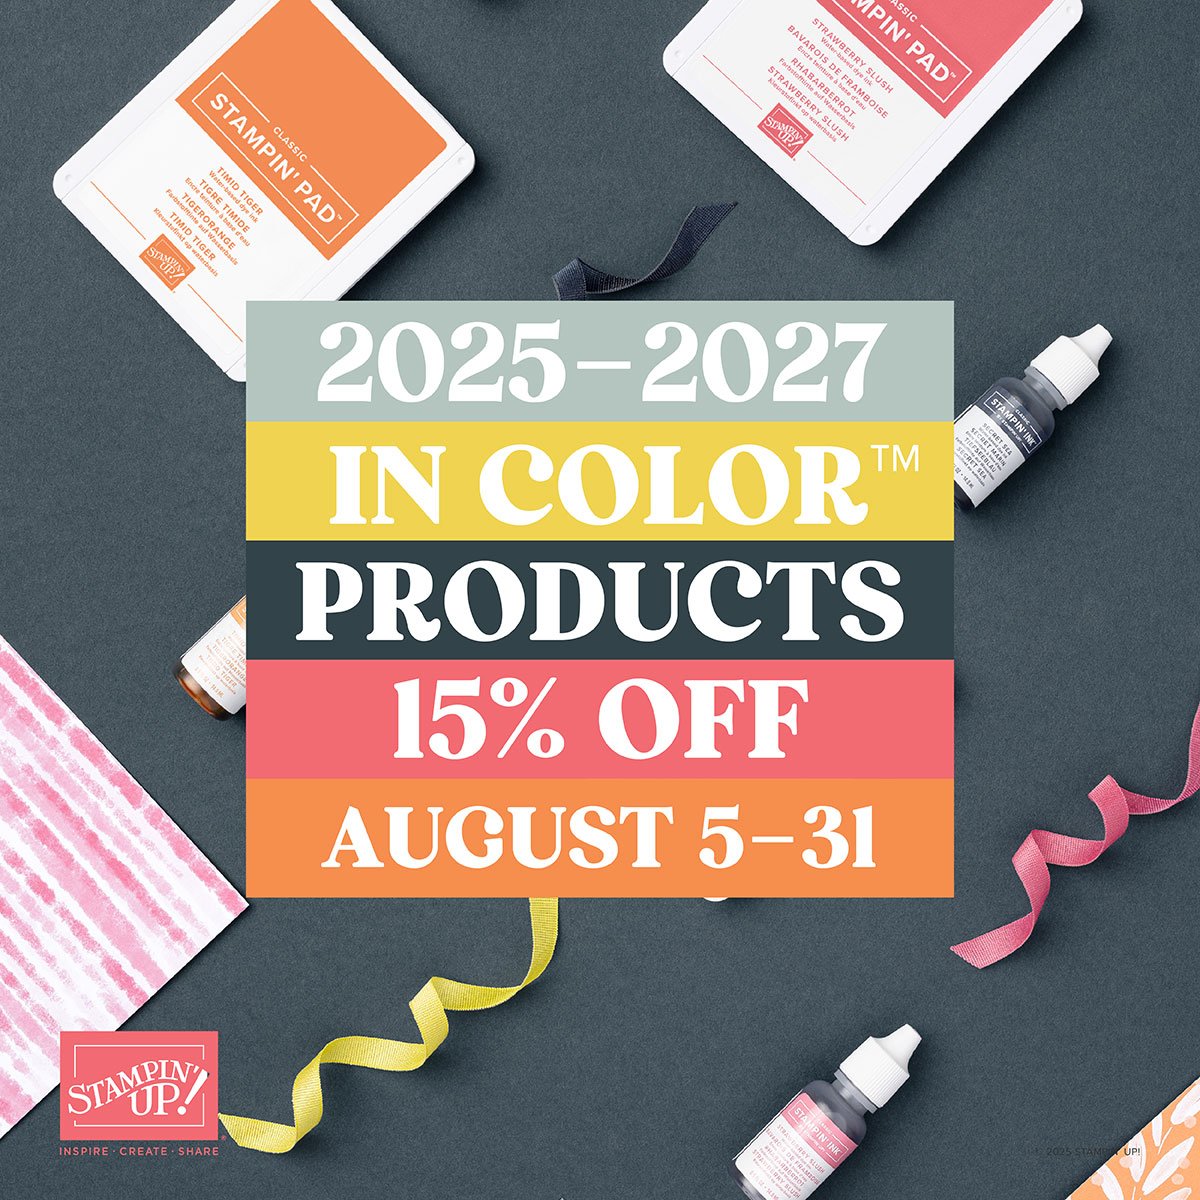
Starting August 5th Stampin’ Up! is offering a discount on tons of 2025-27 In Color products! This will include many DSP packages, embellishments, kits, inks, refills and Blends markers!
See everything that will be discounted 15% on Tuesday, August 5thhere.
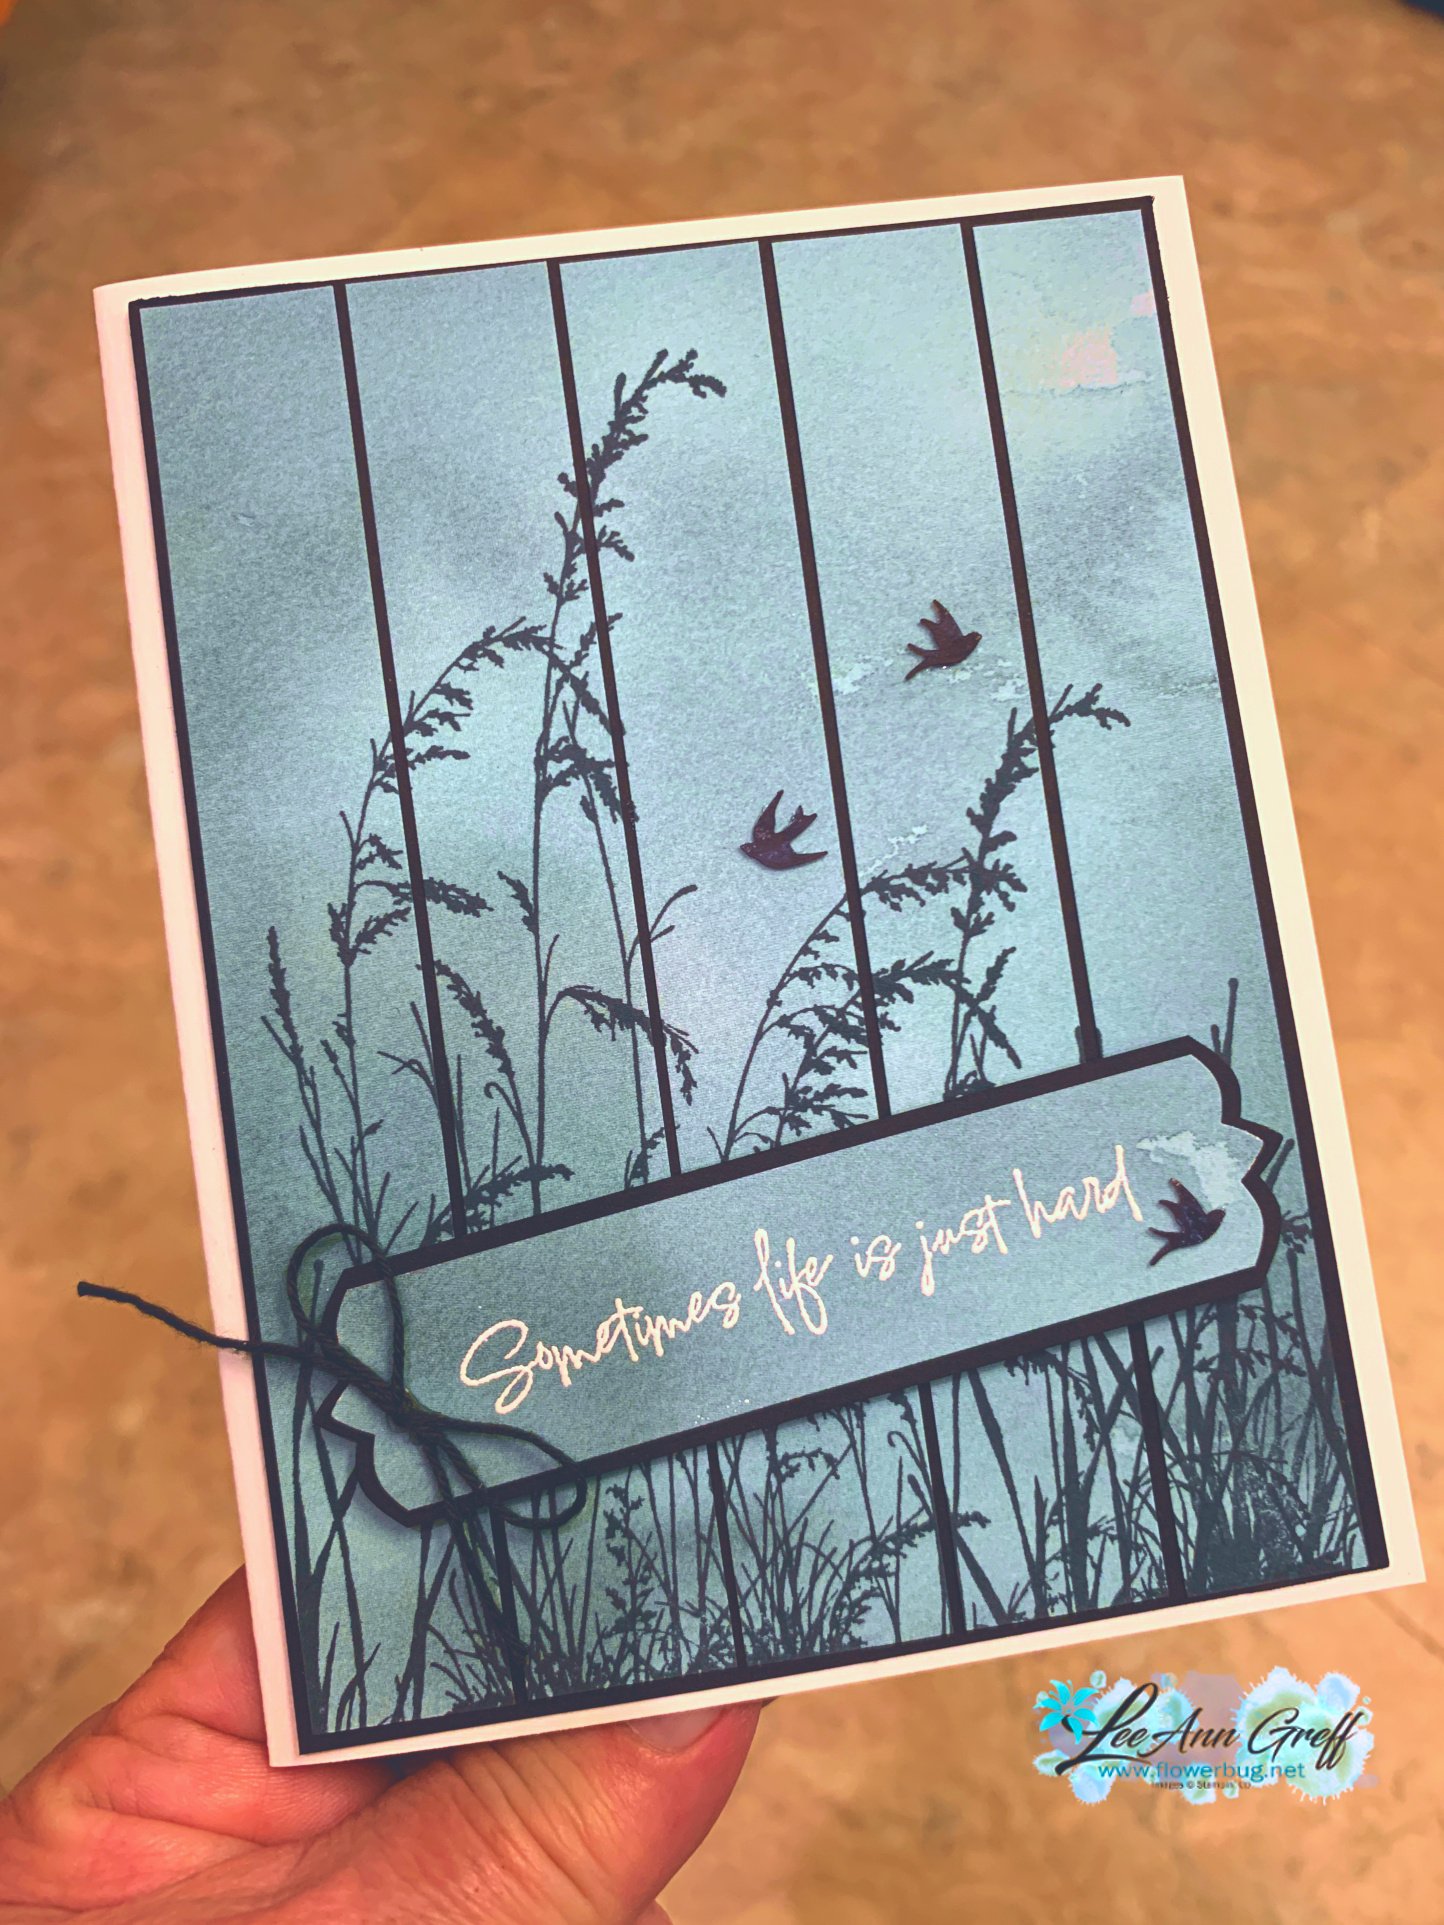
An easy card with Prairie Grass & Thoughtful Journey
Here’s the last card I shared on last week’s video – all three featured the beautiful Prairie Grass stamp set seen here. Unfortunately it is now out of stock but you can add your email to be informed when it’s available.
I stamped it onto a piece of Thoughtful Journey designer series paper. Then I cut it into 3/4″ strips before adhering it onto the Black CS layer and then the White card base.
You might wonder where the layered greeting shape is from. I used the To the Point punch with a 3/4″ strip of DSP like this:
Tip: Insert your paper through the back of the punch like you see above. Notice it’s not through the side; but inserted into the back area. Once you do both ends and you’re happy with the length of it, adhere it to a Black strip 1″ wide and punch both ends to layer evenly.
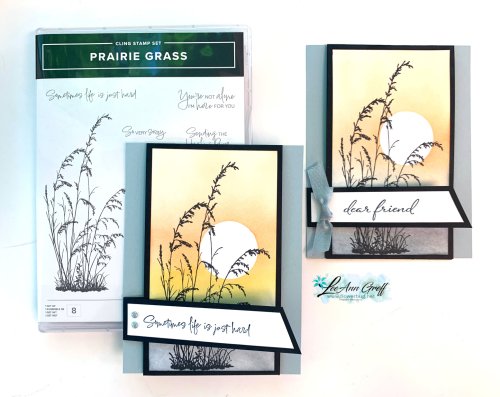
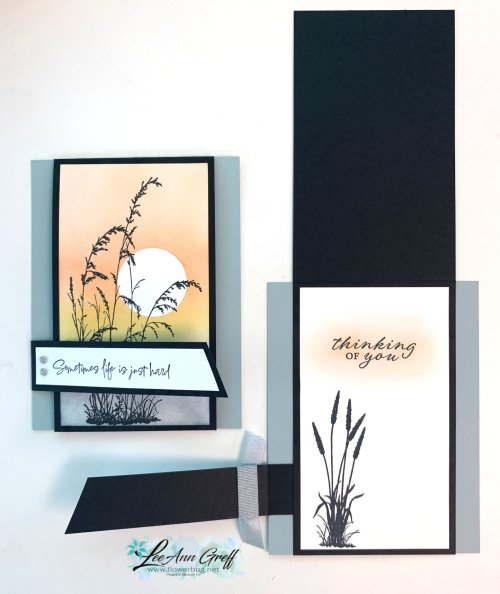
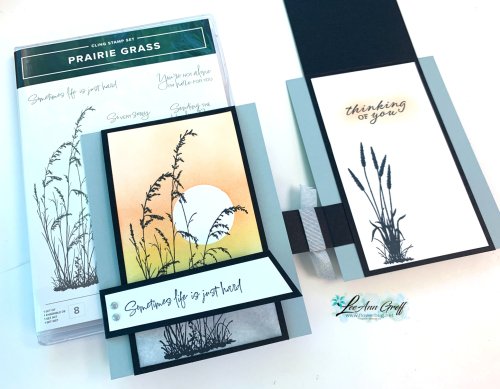
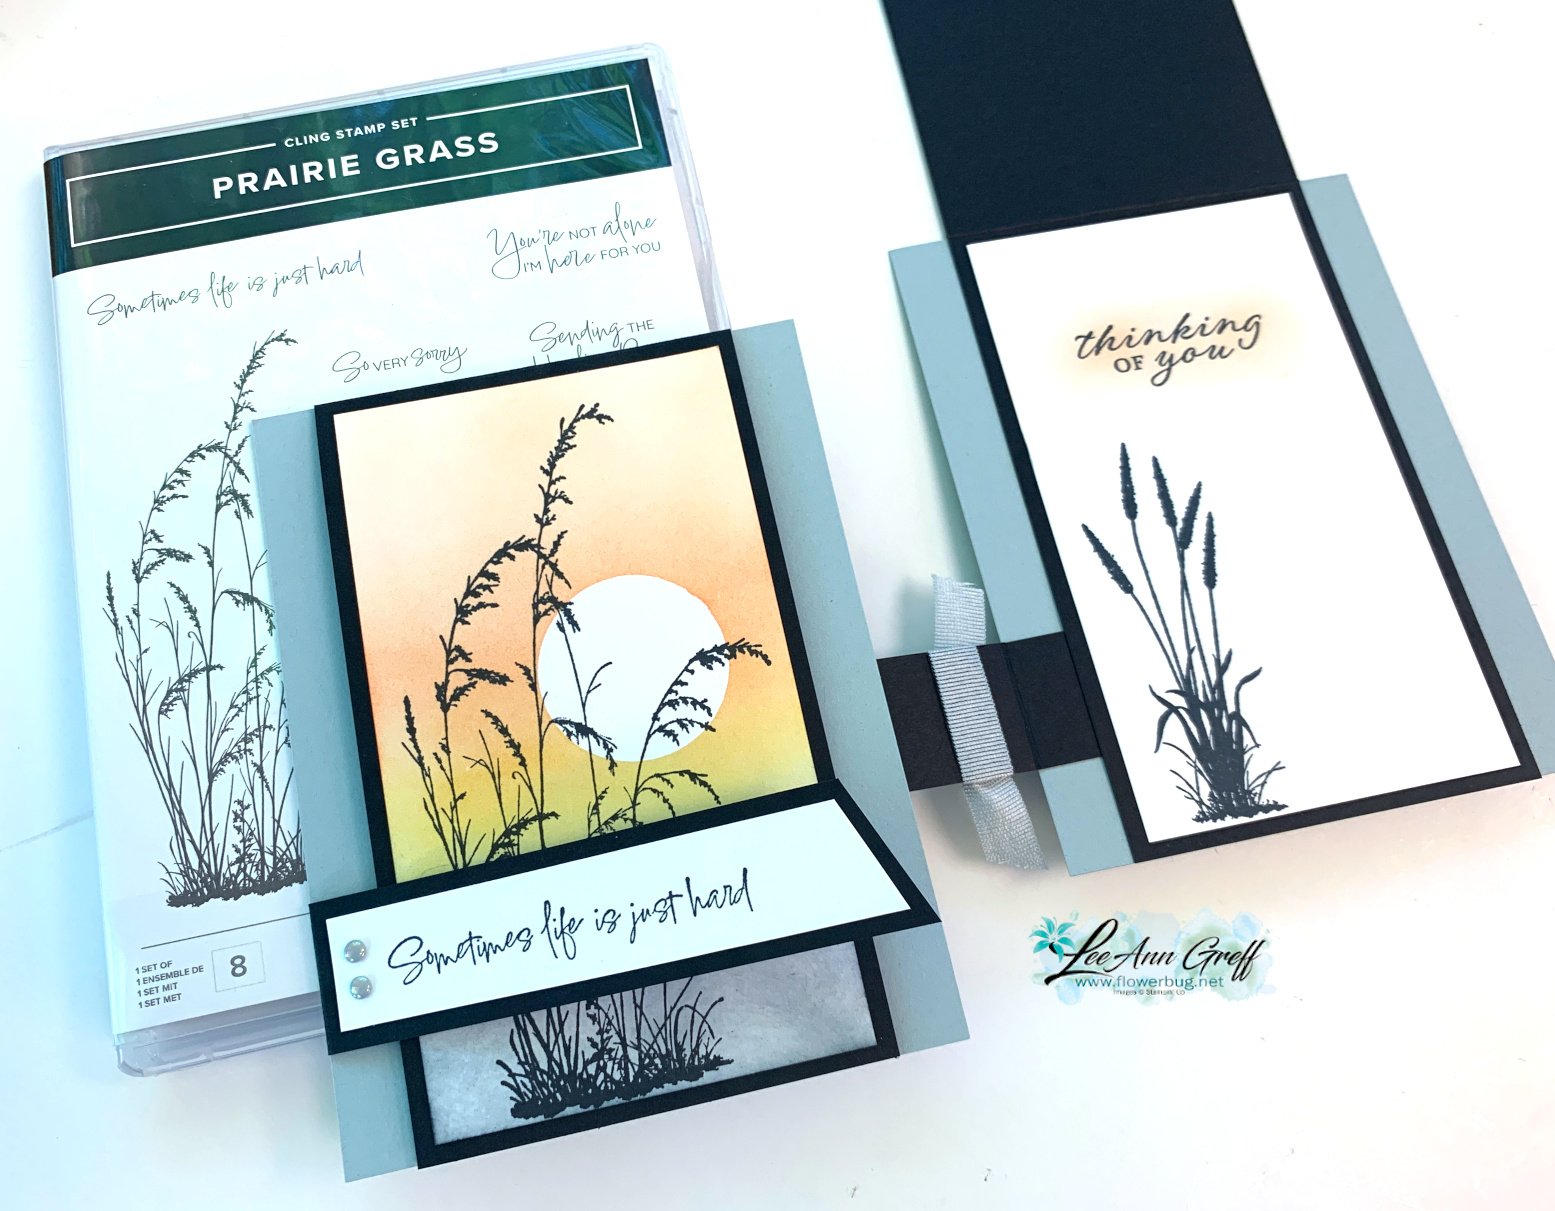
I created a beautiful sunset with stamps, ink and a 'moon mask'. I used Blending Brushes with Secret Sea, Darling Duckling and Timid Tiger inks.
It features the beautiful Prairie Grass stamp set seen here. Since I'm from North Dakota where we have tons of 'prairie' this set was a must have! *Unfortunately it is now out of stock but you can add your email to be informed when it's available. It should be back around August 11th.
After stamping the grassy image we added a post-it note mask made from a circle punch. Then we blended the inks on little by little. It's important to use less ink and more time to get this pretty soft effect.
See the flap on the left side of the card above? That flap holds down the front of the card. So simple but a fun technique. Notice the light sponging on the greeting inside?
I created a free project sheetfor this card. You can print or download it by clicking on the following link: Download Prarie Grass July 2025
Notice: LeeAnn Greff, Independent Stampin’ Up! Demonstrator, Manager. The content of this website is my sole responsibility as an independent Stampin’ Up! demonstrator and the use of, and content of, the classes, services, or products offered on this website is not endorsed by Stampin’ Up! Copyright 2025
Leave a Reply