The class includes the Perfect Pomegranate stamp set and 6 pre-cut cards kit with the PDF tutorial too. This stamp set was a Sale-a-Bration bonus last year and I accumulated a few extra. This offer is while supplies last so don't wait too long to order.
Remember that you earn points towards free product with each order from me over $50. *See details below.
This gift will be mailed to those who place a $55 minimum online order using a current host code. TMJXFR2T or BFE4C2KM
To complete the cards as shown you'll need a few ink colors, adhesives and greeting images.
Two of the three designs are fun folds; one is a recent favorite called a Floating Panel card. I think the color combos are so pretty:
These cards are so fun and interactive. You will be so proud to give one of these. One of my favorite things about this type of shaker card is that it isn't thick so it requires no extra postage.
1st step: add a white punched deer from the Deer Builder punch popped up with a Dimensional.
2nd: Insert into your clear envelope and add a good pinch of Subtle Shimmer sequins.
3rd: Fold the envelope over tightly to keep the sequins on the side of the DSP you want. Secure the flap.
Here's a photo of the back of the shaker part. You can see the back side of the designer paper and where I folded the clear envelope over to secure. A small cello bag would also work here.
After the shaker part is done just add your frame over it securing with adhesive. Add to the card and finish!
Here's a version featuring the Whimsy & Wonder specialty designer paper; it works wonderfully here. The card base and ink are Mint Macaron. The greeting is from the Peaceful Deer stamp set and the die-cut is from Tasteful Labels dies.
Live tonight! Show off your Designer Paper with this fun layout!
We're making these cards tonight on Facebook Live here. Every other Monday I host a 'Stamp with Me' Live where we use our Designer Paper in fun ways.
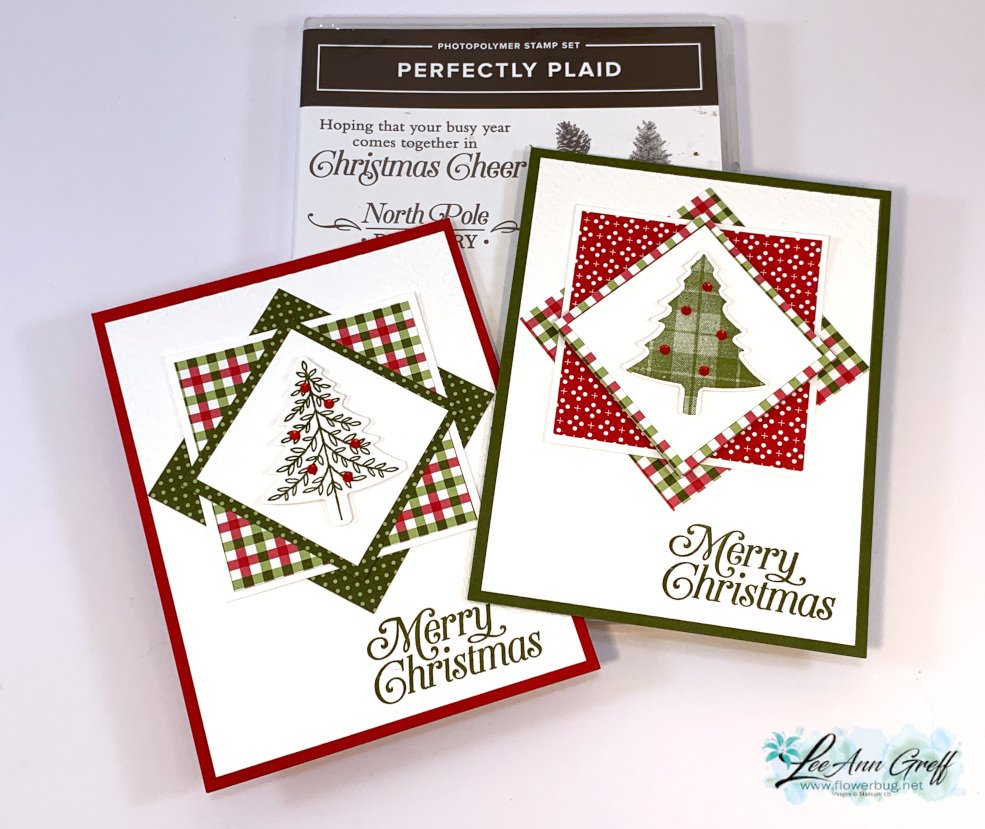
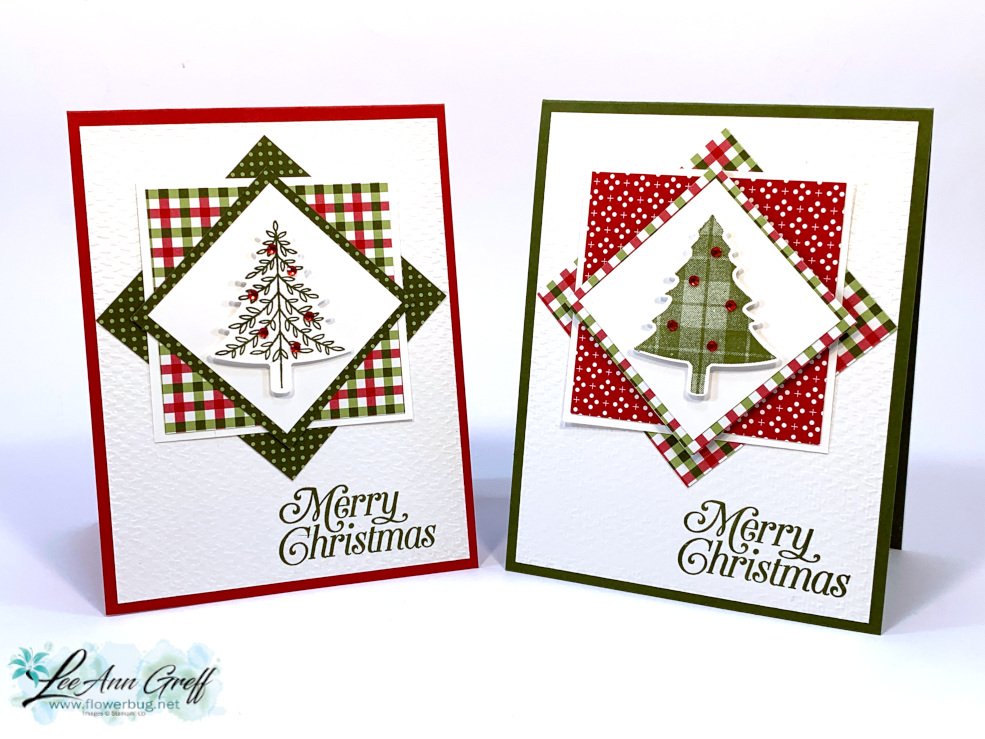
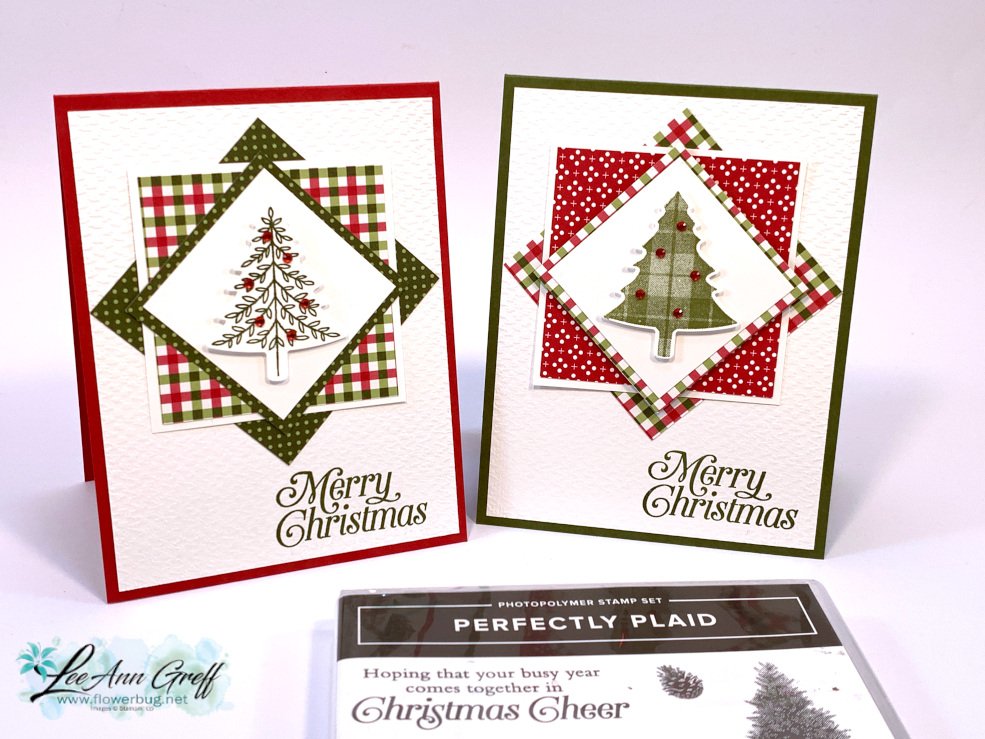
I love this layout! It is perfect for small patterns of Designer Paper. Turning squares on the angle adds a lot of playful interest to your card and showcases one main image, die-cut or punch in the center.
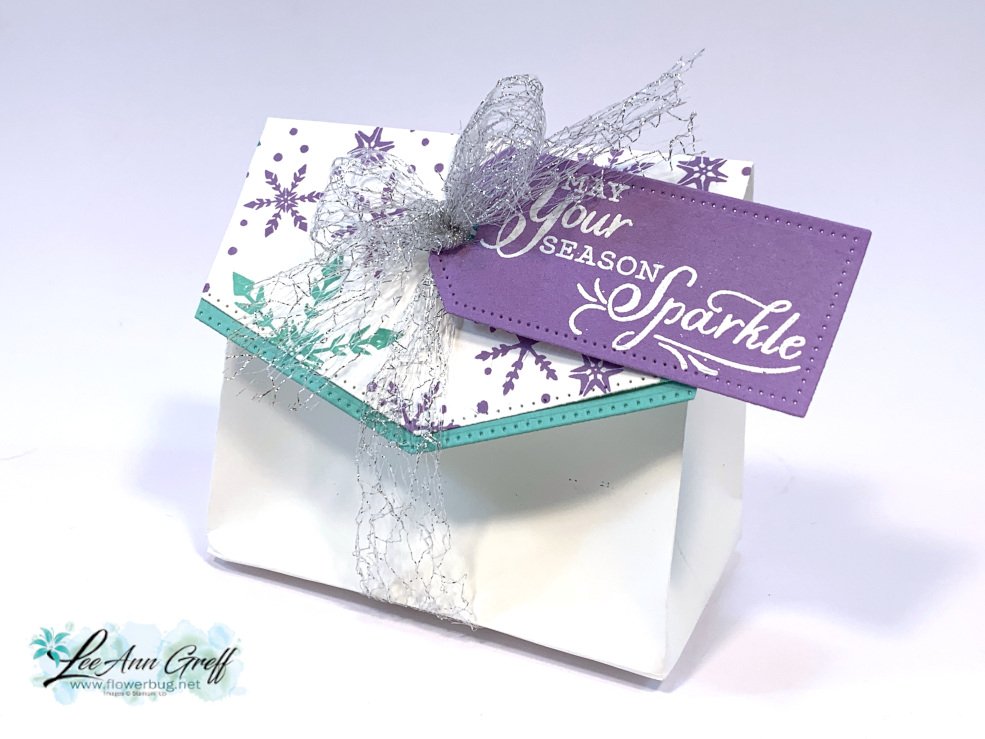
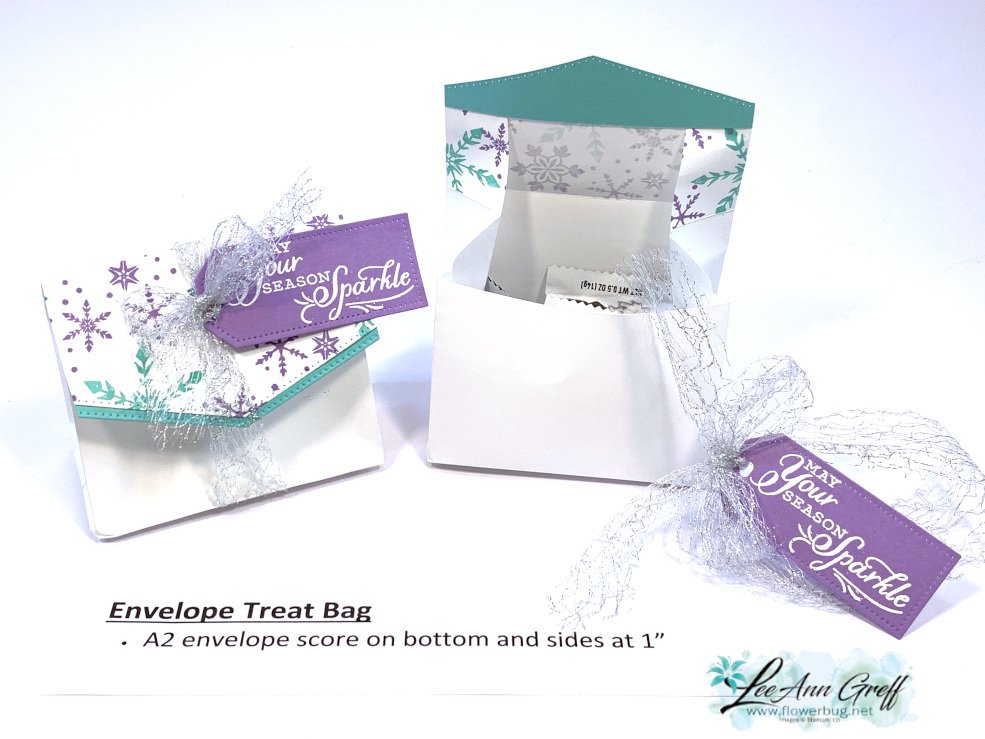
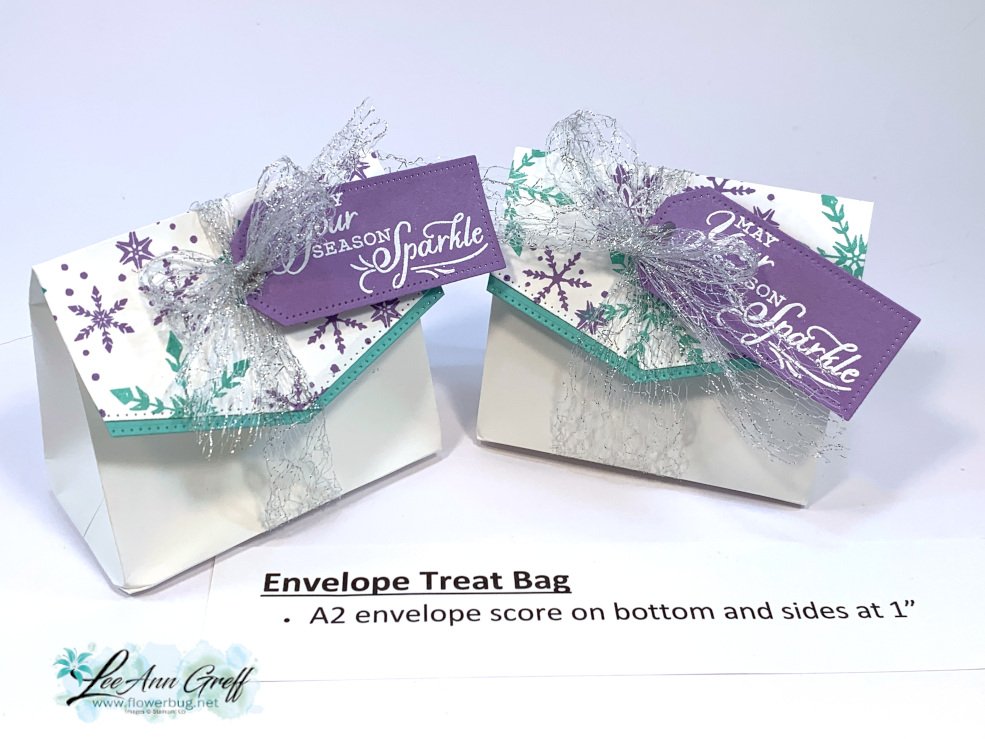
1. First I stamped just the flap with snowflakes from the Snowflake Wishes stamp set using Coastal Cabana and Highland Heather inks. Then I stamped the Highland Heather tag and heat embossed it with White embossing powder.
2. Next score 1" on the bottom and up both sides while the envelope is flat. Fold on the score lines and press each fold well.
Notice: LeeAnn Greff, Independent Stampin’ Up! Demonstrator, Manager. The content of this website is my sole responsibility as an independent Stampin’ Up! demonstrator and the use of, and content of, the classes, services, or products offered on this website is not endorsed by Stampin’ Up! Copyright 2025
Leave a Reply