The class includes the Perfect Pomegranate stamp set and 6 pre-cut cards kit with the PDF tutorial too. This stamp set was a Sale-a-Bration bonus last year and I accumulated a few extra. This offer is while supplies last so don't wait too long to order.
Remember that you earn points towards free product with each order from me over $50. *See details below.
This gift will be mailed to those who place a $55 minimum online order using a current host code. TMJXFR2T or BFE4C2KM
To complete the cards as shown you'll need a few ink colors, adhesives and greeting images.
Two of the three designs are fun folds; one is a recent favorite called a Floating Panel card. I think the color combos are so pretty:
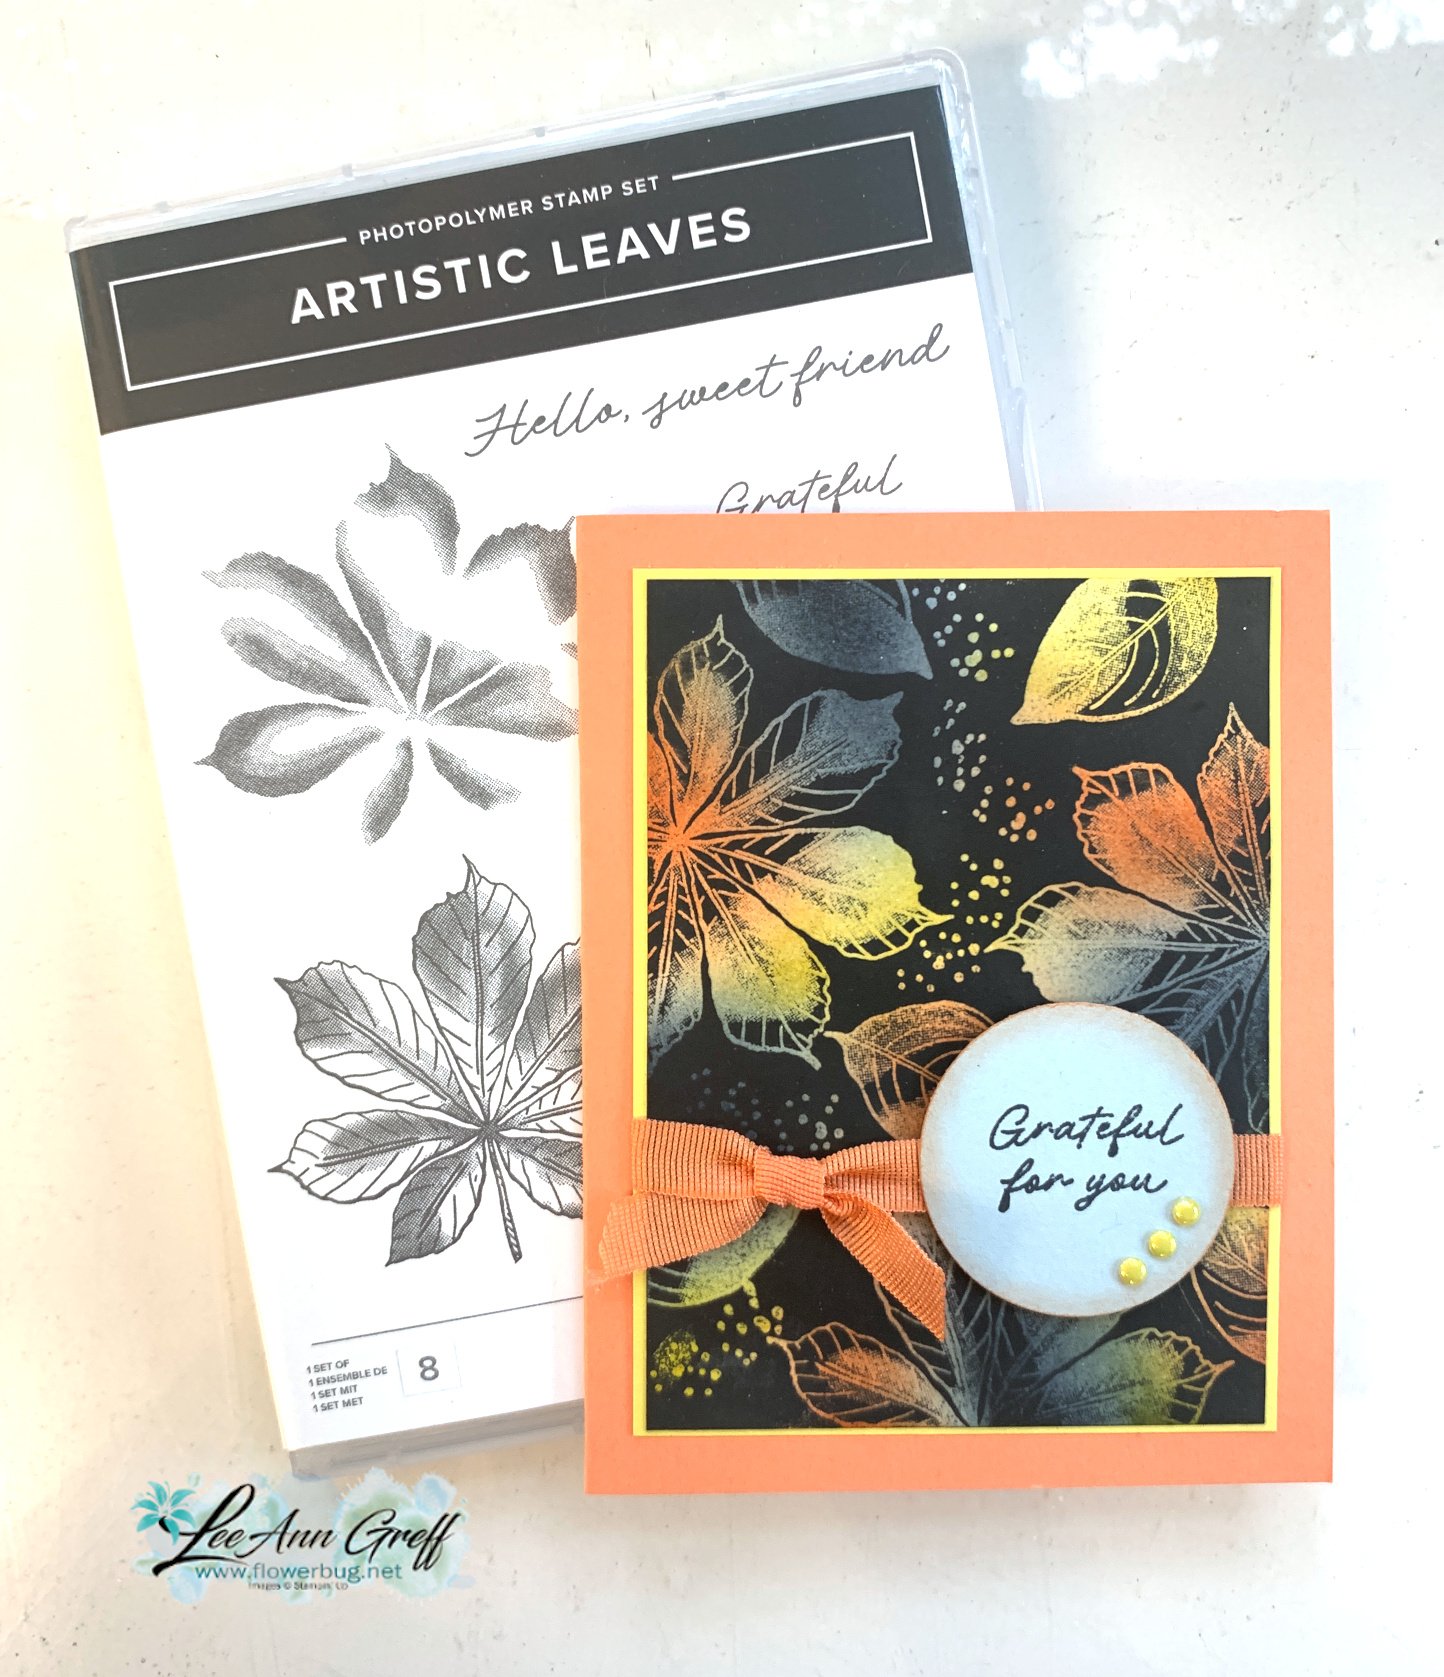
I used two of our newest In Colors here – Secret Sea and Timid Tiger. I love the fact that the Secret Sea matches the Cloud Cover card stock I used for the card base; when sponged lightly.
Both of these colors are part of the big In Color saleduring August, 2025! It includes card stock, inks, markers, designer papers, embellishments, kits and lots more! Check out the many discounted products here.
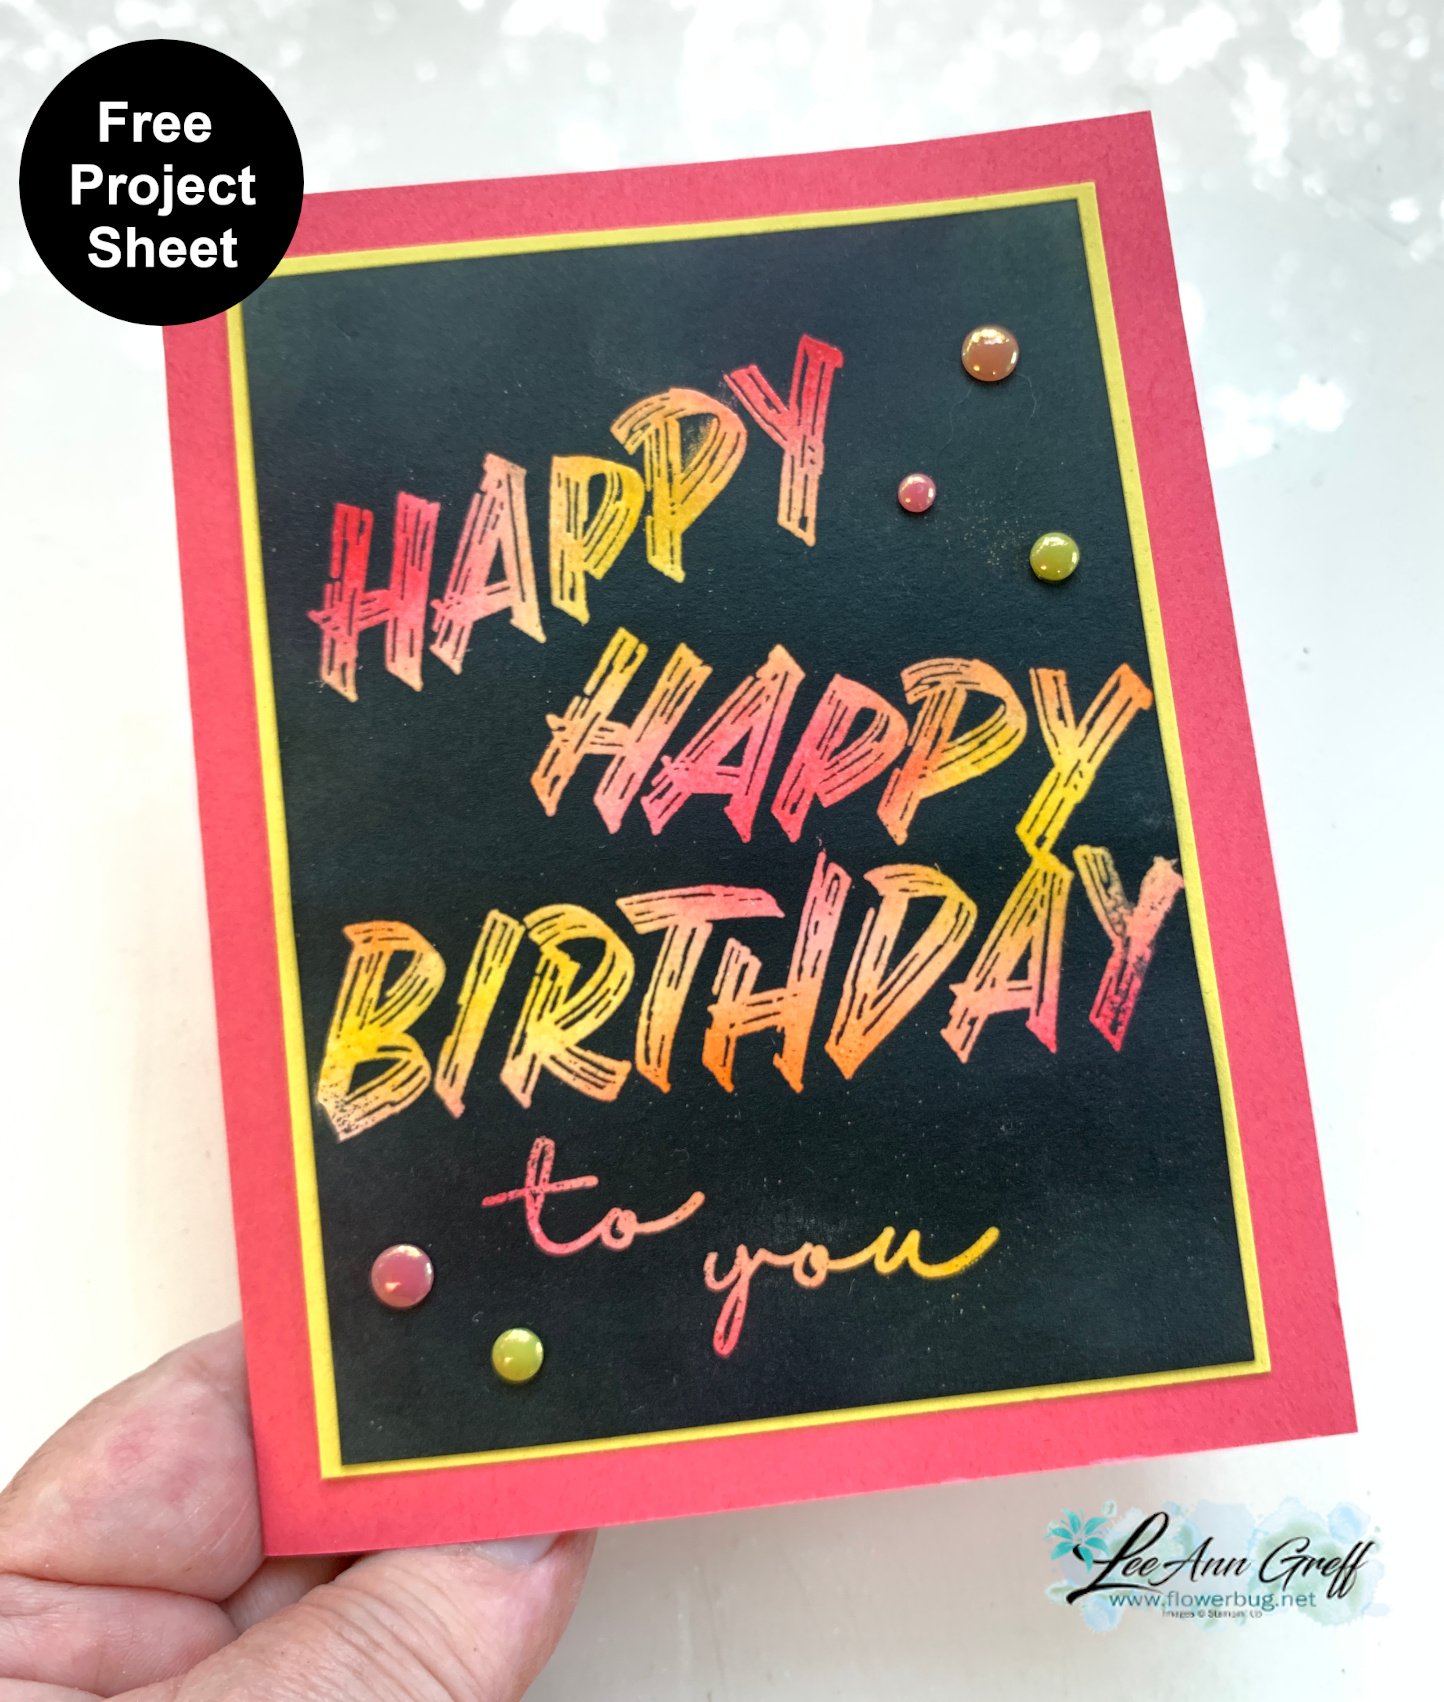
If you’re wondering how to make this incredible colorful effect please watch the video below. I also gave the step by step directions in this post.
This technique involved adding color to White card stock and then heat embossing images in Clear powder over the colors. Next rub a dark ink pad (Memento Black here). The embossed images resist the black ink – it must be water-based ink!
Watch the video below to see how it’s done. It’s super fun and such a cool effect.
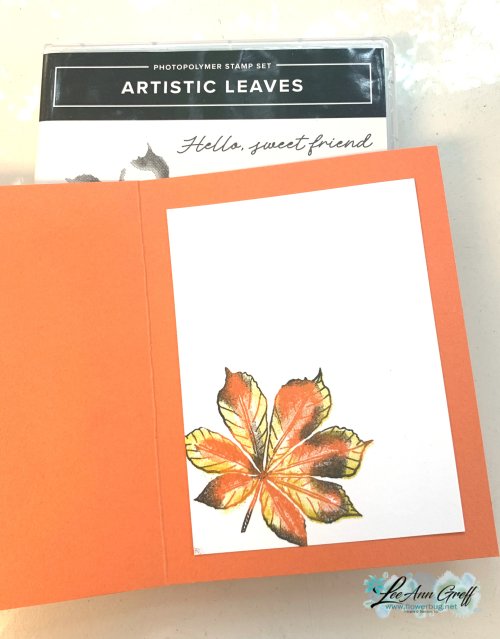
I stamped the inside leaf with color by inking it in Timid Tiger ink and adding Secret Sea to the outer edges. Then I stamped the coordinating stamp in Darling Duckling.
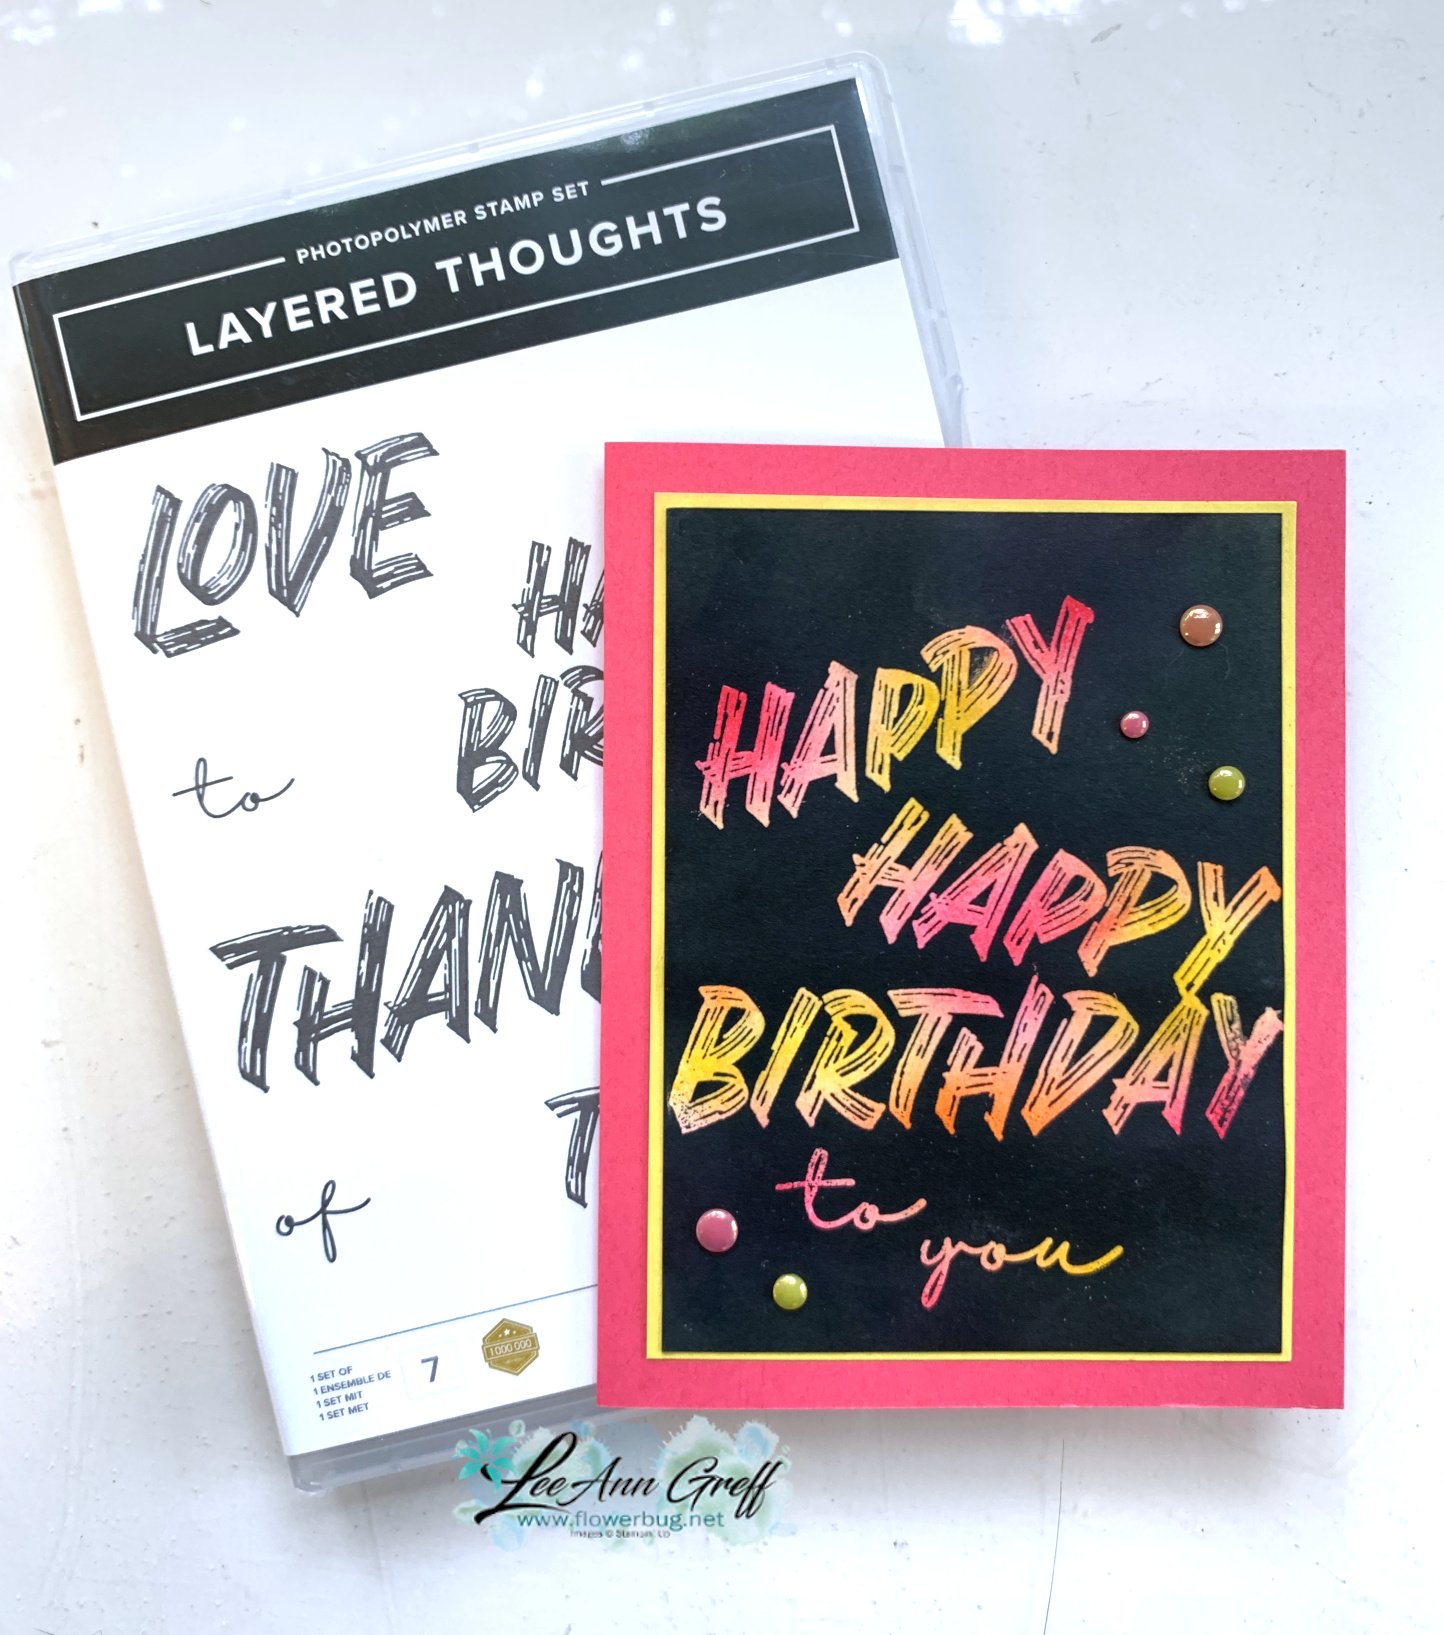
I shared how to do it on last week’s Live video. The card I’m featuring today uses the Layering Thoughts technique with three of our newest In Colors – Strawberry Slush, Darling Duckling and Timid Tiger.
These colors – card stock, ink, refills, gems, markers and card stock are all 15% off in August. See these products and so much more here. It’s a great time to grab these items while discounted.
This technique involves a few steps:
sponge colors over your neutral card stock – I used White.
Tap or rub the embossing buddy over the layer.
Stamp your images using Versamark ink.
Heat emboss with Clear embossing powder and your heat tool. Let dry.
Rub a dark ink (memento black here) over the entire layer. The embossed areas will resist the water based ink.
Dab off excess ink with a tissue or paper towel. Done!
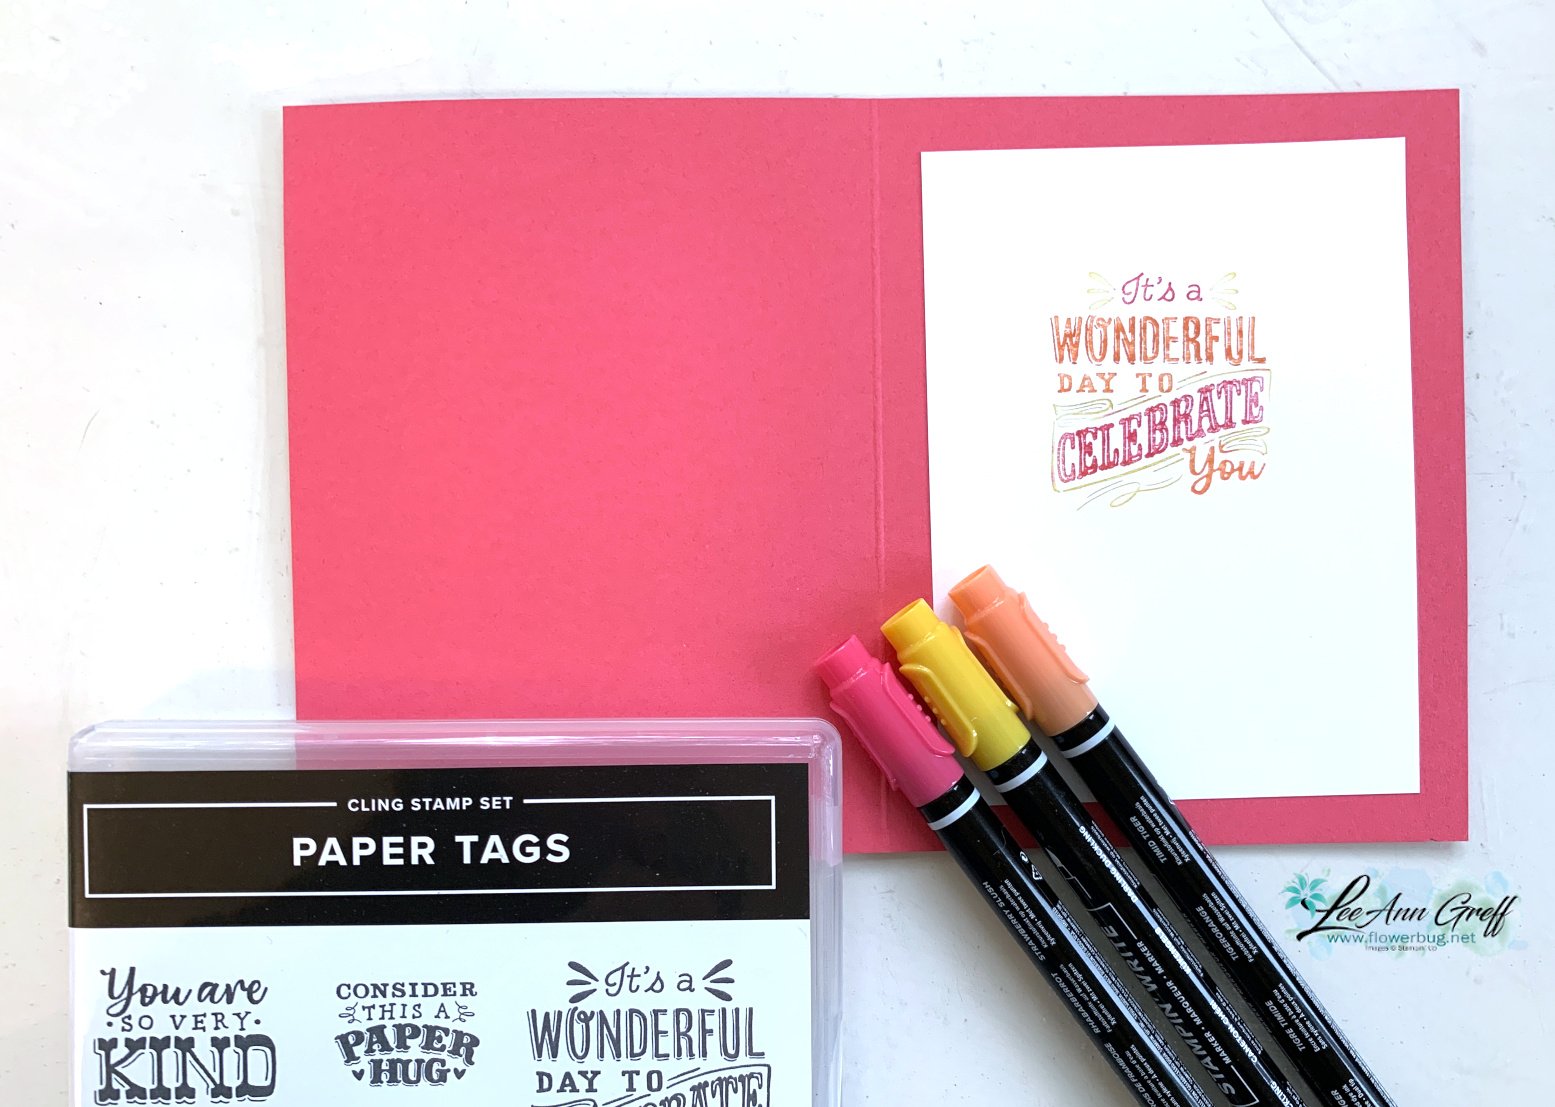
Here’s how I finished the inside. I wanted to use all of the colors I colored on the front so I used my Stampin’ Write markers on the stamp before stamping.
Notice: LeeAnn Greff, Independent Stampin’ Up! Demonstrator, Manager. The content of this website is my sole responsibility as an independent Stampin’ Up! demonstrator and the use of, and content of, the classes, services, or products offered on this website is not endorsed by Stampin’ Up! Copyright 2025
Leave a Reply