/


Latest Post

Live tonight! Show off your Designer Paper with this fun layout!


We're making these cards tonight on Facebook Live here.  Every other Monday I host a 'Stamp with Me' Live where we use our Designer Paper in fun ways.  

I love this layout!  It is perfect for small patterns of Designer Paper. Turning squares on the angle adds a lot of playful interest to your card and showcases one main image, die-cut or punch in the center. 
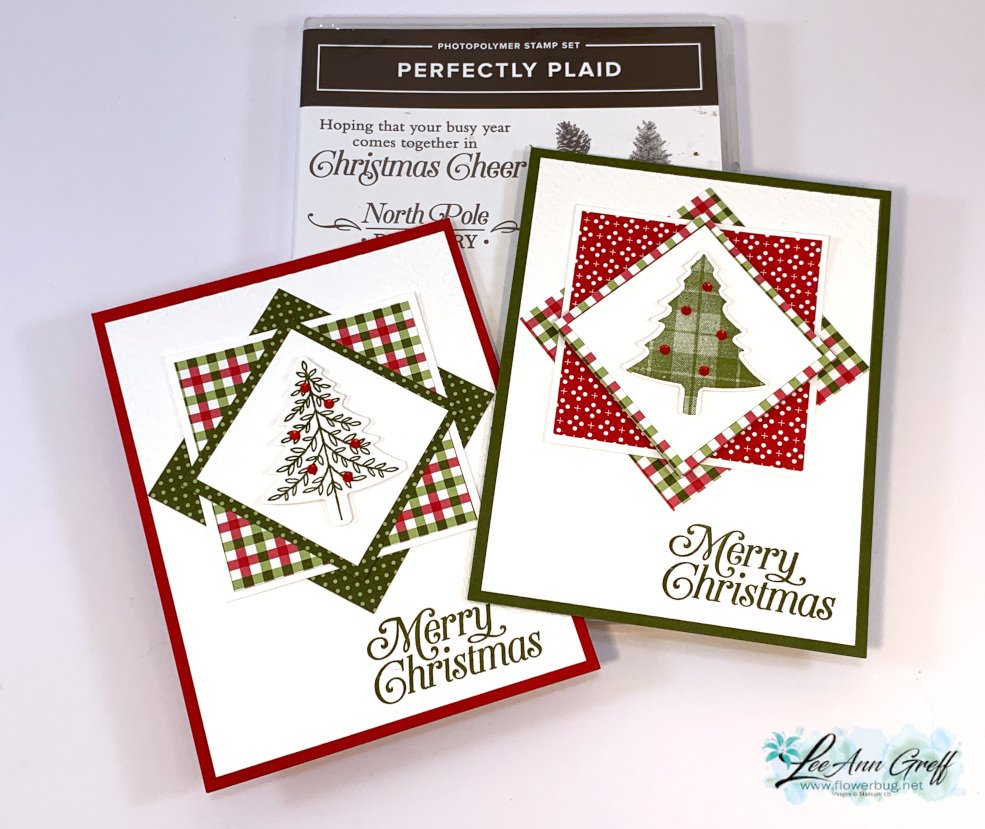
I post the measurements a few days before the Live event so you have the time to prep your pieces so we can complete them together.  

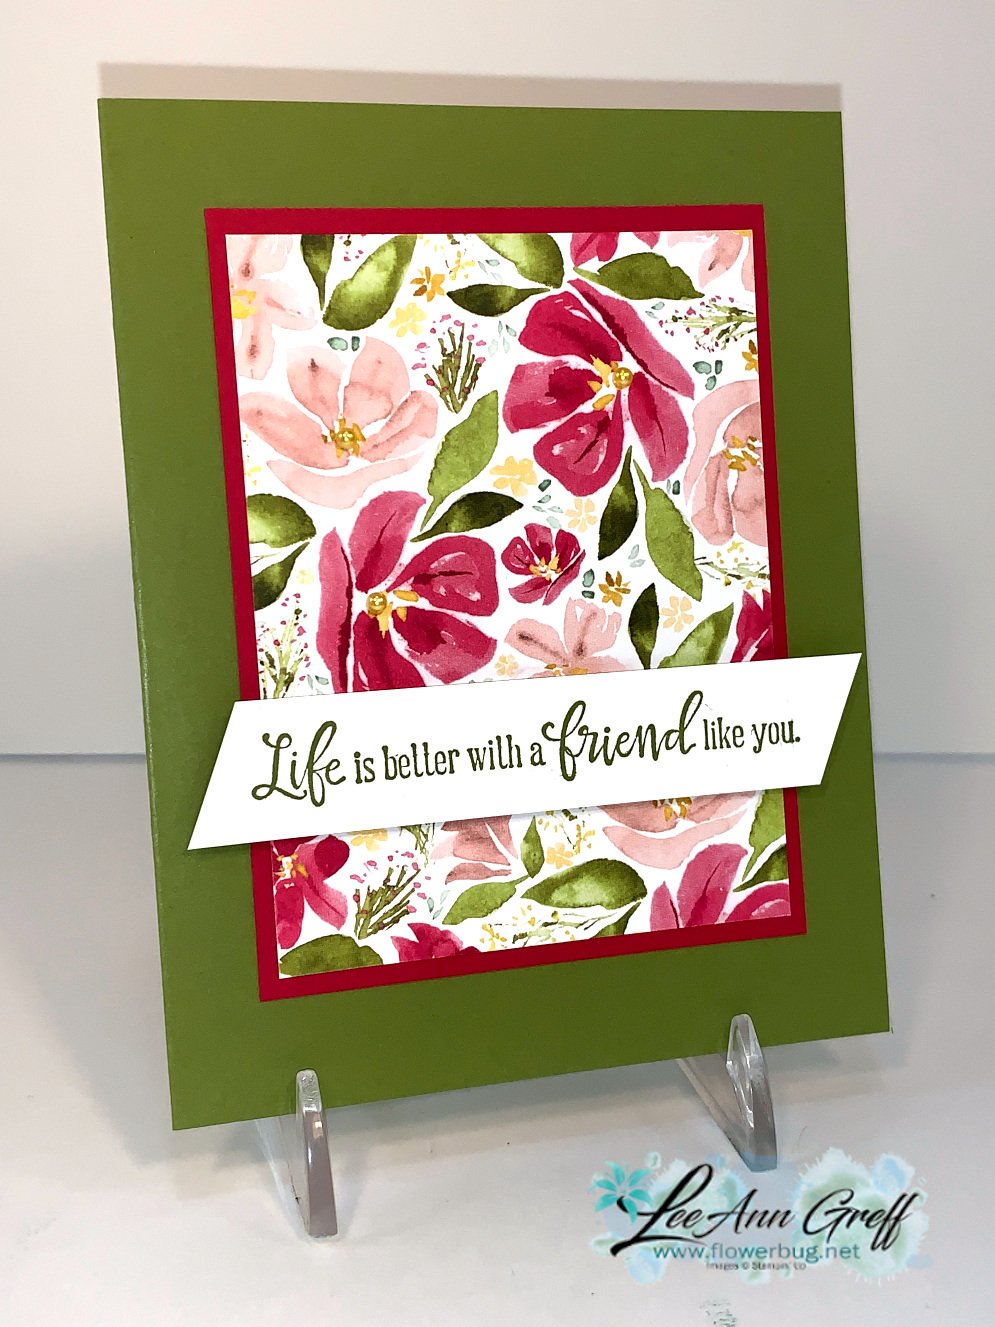
I chose to use the Heartwarming Hugs designer paper from the Holiday catalog. (see it here)  And the Perfectly Plaid stamp set & Pine Tree punch.  
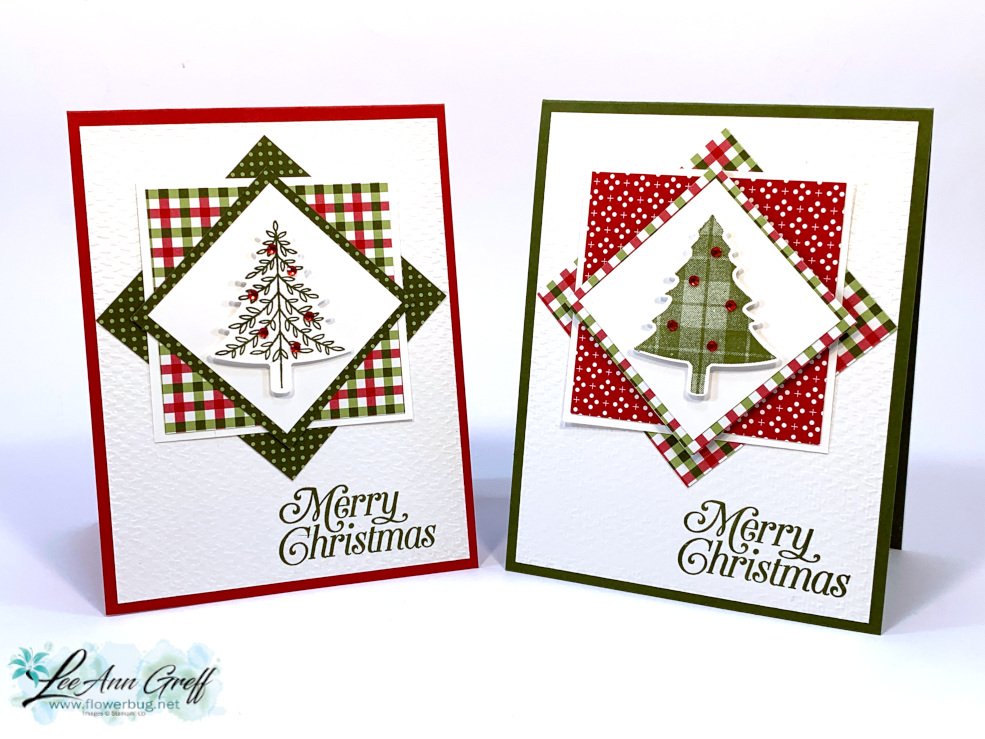
Card stock is Real Red, Mossy Meadow & Basic White; ink is Mossy Meadow. 
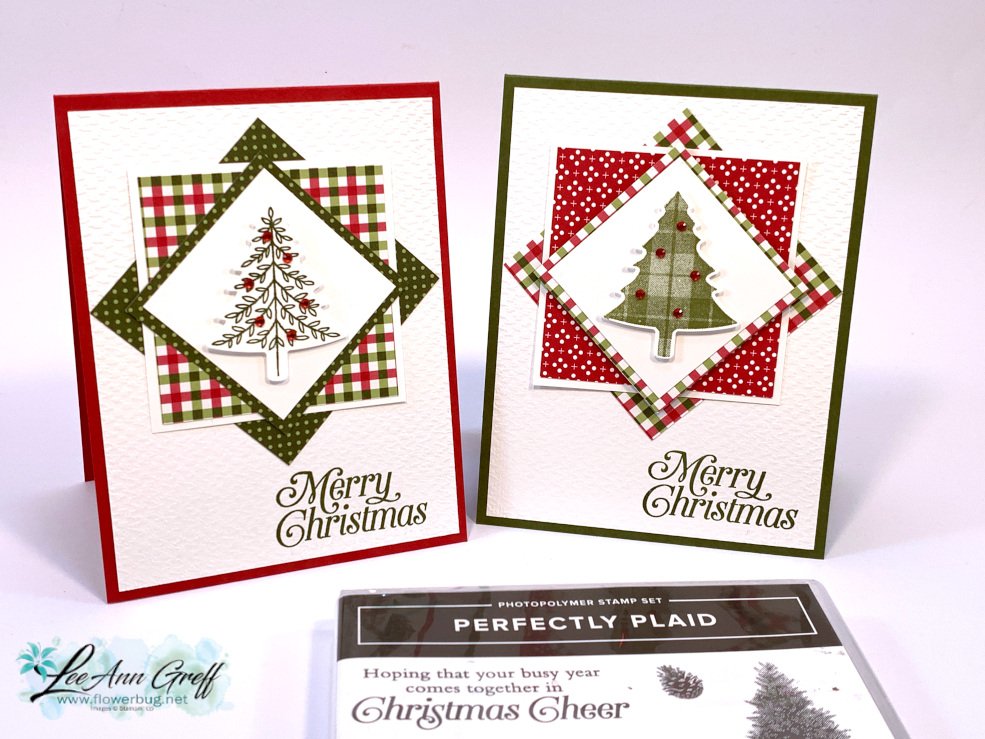
Measurements:
Card base 4 1/4" X 11" scored at 5 1/2" 
White CS – 2" square, 2 7/8" square, 4" X 5 1/4" plus a scrap for the punched piece
DSP (Heartwarming Hugs) – 2 1/4", two different patterns at 2 3/4"

See all of my videos here on my YouTube channel. 

You can see this one here; click on the photo below: 

~~~

November Specials: 

Host codes: Z2RQ7BB6

*click here to order

Online orders over $50 get a pre-cut card kit of 4 cards & PDF tutorial.
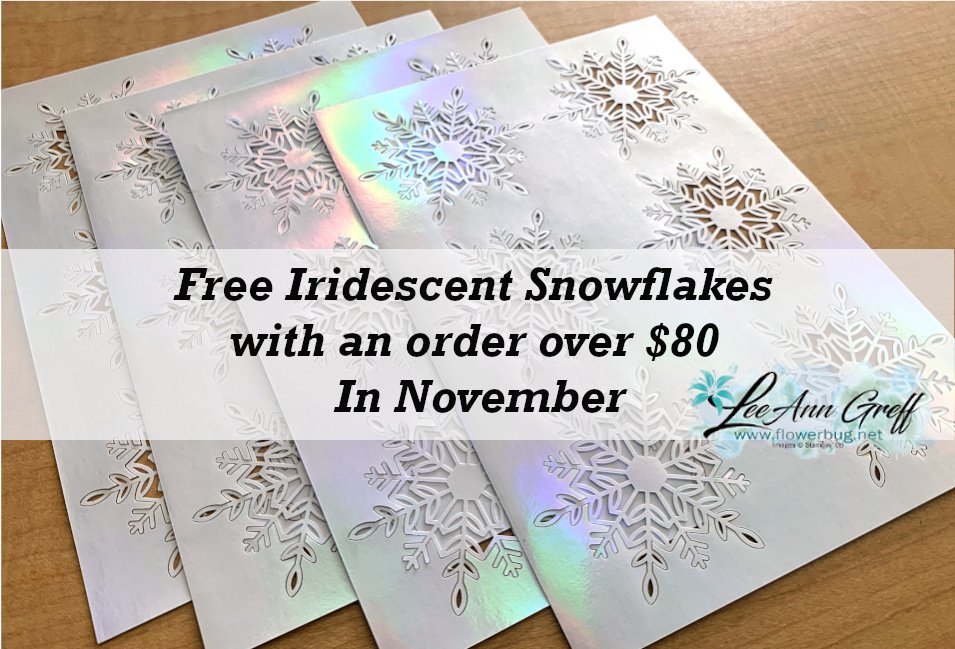
*Orders over $80 will receive the card kit PLUS 24 Iridescent snowflakes!

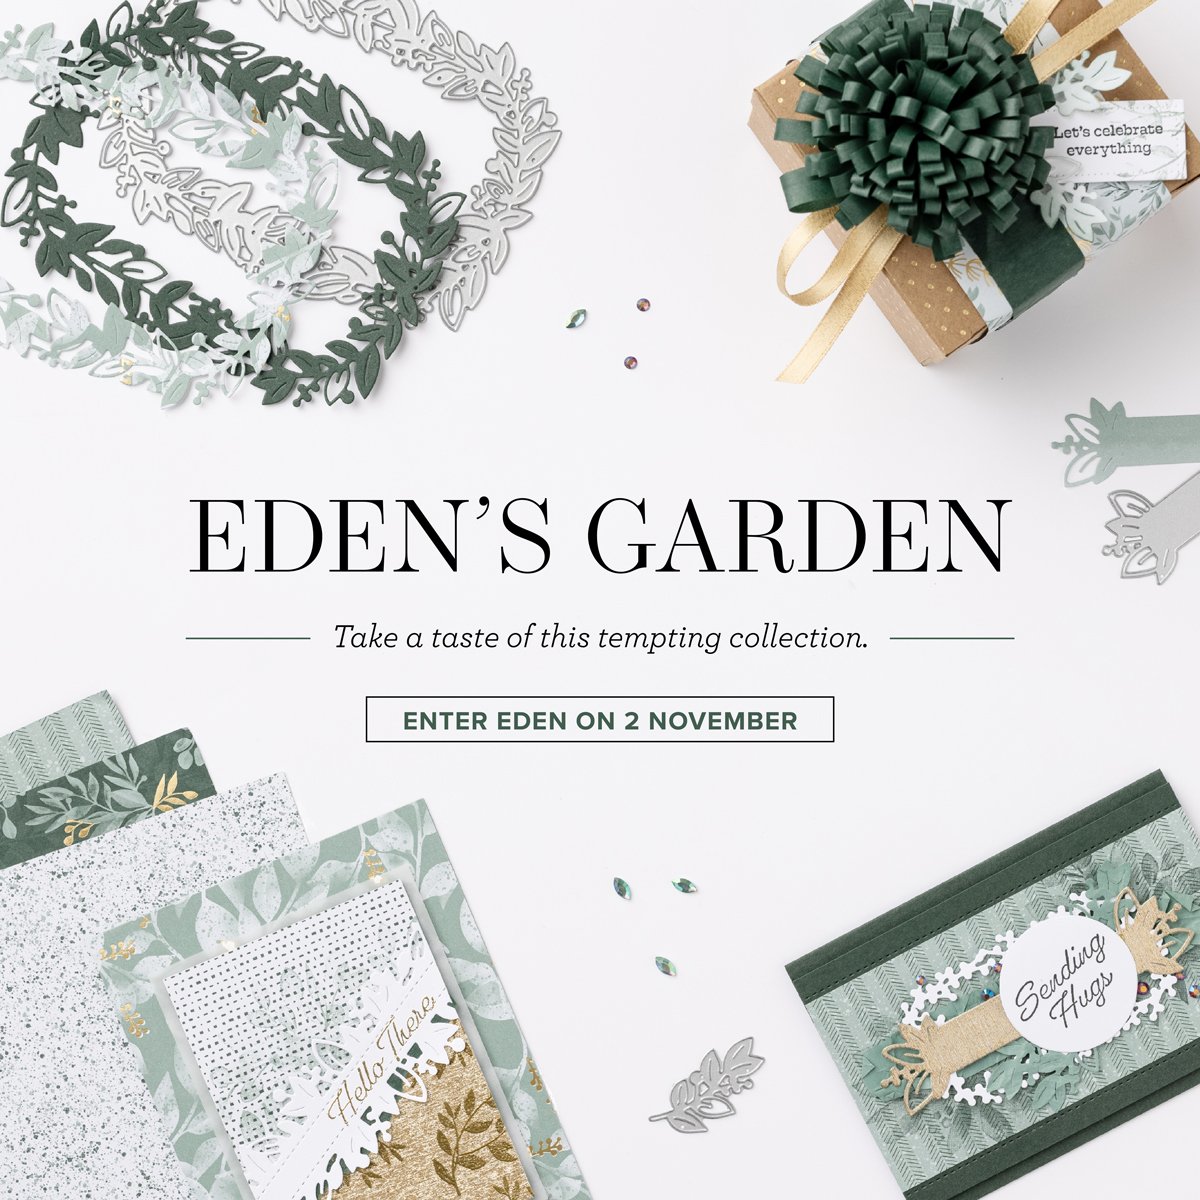
All online orders will receive my Eden's Garden PDF 22 project tutorial free! 
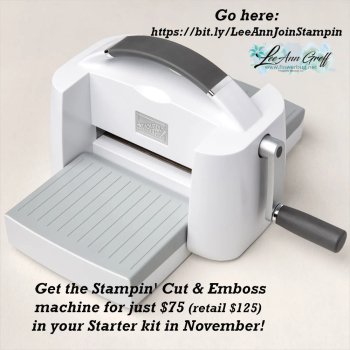
Get the deal on the Starter kit here!  $125 in product for $75 plus free shipping!
Get any of the tutorials or kits to go below in my Kit & Tutorial shop here:

Peaceful Wishes Christmas – limited supply available; 20 cards!


Christmas cards stamp a stack; limited supply! 

All Posts

  • Best Dressed FB Live cards


    I made these 3 pretty cards during my weekly 'Stamp with Me' Facebook Live last night.  

    Each Thursday at 8 pm CT we'll finish 3 cards together in about 30 minutes.   Prep your pieces ahead of time using the measurements I provide and you'll be surprised how quickly you can make your cards!  Join me here: 

    I used the Best Dressed Designer paper seen here but you can substitute other paper, colors, stamps and punches. The stamped greetings are from the Peaceful Moments set here. I use this stamp set so much; the sentiments are wonderful.

    After the video many people share their finished cards. It's so fun to see what products everyone uses and how similar (or not) they are to mine. 

    Here are the details and close up views of these three cards: 

    Old Olive 5 1/2" X 8 1/2", Best Dressed DSP is 4" X 3", Lovely Lipstick is 4 1/4" X 3 1/4", White strip is 3/4" X 4 1/4".  A fast, easy card. 

    Purple Posy 4 1/4" X 8 1/2" scored at 5 1/2", Mint Macaron 3 1/4" X 8 1/2" scored at 4 1/4", yellow DSP is 4" X 2 3/4", floral DSP is 3" X 4", Stitched So Sweetly die-cut in White, 2 1/4" Mint circle, punched butterflies , Mint 1/8" ribbon

    • Purple Posy 4 1/4" X 9 3/4" scored at 5 1/2", DSP is 4" square, Detailed Band die-cut (see it here) in Purple Posy (Or use a border and any punch or die-cut)

    ~~~~

    April ordering specials:

    ~~~

    All online orders in April will receive my tutorial of the month; with 16 cards

    featuring the Ornate Garden products seen here.

    **Order either Ornate bundle from me and get a free 3 cards pre-cut kit! Order both and get a 6 cards kit with pdf tutorial! 


    Leave a Reply

    Your email address will not be published. Required fields are marked *

  • Color Challenge with Seriously the Best with Ornate Frames


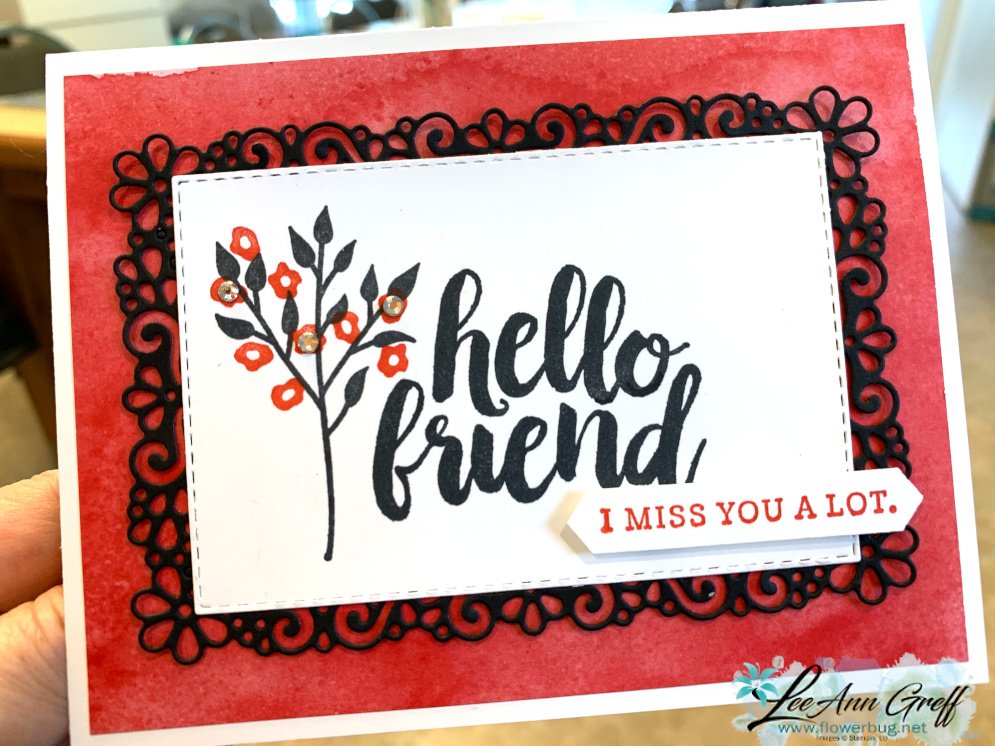
    My Flowerbug's Team had a color challenge this past month – to use Black and White with a 'Pop' of color.  Here's the card I made: 

    This card literally took me 5 minutes to make.  Here's the steps:

    1. Cut a White card base 5 1/2" X 8 1/2"
    2. Cut the See a Silhouette DSP to 4" X 5 1/4".  Adhere to the card
    3. Die-cut two pieces a White 2 1/2" X 4"  stitched rectangle and a Black Ornate Frame.
    4. Stamp the greeting and leaves in Black Memento ink.  Add the flowers in Poppy Parade ink. Adhere to the card.
    5. Stamp the 'I miss you a lot' greeting on a scrap of White. Punch out with the Classic Label punch. Add with mini dimensionals.
    6. Add a few rhinestones. Done! 

    You can see the See a Silhouette stamp set here and the Ornate Frames dies here.  Remember that if you order any Ornate bundle from me in April you get a free 3 cards pre-cut kit!  Details below: 

    ~~~~

    April ordering specials:

    ~~~

    All online orders in April will receive my tutorial of the month; with 16 cards

    featuring the Ornate Garden products seen here.

    **Order either Ornate bundle from me and get a free 3 cards pre-cut kit! Order both and get a 6 cards kit with pdf tutorial! 

    Orders between $55 and $149 will receive a free Simple Shammy! (over that and receive your own host benefits plus a Shammy!)

    Use this host code for April: MMM4SXSB  

    Leave a Reply

    Your email address will not be published. Required fields are marked *

  • Stamp with me LIVE every Thursday night!


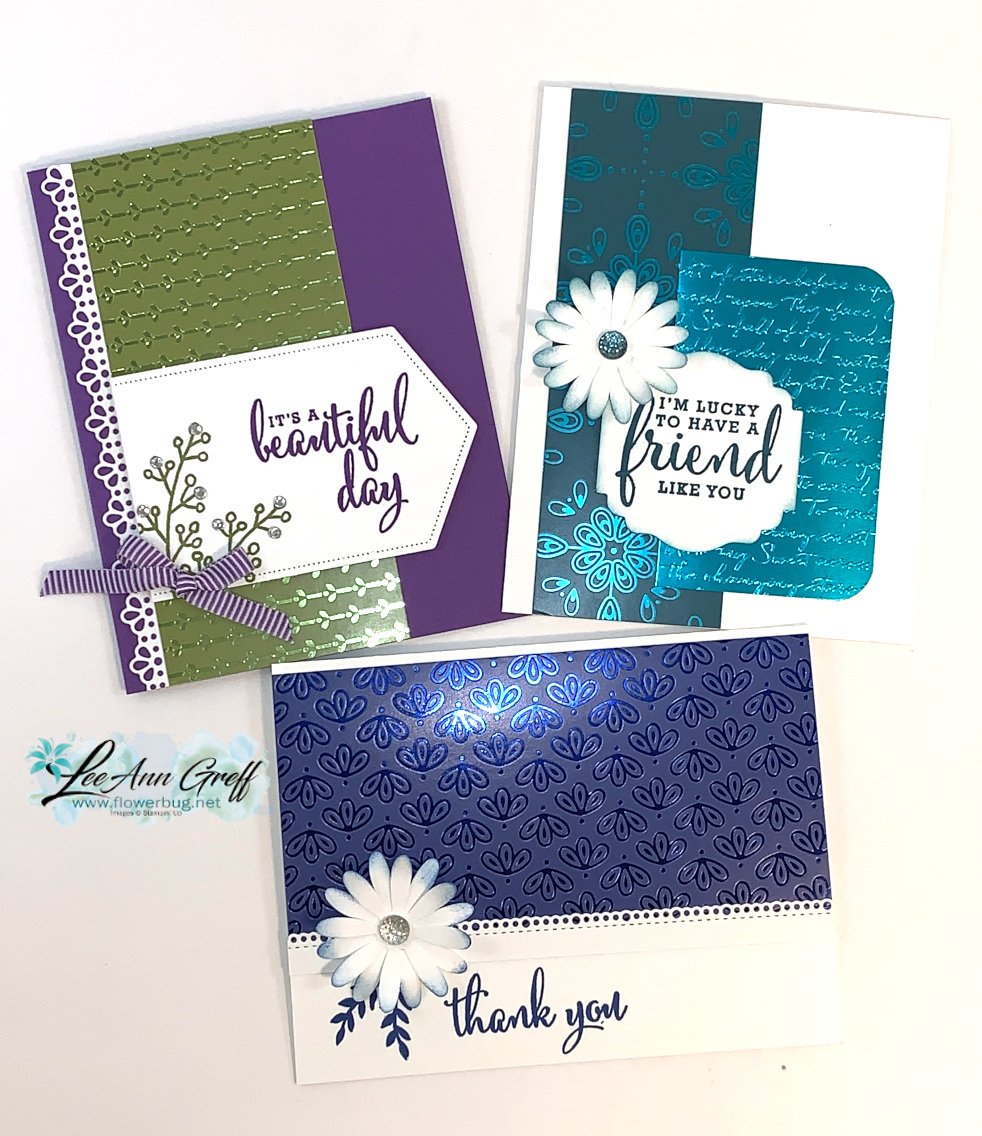
    Here are the cards we made last Thursday during my weekly 'Stamp with Me' FB live video. Since I cannot meet my stamping peeps in person this is one way we can stamp together.  See it here.

    Join me each Thursday at 8 pm CT here on my FB page. 

    I featured the Perennial Essence designer paper here.  I kept the dimensions of the paper simple so everyone could prep ahead of time and make their cards with me.  It's so fun to see what paper, stamps and ink everyone uses! 

    Details:

    Top left card – Blushing Bride 5 1/2" X 8 1/2" card base, DSP 2" X 5 1/2", Flirty Flamingo 3 1/2" X 2 1/4"
    Top right card – Gorgeous Grape 5 1/2" X 8 1/2", DSP 5 1/2" X 2 1/2", white die-cut strip, 2 3/8" wide Stitched Nested Label, cut off at 3 1/2" wide
    Bottom left card – White 5 1/2" X 8 1/2" card base, 3" X 5 1/2", die-cut White strip

    Other supplies:
    – Die-cut White strips (Ornate Border dies or use a punch), Medium Daisy punch, Leaf punch, Label Me Lovely punch, rhinestones, Faceted gems, sponge, purple Striped ribbon, bone folder, Basket Weave embossing folder
    Inks: Flirty Flamingo, Gorgeous Grape, Old Olive, Blueberry Bushel

    I made a second version with the Noble Peacock specialty designer paper seen here.  One of my favorite papers ever!  It will likely be retiring next week; get it while you can!  Measurements are the same as above. 

    ~~~~

    April ordering specials:

    ~~~

    All online orders in April will receive my tutorial of the month; with 16 cards

    featuring the Ornate Garden products seen here.

    **Order either Ornate bundle from me and get a free 3 cards pre-cut kit! Order both and get a 6 cards kit with pdf tutorial! 

    Orders between $55 and $149 will receive a free Simple Shammy (over $150 and receive your own host benefits plus a Shammy!)

    Use this host code for April: MMM4SXSB  

    Leave a Reply

    Your email address will not be published. Required fields are marked *


Notice: LeeAnn Greff, Independent Stampin’ Up! Demonstrator, Manager. The content of this website is my sole responsibility as an independent Stampin’ Up! demonstrator and the use of, and content of, the classes, services, or products offered on this website is not endorsed by Stampin’ Up! Copyright 2025