/


Latest Post

Live tonight! Show off your Designer Paper with this fun layout!


We're making these cards tonight on Facebook Live here.  Every other Monday I host a 'Stamp with Me' Live where we use our Designer Paper in fun ways.  

I love this layout!  It is perfect for small patterns of Designer Paper. Turning squares on the angle adds a lot of playful interest to your card and showcases one main image, die-cut or punch in the center. 
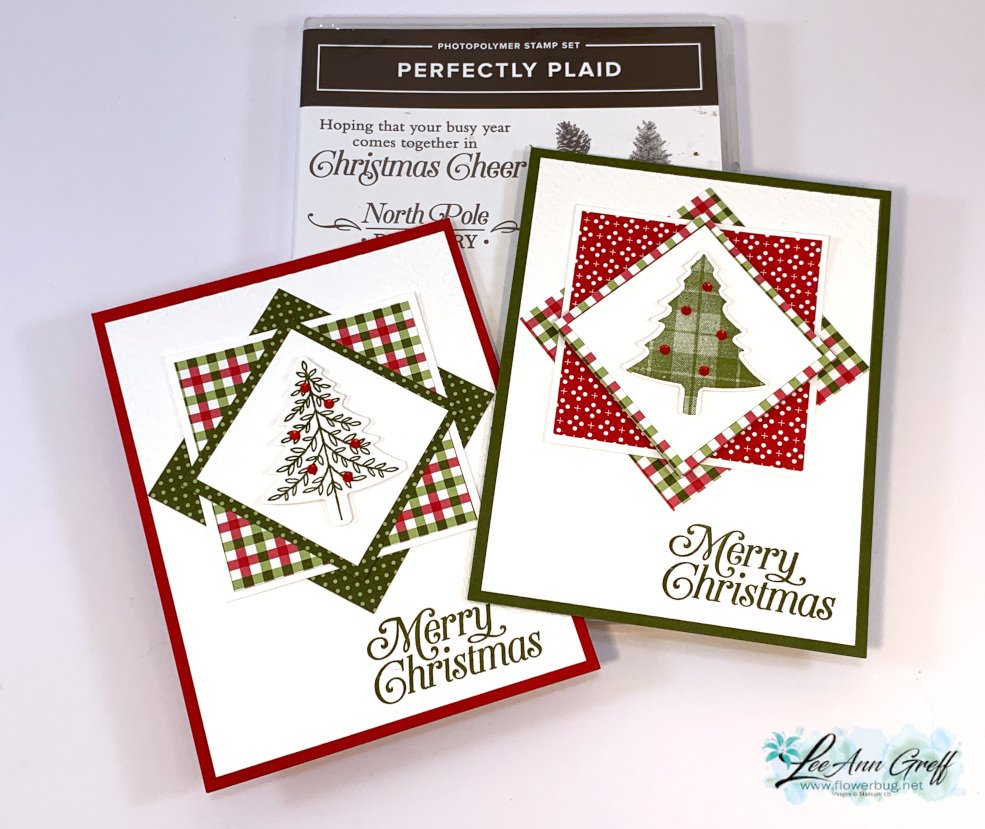
I post the measurements a few days before the Live event so you have the time to prep your pieces so we can complete them together.  

I chose to use the Heartwarming Hugs designer paper from the Holiday catalog. (see it here)  And the Perfectly Plaid stamp set & Pine Tree punch.  
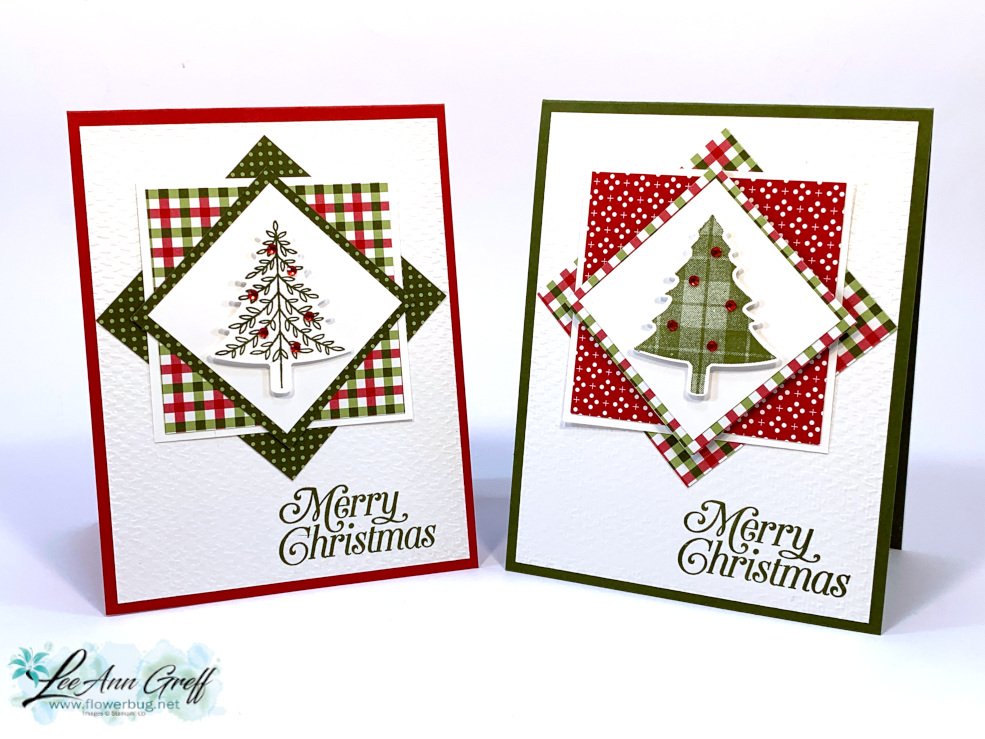
Card stock is Real Red, Mossy Meadow & Basic White; ink is Mossy Meadow. 
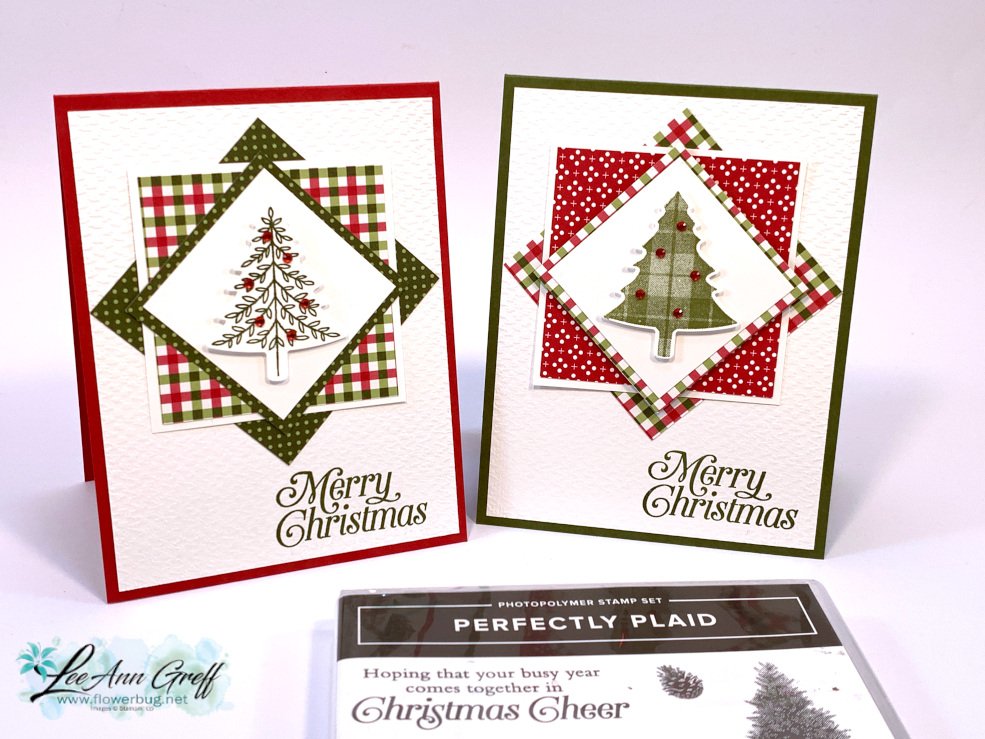
Measurements:
Card base 4 1/4" X 11" scored at 5 1/2" 
White CS – 2" square, 2 7/8" square, 4" X 5 1/4" plus a scrap for the punched piece
DSP (Heartwarming Hugs) – 2 1/4", two different patterns at 2 3/4"

See all of my videos here on my YouTube channel. 

You can see this one here; click on the photo below: 

~~~

November Specials: 

Host codes: Z2RQ7BB6

*click here to order

Online orders over $50 get a pre-cut card kit of 4 cards & PDF tutorial.
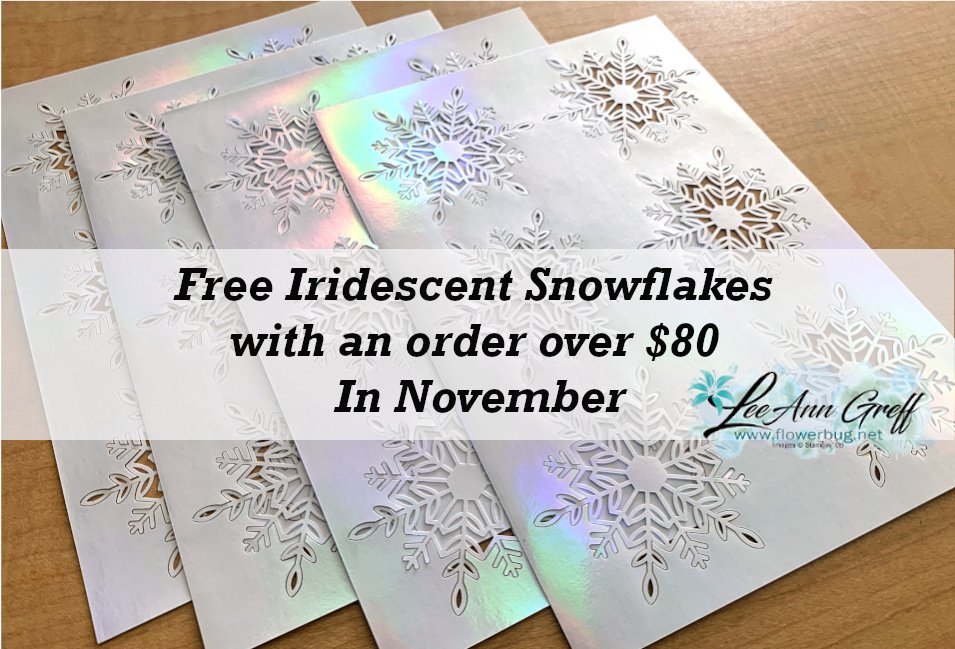
*Orders over $80 will receive the card kit PLUS 24 Iridescent snowflakes!

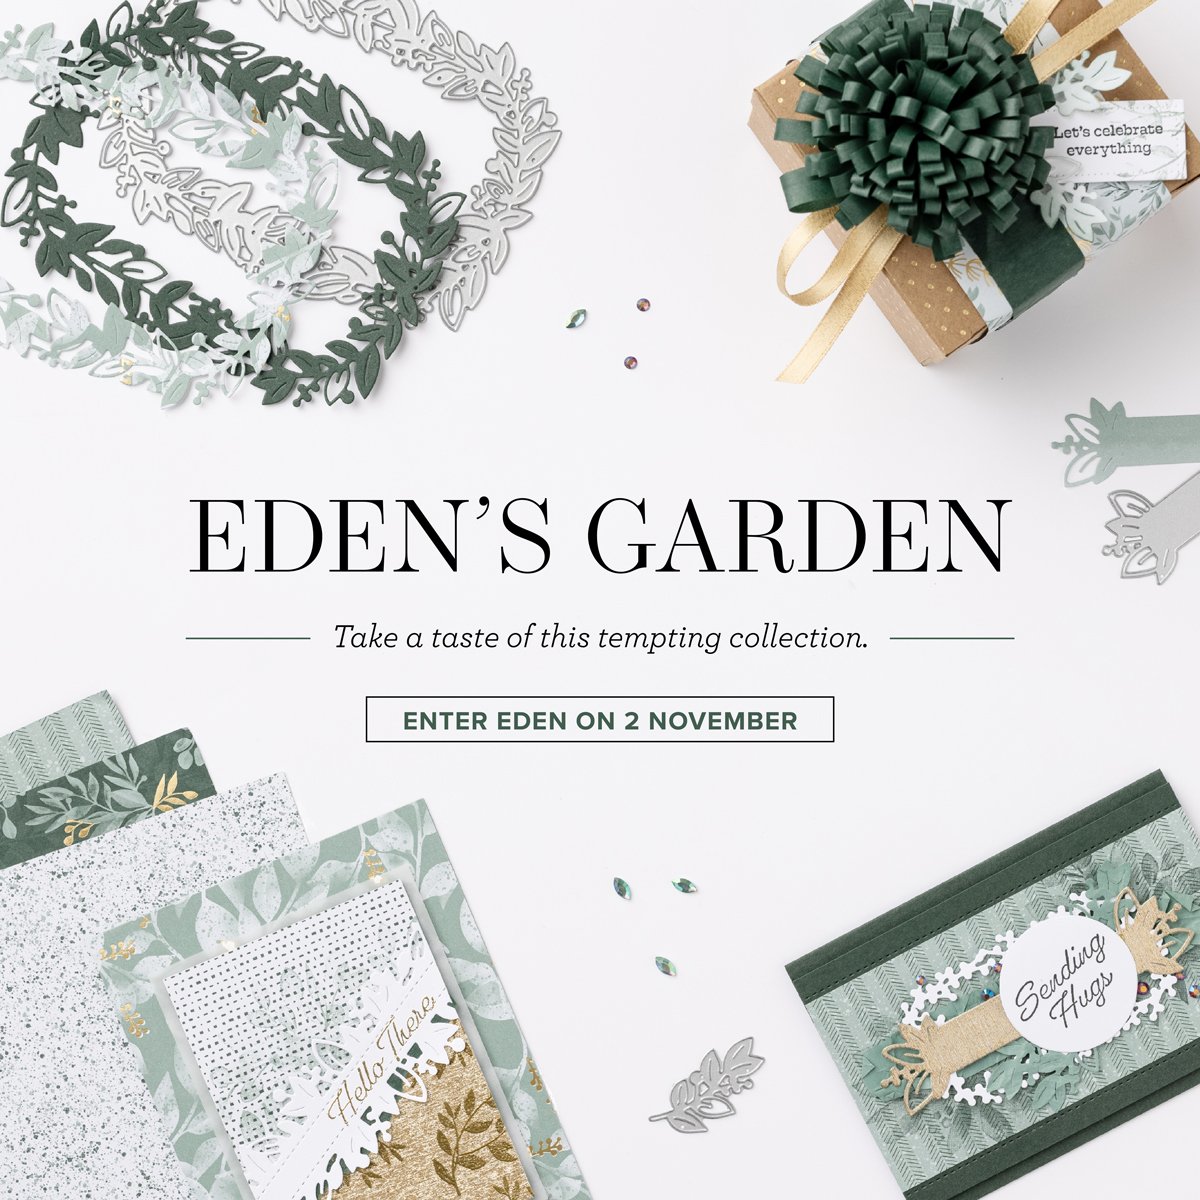
All online orders will receive my Eden's Garden PDF 22 project tutorial free! 
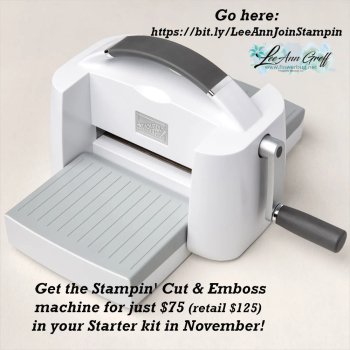
Get the deal on the Starter kit here!  $125 in product for $75 plus free shipping!
Get any of the tutorials or kits to go below in my Kit & Tutorial shop here:

Peaceful Wishes Christmas – limited supply available; 20 cards!


Christmas cards stamp a stack; limited supply! 

All Posts

  • Christmas cards stamp-a-stack class or kit; opt in by November 2nd!


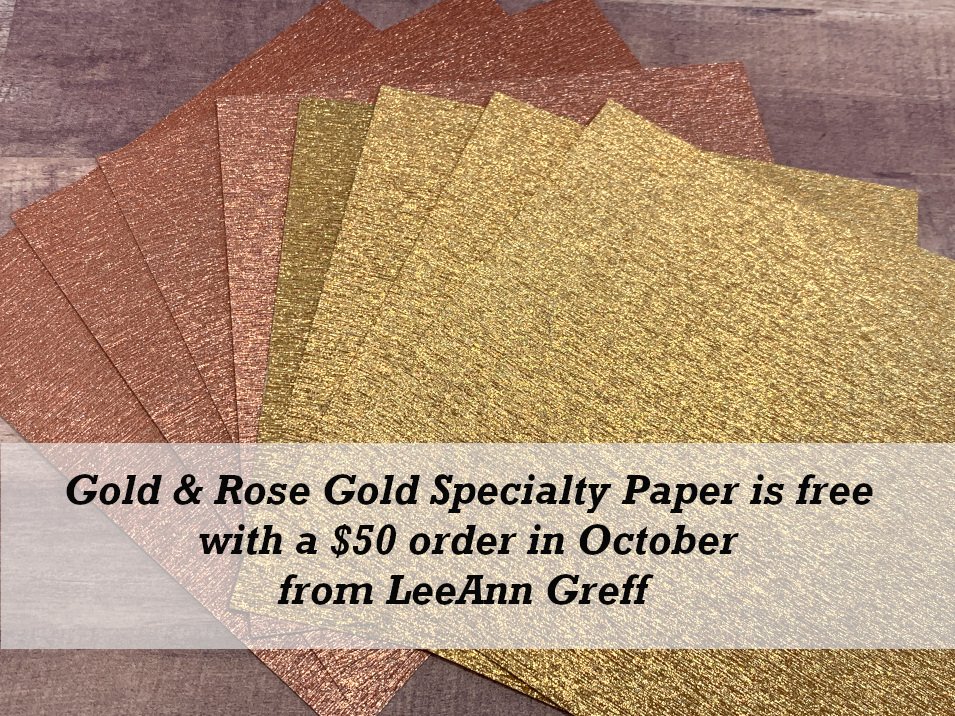
    Tomorrow is the last day to get a free package of Gold & Rose Gold Metallic specialty paper from me with a $50 online order! 

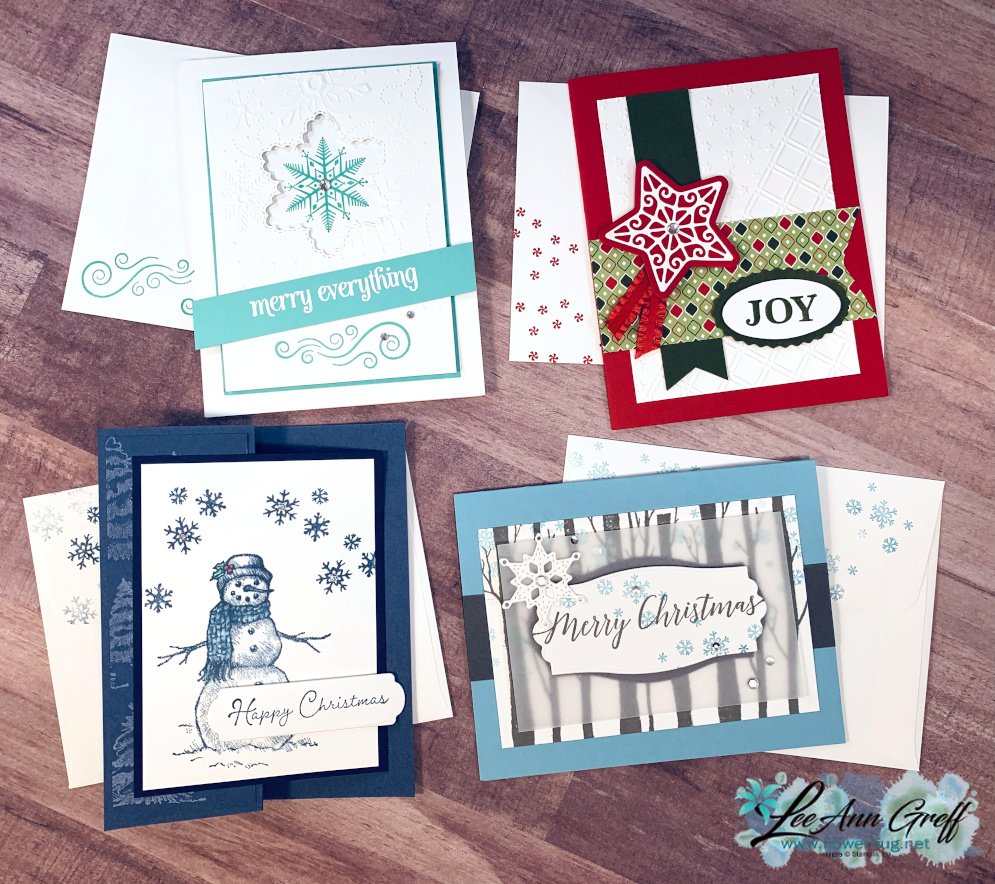
    I have my last Christmas card class (in the stamp a stack series) this Saturday, on November 6th and I'm offering a kit to go as well as the local class.  Class is at 10 am at my home studio. 

    Opt in by November 2nd to get this kit.  There may be some extras but don't count on it!  See it here in my Shop. 

    This kit to go includes 3 each of 4 different cards with envelopes and the PDF tutorial as well.  Everything is pre-cut for you but it does not include stamped images or gems. 

    The kits will be mailed out via Priority mail mid November.  However if you order any other November kits they'll ship out together at the end of the month. 

    I used the Welcoming Woods, Heartfelt Wishes, Snow Wonder & Merry Snowflakes stamps & dies.  You can substitute other stamps or ink that you already own. 

    If you want the PDF tutorial only you can find it here. 

    Or get all 12 of this years Christmas cards in one PDF tutorial at a nice savings here. 


    Heads up! The other November kits to go will include the following:

    • Eden's Garden collection – NEW!
    • Gingerbread & Peppermint DSP – Christmas cards
    • Peaceful Christmas Paper Pumpkin kit with bonus projects

    December's kit to go will include the Peaceful Place DSP & a few more yet to be made. 


    ~~~

    October Specials

    Host code: EXBDBRGY

    *click here to order

    All online orders will receive my October Gingerbread & Peppermint PDF tutorial free! 


    Leave a Reply

    Your email address will not be published. Required fields are marked *

  • WOW Christmas card swaps!


    I've been so proud to share my Flowerbug's Team Christmas card swaps the past few days. Here are more beauties for you!

    Roxann made this gorgeous Poinsettia card using Vanilla, Merry Merlot & Gold foil  Absolutely stunning!  

    Tracey made this adorable fireplace stocking card using the Sweet Little Stockings bundle.  

    She used the In Good Taste DSP for the mantle & hearth, white felt & Pattern Party DSP for the stockings. 

    Annette made this pretty card using the Peaceful Place DSP and the Delightful Tag Topper punch to connect the two halves. A beautiful monochrome card in grays & silver. 

    Tammi brought this neat fun fold card.  It was her first swap and she did an amazing job!

    She used the Whimsical Trees stamp set & Whimsy & Wonder DSP in Mint Macaron, Polished Pink & White with the pretty Iridescent snowflakes too.  

    Look how it opens!  The designer paper measures 4" X 10" and is scored at 2", 6" & 8" 

    ~~~

    October Specials

    Host code: EXBDBRGY

    *click here to order

    Get a free package of Gold & Rose Gold Metallic specialty paper from me with a $50 online order in October! 

    All online orders will receive my October Gingerbread & Peppermint PDF tutorial free! 


    Leave a Reply

    Your email address will not be published. Required fields are marked *

  • More fabulous Flowerbug’s Christmas cards


    I shared some of my Team Christmas card swaps yesterday here.  And today there's more beauties; all made with stamps from the 2021 Holiday Stampin' Up! catalog.

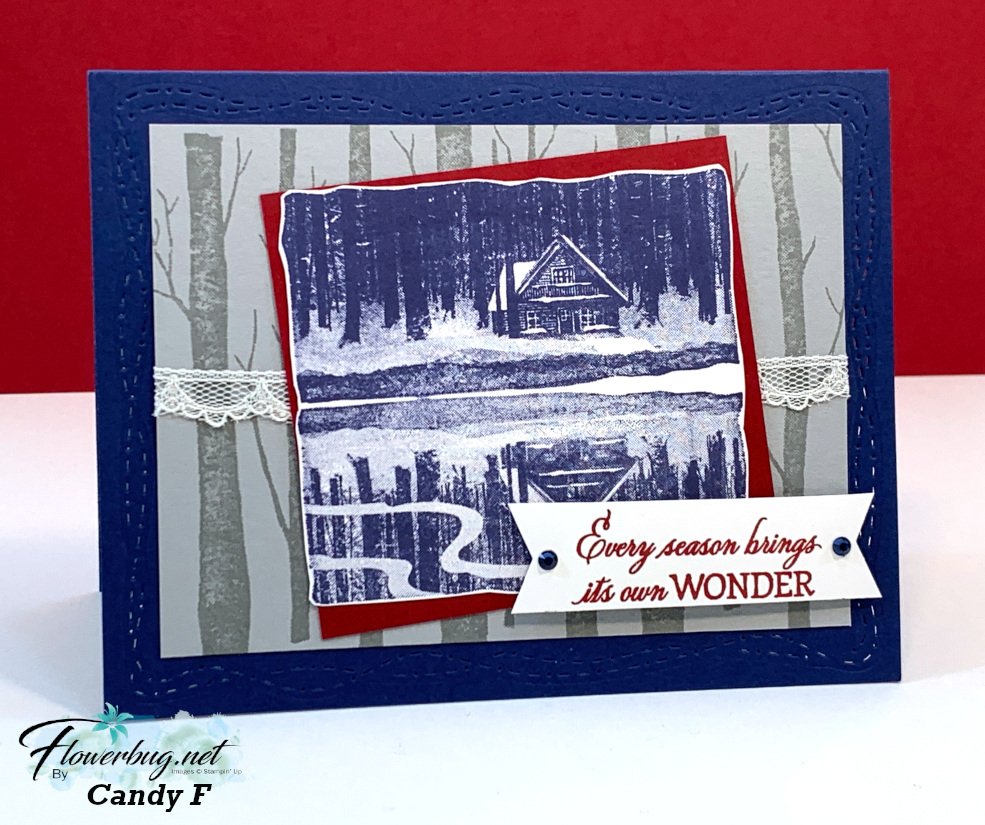
    this first card was made by Candy using the Reflected in Nature stamp set & Welcoming Woods.  I LOVE her colors of Navy, Cherry Cobbler, White & Smoky Slate.  A gorgeous card!

    Next is a super neat fun-fold window card made by Candace.  She used the Penguin Place bundle in Navy, Coastal Cabana, White & Black. The penguins are extra special punched from Black glimmer paper. 

    At first glance it looks like a regular card front.  But wait…. look!

    She cut a window on the front using our Stitched Rectangle dies revealing the cute penguin layer inside.  They're actually attached to a second card base inside that flips down. 

    She used the Whimsy dies to add a stitched border to each inside layer. Love this detail. 

    Isn't it cool?!  

    Measurements:

    • Navy card base 4 1/4" X 11" scored at 5 1/2"
    • Coastal Cabana inside card base 5 1/4" X 8" scored at 4"
    • White pieces 4 3/8" X 2 7/8", Navy layer is also 4 3/8" X 2 7/8" inside

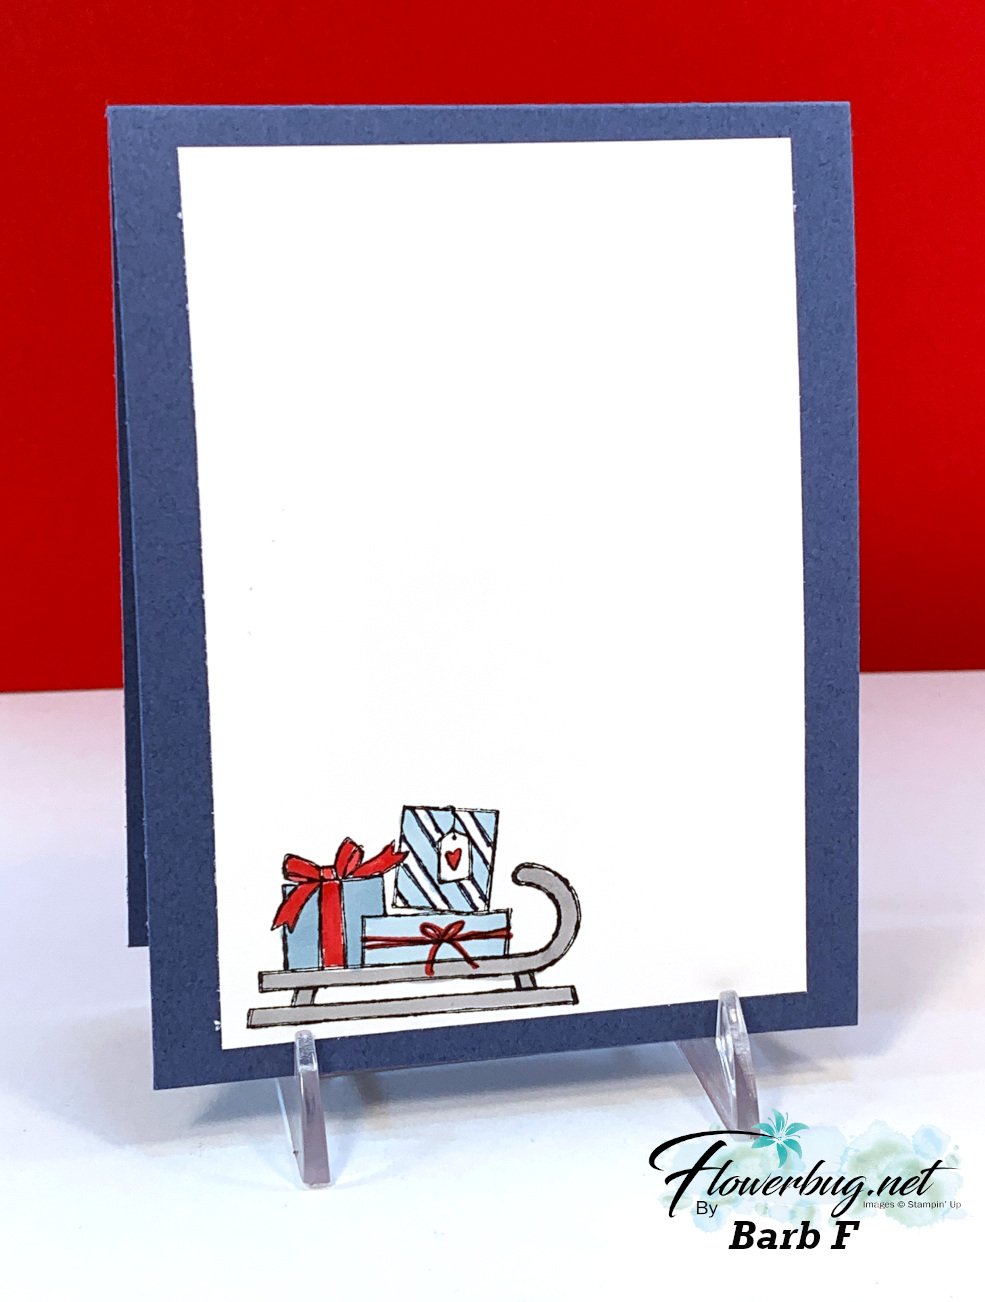
    Barb made this unique card using the Be Jolly stamp set.  Her colors are Misty Moonlight, Red & White.  

    She heat embossed the stars on the front layer with White embossing powder. She also sponged the edge.  She used our Layering Circle dies for her Santa.  But look how it flips open to reveal a greeting!

    Such a fun surprise and it's just a 1/2" flap hidden under the front layers.  So smart! 

    Here's the inside view: 

    I love sharing what my Flowerbug's Team make; they're fabulous stampers! 

    ~~~

    October Specials

    Host code: EXBDBRGY

    *click here to order

    Get a free package of Gold & Rose Gold Metallic specialty paper from me with a $50 online order in October! 

    All online orders will receive my October Gingerbread & Peppermint PDF tutorial free! 


    Leave a Reply

    Your email address will not be published. Required fields are marked *


Notice: LeeAnn Greff, Independent Stampin’ Up! Demonstrator, Manager. The content of this website is my sole responsibility as an independent Stampin’ Up! demonstrator and the use of, and content of, the classes, services, or products offered on this website is not endorsed by Stampin’ Up! Copyright 2025